
How to Decorate Your Thanksgiving Pies Like a Pro (Simply!)

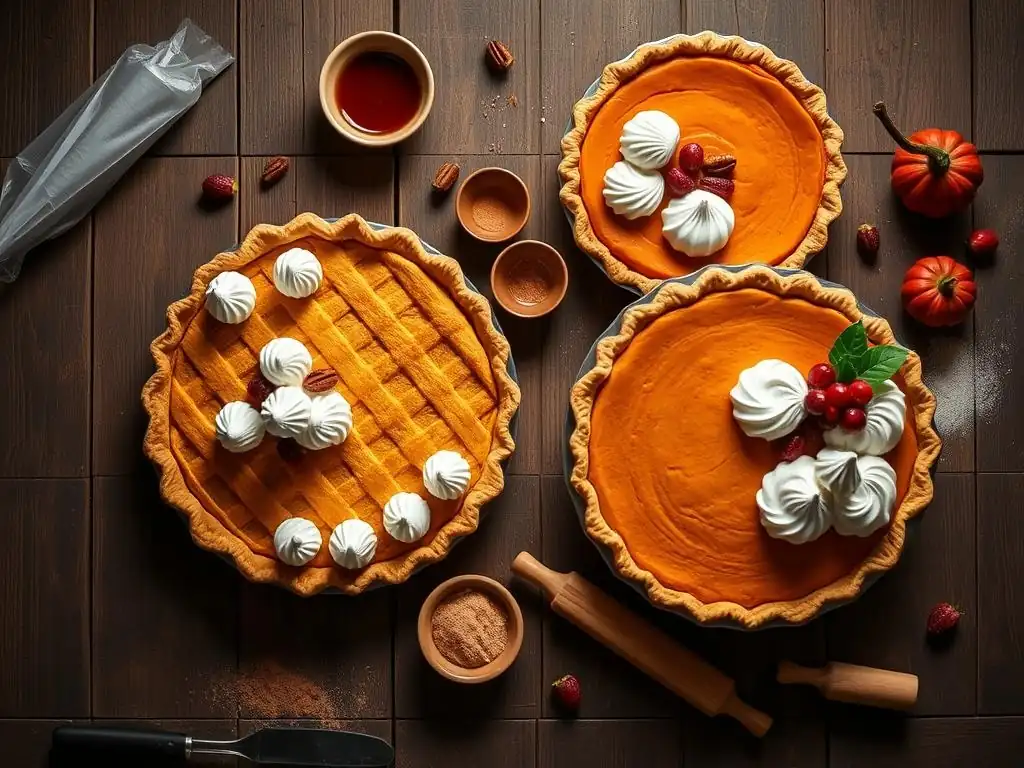
Welcome to BakeWithEase, your haven for effortless baking! This Thanksgiving, are you ready to elevate your pies from delicious to absolutely stunning? You've landed in the right place. Dive into our Thanksgiving pie decorating tutorial and discover surprisingly simple techniques to create show-stopping desserts that will wow your guests. But that's just the beginning – explore our treasure trove of pastry and dessert secrets to unlock your inner baking artist! What are you waiting for? Let's get decorating!
- Apple Pie Decorating Ideas for a Festive Thanksgiving - Grandma's Kitchen
- Elevate Your Apple Pie: A Simple Guide to Stunning Crust Designs
- Essential Tools & Ingredients for Apple Pie Art
- Step-by-Step Apple Pie Decorating Tutorial
- Apple Pie Decoration Ideas & Inspiration
- Troubleshooting Common Apple Pie Decorating Problems
- Perfecting Your Apple Pie: Final Tips & Tricks
- Share Your Apple Pie Creations!
-
Frequently Asked Questions
- How do I choose the right pie crust for decorating?
- What are some simple Thanksgiving pie decorating ideas for beginners?
- What tools do I need for Thanksgiving pie decorating?
- How can I prevent my pie crust decorations from burning in the oven?
- What are some creative alternatives to traditional pie crust decorations?
- Final Reflection: The Art and Joy of a Perfectly Decorated Pie
- Unleash Your Inner Pie Artist!
Apple Pie Decorating Ideas for a Festive Thanksgiving - Grandma's Kitchen
Elevate Your Apple Pie: A Simple Guide to Stunning Crust Designs
Thanksgiving is a time for warmth, gratitude, and, of course, delicious pie! While the filling is undoubtedly the star, a beautifully decorated crust transforms a simple dessert into a festive centerpiece. This guide will walk you through easy yet impressive techniques to give your Thanksgiving apple pie that extra touch of homemade artistry.
Whether you're a beginner baker or looking to add new tricks to your repertoire, mastering a few simple crust decoration methods can make your pie truly memorable. Think beyond the basic lattice or double crust; we'll explore creative ways to use your dough to reflect the spirit of the season, making your Thanksgiving pie decorating tutorial a rewarding experience.
Adding decorative elements to your pie crust isn't just about aesthetics; it's also a wonderful way to personalize your baking and share a little extra love with your family and friends. Simple cutouts, braids, or even just a carefully crimped edge can make a significant difference in presentation. Many of these techniques require minimal extra effort but yield maximum visual impact. Let's dive into the essential tools, ingredients, and steps you'll need to start decorating your Thanksgiving pies like a pro, simply and effectively.
Essential Tools & Ingredients for Apple Pie Art
Creating beautiful designs on your pie crust doesn't require a professional pastry kitchen. Many essential tools are likely already in your kitchen drawers, or can be easily acquired without breaking the bank. Having the right equipment makes the process smoother and helps achieve cleaner, more precise decorative elements for your Thanksgiving pie.
The ingredients used in your crust are just as important as the tools. A good, pliable dough is key to successful decorating. While most standard pie crust recipes work well, understanding how ingredient ratios affect dough texture can help you choose or modify a recipe for optimal handling when creating intricate designs.
Must-Have Tools for Apple Pie Crust Decoration
A sharp paring knife is indispensable for freehand cutting of shapes like leaves or strips for lattices. Look for one with a blade around 3-4 inches long for good control. Another essential is a pastry wheel or pizza cutter, excellent for cutting straight, clean strips for lattice tops or borders. A fluted pastry wheel adds a decorative edge automatically.
Cookie cutters, especially small ones in festive shapes like apples, leaves, or even acorns, are incredibly useful for quickly creating uniform decorations. A set of small shape cutters might cost around $5-$15 depending on the material and number of shapes. A pastry brush is crucial for applying egg wash, which gives your decorations a beautiful golden sheen and helps them adhere to the pie. Finally, a rolling pin is necessary to roll out your dough to an even thickness, typically around 1/8 inch, which is ideal for cutting and handling decorative pieces.
Key Ingredients for Beautiful Apple Pie Crust
The foundation of any good pie decoration is the dough itself. A standard double-crust pie recipe usually yields enough dough for a bottom crust and plenty left over for decorations. A typical recipe using about 2 1/2 cups of flour, 1 cup of cold butter or shortening, and 1/2 cup of ice water will provide ample material. Using cold, solid fat (like butter or shortening) cut into the flour is crucial for creating a flaky crust, which also makes the dough easier to handle and less likely to tear when cutting shapes.
An egg wash is perhaps the simplest ingredient for adding visual appeal. A single egg beaten with a tablespoon of water or milk provides a glossy finish when baked. For extra sparkle and flavor, a sprinkle of cinnamon sugar or coarse sugar (like turbinado) can be applied over the egg wash, especially on decorative elements. This adds texture and highlights the designs. Ensure your butter is very cold and your water is ice cold; this helps prevent the fat from melting into the flour prematurely, which is vital for both flakiness and workability when creating your Thanksgiving pie decorations.
Step-by-Step Apple Pie Decorating Tutorial
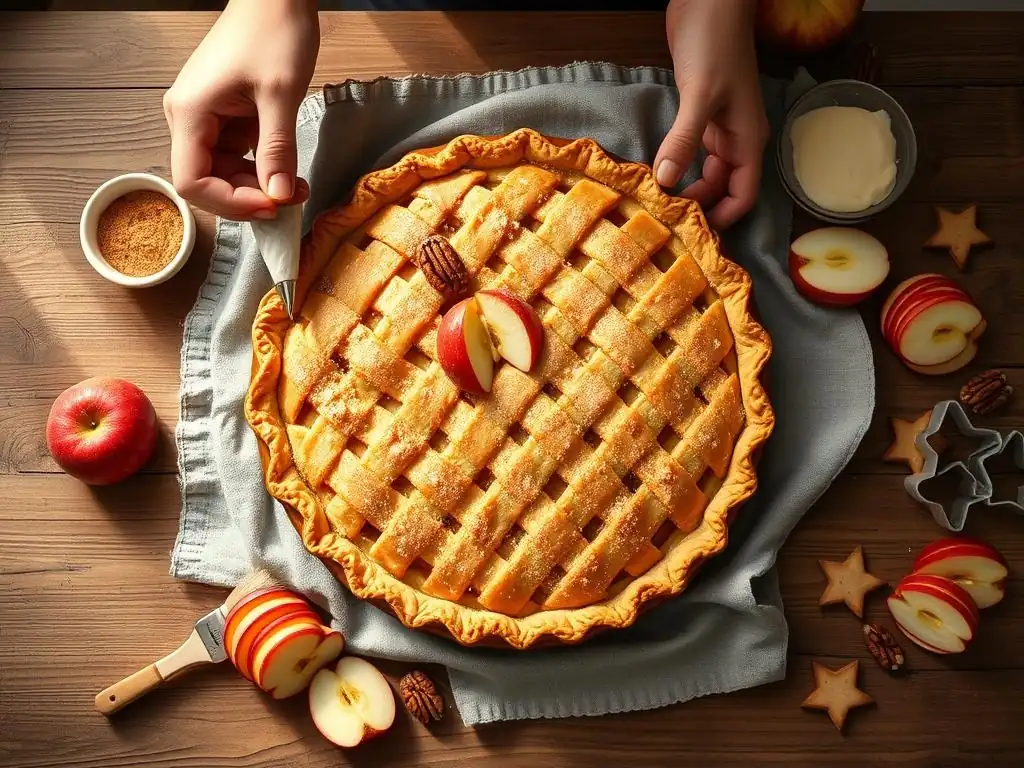
Ready to turn your pie dough into edible art? This step-by-step Thanksgiving pie decorating tutorial will guide you through the process of adding simple, beautiful apple-themed decorations to your pie. We'll cover everything from preparing the dough to applying the final touches before baking.
Follow these steps carefully, and don't be afraid to get creative! Baking should be fun, and decorating your pie is a fantastic way to express that. Even small, simple additions can make a big impact on your final Thanksgiving dessert.
Step 1: Preparing Your Pie Dough for Decoration
Once you've rolled out your bottom crust and placed it in the pie plate with the apple filling, it's time to prepare the dough for your decorative elements. Gather any leftover dough scraps from trimming the bottom crust, or use the second disc of dough intended for the top crust. Combine any scraps gently, being careful not to overwork the dough, which can make it tough.
Roll out the dough on a lightly floured surface to about 1/8 inch thickness. This thickness is ideal for cutting shapes; it's sturdy enough to handle without tearing but thin enough to bake properly. If the dough is sticky, chill it in the refrigerator for 10-15 minutes before rolling. Having cold, firm dough is key to clean cuts and easy transfer of your decorative pieces, ensuring your Thanksgiving pie decorating tutorial goes smoothly.
Step 2: Cutting Out Apple Shapes
One charming way to decorate an apple pie is by adding apple-shaped dough cutouts.
Using Apple-Shaped Cookie Cutters
The easiest method is using small apple-shaped cookie cutters. Simply press the cutter firmly into the rolled-out dough. Wiggle it slightly to ensure a clean cut. Carefully lift the cutout shape. If it sticks, a small offset spatula or the tip of your paring knife can help gently release it. Repeat until you have enough apple shapes to cover the top of your pie as desired. Small cookie cutters, perhaps 1-2 inches wide, work best for this application, allowing you to place multiple shapes without overwhelming the pie.
Freehand Apple Slice Designs
If you don't have apple-shaped cutters, you can cut simple apple slice shapes freehand using a paring knife. Draw a simple apple shape template on paper first if you like, or just freehand it. Cut out a basic apple outline.
For a "slice" look, you can cut a small V-shape out of the top where the stem would be. Another simple freehand method is to cut oval shapes and then indent the sides slightly with your fingers or a tool to resemble an apple shape. This approach offers more flexibility in size and shape, allowing for unique, organic-looking decorations for your Thanksgiving pie.
Step 3: Arranging Your Apple Pie Crust Decorations
Once your shapes are cut, it's time to arrange them on top of your pie. You can place decorations directly on the top crust (if you're using a full top crust with cutouts) or directly onto the apple filling if you're opting for a more open design.
Creating a Central Apple Medallion
A striking focal point can be created by arranging several apple shapes in a circular pattern in the center of the pie. You could layer slightly different-sized apple cutouts on top of each other for a 3D effect. Use a tiny dab of water or egg wash on the back of each shape to help it adhere to the pie crust or filling surface. This central design draws the eye and gives your pie a professional, polished look.
Building a Border of Apple Leaves
Another beautiful arrangement is to create a border around the edge of the pie using leaf shapes (either cut with a cutter or freehand). Overlap the leaves slightly as you place them around the circumference of the pie. For extra realism, you can use the tip of your paring knife to gently score veins onto the surface of each leaf before placing it. This adds texture and detail, enhancing the homemade charm of your Thanksgiving pie decoration.
Step 4: Egg Wash and Cinnamon Sugar for a Festive Finish
Applying an egg wash is a simple step that dramatically improves the appearance of your baked crust. Whisk one egg with about a tablespoon of water or milk in a small bowl. Using a pastry brush, gently and evenly brush the egg wash over all visible crust, including the decorative shapes. Be careful not to let the wash pool in crevices.
Immediately after applying the egg wash, sprinkle your decorative pieces, and potentially the entire top crust, with cinnamon sugar or coarse sugar. A mix of about 2 parts sugar to 1 part cinnamon works well for flavor and color. The sugar adds sparkle and a delightful crunch, while the cinnamon enhances the apple pie's aroma and taste. This final touch elevates your Thanksgiving pie decorating tutorial results.
Step 5: Baking Your Decorated Apple Pie
Baking your decorated pie correctly is crucial to ensure the crust decorations brown evenly and don't burn before the rest of the pie is done. Preheat your oven to the temperature specified in your apple pie recipe, typically around 375°F to 425°F (190°C to 220°C). Place the pie on a baking sheet to catch any drips.
Bake the pie until the crust is golden brown and the filling is bubbling, which usually takes between 50-70 minutes depending on your oven and pie size. If you notice the decorative pieces browning too quickly during baking, you can loosely tent the entire pie with aluminum foil. This protects the top from direct heat while the rest of the pie finishes baking. A good rule of thumb is to check the pie after about 30-40 minutes and tent if necessary.
Apple Pie Decoration Ideas & Inspiration
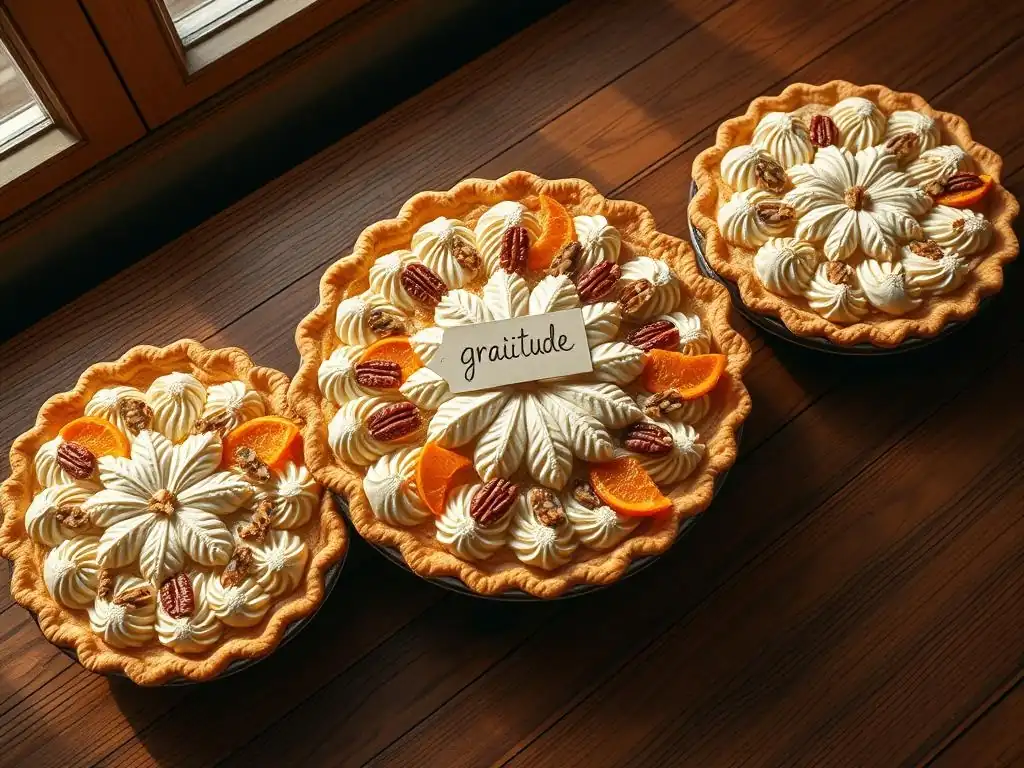
Beyond the simple apple shapes, there are many other creative ways to decorate your Thanksgiving apple pie crust. Drawing inspiration from fall themes or classic baking techniques can add unique flair. Remember, the goal is to have fun and make your pie look as inviting as it tastes!
Exploring different textures and patterns with your dough can lead to stunning results. Even incorporating non-dough elements like spices can add a touch of rustic elegance to your holiday bake. These ideas offer different levels of complexity, allowing you to choose what fits your skill level and available time for your Thanksgiving pie decorating tutorial.
Classic Apple Slice Designs for Thanksgiving Pies
While we discussed cutting out apple shapes, another classic approach is to mimic the look of sliced apples directly on the crust. You can achieve this by cutting thin, curved strips of dough and arranging them in overlapping layers, similar to how you might arrange apple slices in the filling.
Alternatively, you can cut out larger circles or ovals and, before baking, use a small knife to score lines onto the surface to resemble apple segments. This creates a subtle, elegant pattern that hints at the delicious filling inside. This technique is relatively simple but adds a thoughtful detail to your Thanksgiving pie.
Simple Leaf and Vine Patterns
Leaf shapes are a natural fit for fall and Thanksgiving pies. Use small leaf cutters or freehand cut simple leaf shapes. You can arrange these leaves in clusters, scattered randomly over a top crust, or forming a wreath around the pie's edge. Adding scored veins with a knife elevates these simple shapes.
To create vines, roll thin ropes of dough and gently twist them. Arrange these ropes among the leaves, curving them organically across the pie surface. This creates a beautiful, naturalistic design that evokes the bounty of the harvest season, perfect for a Thanksgiving pie decorating tutorial focusing on nature themes.
Cinnamon Stick Accents: A Simple Technique
For a wonderfully aromatic and visually appealing accent, consider using small pieces of cinnamon sticks. Break cinnamon sticks into pieces about 1-2 inches long. Before baking, gently press these pieces into the top crust or between lattice strips.
As the pie bakes, the cinnamon sticks release their fragrance and add a rustic, autumnal touch. They also serve as a beautiful, edible decoration. Use just a few scattered sticks for a subtle effect, or arrange more for a bolder statement. Just be sure they are pressed firmly into the dough so they don't shift during baking.
Crumb Topping Variations
While not a traditional full crust decoration, a crumb topping can be enhanced with decorative elements. If your recipe calls for a crumb topping, you can still add cutouts underneath the crumb or around the edge where the crumb doesn't reach.
Alternatively, you can create a "partial" crumb topping, covering only the center or edges, and use the remaining dough for more elaborate decorations on the uncovered sections. You can also add spices like nutmeg or ginger to the crumb topping mixture for extra flavor and visual interest, creating a more complex texture profile for your Thanksgiving pie.
Troubleshooting Common Apple Pie Decorating Problems
Even with careful planning, sometimes things don't go exactly as expected when decorating a pie. Don't worry! Most common problems have simple solutions. Being prepared for potential issues will help you achieve the best possible results for your Thanksgiving pie decorating tutorial.
Understanding why these issues occur is the first step. Often, it relates to dough temperature, oven hotspots, or simply the nature of baking. Here are a few common hurdles and how to overcome them.
Preventing Apple Slices from Browning
If your decorative apple slices or leaves are browning too quickly before the rest of the crust is golden, the most effective solution is to use aluminum foil. Once the decorations reach your desired level of brownness (usually after the first 30-40 minutes of baking), loosely tent the entire pie with a piece of foil.
Ensure the foil creates a "tent" that doesn't touch the crust directly, as this can cause sticking. The foil deflects the direct heat from the top of the pie, allowing the filling and lower crust to continue baking without the decorations burning. This is a standard technique used in many pie recipes.
Keeping Apple Crust Decorations Secure
Sometimes, smaller decorative pieces might lift or curl away from the pie surface during baking. This often happens if they weren't properly adhered in the first place. To prevent this, use a small amount of egg wash or even just water on the back of each decoration before placing it on the pie.
Gently press the decoration down to ensure it makes good contact with the surface. If a piece does lift during baking, you might be able to gently press it back down using the back of a spoon (careful, it will be hot! ), or simply leave it as is – sometimes imperfections add to the homemade charm!
Fixing Uneven Baking
Uneven baking, where one side of the pie or one section of decorations is darker than another, is often due to hotspots in your oven. Most ovens have areas that run hotter than others.
To mitigate this, rotate your pie halfway through the baking time. For a pie baking for 60 minutes, rotate it 180 degrees after about 30 minutes. This helps ensure all parts of the crust and decorations receive equal exposure to the heat, leading to more even browning and a more uniformly beautiful Thanksgiving pie.
Perfecting Your Apple Pie: Final Tips & Tricks
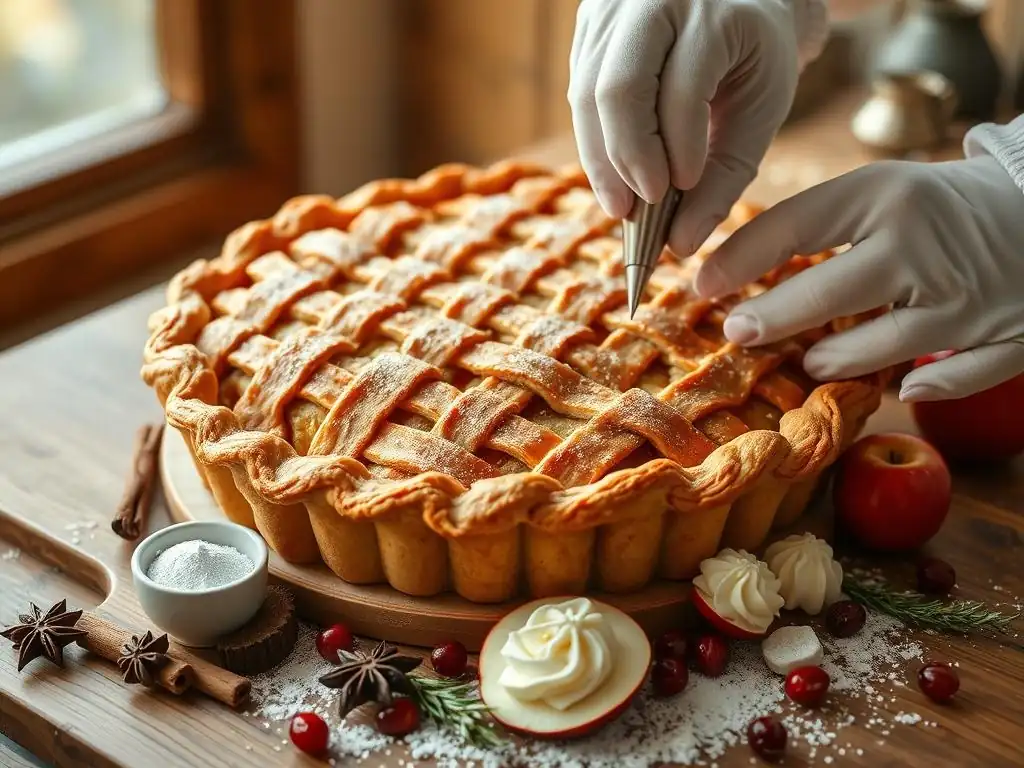
Beyond the decorations, a few final tips can help ensure your entire apple pie is a triumph, from the flaky crust to the perfectly cooked filling. These pointers cover crucial steps in the baking process that contribute to overall success.
Achieving that coveted flaky, golden-brown crust and knowing how to properly cool and store your masterpiece are the finishing touches that make your Thanksgiving pie truly perfect.
Achieving a Flaky and Golden-Brown Crust
Flakiness in pie crust comes from the cold fat melting and creating steam pockets during baking. Ensure your butter or shortening is very cold and cut into the flour properly (until the mixture resembles coarse crumbs with some pea-sized pieces). Don't overwork the dough; mix just until it comes together.
For that desirable golden-brown color, the egg wash is key. Apply it evenly before baking. Also, ensure you bake the pie long enough. A pale crust is often a sign of underbaking. The crust should be a deep golden color, and you should see the filling bubbling through any vents or lattice openings, indicating it's fully cooked. This ensures your Thanksgiving pie is delicious inside and out.
Serving and Storing Your Decorated Apple Pie
Allow your decorated apple pie to cool completely on a wire rack before slicing and serving. This is crucial for the filling to set properly. Cooling typically takes at least 2-3 hours, and sometimes longer. Slicing a hot pie often results in a runny, messy filling.
Store cooled apple pie at room temperature for up to 2 days, loosely covered. For longer storage or in warmer environments, refrigerate for up to 4-5 days. While the decorations might lose a little crispness over time, the flavor will still be delicious.
Frequently Asked Questions
How do I choose the right pie crust for decorating?
The best pie crust for decorating is one that's sturdy and easy to work with. A classic all-butter crust or a shortcrust pastry are excellent choices. Make sure the crust is chilled well before decorating!
What are some simple Thanksgiving pie decorating ideas for beginners?
Beginners can try basic lattice designs, using cookie cutters for shapes, or creating a simple crumb topping. These are all visually appealing and easy to execute.
What tools do I need for Thanksgiving pie decorating?
Essential tools include a rolling pin, cookie cutters, a sharp knife or pastry wheel, and potentially some pastry brushes. A piping bag can also be helpful for more intricate designs.
How can I prevent my pie crust decorations from burning in the oven?
To prevent burning, brush the decorations with an egg wash before baking, and cover the edges of the pie crust with foil during baking. You can also use a pie shield.
What are some creative alternatives to traditional pie crust decorations?
Consider using fresh fruit slices, nuts, or a streusel topping for a unique look. You can also create a design with chocolate shavings or a dusting of powdered sugar after baking.
Final Reflection: The Art and Joy of a Perfectly Decorated Pie
The simple act of decorating a Thanksgiving pie transcends mere aesthetics; it's a powerful symbol of gratitude, creativity, and the joy of sharing. In a world increasingly focused on efficiency and instant gratification, taking the time to meticulously craft a beautiful pie—and sharing it with loved ones—becomes a profound act of connection and mindful celebration. This isn't just about following a tutorial; it's about infusing your Thanksgiving with a personal touch that speaks volumes.
The enduring appeal of pie decorating lies in its ability to bridge generations and cultures. It's a tradition passed down through families, a canvas for personal expression, and a testament to the enduring power of simple pleasures. We don't eat to live, but live to eat.
– While not directly about pie decorating, this quote encapsulates the spirit of joyful celebration and connection that a beautifully decorated pie embodies. The act itself, the careful placement of each swirl, each carefully piped leaf, becomes a meditation, a moment of quiet focus amidst the often hectic preparations of the holiday.
This Thanksgiving, I encourage you to go beyond the basic. Don't be afraid to experiment, to let your creativity flow, and to personalize your pies. Whether you're a seasoned baker or a complete novice, the process of decorating your pie is an opportunity for self-expression and a chance to create lasting memories. Embrace the imperfections, savor the process, and most importantly, enjoy the delicious results with those you cherish. Let your pie be a testament to the beauty of simple things, a symbol of gratitude, and a delicious centerpiece for your Thanksgiving feast.
Unleash Your Inner Pie Artist!
Thanks for taking the time to learn how to decorate your Thanksgiving pies with simple, stunning designs! You've now got the skills to create pies that are as delicious as they are beautiful. Ready to put your new skills to the test?
- Master a new pie decorating technique this week: Try out one of the designs we covered – even a small addition can make a big difference! Challenge yourself to go beyond the basics.
- Share your creations: Post a picture of your decorated pie on social media and tag us – we'd love to see your Thanksgiving masterpieces!
- Experiment with different flavor combinations and decorations: Use this as a springboard to explore new pie recipes and decorating styles for future holidays.
What unique twist will you add to your Thanksgiving pies this year?