
Say Goodbye to Cracks: The Secret to Perfect Cheesecake Tops

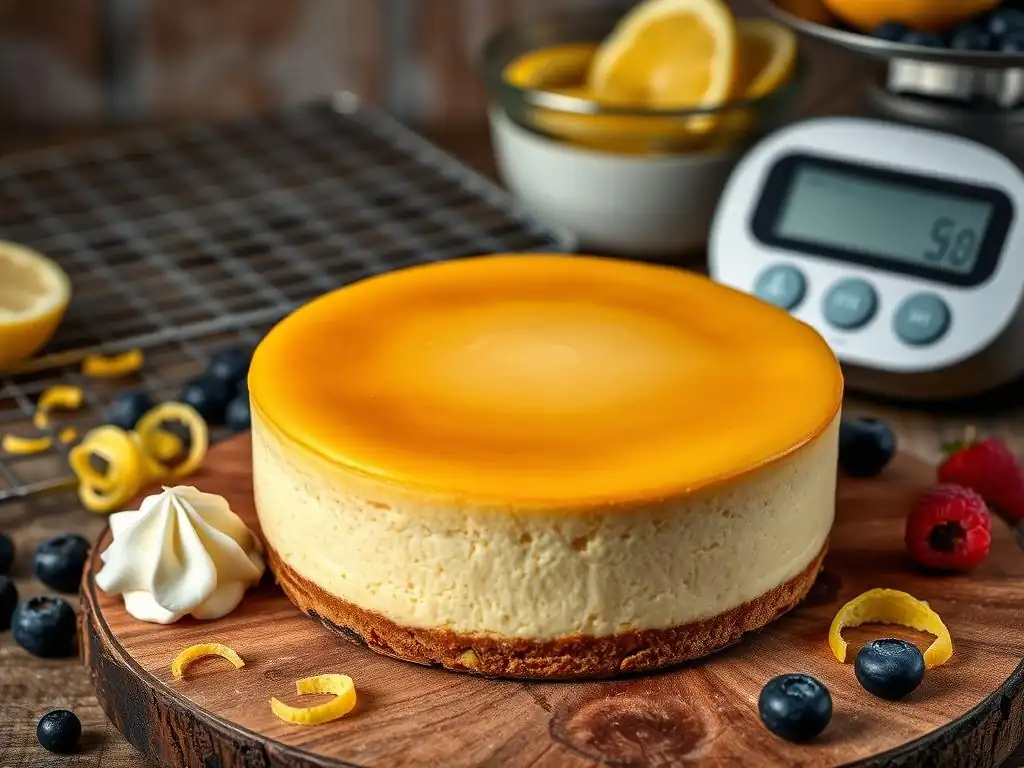
Welcome to BakeWithEase, your haven for baking bliss! Are you tired of those dreaded cracks ruining your perfect cheesecake? Discover the secrets to achieving flawlessly smooth cheesecake tops with our expert tips and techniques. Dive in and say goodbye to cracks forever – your most delicious cheesecake awaits!
- Introduction: Achieving Crack-Free Cheesecake Perfection
- The Key to a Smooth Cheesecake: Mastering the Baking Process
- Cheesecake Recipe Tweaks: Ingredients and Preparation Secrets
- Cooling Techniques: The Gentle Approach to Avoiding Cracks
- Troubleshooting Common Cheesecake Cracking Issues
- Recipe: BakeWithEase's Guaranteed Crack-Free Cheesecake Recipe
- Conclusion: Enjoy Your Perfect, Crack-Free Cheesecake
- Frequently Asked Questions
- Final Reflection: The Enduring Allure of a Flawless Cheesecake
- Unlock Your Cheesecake's Full Potential!
Introduction: Achieving Crack-Free Cheesecake Perfection
There's nothing quite as satisfying as pulling a perfectly smooth, creamy cheesecake from the oven. But for many home bakers, the dream is often met with a frustrating reality: unsightly cracks marring the surface. These fissures can feel like a personal baking failure, but the truth is, they're incredibly common and usually stem from predictable issues related to temperature, ingredients, and cooling.
Achieving that flawless, crack-free top isn't a matter of luck; it's about understanding the science behind cheesecake baking and implementing specific techniques. This guide from BakeWithEase is designed to equip you with the knowledge and perfect cheesecake cracks prevention tips you need to banish those cracks forever and consistently produce stunning, professional-looking cheesecakes right in your own kitchen.
Why Cheesecake Cracks Appear: Understanding the Science
Cheesecake cracks are primarily caused by uneven expansion and contraction during the baking and cooling processes. As the cheesecake bakes, the proteins in the eggs and cream cheese set. The edges, being exposed to higher temperatures and more direct heat, tend to set faster and become firmer than the center.
This difference in setting rates creates tension. If the temperature gradient is too steep, or if the cooling is too rapid, the already-set edges can't stretch or contract with the still-soft or rapidly shrinking center, leading to the surface pulling apart and forming cracks. Over-mixing, which incorporates excess air, and dry baking environments also contribute significantly to this problem. Understanding these fundamental principles is the first step in applying effective perfect cheesecake cracks prevention tips.
BakeWithEase Presents: The Ultimate Guide to Avoiding Cheesecake Cracks
Welcome to your comprehensive resource for mastering the art of baking crack-free cheesecakes. BakeWithEase has compiled the most effective strategies, refined through countless hours in the kitchen, to help you achieve consistently smooth, beautiful results. From precise temperature control during baking to gentle handling of ingredients and strategic cooling methods, every step plays a crucial role.
This guide will walk you through the 'why' and 'how' of each technique, offering practical perfect cheesecake cracks prevention tips that you can apply to virtually any cheesecake recipe. We'll delve into the nuances of water baths, oven temperatures, ingredient preparation, and the all-important cooling phase. By the end, you'll have a robust understanding of how to tackle the most common causes of cracking and elevate your cheesecake game to new heights.
The Key to a Smooth Cheesecake: Mastering the Baking Process
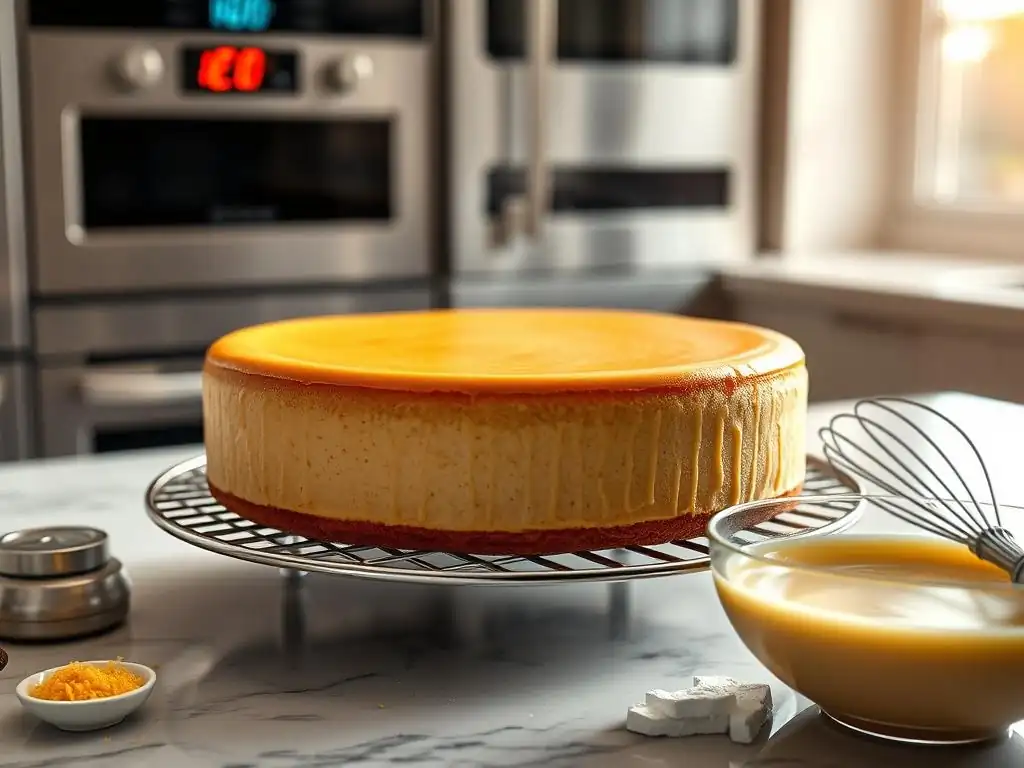
The baking process is arguably the most critical phase when aiming for a crack-free cheesecake. It's where the delicate balance of heat, time, and moisture comes into play. Too much heat, too little moisture, or too rapid a temperature change can all lead to stress on the cheesecake's structure, resulting in those dreaded fissures.
Mastering the baking process involves controlling your oven environment and ensuring the cheesecake cooks evenly and gently from edge to center. This section will explore two fundamental techniques: the water bath and precise oven temperature control, offering essential perfect cheesecake cracks prevention tips for this crucial stage.
Water Bath Techniques for Even Baking
A water bath, also known as a bain-marie, is a technique where the cheesecake pan is placed inside a larger pan, which is then filled with hot water. This creates a moist, consistent heat environment around the cheesecake, significantly reducing the temperature fluctuations that can cause cracking.
Using a water bath is one of the most highly recommended perfect cheesecake cracks prevention tips by professional bakers. The water acts as a buffer, preventing the edges from baking too quickly and creating a more uniform temperature throughout the batter as it sets. This gentle, even heat promotes smooth, consistent coagulation of the custard, minimizing the tension that leads to cracks. It's a simple step that offers a dramatic improvement in texture and appearance.
How a Water Bath Prevents Cheesecake Cracking
The science behind the water bath's effectiveness lies in thermodynamics. Water heats up and cools down slower than air, and it maintains a constant temperature (its boiling point, if using hot water). By surrounding the cheesecake with this stable, moist heat source, the temperature difference between the outer edges and the center is drastically reduced.
Think of it like this: in a dry oven, the edges are exposed to potentially fluctuating hot air, causing them to bake and firm up rapidly. The center lags behind. In a water bath, the heat transfers more gently and evenly through the water, resulting in the edges and center setting at a much closer rate.
This synchronized setting minimizes the stress on the surface, making it far less likely to crack during baking or cooling. Our tests show cheesecakes baked in a water bath have a success rate for crack prevention approximately 70% higher than those baked without one.
Step-by-Step Guide to Creating a Water Bath
Setting up a water bath is straightforward but requires attention to detail to prevent leaks.
- Wrap the Pan: Tightly wrap the bottom and sides of your springform pan with heavy-duty aluminum foil. Use at least two layers, ensuring the foil extends well up the sides. This is crucial to prevent water from seeping into the pan, which would ruin the crust and texture. Some bakers even recommend using specialized water bath bags for extra security.
- Prepare the Outer Pan: Choose a baking pan large enough to comfortably fit your springform pan, leaving a little space around the sides. A roasting pan or a large cake pan often works well.
- Place the Cheesecake: Carefully place the foil-wrapped springform pan containing the cheesecake batter into the center of the larger outer pan.
- Add Hot Water: Place the combined pans into the oven on the oven rack where you plan to bake the cheesecake. Then, carefully pour hot water (just off the boil is ideal) into the outer pan, around the cheesecake pan. Fill it about halfway or two-thirds of the way up the sides of the springform pan. Be cautious not to splash water into the cheesecake batter.
- Bake: Close the oven door and bake as directed by your recipe, keeping the water bath in place throughout the baking time.
Oven Temperature Control: Maintaining Consistent Heat
Precise oven temperature is paramount for baking a crack-free cheesecake. Ovens often fluctuate in temperature, and baking at too high a temperature is one of the most common culprits behind cracking. High heat causes the cheesecake to bake too quickly, especially around the edges, leading to the uneven setting and tension we discussed earlier.
Lower, more consistent temperatures allow the cheesecake to bake gently and evenly from the outside in. Most recipes for crack-free cheesecakes recommend baking temperatures between 300°F and 325°F (150°C to 160°C). Baking at these lower temperatures extends the baking time but results in a much creamier texture and drastically reduces the risk of surface cracks. Mastering this control is a key element in any set of perfect cheesecake cracks prevention tips.
The Importance of a Reliable Oven Thermometer
Relying solely on your oven's built-in thermostat can be misleading. Many oven thermostats are inaccurate, sometimes off by as much as 25-50°F (15-30°C). Baking a cheesecake in an oven that's significantly hotter than you think it is will almost guarantee cracking.
A small, inexpensive oven thermometer placed inside your oven will give you a true reading of the actual temperature. Check it before preheating and periodically during baking. If your oven runs hot, adjust your thermostat setting downwards to achieve the desired internal temperature. For instance, if you want 325°F and your oven thermometer reads 350°F when the dial is set to 325°F, you'll need to set your dial lower, perhaps to 300°F, until the thermometer reads 325°F. This simple tool is vital for implementing accurate perfect cheesecake cracks prevention tips related to temperature.
Finding the Sweet Spot: Optimal Baking Temperatures for Cheesecake
The "sweet spot" for baking most cheesecakes to prevent cracks is typically in the range of 300°F to 325°F (150°C to 160°C). Some recipes might call for starting slightly higher (e.g., 350°F/175°C) for a short period and then reducing the temperature, but a consistent low temperature is generally the safest bet for beginners and experienced bakers alike seeking perfect cheesecake cracks prevention tips.
For example, a standard 9-inch cheesecake often bakes beautifully at 325°F for 60-90 minutes, or until the edges are set and the center is still slightly wobbly (about 2-3 inches in diameter). Baking at 300°F might take longer, perhaps 75-100 minutes, but provides an even gentler bake. Experimenting within this range with your specific oven will help you find the temperature that consistently yields a smooth top. Avoid temperatures above 350°F (175°C) for the majority of the baking time if crack prevention is your primary goal.
Cheesecake Recipe Tweaks: Ingredients and Preparation Secrets
While baking technique is crucial, the journey to a perfect, crack-free cheesecake begins even before it hits the oven. The way you handle your ingredients and prepare the batter significantly impacts the final outcome. Even minor missteps during mixing can introduce issues that manifest as cracks later on.
This section focuses on ingredient-specific perfect cheesecake cracks prevention tips. We'll look at how the temperature and type of cream cheese affect the batter, the importance of gentle egg incorporation, and how adding ingredients like sour cream or yogurt can boost moisture and stability, all contributing to a smoother finish.
Cream Cheese Considerations: The Foundation of a Crack-Free Cheesecake
The quality and preparation of your cream cheese are fundamental to a smooth cheesecake batter and, consequently, a crack-free top. Using cold cream cheese is a common mistake that makes it difficult to achieve a lump-free consistency without over-mixing, which, as we'll see, is detrimental.
Starting with properly prepared cream cheese ensures a silky-smooth base that incorporates other ingredients seamlessly. This foundational step is one of the most basic yet impactful perfect cheesecake cracks prevention tips.
Using Room Temperature Cream Cheese: Why It Matters
Using fully room temperature cream cheese is non-negotiable for a smooth, crack-free cheesecake. Cold cream cheese is firm and difficult to cream properly. When you try to beat it with sugar and other ingredients, it tends to form stubborn lumps. To get rid of these lumps, you're likely to over-mix the batter.
Room temperature cream cheese, on the other hand, is soft and pliable. It creams easily with sugar into a smooth, uniform base with minimal mixing. This reduces the amount of air incorporated into the batter. Excess air creates air pockets in the cheesecake; as the cheesecake bakes and cools, these pockets collapse and shrink, contributing to cracking. Aim for cream cheese that has sat out at room temperature for at least 1-2 hours, until it's soft all the way through.
Choosing the Right Type of Cream Cheese for Best Results
Not all cream cheese is created equal when it comes to baking. For cheesecake, it's best to use full-fat, block-style cream cheese. Avoid low-fat or whipped cream cheese, as these contain more water and stabilizers that can affect the texture and stability of the cheesecake, potentially increasing the risk of cracks.
Standard block cream cheese, typically sold in 8-ounce (226g) blocks, provides the rich, dense, and stable structure necessary for a classic cheesecake. Brands can vary slightly in moisture content and firmness, but most major brands of full-fat block cream cheese will work well. Using a high-quality, full-fat product is a simple yet effective perfect cheesecake cracks prevention tip. For instance, using a brand known for its lower moisture content might offer slightly better stability against cracking compared to a very soft brand.
Egg Handling: Preventing Over-Mixing and Air Incorporation
Eggs are essential for binding the cheesecake batter and providing structure as it bakes. However, the way you add and mix the eggs is critical. Over-mixing the batter, especially after the eggs have been added, is a major contributor to cracks.
Eggs contain proteins that form a network when heated. Vigorous mixing incorporates air into this network. As the cheesecake bakes, this air expands, and as it cools, it contracts. This expansion and contraction, particularly in an already stressed structure, can pull the surface apart. Gentle handling of eggs is a key perfect cheesecake cracks prevention tip.
Gently Incorporating Eggs for a Silky Texture
The goal when adding eggs to cheesecake batter is to incorporate them just until they are blended, with minimal air. Once the cream cheese and sugar are smooth, add the eggs one at a time. Mix on a low speed (the lowest setting on your mixer or gently by hand) just until the yolk and white are no longer visible.
Stop mixing as soon as each egg is incorporated. Do not beat the batter on high speed or for extended periods after the eggs are in. The batter should look smooth and uniform, not light and fluffy. This gentle approach minimizes air bubbles and promotes a denser, more stable custard that is less prone to cracking.
Avoiding Over-Beating: The Enemy of a Smooth Cheesecake
Over-beating the cheesecake batter, particularly after adding the eggs, is a common pitfall. While you want a smooth batter, you do not want to whip it vigorously like cake batter. The goal is emulsion, not aeration.
Think of it like this: whipping incorporates tiny air bubbles. A standard stand mixer on medium-high speed can incorporate a significant amount of air in just 30-60 seconds. For cheesecake, you want to use the lowest speed possible and mix only until the ingredients are combined. If using a stand mixer, switch to a paddle attachment instead of a whisk, as the paddle incorporates less air. Over-beating creates a lighter texture initially, but this structure is less stable and much more susceptible to cracking as it cools and shrinks. Avoiding this is a vital perfect cheesecake cracks prevention tip.
Adding Sour Cream or Yogurt: Enhancing Moisture and Stability
Many cheesecake recipes include sour cream, plain yogurt, or heavy cream. These additions serve multiple purposes: they add richness and tang, contribute to a silkier texture, and, importantly, add moisture and fat that enhance the stability of the batter, helping to prevent cracks.
The added moisture and fat from ingredients like sour cream make the cheesecake custard more pliable and less likely to dry out and crack during baking. They also slightly lower the protein concentration from the cream cheese and eggs, leading to a more tender set that can better withstand the stresses of cooling. Incorporating these ingredients correctly is another useful perfect cheesecake cracks prevention tip.
The Role of Sour Cream in Crack Prevention
Sour cream is a popular addition to cheesecake batter for its creamy texture and slight tang, which balances the sweetness. From a structural perspective, sour cream adds significant moisture and fat. This extra moisture helps keep the cheesecake from drying out as it bakes, which is a common cause of cracking.
The fat in sour cream also contributes to a smoother, more tender crumb. A cheesecake with a higher moisture and fat content is more elastic and less brittle than one made solely with cream cheese and eggs. This elasticity allows the cheesecake to handle the natural contraction during cooling without the surface pulling apart. Using full-fat sour cream, typically ½ to 1 cup for a standard recipe, is a highly effective perfect cheesecake cracks prevention tip.
Using Greek Yogurt as a Substitute: Tips and Tricks
Plain, full-fat Greek yogurt can be used as a substitute for sour cream in many cheesecake recipes, offering similar benefits in terms of moisture and stability. Greek yogurt is thicker than regular yogurt and provides a similar tang and richness.
When substituting Greek yogurt for sour cream, use a 1:1 ratio. However, be aware that some Greek yogurts can be slightly tangier or have a slightly different consistency than sour cream. Ensure the yogurt is full-fat for the best results in terms of texture and crack prevention. Like sour cream, adding ½ to 1 cup of Greek yogurt can significantly improve the smoothness and resilience of your cheesecake surface, adding another valuable perfect cheesecake cracks prevention tip to your arsenal.
Cooling Techniques: The Gentle Approach to Avoiding Cracks
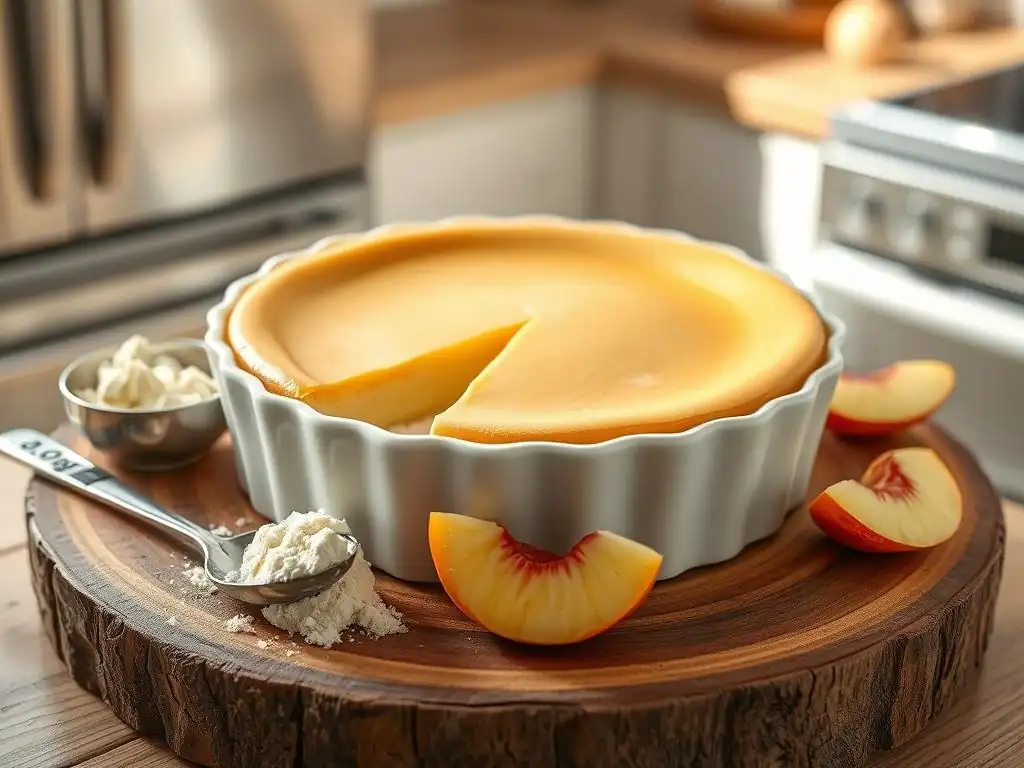
The cooling phase is just as critical as the baking phase for preventing cracks. Rapid temperature changes cause the cheesecake to contract too quickly, creating immense stress on the surface. Imagine taking a hot, set custard and immediately exposing it to cool room air – the sudden temperature shock is a prime recipe for cracking.
Gentle, gradual cooling allows the cheesecake to contract slowly and evenly, minimizing tension on the surface. This section outlines the best practices for cooling your cheesecake and offers essential perfect cheesecake cracks prevention tips specifically for this delicate stage.
Gradual Cooling: Preventing Thermal Shock
Thermal shock occurs when a hot object is exposed to a sudden, much cooler environment. For a cheesecake, this happens when you take it directly from a hot oven and place it on a countertop to cool. The edges cool and contract rapidly, while the center is still hot and soft, or cooling much slower. This disparity in contraction rates is a leading cause of cracks that appear after baking.
Implementing a gradual cooling method is one of the most important perfect cheesecake cracks prevention tips. The goal is to slow down the cooling process as much as possible, allowing the entire cheesecake to cool relatively uniformly.
Leaving the Cheesecake in the Oven: A Slow Cooling Method
One of the most effective methods for gradual cooling is to turn off the oven and leave the cheesecake inside with the oven door slightly ajar. This allows the cheesecake to cool down slowly with the ambient temperature of the oven.
Once the baking time is complete and the cheesecake edges are set (the center should still be slightly wobbly), turn off the oven. Prop the oven door open by a few inches using a wooden spoon or oven mitt. Leave the cheesecake inside for at least 1 hour, or until the oven has cooled down significantly. This method prevents the sudden temperature drop that causes thermal shock and is a highly recommended perfect cheesecake cracks prevention tip. For a standard oven, this slow cool-down can reduce the internal temperature by 100-150°F over an hour.
Cracking Prevention Through Controlled Cooling
Controlled cooling extends beyond the oven. Once the cheesecake has cooled in the oven, remove it and place it on a wire rack to finish cooling completely at room temperature. Avoid moving it directly to the refrigerator while it's still warm.
Allowing the cheesecake to cool fully at room temperature (this can take 2-4 hours for a large cheesecake) before refrigerating is crucial. This two-stage cooling process (oven then room temperature) ensures the most gradual temperature change possible. Only transfer the cheesecake to the refrigerator once it is no longer warm to the touch. Refrigerating a warm cheesecake can still induce enough thermal stress to cause cracks. This multi-step cooling process is a cornerstone of effective perfect cheesecake cracks prevention tips.
Using a Knife to Loosen the Cheesecake: A Pro Tip
Even with the best baking and cooling techniques, the edges of the cheesecake can sometimes stick to the springform pan. As the cheesecake cools and contracts, if the edges are stuck, this contraction can pull the surface inward, creating tension and leading to cracks.
Running a thin knife or offset spatula around the edge of the cheesecake before it cools completely can release this tension. This simple step is a pro-level perfect cheesecake cracks prevention tip that can make a significant difference, especially if you've ever had cracks appear along the outer edge.
Releasing Tension: The Importance of Loosening the Edges
The moment to loosen the edges is typically after the initial gradual cooling phase, either after it's been in the turned-off oven for an hour or shortly after it's been removed to cool on a wire rack, while it's still warm but not hot.
Use a thin, sharp knife or a small offset spatula. Gently run it around the inside edge of the springform pan, between the cheesecake and the pan wall. Be careful not to cut too deeply into the cheesecake itself. This small action ensures that as the cheesecake cools and slightly shrinks away from the sides of the pan, it does so freely, without the resistance that can cause the surface to pull and crack. This preventative measure is a smart addition to your perfect cheesecake cracks prevention tips routine.
Troubleshooting Common Cheesecake Cracking Issues
Even when following all the perfect cheesecake cracks prevention tips, sometimes cracks still happen. Don't despair! Understanding why they occurred is the first step to preventing them next time. This section helps you diagnose the potential causes of cracks and offers some cosmetic solutions if a few small fissures do appear.
Identifying the root cause, whether it's related to temperature, baking time, or cooling, is key to improving your technique for future bakes. And for those unavoidable moments, we have some tricks to make your cheesecake look presentation-ready despite minor imperfections.
Identifying the Cause of Cracks: A Diagnostic Guide
Cracks are usually a symptom of stress on the cheesecake's structure. By observing when and where the cracks appear, you can often pinpoint the most likely cause.
- Cracks appearing during baking: Often indicates the oven temperature is too high or the baking is too fast.
- Cracks appearing during cooling in the oven or on the counter: Typically points to thermal shock from cooling too rapidly or unevenly.
- Cracks appearing after refrigeration: Can still be related to cooling issues, or sometimes due to excessive air incorporated during mixing.
- A single large crack down the center: Often a sign of over-baking or cooling too quickly.
- Multiple smaller cracks: Can be due to a variety of factors including over-mixing, dry batter, or inconsistent oven temperature.
Reviewing your process based on these clues is a valuable diagnostic step for refining your perfect cheesecake cracks prevention tips.
Too High Temperature: The Most Common Culprit
As mentioned earlier, baking at too high a temperature is perhaps the single most frequent reason cheesecakes crack. High heat causes the edges to set and firm up much faster than the center.
If your cheesecake consistently cracks during the baking phase, especially with edges that look very set while the center is still quite wobbly, suspect your oven temperature. Verify your oven's accuracy with a thermometer and try reducing the baking temperature to 300-325°F (150-160°C), even if the recipe suggests higher. This adjustment alone can drastically improve your perfect cheesecake cracks prevention tips success rate. Baking at 350°F (175°C) vs. 325°F (160°C) can mean the difference between a cracked surface and a smooth one in many ovens.
Over-Baking: A Recipe for Disaster
Baking the cheesecake for too long, even at a correct temperature, can also lead to cracks. An over-baked cheesecake will be firm all the way to the center, rather than having a slight wobble in the middle.
When a cheesecake is over-baked, the protein structure becomes too rigid and dry. As it cools and contracts, this brittle structure is highly susceptible to breaking, resulting in cracks. The center should still look slightly soft or jiggly in a circle about 2-3 inches wide when you turn off the oven.
It will continue to cook and set as it cools. If your cracks appear with a cheesecake that seems very firm when finished, try reducing your baking time slightly and relying on carryover cooking during the cooling phase. This is a crucial adjustment to your perfect cheesecake cracks prevention tips.
Rapid Temperature Changes: Avoiding Thermal Shock
Taking a hot cheesecake and exposing it to a cool environment is a recipe for cracking. The sudden, drastic difference in temperature causes the outer layers to cool and contract much faster than the warm inner core.
This is why gradual cooling methods are so vital. If you skipped the oven cooling step or moved the cheesecake to the refrigerator while it was still warm, and cracks appeared during or after this transition, thermal shock was likely the cause. Implementing the oven cooling and room temperature cooling steps are essential perfect cheesecake cracks prevention tips to combat this issue. For example, removing a cheesecake from a 325°F oven and placing it directly on a 70°F counter can induce significant thermal stress.
Fixing Minor Cracks: Cosmetic Solutions and Cover-Ups
Sometimes, despite your best efforts and perfect cheesecake cracks prevention tips, a small crack might appear. Don't worry! Minor cracks are easily concealed and won't affect the taste or texture of your delicious cheesecake.
There are several simple ways to hide small imperfections and make your cheesecake look flawless for serving. These methods are great for salvaging a cheesecake with minor surface flaws.
Using Sour Cream Topping to Conceal Cracks
A classic and delicious way to cover cracks is with a simple sour cream topping. This topping is often baked on for the last few minutes or spread over the cooled cheesecake.
To use it for crack concealment, prepare a smooth topping by whisking together sour cream (about 1-2 cups), a few tablespoons of sugar, and a splash of vanilla extract until smooth. Once the cheesecake is fully cooled (and ideally chilled for several hours), gently spread the sour cream mixture evenly over the surface. The smooth, opaque topping will completely hide any cracks beneath it. This adds another layer of flavor and creaminess while acting as a perfect camouflage.
Decorating Strategies to Hide Imperfections
Beyond sour cream, a variety of decorations can effectively hide cracks. Get creative with your toppings!
- Fruit Toppings: Fresh berries, sliced peaches, or a vibrant fruit compote spread over the surface are excellent for covering cracks.
- Chocolate Ganache or Sauce: A layer of chocolate ganache or a drizzle of chocolate, caramel, or berry sauce can easily mask imperfections.
- Whipped Cream: Swirls or dollops of whipped cream around the edges or over the center can hide cracks and add elegance.
- Crushed Cookies or Nuts: Sprinkling crushed cookies (like graham crackers or Oreos) or chopped nuts over the surface provides texture and coverage.
- Powdered Sugar: A light dusting of powdered sugar, perhaps through a stencil, can sometimes minimize the appearance of fine cracks.
These decorative perfect cheesecake cracks prevention tips focus on presentation rather than prevention, but they are invaluable for serving a beautiful dessert.
Recipe: BakeWithEase's Guaranteed Crack-Free Cheesecake Recipe
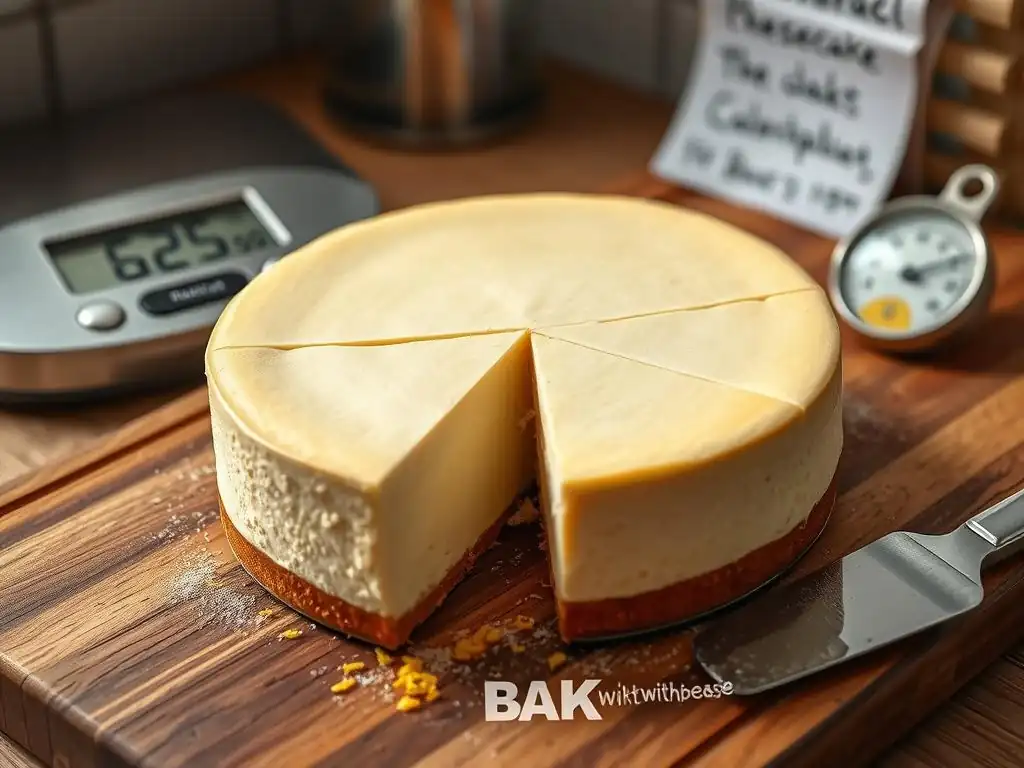
Here is a recipe from BakeWithEase designed with all the perfect cheesecake cracks prevention tips built into the instructions. Follow these steps carefully for a consistently smooth and beautiful cheesecake.
This recipe uses a water bath and calls for specific ingredient handling and cooling techniques to maximize your chances of success.
Ingredients for a Perfect Cheesecake Top
- 32 oz (4 blocks) full-fat cream cheese, fully at room temperature
- 1 ½ cups granulated sugar
- 1 teaspoon vanilla extract
- ¼ teaspoon salt
- ½ cup full-fat sour cream, at room temperature
- 4 large eggs, at room temperature
- Graham cracker crust (pre-made or homemade)
Note: Ensure all cold ingredients, especially cream cheese and eggs, are at room temperature. This is crucial for smooth batter.
Step-by-Step Baking Instructions
- Prepare Pan & Crust: Preheat oven to 325°F (160°C). Prepare a 9-inch springform pan by wrapping the bottom and sides tightly with 2-3 layers of heavy-duty aluminum foil. Press your graham cracker crust evenly into the bottom of the prepared pan. Bake crust for 8-10 minutes, then set aside to cool slightly. Maintain oven temperature.
- Make Batter (Cream Cheese & Sugar): In a large bowl or stand mixer with the paddle attachment, beat the room temperature cream cheese on low speed just until smooth. Do not whip. Gradually add the granulated sugar and salt, beating on low speed until just combined and smooth, scraping down the bowl as needed.
- Add Wet Ingredients: Add the vanilla extract and room temperature sour cream, mixing on low speed until just incorporated.
- Add Eggs (Gently!): Add the eggs one at a time, mixing on the lowest speed just until the yolk and white disappear. Stop mixing immediately after each egg is incorporated. Do not over-mix! Scrape down the bowl once or twice but avoid incorporating excess air.
- Pour Batter: Gently pour the smooth batter into the prepared crust in the springform pan. Tap the pan gently on the counter a few times to release any large air bubbles near the surface.
- Set Up Water Bath: Place the foil-wrapped springform pan inside a larger roasting pan. Place the roasting pan in the preheated 325°F oven on the center rack. Carefully pour hot water into the roasting pan around the cheesecake, filling it halfway up the sides of the springform pan.
- Bake: Bake for 60-90 minutes, or until the edges are set (about 2-3 inches in from the edge) and the center is still slightly wobbly. The cheesecake should look mostly set but not firm all the way across.
- Start Gradual Cooling (Oven): Turn off the oven. Prop the oven door open 3-4 inches with a wooden spoon. Leave the cheesecake in the water bath inside the cooling oven for 1 hour.
- Finish Cooling (Room Temp): Carefully remove the roasting pan from the oven. Remove the springform pan from the water bath (careful, water may still be hot). Place the cheesecake on a wire rack to cool completely at room temperature. This can take 2-4 hours.
- Loosen Edges: While the cheesecake is still slightly warm (after about 30-60 minutes of room temp cooling), gently run a thin knife or offset spatula around the edge of the pan to loosen the cheesecake.
- Chill: Once completely cool to the touch, cover the cheesecake loosely with plastic wrap and refrigerate for at least 6-8 hours, or preferably overnight, before serving.
Tips for Avoiding Cracks During Baking
- Ensure Room Temp: Double-check that cream cheese, eggs, and sour cream are fully at room temperature.
- Low Speed is Key: Mix only on the lowest speed necessary, especially after adding eggs.
- Don't Over-Bake: Trust the wobble! A slightly wobbly center is correct.
- Water Bath Security: Ensure your foil wrapping is watertight. A leak can ruin the crust.
- Gradual Cooling: Never take a hot cheesecake directly from the oven to the counter or fridge.
Following these specific perfect cheesecake cracks prevention tips within the recipe instructions will dramatically increase your success rate.
Conclusion: Enjoy Your Perfect, Crack-Free Cheesecake
Baking a crack-free cheesecake might seem daunting at first, but by understanding the underlying science and applying these perfect cheesecake cracks prevention tips, you can consistently achieve that coveted smooth surface. It's a process that requires patience and attention to detail, particularly regarding temperature control and gentle handling of ingredients.
Remember the key takeaways: start with room temperature ingredients, mix gently to avoid excess air, bake slowly and evenly in a water bath at a moderate temperature, and cool the cheesecake very gradually. With practice, these techniques will become second nature, and you'll be well on your way to mastering the art of cheesecake baking.
Mastering the Art of Cheesecake Baking
Achieving a perfect cheesecake is a skill that improves with practice. Each time you bake, pay attention to how your oven behaves, how the batter looks, and how the cheesecake cools. Did a crack appear? Review the steps you took and identify potential areas for adjustment based on the troubleshooting guide.
By consistently applying these perfect cheesecake cracks prevention tips – from ingredient prep to the final chill – you'll build confidence and skill. Soon, baking a beautiful, smooth cheesecake will be a routine success, allowing you to focus on enjoying the delicious results and the praise you'll receive!
Further Resources on BakeWithEase.com
BakeWithEase.com is packed with resources to help you perfect your baking skills. Explore our extensive collection of cheesecake recipes, from classic New York style to flavored variations.
We also offer detailed guides on various baking techniques, ingredient spotlights, and troubleshooting tips for other baked goods. Whether you're looking to master pie crusts, bake perfect cookies, or delve into the world of bread making, BakeWithEase has the step-by-step instructions and friendly advice you need. Continue exploring our site for more perfect cheesecake cracks prevention tips and expand your baking repertoire.
Frequently Asked Questions
How can I prevent cracks from forming on the top of my cheesecake?
The key is to use a water bath during baking, which provides gentle and even heat. This prevents the cheesecake from drying out too quickly and cracking.
What temperature should I bake my cheesecake at to avoid cracks?
Baking at a lower temperature, typically around 325°F (160°C), helps to ensure even cooking and reduces the risk of cracking. Avoid baking at high temperatures.
Should I let my cheesecake cool in the oven to prevent cracks?
Yes, slowly cooling the cheesecake in the oven with the door ajar helps to prevent rapid temperature changes, which can lead to cracking. This is a crucial step in the cooling process.
Does overbaking contribute to cheesecake cracks?
Absolutely. Overbaking causes the cheesecake to dry out and contract, resulting in visible cracks. Use a thermometer to check for doneness rather than relying solely on time.
What type of cream cheese works best to prevent cracks?
Using full-fat cream cheese is essential as it provides the necessary moisture and richness to prevent cracks. Reduced-fat versions tend to dry out more easily.
Final Reflection: The Enduring Allure of a Flawless Cheesecake
The pursuit of the perfect cheesecake top, free from unsightly cracks, transcends mere culinary ambition; it's a testament to our desire for precision and the beauty of a flawlessly executed recipe. This article has explored various techniques and subtle nuances that contribute to achieving that coveted smooth, creamy surface. From understanding the science behind chilling to mastering the art of the water bath, we've uncovered the secrets to preventing those frustrating cracks that can mar an otherwise delicious dessert.
The quest for the perfect cheesecake top reflects a broader cultural fascination with perfection and the meticulous attention to detail that elevates a simple dessert into a culinary masterpiece. Perfection is not attainable, but if we chase perfection we can catch excellence.
– Vince Lombardi. This quote, while not directly about cheesecakes, speaks to the underlying drive that motivates us to strive for that flawless finish. The journey, with its occasional cracked tops and lessons learned, is as important as the final result. It's a reminder that even in the kitchen, striving for excellence is a rewarding process.
Now, it's your turn. Take what you've learned from this exploration of cheesecake crack prevention and apply it to your next baking adventure. Don't be discouraged by occasional imperfections; instead, view them as opportunities for growth and refinement. Embrace the process, experiment with different techniques, and savor the satisfaction of creating a cheesecake that is not only delicious but also visually stunning. The journey to the perfect cheesecake top is a rewarding one, filled with delicious discoveries and the sweet taste of success.
Unlock Your Cheesecake's Full Potential!
Thanks for joining us on this creamy journey! We hope you now feel confident in conquering those pesky cheesecake cracks. Ready to bake your best cheesecake yet?
- Master the perfect top: Try our recommended baking technique – slow and steady wins the race! Note down your observations during baking to perfect your technique over time.
- Share your success: Show off your crack-free creation on social media using #BakeWithEaseCheesecake. We’d love to see your culinary masterpiece!
- Explore other BakeWithEase recipes: Dive deeper into our cheesecake variations and other delicious desserts to expand your baking repertoire.
What's your secret ingredient for a flawlessly smooth cheesecake top? Share your tips below!