
Simple Berry Crisp with a Crunchy Oat Topping

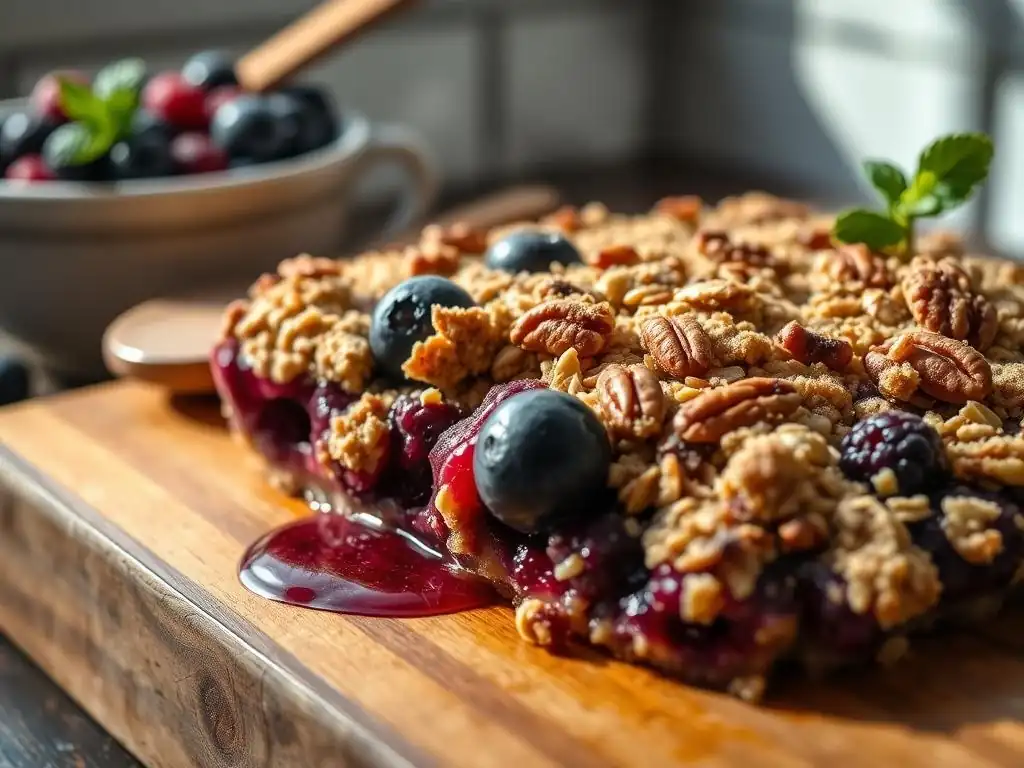
Welcome to BakeWithEase, your kitchen companion for effortless baking! Ever dreamed of a warm, comforting dessert that's both delicious and surprisingly simple to make? Then you're in the right place. Today, we're diving into our Easy Berry Crisp Recipe – a delightful combination of juicy berries and a crunchy oat topping that requires minimal effort but delivers maximum flavor. Intrigued? Let's get baking!
- Mixed Berry Crisp with Crunchy Oat Topping
- Why This Berry Crisp Recipe is Perfect for Any Baker
- Mastering the Berry Filling
- Creating the Crunchy Oat Topping
- Berry Crisp Recipe: Baking Instructions
- Tips and Tricks for the Best Berry Crisp
- Berry Crisp Variations
- Storing and Reheating Your Berry Crisp
- Enjoy Your Homemade Berry Crisp!
-
Frequently Asked Questions
- How easy is the Simple Berry Crisp recipe from BakeWithEase.com?
- What kind of berries work best in this Easy Berry Crisp Recipe?
- What makes the oat topping "crunchy" in the Simple Berry Crisp?
- Can I substitute any ingredients in the Easy Berry Crisp Recipe?
- How do I store leftover Simple Berry Crisp?
- Final Reflection: The Enduring Comfort of a Simple Berry Crisp
- Unlock Your Inner Baker: Make This Berry Crisp Today!
Mixed Berry Crisp with Crunchy Oat Topping
Why This Berry Crisp Recipe is Perfect for Any Baker
Simple Ingredients for a Delicious Dessert
One of the greatest appeals of this easy berry crisp recipe is its reliance on pantry staples and readily available fresh or frozen fruit. You don't need exotic ingredients or specialized equipment to create a truly delightful dessert. The berry filling typically requires just berries, a touch of sugar, a thickener like cornstarch or flour, and maybe a squeeze of lemon juice to brighten the flavors. For instance, a standard recipe might call for 4-6 cups of mixed berries, 1/2 cup of sugar, and 2 tablespoons of cornstarch – simple ratios that yield fantastic results.
The crunchy oat topping, the other star of the show, is equally straightforward. It's usually a mix of rolled oats, flour, brown sugar, a pinch of salt, and cold butter cut into pieces. This mixture is then crumbled over the fruit. The beauty here is the simplicity: about 1 cup of oats, 1/2 cup flour, 1/2 cup brown sugar, and 1/2 cup cold butter are often sufficient for a standard 8x8 inch baking dish. These basic components come together with minimal fuss, making this an ideal dessert for busy weeknights or impromptu gatherings.
Quick Preparation Time
Another reason this easy berry crisp recipe stands out is the speed at which you can get it into the oven. The preparation involves minimal chopping and mixing. Typically, washing and preparing the berries takes only about 5-10 minutes. If using frozen berries, you might skip the washing step altogether and just toss them with the sugar and thickener.
Combining the topping ingredients is equally fast, often taking just 5-7 minutes. You can mix the dry ingredients in one bowl and then quickly cut in the cold butter using a pastry blender, a fork, or even your fingertips until the mixture resembles coarse crumbs. The entire assembly process, from start to finish before it hits the oven, rarely exceeds 20-25 minutes, making it a perfect last-minute dessert option when time is limited.
Adaptable Recipe: Customize Your Crisp
This easy berry crisp recipe is incredibly forgiving and adaptable, allowing bakers to customize it based on their preferences or what they have on hand. While mixed berries are classic, you can use a single type of berry, such as a pure blueberry crisp or a strawberry-only version. You can also mix in other fruits; for example, adding sliced peaches or rhubarb works wonderfully with berries and bakes beautifully.
The topping is also open to variation. While rolled oats provide the signature texture, you can add nuts like chopped pecans or walnuts for extra crunch and flavor. A sprinkle of cinnamon or a dash of nutmeg can introduce warmth and complexity. Some bakers like to add a bit of granulated sugar to the topping for extra sparkle and crunch, or even substitute some of the flour with almond flour for a different texture and nutty undertone. This flexibility ensures you can make a delicious crisp tailored precisely to your taste.
Mastering the Berry Filling
Choosing the Best Berries
The foundation of a great berry crisp is, naturally, the berries themselves. For this easy berry crisp recipe, you can use a variety of options: fresh, frozen, or a combination of both. Fresh berries offer vibrant flavor and color, but frozen berries are equally effective and often more economical, especially out of season. If using frozen berries, there's usually no need to thaw them first; simply toss them directly into your baking dish with the other filling ingredients.
A mix of different berries often yields the most complex and interesting flavor profile. Consider combining sweet blueberries with slightly tart raspberries, juicy strawberries, and perhaps some blackberries. The different textures and sweetness levels complement each other beautifully during baking. Aim for about 4 to 6 cups of berries for a standard crisp dish, ensuring a generous layer of fruit under the topping.
Preparing the Berry Mixture: Sweetness and Thickening
Once you've chosen your berries, preparing the filling is straightforward. The key steps involve adding sweetness and a thickener. Berries release a lot of juice as they bake, and a thickener is essential to prevent a watery crisp. Common thickeners include cornstarch, flour, or tapioca starch. Cornstarch is a popular choice, often requiring about 2 tablespoons per 4-6 cups of fruit. Tapioca starch creates a slightly clearer, glossier sauce and is another excellent option.
Sweetness can be adjusted to your taste and the natural sweetness of the berries. Start with about 1/4 to 1/2 cup of granulated sugar, depending on the tartness of the berries and your preference. A squeeze of lemon juice (about 1-2 teaspoons) is highly recommended as it brightens the fruit flavors and balances the sweetness. Gently toss the berries with the sugar, thickener, and lemon juice directly in your baking dish or in a separate bowl before transferring them.
Strawberry-Blueberry Crisp
A classic and universally loved combination for an easy berry crisp recipe is strawberry and blueberry. These two fruits offer a wonderful balance of sweetness and a slight tang, and they hold their shape relatively well during baking. For an 8x8 inch crisp, you might use roughly 3 cups of sliced strawberries and 2 cups of blueberries.
Combine these berries with about 1/3 cup granulated sugar and 2 tablespoons of cornstarch. A splash of vanilla extract (about 1/2 teaspoon) can also enhance the flavors beautifully. Toss everything together gently until the berries are evenly coated. This simple mixture provides a juicy, flavorful base that pairs perfectly with the crunchy oat topping, showcasing the best of seasonal or frozen fruit.
Creating the Crunchy Oat Topping
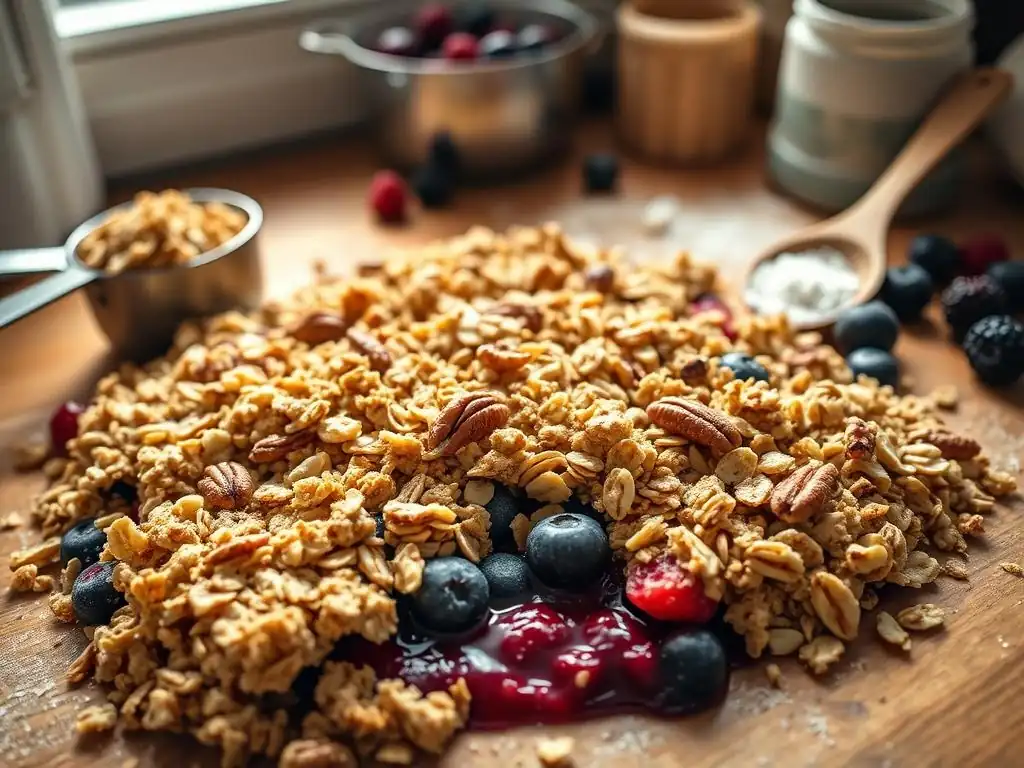
Ingredients for the Oat Crumble Topping
The signature "crisp" in berry crisp comes from the delightful, crumbly topping made primarily with oats. The basic ingredients for this crucial layer are simple: rolled oats (old-fashioned oats work best for texture, avoid instant oats), all-purpose flour, brown sugar (light or dark, depending on your preference for molasses flavor), a pinch of salt to balance the sweetness, and cold butter. Some recipes might also include a small amount of granulated sugar for extra crunch.
The ratio of ingredients is key to achieving the right texture. A common proportion for a standard 8x8 inch crisp is 1 cup of rolled oats, 1/2 cup all-purpose flour, 1/2 cup packed brown sugar, and 1/2 cup (one stick) of cold, unsalted butter, cut into cubes. Adding a teaspoon of ground cinnamon is a popular enhancement that adds warmth and spice, complementing the fruit beautifully.
Combining the Dry Ingredients
The first step in creating the crunchy oat topping for your easy berry crisp recipe is to combine the dry ingredients. In a medium bowl, whisk together the rolled oats, flour, brown sugar, and salt. If you're adding cinnamon or other spices, include them here as well. This ensures that the salt and sugar are evenly distributed throughout the mixture before the butter is added.
Using rolled oats (old-fashioned) is important because they retain their shape and provide a chewier texture compared to quick or instant oats, which can become mushy. The brown sugar contributes moisture and a rich, caramel-like flavor that pairs wonderfully with the berries. Make sure the brown sugar is packed into the measuring cup for accurate measurement.
Adding Butter for a Golden-Brown Crust
The final step in preparing the topping is incorporating the cold butter. Cold butter is essential because when it's cut into the dry ingredients, it creates small pockets of fat. As the crisp bakes, these pockets melt, creating steam that helps lift and separate the flour-oat mixture, resulting in a tender yet crunchy crumble. If the butter is too soft or melted, it will create a greasy dough rather than a crumbly topping.
Cut the cold butter into small cubes (about 1/2 inch). Add the butter cubes to the bowl with the dry ingredients. Use a pastry blender, two forks, or your fingertips to cut the butter into the mixture until it resembles coarse crumbs, with some pieces of butter still visible, about the size of small peas. Avoid overmixing; you want that crumbly texture. This prepared topping is then ready to be sprinkled generously over the berry filling.
Berry Crisp Recipe: Baking Instructions
Preparing the Baking Dish
Properly preparing your baking dish is a simple but important step in making this easy berry crisp recipe. While the crisp topping itself doesn't usually stick much, the bubbling berry filling can sometimes overflow or bake onto the sides of the dish, making cleanup difficult. Using a standard 8x8 inch or 9x9 inch square baking dish or a 2-quart oval or rectangular dish works well for the quantities typically used in this recipe.
Greasing the dish is a good practice to prevent sticking, although it's not always strictly necessary depending on the dish material and how full it is. A light coating of butter or non-stick cooking spray on the bottom and sides is usually sufficient. This small step helps ensure that serving is clean and easy, allowing you to scoop out perfect portions of the warm, bubbling crisp.
Assembling the Berry Crisp
Assembling the berry crisp is quick and straightforward once your filling and topping are ready. First, pour the prepared berry mixture into your greased baking dish. Spread the berries out evenly in a single layer. Ensure the fruit layer is relatively level so the topping bakes evenly.
Next, take the prepared oat crumble topping and sprinkle it evenly over the entire surface of the berry filling. Try to distribute the topping so that it covers the berries from edge to edge. Don't pat the topping down; leave it loose and crumbly. This allows for maximum air circulation and ensures the topping bakes up golden brown and crunchy. The dish is now ready for the oven.
Baking to Golden Perfection: Time and Temperature
Baking the berry crisp requires the right temperature and time to ensure the berries are tender and bubbly and the topping is perfectly golden and crunchy. A common baking temperature for berry crisp is around 375°F (190°C). Preheat your oven fully before placing the crisp inside.
The baking time typically ranges from 35 to 50 minutes, depending on your oven and the depth of your dish. You'll know the crisp is ready when the berry filling is visibly bubbling around the edges and sometimes through the topping, and the oat topping is a deep golden brown color.
If the topping starts browning too quickly before the filling is bubbly, you can loosely tent the dish with foil for the remaining baking time. Let the crisp cool for at least 10-15 minutes after removing it from the oven before serving, as the filling will be very hot and needs time to set slightly.
Tips and Tricks for the Best Berry Crisp
Achieving the Perfect Crisp-to-Berry Ratio
One of the keys to a truly satisfying easy berry crisp recipe is striking the right balance between the juicy fruit filling and the crunchy oat topping. Too much fruit can result in a soggy crisp, while too much topping might overwhelm the delicate berry flavors. A good rule of thumb is to aim for roughly equal volumes of fruit and topping, or slightly more fruit than topping. For example, if your recipe uses about 5-6 cups of berries, you'll want a topping recipe that yields a comparable volume when crumbled.
When assembling the crisp, ensure the topping covers the fruit generously but isn't piled excessively high. Spreading it evenly ensures that every spoonful gets a good amount of both components. If you find you consistently have too much or too little topping for your preferred amount of fruit, adjust the topping recipe slightly in future batches – increasing or decreasing the flour, oats, and butter proportionally by about 10-15% can make a noticeable difference.
Preventing a Soggy Bottom Crust
A common challenge with fruit crisps is preventing the bottom layer of the topping, where it meets the fruit, from becoming soggy. The moisture released by the berries during baking can seep into the topping, especially if the filling is very wet or the crisp is underbaked. One effective trick is to toss the berries thoroughly with the thickener (cornstarch, flour, or tapioca starch) and sugar; this helps the juices thicken properly as they heat up.
Another technique is to bake the crisp on a lower oven rack initially or for the first 15-20 minutes, then move it up. This allows the bottom of the crisp to heat up quickly and start setting before the fruit releases too much liquid. Some bakers also sprinkle a very thin layer of flour or fine breadcrumbs on the bottom of the baking dish before adding the fruit, creating a slight barrier, though ensuring the fruit is properly thickened is usually the most crucial step for preventing a soggy bottom.
Serving Suggestions
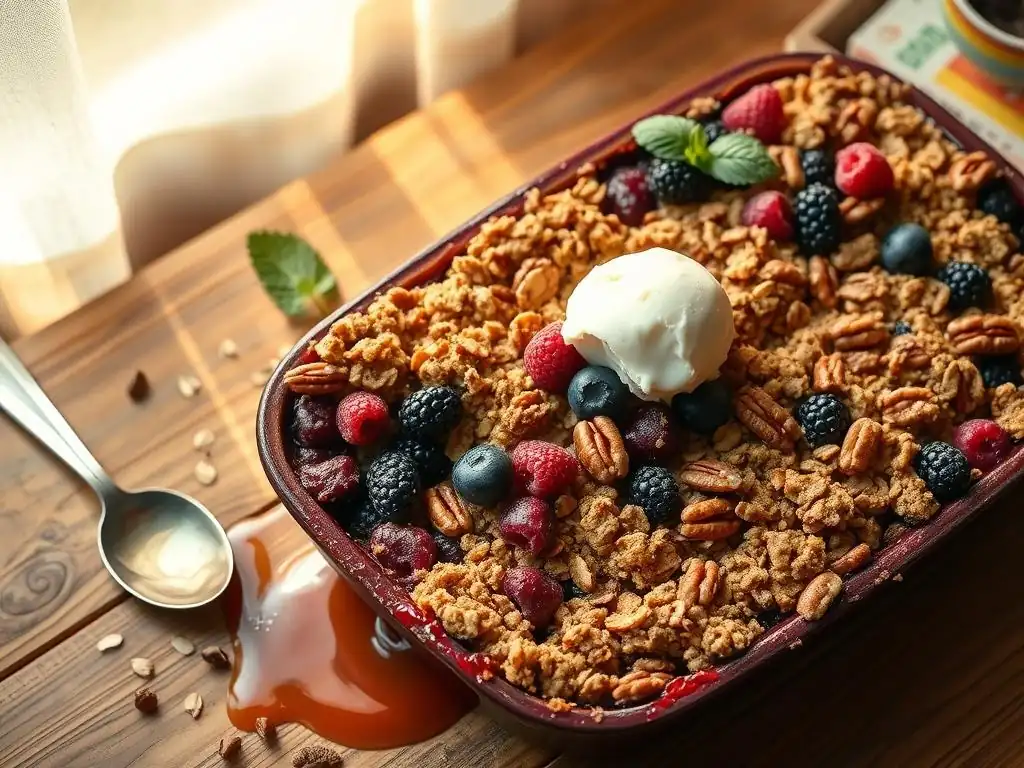
A warm easy berry crisp is wonderful on its own, but it truly shines when paired with accompaniments. The most classic serving suggestion is a scoop of vanilla ice cream. The cold, creamy ice cream melts into the warm, bubbling fruit and crunchy topping, creating a delightful contrast in temperatures and textures.
Other delicious options include a dollop of whipped cream or a drizzle of heavy cream poured over the warm crisp. For a slightly different flavor profile, consider serving it with a scoop of lemon sorbet, which provides a refreshing, zesty counterpoint to the sweet berries. Serving it warm is key to experiencing the full effect of the crunchy topping and the fragrant, bubbling fruit filling.
Berry Crisp Variations
Adding Nuts for Flavor
Incorporating nuts into your easy berry crisp recipe topping is a fantastic way to add extra texture, flavor, and nutritional value. Chopped nuts like pecans, walnuts, or almonds work exceptionally well with berries. They provide a delightful crunch that complements the chewiness of the oats and the tenderness of the fruit.
You can add nuts by substituting a portion of the flour or oats in the topping recipe with the same amount of chopped nuts, or simply add about 1/2 cup of chopped nuts directly to the dry ingredients mix before cutting in the butter. Toasting the nuts lightly before adding them to the topping can enhance their flavor significantly. Sprinkle them onto a baking sheet and toast in a 350°F (175°C) oven for 5-10 minutes until fragrant, then let them cool before chopping and adding to the topping mixture.
Incorporating Spices
While berries have wonderful natural flavor, adding spices to both the filling and the topping can elevate your easy berry crisp recipe. Cinnamon is a natural partner for berries, especially in baked desserts. Adding 1 teaspoon of ground cinnamon to the oat topping mixture is a common and delicious variation.
For the berry filling, a pinch of nutmeg (about 1/4 teaspoon) or a dash of ground ginger can add warmth and complexity. If using a mix that includes apples (like in an apple-berry crisp), apple pie spice blend is also a great addition. Experiment with small amounts of different spices to find your favorite combination; a little spice can go a long way in enhancing the overall flavor profile of the crisp.
Apple-Berry Crisp
Expanding beyond just berries allows for exciting variations of this easy berry crisp recipe. Combining berries with other fruits, particularly apples, creates a popular and delicious hybrid. Apples provide structure and a different kind of sweetness and tartness that pairs beautifully with the juicy berries.
For an apple-berry crisp, you might use a mix of 3 cups of sliced apples (like Honeycrisp or Granny Smith, peeled and cored) and 3 cups of mixed berries. Toss the fruit mixture with sugar, thickener, and perhaps a touch of cinnamon and nutmeg. Bake as directed for a standard berry crisp. The apples will soften and meld with the berries, creating a filling with varied textures and deeper flavor notes.
Storing and Reheating Your Berry Crisp
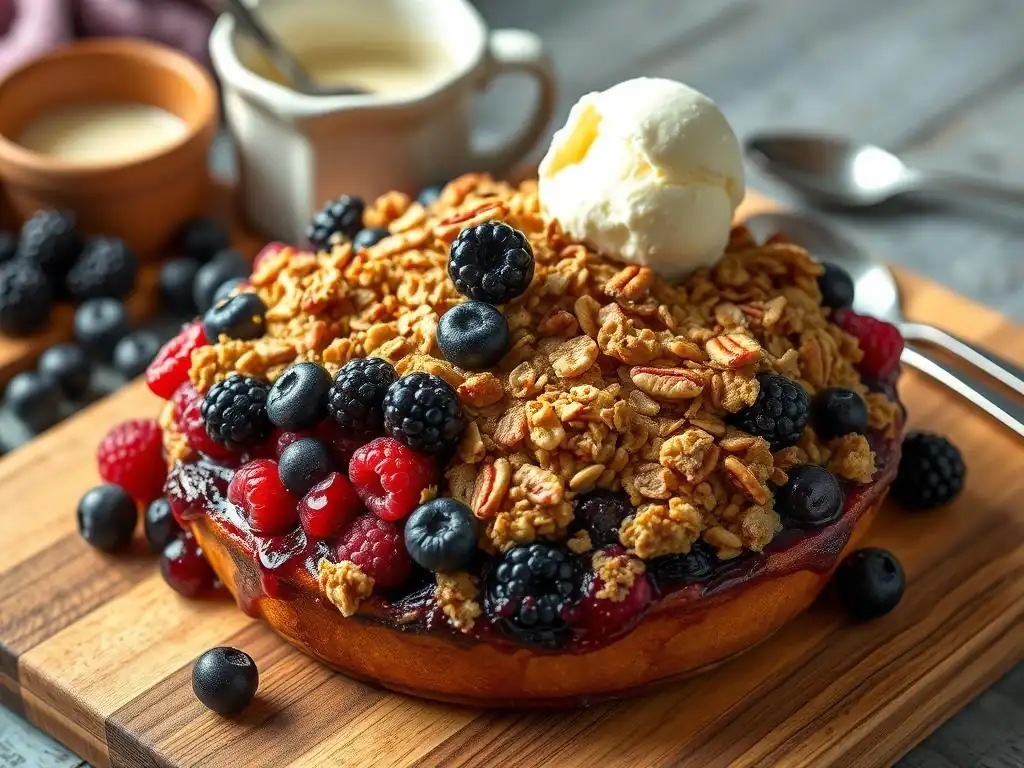
Properly Storing Leftover Crisp
If you happen to have any leftover easy berry crisp (a rare occurrence! ), proper storage is key to maintaining its quality. Once the crisp has cooled completely to room temperature, cover the baking dish tightly with plastic wrap or aluminum foil. Alternatively, you can transfer individual portions to airtight containers.
Store the covered crisp in the refrigerator. It will keep well for about 3-4 days. The topping may lose some of its crispness over time due to moisture from the fruit, but the flavors will remain delicious. Avoid leaving the crisp out at room temperature for extended periods, especially if it contains dairy like butter in the topping, to prevent spoilage.
Reheating for Optimal Texture
Reheating leftover easy berry crisp can help restore some of the topping's crunch and warm the fruit filling. The best way to reheat is in the oven. Preheat your oven to a moderate temperature, around 325°F (160°C) to 350°F (175°C).
Place the leftover crisp (either the whole dish or individual portions in an oven-safe container) in the preheated oven. Reheat for about 15-25 minutes, or until the fruit filling is warm and bubbling again and the topping feels warm and slightly crisper. Avoid reheating at too high a temperature, as this can dry out the topping or burn it before the filling is heated through. You can also reheat individual portions in a microwave, but this will soften the topping rather than crisp it.
Enjoy Your Homemade Berry Crisp!
Frequently Asked Questions
How easy is the Simple Berry Crisp recipe from BakeWithEase.com?
The recipe is designed for bakers of all levels. It focuses on simple steps and easy-to-find ingredients, making it a great option for beginners.
What kind of berries work best in this Easy Berry Crisp Recipe?
You can use a mix of your favorite berries, such as blueberries, raspberries, strawberries, and blackberries. Fresh or frozen berries can both be used, though you may need to adjust baking time slightly.
What makes the oat topping "crunchy" in the Simple Berry Crisp?
The combination of oats, flour, butter, and sugar creates a crumbly topping that bakes into a delicious crunch. Browning the butter slightly can enhance the nutty flavor and crispness.
Can I substitute any ingredients in the Easy Berry Crisp Recipe?
Yes, substitutions are possible! For example, you could use almond flour instead of regular flour in the topping or a different sweetener like maple syrup or honey.
How do I store leftover Simple Berry Crisp?
Store leftover crisp in an airtight container in the refrigerator for up to 3 days. Reheat in the oven or microwave before serving, or enjoy it cold! It's best served with a scoop of ice cream.
Final Reflection: The Enduring Comfort of a Simple Berry Crisp
The humble berry crisp, a seemingly simple dessert, offers a profound connection to the comforting rituals of home and hearth, a connection that resonates deeply in our fast-paced modern world. Its ease of preparation belies the satisfaction it provides, a testament to the power of uncomplicated pleasures. The recipe shared here aims to bring that joy to your kitchen, a haven of warmth and deliciousness built on readily available ingredients.
The enduring appeal of the berry crisp lies not just in its taste, but in its ability to evoke memories and create new ones. It's a dish that transcends generations, a shared experience passed down through families and friends. Food is symbolic of love when words are inadequate.
- Alan D. Wolfelt. This quote perfectly encapsulates the emotional resonance of sharing a warm, homemade crisp with loved ones; it's a gesture of care and connection that speaks volumes.
Now, I invite you to step away from the screen, gather your ingredients, and embark on the simple yet rewarding journey of creating your own berry crisp. Let the aroma of baking fruit fill your kitchen, and savor the moment of sharing this comforting treat with those you cherish. Remember, sometimes the most fulfilling experiences are the simplest ones, and the joy of baking, like the warmth of a berry crisp, is a treasure to be savored.
Unlock Your Inner Baker: Make This Berry Crisp Today!
Thanks for taking the time to explore this simple yet delicious berry crisp recipe! We hope you found the instructions easy to follow and are feeling inspired to bake. Now it's time to put your newfound skills to the test.
- Bake the crisp and share the deliciousness! This recipe is a perfect starting point for your baking journey. Let us know how it turns out!
- Snap a picture of your finished crisp and share it on social media using #BakeWithEaseBerryCrisp. We'd love to see your creations!
- Experiment with different berries: Try substituting your favorite berries or adding a unique twist to the recipe. What's your ultimate berry combination?
Ready to transform your kitchen into a haven of warm, berry goodness? What delicious variations will you create with this simple recipe?