
Simple Vanilla Cake Pops Recipe

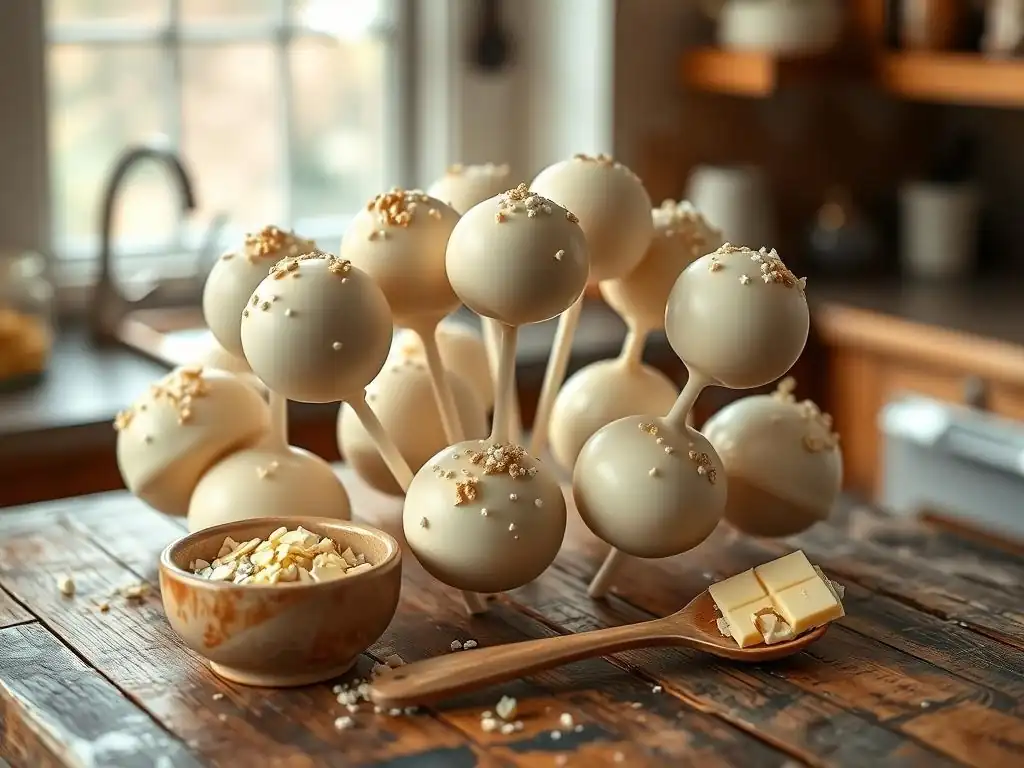
Welcome to BakeWithEase, your guide to baking bliss! Are you ready to transform simple ingredients into delightful treats? Dive in and discover our Easy Vanilla Cake Pop Recipe – a sweet starting point for your baking adventures. But that's just a taste of what's in store! What other delectable delights are waiting to be unlocked? Let's explore the sweet possibilities together...
- Introduction to Delicious Vanilla Cake Pops
- Gathering Your Ingredients for Vanilla Cake Pops
- Step-by-Step Guide to Making Vanilla Cake Pops
- Dipping and Decorating Your Vanilla Cake Pops
- Tips and Tricks for Perfect Vanilla Cake Pops
- Variations and Customizations for Vanilla Cake Pops
- Serving and Enjoying Your Homemade Vanilla Cake Pops
- Conclusion: Your Simple Vanilla Cake Pop Recipe Success
-
Frequently Asked Questions
- What makes this vanilla cake pop recipe considered "easy"?
- Can I substitute the vanilla extract with another flavor in this cake pop recipe?
- What's the best type of chocolate to use for coating the vanilla cake pops?
- How long will these vanilla cake pops last, and what's the best way to store them?
- I'm having trouble getting the cake pops to stick to the sticks. What am I doing wrong?
- Final Reflection: The Enduring Sweetness of Simple Pleasures
- Unleash Your Inner Baker: Make These Cake Pops Today!
Introduction to Delicious Vanilla Cake Pops
Discover the Joy of Homemade Cake Pops
Homemade cake pops are delightful little spheres of cake mixed with frosting, coated in candy, and served on a stick. They are incredibly versatile, perfect for parties, celebrations, or just a sweet treat. Making them at home allows you to control the ingredients, flavors, and decorations, resulting in a truly personalized dessert that's both fun to make and delicious to eat. The process, while seemingly intricate, is broken down into manageable steps that even novice bakers can master.
Creating these sweet bites is a rewarding experience. Imagine crafting a batch of 30-40 perfect little vanilla cake pops from a single cake mix – enough for a small gathering or several days of happy snacking! The joy comes from transforming simple ingredients into these festive, portable desserts that bring smiles to faces. It's a chance to get creative with colors and sprinkles, turning your kitchen into a mini confectionery art studio.
Why This Easy Vanilla Cake Pop Recipe is Perfect for Beginners
This easy vanilla cake pop recipe is specifically designed with the beginner in mind. It simplifies the process by starting with a cake mix, eliminating the need for measuring numerous dry ingredients. The steps are clear, sequential, and focus on achieving success at each stage, from baking and crumbling to mixing, rolling, and finally, dipping. We'll guide you through common pitfalls and offer straightforward solutions.
Using a standard vanilla cake mix and a simple frosting means fewer variables to worry about. The recipe focuses on technique – how to get the right consistency for rolling, how to dip smoothly, and how to prevent the pops from falling off the stick. For instance, chilling time is a critical step we emphasize, often requiring at least 30-60 minutes to ensure the balls are firm enough to handle. This focus on technique over complex ingredients makes this an ideal starting point for anyone wanting to try making cake pops for the first time.
Gathering Your Ingredients for Vanilla Cake Pops
Essential Cake Pop Ingredients Checklist
To embark on your vanilla cake pop adventure, you'll need a few key components. Having everything measured and ready before you begin is a pro tip that saves time and reduces stress. Think of it like gathering your tools before a DIY project – you wouldn't start building without your hammer and nails!
Here's a basic checklist to get you started:
- One box of vanilla cake mix (plus ingredients required on the box, typically eggs, oil, and water or milk)
- One can (about 16 oz) of vanilla frosting or cream cheese frosting
- Candy coating wafers (vanilla or white work well for the classic look)
- Lollipop sticks (usually 6-inch or 8-inch)
- Optional: Sprinkles, colored candy melts, flavoring extracts
Vanilla Cake Mix: The Foundation of Your Cake Pops
A good quality vanilla cake mix is the cornerstone of this easy vanilla cake pop recipe. It provides a consistent base flavor and texture, taking the guesswork out of the cake-making portion. While you can certainly use a scratch-made cake, a mix simplifies things greatly for beginners and offers reliable results. Follow the package directions precisely for baking, as the correct moisture level in the cake is important for the final cake pop texture.
Different brands of cake mix might require slightly different amounts of liquid or eggs, so always refer to the box instructions. Typically, you'll need large eggs (often 2 or 3), vegetable oil (around 1/2 cup), and water or milk (about 1 cup). Baking time for a standard 9x13 inch pan is usually between 30-35 minutes at 350°F (175°C), but always check with a toothpick. Ensure the cake is fully cooled before proceeding.
Frosting Options for Vanilla Cake Pops: [Vanilla Buttercream, Cream Cheese Frosting]
The frosting acts as the binder, transforming the crumbled cake into a moldable dough. The type of frosting significantly impacts the final flavor and texture. For a classic vanilla cake pop, vanilla buttercream is a popular choice, offering a smooth sweetness that complements the cake. Cream cheese frosting adds a slight tang and richness, pairing wonderfully with vanilla.
The amount of frosting needed is crucial – too little, and the mix will be dry and crumbly; too much, and it will be too wet and sticky to roll. A good starting point is about half to two-thirds of a standard 16 oz can of frosting per baked cake mix. You're looking for a consistency similar to playdough – moist enough to hold together when squeezed, but not so sticky that it clings excessively to your hands. Adjust by adding frosting a tablespoon at a time until the right consistency is achieved.
Candy Coating and Sprinkles: Adding the Finishing Touch
The candy coating provides that signature smooth shell for your vanilla cake pops and is essential for holding everything together on the stick. Vanilla or white candy melts are ideal as they provide a neutral base that can be colored if desired, and they showcase any sprinkles or decorations beautifully. These melts are specifically designed for dipping and harden quickly at room temperature, creating that satisfying snap.
You'll typically need about 1 to 2 pounds of candy melts for a batch of 30-40 cake pops, depending on how thick you like the coating. Sprinkles, edible glitter, or colored candy melts for drizzling are where you can let your creativity shine. Have your sprinkles ready in small bowls before you start dipping, as the coating sets quickly once the pop is out of the melted candy. This makes the decorating step quick and fun!
Step-by-Step Guide to Making Vanilla Cake Pops
Baking the Vanilla Cake: From Mix to Oven
The first step in this easy vanilla cake pop recipe is baking the cake. Preheat your oven according to the vanilla cake mix package instructions, typically around 350°F (175°C). Prepare your baking pan – a 9x13 inch pan is standard and yields a good amount of cake for pops. Grease and flour the pan, or line it with parchment paper for easy removal.
Mix the cake batter according to the package directions, usually combining the mix with eggs, oil, and water or milk. Pour the batter evenly into the prepared pan. Bake for the time recommended on the box, usually 30-35 minutes, or until a toothpick inserted into the center comes out clean. Let the cake cool in the pan for about 10-15 minutes before transferring it to a wire rack to cool completely. Ensure it is fully cooled, ideally at room temperature for several hours or even chilled slightly, before crumbling.
Cooling and Crumbling the Cake: Preparing for Mixing
Once your vanilla cake is completely cool, it's time to crumble it. The goal is to break the cake down into fine, even crumbs. You can do this by hand, simply breaking off pieces and rubbing them between your fingers in a large bowl. Make sure there are no large chunks left – uniform crumbs lead to smoother cake balls.
Alternatively, for a quicker method, you can break the cooled cake into pieces and pulse them in a food processor until fine crumbs form. Be careful not to over-process into a paste. The key is to get the texture right before adding the frosting. A batch from a standard cake mix should yield about 6-8 cups of fine cake crumbs.
Mixing the Cake and Frosting: Achieving the Perfect Consistency
Now for the magic step: mixing the crumbled vanilla cake with frosting. Add about half of your can of frosting to the cake crumbs. Begin mixing with a sturdy spoon or your hands. Using your hands allows you to really feel the consistency and ensures everything is thoroughly combined.
Continue adding frosting a tablespoon at a time, mixing after each addition, until the mixture comes together like a thick dough. It should be moist enough to roll into balls that hold their shape without cracking, but not so sticky that it adheres to your fingers. If it's too dry, add a little more frosting; if it's too wet, you can try adding a tablespoon or two of powdered sugar or chilling the mixture briefly. A batch from one cake mix typically requires between 1/2 cup and 3/4 cup of frosting.
Rolling Cake Pops: Creating Uniform Shapes
Portioning and rolling the cake mixture into balls is the next step. For uniform size, which helps with even dipping and setting, you can use a small cookie scoop (about 1 tablespoon or 1.5 inches in diameter). Scoop out portions and then roll them gently between your palms to form smooth, compact spheres.
Place the rolled cake balls onto a baking sheet lined with parchment paper or wax paper. Try to make them as round and smooth as possible. A standard cake mix recipe should yield approximately 30-40 cake balls, depending on the size you make them. Rolling them consistently will make the dipping process much easier later on.
Chilling the Cake Pops: Firming Up for Dipping
Chilling is a critical step in this easy vanilla cake pop recipe that many beginners might underestimate. Once the cake balls are rolled, they need to firm up significantly before dipping. This helps them hold their shape and prevents them from falling apart or off the stick during the process.
Place the baking sheet with the rolled cake balls into the refrigerator for at least 30-60 minutes. Some people even prefer to chill them in the freezer for 15-20 minutes for a quicker firm-up, but be careful not to freeze them solid as this can cause cracking in the candy coating later. They should be firm to the touch but not frozen through. While they chill, you can prepare your candy coating.
Dipping and Decorating Your Vanilla Cake Pops
Melting the Candy Coating: Achieving a Smooth Finish
Properly melting the candy coating is key to a smooth, professional finish on your vanilla cake pops. Candy melts are designed to melt smoothly, but they can seize if overheated or if they come into contact with water. Use a microwave-safe bowl, preferably a deep, narrow one that allows for easy dipping.
Melt the candy melts in the microwave on 50% power, stirring every 30-60 seconds. It's important to stir frequently to distribute the heat and prevent burning. Continue melting and stirring until the melts are smooth and fluid with no lumps. This usually takes a few minutes depending on the amount. If the coating seems too thick for dipping, you can add a small amount of paramount crystals or vegetable shortening (like Crisco), about a teaspoon at a time, stirring until the desired consistency is reached. Avoid adding liquids like milk or water.
Dipping Techniques for Perfect Cake Pops
Before dipping the cake balls, take a lollipop stick and dip about 1/2 inch of the tip into the melted candy coating. Insert this coated tip about halfway into a chilled cake ball. The melted candy acts as glue to secure the ball to the stick. Repeat for all cake balls, then place them back in the refrigerator for about 5-10 minutes to allow the candy "glue" to set firmly.
Once the glue is set and your main batch of candy coating is melted to a smooth consistency, it's time to dip. Hold the cake pop by the stick and submerge the entire cake ball into the melted coating. Rotate and gently tap the stick against the side of the bowl to allow excess coating to drip off. This helps create a smooth, even layer and prevents puddles at the base. Work relatively quickly, as the cold cake ball will cause the coating to start setting.
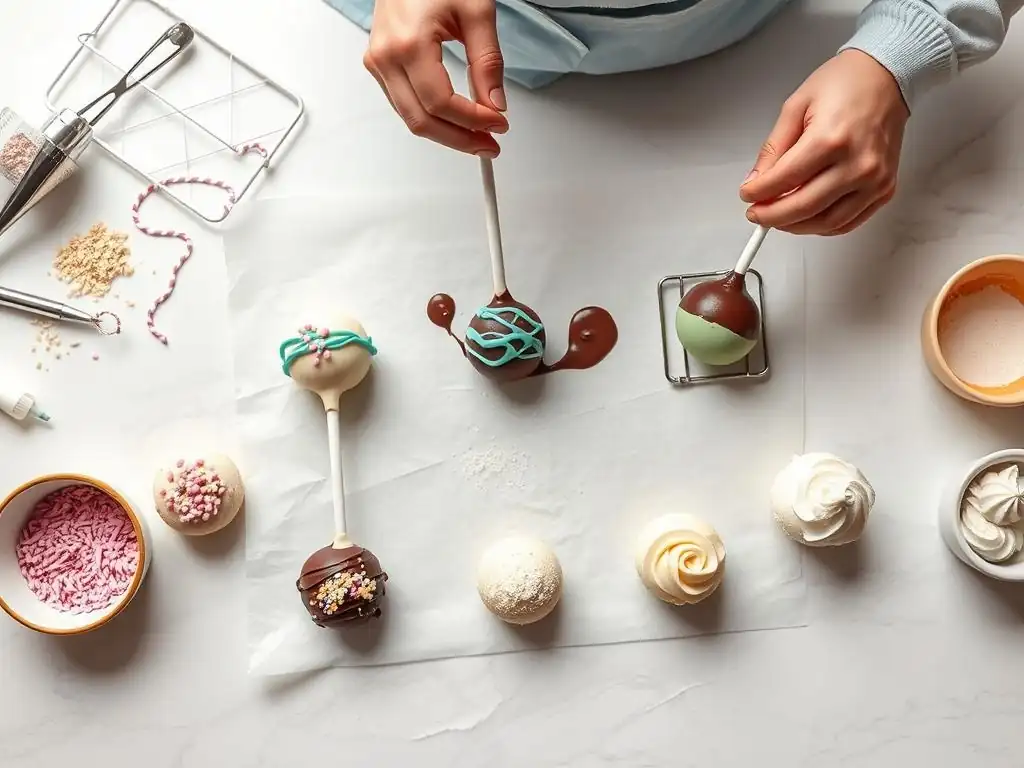
Decorating Ideas: Sprinkles, Drizzles, and More
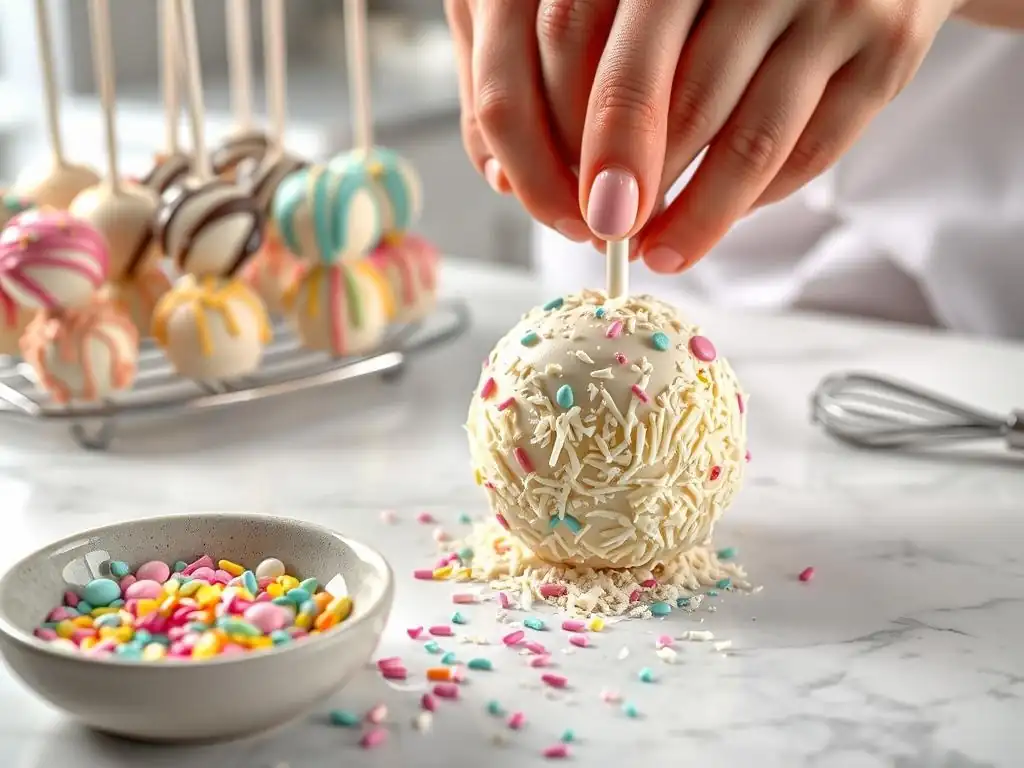
Decorating is the fun part where you can customize your easy vanilla cake pop recipe creations! Once dipped and while the candy coating is still wet, immediately add sprinkles. Hold the pop over a bowl or plate to catch excess sprinkles. Rolling the pop gently in a bowl of sprinkles can also work for full coverage.
For drizzles or other designs, let the main coating set slightly (but not completely hard). Then, melt a different color of candy melts (or use some of the main coating). Use a spoon or a piping bag with a fine tip to drizzle lines or create patterns over the set coating. You can also use edible markers or attach small candies with a dab of melted coating once the main layer is fully set.
Setting the Candy Coating: Ensuring a Professional Look
Proper setting of the candy coating is crucial for a durable and attractive vanilla cake pop. After dipping and decorating (if using sprinkles), the pops need to dry completely. The best way to do this is to stand them upright. You can use a block of styrofoam, a cake pop stand, or even a sturdy cardboard box with holes poked in it.
Allow the pops to stand undisturbed at room temperature until the coating is completely hard to the touch. This usually takes about 15-30 minutes, depending on the thickness of the coating and the room temperature. Avoid refrigerating them to set the coating quickly, as the sudden temperature change can sometimes cause the coating to crack. Once fully set, they are ready for packaging or serving.
Tips and Tricks for Perfect Vanilla Cake Pops
Preventing Cake Pops from Falling Off the Stick
One of the most common frustrations when making cake pops is having the balls fall off the stick. This usually happens because the cake ball wasn't firm enough, the candy "glue" didn't set properly, or the candy coating was too thick for dipping. To prevent this:
- Ensure your cake balls are well-chilled and firm before inserting sticks.
- Always dip the stick tip into melted candy coating before inserting it into the ball, and let this set for a few minutes in the fridge.
- Make sure your dipping coating is the right consistency – not too thick. If it's thick, thin it slightly with paramount crystals or shortening.
- Dip smoothly and avoid twisting or rough handling while the coating is still wet.
Achieving a Smooth Candy Coating
A smooth, glossy candy coating makes your vanilla cake pops look professional. The key factors are the temperature and consistency of the melted coating. Melt the candy melts slowly and gently, stirring often, to avoid overheating which can cause them to seize or become lumpy.
If the melted coating seems too thick, it won't drip off smoothly and will create a heavy, uneven layer. Thin it out with a small amount of paramount crystals or vegetable shortening until it flows easily. The ideal consistency is like melted chocolate or a thin paint. Dipping cold cake balls into the properly thinned coating also helps the excess drip off quickly and smoothly.
Storing Your Vanilla Cake Pops: Keeping Them Fresh
Once your easy vanilla cake pop recipe creations are fully set, proper storage is essential to keep them fresh and delicious. Store them in an airtight container at room temperature for up to 2-3 days. If your frosting or filling is perishable (like some cream cheese frostings, though commercially canned ones are usually stable), or if your kitchen is very warm, you might prefer to store them in the refrigerator.
If refrigerating, place them in a single layer in the airtight container or layer them carefully with parchment paper in between. Allow them to come to room temperature for about 15-20 minutes before serving for the best texture and flavor. Cake pops can also be frozen for longer storage (up to a month) in an airtight container, then thawed in the refrigerator overnight before bringing to room temperature.
Troubleshooting Common Cake Pop Problems: [Cracking, uneven coating]
Even with an easy vanilla cake pop recipe, you might encounter issues. Cracking in the candy coating is often caused by a sudden temperature change, like dipping a frozen cake ball into warm coating, or coating a cake ball that is too cold and then bringing it to room temperature too quickly. Ensure cake balls are only chilled (not frozen) and allow dipped pops to set at room temperature.
Uneven coating can result from coating that is too thick, not tapping off excess properly, or cake balls that aren't perfectly round or smooth. Thin your coating if needed, tap gently to remove excess, and spend a little extra time rolling smooth balls. If air bubbles appear after dipping, gently pop them with a toothpick before the coating sets.
Variations and Customizations for Vanilla Cake Pops
Adding Flavors: [Almond Extract, Lemon Zest]
While this is an easy vanilla cake pop recipe, you can easily introduce subtle flavor variations. After crumbling the vanilla cake, consider mixing in a teaspoon of almond extract along with the frosting for a delightful nutty note. Almond pairs beautifully with vanilla.
For a brighter, fresher taste, especially using a cream cheese frosting base, fold in the zest of one whole lemon into the cake and frosting mixture. The citrus zest adds a wonderful aroma and cuts through the sweetness slightly. Start with a small amount, perhaps half a teaspoon, and add more to taste before rolling the balls.
Different Candy Coating Colors and Designs
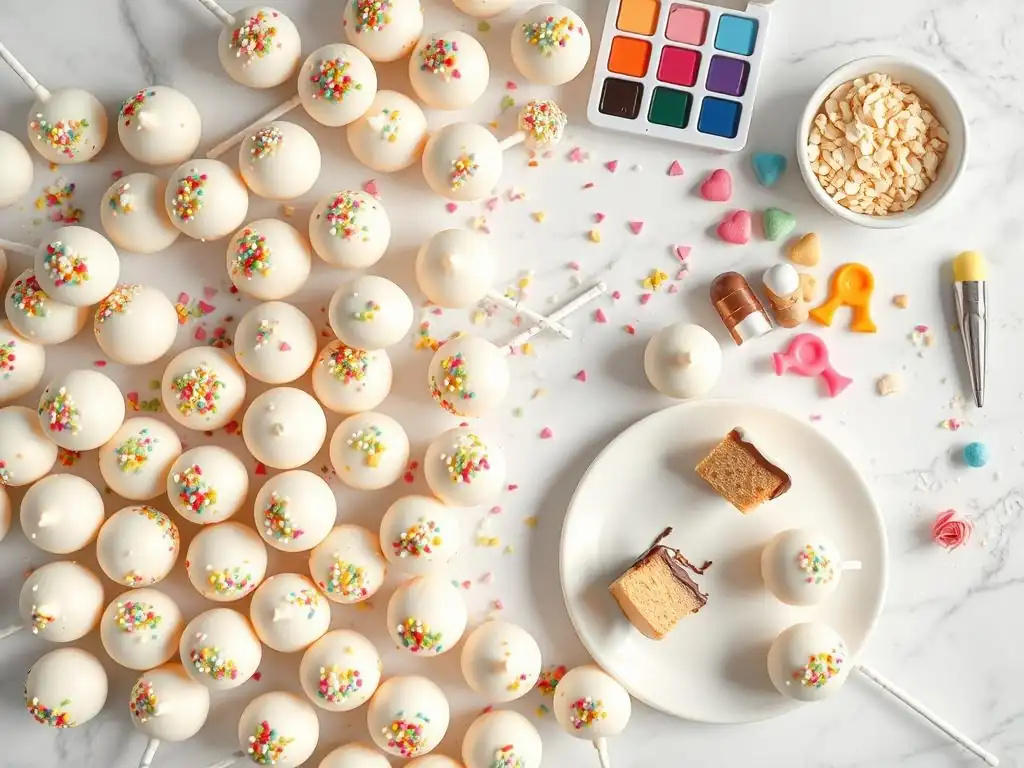
The beauty of vanilla cake pops is that they are a blank canvas for decoration. White or vanilla candy melts are a great base because they can be easily colored using oil-based candy coloring (water-based food coloring will seize the melts). Melt different colors in separate bowls for dipping or drizzling.
Consider using vibrant red or blue melts for a party theme, or pastel colors for a baby shower. You can also create marbled effects by swirling a toothpick through two colors of melted coating just before dipping. The possibilities for color and design are virtually endless, limited only by your imagination and available candy melts.
Cake Pop Themes: [Birthdays, Holidays]
Vanilla cake pops are incredibly adaptable for various themes and occasions. For a birthday party, use bright colored coatings and lots of sprinkles. You can match the colors to the party theme, like primary colors for a kid's party or elegant metallics for an adult celebration.
Holidays offer fantastic opportunities for themed cake pops. For Halloween, use orange or green coating and add spooky sprinkles or edible googly eyes. Christmas calls for red, green, and white coatings, perhaps decorated with edible glitter or shaped like mini snowmen (using extra candy melts to attach features). Easter can feature pastel colors and bunny or chick decorations.
Making Vegan or Gluten-Free Vanilla Cake Pops
Adapting this easy vanilla cake pop recipe for dietary needs is possible with a few substitutions. For vegan vanilla cake pops, use a vegan vanilla cake mix (many are accidentally vegan, but check the ingredients), prepare it with plant-based milk and oil according to package directions. Use a vegan buttercream or cream cheese frosting alternative. Ensure your candy melts are also vegan-friendly (some are made with dairy).
For gluten-free vanilla cake pops, use a certified gluten-free vanilla cake mix. Follow the package instructions for preparing and baking. Use a standard frosting (most are gluten-free, but check labels) and standard candy melts. The process of crumbling, mixing, rolling, and dipping remains the same for both vegan and gluten-free versions.
Serving and Enjoying Your Homemade Vanilla Cake Pops
Cake Pops for Parties and Celebrations
Vanilla cake pops are a fantastic addition to any party or celebration dessert table. Their individual portion size makes them easy for guests to grab and enjoy without needing plates or utensils. Arrange them upright in a decorative stand, a vase filled with candies, or even poke them into a cake or large fruit for a festive display.
They are particularly popular at children's parties, baby showers, bridal showers, and holiday gatherings. A batch of 30-40 pops from this easy vanilla cake pop recipe can serve a decent number of guests, assuming each person enjoys one or two. They add a pop of color and fun that traditional desserts sometimes lack.
Packaging Ideas for Cake Pops: [Gift boxes, individual wrappers]
If you're making vanilla cake pops as gifts or party favors, attractive packaging elevates their presentation. Individual clear cellophane bags tied with a ribbon are simple and effective, keeping the pops fresh and allowing their decoration to be seen.
For a more polished look, consider small gift boxes designed specifically for cake pops. These often have inserts to hold the sticks securely upright. You can also arrange multiple pops in a decorative tin or basket, layering them carefully with tissue paper. For transporting, ensure they are packed snugly in a container so they don't shift and break.
Pairing Vanilla Cake Pops with Drinks: [Hot Chocolate, Milk]
Vanilla cake pops pair wonderfully with a variety of beverages. For a classic and comforting combination, serve them alongside a glass of cold milk, much like cookies. The creamy milk complements the sweet vanilla flavor perfectly.
For a warm treat, especially during colder months or at an evening gathering, hot chocolate is an excellent pairing. The rich, warm cocoa provides a lovely contrast to the cool, sweet cake pop. Other suitable pairings include coffee, tea, or even a sparkling lemonade for a refreshing option.
Conclusion: Your Simple Vanilla Cake Pop Recipe Success
You've now walked through all the steps to create delicious homemade vanilla cake pops using this easy vanilla cake pop recipe. From baking the simple cake base to the fun of dipping and decorating, you have the knowledge to make these delightful treats a success. Remember that practice makes perfect, and even if your first batch isn't perfectly smooth, it will still be incredibly tasty!
Embrace the process, have fun with the decorating, and enjoy sharing your homemade vanilla cake pops. They are a testament to how simple ingredients and a clear process can result in a truly special dessert. Now go forth and create some sweetness!
Frequently Asked Questions
What makes this vanilla cake pop recipe considered "easy"?
This recipe focuses on simple steps and readily available ingredients, making it accessible even for beginner bakers. It avoids complex techniques, ensuring a successful and stress-free baking experience.
Can I substitute the vanilla extract with another flavor in this cake pop recipe?
Yes, you can! Feel free to experiment with other extracts like almond, lemon, or even a hint of coffee. Just ensure you use the same amount of extract as the vanilla to maintain the proper liquid ratio.
What's the best type of chocolate to use for coating the vanilla cake pops?
Using melting chocolate or candy melts is recommended, as they are specifically designed for coating and harden smoothly. You can use milk chocolate, dark chocolate, or white chocolate, depending on your preference.
How long will these vanilla cake pops last, and what's the best way to store them?
These cake pops will typically last for 3-5 days when stored in an airtight container in the refrigerator. This helps to maintain their freshness and prevent them from drying out.
I'm having trouble getting the cake pops to stick to the sticks. What am I doing wrong?
Ensure the melted chocolate is not too hot when dipping the sticks. Also, dip the stick into the chocolate first, then insert it into the cake ball. Let the chocolate set slightly before dipping the entire cake pop.
Final Reflection: The Enduring Sweetness of Simple Pleasures
The seemingly simple act of baking a vanilla cake pop transcends mere confectionery; it's a potent symbol of connection, creativity, and the joy found in everyday moments. In a world increasingly dominated by complex recipes and elaborate presentations, the appeal of a truly easy vanilla cake pop recipe remains surprisingly strong. This enduring popularity speaks volumes about our collective yearning for accessible happiness and the satisfaction derived from creating something delicious with minimal fuss.
The impact of simple recipes like this extends beyond the kitchen. They foster a sense of accomplishment, particularly for novice bakers, and provide a tangible way to share joy with loved ones. The best things in life are simple.
This adage rings especially true when considering the profound satisfaction of creating something beautiful and delicious from readily available ingredients. The ease of this recipe democratizes baking, making it accessible to everyone regardless of skill level, and fostering a sense of community around shared culinary experiences.
Now, I invite you to consider the possibilities. Don't just bake these cake pops; experience them. Share them with friends, family, or even yourself. Let the simple act of creating and enjoying these treats be a reminder to savor the small joys in life, to find beauty in simplicity, and to embrace the power of connection through shared experiences. The next time you feel overwhelmed, remember the ease and delight of this recipe – a small act of baking that can bring a large measure of happiness.
Unleash Your Inner Baker: Make These Cake Pops Today!
Thanks for joining us on this delicious journey! We hope you've gained the confidence to create amazing vanilla cake pops. Ready to take the next step?
- Dive straight into making your own batch: Grab your ingredients and let's bake! Follow the recipe again, this time experimenting with your favorite sprinkles or dipping chocolates.
- Share your creations: Tag us on social media with your stunning cake pop photos—we’d love to see them!
- Try a flavor twist: Use the recipe as a base and experiment with different extracts like almond or lemon. What unique flavor combinations can you discover?
What exciting cake pop adventure will you embark on next?