
Simple Steps to Delicious Cream Puffs (Profiteroles)

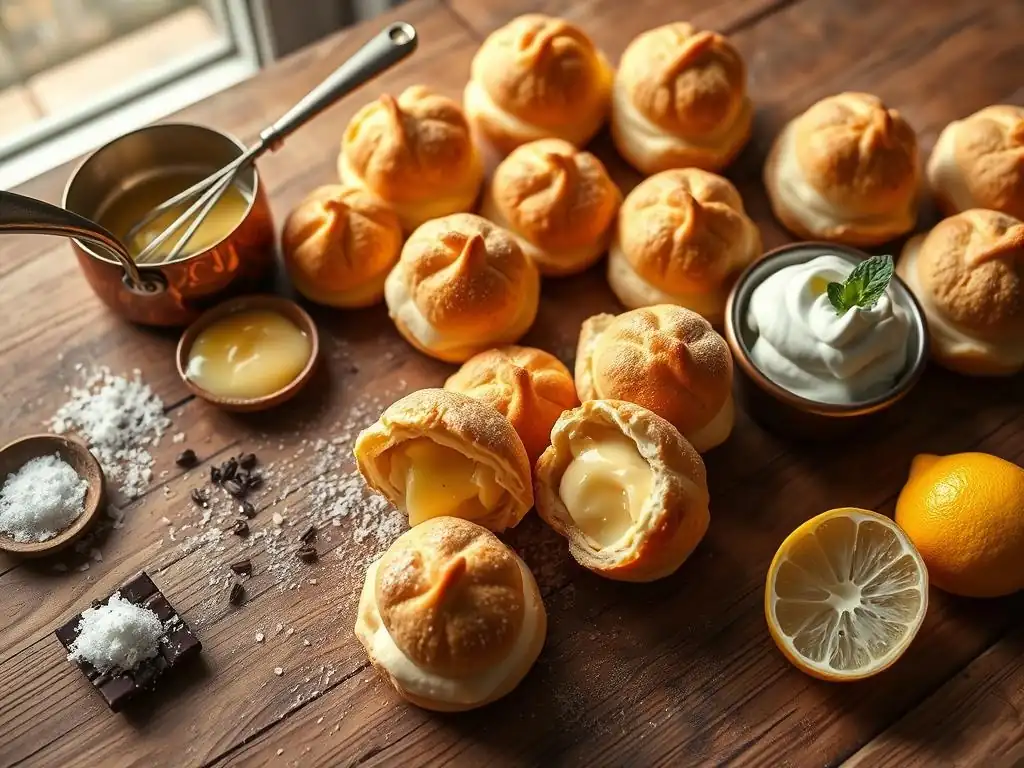
Welcome to BakeWithEase, your personal baking sanctuary! Are you ready to unlock the secret to light, airy, and utterly irresistible cream puffs? Imagine biting into a perfectly golden shell filled with luscious cream. Our easy cream puff recipe tutorial demystifies this classic pastry, guiding you through each simple step. Discover the joy of baking from scratch and create stunning profiteroles that will impress everyone. Intrigued? Keep reading to uncover the secrets to baking success and transform simple ingredients into a delightful dessert!
- Simple Steps to Delicious Cream Puffs (Profiteroles) | Baking Bliss
- Introduction: Mastering the Art of Cream Puffs at Home
- Understanding the Key Ingredients for Perfect Cream Puffs
- Step-by-Step Guide: Baking Your Own Cream Puffs from Scratch
- Creating the Perfect Cream Puff Filling
- Assembling Your Delicious Cream Puffs
- Storing and Serving Your Homemade Cream Puffs
- Troubleshooting Your Cream Puff Baking
- Conclusion: Enjoy Your Homemade Cream Puff Creations
- Frequently Asked Questions
- Final Reflection: The Sweet Symphony of Simplicity
- Unleash Your Inner Pastry Chef!
Simple Steps to Delicious Cream Puffs (Profiteroles) | Baking Bliss
Introduction: Mastering the Art of Cream Puffs at Home
Welcome to the World of Profiteroles: An Easy Cream Puff Recipe Tutorial
Welcome, fellow baking enthusiasts, to the delightful world of cream puffs, also known as profiteroles! These light, airy pastries might seem intimidating at first glance, but mastering them at home is absolutely achievable with the right guidance. This easy cream puff recipe tutorial is designed to demystify the process, breaking it down into simple, manageable steps that anyone can follow.
Our goal is to equip you with the knowledge and confidence to bake these classic French pastries right in your own kitchen. You'll learn the secrets behind creating that signature hollow interior, perfect for filling with your favorite creams. Get ready to impress yourself and your loved ones with homemade cream puffs that are crisp on the outside and wonderfully tender within.
Why This Cream Puff Recipe is Perfect for Beginners
Baking cream puffs relies on a fundamental pastry technique called pâte à choux, which is surprisingly straightforward once you understand the basic principles. This specific easy cream puff recipe tutorial focuses on clarity and simplicity, guiding you through each stage without overwhelming jargon. We've fine-tuned the process to minimize common pitfalls, making it an ideal starting point for anyone new to choux pastry.
Unlike some complex desserts, the ingredient list for cream puffs is short and uses pantry staples you likely already have on hand. The magic happens through technique, and this tutorial provides the detailed instructions you need to execute each step correctly. Think of this as your friendly guide to achieving baking bliss with minimal stress and maximum delicious results.
Understanding the Key Ingredients for Perfect Cream Puffs
The Importance of Each Ingredient in Your Cream Puff Dough
Creating perfect pâte à choux, the base for your cream puffs, hinges on the careful balance and function of just a few key ingredients. Water (or milk, or a mix) provides the liquid base that turns into steam during baking, creating the hollow center. Butter adds richness and helps with the texture and browning of the pastry shell. A standard ratio might involve 1 cup of liquid to 1/2 cup of butter, though variations exist.
Flour is crucial as it absorbs the liquid and fat, forming the initial paste on the stovetop. All-purpose flour works well for this easy cream puff recipe tutorial. The quantity of flour needs to be precise – typically around 1 cup for the liquid/fat ratio mentioned above – to create a dough with the right consistency.
Finally, eggs are incorporated one at a time off the heat; they emulsify the dough, provide structure, and contribute to the lift and richness. You'll usually need 3-4 large eggs, adding them until the dough reaches a smooth, glossy consistency that falls from a spoon in a 'V' shape.
Ingredient Considerations for Cream Puffs [Dairy-Free Option]
While traditional cream puffs rely on dairy butter, it is possible to adapt this easy cream puff recipe tutorial for dairy-free needs. The primary substitution required is using a plant-based butter alternative that has a similar fat content and melting point to dairy butter. Look for stick-style vegan butters specifically designed for baking, as liquid or spreadable alternatives may not perform the same way. The quantity used would typically remain the same as the dairy butter specified in the recipe, usually around 1/2 cup for a standard batch.
For the filling, traditional pastry cream uses milk and butter, but these can also be substituted. Plant-based milks like almond, soy, or oat milk can replace dairy milk in pastry cream recipes. Ensure the milk is unsweetened unless the recipe accounts for added sugar.
For richness in the filling, you can use a dairy-free cream cheese alternative, vegan butter, or even coconut cream (the thick part from a can of full-fat coconut milk, chilled) depending on the desired texture and flavor profile. Always test dairy-free substitutions in small batches first if possible, as results can sometimes vary slightly from the traditional recipe.
Step-by-Step Guide: Baking Your Own Cream Puffs from Scratch
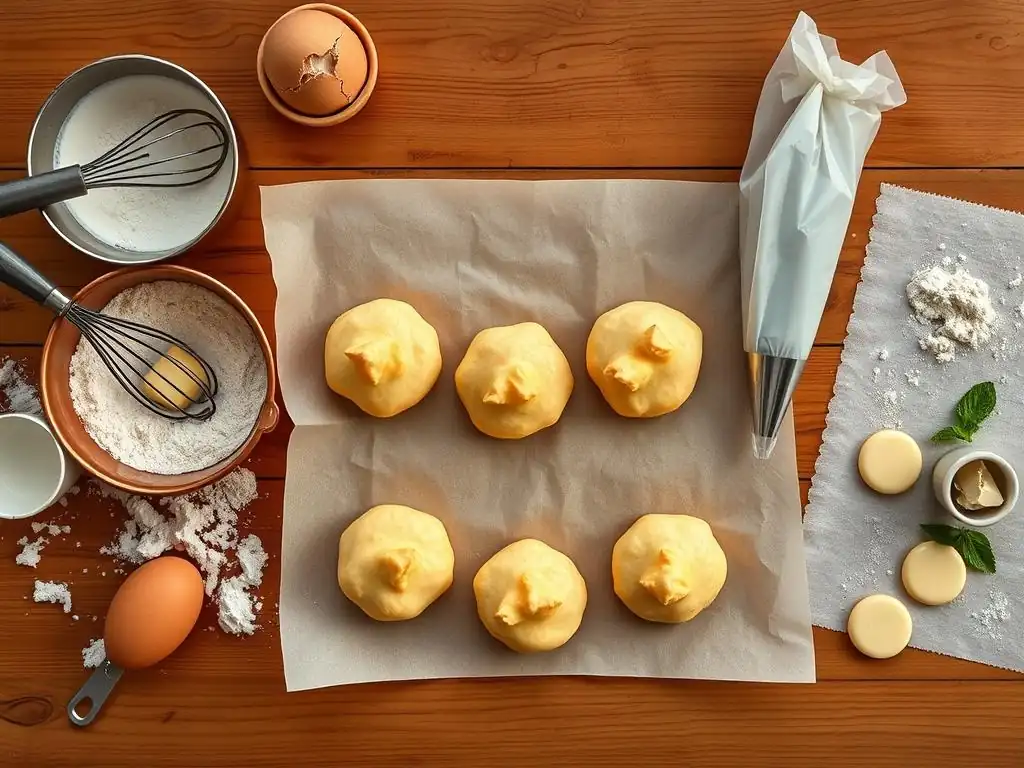
Step 1: Preparing the Pâte à Choux (Cream Puff Dough)
Detailed Instructions for Making Pâte à Choux
Begin by combining the liquid (water, milk, or a mix) and butter in a saucepan over medium heat. Add a pinch of salt and a touch of sugar if desired for flavor. Bring the mixture to a rolling boil, ensuring the butter is completely melted. Once boiling, immediately remove the pan from the heat and add all the flour at once. Stir vigorously with a wooden spoon or sturdy spatula until the mixture comes together and forms a ball.
Return the pan to low heat and continue stirring for 1-2 minutes. This step, known as drying out the dough, is crucial. It helps evaporate excess moisture, which is essential for achieving light, airy puffs. You'll notice a thin film forming on the bottom of the pan.
Remove the pan from the heat and transfer the dough to a mixing bowl (or stand mixer fitted with a paddle attachment). Let it cool for 5-10 minutes; it should be warm but not hot enough to cook the eggs. Add the eggs one at a time, beating well after each addition until it is fully incorporated and the dough is smooth and glossy. The dough is ready when it reaches a consistency where it slowly falls from the spoon in a 'V' shape.
Troubleshooting Common Pâte à Choux Problems
One common issue when making pâte à choux is adding the eggs too early, while the dough is still too hot. This can scramble the eggs, resulting in a lumpy texture and dough that won't rise properly. Always allow the dough to cool slightly before adding the eggs. Another challenge is achieving the correct dough consistency after adding the eggs. If the dough is too stiff, your puffs won't expand well; if it's too loose, they might spread flat.
If the dough seems too stiff after adding the recommended number of eggs, you might need to add a small amount of a beaten egg yolk or a tiny splash of milk, mixing thoroughly. Conversely, if the dough is too loose and doesn't hold its shape when piped, it likely has too much liquid from the eggs. Unfortunately, this is difficult to fix at this stage, highlighting the importance of adding eggs one at a time and checking consistency. Ensure you are drying out the dough sufficiently on the stovetop; insufficient drying leads to excess moisture and flat puffs.
Step 2: Shaping and Baking the Cream Puffs
Tips for Perfectly Shaped Cream Puffs
Achieving uniform, well-shaped cream puffs is key to a beautiful presentation. The easiest method is to use a piping bag fitted with a large round or star tip (like an Ateco 805 or 826). Using a piping bag allows for consistent sizing and shape. Pipe mounds of dough onto a baking sheet lined with parchment paper or a silicone mat, leaving about 2 inches between each puff to allow for expansion. For a standard cream puff size, aim for mounds roughly 1.5 to 2 inches in diameter.
If you don't have a piping bag, you can use two spoons to scoop and shape the dough onto the baking sheet. Dip the spoons in water periodically to prevent sticking. For a smoother top, you can gently smooth down any peaks with a wet fingertip or the back of a wet spoon. Some bakers lightly brush the tops with an egg wash (a beaten egg mixed with a tablespoon of water or milk) for extra shine and golden color, though this is optional for this easy cream puff recipe tutorial.
Baking Time and Temperature for Golden Brown Cream Puffs
Baking cream puffs requires high heat initially to create steam and puff the dough, followed by a lower temperature to dry them out and ensure they hold their shape. Preheat your oven to a relatively high temperature, typically around 400°F (200°C). Once the cream puffs are placed in the oven, the high heat causes the water in the dough to quickly turn to steam, inflating the pastry.
After about 15-20 minutes at the higher temperature, or once the puffs have significantly puffed up and are starting to turn golden, reduce the oven temperature to around 350°F (175°C). Continue baking for another 10-15 minutes, or until the cream puffs are deeply golden brown and feel light and hollow when lifted. A deep golden color is a good indicator that they are fully baked and dried out inside, which prevents them from collapsing after cooling. Resist the urge to open the oven door during the first 20 minutes of baking, as this can cause the puffs to deflate.
Step 3: Cooling and Preparing the Cream Puffs for Filling
Ensuring Crisp Cream Puffs After Baking
Once your cream puffs are perfectly golden brown and appear fully baked, it's crucial to cool them correctly to maintain their crisp exterior. As soon as they come out of the oven, they need to release steam from their hollow interiors. You can achieve this by gently piercing the side or bottom of each puff with a small sharp knife or a skewer immediately after removing them from the oven. This allows the hot steam to escape, preventing condensation from making the inside soggy and ensuring the shell remains crisp.
Transfer the pierced cream puffs to a wire rack to cool completely. Cooling on a wire rack allows air to circulate around the entire puff, preventing the bottom from becoming damp from contact with the baking sheet. Ensure they are fully cooled to room temperature before attempting to fill them. Filling warm cream puffs will cause the filling to melt and could make the pastry shell soggy. Allowing them to cool properly is a vital step in this easy cream puff recipe tutorial for achieving that desirable crisp-tender texture.
Creating the Perfect Cream Puff Filling
Vanilla Pastry Cream Recipe: A Simple and Delicious Option
A classic and incredibly delicious filling for cream puffs is vanilla pastry cream ( crème pâtissière). This rich, smooth custard provides a wonderful contrast to the light choux pastry. To make a basic vanilla pastry cream, you'll need milk, sugar, egg yolks, cornstarch (or flour), vanilla extract, and sometimes a bit of butter for richness. A typical recipe might use 2 cups of milk, 1/2 cup of sugar, 4-6 egg yolks, 1/4 cup of cornstarch, and 1 teaspoon of vanilla.
Heat the milk until just simmering. In a separate bowl, whisk together the sugar and egg yolks until pale. Whisk in the cornstarch until smooth. Gradually temper the hot milk into the egg yolk mixture, whisking constantly.
Return the mixture to the saucepan and cook over medium heat, whisking continuously, until it thickens considerably and comes to a boil. Boil gently for 1-2 minutes to cook out the starch. Remove from heat, stir in vanilla extract and butter (if using). Pour the pastry cream into a clean bowl, press plastic wrap directly onto the surface to prevent a skin from forming, and chill thoroughly in the refrigerator for at least 2-3 hours until firm.
Alternative Cream Puff Filling Ideas: From Chocolate to Coffee
While vanilla pastry cream is a timeless choice, this easy cream puff recipe tutorial encourages you to explore other delightful filling options to customize your profiteroles. Chocolate lovers can easily adapt the vanilla pastry cream by whisking in chopped chocolate (dark, milk, or white) or cocoa powder after removing it from the heat. The residual heat will melt the chocolate, resulting in a rich chocolate pastry cream.
For a lighter option, consider a simple whipped cream, perhaps stabilized with a little powdered sugar and vanilla. Coffee enthusiasts might enjoy a coffee-flavored pastry cream (infused with coffee beans during heating the milk) or a coffee-flavored whipped cream. Other popular choices include diplomat cream (pastry cream lightened with whipped cream), fruit curds like lemon or passion fruit, or even a rich chocolate ganache. Experimenting with fillings is part of the fun of mastering this simple cream puff recipe!
Piping and Filling Your Cream Puffs for a Professional Finish
Once your cream puffs are completely cooled and your filling is thoroughly chilled and ready, it's time to fill them. Using a piping bag is the most common and efficient way to achieve a professional look. You can fit the bag with a plain round tip, preferably a medium size (like an Ateco 803 or 804).
There are two main methods for filling:
- Bottom Pierce: Use a small knife or skewer to make a hole in the bottom of each cream puff. Insert the piping tip into the hole and gently squeeze until the puff feels heavy and slightly expands. This method is often preferred as the entry point is hidden.
- Side Slice: Carefully slice the cream puff horizontally about two-thirds of the way up. Open it gently and pipe the filling into the bottom half. Replace the top. This method is great for showcasing the filling, especially if it contains pieces of fruit or chocolate.
Whichever method you choose, ensure the filling is smooth enough to pipe easily. If using a very thick filling, you might need a wider tip. Fill the puffs generously but avoid overfilling, which can cause them to burst or become soggy too quickly.
Assembling Your Delicious Cream Puffs
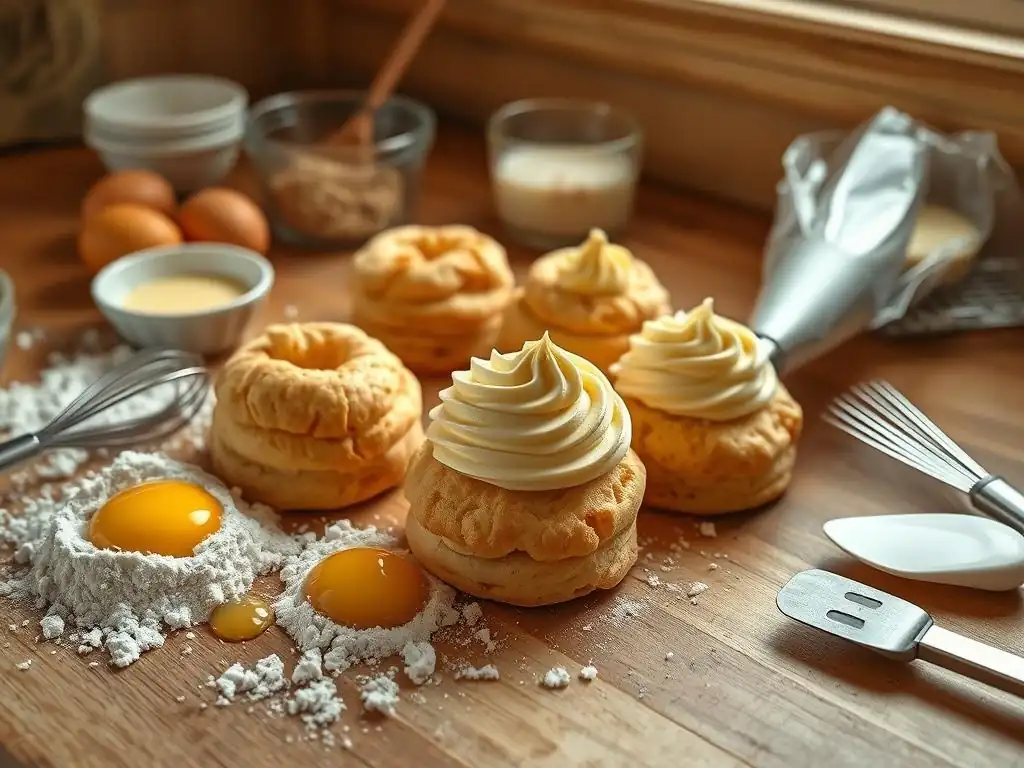
The Best Time to Fill Your Cream Puffs
To ensure your cream puffs remain crisp and delightful, the timing of filling is crucial. The pâte à choux shells are best when freshly baked and completely cooled. However, the crispness is delicate and can soften quickly once exposed to moisture from the filling. Therefore, the ideal time to fill your cream puffs is as close to serving time as possible.
Aim to fill your cream puffs no more than 1-2 hours before you plan to serve them. This allows the filling to slightly soften the interior of the shell, creating a pleasant contrast, but prevents the exterior from becoming completely soggy. If you need to prepare components ahead of time, bake the shells, cool them completely, and store them unfilled at room temperature in an airtight container. Prepare the filling and keep it chilled separately. Assemble just before your guests arrive or before dessert is served.
Presentation Tips for Stunning Cream Puffs (Profiteroles)
Presenting your homemade cream puffs beautifully enhances the enjoyment of this classic dessert. Once filled, arrange them artfully on a serving platter, cake stand, or tiered display. Consider dusting the tops lightly with powdered sugar just before serving for an elegant touch. A fine-mesh sieve works best for an even dusting.
For extra flair, you can drizzle the filled cream puffs with a simple glaze (like a chocolate ganache or a basic powdered sugar glaze mixed with a little milk or water). Stack them into a croquembouche-style tower (though this is more advanced and requires caramel) or simply arrange them in a pyramid. Garnish the platter with fresh berries, a sprig of mint, or a scattering of cocoa powder to add color and visual appeal. Your beautifully assembled profiteroles, made following this easy cream puff recipe tutorial, are sure to be a showstopper.
Storing and Serving Your Homemade Cream Puffs
How to Store Cream Puffs to Maintain Their Freshness
Storing cream puffs depends on whether they are filled or unfilled. Unfilled cream puff shells are best stored at room temperature in an airtight container. Ensure they are completely cooled before storing. Stored this way, they can maintain their crispness for 1-2 days. If they lose some crispness, you can briefly reheat them in a preheated oven at 300°F (150°C) for 5-10 minutes to crisp them up again before filling.
Filled cream puffs, especially those with dairy-based fillings like pastry cream or whipped cream, must be stored in the refrigerator due to the perishable nature of the filling. Place them in a single layer in an airtight container to prevent them from getting crushed. While refrigeration is necessary for safety, it will cause the pastry shell to soften over time.
Filled cream puffs are best enjoyed within 24 hours of filling for optimal texture, though they can be safely stored for up to 2 days. Freezing filled cream puffs is not recommended as the texture of both the pastry and filling can degrade upon thawing.
Serving Suggestions: From Casual to Elegant
Cream puffs (profiteroles) are versatile desserts that can fit a variety of serving occasions, from a casual afternoon tea to an elegant dinner party. For a casual setting, simply arrange the filled puffs on a plate and let guests serve themselves. They pair wonderfully with coffee or tea.
For a more elegant presentation, serve individual portions of 2-3 filled cream puffs per person, perhaps drizzled with a warm chocolate sauce or raspberry coulis. They can also be served alongside a scoop of ice cream. A classic presentation involves stacking them into a pyramid and drizzling with chocolate. No matter how you choose to serve them, these delightful pastries, made using this easy cream puff recipe tutorial, are guaranteed to be a hit.
Troubleshooting Your Cream Puff Baking
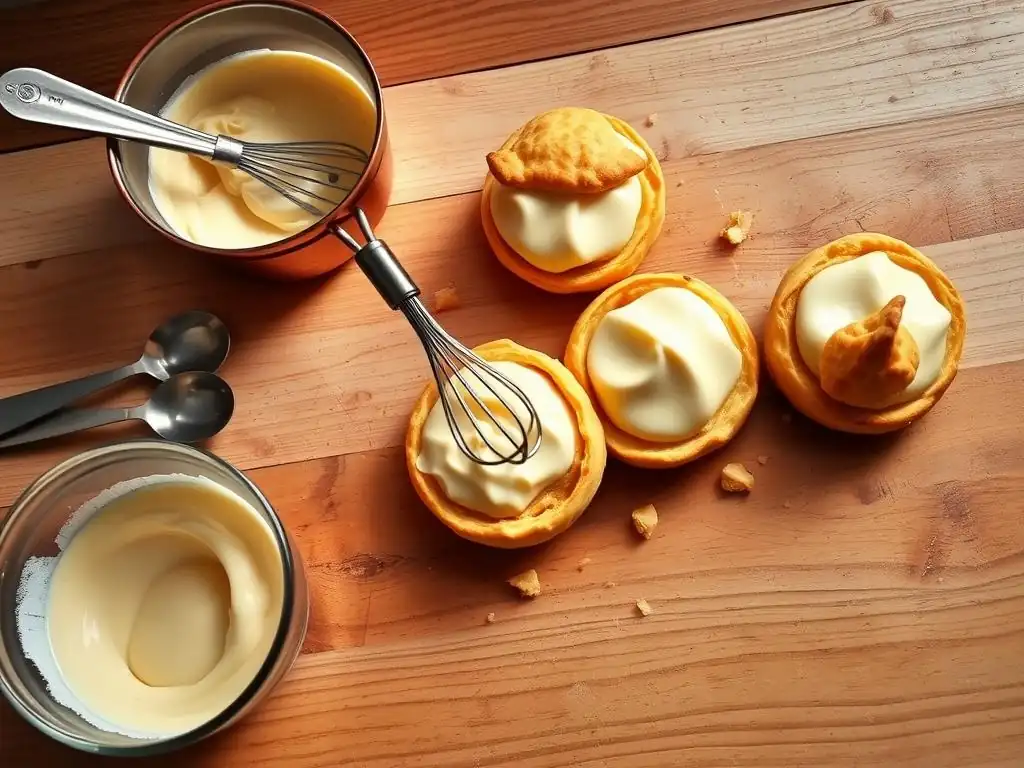
Common Cream Puff Baking Mistakes and How to Avoid Them
Several factors can lead to less-than-perfect cream puffs. One common mistake is not cooking the dough on the stovetop long enough to dry it out. This results in dough that is too wet, leading to flat or collapsed puffs. Ensure you cook it for the specified 1-2 minutes until a film forms on the pan bottom. Another error is adding eggs to dough that is too hot, which can partially cook them. Let the dough cool for several minutes before incorporating the eggs.
Opening the oven door too early during baking is a frequent culprit for deflated cream puffs. The sudden temperature drop prevents the steam from supporting the structure. Avoid opening the oven for at least the first 20 minutes of baking. Also, underbaking is a significant issue; if the puffs aren't baked long enough to fully dry out the interior, they will collapse upon cooling. Bake them until they are deeply golden brown and feel light. Following the precise timing and temperature steps in this easy cream puff recipe tutorial is key to avoiding these pitfalls.
Tips for Achieving Light and Airy Cream Puffs
Achieving that signature light and airy interior in your cream puffs is the hallmark of successful pâte à choux. Beyond avoiding the common mistakes mentioned above, there are a few extra tips to help ensure maximum lift. Firstly, ensure your eggs are at room temperature before adding them to the cooled dough. Room temperature eggs emulsify better and incorporate more smoothly into the dough.
Secondly, make sure you beat the eggs in thoroughly, one at a time, until the dough is smooth, glossy, and reaches the correct consistency (the 'V' shape test). Over-mixing after the last egg is incorporated isn't necessary, but ensuring each egg is fully combined is vital. Finally, giving the baked puffs a small pierce immediately upon removing them from the oven allows steam to escape, which helps prevent them from becoming soggy inside and encourages the shell to stay crisp and hollow. This easy cream puff recipe tutorial incorporates these steps to help you achieve the perfect light texture.
Conclusion: Enjoy Your Homemade Cream Puff Creations
Celebrate Your Baking Success with This Easy Cream Puff Recipe
You've done it! You've navigated the steps of this easy cream puff recipe tutorial and created your very own batch of delicious profiteroles. Take a moment to appreciate your accomplishment. From mastering the pâte à choux on the stovetop to achieving golden, airy puffs in the oven and finally filling them with your chosen delight, you've successfully tackled a classic French pastry.
Baking is a journey, and each successful recipe builds confidence and skill. This simple cream puff recipe is a fantastic addition to your repertoire, proving that impressive desserts are well within reach for home bakers. Enjoy the fruits of your labor – share them with friends and family, or savor them yourself. You've earned it!
We love seeing what our community creates! If you've followed this easy cream puff recipe tutorial and baked a batch of these delightful profiteroles, we'd be thrilled if you shared your results. Whether they're perfectly uniform or charmingly rustic, each homemade cream puff tells a story of baking passion.
Join the conversation and inspire other bakers by showcasing your filled cream puffs. Your success is part of the collective baking bliss we celebrate here. Keep practicing, keep exploring new recipes, and most importantly, keep enjoying the wonderful process of baking from scratch. Happy baking!
Frequently Asked Questions
What makes this cream puff recipe "easy" compared to others?
This recipe focuses on simplified techniques and readily available ingredients. It breaks down the process into manageable steps, ensuring even beginner bakers can achieve perfect cream puffs.
What are the key ingredients needed for this cream puff recipe?
The essential ingredients include water, butter, flour, eggs, and a pinch of salt. These are common pantry staples, contributing to the recipe's accessibility and convenience.
What are some common mistakes to avoid when making cream puffs?
Avoid opening the oven door during baking, as this can cause the puffs to deflate. Also, ensure the pâte à choux (the dough) is the correct consistency - not too wet, not too dry.
How do I store leftover cream puffs?
Unfilled cream puffs can be stored in an airtight container at room temperature for a day or two. For longer storage, freeze them unfilled.
Can I customize the filling for these cream puffs?
Absolutely! While a classic pastry cream is delicious, feel free to experiment with different flavors and fillings, such as whipped cream, chocolate mousse, or even savory options.
Final Reflection: The Sweet Symphony of Simplicity
Mastering the art of the cream puff doesn't require a culinary degree; it simply requires a willingness to embrace the joy of the process. This article has detailed a straightforward approach to creating these delicate, airy pastries, proving that even seemingly complex recipes can be demystified with clear instructions and a dash of confidence. The accessibility of this recipe opens up a world of delicious possibilities, from elegant desserts to fun family baking projects.
The enduring appeal of the cream puff lies not just in its delightful taste, but in its ability to evoke feelings of nostalgia and accomplishment. The simple act of creating something beautiful and delicious from basic ingredients is deeply satisfying. The best things in life are simple,
a sentiment perfectly embodied by this classic pastry. From childhood memories of cream puffs enjoyed at family gatherings to the pride of presenting a homemade batch to friends, this recipe transcends mere culinary instruction; it's a gateway to shared experiences and cherished moments.
Now, it's your turn. Don't let the fear of failure hold you back from exploring the world of baking. Gather your ingredients, follow the steps outlined in this tutorial, and experience the magic of transforming simple flour, water, and butter into something truly extraordinary. The sweet reward awaits – not just delicious cream puffs, but the satisfaction of creating something beautiful with your own two hands. So, roll up your sleeves, and let the baking begin!
Unleash Your Inner Pastry Chef!
Thanks for joining us on this delicious journey into the world of cream puffs! We hope you've gained the confidence to tackle this classic treat. Now it's time to put your newfound skills to the test.
- Bake your dream cream puffs: Grab those ingredients and follow the recipe again – this time, experiment with different fillings or glazes! This is your chance to shine!
- Share your creations: Post a picture of your magnificent cream puffs on social media and tag us @BakeWithEase – we'd love to see your baking brilliance!
- Join our baking community: Head over to our forum (link removed as per instructions) and share tips, tricks, and your own cream puff recipes. Let's inspire each other!
Ready to wow your friends and family with perfectly puffed pastries? What delicious filling will you choose for your next batch?