
Why Your Pastry Cream Isn't Perfect (And How to Fix It)

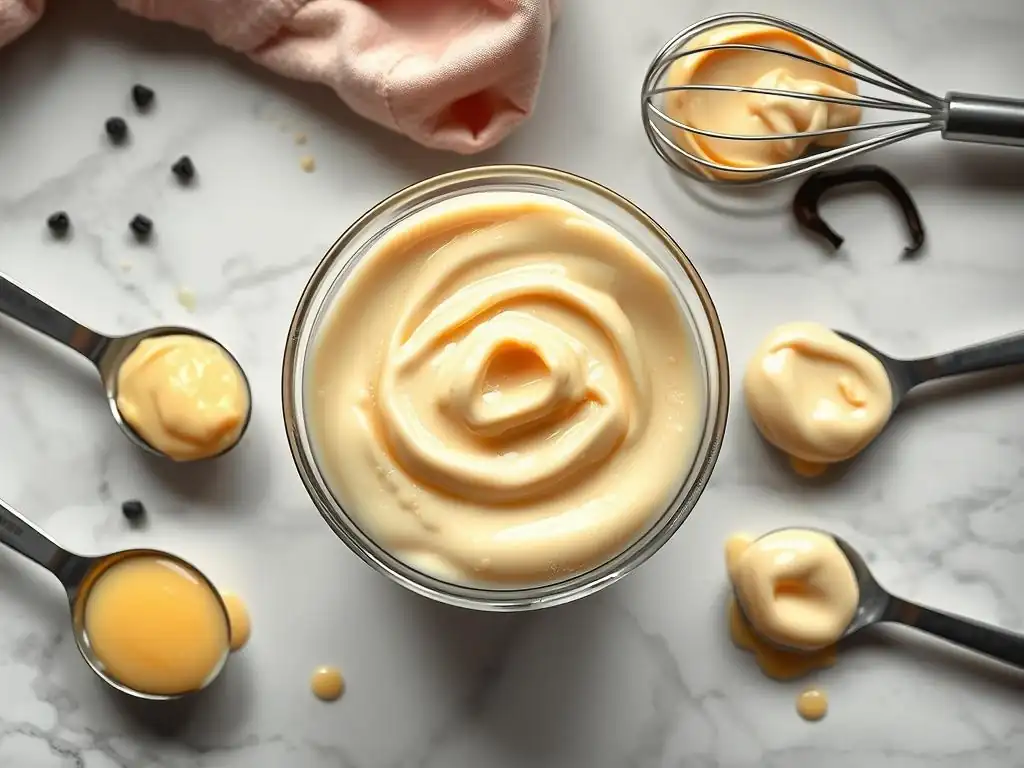
Welcome to BakeWithEase, your kitchen companion for all things baking! Ever wondered why your pastry cream texture isn't quite right? You're not alone! Dive into our latest exploration of common pitfalls and clever solutions to achieve that silky smooth, decadent perfection you crave. Discover the secrets behind the perfect custard and say goodbye to lumpy, grainy disappointments. Let's unlock the mysteries of pastry cream together!
- Why Your Pastry Cream Isn't Perfect (And How to Fix It) - BakeWithEase
- Understanding Common Pastry Cream Texture Problems
- Troubleshooting Specific Pastry Cream Issues
- Essential Techniques for Perfect Pastry Cream
- Advanced Pastry Cream Techniques
- Pastry Cream and its Uses in Baking
- Conclusion: Mastering Pastry Cream for Baking Success.
- Frequently Asked Questions
- Final Reflection: Mastering the Art of the Perfect Pastry Cream
- Unlock Your Pastry Perfection: Master the Cream!
Why Your Pastry Cream Isn't Perfect (And How to Fix It) - BakeWithEase
Introduction: Achieving Perfect Pastry Cream Texture at Home
Creating a truly excellent pastry cream, or crème pâtissière, is a fundamental skill in classic baking. It's the creamy heart of countless desserts, from delicate macarons and airy eclairs to rich tarts and layered cakes. While the ingredients are simple – milk, sugar, eggs, and starch – achieving that perfect, silky-smooth, stable texture can sometimes feel like chasing a culinary unicorn. Many bakers encounter common pastry cream texture problems that can be frustrating, leading to fillings that are lumpy, runny, grainy, or even too thick to pipe.
Understanding the science behind how these simple ingredients interact is key to mastering this essential cream. The process involves tempering eggs, gelatinizing starch, and carefully controlling temperature. Small deviations in any of these steps can dramatically affect the final consistency. This guide will walk you through the most common pastry cream texture problems you might face in your kitchen and provide practical, step-by-step solutions to ensure your next batch is flawlessly smooth, rich, and exactly the right texture for your baking project.
Understanding Common Pastry Cream Texture Problems
Lumpy Pastry Cream: Causes and Solutions
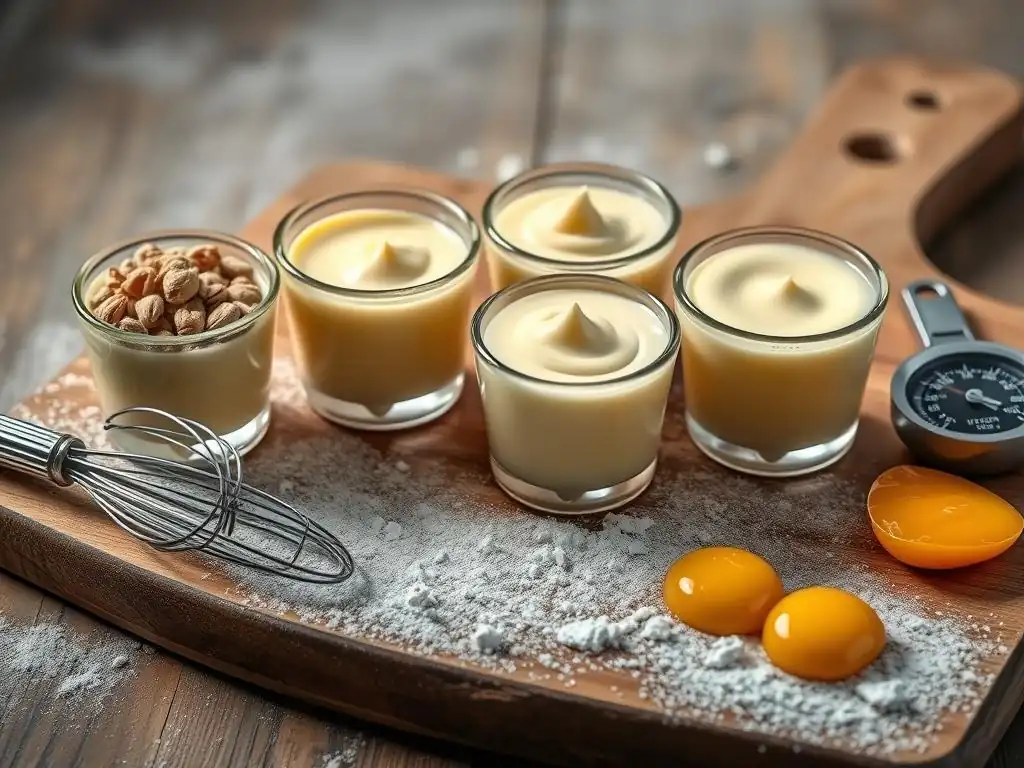
One of the most disheartening pastry cream texture problems is encountering lumps. This often happens early in the cooking process and can make your beautiful filling look unappealing and feel unpleasant in the mouth. Lumps primarily occur when the starch (cornstarch or flour) isn't properly dispersed before thickening begins, or when the mixture isn't cooked or whisked evenly.
Addressing a lumpy texture requires understanding where the starch went wrong. Did it clump when added to the liquid? Did it stick to the bottom of the pan? Identifying the source of the lumps is the first step to preventing them in the future and ensuring a smooth, consistent pastry cream every time you bake.
Undissolved Cornstarch or Flour: Preventing Lumps
- Whisk starch with sugar before adding liquid.
- Create a smooth paste with a small amount of the cold liquid before adding to the rest of the milk.
- Ensure all starch is dissolved before heating.
Improper Whisking Technique: Tips for Smooth Incorporation
- Whisk continuously, especially as the mixture thickens.
- Use a balloon whisk that reaches the edges and bottom of the pan.
- Whisk vigorously during the final minute of cooking to ensure even heating and prevent hot spots.
Cooking at Too High a Heat: Avoiding Curdling
- Use medium heat and control the temperature carefully.
- Never boil aggressively, a gentle simmer is sufficient once thickened.
- Constant whisking helps distribute heat evenly and prevents scorching and lumping.
Runny Pastry Cream: Identifying the Culprits
A runny pastry cream is perhaps the most common and frustrating texture problem, rendering it useless for piping into eclairs or holding its shape in tarts. This usually indicates that the starch hasn't fully done its job of thickening the liquid, often due to insufficient heat, inadequate cooking time, or an incorrect ratio of starch to liquid.
Getting the right consistency is crucial for the pastry cream's application. A pastry cream that is too thin won't set up properly and can lead to soggy tart shells or collapsed cream puffs. Understanding the role of heat and starch in the thickening process is key to achieving that perfect, stable texture.
Insufficient Cooking Time: Ensuring Proper Thickening
- Pastry cream needs to boil for 1-2 minutes after thickening to fully activate the starch.
- Watch for large, lazy bubbles breaking the surface, indicating it has reached a boil.
- Undercooking is a primary cause of a loose, unstable pastry cream texture.
Incorrect Starch-to-Liquid Ratio: Adjusting Your Recipe
- Standard ratio is roughly 40-50g cornstarch or 60-80g flour per liter of milk for a firm pastry cream.
- Recipes vary; check the recommended amount and measure accurately.
- Slightly increasing the starch can fix a consistently runny result (e.g., add 5g more cornstarch per 500ml milk).
Using the Wrong Type of Starch: Cornstarch vs. Flour
- Cornstarch provides a cleaner, more translucent set and is more potent (use less).
- Flour gives a more opaque, slightly heavier set and requires longer cooking to remove the raw flour taste.
- Using cake flour instead of all-purpose can lead to a weaker set; using too little of either will result in a runny texture.
Grainy Pastry Cream: Addressing Texture Issues
A grainy pastry cream texture is unpleasant and often a sign that the eggs have cooked unevenly or that the cream has been overcooked or cooled improperly. While lumps are discrete pockets of unmixed ingredients, graininess is a fine, gritty texture throughout the cream, typically caused by scrambled egg proteins or crystallized sugar.
Preventing graininess requires gentle cooking and careful handling. Tempering the eggs properly is a crucial step to prevent them from cooking too quickly when added to the hot milk. Furthermore, the cooling process plays a significant role in maintaining a smooth finish.
Overcooking the Pastry Cream: The Impact on Texture
- Excessive heat or prolonged cooking can cause egg proteins to seize or curdle slightly.
- This results in a fine, gritty texture that cannot be whisked away.
- Cooking just until the starch is fully thickened and boiled for 1-2 minutes is usually sufficient.
Using Poor Quality Ingredients: The Importance of Freshness
- Older eggs are more prone to separation and can contribute to a grainy texture.
- Using very coarse sugar that doesn't dissolve properly can leave residual grit.
- Ensure your ingredients, especially eggs, are fresh.
Improper Cooling Techniques: Preventing Graininess
- Pastry cream should be cooled rapidly to prevent bacterial growth and maintain texture.
- Cooling slowly can allow residual heat to continue cooking the cream, potentially leading to graininess or a skin forming.
- Pressing plastic wrap directly onto the surface prevents a skin, which can be lumpy if whisked in.
Thick Pastry Cream: Thinning It Out
Sometimes, your pastry cream might turn out too thick – perhaps perfect for piping stable rosettes, but too dense for filling a delicate tart or layering in a cake. This can happen if too much starch was used, if it was overcooked and lost too much moisture, or if it simply set up too firmly upon cooling.
While a thick pastry cream might seem less problematic than a runny one, it can still compromise the final dessert's texture and balance. Thankfully, a pastry cream that is too thick is often easier to fix than one that is too thin or lumpy, requiring just a simple adjustment.
Overcooked Pastry Cream Remedies: Adding Liquid
- Gently whisk in a small amount of warm or room temperature milk or cream, one tablespoon at a time.
- Do this after the pastry cream has cooled slightly but is still warm, or gently warm it slightly if it has fully set.
- Add just enough liquid until the desired consistency is reached, whisking until smooth.
Adjusting for Different Uses: Piping vs. Filling
- A pastry cream intended for piping (like for eclairs) should be firmer than one for layering or filling tarts.
- If your standard recipe yields a texture too firm for a specific use, note it and plan to slightly reduce starch or increase liquid next time.
- For a lighter texture, some recipes incorporate whipped cream or meringue after the pastry cream has cooled.
Troubleshooting Specific Pastry Cream Issues
The Case of the Burnt Pastry Cream: Salvaging the Situation
Burning is a serious pastry cream texture problem, often resulting in a scorched taste that permeates the entire batch. This usually occurs when the heat is too high or whisking is insufficient, causing the bottom layer of the cream to stick and burn onto the pan. If you detect a burnt smell, immediately remove the pan from the heat.
Do not scrape the bottom of the pan, as this will incorporate the burnt bits. Carefully pour the unburnt portion of the pastry cream into a clean bowl. Unfortunately, if the burnt flavor is strong, it's often best to discard the batch and start over, as the acrid taste is difficult to mask. Prevention through careful heat control and constant whisking is the best strategy.
Pastry Cream That's Too Sweet or Not Sweet Enough: Adjusting Flavors
While not strictly a texture problem, flavor balance is crucial. If your pastry cream is too sweet, it can be overwhelming. If not sweet enough, it might taste bland. Adjusting sweetness after cooking is tricky, but possible.
For pastry cream that is too sweet, incorporating unsweetened components can help. You can gently whisk in a small amount of unsweetened whipped cream or plain yogurt after the cream has cooled, which also lightens the texture. If it's not sweet enough, you can try dissolving a small amount of sugar in a tiny bit of warm milk or water and whisking it in, but this can slightly alter the texture. It's best to get the sugar right in the initial recipe.
Dealing with a Bitter Aftertaste: Milk Scalding and Vanilla Quality
A bitter note in pastry cream can sometimes arise from scorching the milk during the initial heating phase, even if the main cream doesn't taste burnt. It can also come from the quality of your vanilla extract or bean. Over-scraping vanilla beans can release bitter compounds from the pod itself.
Ensure milk is heated gently and never boiled or left unattended on high heat. Use high-quality vanilla extract or beans. If using beans, scrape the seeds carefully and avoid including too much of the woody pod material. If a slight bitterness is present, sometimes adding a tiny pinch of salt or a very small amount of lemon zest can help counteract it, though this is a last resort.
Pastry Cream Separation: Causes and Solutions
Pastry cream separation, where the mixture looks curdled or oily, is another frustrating texture problem. This can happen if the cream is overcooked, cooled too slowly, or sometimes if there's an imbalance in the fat content or if it's been stored improperly. Over-whipping a cold pastry cream can also cause it to break.
If your pastry cream has separated, you can often salvage it. Gently warm the separated cream over a double boiler or on very low heat, whisking continuously. As it warms, it should come back together into a smooth emulsion. Once smooth, remove from heat and cool rapidly again. If it separated while cold, try whisking vigorously by hand or with a stand mixer on low speed; sometimes this re-emulsifies it. Adding a tablespoon of warm milk while whisking can also help.
Essential Techniques for Perfect Pastry Cream
Mastering the Cooking Process: Step-by-Step Guide
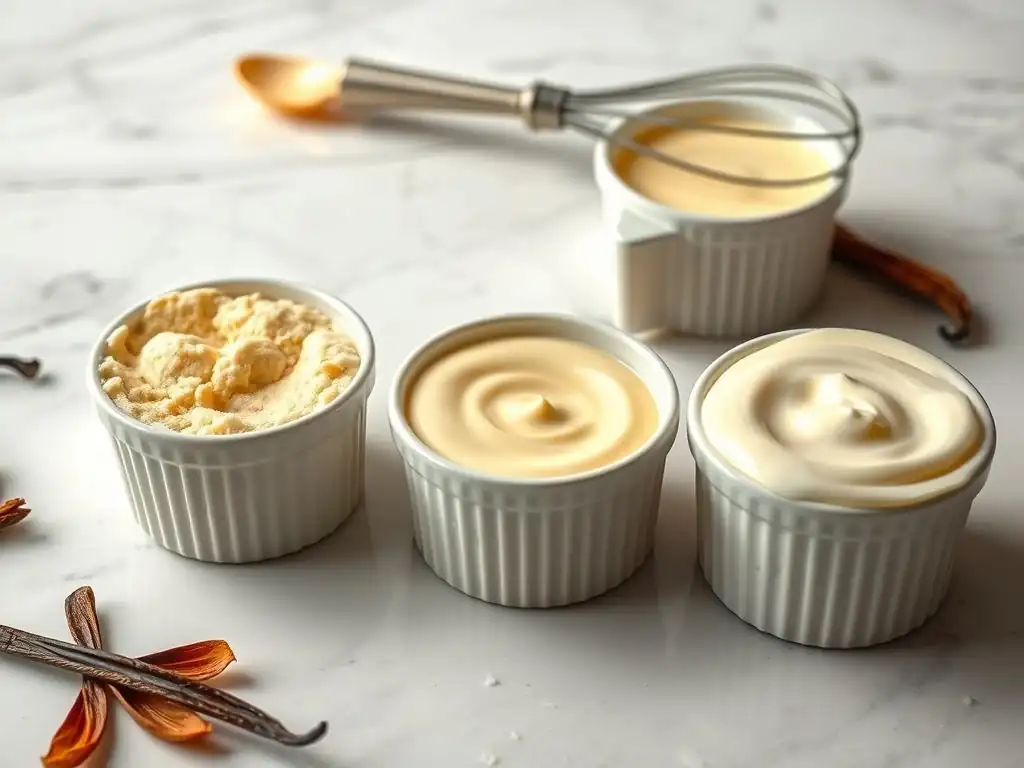
Achieving a smooth and stable pastry cream texture relies heavily on the cooking process. Each step, from preparation to cooling, plays a vital role in the final result. Following a careful, systematic approach minimizes the risk of common pastry cream texture problems.
Paying attention to temperature cues and consistency changes during cooking is more important than strictly adhering to cooking times, as stovetop temperatures can vary. Knowing what to look for will guide you to the perfect consistency.
Preparing the Ingredients: Measuring Accurately
- Use a scale for precise measurement of sugar, starch, and eggs.
- Separate eggs carefully, ensuring no yolk gets into the whites (though pastry cream uses yolks).
- Have all ingredients measured and ready before you start heating anything.
Combining Ingredients: The Right Order Matters
- Whisk egg yolks and sugar until pale and creamy (this is tempering prep).
- Whisk starch (cornstarch or flour) with the egg/sugar mixture or a small amount of cold milk/liquid.
- Heat milk (often with vanilla) gently until just simmering before tempering.
Cooking and Thickening: Achieving the Ideal Consistency
- Temper hot milk into the egg mixture slowly while whisking constantly.
- Return the tempered mixture to the saucepan.
- Cook over medium heat, whisking continuously, until the mixture thickens significantly.
- Bring to a gentle boil (visible bubbles) and cook for 1-2 minutes to fully activate the starch.
Cooling and Storing: Maintaining the Perfect Texture
- Remove from heat and immediately whisk in butter (if using) and vanilla.
- Strain through a fine-mesh sieve into a clean bowl (optional but recommended for smoothness).
- Cover the surface directly with plastic wrap to prevent a skin.
- Cool rapidly in an ice bath or refrigerator.
Tips for Achieving a Smooth and Silky Texture
Even if you follow the steps correctly, a few extra techniques can elevate your pastry cream from good to outstanding, addressing subtle pastry cream texture problems before they become obvious issues. These methods help ensure uniform consistency and a luxurious mouthfeel.
Incorporating fats and straining are classic techniques used by professional bakers to guarantee the smoothest possible finish. They help refine the texture after the main cooking and thickening process is complete.
Using a Fine-Mesh Sieve: Removing Lumps
- Pour the hot pastry cream through a fine-mesh sieve into a clean bowl immediately after cooking.
- This catches any small lumps of cooked egg or unincorporated starch.
- Use a spatula to push the cream through the sieve.
Incorporating Butter: Adding Richness and Smoothness
- Whisking cold butter into the hot pastry cream off the heat adds richness.
- It also helps create a smoother, silkier texture by emulsifying into the cream.
- Adds a lovely sheen to the finished product.
Adding Flavorings: Enhancing Your Pastry Cream
- Vanilla extract or other liquid flavorings are typically added after cooking to preserve their aroma.
- Whisking them in at the end ensures they are evenly distributed without being cooked off.
- Ensure flavorings are fully incorporated for uniform taste.
Advanced Pastry Cream Techniques
Making Pastry Cream Ahead of Time: Best Practices for Storage
Pastry cream is an excellent component to prepare in advance, saving time on busy baking days. However, improper storage can lead to texture degradation, such as separation or skin formation. Understanding how to store it correctly is vital.
Proper cooling and airtight storage are the keys to maintaining the desired pastry cream texture and preventing bacterial growth. It can typically be stored in the refrigerator for 3-4 days when handled correctly.
- Cool rapidly after cooking, ideally in an ice bath.
- Transfer to an airtight container or cover the surface directly with plastic wrap.
- Store in the refrigerator.
- Before use, whisk gently to restore smoothness, especially if it has firmed up considerably.
Freezing Pastry Cream: Maintaining Quality After Thawing
While some pastry creams containing only starch and no egg yolks freeze reasonably well, traditional crème pâtissière (with egg yolks) can be tricky to freeze. The texture may become slightly grainy or separate upon thawing due as ice crystals disrupt the emulsion and egg proteins.
If you must freeze pastry cream, plan to use it in applications where a slightly less perfect texture is acceptable, such as baked goods where it will be further cooked (like in a pie) rather than a filling for delicate macarons.
- Freeze in an airtight container, again with plastic wrap pressed directly onto the surface.
- Thaw slowly in the refrigerator overnight.
- Whisk vigorously after thawing to try and re-emulsify the texture.
- Expect a slight change in texture compared to fresh pastry cream.
Variations on Classic Pastry Cream: Chocolate, Coffee, and Citrus Infusions
Once you've mastered the basic pastry cream texture, you can explore exciting flavor variations. These variations often involve adding flavorings after the base cream is cooked, which can slightly alter the final consistency but are worth it for the flavor payoff.
Adding solid flavorings like chocolate requires careful melting and incorporation to maintain a smooth texture. Liquid flavorings like coffee extract or citrus zest infusions are generally easier to integrate.
- Chocolate Pastry Cream: Whisk finely chopped chocolate into the hot pastry cream immediately after cooking. The residual heat will melt the chocolate; whisk until smooth and fully incorporated. Use approximately 100-150g chocolate per 500ml milk base.
- Coffee Pastry Cream: Add instant coffee granules or a small amount of strong coffee extract to the milk while it heats, or whisk into the finished cream. Adjust quantity to taste.
- Citrus Pastry Cream: Infuse the milk with citrus zest while heating, then strain it out. Or, whisk finely grated zest or a small amount of citrus juice into the cooled pastry cream. Be mindful that acid can sometimes slightly thin the cream.
Pastry Cream and its Uses in Baking
Using Pastry Cream in Macarons: Achieving the Perfect Filling
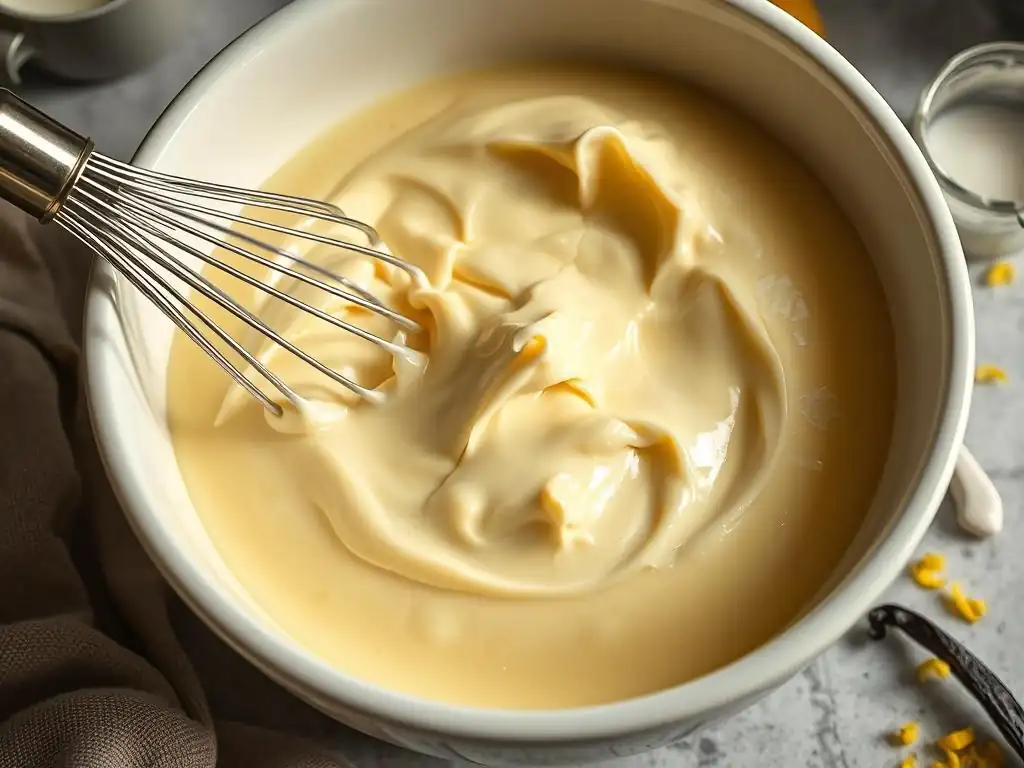
Pastry cream is a popular filling for macarons, offering a creamy contrast to the crisp shells. For macarons, the pastry cream texture is critical – it needs to be firm enough to hold its shape without oozing out, but smooth and soft enough to bite through easily.
A grainy or runny pastry cream is disastrous for macarons. The ideal texture is pipeable, smooth, and sets up well. Ensure your pastry cream is well-chilled and, if necessary, whisked briefly before piping to restore its smooth consistency after setting.
Pastry Cream in Eclairs and Cream Puffs: Tips for a Stable Filling
Eclairs and cream puffs require a stable pastry cream filling that won't make the choux pastry soggy. The pastry cream must be firm enough to pipe cleanly into the shells and hold its structure, but still have a creamy, pleasant mouthfeel.
Overly runny pastry cream will collapse the shells or make them wet. Overly thick or grainy cream will be difficult to pipe and unpleasant to eat. A well-cooked, properly set pastry cream is essential for these delicate pastries. Cooling thoroughly is also key to prevent the warm cream from softening the choux.
Pastry Cream in Tarts and Pies: Adding a Creamy Layer
Pastry cream often forms the base or a layer in tarts and pies, such as fruit tarts or Boston cream pie. Here, the texture needs to be smooth and spreadable, but firm enough to support toppings or layers without collapsing.
A grainy or lumpy texture will ruin the visual appeal and mouthfeel of a tart filling. Ensure your pastry cream is smooth, then allow it to chill and set fully in the tart shell before adding fruit or other toppings. This prevents the pastry cream texture from becoming compromised by added weight.
Conclusion: Mastering Pastry Cream for Baking Success.
Frequently Asked Questions
Why is my pastry cream lumpy?
Lumpy pastry cream is often caused by improper whisking or cooking the eggs too quickly. Ensure you whisk constantly and use a low heat to prevent curdling.
What can I do if my pastry cream is too thin?
A thin pastry cream usually indicates that it hasn't been cooked long enough or that the starch wasn't properly activated. Return it to the heat and cook, stirring constantly, until thickened.
My pastry cream is grainy. What went wrong?
Grainy pastry cream is often a result of the starch not fully dissolving or overcooking the eggs. Sifting the starch beforehand and carefully monitoring the cooking temperature can help.
How do I prevent a skin from forming on top of my pastry cream?
To prevent a skin, press plastic wrap directly onto the surface of the warm pastry cream while it cools. This creates an airtight seal.
Can I fix pastry cream that has already curdled?
Sometimes, you can rescue curdled pastry cream by immediately plunging the bottom of the pan into an ice bath and whisking vigorously. This can sometimes re-emulsify the mixture.
Final Reflection: Mastering the Art of the Perfect Pastry Cream
The pursuit of the perfect pastry cream is more than just a culinary quest; it's a journey into understanding emulsion, texture, and the delicate balance of ingredients. A seemingly simple dessert component, pastry cream reveals itself to be a surprisingly complex creation, prone to various pitfalls that can leave even experienced bakers frustrated. This article has explored those pitfalls, offering solutions to common texture problems and empowering you to achieve consistent, delectable results.
The quest for the ideal pastry cream texture reflects a larger cultural appreciation for precision and perfection in the culinary arts. We strive for that flawless smoothness, that velvety richness, that perfect balance of sweetness and creaminess. This pursuit isn't merely about aesthetics; it's about the sensory experience, the satisfaction of creating something beautiful and delicious. As Julia Child wisely said, Find something you're passionate about and keep tremendously interested in it.
For many, that passion lies in the mastery of pastry, and the perfect pastry cream is a significant milestone on that journey.
Now, consider your own experiences with pastry cream. Have you encountered the frustrating grainy texture, the dreaded curdling, or the disappointing lack of richness? Remember the lessons learned here – the importance of tempering, the role of starch, the subtle impact of each ingredient. Take this knowledge and apply it to your next baking adventure.
Don't be afraid to experiment, to adjust, to refine your technique. The path to pastry perfection is paved with practice and a willingness to learn from both successes and failures. Embrace the challenge, and the reward of a flawlessly smooth, incredibly delicious pastry cream will be well worth the effort.
Unlock Your Pastry Perfection: Master the Cream!
Thanks for taking the time to explore the world of flawless pastry cream with us! We hope you gained valuable insights into achieving that creamy, dreamy texture you've always desired. Now it's time to put your new knowledge into action.
- Whirl up a batch today! Use your newfound expertise to create a batch of pastry cream, focusing on the techniques we discussed. This is your chance to put theory into practice and experience the difference firsthand.
- Share your success (or challenges!): We'd love to see your creations! Post a photo of your pastry cream on social media using #BakeWithEasePerfectCream and tag us – let's celebrate your baking journey together.
- Explore our other resources: Dive deeper into the world of baking by checking out our other articles on creamy delights and advanced pastry techniques.
Ready to transform your baking game? What's the first pastry you'll be making with your flawlessly smooth cream?