
Your Cheat Sheet to French Pastry Techniques

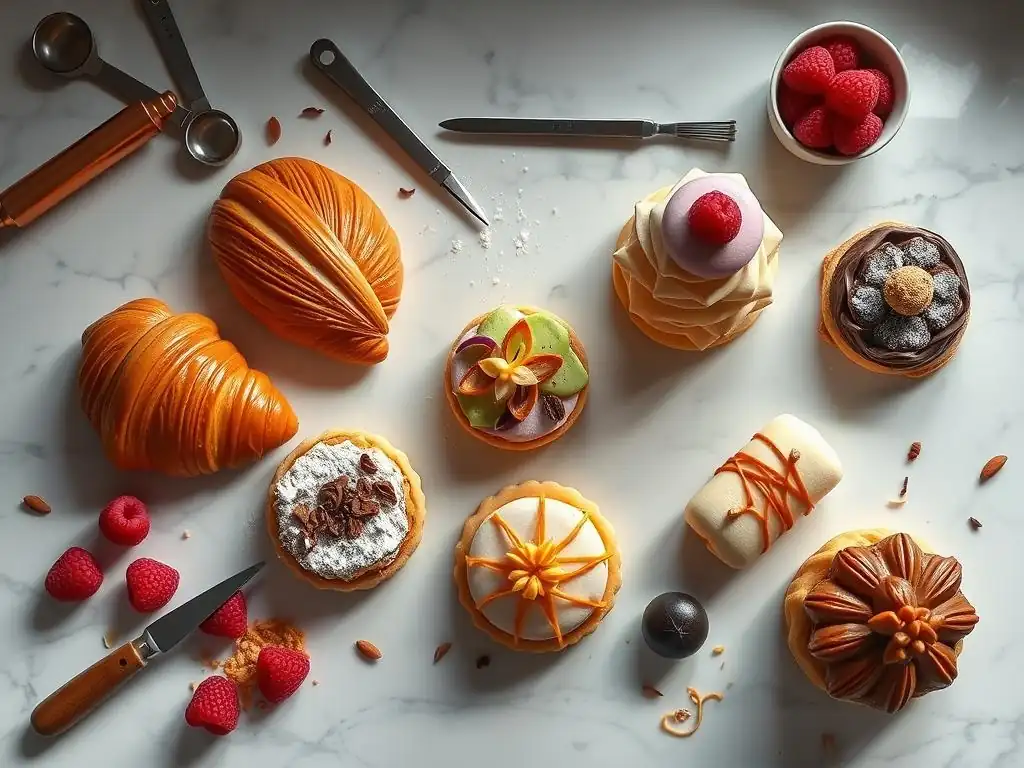
Welcome to BakeWithEase, where baking becomes a delightful journey!
Are you ready to unlock the secrets of exquisite pastries? Dive into our latest article, "Your Cheat Sheet to French Pastry Techniques," and discover the time-honored methods that elevate baking from simple to sublime. From mastering the perfect pâte à choux to understanding the intricacies of laminated dough, we'll guide you through essential skills. Curious to know the key to that flawless croissant? Read on and let's get baking!
- Mastering French Pastry: An Essential Guide for Bakers
- Foundational French Pastry Techniques
- Key French Pastry Doughs and Their Techniques
- Essential French Pastry Creams and Fillings Techniques
- Advanced French Pastry Techniques
- Tips and Tricks for Successful French Pastry Baking
- French Pastry Techniques: Next Steps
-
Frequently Asked Questions
- How can BakeWithEase.com help me learn French pastry techniques?
- What types of French pastries does BakeWithEase.com cover?
- Is the French pastry techniques guide suitable for beginners?
- What are some key French pastry techniques I can expect to learn?
- Where can I find the French pastry techniques guide on BakeWithEase.com?
- Final Reflection: Mastering the Art of French Pastry
- Unleash Your Inner Pâtissier!
Mastering French Pastry: An Essential Guide for Bakers
French pastry, with its delicate layers, rich creams, and intricate designs, represents a pinnacle of baking artistry. While it might seem intimidating, mastering the fundamental French pastry techniques is achievable with the right guidance and practice. This essential guide serves as your cheat sheet, breaking down the core methods used to create iconic French desserts, making them accessible for home bakers.
Embarking on the journey to bake French pastries is a rewarding experience. Understanding the science behind each technique – from creating flaky doughs to whisking stable meringues – is key. This comprehensive guide will walk you through the foundational skills, essential tools, and specific techniques for popular doughs and fillings, providing a solid base for anyone looking to elevate their baking repertoire and confidently create stunning French treats.
Foundational French Pastry Techniques
Understanding the Core Techniques
At the heart of French pastry lies a set of core techniques that dictate the texture, structure, and flavor of the final product. These aren't just steps in a recipe; they are methods refined over centuries, requiring precision and attention to detail. Mastering these foundational skills is crucial before attempting more complex creations. Techniques like 'creaming' butter and sugar for cakes, 'folding' delicate ingredients like meringue into batters, and 'chilling' doughs properly are non-negotiable steps in achieving authentic results.
For instance, the process of 'chilling' dough, particularly for tarts or puff pastry, is vital. Resting dough in the refrigerator allows gluten to relax, preventing shrinkage during baking, and solidifies fats, which helps create flakiness. A typical chill time for a shortcrust pastry might be at least 30 minutes, but for puff pastry, multiple chilling periods of 30-60 minutes between folds are essential.
Ignoring this step can lead to tough, misshapen pastries. Similarly, 'whipping' egg whites to specific stages – soft peaks, firm peaks, or stiff peaks – is critical for meringues, mousses, and light batters, directly impacting aeration and stability. Achieving stiff peaks, for example, means the meringue holds sharp points when the whisk is lifted and is often required for stable macaron shells or soufflés.
Essential Equipment for French Pastry
While many basic baking tools are universal, certain pieces of equipment are particularly beneficial, if not essential, when diving into French pastry techniques. Having the right tools can streamline processes, improve consistency, and make achieving professional results much easier. Precision is paramount in French baking, and accurate measuring tools are a must. A digital scale, for instance, is highly recommended as many French recipes are based on weight measurements, offering far greater accuracy than volume measurements.
Beyond scales, a few specific items stand out. A good quality stand mixer with whisk, paddle, and dough hook attachments is invaluable for tasks like kneading brioche dough, whipping large batches of meringue for French buttercream, or creaming butter effectively. For pastry doughs, a pastry blender or food processor helps cut cold butter into flour quickly, ensuring a flaky texture.
Silicone mats (like Silpat) are excellent for rolling dough evenly and baking delicate items like macarons without sticking. Additionally, specific pastry tips and bags are necessary for piping choux pastry, decorating cakes, or filling eclairs, adding that signature polished look to your French pastry techniques guide journey.
Key French Pastry Doughs and Their Techniques
Pate Sucree: The Sweet Shortcrust Pastry Technique
Pate Sucree is a sweet, crumbly shortcrust pastry often used for fruit tarts and dessert shells. Unlike other shortcrusts, it often incorporates egg yolks, contributing to its richness and delicate texture. The technique typically involves creaming butter and sugar first, then adding the egg yolks, and finally incorporating the flour. This "creaming method" minimizes gluten development, resulting in a tender, almost cookie-like crust that crumbles beautifully when bitten into.
The key to a successful Pate Sucree lies in not overworking the dough once the flour is added. Overmixing develops gluten, leading to a tough crust. After mixing, the dough must be chilled thoroughly, usually for at least an hour.
Chilling makes the dough firm enough to roll out without sticking and helps the fat solidify, which is crucial for texture. Rolling the dough evenly, typically to about 3-4mm thickness, and carefully lining the tart pan without stretching are also critical steps to ensure an even bake and prevent shrinkage. Baking is often done blind (without filling) first, ensuring a crisp base before adding fillings.
Tips for a Flaky Pate Sucree
To enhance flakiness in Pate Sucree, ensure your butter is cold and cut into small pieces. Some recipes even use the 'sablage' method (sanding) where cold butter is rubbed into the flour until the mixture resembles coarse sand before adding liquids; this coats the flour particles with fat, inhibiting gluten.
- Keep ingredients cold.
- Avoid overmixing after adding flour.
- Chill the dough adequately before rolling (e.g., 1-2 hours).
- Handle the dough gently when rolling and lining the pan.
Pate Sablee: The Sandy Shortcrust Pastry Technique
Pate Sablee is another sweet shortcrust, similar to Pate Sucree but often richer and with a more pronounced crumbly, or "sandy," texture, hence its name. This texture is typically achieved using the 'sablage' method mentioned earlier: cold butter is cut or rubbed into the flour until the mixture resembles fine sand before any liquid (usually egg yolks and sometimes a little cream or water) is added. This technique coats the flour particles in fat, preventing gluten formation almost entirely and resulting in a tender, melt-in-your-mouth texture.
The handling of Pate Sablee is similar to Pate Sucree in that it requires chilling and gentle treatment. Because it's more crumbly, it can be slightly trickier to work with. Rolling it between two sheets of parchment paper is a common technique to manage its delicate structure. It's often used for individual tartlets or cookies where its rich, sandy texture can be fully appreciated. Baking temperature is typically around 180°C (350°F) for about 15-20 minutes, or until golden brown.
Avoiding Shrinkage in Pate Sablee
Pate Sablee is prone to shrinking if not handled correctly.
- Use the 'sablage' method to minimize gluten development.
- Ensure ingredients, especially butter, are very cold.
- Chill the dough thoroughly after mixing (at least 1-2 hours).
- After lining the tart pan, chill the pastry shell again for at least 30 minutes before baking.
- Prick the base with a fork before blind baking to allow steam to escape.
Pate Brisee: The Classic Shortcrust Pastry Technique
Pate Brisee is arguably the most versatile of the French shortcrusts. It's a simple mixture of flour, cold butter, salt, and cold water, and can be used for both sweet and savory applications like quiches, tarts, and turnovers. The technique usually involves cutting cold butter into the flour until the mixture resembles coarse crumbs (this is sometimes referred to as the 'cut-in' method or a less extreme version of 'sablage'). Cold water is then added just until the dough comes together.
The key to a good Pate Brisee is keeping everything cold and working quickly to prevent the butter from melting before baking. Visible pieces of butter within the dough are actually desirable, as these pockets of fat melt during baking, creating steam that pushes apart the layers of dough, resulting in flakiness. Overmixing leads to a tough crust due to excess gluten development. Like other shortcrusts, it requires chilling, typically for at least 30 minutes, to make it manageable for rolling and to relax the gluten.
Handling Pate Brisee Dough
Pate Brisee can be slightly less delicate than Pate Sucree or Sablee, but still requires careful handling.
- Ensure butter and water are ice cold.
- Cut the butter into the flour until pieces are pea-sized or smaller.
- Add just enough water for the dough to come together; it should not be sticky.
- Chill the dough well before rolling.
- Roll on a lightly floured surface or between parchment paper.
- Avoid stretching the dough when lining pans.
Choux Pastry: Mastering the Art of Eclairs and Cream Puffs
Choux pastry (Pate à Choux) is unique among pastry doughs because it is cooked twice: first on the stovetop to create a thick paste (panade), and then baked or fried until puffed and hollow. It's made from flour, butter, water (or milk), and eggs. The stovetop cooking gelatinizes the starch in the flour, allowing it to absorb a large amount of liquid (from the eggs) without becoming runny.
The technique involves bringing the liquid and butter to a boil, adding the flour all at once, and stirring vigorously over medium heat until the mixture forms a ball and pulls away from the sides of the pan, leaving a slight film on the bottom. This cooking dries out the paste slightly, which is essential for it to absorb the eggs.
Eggs are then beaten in one by one off the heat; the amount needed can vary slightly depending on the flour and how much the panade was dried, so it's important to add them until the pastry reaches the correct consistency – it should be smooth and glossy and fall from a spoon in a V-shape.
This paste is then piped and baked in a hot oven (often starting high, around 220°C/425°F, then reduced to around 190°C/375°F) which creates steam from the high moisture content, causing the pastries to puff up and become hollow.
Achieving the Perfect Puff: Choux Pastry Tips
Success with Choux pastry relies on proper cooking on the stovetop and correct egg incorporation.
- Ensure the panade is cooked sufficiently to dry it out slightly (2-3 minutes stirring vigorously).
- Add eggs gradually, ensuring each is fully incorporated before adding the next. The dough should be smooth and glossy but not too runny.
- Bake at the correct temperature – high heat initially for steam, then lower to dry out.
- Crucially, do not open the oven door during the initial puffing stage (first 15-20 minutes) or the pastries may collapse.
- Bake until deep golden brown and firm to the touch to ensure they don't deflate upon cooling.
Puff Pastry (Pate Feuilletee): Creating Layers of Flaky Goodness
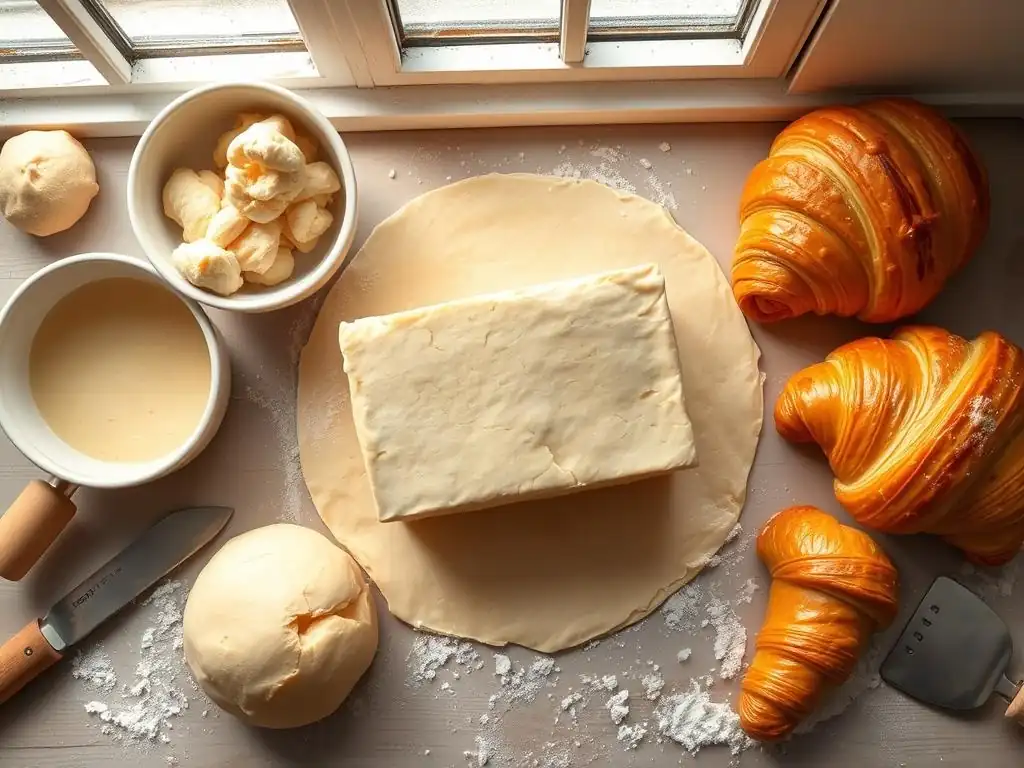
Puff pastry, or Pate Feuilletee, is the epitome of flaky pastries, characterized by hundreds of thin, buttery layers. This incredible texture is created through a process called lamination, where a block of butter is enclosed in a simple dough (detrempe) and then repeatedly rolled and folded. Each fold creates multiple layers of dough separated by layers of butter. During baking, the water in the butter turns to steam, pushing the layers apart and causing the pastry to "puff" dramatically.
Making puff pastry is time-consuming, requiring patience and multiple chilling periods, but the result – incredibly light, airy, and crisp layers – is unmatched. A standard recipe might involve 6 "turns" or folds, resulting in potentially hundreds of layers (e.g., 3 folds result in 2^3 = 8 layers per original layer; 6 folds result in 2^6 = 64 layers per original layer, squared with the butter layers it's much more!). The technique requires keeping the butter and dough cold at all times to prevent the butter from melting into the dough, which would inhibit lamination.
The Lamination Process: A Step-by-Step Guide
Lamination involves enclosing a block of cold butter in a simple dough and performing a series of folds and rolls.
- Make the Detrempe: A simple dough of flour, water, and salt.
- Prepare the Butter: Shape cold butter into a flat rectangle.
- Enclose the Butter: Wrap the detrempe around the butter.
- Perform the First Turn (Fold): Roll the dough into a rectangle, then fold it like a letter (usually into thirds or quarters).
- Chill: Refrigerate for 30-60 minutes to firm up.
- Repeat: Turn the dough 90 degrees, roll into a rectangle again, and fold.
- Chill: Repeat the chilling process.
- Continue: Perform a total of 4-6 turns, with chilling periods in between each turn. This builds the layers.
Essential French Pastry Creams and Fillings Techniques
Creme Patissiere: The Classic Pastry Cream Technique
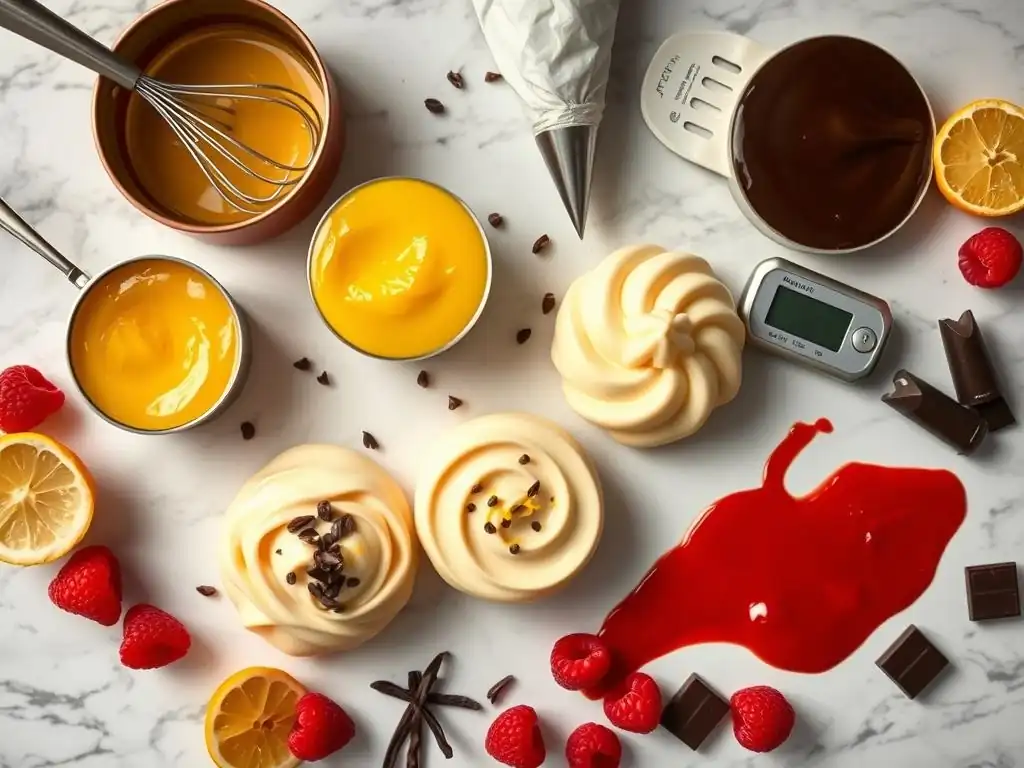
Creme Patissiere, or pastry cream, is a staple filling in French baking, used in everything from tarts and eclairs to mille-feuille and fruit tarts. It's a rich, thick custard made from milk, sugar, egg yolks, and a thickener, typically cornstarch or flour (or a combination). The technique involves heating the milk, whisking the egg yolks and sugar until pale, whisking in the thickener, tempering the hot milk into the egg mixture, and then cooking the mixture over medium heat, stirring constantly, until it thickens significantly.
The key to a smooth, lump-free Creme Patissiere is constant whisking while it cooks to prevent scorching and ensure even thickening. Bringing it to a gentle boil for about 30 seconds after it thickens is important to activate the starch and ensure it holds its shape. After cooking, it must be cooled quickly and covered with plastic wrap pressed directly onto the surface to prevent a skin from forming. Properly made Creme Patissiere should be thick enough to hold its shape when spooned or piped.
Flavor Variations for Creme Patissiere
Basic Creme Patissiere is vanilla-flavored, but it's an excellent base for many variations.
- Chocolate: Whisk in chopped chocolate (e.g., 100g per 500ml milk) after removing from heat.
- Coffee: Add instant coffee granules or espresso powder to the hot milk.
- Lemon/Orange: Infuse the milk with citrus zest or add a few tablespoons of juice or extract after cooking.
- Nutella/Praline: Swirl in Nutella or praline paste after cooking and cooling slightly.
Creme Anglaise: The Delicate Custard Sauce Technique
Creme Anglaise, often referred to as English cream or custard sauce, is a light, pourable custard made from milk, sugar, and egg yolks, typically flavored with vanilla. Unlike Creme Patissiere, it does not contain a starch thickener, relying solely on the egg yolks for thickening. The technique involves heating the milk (often infused with vanilla), whisking egg yolks and sugar together, tempering the hot milk into the egg mixture, and then cooking the mixture gently over low heat, stirring constantly with a wooden spoon or spatula, until it coats the back of the spoon (nappe consistency).
The critical part of making Creme Anglaise is the gentle cooking and constant stirring. Because there's no starch, the egg yolks are solely responsible for thickening, and they can curdle if heated too quickly or too high. The target temperature is usually around 82-85°C (180-185°F); going much higher risks scrambling the eggs. The sauce should be smooth and velvety, not thick like pudding. Once cooked, it's typically strained to remove any potential lumps and cooled.
Preventing Overcooking Creme Anglaise
Overcooked Creme Anglaise turns lumpy and curdled.
- Use a heavy-bottomed saucepan for even heat distribution.
- Cook over low heat.
- Stir constantly with a wooden spoon or heatproof spatula, scraping the bottom and sides of the pan.
- Cook only until the sauce coats the back of the spoon (nappe) and reaches the correct temperature (82-85°C).
- Immediately remove from heat and strain into a cold bowl set over an ice bath to stop the cooking process.
French Buttercream: Meringue-Based Buttercream Techniques
French buttercream is a rich, silky smooth frosting made by whisking hot sugar syrup into beaten egg yolks, then beating in softened butter. It's less common than Swiss or Italian meringue buttercreams but is known for its luxurious texture and intense butter flavor. Italian buttercream uses a hot sugar syrup poured into stiffly beaten egg whites, while Swiss buttercream involves heating egg whites and sugar over a water bath before whipping. French buttercream stands out by using egg yolks, contributing to its rich yellow color and custardy taste.
The technique for French buttercream involves making a pâte à bombe: boiling sugar and water to the soft-ball stage (around 118°C/245°F) and pouring it in a thin stream into vigorously whipping egg yolks. The yolks are whipped until cool, pale, and thick. Softened, but not melted, butter is then gradually added, piece by piece, while the mixture continues to whip. The resulting buttercream is incredibly smooth and stable at room temperature, though it can curdle if the butter is added too quickly or is too cold/warm.
Achieving Silky Smooth French Buttercream
French buttercream requires careful temperature control of both the egg yolk mixture and the butter.
- Ensure the sugar syrup reaches the correct temperature (118°C/245°F).
- Pour the hot syrup slowly into the whipping egg yolks, aiming between the whisk and the bowl side.
- Whip the egg yolk/syrup mixture until it is completely cool before adding butter. This is crucial.
- Add softened butter gradually, in small pieces, while the mixer is running.
- If it curdles, continue beating; it may come back together. If not, gently warm a small portion, add it back, and beat again.
Advanced French Pastry Techniques
Tempering Chocolate: Achieving Shine and Stability
Tempering chocolate is a crucial French pastry technique guide for anyone wanting to create professional-looking chocolate decorations, bonbons, or coatings. Untempered chocolate will set with streaks, bloom (white or grayish patches), and have a dull finish and soft texture. Tempering involves melting chocolate and then cooling it down and reheating it to specific temperatures to stabilize the cocoa butter crystals. This process ensures the chocolate sets hard, snaps cleanly, has a beautiful glossy shine, and resists blooming.
The most common method is the 'tabling' method: melting chocolate (e.g., to 45-50°C/113-122°F for dark chocolate), pouring about two-thirds onto a clean marble or granite surface, and spreading and scraping it with a spatula and bench scraper until it cools and thickens slightly (to around 28-29°C/82-84°F for dark chocolate). This cools the chocolate and encourages the formation of stable crystals.
The cooled chocolate is then scraped back into the remaining melted chocolate and stirred until the mixture reaches the working temperature (around 31-32°C/88-90°F for dark chocolate). Other methods include the seeding method (adding solid tempered chocolate to melted chocolate) or using a microwave with careful heating.
Troubleshooting Common Tempering Issues
Tempering can be tricky, but common issues often have simple fixes.
- Chocolate won't temper: Ensure your starting chocolate is high quality and contains cocoa butter (not just vegetable fat).
- Chocolate thickens too quickly: Your workspace might be too cold, or you cooled the chocolate too much on the marble. Gently rewarm it slightly.
- Chocolate sets dull/streaky: It wasn't tempered properly or lost temper. Remelt and re-temper.
- Chocolate seized (became a thick paste): Even a drop of water or steam can cause this. Unfortunately, seized chocolate is difficult to recover for tempering; it's best used melted into a ganache or batter.
Macaronage: The Key to Perfect Macarons
Macaronage is the specific technique of folding the dry ingredients (almond flour and powdered sugar) into the meringue when making French macarons. It's arguably the most critical step in achieving the desired macaron shell texture and the characteristic "feet" (a ruffled base). The goal is to deflate the meringue just enough to create a batter that is smooth and flows slowly, but not so much that it becomes runny.
The technique involves adding the sifted dry ingredients (often referred to as TPT - tant pour tant, meaning equal parts almond flour and powdered sugar by weight) to the meringue and folding gently but thoroughly with a spatula. The mixture is folded by scraping down the sides of the bowl and pushing the spatula through the center, repeating until the batter reaches the correct consistency. This consistency is often described as "lava-like" or forming a "ribbon" that falls slowly from the spatula back into the bowl.
Over-mixing (over-macaronaging) results in a runny batter that spreads too much and won't form feet. Under-mixing results in a thick batter with peaks that won't flatten and potentially hollow shells without feet.
Macaronage Consistency: Finding the Right Balance
Mastering macaronage comes with practice, but here are indicators of the correct consistency:
- When lifted, the batter should fall in a slow, continuous ribbon.
- This ribbon should hold its shape briefly on the surface before slowly melting back into the mass.
- If you draw a line through the batter with the spatula, it should slowly disappear within 10-15 seconds.
- The batter should be smooth and glossy, with no visible dry pockets.
Tips and Tricks for Successful French Pastry Baking
Common Mistakes to Avoid
Even with a solid French pastry techniques guide, mistakes happen. Being aware of common pitfalls can save you frustration. One frequent error is incorrect ingredient measurement, especially important in precise French baking; using a digital scale is highly recommended. Another is impatience – skipping chilling steps for doughs leads to shrinkage and tough textures, while opening the oven too early for choux or macarons causes deflation. Overworking doughs, particularly shortcrusts, is a common mistake that develops too much gluten, resulting in tough rather than tender pastries.
Temperature control is paramount. Using ingredients that are too warm or too cold (when they shouldn't be) can ruin a recipe – think melted butter in shortcrust or cold eggs in cake batter. Forgetting to preheat the oven properly means inconsistent baking temperatures. Finally, rushing through steps, like not letting creams thicken fully or not cooling components before assembling, can lead to structural failures or unpleasant textures. Taking your time and following each step precisely is key to mastering these French pastry techniques.
Ingredient Substitutions and Variations
While classic French pastry techniques often rely on specific ingredients, understanding their roles allows for some informed substitutions, though results may vary slightly. For example, while butter is king for flavor and flakiness, in some contexts, a high-quality plant-based butter substitute might work for dietary needs, though the flavor profile will differ. For thickeners in pastry cream, cornstarch provides a cleaner, more transparent set than flour, which gives a slightly cloudier, softer set; substituting one for the other requires adjusting quantities.
Variations are where creativity shines within the framework of French pastry techniques. A basic Creme Patissiere can become chocolate, coffee, or fruit-flavored. Pate Sucree can be flavored with citrus zest or cocoa powder. Choux pastry can incorporate cheese for savory gougères. Understanding the core technique allows you to play with flavors and fillings while maintaining the integrity of the pastry itself. However, for foundational doughs like puff pastry, significant substitutions for the core ingredients (flour, butter, water) are generally not recommended if you want to achieve the classic layered result.
Storing Your French Pastries
Proper storage is essential to maintain the quality and texture of your homemade French pastries. Shortcrust tarts (Pate Sucree, Sablee, Brisee) are often best stored at room temperature if they have fillings like fruit or frangipane, covered loosely, for 1-2 days. If they contain dairy-based fillings like Creme Patissiere or mousse, they must be refrigerated and are best consumed within 2-3 days. Puff pastry items are best eaten the day they are baked for maximum flakiness, but can be stored in an airtight container at room temperature for a day, or refrigerated if filled with cream.
Choux pastries like eclairs and cream puffs filled with Creme Patissiere or whipped cream must be refrigerated and are best eaten within 1-2 days as the shells can soften. Unfilled choux shells, however, can be stored in an airtight container at room temperature for a day or two, or frozen for longer storage (re-crisp in a warm oven before filling).
Macarons should be stored in an airtight container in the refrigerator for up to 3-5 days to allow the flavors to meld and the texture to soften slightly; they can also be frozen for several weeks. Freezing is an excellent option for extending the life of many baked goods, often requiring just thawing at room temperature or gentle warming.
French Pastry Techniques: Next Steps
You've taken a significant step in your baking journey by exploring these fundamental French pastry techniques. This guide has provided a foundation, but the true mastery comes with practice. Don't be discouraged by initial imperfections; every baker faces challenges. Try baking a simple Pate Sucree tart, then move on to choux pastry for cream puffs. As you gain confidence, tackle more complex projects like eclairs filled with Creme Patissiere or even attempt homemade puff pastry.
Continue to seek out reliable recipes that utilize these techniques. Look for detailed instructions and perhaps watch videos to see the techniques in action, like the correct consistency for macaronage or how to properly fold puff pastry. Experiment with different fillings and flavors. With patience and persistence, you'll refine your skills and soon be creating beautiful, delicious French pastries right in your own kitchen, truly embodying the spirit of this comprehensive French pastry techniques guide.
Frequently Asked Questions
How can BakeWithEase.com help me learn French pastry techniques?
BakeWithEase.com offers a French pastry techniques guide with simple recipes and step-by-step guides suitable for all skill levels. You'll find easy-to-find ingredients and clear instructions.
What types of French pastries does BakeWithEase.com cover?
The French pastry techniques guide covers a wide range, including pastries, breads, cakes, and cookies. The focus is on mastering the fundamental techniques behind each.
Is the French pastry techniques guide suitable for beginners?
Yes, BakeWithEase.com's French pastry techniques guide is designed for bakers of all levels, including beginners. The recipes and instructions are simplified for easy understanding.
What are some key French pastry techniques I can expect to learn?
The guide covers essential techniques such as laminating dough, making choux pastry, and creating classic French fillings. You'll learn the foundations for many French desserts.
Where can I find the French pastry techniques guide on BakeWithEase.com?
Look for the "Your Cheat Sheet to French Pastry Techniques" article or search "French pastry techniques guide" within the site's search bar. It should be easily accessible from the homepage or the recipes section.
Final Reflection: Mastering the Art of French Pastry
The pursuit of perfect French pastry is more than just a culinary endeavor; it's a journey of precision, patience, and unwavering dedication. This guide has explored the fundamental techniques that underpin the creation of these exquisite treats, from the delicate art of laminated dough to the precise control of temperature and timing. These techniques, while seemingly complex, are ultimately accessible to anyone with the willingness to learn and practice.
The influence of French pastry on the global culinary landscape is undeniable. Its elegance and sophistication have captivated palates worldwide, inspiring countless variations and interpretations. The enduring appeal lies not only in the delicious results but also in the process itself – a meditative act of creation that connects us to a rich culinary heritage. The simplest things are often the most beautiful,
a sentiment perfectly encapsulating the elegance and precision found in even the most basic French pastry techniques.
Now, it's your turn. Don't be intimidated by the seemingly intricate processes. Take what you've learned here, experiment, embrace the occasional imperfection, and most importantly, enjoy the journey. The mastery of French pastry techniques is not a destination, but a continuous process of learning, refining, and ultimately, creating something beautiful and delicious. Pick a recipe, gather your ingredients, and let your passion guide you. The world of French pastry awaits!
Unleash Your Inner Pâtissier!
Thanks for taking the time to explore the delightful world of French pastry techniques! We hope you've gained valuable insights and inspiration to elevate your baking game. Now it's time to put your newfound knowledge into action.
- Master your first classic: Choose one technique from the article – perhaps the perfect pâte à choux or a flawless crème pâtissière – and bake it this week! Challenge yourself to achieve perfection.
- Share your creations: Snap a picture of your masterpiece and share it on social media using #BakeWithEaseFrenchPastry – let's inspire others!
- Explore further: Dive deeper into the world of French pastries by browsing our other articles on BakeWithEase.com (we've got plenty more secrets to share! ).
What delicious French pastry will you conquer first?