
How to Bake Perfect Eclairs at Home: A Comprehensive Guide

Welcome to BakeWithEase!
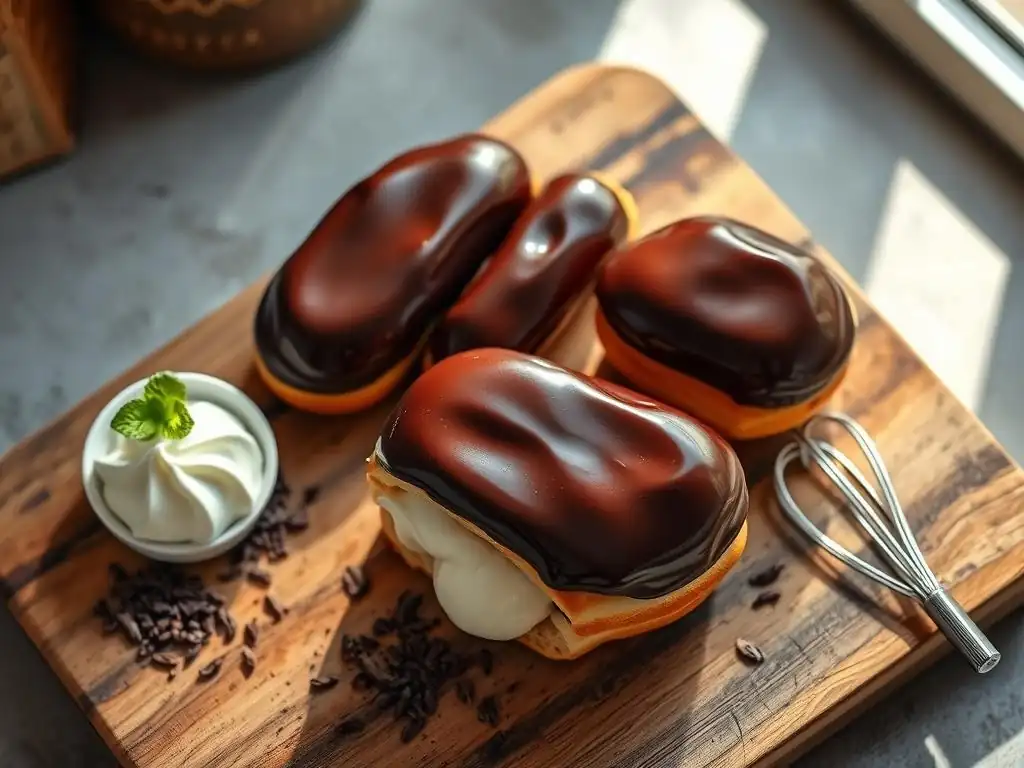
Ever dreamt of creating perfect, melt-in-your-mouth chocolate eclairs at home? Imagine biting into a light-as-air pastry filled with creamy custard and topped with rich chocolate ganache. This guide unveils the secrets to our perfect homemade chocolate eclairs recipe, demystifying the process and empowering you to bake like a pro. Ready to embark on this delectable journey? Let's get started and discover the simple steps to pastry perfection!
- Baking Perfect Eclairs at Home: A Detailed Guide
- Mastering Eclair Baking: A Beginner-Friendly Approach
- Ingredients and Equipment for Perfect Chocolate Eclairs
- Step-by-Step Guide: Baking Eclairs from Scratch
- Troubleshooting Common Problems
- Tips and Tricks for Better Eclairs
- Recipe Recap and Printable Version
- Frequently Asked Questions
- Final Reflection: The Sweet Symphony of Effort and Reward
- Unleash Your Inner Pâtissier: Master the Art of the Eclair!
Baking Perfect Eclairs at Home: A Detailed Guide
Mastering Eclair Baking: A Beginner-Friendly Approach
Key Characteristics of a Perfect Eclair
A truly perfect eclair boasts a distinct set of characteristics that elevate it from a simple pastry shell to a delicate culinary masterpiece. Firstly, the choux pastry shell itself must be light, airy, and hollow on the inside, providing ample space for filling. It should have a crisp, golden-brown exterior without being brittle or tough. The surface should be relatively smooth, though a slight crackle is acceptable and often desired for textural contrast. Uniform shape, typically a straight log of about 4-5 inches, is also key for aesthetic appeal and even baking.
Beyond the shell, a perfect homemade chocolate eclairs recipe relies on the synergy with its filling and glaze. The filling, traditionally a rich pastry cream, should be smooth, creamy, and not overly sweet, offering a delightful contrast to the crisp shell. The chocolate glaze, often a simple ganache or fondant, should be glossy and smooth, adhering beautifully to the shell without dripping excessively.
When you bite into a perfect eclair, you should experience a satisfying crack from the shell, followed by the smooth, cool filling, all complemented by the rich taste of chocolate. Achieving this balance requires attention to detail at every stage of the baking process.
Mastering Choux Pastry: The Foundation
Choux pastry, or pâte à choux, is the magical dough that forms the base of eclairs, cream puffs, and gougères. Its uniqueness lies in its high moisture content, which turns into steam during baking, causing the pastry to puff up and create a hollow interior. Mastering this foundation is crucial for any perfect eclairs recipe.
The process involves cooking flour into a butter-water mixture on the stovetop to create a paste, then beating in eggs one by one off the heat. This cooking step is critical; it gelatinizes the starch in the flour, allowing it to absorb the liquid and fat, forming a stable base before the eggs are added.
The consistency of the choux dough after adding the eggs is paramount. It should be smooth, glossy, and fall from a spoon in a slow, thick ribbon, often described as having a "beak" shape. Too stiff, and the pastry won't puff properly; too wet, and it will spread during baking.
This stage requires careful observation – typically, you'll need 3-5 large eggs for a standard batch using 1 cup of liquid and 1 cup of flour, but the exact amount can vary based on egg size and flour type. Achieving this correct consistency is arguably the most important step in ensuring your homemade chocolate eclairs rise beautifully in the oven.
Ingredients and Equipment for Perfect Chocolate Eclairs
Essential Choux Pastry Ingredients
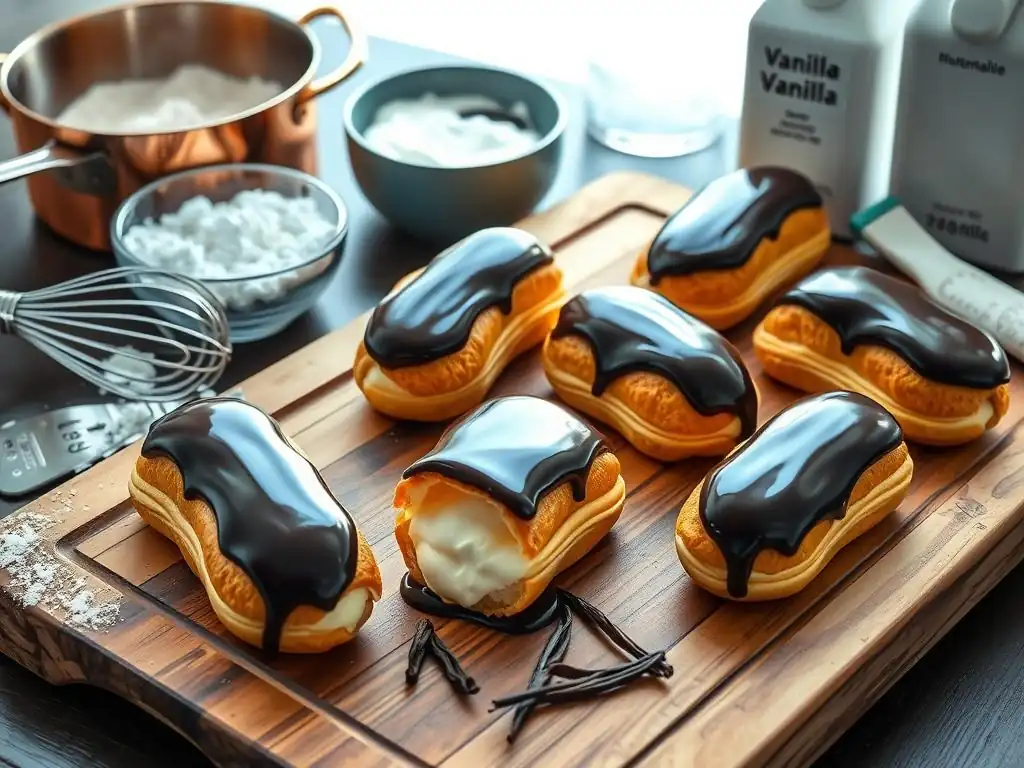
Creating the foundational choux pastry for perfect homemade chocolate eclairs requires just a few simple ingredients, but their quality and accurate measurement are key. You'll need water or milk (or a combination), unsalted butter, all-purpose flour, and eggs. Using milk instead of water can result in a slightly richer dough with a softer crust, while water yields a crispier shell. Unsalted butter is preferred so you can control the salt level; a typical recipe might call for about 1/2 cup (113g) of butter for 1 cup (240ml) of liquid.
The flour should be standard all-purpose flour, measured accurately, ideally by weight (around 120-130g per cup of liquid). Adding the flour all at once to the hot liquid and butter mixture is crucial to create the paste quickly. Finally, the eggs act as the leavening agent; they provide structure and moisture. You'll likely need 3 to 5 large eggs, added gradually. It's better to add eggs one at a time, mixing thoroughly after each addition, until the dough reaches the desired consistency, rather than adding a fixed number, as egg size varies.
Must-Have Equipment for Baking Eclairs
Having the right tools can significantly simplify the process of making perfect homemade chocolate eclairs. While you don't need a professional kitchen setup, a few specific items are highly recommended. A sturdy saucepan is essential for cooking the initial flour mixture. A wooden spoon or a heatproof spatula works well for stirring the dough in the pan and incorporating the eggs. For shaping the eclairs, a piping bag fitted with a large plain or star tip (like an Ateco 808 or 826) is almost indispensable for achieving uniform shapes.
Baking sheets lined with parchment paper or a silicone baking mat are necessary to prevent sticking and promote even heating. Parchment paper can even be marked with lines to guide your piping and ensure straight eclairs. An accurate oven thermometer is also highly beneficial, as precise oven temperature is critical for choux pastry to rise and set correctly. A stand mixer or a hand mixer can make incorporating the eggs much easier, though it can certainly be done by hand with vigorous stirring.
Step-by-Step Guide: Baking Eclairs from Scratch
Step 1: Preparing the Choux Pastry
Heating Liquids and Butter: Achieving the Right Consistency
Begin by combining the liquid (water, milk, or a mix), cubed unsalted butter, a pinch of salt, and a little sugar (optional, but can help with browning) in your saucepan. Place the pan over medium heat. The goal is to melt the butter completely and bring the liquid to a rolling boil fairly quickly. This ensures that when you add the flour, the mixture is hot enough to immediately start the cooking process.
Once the mixture is boiling vigorously, remove the pan from the heat or reduce the heat to very low. This is the moment you'll add the flour.
Incorporating Flour: Critical Steps for Smooth Dough
Add all of the measured flour into the hot liquid/butter mixture at once. Immediately begin stirring vigorously with your wooden spoon or spatula. The mixture will look lumpy at first, but continue to stir and beat it against the sides of the pan. The goal is to incorporate all the flour and cook out some of the moisture, forming a smooth, cohesive ball of dough.
Return the pan to low heat and continue to cook the dough, stirring constantly, for 1 to 2 minutes. You'll know it's ready when the dough pulls away from the sides of the pan and a thin film forms on the bottom of the pan. This step, known as dessécher, is crucial for developing the starch and ensuring the choux will puff properly.
Adding Eggs: The Key to Eclair Puff
Transfer the hot dough to a mixing bowl. If using a stand mixer, use the paddle attachment. Let the dough cool slightly for a few minutes, stirring it to release steam. This prevents the eggs from scrambling when added. Once the dough is warm but not hot to the touch, begin adding the eggs, one at a time.
Beat each egg thoroughly into the dough before adding the next. The dough will look separated and slippery at first, but keep mixing; it will come back together and become smooth and glossy. Continue adding eggs until the dough reaches the correct consistency – the "ribbon" stage. Test by lifting the paddle or spoon; the dough should fall back into the bowl in a slow ribbon and a V-shape or "beak" should remain on the attachment/spoon. This typically requires 3 to 5 large eggs for a standard batch.
Step 2: Piping Eclair Shapes
Choosing the Right Piping Tip
For perfect homemade chocolate eclairs, selecting the right piping tip is important for achieving uniform size and shape. A large plain round tip, such as an Ateco 808 (about 5/8 inch or 1.5 cm opening), is a classic choice and results in smooth, rounded eclairs. Alternatively, a large open star tip, like an Ateco 826, can be used; this creates ridged eclairs that can sometimes help the pastry puff more evenly and provide extra surface area for the glaze.
Fit your piping bag with the chosen tip and fill it with the prepared choux pastry dough. Don't overfill the bag, as it makes it harder to handle. Twist the top of the bag to secure the dough.
Piping Techniques for Uniform Eclairs
Piping uniform eclairs is key to ensuring they bake evenly. Line your baking sheet with parchment paper. If you want perfectly straight eclairs, you can draw lines on the underside of the parchment paper using a ruler, spacing them about 2-3 inches apart to allow for expansion. Place the piping bag tip perpendicular to the baking sheet, just above the surface.
Apply steady, even pressure to the bag, moving in a straight line to create logs about 4 to 5 inches long. Stop applying pressure before lifting the bag away, twisting slightly to break the dough cleanly. Dip your finger lightly in water and gently smooth down any peaks or uneven ends. Aim for consistent size and shape across the batch for the best results with your perfect eclairs recipe.
Step 3: Baking Eclairs to Perfection
Oven Temperature and Baking Time
Baking choux pastry correctly involves a two-stage temperature process for optimal puff and dryness. Preheat your oven to a relatively high temperature, typically around 400°F (200°C). This initial high heat creates a burst of steam from the dough's moisture, causing the eclairs to puff rapidly. Bake at this temperature for about 15-20 minutes, or until the eclairs are fully puffed and lightly golden.
Once the eclairs have puffed and taken shape, reduce the oven temperature to a lower setting, usually around 350°F (175°C), and continue baking for another 15-25 minutes. This lower temperature allows the pastry to dry out and crisp up without burning, ensuring the shells hold their shape and don't collapse after cooling. The total baking time is often between 30 and 45 minutes, depending on the size of the eclairs and your oven. They should be deep golden brown and feel light and hollow when lifted.
Preventing Eclairs from Collapsing
Preventing your homemade chocolate eclairs from collapsing is a common concern and directly related to proper baking. The primary reason for collapse is insufficient drying time in the oven. If the internal structure isn't fully set and dry, the steam inside will condense upon cooling, causing the shells to deflate. This is why the two-stage baking process, starting hot to puff and finishing cooler to dry, is crucial.
Another technique to prevent collapse is to prick the finished eclairs with a small knife or skewer immediately after taking them out of the oven. This allows some of the steam to escape gradually. Some bakers even recommend turning the oven off and leaving the eclairs inside with the door slightly ajar for 10-15 minutes after baking is complete to cool down slowly and continue drying. Ensure the eclairs are deeply golden brown, indicating they are cooked through, before removing them from the oven completely.
Step 4: Preparing the Filling
Classic Pastry Cream Recipe
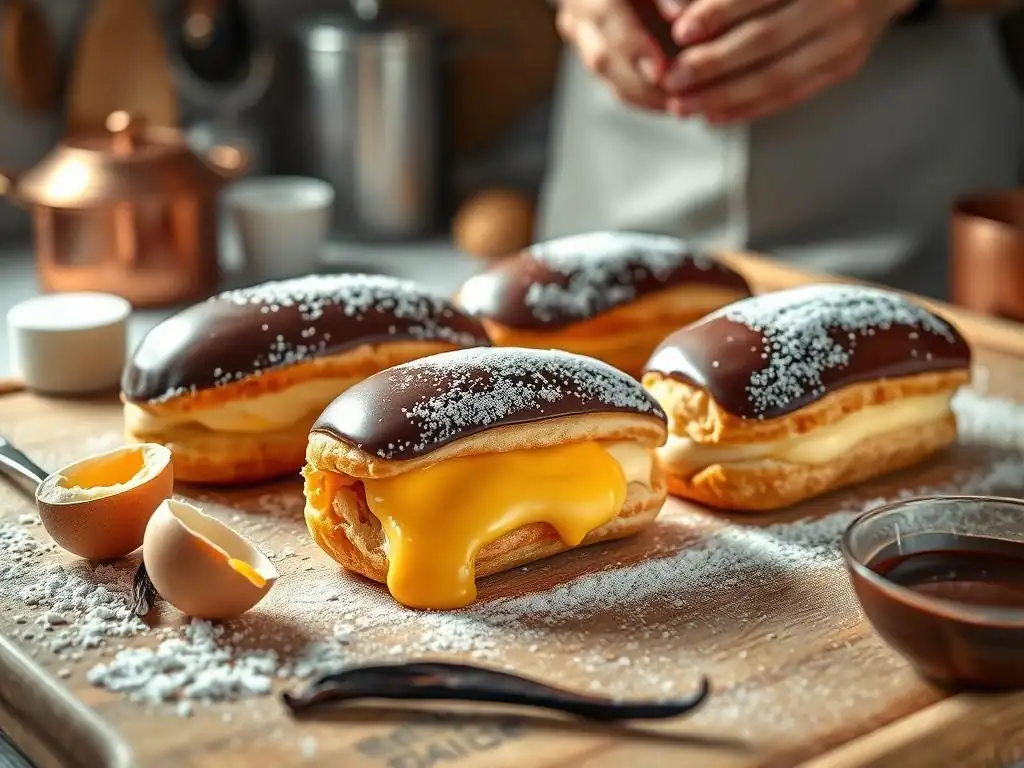
A classic filling for perfect homemade chocolate eclairs is a rich, smooth pastry cream ( crème pâtissière). While specific recipes vary, a standard approach involves whisking together egg yolks (typically 4-6) with sugar (around 1/2 cup or 100g) until pale and thick. Separately, heat milk (about 2 cups or 480ml) with vanilla (extract, bean, or paste) until just simmering.
Temper the egg mixture by slowly whisking in about half of the hot milk. Pour this tempered mixture back into the saucepan with the remaining milk. Cook over medium heat, whisking constantly, until the cream thickens enough to coat the back of a spoon or reaches a gentle boil (around 170-180°F or 77-82°C).
Remove from heat, whisk in a knob of butter for richness and shine, then strain through a fine-mesh sieve into a clean bowl. Cover the surface directly with plastic wrap to prevent a skin from forming and chill thoroughly in the refrigerator for at least 2-3 hours, or until firm.
Flavor Variations for Filling
While classic vanilla pastry cream is delightful, you can easily adapt the filling for your perfect homemade chocolate eclairs recipe. To make chocolate pastry cream, simply whisk in chopped dark or milk chocolate (about 4-6 ounces or 113-170g) into the hot pastry cream after it's cooked and strained. The residual heat will melt the chocolate; whisk until smooth. Chill as usual.
Other popular variations include coffee pastry cream (add espresso powder or strong coffee to the milk), praline cream (fold in praline paste or finely crushed praline), or even fruit-flavored creams using purees (though these can sometimes make the pastry soggy faster). Experimenting with flavors allows you to personalize your homemade chocolate eclairs and cater to different tastes. Just ensure the consistency remains pipeable after chilling.
Step 5: Making the Glaze
Simple Chocolate Glaze Recipe
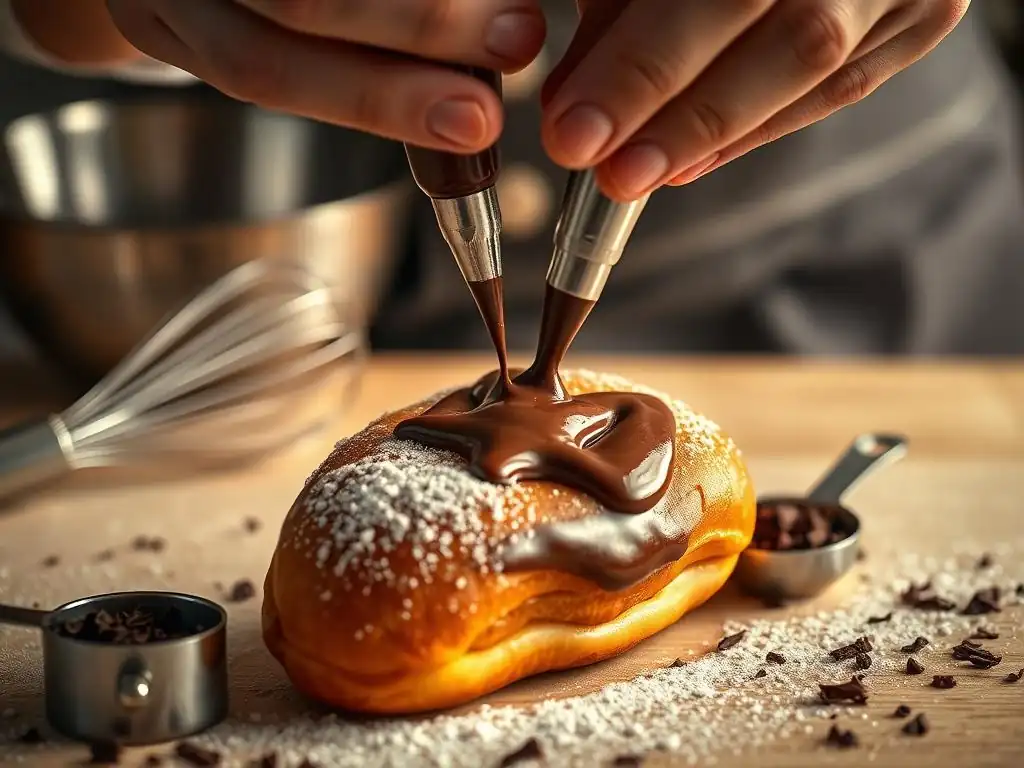
The signature finish for perfect homemade chocolate eclairs is a smooth, glossy chocolate glaze. A simple and effective method is a basic chocolate ganache. Heat heavy cream (about 1/2 cup or 120ml) in a small saucepan until it just begins to simmer. Place finely chopped chocolate (dark, milk, or a mix, about 4-6 ounces or 113-170g) in a heatproof bowl.
Pour the hot cream over the chopped chocolate. Let it sit for a minute or two to allow the heat to melt the chocolate, then gently whisk from the center outwards until a smooth, emulsified glaze forms. You can add a tablespoon of corn syrup or glucose for extra shine if desired. Let the glaze cool slightly until it reaches a thick, but still pourable, consistency – warm enough to dip, but cool enough to set relatively quickly on the eclair.
Achieving a Shiny and Smooth Glaze
Achieving a beautiful, shiny glaze on your perfect eclairs recipe requires attention to temperature and technique. Ensure the chocolate is finely chopped so it melts evenly in the hot cream. When whisking the ganache, do so gently to avoid incorporating too much air, which can make the glaze dull. Adding a small amount of corn syrup or glucose, as mentioned, is a professional trick for extra gloss.
The temperature of the glaze when dipping is crucial. If it's too hot, it will run off the eclairs. If it's too cool, it will be too thick and won't coat smoothly. Aim for a temperature where it flows easily but clings to the eclair shell. Ensure the eclairs are completely cool before glazing; warm eclairs will cause the glaze to melt and slide off. Dipping the top surface of the eclair into the prepared glaze and letting the excess drip off before placing it glazed-side up on a wire rack yields the smoothest finish.
Step 6: Assembling and Filling
Cooling Eclairs: Preparing for Filling
Before filling your perfect homemade chocolate eclairs, it is absolutely essential that the baked choux shells are completely cooled. Warm or even slightly warm shells will create steam that can turn your beautiful pastry cream into a watery mess and make the pastry shell soggy from the inside out. Once removed from the oven and pricked (if using that technique), transfer the eclairs to a wire rack immediately.
Allow them to cool fully at room temperature. This process can take 30 minutes to an hour, depending on the ambient temperature. Resist the urge to fill them prematurely. The shells should feel light, crisp, and completely cool to the touch before you proceed to the next step. This ensures the best texture contrast between the crisp shell and the smooth filling.
Filling Techniques: Ensuring Even Distribution
There are a few methods for filling homemade chocolate eclairs, each aiming for even distribution of the pastry cream throughout the shell. The most common method involves making 2-3 small holes in the underside of each eclair using a small knife or pointed object. Fit a piping bag with a small plain tip (like an Ateco 801 or 802) and fill it with the chilled pastry cream.
Insert the tip into each hole and pipe the cream until you feel the eclair become heavy and slightly firm, indicating it's full. Alternatively, you can slice the eclair horizontally using a serrated knife and fill the bottom half with cream using a spoon or piping bag before replacing the top. While slicing is easier, piping through holes keeps the eclair shell intact for a cleaner look before glazing. Whichever method you choose, ensure the cream is evenly distributed for the perfect eclairs recipe experience in every bite.
Glazing: The Final Touch
With the eclairs filled, the final step is applying the chocolate glaze. Ensure your glaze is at the correct temperature – cooled slightly from warm, but still pourable. Hold a filled eclair upside down and gently dip the top surface into the prepared chocolate glaze. Lift the eclair, allowing the excess glaze to drip back into the bowl.
Alternatively, you can place the filled eclairs on a wire rack set over parchment paper and spoon the glaze over the tops. This method can sometimes be messier but works well if your glaze is slightly on the thicker side. Place the glazed eclairs back on the wire rack or onto a serving platter. Allow the glaze to set for about 15-30 minutes at room temperature or briefly in the refrigerator before serving your beautiful perfect homemade chocolate eclairs.
Troubleshooting Common Problems
Why are my eclairs flat?
Flat eclairs are a common and frustrating problem when baking choux pastry, often indicating that the dough didn't rise properly in the oven. One primary cause is adding too much egg to the dough, resulting in a mixture that is too wet and lacks the necessary structure to hold its shape during baking. The dough should be stiff enough to hold a "beak" shape when lifted, not run off the spoon.
Another significant factor is insufficient baking time or temperature. If the oven isn't hot enough initially (e.g., not preheated to 400°F or 200°C), the dough won't get the steam burst needed to puff. If the shells aren't dried out sufficiently at the lower temperature (e.g., 350°F or 175°C), the internal structure will collapse upon cooling. Ensure accurate oven temperature (using an oven thermometer) and bake until the eclairs are deep golden brown and feel light.
Why are my eclairs soggy?
Soggy eclairs can happen for a couple of reasons, affecting the delightful texture of your perfect homemade chocolate eclairs. The most frequent cause is filling the eclairs while the shells are still warm. As mentioned earlier, residual heat in the shell will cause moisture from the filling to condense, making the pastry soft and damp. Always ensure the choux shells are completely cooled before adding any filling.
Another reason for sogginess can be the filling itself being too wet or not properly chilled and set. Pastry cream that isn't cooked long enough to thicken properly or is used before it's fully chilled will have excess moisture. Also, if filled eclairs are stored for too long, especially in a humid environment or refrigerator, the moisture from the filling will eventually migrate into the pastry shell. For the best texture, fill and glaze eclairs close to serving time, ideally within a few hours.
Why is my choux pastry too thick or thin?
The consistency of your choux pastry dough is critical for piping and baking success, and it can sometimes end up too thick or too thin. If your dough is too thick, it's likely because you didn't add enough eggs. The dough will be very stiff and hard to stir, and when you lift a spoon, it will break off rather than fall in a ribbon. You can often fix this by beating in another partial or whole egg, bit by bit, until the correct consistency is reached.
Conversely, if your choux pastry is too thin or runny, you've likely added too many eggs. This is harder to fix. You might be able to cook the dough gently over low heat for a minute or two while stirring vigorously to evaporate some moisture, but this can also alter the texture. The best prevention is to add eggs gradually and stop as soon as the dough reaches the correct ribbon consistency. Pay close attention during the egg incorporation stage for your perfect eclairs recipe.
Tips and Tricks for Better Eclairs
Secrets to Achieving a Perfect Shape
Achieving consistently shaped perfect homemade chocolate eclairs goes beyond just using the right piping tip. One secret is to use a piping bag with a sturdy material that provides good control. Also, practicing your piping technique on an empty baking sheet before adding the dough can help you get a feel for the pressure needed and the speed of movement.
Using a guide under your parchment paper, like drawn lines or even a template, ensures your eclairs are straight and of similar length, typically around 4 to 5 inches. After piping, dipping a finger in water and gently smoothing down any little peaks at the end of the eclairs prevents them from burning during baking. Consistent shape leads to consistent baking and a more professional-looking result for your homemade chocolate eclairs.
How to Store Eclairs for Freshness
Storing perfect homemade chocolate eclairs correctly helps maintain their delightful texture and flavor. Baked, unfilled choux shells can be stored at room temperature in an airtight container for a day or two, or frozen for up to a month. If freezing, reheat them in a 350°F (175°C) oven for 5-10 minutes to crisp them up before filling.
Once filled and glazed, eclairs are best enjoyed fresh. The moisture from the filling will gradually soften the shell. They can be stored in the refrigerator in a single layer in an airtight container for up to 1-2 days, but the pastry shell will soften over time. For optimal crispness and flavor, fill and glaze your perfect eclairs recipe creations just a few hours before serving.
Variations and Adaptations: Exploring Flavors
While the perfect homemade chocolate eclairs recipe is a classic, there's a world of flavor variations to explore. Beyond chocolate, you can experiment with different glazes like caramel, coffee, or even a simple powdered sugar glaze. The filling offers even more opportunities for creativity.
Consider fillings like coffee cream, pistachio pastry cream, lemon curd, or even a lightened cream like diplomat cream (pastry cream mixed with whipped cream). For a truly decadent treat, you could even fill them with ice cream (fill just before serving!). Don't be afraid to adapt the chocolate eclairs recipe by adding extracts, zests, or other flavorings to both the filling and the glaze to create your own signature eclairs.
Recipe Recap and Printable Version
Making perfect homemade chocolate eclairs involves several distinct stages: preparing the choux pastry, piping the shells, baking them to be light and hollow, making the filling, crafting the glaze, and finally assembling the components.
Here's a quick recap of the key steps:
- Cook water/milk, butter, salt (and sugar) to a boil.
- Add flour all at once and cook vigorously for 1-2 minutes until a film forms.
- Cool slightly, then beat in eggs one by one until ribbon consistency.
- Pipe logs onto a lined baking sheet.
- Bake at 400°F (200°C) for 15-20 mins, then reduce to 350°F (175°C) for 15-25 mins, until deep golden and light.
- Cool completely on a wire rack.
- Prepare chilled pastry cream filling.
- Prepare chocolate glaze.
- Make small holes in cooled eclairs and pipe in filling until heavy, or slice horizontally and fill.
- Dip or spoon glaze over the tops.
- Allow glaze to set before serving.
A printable version of this perfect eclairs recipe would typically include precise ingredient quantities by weight and volume, detailed step-by-step instructions, baking temperatures and times, and perhaps notes on variations and troubleshooting. It would condense the information presented here for easy reference in the kitchen.
Frequently Asked Questions
How difficult is it to bake eclairs at home, really?
While eclairs might seem intimidating, with our step-by-step guide, even beginners can achieve great results. The key is to follow the recipe carefully and precisely.
What are the most common mistakes people make when baking eclairs?
Common mistakes include not cooking the pâte à choux dough enough, using too much liquid, or opening the oven during baking. These errors can cause the eclairs to collapse.
Can I make the eclair shells ahead of time?
Yes, you can bake the eclair shells ahead of time. Store them in an airtight container at room temperature for a day or two. You can also freeze them for longer storage.
What kind of filling is best for chocolate eclairs?
Classic fillings include pastry cream (crème pâtissière) or whipped cream. Experiment with different flavors to find your favorite combination to complement the chocolate.
What kind of chocolate is best for the eclair topping?
Use a high-quality dark or semi-sweet chocolate for the topping. This will give you a rich and glossy glaze that perfectly complements the eclair's texture and filling.
Final Reflection: The Sweet Symphony of Effort and Reward
The pursuit of the perfect homemade chocolate éclair transcends mere baking; it's a testament to the power of patience, precision, and the undeniable joy of creating something beautiful from scratch. In a world of instant gratification, taking the time to master the delicate art of choux pastry and the rich allure of chocolate ganache offers a profound sense of accomplishment, a delicious counterpoint to the fast-paced modern life. This guide aimed to demystify the process, providing you with the tools and confidence to achieve eclair perfection in your own kitchen.
The enduring appeal of the éclair lies not just in its exquisite taste, but in its symbolic representation of culinary artistry. It's a dessert that demands respect, a delicate balance of crisp pastry and creamy filling that speaks volumes about the baker's skill and dedication. As I explored the nuances of each step, from the precise whisking of the choux paste to the careful tempering of the chocolate, I was reminded of the importance of mindful creation. The best things in life are worth waiting for,
and this couldn't be truer for the perfectly crafted éclair.
Now, I invite you to embark on your own éclair adventure. Don't be intimidated by the seemingly complex process; embrace the challenge, savor each step, and revel in the satisfaction of creating something truly special. The journey to baking the perfect éclair is as rewarding as the final bite itself. So, gather your ingredients, put on your apron, and let the sweet symphony of effort and reward begin. The taste of success, and a perfectly crafted chocolate éclair, awaits.
Unleash Your Inner Pâtissier: Master the Art of the Eclair!
Thanks for joining us on this delicious journey into the world of eclairs! We hope you've gained the confidence and knowledge to create truly perfect pastries. Now it's time to put your new skills to the test!
- Bake your dream eclairs: Gather your ingredients, follow your favorite recipe (or ours! ), and create those flawlessly puffed, creamy delights. Don't be afraid to experiment with different fillings and glazes!
- Share your masterpiece: Post a picture of your eclairs on social media and tag us! We'd love to see your baking triumphs (and even your delightful fails—we've all been there! ).
- Explore more baking adventures: Dive into our other recipe collections on BakeWithEase.com – we've got everything from delicate macarons to decadent chocolate cakes waiting for you!
So, what incredible eclair creation will you whip up first? Let us know in the comments below!