
Utilize a Projector for Pinpoint Accuracy in Cookie Decorating

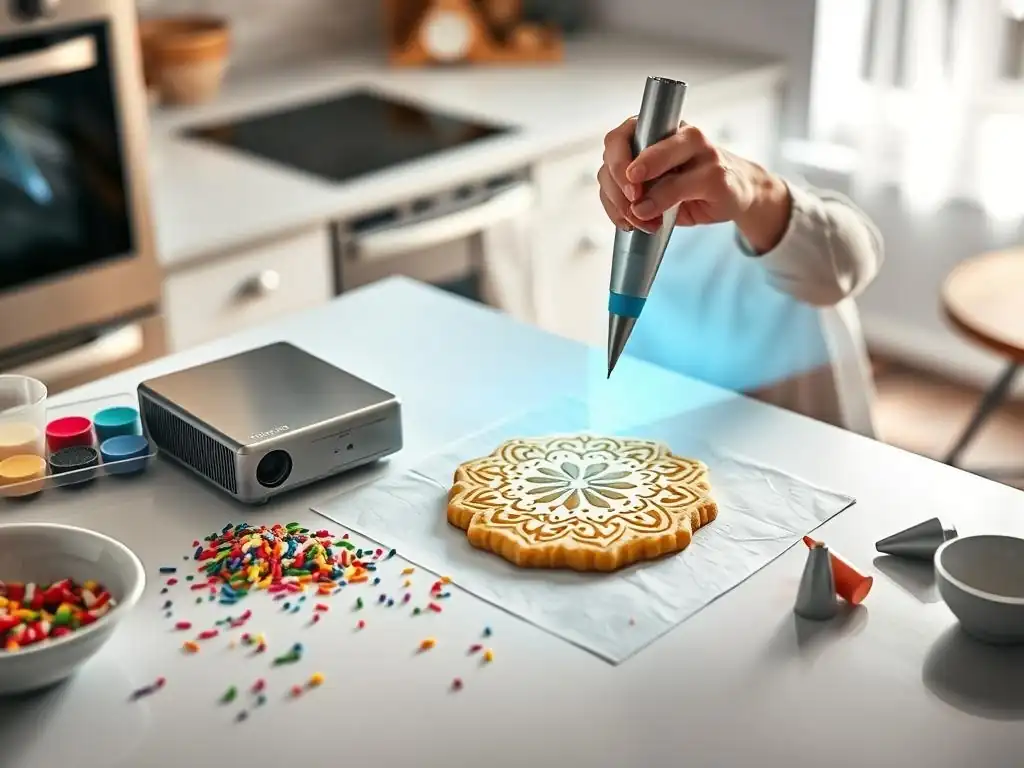
Welcome to BakeWithEase, your haven for all things baking! Ever struggled to achieve perfectly intricate designs on your cookies? Dive into our latest article where we unveil game-changing cookie decorating projector techniques. Discover how this innovative method can elevate your creations, guaranteeing pinpoint accuracy and stunning results, no matter your skill level. Are you ready to unlock the secret to flawless cookie artistry? Read on to discover how!
- Introduction to Cookie Decorating with a Projector: Elevate Your Art
- Understanding Cookie Decorating Projector Techniques
- Choosing the Right Projector for Cookie Decorating
- Setting Up Your Cookie Decorating Projector Station
- Step-by-Step Guide: Decorating Cookies with a Projector
- Advanced Cookie Decorating Projector Techniques
- Troubleshooting Common Projector Cookie Decorating Issues
- Maintaining Your Cookie Decorating Projector
- Conclusion: Mastering Cookie Decorating with Projector Precision
-
Frequently Asked Questions
- How can a cookie decorating projector help me achieve more precise designs?
- What kind of projector is best suited for cookie decorating?
- What type of images or designs work best with a cookie decorating projector?
- Are there any specific surfaces or settings that are ideal for using a cookie decorating projector?
- What are some common challenges or pitfalls when using a cookie decorating projector, and how can I avoid them?
- Final Reflection: Illuminating the Art of Cookie Decorating
- Unleash Your Inner Cookie Artist!
For cookie artists striving for perfection, achieving consistent, intricate designs can be a significant challenge. Freehand decorating, while impressive, often introduces variability, especially when replicating complex logos, detailed illustrations, or precise lettering across multiple cookies. This is where advanced cookie decorating projector techniques come into play, offering a revolutionary way to transfer virtually any design onto a cookie surface with exceptional accuracy. By projecting an image directly onto your prepared cookie, you create a visual guide that eliminates guesswork and significantly reduces the likelihood of errors, transforming difficult designs into manageable steps.
Embracing these cookie decorating projector techniques allows bakers to push the boundaries of their creativity and take on commissions that demand high levels of detail and uniformity. Imagine flawlessly recreating a company logo with intricate text or painting a miniature portrait with perfect proportions – tasks that are incredibly difficult, if not impossible, to achieve consistently by eye alone. The use of a projector levels the playing field, making sophisticated designs accessible to more decorators and ensuring professional-looking results, whether you're decorating a single masterpiece or hundreds for a large order.
The primary appeal of using a projector for cookie decorating lies in its ability to provide a precise, traceable outline directly onto the cookie surface. Instead of sketching or using transfer methods that can distort or damage the icing, the projector shines the design onto the cookie, ready for you to trace with royal icing or edible paint. This method is particularly beneficial for detailed work, complex patterns, and text, where even slight inaccuracies can compromise the final look. It ensures symmetry, correct sizing, and proper placement of all design elements.
Furthermore, incorporating cookie decorating projector techniques dramatically speeds up the design transfer process. Manually tracing or sketching can be time-consuming and tedious, especially for large batches. With a projector, you can place multiple cookies beneath the projection and quickly trace the outline on each one. This efficiency gain is invaluable for professional cookie decorators or anyone needing to produce a high volume of decorated cookies with consistent quality, allowing more time for the actual decorating process and less on the initial transfer.
A cookie decorating projector is typically a small, portable digital projector used to display an image file onto a surface, in this case, the top of a cookie. These devices range from pico projectors (very small, often battery-powered) to slightly larger, still compact models designed for various uses, including art and crafting. The basic principle is simple: you connect the projector to a device like a smartphone, tablet, or laptop, select the image you want to project, and the projector shines that image through its lens onto the cookie placed below.
The projector needs to be mounted or positioned above the workspace, pointing downwards towards the cookies. The image size is adjusted by changing the distance between the projector and the cookie surface – moving the projector closer makes the image smaller, and moving it further away makes it larger. Once the image is the correct size and positioned correctly on the cookie, the decorator uses it as a guide to apply icing, paint, or other edible mediums, directly tracing the projected lines or filling in projected areas.
Enhanced Accuracy and Precision
Using cookie decorating projector techniques significantly enhances the accuracy and precision of your designs. Instead of relying on shaky hands or imprecise sketching, you get a perfectly scaled and positioned guide. For example, replicating a detailed character face or a complex floral pattern becomes much more manageable when you have clear lines to follow. This precision is crucial for achieving professional-level results, ensuring that elements are correctly proportioned and placed exactly where they should be, even on small cookie surfaces.
Consider a set of logo cookies for a corporate event. The logo often has specific fonts, shapes, and spacing that must be replicated exactly. Freehand would likely result in variations between cookies. With a projector, you can project the official logo file, ensuring every cookie features an identical, accurate representation, maintaining brand consistency across the entire batch. This level of detail and uniformity is a hallmark of high-quality decorated cookies.
Reduced Errors and Rework
One of the most frustrating aspects of complex cookie decorating is making a mistake that requires scraping off icing and starting over – a process that wastes time, ingredients, and effort. By providing a clear, consistent guide, projector techniques drastically reduce the likelihood of errors. You're less likely to misjudge spacing, distort a shape, or misplace a design element when you're simply tracing a projected line.
Anecdotal evidence from decorators suggests that using a projector can reduce design transfer errors by as much as 70-80% compared to freehand methods for complex designs. This means fewer wasted cookies, less time spent on corrections, and a smoother, more enjoyable decorating process. The initial setup time for the projector is quickly offset by the time saved in preventing mistakes and improving efficiency throughout the decorating phase.
Time-Saving Efficiency for Cookie Decorators
Beyond reducing errors, cookie decorating projector techniques are a significant time-saver, particularly for bulk orders or designs with repetitive elements. Setting up the projector and aligning the design takes only a few minutes, after which you can rapidly move from cookie to cookie, tracing the projected image.
For instance, decorating 50 cookies with a detailed design might take hours of careful freehand work or manual tracing. Using a projector, the transfer part of the process could be completed in a fraction of that time, allowing you to move onto the flooding, detailing, and drying stages much faster. This efficiency is critical for professional decorators managing tight deadlines and large volumes, enabling them to take on more orders and increase productivity.
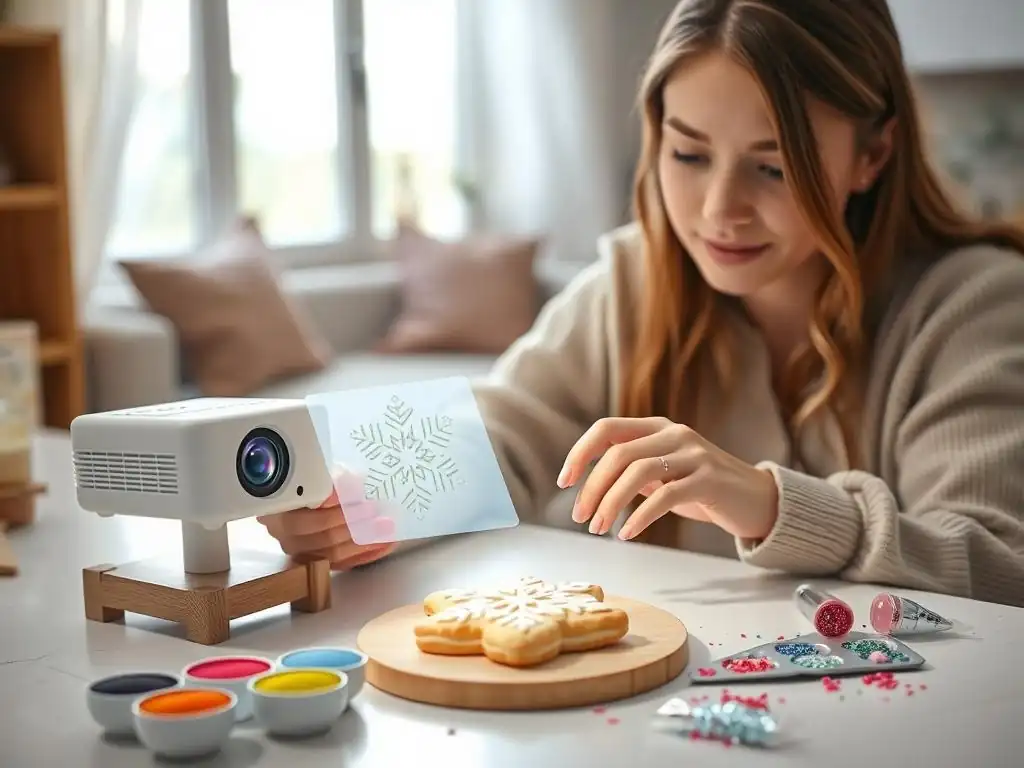
Selecting the right projector is crucial for effective cookie decorating projector techniques. Several technical specifications directly impact performance.
Lumens: Brightness for Clear Projections
Lumens measure the brightness of the projector's light output. For cookie decorating, where you often work in ambient light or need to see the projection clearly on a white or light-colored cookie surface, sufficient brightness is important. While high-end projectors boast thousands of lumens, a dedicated crafting or pico projector often ranges from 50 to 500 lumens. For typical indoor use without direct sunlight, a projector with at least 100-200 lumens can provide a visible guide, though higher lumens (200-500+) offer better clarity, especially if you can't darken the room completely.
A brighter projector (higher lumens) allows you to work in a more normally lit environment without needing to create a completely dark workspace. This is a significant convenience, as constantly adjusting lighting can disrupt your workflow. A projector around the 300-lumen mark, for example, often provides a good balance between brightness and cost for most cookie decorating setups.
Resolution: Image Clarity for Detailed Designs
Resolution refers to the number of pixels the projector displays, determining the sharpness and detail of the projected image. Common resolutions for compact projectors include 480p (SD), 720p (HD), and 1080p (Full HD). For intricate cookie designs, higher resolution is generally better. A 720p or 1080p projector will project sharper lines and finer details compared to a 480p model.
If your designs involve fine lines, small text, or subtle gradients, a higher resolution like 720p or 1080p is highly recommended. While a 480p projector might suffice for simple outlines, it can make tracing very fine details challenging as the projected lines may appear pixelated or blurry. Investing in a projector with at least 720p resolution will significantly improve the accuracy when applying your cookie decorating projector techniques.
Throw Ratio: Distance and Image Size Considerations
The throw ratio of a projector describes the relationship between the distance of the projector from the surface and the size of the projected image. A "short-throw" projector can produce a large image from a short distance, while a "long-throw" projector needs more distance. For cookie decorating, you'll likely be working with relatively small image sizes (the size of a cookie, typically 3-5 inches) projected from a short distance (perhaps 1-2 feet above the table).
Most compact or pico projectors have a suitable throw ratio for this application, often allowing them to project a cookie-sized image from a reasonable height above the workspace. However, it's worth checking the specifications or reviews to ensure the projector can focus clearly at the short distances required for projecting onto a cookie placed on a table. Some projectors have a fixed focus or a minimum focus distance that might be too far for a low setup.
Portability and Setup Ease
Since cookie decorating is often done in a home kitchen or studio, portability and ease of setup are practical considerations. Compact and lightweight projectors are easier to store and set up on a temporary basis. Look for models with simple controls, quick boot-up times, and flexible connectivity options (like HDMI, USB, or wireless).
Many modern pico projectors offer built-in batteries, allowing for cordless operation, which can be convenient for reducing clutter on your workspace. Consider how you plan to mount the projector – does it have a standard tripod mount? Is a suitable stand readily available or included? Easy setup means you can transition from baking to decorating efficiently using your cookie decorating projector techniques.
While specific model availability changes frequently, several types and brands are popular within the crafting and cookie decorating communities. Pico projectors from brands like Anker (Nebula series), AAXA, or similar compact LED projectors are frequently recommended due to their size, portability, and sufficient brightness/resolution for close-up work.
- Pico Projectors: Often very small, battery-powered, and suitable for individual cookie work. Examples might include models with resolutions like 854x480 (FWVGA) or 720p.
- Mini LED Projectors: Slightly larger than pico projectors, often with better brightness (200-500 lumens) and higher resolutions (720p or 1080p). These might require AC power but offer a clearer image. Look for models marketed for art, tracing, or crafting.
It's advisable to read current reviews from other crafters or cookie decorators who have used specific models for similar purposes. Websites and social media groups dedicated to cookie art often feature discussions and recommendations on the best projectors for applying cookie decorating projector techniques. Check specifications carefully to ensure they meet your needs for lumens, resolution, and focus distance.
Setting up an efficient projector station is key to successfully implementing cookie decorating projector techniques. You'll need more than just the projector itself.
Projector Stand or Mount
A stable way to position the projector above your workspace is essential. Options include:
- Adjustable Projector Stands: Often floor-standing or desktop models with adjustable height and angle.
- Tripod Mounts: Many projectors have a standard tripod screw hole, allowing you to use a camera tripod.
- Overhead Mounts: Custom-built rigs or repurposed stands (like lamp stands or microphone stands) that suspend the projector directly over the table.
The stand must hold the projector securely and allow for precise adjustments in height and position to correctly size and center the projected image on your cookies. Stability is paramount to prevent the image from shifting while you work.
Light Blocking Materials
Ambient light can wash out the projected image, making it difficult to see, especially if your projector has lower lumen output. Creating a shaded area around your workspace is highly beneficial.
Consider using:
- A tall box or frame covered with dark fabric (like black felt or blackout cloth).
- Working in a dimly lit room.
- Creating a small enclosure or hood over your immediate decorating area.
Even a simple solution like positioning your setup away from windows or bright lights can help. The goal is to ensure the projected lines are clearly visible on the cookie surface, allowing you to accurately apply your cookie decorating projector techniques.
Level Surface for Cookie Placement
Your cookies need to sit on a flat, stable surface directly beneath the projector. This could be your regular work table, a baking sheet, or a dedicated decorating board. Ensure the surface is level so the projected image doesn't appear distorted on the cookie.
If decorating multiple cookies, arrange them in a way that allows you to easily slide them under the projector for tracing without disturbing others. A smooth, non-reflective surface is ideal beneath the cookie itself.
Once your station is set up, calibration ensures your projected design is accurate.
Adjusting Focus and Keystone Correction
Most projectors have a focus ring or slider on the lens. You'll need to adjust this until the projected lines appear sharp and clear on the surface where the cookie will sit. Keystone correction is a feature that adjusts the image shape if the projector is not perfectly perpendicular to the surface (e.g., projecting at an angle). While useful, it can sometimes slightly distort the image, so positioning the projector as directly overhead as possible is best to minimize the need for keystone correction.
Set up a test cookie or a piece of paper the size of your cookie, place it where you'll be working, and project a simple grid or test pattern. Adjust the focus until the lines are crisp. If the image is wider at the top than the bottom (or vice versa), use keystone correction if necessary, but try to achieve a straight projection first by adjusting the projector's physical angle.
Ensuring Proper Image Scaling
Scaling the projected image to the exact size of your cookie design is critical for accurate cookie decorating projector techniques. This is primarily done by adjusting the height of the projector above the cookie. The higher the projector, the larger the image; the lower, the smaller.
Project your design onto a test cookie or paper. Measure the key elements of the projected image (e.g., the width of a face, the height of text) and compare them to the desired size on your cookie. Adjust the projector's height on its stand until the projected image is the correct size. You may need to slightly reposition the cookie to center the design. Some software used with the projector may also allow for digital zooming or scaling, but physical height adjustment is often the most precise method for getting the exact size needed for your cookie art.
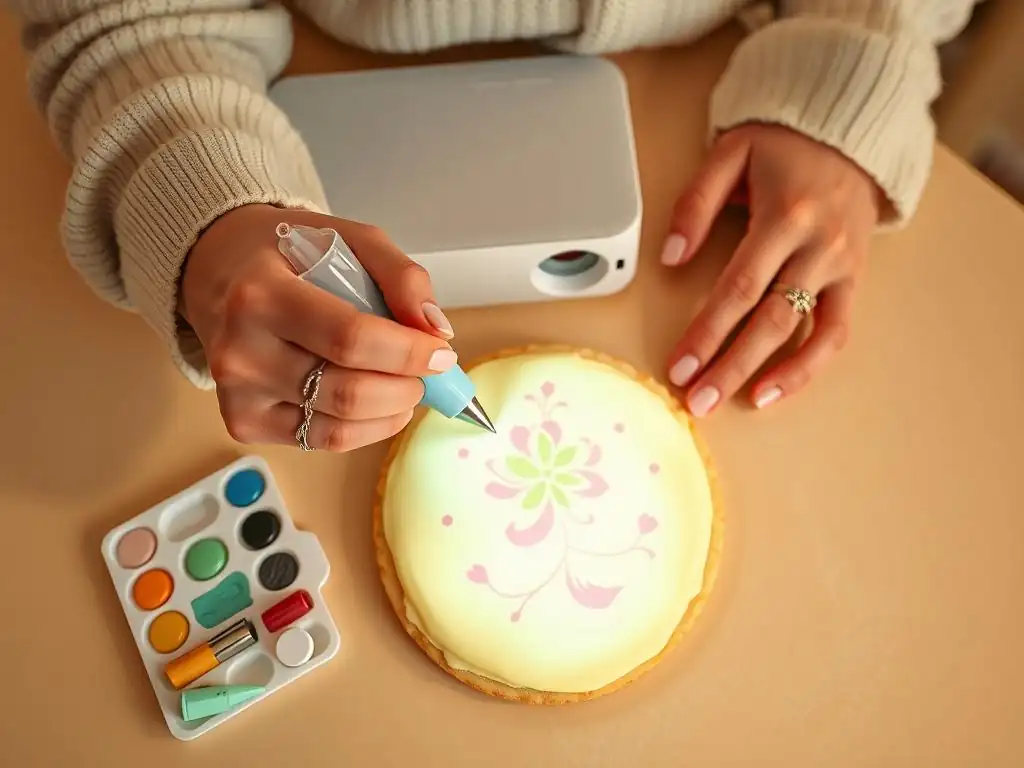
The first step in using cookie decorating projector techniques is choosing the design you want to replicate.
Converting Images for Optimal Projection
Your design needs to be in a digital format compatible with your projector or the device connected to it (usually a JPG, PNG, PDF, or sometimes a vector file like SVG). Simple line art or high-contrast images work best for tracing. If your design is complex or photographic, you might need to simplify it in image editing software (like Photoshop, GIMP, or even simple online editors) to create a traceable outline. Convert color images to black and white or grayscale and increase contrast if needed to ensure lines are sharp when projected.
For example, if you're decorating cookies with cartoon characters, find a clean line art version of the character. If you only have a colored image, use an image editor to trace the main outlines or apply filters that convert the image to a high-contrast black and white line drawing. Save the image file in an easily accessible format for your projection device.
Design Sources
Designs can come from various sources:
- Your own sketches scanned into digital format.
- Logos or graphics provided by clients.
- Images found online (be mindful of copyright if selling).
- Designs created in graphic design software.
- Tracing templates photographed or scanned.
Ensure the design is clear and the lines you intend to trace are well-defined in the digital file. Having a clean, high-resolution source image will lead to a clearer projection, making your cookie decorating projector techniques much more effective.
With your design ready and your station set up, it's time to project.
Positioning the Cookie for Accurate Placement
Place your prepared cookie (usually base iced and dry) on your level workspace beneath the projector. Project your design. Carefully move the cookie until the projected image is centered and positioned exactly where you want it on the cookie surface. If decorating multiple cookies, position the first one, trace, remove it, and place the next cookie in the exact same spot to ensure consistency.
If your design is symmetrical, ensure the cookie is also aligned symmetrically under the projection. For example, if projecting a circular logo onto a round cookie, make sure both are perfectly aligned to avoid a lopsided result. This careful positioning is a fundamental part of successful cookie decorating projector techniques.
Adjusting Brightness and Contrast for Visibility
Depending on your projector and lighting conditions, you might need to adjust the projection settings. Most projectors allow you to change brightness and contrast levels. Increase brightness if the image is too dim, and adjust contrast to make the lines stand out against the cookie background.
If your projector is connected to a phone or tablet, you might also be able to adjust the image settings on the device itself before sending it to the projector. Experiment with these settings to find what works best for your environment and cookie color. The goal is a clear, visible outline that is easy to follow without being so bright it's distracting.
Now for the fun part: tracing and decorating using the projected guide.
Using Various Decorating Techniques
The projected outline serves as a blueprint. You can use various mediums to trace it:
- Royal Icing: This is the most common method. Use a small piping tip (like a PME 00 or 0) and outline consistency royal icing to carefully trace the projected lines.
- Edible Markers: For simple outlines or details, edible markers can be used to lightly trace the lines.
- Edible Paint: Using a fine brush and edible paint (gel food coloring mixed with a little clear extract or vodka), you can paint over the projected lines.
Choose the technique that best suits your design and skill level. For intricate details, royal icing outlining is often preferred for its precision and ability to create raised lines.
Royal Icing Consistency for Projector Decorating
When using royal icing with cookie decorating projector techniques, the consistency is crucial. You need a consistency that is thin enough to flow smoothly through a small tip but thick enough to hold its shape and not spread or bleed into the projected light. This is typically a medium-stiff outlining consistency – it should hold a peak but soften slightly after a few seconds.
If the icing is too stiff, it will be difficult to pipe smoothly, resulting in shaky lines. If it's too thin, it will spread, obscuring the projected line and potentially running off the cookie. Practice on a piece of parchment paper under the projector to get the consistency just right before working on your actual cookies. Aim for a consistency that allows you to lift the piping bag slightly and have the icing fall in a controlled, continuous line onto the cookie surface.
Once you're comfortable with basic tracing, explore more advanced cookie decorating projector techniques.
For highly detailed or multi-stage designs, you can layer projected images. This involves projecting one part of the design, tracing or filling it, allowing it to dry (if necessary), and then projecting the next layer or section of the design precisely over the dried base.
For example, decorating a cookie with a detailed floral spray and a central monogram. You could project the floral spray first, trace and fill it, let it dry. Then, project the monogram design, carefully aligning it within the dried floral area, and trace and fill the monogram. This technique allows you to build up complex scenes and details without the projected image being obscured by wet icing or needing to fit everything into one initial projection. It's particularly useful when elements overlap.
Using Multiple Colors and Textures with a Projector
The projector isn't just for outlines; it can guide color blocking and texture application. Project areas to be filled with specific colors. For instance, project a character and fill in the projected areas for their skin, clothes, and hair with different icing colors.
You can also project guides for applying textures. Project a brick pattern outline to guide where to pipe brick texture, or project a wood grain pattern to follow with a scribe tool on wet icing. The projected image acts as a visual map for applying various colors and textures precisely within defined areas, enhancing the complexity and visual appeal of your cookie art. For example, project a stained-glass window design and use the lines to guide the application of different colored translucent icings within each pane.
Incorporating Airbrushing with Projected Guides
Projectors can also be used in conjunction with airbrushing. Project areas onto the cookie that you want to airbrush with specific colors or gradients. You can then mask off areas you don't want to spray or simply use the projected lines as a visual boundary while airbrushing.
Alternatively, project a design and then use a stencil or freehand airbrushing guided by the projected image. For example, project a silhouette and airbrush the background around it, using the projected line as your guide for where to stop spraying. This combination of cookie decorating projector techniques with airbrushing allows for soft shading, gradients, and quick application of color over large areas while maintaining precise boundaries.
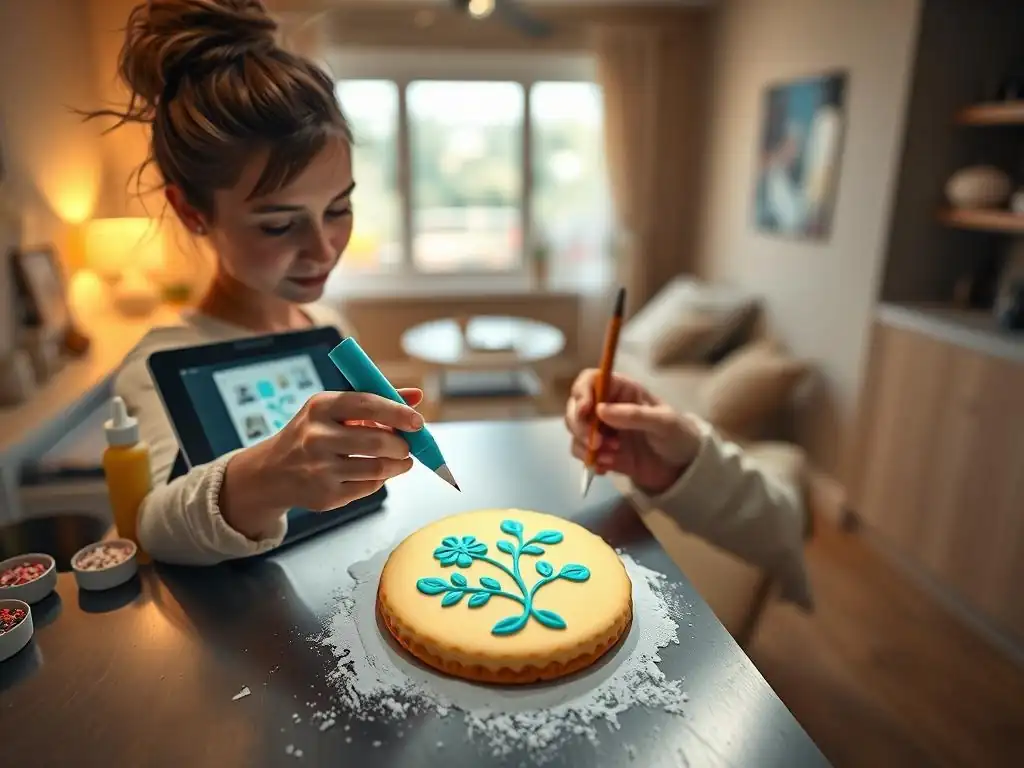
Even with the right setup, you might encounter issues when using cookie decorating projector techniques.
Image Distortion and Alignment Problems
If your projected image looks warped, stretched, or doesn't align correctly with the cookie shape, several factors could be the cause. The most common is the projector not being perfectly perpendicular to the cookie surface, leading to keystone distortion.
- Solution: Ensure your projector stand is stable and the projector is positioned directly overhead, pointing straight down. Use a level if necessary. Check the projector's keystone correction feature, but use it sparingly as it can sometimes slightly degrade image quality. Also, ensure your cookie is lying perfectly flat on a level surface. If using a bent baking sheet, the projection will appear distorted on the curved surface.
Projector Brightness and Visibility Challenges
A projected image that is too dim or washed out makes tracing difficult. This is often due to insufficient projector lumens for the ambient light conditions or the color of the cookie.
- Solution: Try dimming the room lights or creating a shaded enclosure around your workspace using dark fabric or cardboard. Adjust the projector's brightness and contrast settings. Ensure your cookie base layer is a color that provides good contrast with the projected light (white or light colors work best; dark colors are challenging). If working on dark cookies, consider lightly dusting the dry surface with cornstarch or powdered sugar to create a temporary lighter surface for the projection, which can be brushed off later.
Icing Smudging and Bleeding
Accidentally smudging wet icing with the projector or the projector stand, or having icing bleed under lines, are common frustrations.
- Solution: Ensure your projector stand provides enough clearance above your workspace so you don't accidentally bump it. Work carefully and deliberately when tracing. If using royal icing, ensure it is the correct outlining consistency – too thin icing is prone to bleeding. Allow base layers of icing to dry sufficiently before projecting onto them for tracing details; projecting onto wet or semi-dry icing can cause distortions or smudging. If projecting onto a completely dry surface, the light should not cause bleeding.
Proper maintenance ensures your projector remains a reliable tool for your cookie decorating projector techniques.
Cleaning and Storage Tips for Longevity
Dust is the enemy of electronics, especially projectors with sensitive lenses and internal components. Regularly clean your projector.
- Use a can of compressed air to blow dust out of vents.
- Gently clean the lens with a microfiber cloth designed for optics. Avoid abrasive materials or harsh chemicals.
- Wipe down the exterior with a soft, dry cloth.
- When not in use, store the projector in a protective case or its original packaging to shield it from dust and potential damage. Avoid storing it in areas with high humidity or extreme temperatures.
Taking a few minutes to clean your projector after each major decorating session or periodically will help maintain image quality and extend its lifespan.
Protecting Your Projector from Dust and Damage
Your decorating workspace can be prone to sugar dust, powdered sugar, flour, and even stray bits of icing. These can easily clog vents or settle on the lens.
- Always cover your projector when you are doing activities like rolling dough or mixing dry ingredients.
- Position the projector away from direct sources of airborne particles (like mixers).
- Be mindful of wet icing or paint; never place wet tools or cookies directly on or near the projector.
- Ensure the projector is securely mounted on its stand to prevent accidental drops or tipping. A fall from even a short height can cause significant internal or external damage.
Treating your projector with care and keeping it clean and protected will ensure it's ready whenever you want to apply advanced cookie decorating projector techniques.
Embracing cookie decorating projector techniques opens up a world of possibilities for cookie artists. What once seemed like impossibly complex designs become achievable with the guidance of a projected image. Whether you're aiming for photorealistic portraits, intricate lace patterns, or perfectly rendered corporate logos, the precision offered by a projector allows you to tackle projects that were previously out of reach.
The ability to accurately transfer any image onto a cookie surface removes many technical barriers, allowing you to focus more on the artistic aspects of color, texture, and finishing touches. This technology empowers both hobbyists looking to elevate their skills and professionals seeking efficiency and consistency in their work. The initial investment in a projector and stand is quickly justified by the expanded creative potential and the ability to produce higher-quality, more detailed cookie art.
Mastering cookie decorating projector techniques is an ongoing journey. As you become more comfortable with the basic process, explore advanced applications like layering, using different mediums, and incorporating airbrushing. Stay inspired by looking at the incredible work of other decorators who utilize this technology.
Practice is key to perfecting your tracing skills and developing the right icing consistencies to work with projected guides. Experiment with different design types and complexities to see how the projector can assist you. By continuously learning and practicing these powerful cookie decorating projector techniques, you can consistently elevate your cookie art, delighting yourself and others with stunningly precise and beautiful edible creations.
Frequently Asked Questions
A cookie decorating projector allows you to trace intricate designs directly onto your cookies, ensuring accuracy and consistency that would be difficult to achieve freehand. It's especially useful for detailed or complex patterns.
A mini projector or a pico projector is often recommended due to its compact size and portability. Look for one with good brightness and adjustable focus for sharp image projection.
Simple, high-contrast images are generally easier to trace. You can use anything from clip art to custom designs, as long as they are clear and well-defined.
A darkened room provides the best visibility for the projected image. A stable, flat surface is essential to ensure the projector remains steady during tracing.
Image distortion can occur if the projector isn't positioned correctly. Make sure the projector is perpendicular to the cookie surface to avoid skewing. Also, ensure your projector is properly focused for sharp, clear lines.
The precision offered by projector technology is revolutionizing the world of cookie decorating, moving beyond simple stencils and into a realm of intricate detail and personalized designs. No longer is artistic skill the sole determinant of a stunning cookie; now, even beginners can achieve professional-level results with the right tools and techniques. This accessibility opens up exciting new possibilities for both hobbyists and professionals alike.
The impact of this technology extends beyond mere aesthetics; it's democratizing the art of cookie decorating. It allows for the creation of truly unique and personalized designs, fostering creativity and self-expression in a way that traditional methods simply couldn't match. This shift towards personalized, high-precision designs reflects a larger cultural trend towards customization and individual expression. The details are not the details. They make the design.
– Charles Eames. This quote perfectly encapsulates the power of precise projection in elevating cookie decorating from a simple craft to a sophisticated art form.
Consider the possibilities: Imagine the intricate designs you could create, the personalized gifts you could make, or the small business you could build, all empowered by the simple addition of a projector. You have the power to transform your cookie decorating, to elevate your skills, and to share your unique vision with the world. Don't just bake cookies; illuminate your artistry. Pick up a projector and let your creativity shine.
Thanks for joining us on this delicious journey into precise cookie decorating! We hope you've gained some valuable insights into the power of projector baking. Now, it's time to put your newfound skills to the test!
- Master the Projector Method: Try decorating at least three cookies using the projector techniques we outlined—experiment with different designs and complexities. This hands-on practice is key to mastering the method.
- Share Your Creations: Post a photo of your masterpiece on social media, tagging #BakeWithEaseProjector and #CookieArt. Let's see your amazing creations!
- Join the BakeWithEase Community: Share your tips, tricks, and any challenges you faced in the comments below—let’s learn from each other!
Ready to transform your cookie decorating game? What intricate design will you create first?