
Bake Traditional Pan de Muerto for Día de Muertos: A Simple Approach

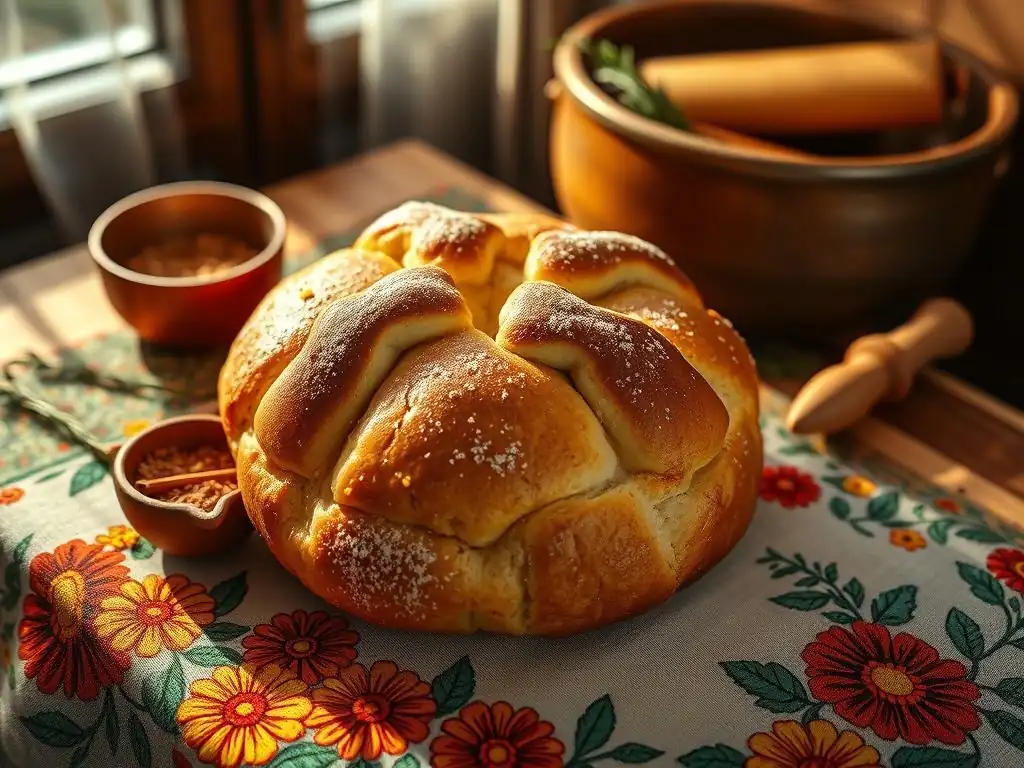
Welcome to BakeWithEase, your trusted guide to the delicious world of baking! Ever dreamed of crafting the iconic Pan de Muerto for Día de Muertos, but felt intimidated? Our Easy Pan de Muerto Recipe breaks down this traditional treat into manageable steps, making it accessible for bakers of all skill levels. Discover the secrets to this sweet bread and unlock a deeper connection to this vibrant cultural celebration. Ready to embark on a flavorful journey? Let's get baking!
- Introduction to Pan de Muerto: A BakeWithEase Guide
- Classic Pan de Muerto Recipe
- Step-by-Step: Baking Your First Pan de Muerto
- Making the Anise-Orange Glaze: The Perfect Finishing Touch
- Tips & Tricks for a Successful Pan de Muerto Bake
- Enjoying Your Homemade Pan de Muerto
- More Baking Recipes to Explore
- Frequently Asked Questions
- Final Reflection: The Enduring Spirit of Pan de Muerto
- Unleash Your Inner Panadero: Bake a Día de Muertos Masterpiece!
Introduction to Pan de Muerto: A BakeWithEase Guide
What is Pan de Muerto and its Significance?
Pan de Muerto, or "Bread of the Dead," is a traditional sweet bread deeply rooted in Mexican culture and is an essential element of the Día de Muertos (Day of the Dead) celebration. This unique bread is placed on ofrendas (altars) to honor deceased loved ones, serving as a symbolic offering of food and a connection between the living and the departed. Its origins trace back to pre-Hispanic times, evolving over centuries to the form we recognize today.
The shape of the bread itself is highly symbolic, typically featuring bone-like adornments and a round "skull" on top, representing the deceased. Sugar coating or sesame seeds often finish the loaf, adding to its distinct appearance and flavor.
Beyond its symbolic role, Pan de Muerto is a delicious and comforting bread enjoyed by families during the Día de Muertos season, which generally spans from October 31st to November 2nd. It's more than just a baked good; it's a centerpiece of tradition, memory, and community.
The act of baking or sharing Pan de Muerto is a way to participate in the festivities, remember ancestors, and keep cultural heritage alive. While variations exist across different regions of Mexico – some featuring different flavors like orange blossom or anise, or unique shapes – the core essence remains the same: a bread made with love to honor those who have passed.
Why This Recipe is Perfect for Beginners
Embarking on baking traditional breads can sometimes feel intimidating, but this easy Pan de Muerto recipe is specifically designed to guide novice bakers through the process with confidence. We've simplified the steps without sacrificing the authentic flavor and texture of this special bread. The instructions break down each stage, from activating the yeast to shaping the iconic "bones," making complex techniques approachable and manageable for anyone, regardless of their prior baking experience. You don't need specialized equipment or advanced skills to achieve a beautiful and delicious result with this method.
This easy Pan de Muerto recipe emphasizes readily available ingredients and clear, concise directions. We focus on fundamental baking principles like proper kneading and proofing, explaining why each step is important for achieving a light, fluffy crumb and a perfect rise. Many common baking pitfalls, such as inactive yeast or dense dough, are addressed with simple tips to help you avoid them.
By following this straightforward guide, you'll not only bake a wonderful Pan de Muerto but also build foundational baking skills that can be applied to other bread recipes. It's a rewarding way to connect with a beautiful cultural tradition through the joy of baking.
Classic Pan de Muerto Recipe
Gathering Your Ingredients: Readily Available Components
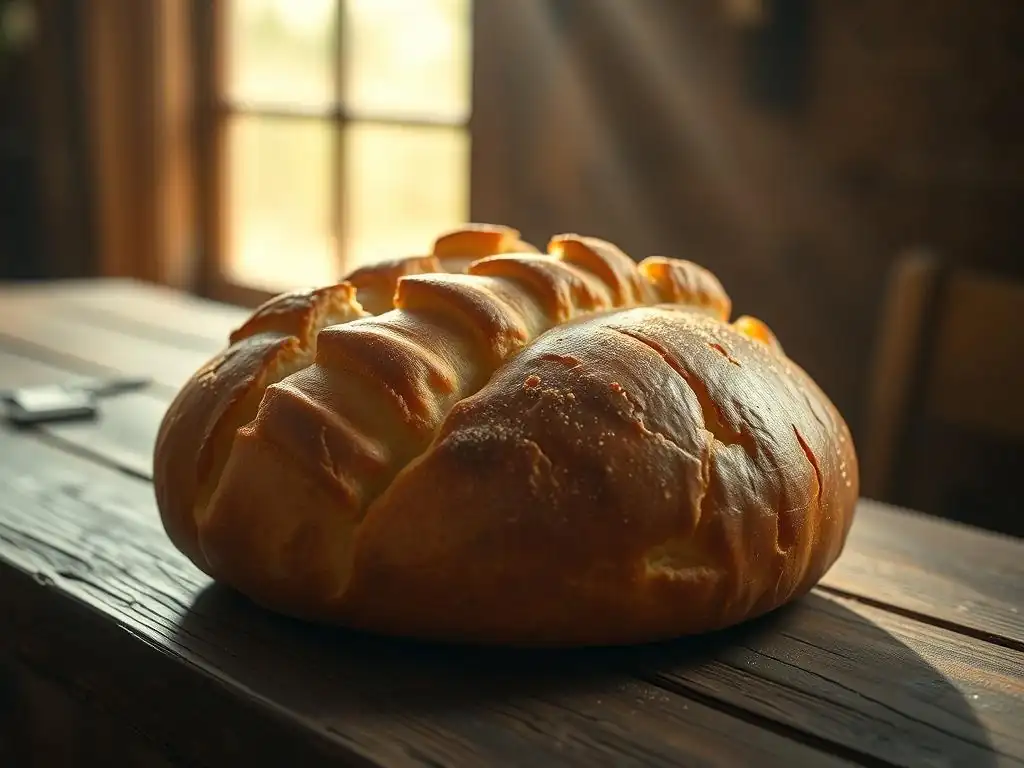
Creating authentic Pan de Muerto starts with assembling the right ingredients. Fortunately, this traditional bread relies on staples commonly found in most kitchens or easily purchased at any grocery store. The key is using fresh components to ensure the best flavor and rise. We'll focus on the classic version, which often features subtle notes of orange blossom or anise, adding a distinctive aromatic quality that is instantly recognizable and evokes the spirit of Día de Muertos.
Having all your ingredients measured and ready before you begin is a crucial step in any baking project, especially when making an easy Pan de Muerto recipe. This practice, known as mise en place, helps streamline the process and prevents last-minute scrambling. Below is a detailed list of everything you'll need, designed to make your baking experience smooth and successful. Pay attention to ingredient temperatures, as some, like milk and butter, work best when slightly warmed.
Ingredient List for Authentic Pan de Muerto
4 cups All-Purpose Flour1/2 cup Granulated Sugar1 teaspoon Salt2 1/4 teaspoons Active Dry Yeast (one standard packet)1/2 cup Milk, warmed (around 105-115°F or 40-46°C)1/2 cup Unsalted Butter, melted2 large Eggs, room temperature1 teaspoon Orange Blossom Water or 1/2 teaspoon Anise SeedsZest of 1 Orange (optional, but adds wonderful flavor)For the Glaze and Topping:1/4 cup Unsalted Butter, melted1/2 cup Granulated Sugar
Essential Baking Tools for Pan de Muerto
To make this easy Pan de Muerto recipe, you won't need highly specialized equipment, but having a few basic baking tools will make the process much smoother. These tools are standard in most kitchens and are essential for accurately measuring, mixing, and baking your bread to perfection. Using the right tools ensures consistency and helps you achieve the desired texture and shape for your Pan de Muerto.
Here is a list of the key tools you'll need:
- Large mixing bowls (at least two)
- Measuring cups and spoons
- Kitchen scale (helpful for accuracy, but not strictly necessary for this recipe)
- Whisk or fork
- Wooden spoon or rubber spatula
- Clean kitchen towels or plastic wrap for covering dough
- Baking sheets
- Parchment paper (optional, but recommended for easy cleanup)
- Pastry brush (for applying the glaze)
- Wire cooling rack
Step-by-Step: Baking Your First Pan de Muerto
Preparing the Dough: A Simple Pan de Muerto Dough Recipe
The foundation of a great Pan de Muerto is a well-prepared dough. This easy Pan de Muerto recipe utilizes a slightly enriched dough, meaning it contains fats like butter and eggs, which contribute to its tender crumb and rich flavor. The process begins with activating the yeast, a crucial step to ensure your bread rises beautifully. Don't rush this part; giving the yeast time to bloom is key to success.
Once the yeast is active, you'll combine the wet and dry ingredients to form a cohesive dough. The moisture content is important – you want a dough that is soft and slightly sticky, but manageable. Adding the melted butter and eggs at the right stage helps develop the dough's structure and richness. Mixing can be done by hand or with a stand mixer fitted with a dough hook, depending on your preference and equipment.
Activating the Yeast for a Fluffy Dough
Yeast is a living organism that needs warmth and sugar to become active and produce the gases that make bread rise. For this easy Pan de Muerto recipe, you'll start by combining the active dry yeast with the warmed milk and a pinch of sugar (you can borrow a little from the 1/2 cup sugar listed in the ingredients). The milk should be warm to the touch, roughly between 105°F and 115°F (40°C-46°C). If it's too hot, it can kill the yeast; too cool, and the yeast won't activate effectively.
Pour the warm milk into a small bowl, stir in the pinch of sugar, and then sprinkle the yeast over the top. Give it a gentle stir and let it sit for about 5-10 minutes. You'll know the yeast is active and healthy when it becomes foamy and bubbly on the surface.
This foam indicates that the yeast is alive and ready to work its magic in your dough, ensuring a light and airy texture for your Pan de Muerto. If it doesn't foam, your yeast might be old or the milk temperature was incorrect, and you should start this step over with fresh yeast.
Mixing and Kneading the Dough: The Key to Texture
After activating the yeast, combine the flour, remaining sugar, and salt in a large mixing bowl. Create a well in the center and pour in the yeast mixture, melted butter, eggs, orange blossom water (or anise seeds), and orange zest (if using). Using a wooden spoon or spatula, gradually incorporate the dry ingredients into the wet until a shaggy dough forms.
Turn the dough out onto a lightly floured surface and knead it for about 8-10 minutes. Kneading develops the gluten network in the flour, which provides structure and elasticity to the bread. You'll know the dough is properly kneaded when it becomes smooth, elastic, and is no longer sticky.
If using a stand mixer, knead with the dough hook on medium speed for about 6-8 minutes until the dough pulls away cleanly from the sides of the bowl. Place the kneaded dough in a lightly greased bowl, cover it with a clean towel or plastic wrap, and let it rise.
Shaping the Pan de Muerto: Creating the Iconic Design
Shaping Pan de Muerto is one of the most enjoyable parts of making this bread, as it's where the bread takes on its traditional, symbolic form. The basic shape is a round loaf, representing the mound of a grave or the skull itself. The decorative elements, the "bones" and the "skull" on top, add both visual appeal and deeper meaning. This step allows for creativity and connection to the cultural significance of the bread.
Once your dough has completed its first rise, gently deflate it and reserve about 1/4 to 1/3 of the dough for the decorative elements. The remaining dough will form the main body of the loaf. Divide the larger portion into individual portions if making multiple small loaves, or keep it as one piece for a larger bread. Form this dough into a smooth ball and place it on a baking sheet lined with parchment paper.
Forming the "Bones" and "Skull"
Take the reserved dough and divide it into smaller pieces. For the "bones," roll pieces of dough into long, thin ropes. To create the knuckle effect, press down with your fingers at intervals along the rope, or gently roll your fingers back and forth over the rope to create indentations. You'll typically need two "bones" crossed over the top of the round loaf for each Pan de Muerto.
For the "skull," roll a small piece of dough into a smooth ball. You can place this ball in the center where the "bones" intersect. Some traditional shapes also include small teardrop shapes representing tears, placed around the base of the loaf. Arrange the "bones" and "skull" on top of the main dough ball, pressing them gently to adhere.
Proofing the Shaped Dough: Achieving Optimal Rise
After shaping, the Pan de Muerto needs a second rise, known as proofing. This is essential for the bread to achieve a light and airy texture when baked. Cover the shaped loaves loosely with plastic wrap or a clean kitchen towel to prevent them from drying out.
Let the dough proof in a warm, draft-free place for about 45-60 minutes, or until it has nearly doubled in size and feels light and puffy. Proofing time can vary depending on the warmth of your kitchen. A slightly warm oven (turned off) or a sunny spot on the counter works well. Proper proofing is key to preventing a dense loaf, ensuring your easy Pan de Muerto recipe yields a wonderfully soft result.
Baking to Perfection: Golden Brown Pan de Muerto
Baking is the final transformation, turning the proofed dough into a beautiful, fragrant loaf. The correct oven temperature and baking time are crucial for ensuring the bread is cooked through, has a light interior crumb, and develops a desirable golden-brown crust. Preheating your oven properly is essential for consistent results.
As the Pan de Muerto bakes, your kitchen will fill with the delightful aroma of sweet bread, perhaps tinged with orange or anise. Keep an eye on the bread as it nears the end of the baking time to prevent over-browning. The goal is a loaf that is golden on the outside and fully cooked on the inside.
Oven Temperature and Baking Time
Preheat your oven to 350°F (175°C). It's important to give the oven sufficient time to reach and stabilize at this temperature, usually about 15-20 minutes after the indicator light suggests it's ready. Baking at the correct temperature ensures that the bread rises further in the initial stages of baking (oven spring) and then cooks evenly throughout.
Place the baking sheet with the shaped and proofed Pan de Muerto in the preheated oven. Bake for approximately 25-35 minutes. The exact time will depend on the size of your loaves and your specific oven. Smaller rolls might take closer to 20-25 minutes, while a larger loaf could take 30-35 minutes or even slightly longer.
Achieving a Beautiful Golden Crust
A visually appealing Pan de Muerto has a lovely golden-brown crust. To help achieve this, you can brush the loaves with a simple egg wash (one egg beaten with a tablespoon of milk or water) before placing them in the oven. This promotes browning and adds a slight sheen.
The bread is done when it is golden brown and sounds hollow when tapped on the bottom. An internal thermometer inserted into the thickest part of the loaf should register around 190-200°F (88-93°C). If the top is browning too quickly before the inside is done, you can loosely tent the bread with aluminum foil for the remaining baking time. Once baked, transfer the Pan de Muerto to a wire rack to cool completely before applying the glaze.
Making the Anise-Orange Glaze: The Perfect Finishing Touch
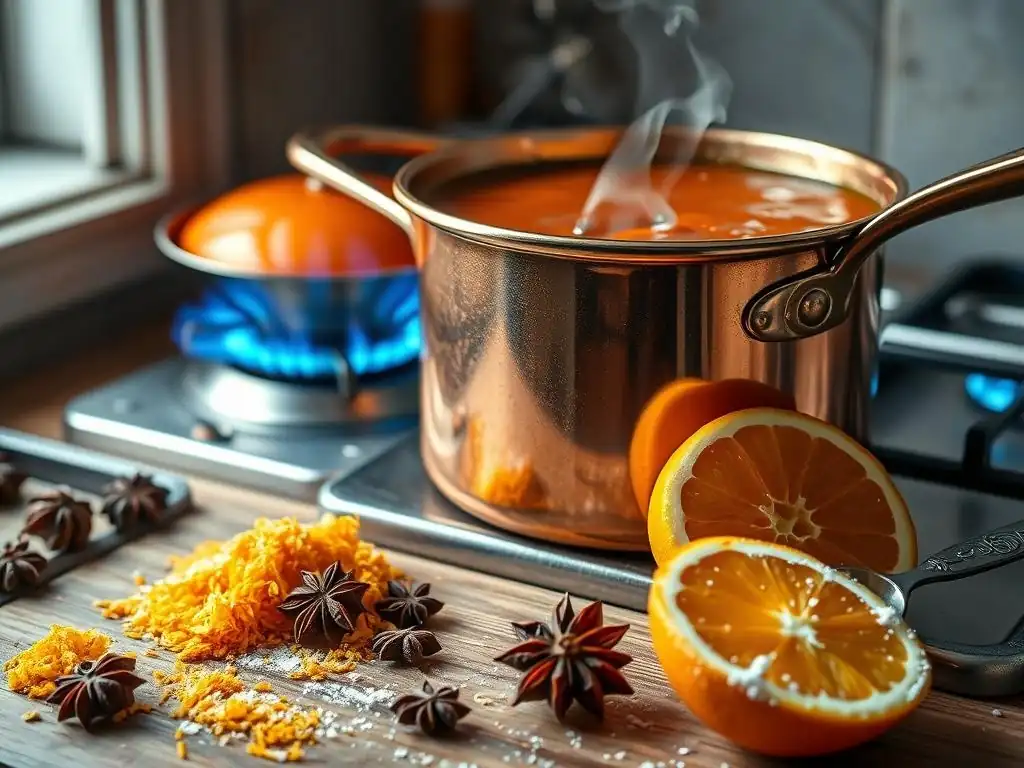
While delicious on its own, the traditional Pan de Muerto is often finished with a simple butter and sugar glaze, sometimes flavored with orange or anise. This glaze adds sweetness, moisture, and a beautiful sparkle to the crust, enhancing both the flavor and the visual appeal of the bread. It's a quick and easy step that elevates your homemade Pan de Muerto from good to truly exceptional.
The glaze is applied after the bread has cooled slightly but is still warm. This allows the melted butter to soak into the crust just enough, and the sugar to adhere beautifully. The combination of the tender, aromatic bread and the sweet, buttery coating is a delightful sensory experience, perfectly complementing the flavors developed during baking.
Preparing the Glaze: Simple Ingredients, Delicious Flavor
The glaze for this easy Pan de Muerto recipe requires only two main components: melted butter and granulated sugar. If you didn't add orange zest or anise to the dough, you could infuse the melted butter with a little orange zest or a few anise seeds for a more pronounced flavor in the topping.
Simply melt the 1/4 cup of unsalted butter in a small saucepan or microwave-safe bowl. Once melted, you can stir in a pinch of orange zest or a couple of anise seeds if desired, letting them steep in the warm butter for a few minutes off the heat. Strain out the anise seeds before glazing if you added them whole. Have the 1/2 cup of granulated sugar ready in a shallow dish or plate for dipping or sprinkling.
Glazing the Pan de Muerto: Enhancing Flavor and Appearance
Once your Pan de Muerto loaves have cooled on a wire rack for about 10-15 minutes (they should still be warm, but not hot), it's time to apply the glaze. This step is simple but makes a significant difference in the final product.
Using a pastry brush, liberally brush the tops and sides of each loaf with the melted butter. Ensure you get good coverage, as the butter acts as the adhesive for the sugar. Immediately after brushing with butter, roll the top and sides of the bread in the granulated sugar, or sprinkle the sugar generously over the buttered surfaces. The sugar will stick to the melted butter, creating a glistening, sweet crust. Let the glazed bread cool completely on the wire rack before serving.
Tips & Tricks for a Successful Pan de Muerto Bake
Baking, like any craft, benefits from a few insider tips and tricks. Even with an easy Pan de Muerto recipe, paying attention to small details can significantly improve your results. Understanding how to troubleshoot common issues and knowing how to adapt the recipe can make your baking experience smoother and more rewarding, leading to a perfect loaf every time.
From ensuring your yeast is active to achieving the perfect proof, these tips cover aspects that can sometimes challenge beginner bakers. Don't be discouraged if your first attempt isn't absolutely perfect; baking is a learning process. Each bake provides valuable experience that will help you refine your technique and produce even better bread in the future.
Troubleshooting Common Baking Issues
- Dough didn't rise: The most common culprit is inactive yeast. Ensure your milk was the correct temperature (105-115°F / 40-46°C) and that the yeast foamed up before mixing. Cold kitchen temperatures can also slow proofing; find a warmer spot.
- Dense bread: This often happens if the dough wasn't kneaded enough (gluten didn't develop) or wasn't proofed long enough. Ensure the dough is smooth and elastic after kneading and that it nearly doubles in size during proofing. Over-kneading can also lead to toughness, so aim for supple, not overly stiff, dough.
- Cracked crust: The oven might be too hot, or the dough's surface dried out during proofing. Ensure the dough is covered properly while rising. You can also place a tray of water on the bottom rack of your oven to create steam, which helps keep the crust soft initially, allowing for better oven spring and preventing cracks.
- Uneven browning: Ovens often have hot spots. Rotate your baking sheet halfway through the baking time to ensure even browning.
Variations: Adding Your Own Twist to the Traditional Recipe
While the classic Pan de Muerto is wonderful, feel free to experiment with variations once you're comfortable with this easy Pan de Muerto recipe. Regional variations in Mexico often include different flavorings or additions.
- Flavorings: Instead of orange blossom water or anise, try adding a teaspoon of ground cinnamon, a pinch of ground cloves, or almond extract to the dough for a different aroma profile.
- Fillings: Some recipes include a sweet filling, such as piloncillo (Mexican brown sugar) and nuts, or even a fruit paste. This adds another layer of flavor and texture.
- Toppings: Beyond the classic butter and sugar, some versions are topped with sesame seeds, especially in regions like Puebla. You could also try a simple powdered sugar glaze or a dusting of confectioners' sugar once completely cooled.
Enjoying Your Homemade Pan de Muerto
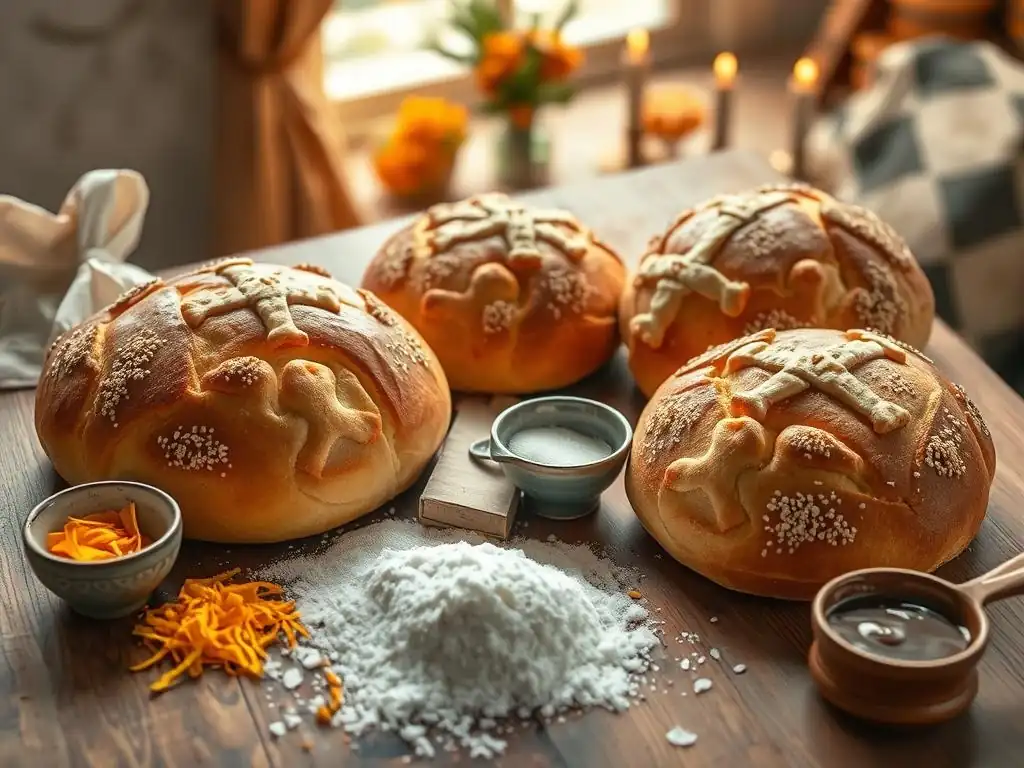
Baking Pan de Muerto is a rewarding experience, and the best part is sharing and enjoying your creation. This special bread is meant to be savored, ideally with family and friends, as a way to connect with tradition and each other. The act of breaking bread together, especially one with such cultural significance, is a powerful gesture of community and remembrance during Día de Muertos.
Whether placed on an ofrenda or served at the table, your homemade Pan de Muerto is a delicious tribute. It's a moment to appreciate the flavors, the effort you put into baking it, and the rich history behind it. Sharing this easy Pan de Muerto recipe and the resulting bread is a beautiful way to participate in the Día de Muertos festivities.
Serving Suggestions for Día de Muertos
Pan de Muerto is traditionally enjoyed with warm beverages, making it a perfect accompaniment to a cozy gathering.
- Hot Chocolate: A classic pairing is Mexican hot chocolate, made with milk, chocolate (often with cinnamon), and sometimes a touch of chili. The richness of the chocolate complements the sweetness of the bread beautifully.
- Atole: This traditional warm corn masa-based drink comes in various flavors (like vanilla, chocolate, or fruit) and offers a comforting contrast to the bread's texture.
- Café de Olla: Coffee brewed with cinnamon and piloncillo provides a spiced warmth that pairs wonderfully with the anise or orange notes in the bread.
Serve slices or individual loaves of Pan de Muerto alongside these drinks. It's also common to place entire loaves on the ofrenda as part of the offering to the spirits.
Storing Your Pan de Muerto to Maintain Freshness
Proper storage is key to keeping your homemade Pan de Muerto fresh and delicious for as long as possible. Because it's a relatively soft bread, it can dry out if left exposed to air.
Once completely cooled, store Pan de Muerto at room temperature in an airtight container or a resealable plastic bag. This will help maintain its moisture and prevent it from becoming stale quickly. Stored this way, it should remain fresh for about 2-3 days. For longer storage, you can wrap the cooled bread tightly in plastic wrap, then in aluminum foil, and place it in the freezer for up to 2-3 months. Thaw at room temperature and, if desired, gently warm it in a low oven before serving to refresh the crust slightly.
More Baking Recipes to Explore
Mastering this easy Pan de Muerto recipe is a fantastic step into the world of bread baking. The skills you've learned – activating yeast, kneading dough, proofing, and baking – are fundamental techniques applicable to countless other bread varieties from around the globe. Baking bread from scratch is a rewarding process, yielding delicious results that store-bought options often can't match.
BakeWithEase.com offers a wealth of other bread recipes, ranging from simple no-knead loaves to more elaborate enriched breads. Expanding your repertoire allows you to explore different textures, flavors, and baking techniques, deepening your understanding and appreciation for the craft. Don't stop with Pan de Muerto; let it be the beginning of your bread-baking journey.
Discover Other Delicious Bread Recipes
If you enjoyed making this easy Pan de Muerto recipe, here are a few other types of bread you might find interesting and accessible:
- Simple White Bread: A basic recipe perfect for practicing kneading and proofing fundamentals.
- Challah: An enriched, often braided bread similar in richness to Pan de Muerto, offering a chance to practice shaping techniques.
- Focaccia: A relatively easy flatbread that requires minimal kneading and can be customized with various toppings.
- Brioche: Another rich, buttery bread that uses similar ingredients but results in a different texture.
Exploring these and other recipes will continue to build your confidence and skill in the kitchen, allowing you to enjoy the simple pleasure of baking and sharing homemade bread.
Frequently Asked Questions
What is Pan de Muerto and why is it baked for Día de Muertos?
Pan de Muerto, or "Bread of the Dead," is a traditional sweet bread baked and offered during the Día de Muertos (Day of the Dead) celebrations. It's believed to honor and nourish the returning spirits of deceased loved ones.
What makes this Pan de Muerto recipe "easy"?
This Easy Pan de Muerto Recipe from BakeWithEase simplifies the process by using readily available ingredients and providing clear, step-by-step instructions, making it accessible for bakers of all skill levels.
Can I customize the flavor of my Pan de Muerto?
Absolutely! While traditionally flavored with orange zest and anise, you can experiment with other citrus flavors, such as lemon or grapefruit, or add a touch of vanilla extract to the dough.
Where can I find the ingredients for this Pan de Muerto recipe?
Most ingredients, such as flour, sugar, yeast, and orange zest, are easily found at your local grocery store. Some specialty ingredients, like anise seeds, can be found in the spice aisle or online.
How long does it take to bake Pan de Muerto using this recipe?
From start to finish, including proofing time, this Easy Pan de Muerto Recipe typically takes around 3-4 hours. The actual baking time is relatively short, only about 20-25 minutes.
Final Reflection: The Enduring Spirit of Pan de Muerto
Baking pan de muerto isn't just about following a recipe; it's about connecting with a rich cultural heritage that continues to resonate today. The simple act of kneading dough, shaping the iconic bones and swirls, and sharing the sweet, slightly citrusy bread with loved ones transcends mere culinary practice; it's a powerful act of remembrance and celebration. This tradition, passed down through generations, remains incredibly relevant in a world increasingly focused on instant gratification and disconnected experiences.
The enduring appeal of pan de muerto lies in its ability to bridge the gap between the living and the departed, fostering a sense of community and shared history. It's a tangible link to our ancestors, a reminder of the cyclical nature of life and death, and a testament to the enduring power of tradition. The dead are never truly gone as long as they are remembered.
This sentiment perfectly captures the essence of Día de Muertos and the central role pan de muerto plays in its observance. The aroma alone, filling a home with the scent of orange blossom and warm bread, evokes a sense of nostalgia and belonging that's deeply moving.
This year, as you gather with family and friends, consider taking the time to bake your own pan de muerto. Don't be intimidated by the seemingly complex process; embrace the simplicity of the recipe and the profound meaning behind each step. Let the act of baking become a meditation, a moment of connection with your heritage, and a tribute to those who came before you. The result will be more than just a delicious bread; it will be a testament to the enduring power of tradition and the enduring bonds of family and memory.
Unleash Your Inner Panadero: Bake a Día de Muertos Masterpiece!
Thanks for taking the time to explore the art of baking traditional Pan de Muerto! We hope you gained valuable insights and feel inspired to create this beautiful and delicious bread. Ready to bring your baking skills to the next level?
- Bake your own Pan de Muerto! Use our recipe as a guide, but feel free to experiment with different flavors and decorations. Let your creativity shine!
- Share your baking journey: Post a picture of your creation on social media using #BakeWithEasePanDeMuerto and tag us – we’d love to see your masterpiece!
- Explore other Día de Muertos recipes on BakeWithEase.com – we have a wealth of traditional treats waiting to be discovered!
So, what unique twist will you add to your Pan de Muerto this year? Let's hear your baking ideas in the comments below!