
Bake With Ease: Easy Spring Fruit Galette

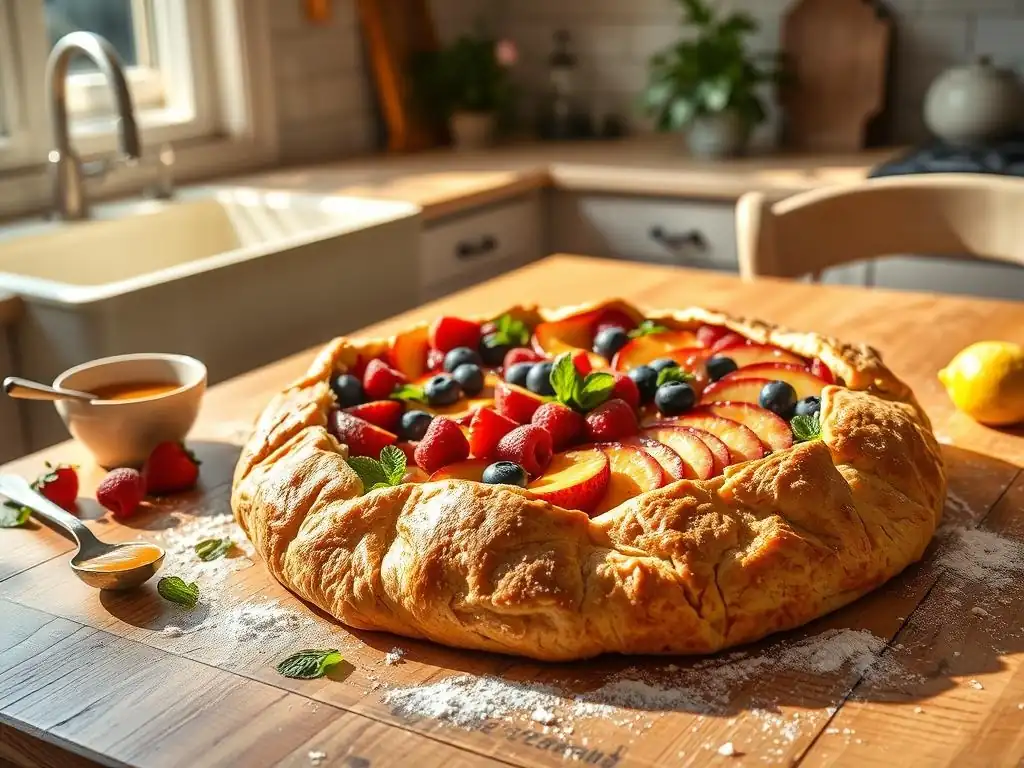
Welcome to BakeWithEase, your kitchen companion for all things baking! Ever dreamt of creating a show-stopping dessert with minimal fuss? This season, we're diving into the delightful world of rustic tarts, and our featured recipe will have you whipping up an Easy Spring Fruit Galette in no time. But what's the secret to that perfectly flaky crust and vibrant fruit filling? Let's unlock the secrets together and transform simple ingredients into a masterpiece. Get ready to bake with ease!
- Strawberry Rhubarb Galette: A Simple Spring Dessert
- Celebrate Spring with This Rustic Strawberry Rhubarb Galette
- Mastering the Strawberry Rhubarb Galette: A Step-by-Step Guide
- Preparing the Perfect Galette Dough: A Simple Recipe
- Crafting the Delicious Strawberry Rhubarb Filling
- Assembling Your Strawberry Rhubarb Galette
- Baking Your Strawberry Rhubarb Galette to Golden Perfection
- Serving and Storing Your Strawberry Rhubarb Galette
- Tips & Tricks for the Best Strawberry Rhubarb Galette
- Variations on the Strawberry Rhubarb Galette Recipe
- Enjoy Your Homemade Strawberry Rhubarb Galette!
- Frequently Asked Questions
- Final Reflection: The Sweet Simplicity of Spring Baking
- Unleash Your Inner Baker: Spring into Deliciousness!
Strawberry Rhubarb Galette: A Simple Spring Dessert
Celebrate Spring with This Rustic Strawberry Rhubarb Galette
As the days lengthen and the first signs of spring appear, our thoughts often turn to fresh, vibrant flavors. Nothing captures the essence of this season quite like the classic combination of sweet strawberries and tart rhubarb. This easy spring fruit galette recipe offers a delightful way to bring these flavors together in a dessert that's both beautiful and incredibly simple to make, even if you're new to baking. Forget complicated pie crusts and fussy techniques; a galette is all about rustic charm and letting the natural beauty of the fruit shine through.
This particular strawberry rhubarb galette recipe is designed with simplicity in mind, making it a perfect project for beginner bakers. It requires minimal shaping compared to a traditional pie, and its freeform nature means imperfections are not just accepted but celebrated. The buttery, flaky crust pairs wonderfully with the slightly sweet, slightly tart fruit filling, creating a harmonious balance of textures and tastes. It's the ideal dessert to share at a spring gathering or simply enjoy as a personal treat.
Why This Galette is Perfect for Beginner Bakers
Creating a perfect pie crust can feel intimidating, often requiring precise handling and blind baking. However, this easy spring fruit galette recipe sidesteps many of those challenges. The dough is forgiving; you don't need a perfect circle when rolling it out, and the freeform folding hides any minor cracks or uneven edges. It’s a low-pressure way to learn the basics of pastry making without the stress of achieving a picture-perfect result.
Furthermore, the assembly process for this simple galette recipe is straightforward. You simply roll out the dough, pile the fruit in the center, and fold the edges over. There's no crimping, no lattice work, just a rustic fold that looks beautiful straight out of the oven. This ease of assembly, combined with the delicious outcome, makes it an incredibly rewarding bake for anyone starting their baking journey. You'll feel accomplished after pulling this golden-brown beauty from your oven!
Mastering the Strawberry Rhubarb Galette: A Step-by-Step Guide
Making a delicious strawberry rhubarb galette doesn't require advanced skills. By following these steps, you can create a stunning dessert that tastes as good as it looks. This guide breaks down the process into manageable parts, from preparing the dough and filling to baking it to golden perfection. Let's get started on this delightful easy spring fruit galette recipe.
The key to a successful galette lies in the quality of your ingredients and paying attention to a few simple techniques. We'll walk through selecting the best fruit, preparing the simple galette dough, and assembling everything before baking. Remember, the goal is a rustic, charming dessert, so don't worry about perfection – embrace the freeform nature of the galette!
Ingredients for Your Strawberry Rhubarb Galette
Gathering your ingredients is the first step to making this delightful easy spring fruit galette recipe. You'll need separate lists for the dough and the filling, ensuring you have everything on hand before you begin. Using fresh, high-quality ingredients will significantly impact the final flavor of your galette.
Having your ingredients measured and ready before you start mixing is known as mise en place in the culinary world, and it truly simplifies the baking process. For this simple galette recipe, the ingredients are readily available in most grocery stores, especially during spring when strawberries and rhubarb are in season.
For the Galette Dough
- All-purpose flour: Approximately 1 and 1/2 cups (about 180 grams)
- Granulated sugar: 1 tablespoon
- Salt: 1/2 teaspoon
- Unsalted butter, very cold, cut into cubes: 1/2 cup (1 stick or 113 grams)
- Ice water: 4-6 tablespoons
For the Strawberry Rhubarb Filling
- Fresh strawberries, hulled and sliced: About 2 cups (roughly 300 grams)
- Fresh rhubarb, trimmed and sliced: About 2 cups (roughly 300 grams)
- Granulated sugar: 1/2 cup to 3/4 cup (adjust based on fruit tartness)
- Cornstarch or all-purpose flour: 2 tablespoons
- Lemon juice: 1 tablespoon
- Optional: Pinch of ground cinnamon or ginger
Equipment You'll Need
Having the right tools can make the process of creating your easy spring fruit galette recipe smoother and more enjoyable. You don't need a lot of specialized equipment for a galette, which adds to its beginner-friendly appeal.
Here is a list of essential items you'll likely need:
- Large mixing bowl
- Pastry blender or fork (or your fingertips)
- Measuring cups and spoons
- Sharp knife for fruit
- Cutting board
- Rolling pin
- Baking sheet
- Parchment paper
- Small bowl for egg wash
- Pastry brush
Preparing the Perfect Galette Dough: A Simple Recipe
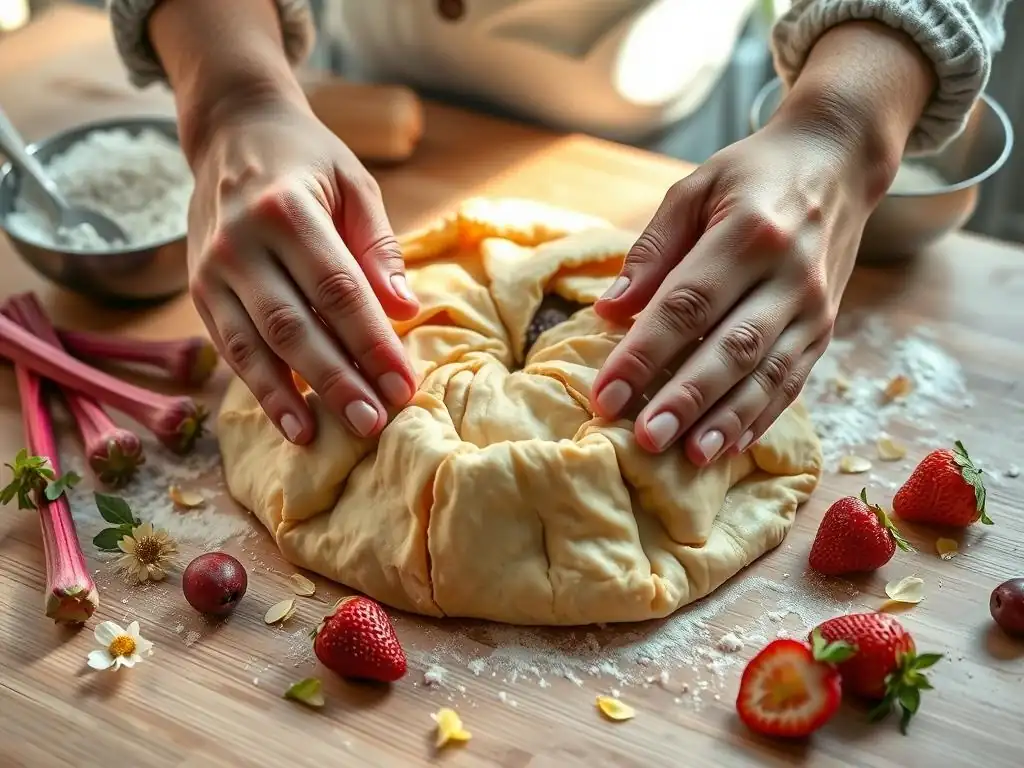
A good galette starts with a simple, flaky dough. This recipe uses a basic pastry method that's easy to master. The key is keeping your ingredients, especially the butter and water, very cold. Cold butter creates pockets of steam during baking, resulting in those desirable flaky layers.
Don't be intimidated by making dough from scratch. It's a fundamental skill in baking, and this simple galette recipe provides a great introduction. Patience is key, especially during the chilling phase, which is non-negotiable for a flaky crust.
Step 1: Mixing the Dough
In a large bowl, whisk together the flour, sugar, and salt. Add the very cold, cubed butter to the dry ingredients. Use a pastry blender, two forks, or your fingertips to cut the butter into the flour mixture until it resembles coarse crumbs with some pea-sized pieces of butter remaining. This ensures flakiness.
Next, add the ice water, one tablespoon at a time, mixing gently with a fork or your hands until the dough just comes together. Be careful not to add too much water; the dough should be moist enough to hold together but not sticky. It's better to have a slightly dry dough than one that's too wet.
Step 2: Chilling the Dough
Gather the dough into a ball, flatten it into a disc shape, wrap it tightly in plastic wrap, and refrigerate for at least 30 minutes, or preferably for 1-2 hours. This chilling period is crucial for two reasons: it allows the gluten in the flour to relax, making the dough easier to roll out, and it re-hardens the butter, which is essential for creating flaky layers when baked.
You can make the dough a day in advance and keep it refrigerated. Just be sure to let it sit at room temperature for 10-15 minutes before rolling if it's been chilled for a longer period. Properly chilling the dough is a critical step for achieving a flaky crust in your easy spring fruit galette recipe.
Crafting the Delicious Strawberry Rhubarb Filling
The heart of this easy spring fruit galette recipe is the vibrant, flavorful filling. The combination of sweet strawberries and tart rhubarb is a spring classic for a reason – their flavors complement each other beautifully. Preparing the filling is straightforward and requires minimal effort.
The goal is to create a filling that's juicy but not overly watery, which is where the starch comes in. The sugar level can be adjusted based on the sweetness of your strawberries and your personal preference.
Selecting Fresh Strawberries and Rhubarb
For the best flavor in your strawberry rhubarb galette, select ripe, fragrant strawberries that are bright red and firm. Avoid any with soft spots or mold. Rhubarb stalks should be firm and crisp, typically reddish-pink or green depending on the variety. Thinner stalks are often more tender than very thick ones.
Taste a small piece of your rhubarb raw – it's quite tart! This tartness is essential to balance the sweetness of the strawberries and sugar in this easy spring fruit galette recipe. Using fresh, in-season fruit ensures the most vibrant flavors and best texture.
Preparing the Fruit Filling Mixture
Hull and slice the strawberries into roughly half-inch pieces. Trim the ends of the rhubarb stalks and slice them into similar half-inch pieces. In a medium bowl, gently combine the sliced strawberries and rhubarb. Add the sugar, cornstarch (or flour), and lemon juice. If using, stir in a pinch of cinnamon or ginger.
Gently toss the fruit mixture until everything is evenly coated. The sugar will start to draw out juices from the fruit, and the starch will help thicken these juices during baking, preventing a soggy bottom in your easy spring fruit galette recipe. Let the mixture sit for about 10-15 minutes while you roll out the dough; this allows the flavors to meld slightly and the starch to begin dissolving.
Assembling Your Strawberry Rhubarb Galette
Assembly is where the magic happens! This is the step where your simple galette dough and delicious fruit filling come together. The freeform nature of a galette makes this part of the process very forgiving and enjoyable.
Remember that rustic look we talked about? Don't strive for perfection here. Uneven edges and natural folds are part of the charm of an easy spring fruit galette recipe.
Step 3: Rolling Out the Dough
Lightly flour a clean surface or a large piece of parchment paper. Place the chilled dough disc on the floured surface. Using a rolling pin, roll the dough out into a rough circle, about 12-14 inches in diameter and roughly 1/8 inch thick. Don't worry if it's not perfectly round; a rustic shape is part of the galette's appeal.
If the dough is sticking, sprinkle a little more flour on your surface and rolling pin. If it's too hard to roll, let it sit at room temperature for a few minutes to soften slightly. The dough for this easy spring fruit galette recipe should be pliable but still cool.
Step 4: Arranging the Fruit Filling
Carefully transfer the rolled-out dough onto a baking sheet lined with parchment paper (if you didn't roll it out on parchment). Spoon the prepared strawberry rhubarb filling onto the center of the dough, leaving a border of about 2-3 inches all around the edge.
Try to leave any excess liquid from the bottom of the fruit bowl behind, as too much liquid can make the bottom crust soggy. Distribute the fruit evenly, creating a slightly mounded center. This technique is key to a successful easy spring fruit galette.
Step 5: Folding the Edges
Starting at one point, gently lift the edge of the dough and fold it up and over the fruit filling. Continue around the circumference of the galette, overlapping the dough folds as you go. The center of the galette will remain open, exposing the fruit.
Press the folded edges gently to seal any seams. Again, don't aim for perfection; the casual, folded look is characteristic of an easy spring fruit galette. This creates a beautiful border that holds the fruit in place while baking.
Step 6: Preparing for Baking (Egg Wash & Sugar)
For a beautiful golden-brown crust and a touch of sweetness, prepare an egg wash. In a small bowl, whisk together one egg with a tablespoon of water or milk. Using a pastry brush, lightly brush the folded dough edges with the egg wash.
Finally, sprinkle the egg-washed edges generously with coarse sugar (like turbinado or sanding sugar). This adds a lovely sparkle and a slight crunch to the crust of your easy spring fruit galette recipe. Some people also like to sprinkle a little sugar directly onto the exposed fruit for extra sweetness.
Baking Your Strawberry Rhubarb Galette to Golden Perfection
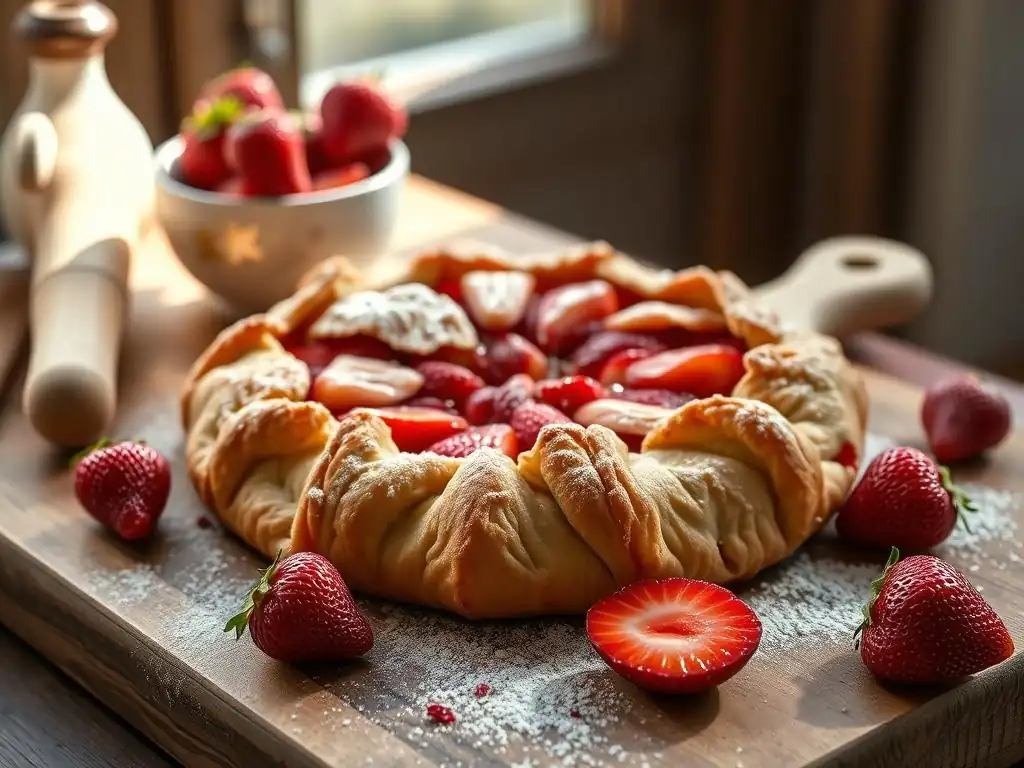
Baking is the final step in transforming your assembled galette into a delicious dessert. Getting the timing and temperature right is crucial for achieving a perfectly cooked filling and a beautifully golden, flaky crust.
Preheating your oven properly is essential for even baking. A hot oven helps the crust set quickly and develop those flaky layers.
Optimal Oven Temperature and Baking Time
Preheat your oven to 400°F (200°C). Place the assembled galette on the baking sheet in the preheated oven. Bake for 35-45 minutes, or until the crust is deep golden brown and the fruit filling is bubbling in the center.
Baking times can vary depending on your oven, so start checking around the 35-minute mark. You want to see the crust edges turn a rich golden hue, not just pale yellow. The bubbling fruit indicates that the filling has heated through and the starches have thickened the juices. This is a key indicator that your easy spring fruit galette is ready.
Achieving a Golden-Brown Crust
Achieving that desirable golden-brown crust is a sign of a perfectly baked galette. The egg wash and sugar contribute significantly to this. If you notice the crust browning too quickly before the fruit is bubbly, you can loosely tent the galette with aluminum foil for the remaining baking time.
Conversely, if the fruit is bubbling but the crust isn't golden enough, you can bake for an extra 5-10 minutes, keeping a close eye on it. A truly golden crust is not just about appearance; it also indicates that the dough is cooked through and crisp, providing a wonderful contrast to the soft fruit filling in this easy spring fruit galette recipe.
Serving and Storing Your Strawberry Rhubarb Galette
Once your strawberry rhubarb galette is baked to perfection, the hardest part is waiting for it to cool slightly before enjoying! Serving it warm allows the flavors to shine and the textures to be at their best.
This easy spring fruit galette recipe is delicious on its own, but adding a simple accompaniment can elevate it even further.
Serving Suggestions (with Vanilla Ice Cream or Crème Fraîche)
Allow the galette to cool on the baking sheet for at least 15-20 minutes before slicing. This allows the fruit juices to settle and thicken slightly. Serve slices warm or at room temperature.
For an extra touch of indulgence, serve warm slices of the easy spring fruit galette with a scoop of vanilla ice cream, a dollop of whipped cream, or a spoonful of tangy crème fraîche. The cold or creamy accompaniment provides a delightful contrast to the warm, fruity dessert.
Storing Leftover Galette
If you have any leftover strawberry rhubarb galette (a rare occurrence! ), store it at room temperature for up to 2 days, loosely covered. For longer storage, you can refrigerate it for up to 4 days.
To reheat, place slices on a baking sheet and warm in a preheated oven at 350°F (175°C) for about 10-15 minutes, or until heated through and the crust crisps up slightly. This simple galette recipe holds up well, making leftovers a welcome treat.
Tips & Tricks for the Best Strawberry Rhubarb Galette
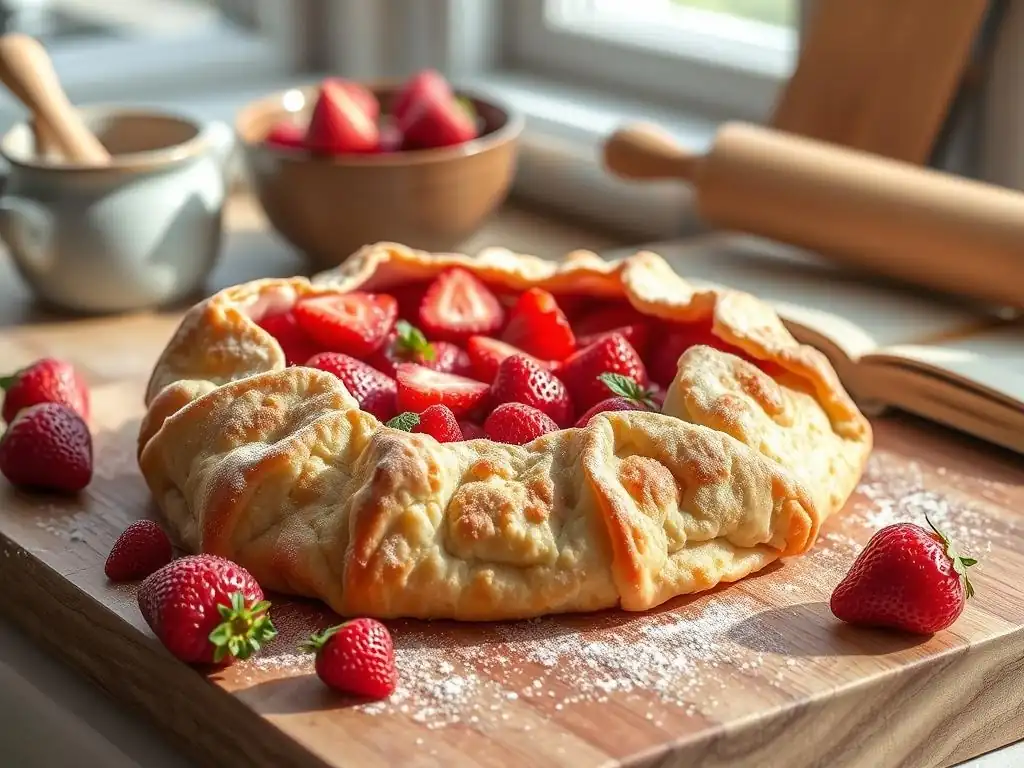
Even with an easy spring fruit galette recipe, a few simple tips can help ensure your results are consistently excellent. These pointers address common baking challenges and help you achieve the best possible texture and flavor.
Paying attention to these small details can make a big difference in the final outcome of your simple galette recipe.
Achieving a Flaky Crust
The key to a flaky crust lies in using very cold butter and not overworking the dough. When cutting in the butter, aim for a mixture that resembles coarse meal with some pea-sized pieces of butter still visible. These small butter pieces will melt during baking, creating steam pockets that lift the layers of dough.
Also, handle the dough as little as possible. Over-mixing or over-handling develops gluten, which can result in a tough crust. Work quickly to keep the butter cold, especially during the mixing and rolling stages of this easy spring fruit galette recipe.
Preventing a Soggy Bottom
A soggy bottom is a common issue with fruit pies and galettes. Several things in this easy spring fruit galette recipe help prevent this: using starch (cornstarch or flour) in the filling to absorb juices, not adding excessive liquid from the fruit bowl when assembling, and ensuring the oven is hot enough to cook the bottom crust through.
Baking the galette on parchment paper on a baking sheet helps distribute heat evenly to the bottom crust. Some bakers even preheat the baking sheet in the oven before placing the galette on it, providing an extra boost of heat to the bottom.
Adjusting Sweetness Based on Fruit Tartness
The sweetness of strawberries and rhubarb can vary significantly depending on the season and variety. It's a good idea to taste a small piece of your fruit before adding the sugar to the filling.
The recipe suggests 1/2 to 3/4 cup of sugar. If your rhubarb is very tart and your strawberries aren't super sweet, you might need the full 3/4 cup. If the fruit is quite sweet, you can stick closer to 1/2 cup. Adjusting the sugar ensures your easy spring fruit galette recipe has the perfect balance of sweet and tart.
Variations on the Strawberry Rhubarb Galette Recipe
While the classic strawberry rhubarb combination is a winner, this easy spring fruit galette recipe is incredibly versatile. Once you've mastered the basic technique, feel free to experiment with other fruit combinations or flavor enhancers.
Exploring variations allows you to put your own spin on this simple galette recipe and adapt it to different seasons or personal tastes.
Gluten-Free Strawberry Rhubarb Galette Option
To make this an easy spring fruit galette recipe suitable for those avoiding gluten, you can substitute the all-purpose flour in the dough with a good quality gluten-free all-purpose flour blend. Look for a blend specifically designed for pastry or pie crusts, as these often contain a mix of flours and starches that mimic the structure of wheat flour.
You may need to adjust the amount of ice water slightly, as gluten-free flours can absorb liquid differently. Follow the instructions on your specific gluten-free flour blend for best results when making a gluten-free version of this simple galette recipe.
Adding Almond Extract to the Filling
For an extra layer of flavor that complements the fruit beautifully, consider adding a splash of almond extract to the strawberry rhubarb filling. Just 1/4 to 1/2 teaspoon of pure almond extract can add a subtle, nutty depth that enhances the fruit's natural sweetness and tartness.
Add the almond extract when you mix the sugar and starch with the fruit. This simple addition can elevate the flavor profile of your easy spring fruit galette recipe. Other extracts like vanilla or a touch of orange zest could also be lovely variations.
Enjoy Your Homemade Strawberry Rhubarb Galette!
Baking this easy spring fruit galette recipe is a rewarding experience, resulting in a beautiful, delicious dessert that celebrates the flavors of the season. Whether you're a beginner baker or looking for a simple yet impressive recipe, this strawberry rhubarb galette is sure to become a favorite. Enjoy the process, embrace the rustic charm, and savor every bite!
Frequently Asked Questions
What makes this galette recipe "easy"?
This recipe focuses on simplified techniques and uses easy-to-find ingredients, making it accessible for bakers of all skill levels. The crust is designed to be forgiving and the filling requires minimal preparation.
Can I substitute the fruits in this galette recipe?
Yes, you can! Feel free to use seasonal fruits that you enjoy. Just be sure to adjust baking time if your fruit is particularly juicy.
What kind of crust is used for this galette?
The recipe features a simple pastry crust, often made with flour, butter, sugar, and water. It's designed to be less fussy than traditional pie crusts.
How do I know when the galette is done baking?
The crust should be golden brown and the fruit filling should be bubbly and softened. You can also check the internal temperature of the fruit.
What's the best way to store leftover galette?
Store leftover galette in an airtight container at room temperature for up to two days, or in the refrigerator for up to four days. Reheat gently before serving for the best flavor.
Final Reflection: The Sweet Simplicity of Spring Baking
The ease of crafting a beautiful and delicious spring fruit galette transcends mere recipe following; it's a celebration of seasonal bounty and the joy of simple pleasures. In a world often characterized by complexity and hurried schedules, the act of baking this galette offers a welcome respite, a moment to connect with the natural rhythms of the season and the satisfaction of creating something beautiful with your own hands. This simple recipe, designed for accessibility, proves that extraordinary results can stem from uncomplicated methods.
The enduring appeal of baking, particularly with seasonal ingredients, lies in its ability to connect us to both the past and the present. It's a tradition passed down through generations, a comforting ritual that transcends cultural boundaries. The vibrant colors and fresh flavors of the spring fruit galette evoke a sense of warmth and nostalgia, reminding us of simpler times and the importance of savoring life's small joys. Baking is at once child's play and adult joy. And love, of course.
- This sentiment perfectly captures the essence of this recipe and the experience it offers.
Now, I invite you to embrace the spirit of this spring fruit galette. Don't be intimidated by the seemingly simple instructions; let them guide you on a journey of culinary exploration and self-discovery. Gather your ingredients, embrace the process, and allow the aroma of baking fruit to fill your kitchen with warmth and happiness. More than just a recipe, this is an invitation to slow down, appreciate the beauty of simplicity, and create a little sweetness in your life.
Unleash Your Inner Baker: Spring into Deliciousness!
Thanks for joining us on this baking adventure! We hope you gained some delicious inspiration and newfound confidence in creating your own beautiful spring fruit galette. Ready to take your baking skills to the next level?
- Bake your own masterpiece: Grab those seasonal fruits and try the recipe today! Let the aroma of warm fruit fill your kitchen.
- Share your creation: Show us your gorgeous galette on social media using #BakeWithEaseSpringGalette – we can’t wait to see them!
- Explore our other spring recipes: Discover even more seasonal delights on our website and find your new favorite dessert.
So, what delicious fruit will star in your next BakeWithEase creation?