
Your Easy Introduction to Berry Galettes

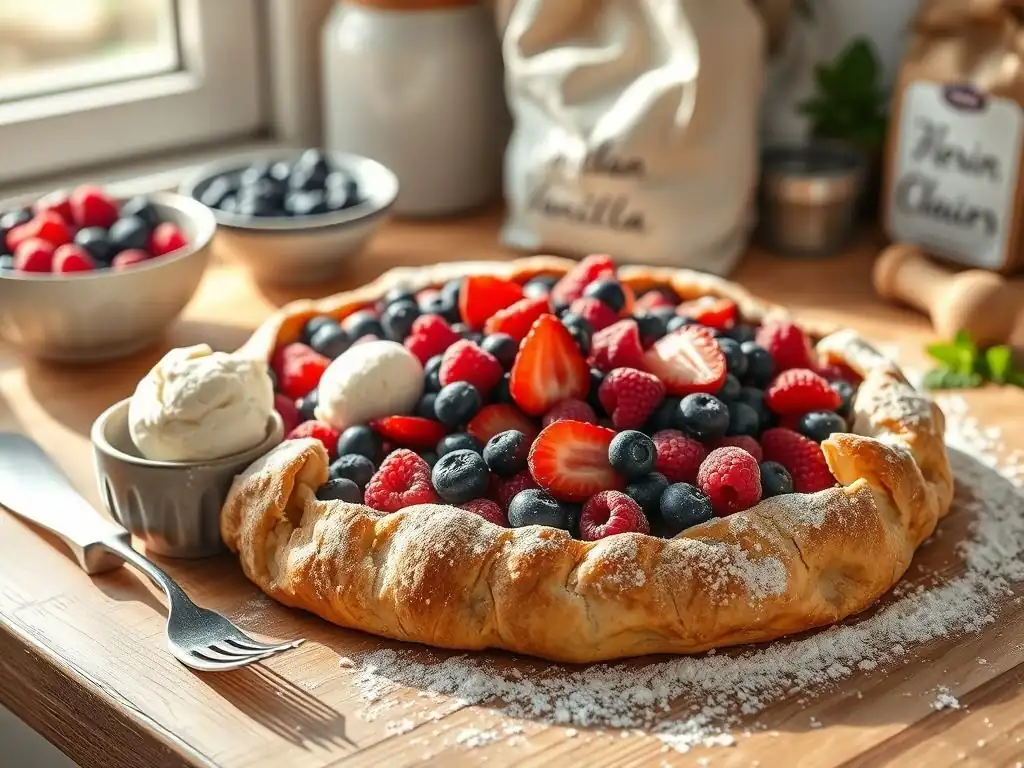
Welcome to BakeWithEase, your haven for all things baking! Ever dreamt of creating a rustic masterpiece with minimal fuss? This easy berry galette recipe is your gateway to effortless baking magic. Discover how to transform simple ingredients into a stunning dessert that's bursting with flavor – are you ready to unlock the secrets of this seasonal favorite?
- Your Easy Introduction to Berry Galettes - BakeWithEase
- What is a Berry Galette? An Easy Summer Dessert
- Why This Easy Berry Galette Recipe is Perfect for Beginners
- Easy Berry Galette Recipe: Step-by-Step Instructions
- Easy Berry Galette Variations: Beyond the Basics
- Serving and Storing Your Homemade Berry Galette
- Troubleshooting Your Easy Berry Galette Recipe
- Embrace Summer Baking with This Easy Berry Galette Recipe!
- Frequently Asked Questions
- Final Reflection: The Enduring Allure of the Simple Berry Galette
- Unleash Your Inner Baker: Craft the Perfect Berry Galette!
Your Easy Introduction to Berry Galettes - BakeWithEase
What is a Berry Galette? An Easy Summer Dessert
Understanding the Appeal of the Rustic Berry Galette
A berry galette is essentially a freeform, rustic tart. Unlike a traditional pie baked in a dish, a galette dough is rolled out flat, filled with fruit (like delicious summer berries), and then the edges are folded up and over the filling before baking directly on a baking sheet.
This simple technique gives it a wonderfully informal, homemade look that is incredibly appealing and much less intimidating than wrestling dough into a pie plate. The beauty of an easy berry galette lies in its charmingly imperfect nature – cracks, uneven folds, and bubbling fruit filling are all part of its character.
This dessert is particularly popular during berry season, typically late spring through summer, when fruits like strawberries, blueberries, raspberries, and blackberries are at their peak freshness and flavor. The simplicity of the galette allows the vibrant taste of the berries to truly shine, complemented by a buttery, flaky crust. It's the perfect dessert for a casual gathering, a picnic, or simply enjoying a taste of summer at home, embodying effortless elegance and delicious simplicity.
Galette vs. Pie: Key Differences for the Home Baker
While both galettes and pies feature fruit fillings encased in pastry, their primary difference lies in their structure and preparation. A pie is traditionally baked in a pie dish, creating defined sides and often a top crust (either full, lattice, or crumble). This requires careful handling of the dough to fit the dish and crimping the edges, which can sometimes be tricky for beginners.
A galette, on the other hand, is baked freeform on a flat surface. The dough is rolled into a rough circle or rectangle, the filling is placed in the center, and the edges are simply folded inward over the filling, leaving the center exposed. This eliminates the need for a pie dish and the complexities of a top crust, making it a much more approachable and forgiving baking project, especially for those new to pastry-making. The easy berry galette recipe capitalizes on this simplicity.
Why This Easy Berry Galette Recipe is Perfect for Beginners
Simple Ingredients for a Delicious Berry Galette
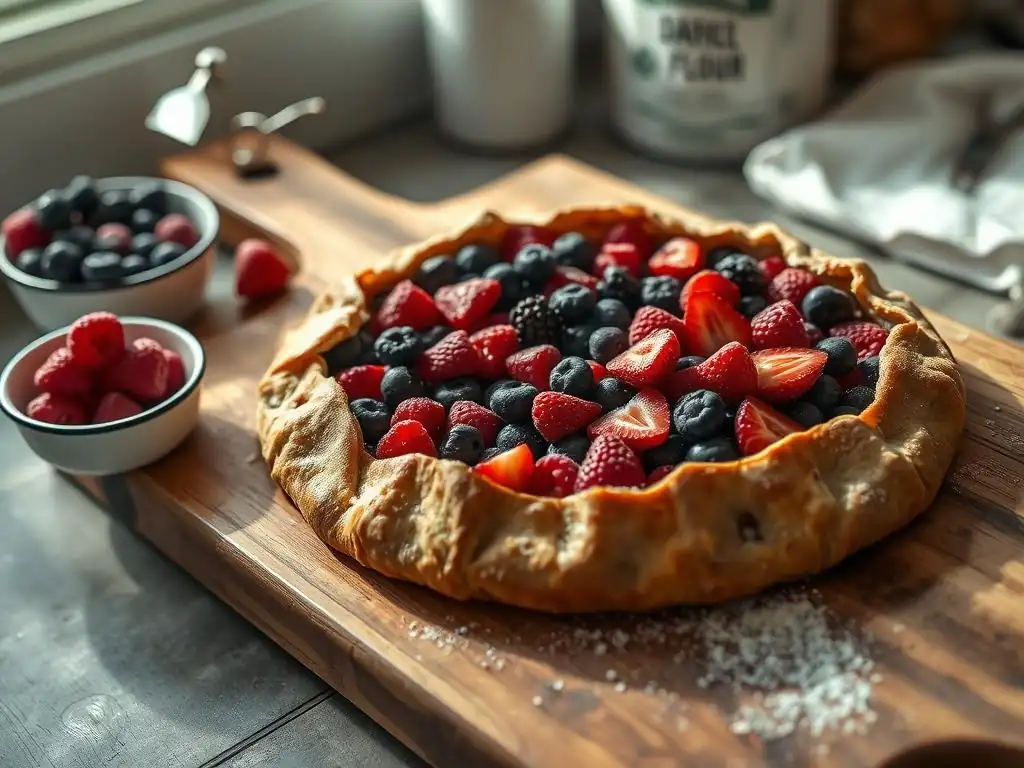
One of the reasons an easy berry galette is so beginner-friendly is its reliance on just a few basic ingredients, readily available in most kitchens or local grocery stores. For the crust, you'll typically need all-purpose flour, cold butter, a little sugar, salt, and ice water. That's it! No fancy flours or leaveners required. The filling is even simpler, primarily consisting of fresh or frozen berries, a touch of sugar (adjusted to the sweetness of your fruit), a thickener like flour or cornstarch, and maybe a squeeze of lemon juice for brightness.
These straightforward components make the process less daunting. You don't need to hunt for exotic items, and understanding the role each ingredient plays is quite intuitive. Cold butter creates flakiness in the crust, sugar balances the tartness of the berries, and a thickener prevents the filling from becoming too watery. This foundational simplicity makes mastering an easy berry galette recipe an excellent starting point for aspiring bakers.
No-Fuss Dough: Mastering the Galette Crust
Creating the dough for an easy berry galette is significantly less stressful than traditional pie dough. While the principles are similar – keeping ingredients cold and not overworking the dough – the freeform nature of the galette means the dough doesn't need to be picture-perfect or structurally rigid to fit a dish. You can mix it by hand, in a food processor, or with a stand mixer. The key is to incorporate the cold butter until it resembles coarse crumbs with some pea-sized pieces still visible, then add just enough ice water to bring it together.
Rolling out the dough is also forgiving. It doesn't need to be a perfect circle, and small tears can often be patched up easily. The folding process is intuitive – just lift the edges and pleat them around the filling. This relaxed approach to dough handling reduces anxiety and increases the likelihood of success, making the easy berry galette a confidence-building bake for newcomers.
Embrace Imperfection: The Beauty of Rustic Baking
The inherent charm of an easy berry galette lies in its rustic appearance. This is fantastic news for beginners, as it means perfection is not the goal. Uneven edges, slightly irregular folds, and a little berry juice bubbling out are not flaws; they are hallmarks of a beautiful, homemade galette. This removes the pressure often associated with more formal pastries that require precise shaping and finishing.
This embrace of imperfection encourages a more relaxed baking experience. You can focus on the process and the enjoyment of creating something delicious rather than stressing over achieving a flawless aesthetic. It's a celebration of homemade goodness, where the taste and the effort matter more than absolute precision. Your easy berry galette will look charmingly unique every time you make it.
Easy Berry Galette Recipe: Step-by-Step Instructions
Preparing the Easy Galette Dough
Ingredients for the Perfect Galette Crust
To make a reliable and easy galette crust, you'll need just a few staples. Start with 1 and 1/2 cups of all-purpose flour. Ensure it's spooned and leveled, not scooped directly from the bag, for accuracy.
You'll also need 1/2 teaspoon of salt and 1 tablespoon of granulated sugar to add a touch of flavor and aid in browning. The fat component is 1/2 cup (which is 1 stick or 8 tablespoons) of unsalted butter, cut into small cubes and kept very cold. Finally, have about 1/4 to 1/2 cup of ice water ready; you'll add just enough for the dough to come together.
These simple ingredients, when combined correctly, yield a flaky, tender crust that is the perfect vehicle for your summer berry filling. Using cold butter is crucial as it creates steam pockets during baking, which results in those desirable flaky layers. The small amount of sugar helps with browning, giving the crust a lovely golden hue as it bakes.
Step-by-Step Guide to Making Galette Dough
- Combine the dry ingredients: In a large bowl, whisk together the
1 and 1/2 cups all-purpose flour,1/2 teaspoon salt, and1 tablespoon granulated sugar. - Cut in the butter: Add the cold, cubed
1/2 cup unsalted butterto the dry ingredients. Use a pastry blender, your fingertips, or a food processor to cut the butter into the flour mixture until it resembles coarse crumbs with some pieces about the size of small peas. Keeping the butter cold is key. - Add ice water: Gradually add the
ice water, one tablespoon at a time, mixing gently with a fork or your hands until the dough just begins to come together. You may not need all the water. The dough should be shaggy but should hold together when you squeeze a small amount. Avoid adding too much water, as this can make the crust tough. - Chill the dough: Turn the dough out onto a lightly floured surface and gently bring it together into a rough disc shape. Do not knead it. Wrap the disc tightly in plastic wrap and refrigerate for at least 30 minutes, or up to 2 days. Chilling allows the gluten to relax and the butter to firm up, making the dough easier to roll out.
Assembling Your Summer Berry Galette
Choosing Your Berries: A Guide to Seasonal Flavors
The best berries for your easy berry galette are those that are fresh and in season, bursting with natural sweetness and flavor. A classic choice is a mix of different berries, like strawberries, blueberries, raspberries, and blackberries, offering a delightful combination of textures and tanginess. Aim for about 4 to 5 cups of total berries for a standard galette size (around 12-14 inches in diameter).
Consider the sweetness and juiciness of your berries when selecting them. Ripe strawberries and blueberries are naturally sweet, while raspberries and blackberries can be tarter. Using a mix provides balance. If using frozen berries, allow them to thaw slightly and drain off excess liquid before using, although some prefer to use them frozen to control juiciness. This easy berry galette recipe is wonderfully adaptable to whatever berries you have on hand.
Preparing the Berry Filling: Sweetness and Flavor
Preparing the filling for your easy berry galette is straightforward. In a medium bowl, combine your chosen 4 to 5 cups of mixed berries. Add 1/4 to 1/2 cup of granulated sugar, depending on the sweetness of your fruit and your personal preference. Toss gently to coat the berries evenly. Next, add 1 to 2 tablespoons of a thickener such as all-purpose flour or cornstarch. Cornstarch tends to create a clearer, glossier filling, while flour results in a slightly cloudier one.
To enhance the flavor, consider adding a squeeze of fresh lemon juice (about 1 tablespoon) to brighten the fruit's taste, or perhaps a dash of vanilla extract or almond extract (about 1/2 teaspoon). Gently mix everything together until the berries are coated in the sugar and thickener. This simple filling is ready to be placed onto your prepared dough.
Assembling the Galette: A Visual Guide
Once your dough is chilled and your filling is ready, it's time to assemble the easy berry galette. Lightly flour a clean surface or a piece of parchment paper. Roll out the chilled dough into a rough circle, about 12 to 14 inches in diameter and roughly 1/8 inch thick. Don't worry about making it perfectly round; the rustic shape is part of the charm. If using parchment, you can transfer the rolled dough on the parchment to a baking sheet at this stage.
Carefully spoon the berry filling onto the center of the rolled dough, leaving a border of about 2 inches free around the edges. Gently spread the berries somewhat evenly within the center area. Now, lift the edge of the dough and fold it up and over the filling, pleating the dough as you go around the circle. The center portion of the berries will remain exposed. Brush the folded edge of the dough with an egg wash (one egg beaten with a tablespoon of water) or milk, and sprinkle with coarse sugar (like turbinado or granulated) for a nice crunch and sparkle.
Baking Your Berry Galette to Golden Perfection
Baking Temperatures and Times for Optimal Results
For baking your easy berry galette, a moderately hot oven is ideal to ensure the crust gets golden and flaky while the fruit filling bubbles and thickens. Preheat your oven to 375°F (190°C). If your oven tends to run hot or cold, adjust accordingly. Place the assembled galette on a baking sheet, preferably lined with parchment paper or a silicone baking mat for easy cleanup and to prevent sticking.
Bake the galette in the preheated oven for approximately 30 to 45 minutes. The exact time will vary depending on your oven and the juiciness of the berries. You'll know it's ready when the crust is deep golden brown and the berry filling is bubbly and thickened in the center.
Achieving a Golden-Brown Crust: Tips and Tricks
To ensure your easy berry galette develops that beautiful, inviting golden-brown crust, a few simple techniques can help. Firstly, make sure your oven is fully preheated before placing the galette inside. An oven that isn't hot enough can lead to a pale, soggy crust.
Secondly, the egg wash (or milk) brushed onto the folded edges of the dough before baking is crucial for achieving a rich color and a slight sheen. Sprinkling coarse sugar, like turbinado or granulated sugar, over the egg wash not only adds sparkle and crunch but also promotes browning. Keep an eye on the galette during the last 10-15 minutes of baking; if the crust edges are browning too quickly, you can loosely tent the galette with aluminum foil.
Easy Berry Galette Variations: Beyond the Basics
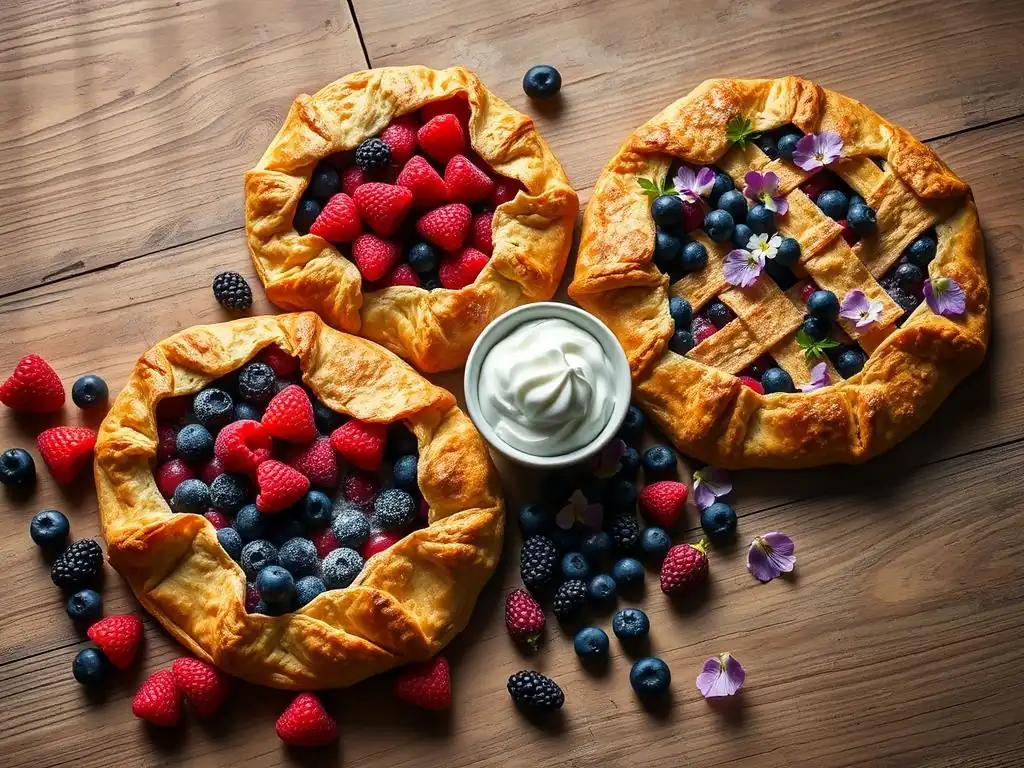
Adding Almond Flour for a Nutty Twist
Introducing almond flour into your easy berry galette crust can add a wonderful nutty depth and a slightly different texture. You can experiment by substituting a small amount of the all-purpose flour, perhaps 1/4 cup, with fine almond flour. This substitution often results in a slightly more tender crust.
Alternatively, you can add a layer of almond flour or finely ground almonds directly onto the rolled-out dough within the border before adding the berry filling. This creates a delicious barrier that can help absorb some of the berry juices, potentially preventing a soggy bottom crust, while also adding a lovely nutty flavor that pairs exceptionally well with many types of berries, like raspberries and blueberries.
Incorporating Citrus Zest for Brightness
Citrus zest is a fantastic way to add a bright, fresh counterpoint to the sweetness and richness of the berry filling in your easy berry galette. The oils in the zest carry intense flavor without adding extra liquid. Lemon zest is a classic pairing for most berries, adding a zesty lift that enhances their natural tang.
Simply grate the zest of half a lemon or a whole lime (about 1 to 2 teaspoons) directly into your berry filling mixture along with the sugar and thickener. Gently toss to distribute the zest evenly. The citrus notes will complement the fruit beautifully, making the flavors pop and adding another layer of complexity to your simple summer dessert.
Exploring Different Berry Combinations
The beauty of an easy berry galette is its versatility with fruit. While a mix of strawberries, blueberries, raspberries, and blackberries is popular, don't hesitate to experiment with other combinations or even single-berry fillings. A galette filled solely with ripe, juicy peaches and a handful of raspberries is divine in late summer.
Consider pairing different textures and flavors. Blueberries offer a burst of sweetness, while tart cherries (though technically stone fruit, they behave similarly) can add a pleasant pucker. Rhubarb, often paired with strawberries, provides a lovely tartness and unique texture. About 4-5 cups of any combination of berries or suitable fruits will work perfectly in this easy berry galette recipe.
Serving and Storing Your Homemade Berry Galette
Serving Suggestions for an Elegant Dessert
An easy berry galette is best served warm, allowing the buttery crust and bubbling fruit filling to be at their most aromatic and delicious. After taking it out of the oven, let it cool on the baking sheet for at least 15-20 minutes before slicing. This allows the juices to settle slightly and the filling to thicken further, making it easier to cut and serve.
For an extra special treat, serve slices of your warm berry galette with a scoop of vanilla ice cream, a dollop of freshly whipped cream, or a drizzle of crème fraîche. The contrast between the warm, sweet, slightly tart fruit and the cool, creamy topping is simply divine. It's a humble dessert that feels incredibly luxurious with just a simple accompaniment.
How to Store Leftover Berry Galette
If you happen to have any leftover easy berry galette (a rare occurrence! ), storing it properly will help maintain its quality. Once it has completely cooled to room temperature, cover it loosely with plastic wrap or aluminum foil, or place slices in an airtight container. Store the galette at room temperature for up to 1-2 days.
For longer storage, you can refrigerate the galette for up to 3-4 days. Note that the crust may soften slightly in the refrigerator due to moisture from the filling. To reheat, place slices on a baking sheet and warm in a preheated oven at 300°F (150°C) for about 10-15 minutes, or until warmed through and the crust crisps up a bit.
Troubleshooting Your Easy Berry Galette Recipe
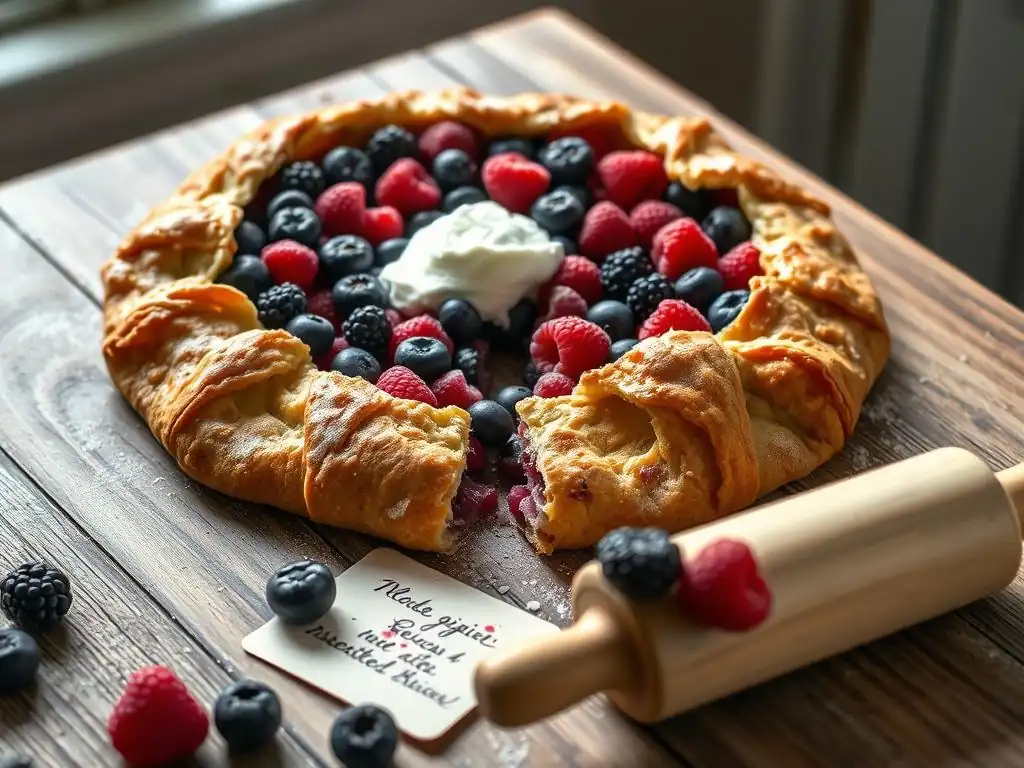
Common Galette Baking Mistakes and How to Avoid Them
One common mistake when making an easy berry galette is adding too much liquid to the dough. This results in a tough crust instead of a flaky one. To avoid this, add ice water just a tablespoon at a time, mixing until the dough just comes together. It should look shaggy, not wet or sticky. Another pitfall is overworking the dough, which also develops gluten and leads to toughness. Handle the dough minimally when bringing it together and rolling it out.
Another frequent issue is a filling that is too watery, leading to a soggy bottom crust. This can happen if you use very juicy berries or don't use enough thickener. Ensure you use the recommended amount of flour or cornstarch (1-2 tablespoons for ~4-5 cups of berries) and consider adding a thin layer of almond flour or breadcrumbs on the dough before adding the filling, especially if your berries are particularly ripe and juicy.
Dealing with a Soggy Crust: Tips for a Crispy Galette
A soggy bottom crust can be disappointing, but there are several strategies to help prevent it in your easy berry galette. As mentioned, using enough thickener in your berry filling is crucial. Make sure the 1-2 tablespoons of flour or cornstarch are well distributed among the berries.
Baking the galette on a preheated baking stone or steel can also help transfer heat efficiently to the bottom crust, promoting crisping. Placing the baking sheet with the galette directly onto the hot stone/steel can make a difference. Additionally, ensuring your oven is hot enough (375°F / 190°C) and that the galette bakes long enough for the bottom to brown will contribute to a crispier crust. If you notice the top browning too quickly, tenting it with foil is a simple fix.
Embrace Summer Baking with This Easy Berry Galette Recipe!
Making an easy berry galette is a truly rewarding experience. It's a simple yet elegant dessert that celebrates the bounty of summer fruits with minimal fuss. From the forgiving, rustic dough to the vibrant, bubbling berry filling, each step is designed to be approachable for even the most novice baker. This recipe proves that you don't need complex techniques to create something utterly delicious and visually appealing.
Whether you're using freshly picked strawberries, plump blueberries, tangy raspberries, or a delightful mix, this easy berry galette recipe is your ticket to enjoying homemade pastry this season. It's the perfect project for a lazy afternoon and a guaranteed crowd-pleaser. So gather your ingredients, embrace the rustic charm, and get ready to bake a beautiful galette that tastes like pure summer.
We love seeing what our community bakes! Once you've made your easy berry galette using our recipe, we encourage you to share your results. Whether it's your very first attempt or your tenth, every galette is unique and beautiful in its own right. Sharing your baking journey helps inspire others and celebrates the joy of creating delicious treats at home.
Tell us what berries you used, what variations you tried, or any tips you discovered along the way. Your experiences are valuable! Baking is a wonderful way to connect, and we can't wait to see the delicious easy berry galettes you bring to life from your own kitchens.
Frequently Asked Questions
What exactly is a berry galette?
A berry galette is essentially a rustic, free-form pie. It features a flaky crust, typically made with butter, and a filling of fresh or frozen mixed berries. It's known for being much easier to make than a traditional pie.
What kind of berries work best in an easy berry galette recipe?
Almost any berry will work! Popular choices include blueberries, raspberries, strawberries, and blackberries. You can use a single type or a mix of your favorites.
Is it possible to make a berry galette with frozen berries?
Yes, frozen berries are perfectly acceptable and often convenient. Be sure to thaw them slightly and drain any excess liquid before adding them to the crust to prevent a soggy galette.
What's the secret to a flaky crust for an easy berry galette?
The key is to use cold butter and cold water when making the dough. Also, avoid overworking the dough; it should be just combined. This will prevent the gluten from developing too much, resulting in a tender, flaky crust.
How do I prevent my berry galette from becoming soggy?
Besides draining excess liquid from frozen berries, you can sprinkle a layer of breadcrumbs or almond flour on the crust before adding the berry filling. This acts as a barrier, absorbing excess moisture and preventing a soggy bottom.
Final Reflection: The Enduring Allure of the Simple Berry Galette
The seemingly effortless elegance of the berry galette belies a deeper truth: simplicity, when executed well, can be profoundly satisfying. This isn't just about a delicious dessert; it's about reclaiming the joy of baking, proving that masterful results don't require hours of intricate work or specialized skills. The ease of this recipe, coupled with the stunning visual appeal of the finished product, makes it a perfect entry point for aspiring bakers of all levels.
The galette, in its rustic charm, reflects a larger cultural shift towards valuing authenticity and imperfection. We're moving away from the pressure of picture-perfect baking, embracing the beauty of handmade imperfections. This simple dessert allows us to connect with the process, to appreciate the tactile experience of working with dough and fruit, and to celebrate the inherent beauty of nature's bounty. The best things in life are simple,
a sentiment often repeated, rings especially true when considering the joy derived from a perfectly imperfect berry galette.
Now, I invite you to consider your own baking journey. Will you embrace the simplicity of the galette, allowing yourself the freedom to experiment and create something beautiful without the burden of perfection? Perhaps this recipe will inspire you to try other rustic desserts, to explore the joy of baking with fresh, seasonal ingredients, and to share the delicious results with loved ones. The galette is more than just a recipe; it's an invitation to savor the process and celebrate the simple pleasures in life.
Unleash Your Inner Baker: Craft the Perfect Berry Galette!
Thanks for joining us on this delicious journey into the world of berry galettes! We hope you’ve gained the confidence to tackle this seemingly complex, yet surprisingly simple, dessert. Ready to roll up your sleeves and get baking?
- Bake your first berry galette today! Use the recipe and tips from this article as your guide. Don't be afraid to experiment with different berries and flavors.
- Share your creation! Snap a picture of your masterpiece and tag us on social media – we’d love to see your baking triumphs.
- Explore more easy dessert recipes on BakeWithEase.com – discover your next baking adventure!
What unique twist will you add to your very own berry galette? Let us know in the comments below!