
Secrets to a Juicy Berry Tart

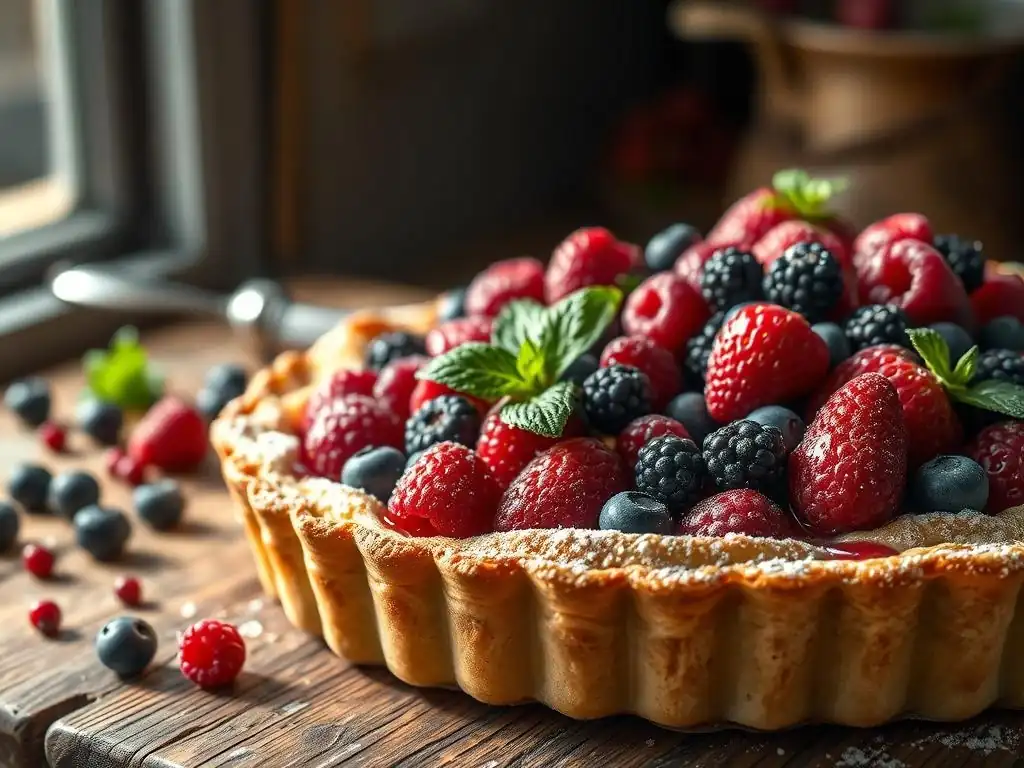
Welcome to BakeWithEase, your trusted companion on your baking journey! Ever dreamed of creating a perfectly juicy berry tart that bursts with flavor and wows your guests? We're about to unveil the secrets to achieving just that. Get ready to learn simple techniques and discover insider tips that will transform your seasonal baking. Curious to know how to avoid a soggy crust and achieve that vibrant, glossy finish? Let's dive in and create baking magic!
- Secrets to a Juicy Berry Tart: A BakeWithEase Guide
- BakeWithEase Presents: The Perfectly Juicy Berry Tart Recipe
- Mastering the Art of Berry Tarts: Achieving the Perfect Juiciness
- Ingredients for a Delicious and Juicy Berry Tart
- Step-by-Step Guide: Creating a Juicy Berry Tart From Scratch
- Tips and Tricks for a Next-Level Berry Tart
- Variations on the Classic Berry Tart Recipe
- Storing and Serving Your Juicy Berry Tart
- Troubleshooting Your Berry Tart: Common Problems and Solutions
- Frequently Asked Questions
- Final Reflection: The Enduring Allure of the Perfectly Juicy Berry Tart
- Unlock Your Inner Pastry Chef!
Secrets to a Juicy Berry Tart: A BakeWithEase Guide
BakeWithEase Presents: The Perfectly Juicy Berry Tart Recipe
Welcome to BakeWithEase, where we demystify baking one delicious recipe at a time! There's something truly magical about a berry tart, especially when it's bursting with flavor and, most importantly, perfectly juicy. Forget dry, lackluster fillings; we're here to guide you through creating a tart that sings with the taste of fresh fruit, encased in a beautifully flaky crust. This guide is designed for bakers of all levels, ensuring your next attempt at a berry tart is a resounding success, resulting in that coveted perfectly juicy berry tart recipe.
Mastering the balance between a crisp crust and a luscious, flowing-but-set filling is key to berry tart perfection. It requires understanding a few fundamental principles, from ingredient selection to baking technique. By following our detailed steps and incorporating some clever tips, you'll be able to consistently produce tarts that are not only visually stunning but also deliver an explosion of juicy, fruity goodness with every bite. Get ready to bake a tart that will become your go-to summer dessert!
Summer Baking with Berries: Your Go-To Guide
Summer is undeniably berry season, a time when nature offers its most vibrant and flavorful bounty. From the sweet simplicity of strawberries to the slightly tart complexity of blackberries, berries are at their peak ripeness, making them ideal for baking. Incorporating these seasonal gems into your baking projects ensures maximum flavor without needing excessive added sugar, letting the natural sweetness and juiciness shine through. A perfectly juicy berry tart recipe is the quintessential way to celebrate this season's harvest.
Utilizing fresh, in-season berries also means you're working with fruit that has the highest water content and best texture, which is crucial for achieving a juicy filling. For example, a quart of fresh strawberries picked in June or July typically weighs around 1.5 pounds and yields approximately 3 cups of sliced berries, packed with natural juices. Contrast this with berries flown in during the off-season, which often lack the same plumpness and intensity of flavor. Focusing on seasonality is the first step towards a truly exceptional, perfectly juicy berry tart.
Mastering the Art of Berry Tarts: Achieving the Perfect Juiciness
Why is My Berry Tart Dry? Common Mistakes and Solutions
One of the most common disappointments when baking a berry tart is ending up with a dry, lackluster filling. This often stems from insufficient fruit, not adding enough liquid or a liquid-enhancing ingredient, or over-baking which evaporates too much moisture.
For instance, using only 2-3 cups of berries for a standard 9-inch tart shell is usually not enough; aim for at least 4-5 cups of mixed berries to ensure a generous, juicy layer. Additionally, relying solely on the berries' natural juice isn't always sufficient, especially if they aren't perfectly ripe, necessitating the addition of a liquid component or a moisture-retaining ingredient.
Another frequent culprit is using the wrong type or amount of thickener, or baking the tart for too long at too high a temperature. While thickeners like cornstarch, tapioca starch, or flour are essential for preventing a runny mess, too little won't thicken the juices, and too much can result in a gelatinous or pasty texture that masks the fruit's juiciness.
A good rule of thumb is about 2-3 tablespoons of cornstarch per 4-5 cups of berries, adjusted based on the berry type (raspberries need more thickener than blueberries). Over-baking solidifies the filling too much and dries out the fruit, so watch for bubbling juices around the edges, indicating it's done.
Ingredients for a Delicious and Juicy Berry Tart
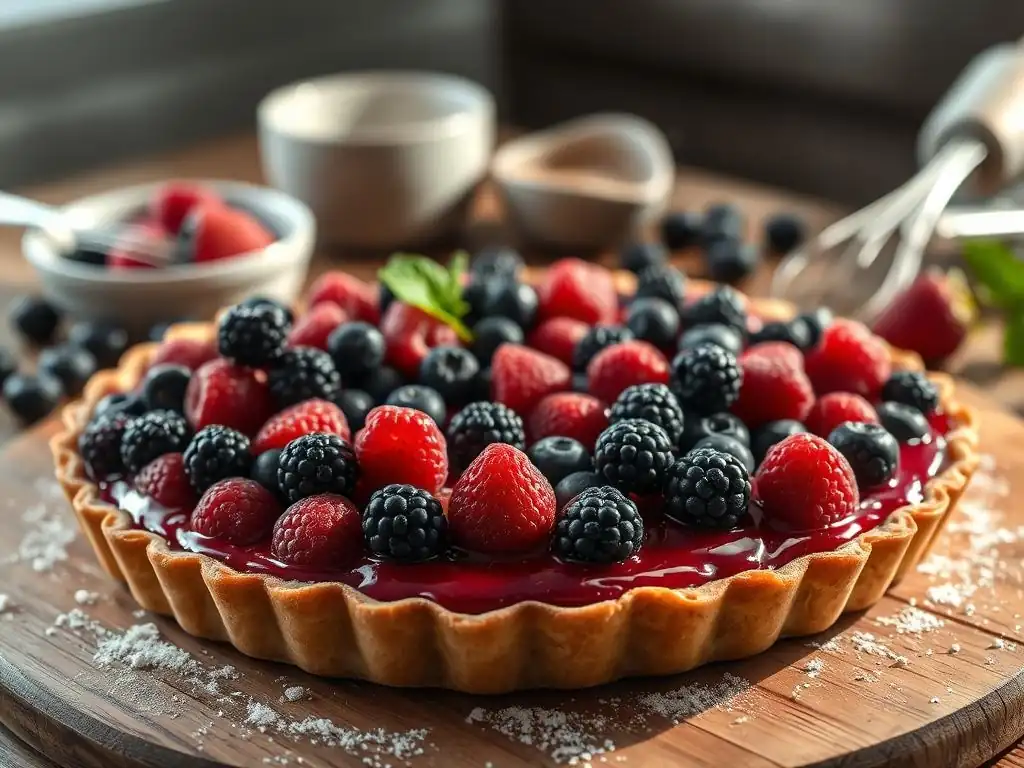
Key Ingredients for the Perfect Tart Crust
A perfectly juicy berry tart recipe starts with a foundation that can support the luscious filling without becoming soggy. The key ingredients for a flaky, buttery tart crust are simple: all-purpose flour, cold unsalted butter, a pinch of salt, and ice water.
The quality and temperature of the butter are paramount; using very cold butter, cut into small pieces or grated, ensures that as it melts in the oven, it creates steam pockets, separating the layers of dough and resulting in that desirable flakiness. Approximately 1 cup (2 sticks or 225g) of butter is typically used for about 2 cups (250g) of flour for a standard 9-inch tart shell.
The technique of incorporating the butter into the flour is equally important. Whether using a food processor, pastry blender, or your fingertips, the goal is to work the butter into the flour until it resembles coarse crumbs with some pea-sized pieces remaining.
This ensures those pockets of butter remain distinct. Adding just enough ice water (usually 4-6 tablespoons) to bring the dough together without making it sticky, followed by chilling the dough for at least 30 minutes, allows the gluten to relax and the fat to firm up, making it easier to roll and contributing to a tender, flaky texture essential for holding a perfectly juicy berry tart filling.
Selecting the Freshest Berries for Maximum Flavor and Juiciness
The quality of your berries directly impacts the juiciness and flavor of your tart. For a perfectly juicy berry tart recipe, always opt for fresh, in-season berries whenever possible. Look for berries that are plump, brightly colored, and free from bruises or mold.
Strawberries should have a vibrant red hue and green caps, blueberries should be dusty blue-purple and firm, raspberries should be plump and intact, and blackberries should be deep purple-black and glossy. A typical 6-ounce container of raspberries holds about 1.25 cups, while a pint of blueberries is roughly 2 cups, giving you an idea of quantities needed for a standard tart (aiming for 4-5 cups total).
Farmers' markets are excellent sources for peak-season berries, often picked just hours before sale, preserving their maximum sweetness and juice content. While grocery stores offer convenience, check the origin and appearance carefully. Avoid berries that look shriveled, dull, or have soft spots, as these will contribute less juice and flavor to your filling. Gently wash berries just before use and pat them dry carefully to prevent them from becoming waterlogged, which can dilute the natural juices and affect the filling's consistency.
The Secret Ingredient for an Extra Juicy Filling: Red Currant Jelly
While berries provide the primary juice, incorporating a 'secret ingredient' can significantly enhance the filling's texture, shine, and overall juiciness without making it runny. One such ingredient is red currant jelly. Just a few tablespoons melted and mixed with the berries before baking, or brushed over the baked filling, works wonders. Approximately 2-3 tablespoons of melted red currant jelly per 4-5 cups of berries adds a beautiful sheen, slightly intensifies the berry flavor, and contributes a pectin-rich element that helps the juices set into a lovely, syrupy consistency rather than a watery pool.
Red currant jelly is particularly effective because it's high in pectin and has a bright, slightly tart flavor that complements most berries without overpowering them. Unlike some thickeners that can make the filling opaque, melted jelly keeps the berry juices looking vibrant and glossy.
If red currant jelly is unavailable, other clear fruit jellies like apple jelly or even a good quality apricot jam (strained to remove solids) can be used, though red currant is often preferred for its color and tartness which balances sweet berries. This simple addition elevates a standard berry tart to a perfectly juicy berry tart recipe masterpiece.
Step-by-Step Guide: Creating a Juicy Berry Tart From Scratch
Part 1: Crafting the Perfect Tart Crust
Making the Dough: Tips and Tricks for a Flaky Crust
To begin your perfectly juicy berry tart recipe, start with the crust. Combine 2 cups of all-purpose flour, 1/2 teaspoon salt, and 1 tablespoon sugar in a large bowl or food processor. Cut in 1 cup (2 sticks) of very cold unsalted butter, which has been cut into small cubes or grated. Process or work with a pastry blender until the mixture resembles coarse meal with some visible pea-sized pieces of butter. This ensures flakiness.
Gradually add 4-6 tablespoons of ice water, one tablespoon at a time, mixing until the dough just comes together. Be careful not to overmix; the dough should look slightly shaggy. Turn the dough out onto a lightly floured surface, gently gather it into a disc, wrap tightly in plastic wrap, and refrigerate for at least 30 minutes (or up to 2 days) to allow the gluten to relax and the butter to firm up. This chilling step is crucial for a tender crust that's easy to roll.
Blind Baking: Preventing a Soggy Bottom
Blind baking is essential for preventing a soggy bottom crust when making a juicy tart filling. Preheat your oven to 375°F (190°C). Roll out the chilled dough on a lightly floured surface to a 12-inch circle and carefully transfer it to a 9-inch tart pan with a removable bottom. Gently press the dough into the bottom and up the sides, trimming any excess. Prick the bottom of the dough all over with a fork. This allows steam to escape and prevents puffing.
Line the dough-lined tart shell with parchment paper or foil, making sure it covers the edges to prevent them from burning. Fill the liner with pie weights, dried beans, or rice, distributing them evenly up the sides. Bake for 15-20 minutes, until the edges are lightly golden. Carefully remove the weights and parchment/foil. Return the crust to the oven for another 5-10 minutes, or until the bottom is golden brown and looks dry. This ensures the base is sturdy enough to hold the juicy berry filling.
Part 2: Preparing the Berry Filling
Berry Selection and Preparation Techniques
For your perfectly juicy berry tart recipe, you'll need about 4-5 cups of mixed fresh berries. A popular combination is strawberries, blueberries, raspberries, and blackberries, but feel free to use your favorites. Once you've selected plump, ripe berries, gently wash them under cool water just before you're ready to make the filling. Avoid soaking them, which can make them mushy.
After washing, carefully hull strawberries (remove the green tops) and slice larger ones in half or quarters so all berry pieces are roughly similar in size for even baking. Leave smaller berries like blueberries and raspberries whole. Pat all the washed berries very gently dry with paper towels. Excess surface moisture can make the filling runny, so this step is important. Combine the prepared berries in a large bowl.
Creating a Luscious and Juicy Berry Mixture
In the bowl with your prepared berries, gently toss them with sugar, a thickener, and flavorings. The amount of sugar depends on the sweetness of your berries, but start with 1/4 to 1/2 cup. For a standard 4-5 cups of mixed berries, use 2-3 tablespoons of cornstarch or tapioca starch (tapioca starch often provides a clearer, glossier finish). A squeeze of fresh lemon juice (about 1 tablespoon) brightens the flavor and helps the thickener activate.
Now, incorporate the 'secret ingredient': melt 2-3 tablespoons of red currant jelly (or similar clear fruit jelly) and pour it over the berry mixture. Gently toss everything together until the berries are evenly coated with the sugar, thickener, lemon juice, and jelly. Be careful not to mash the berries, especially delicate raspberries. Let the mixture sit for about 10-15 minutes; the sugar will start to draw out some juices, creating a preliminary syrupy base. This mixture is now ready to fill your blind-baked tart shell.
Part 3: Assembling and Baking Your Berry Tart
Arranging the Berries for Visual Appeal
Once your berry mixture is ready and your tart crust is blind-baked and cooled slightly, it's time for assembly. While you can simply pour the berry mixture into the shell, arranging the berries, especially on top, can make your perfectly juicy berry tart recipe visually stunning. Start by spooning the juices and smaller berry pieces into the bottom of the crust.
Then, carefully arrange the larger, more visually appealing berries on top. You can create patterns, concentric circles, or just scatter them artfully. Ensure the berries are distributed relatively evenly so the tart bakes uniformly. Don't pile the berries too high; they will settle as they bake.
Baking Time and Temperature for Optimal Juiciness
Preheat your oven to 400°F (200°C). Place the assembled tart on a baking sheet (to catch any potential drips). Bake the tart for 15 minutes at the higher temperature; this helps set the bottom crust and starts the thickening process quickly.
After 15 minutes, reduce the oven temperature to 375°F (190°C) and continue baking for another 30-40 minutes, or until the crust is golden brown and the berry filling is bubbly and thickened, especially in the center. If the crust edges start to brown too quickly, loosely cover them with foil or a crust shield. The bubbling juices indicate the thickener is working and the tart is reaching its desired consistency for a perfectly juicy berry tart.
Cooling and Setting the Tart for Perfect Texture
This is perhaps the most crucial step for achieving a perfectly juicy berry tart that holds its shape: cooling time. Once the tart is out of the oven and the filling is visibly bubbly and thickened, resist the urge to cut into it immediately. The filling is extremely hot and needs time to cool and solidify properly.
Carefully transfer the tart on its baking sheet to a wire rack and let it cool completely. This can take anywhere from 3 to 4 hours, or even longer at room temperature. As the tart cools, the thickener will continue to set the berry juices, transforming them from a liquid state into a luscious, syrupy filling that stays contained when sliced. Cutting too early will result in a runny mess. Patience is key to a perfectly set, perfectly juicy berry tart.
Tips and Tricks for a Next-Level Berry Tart
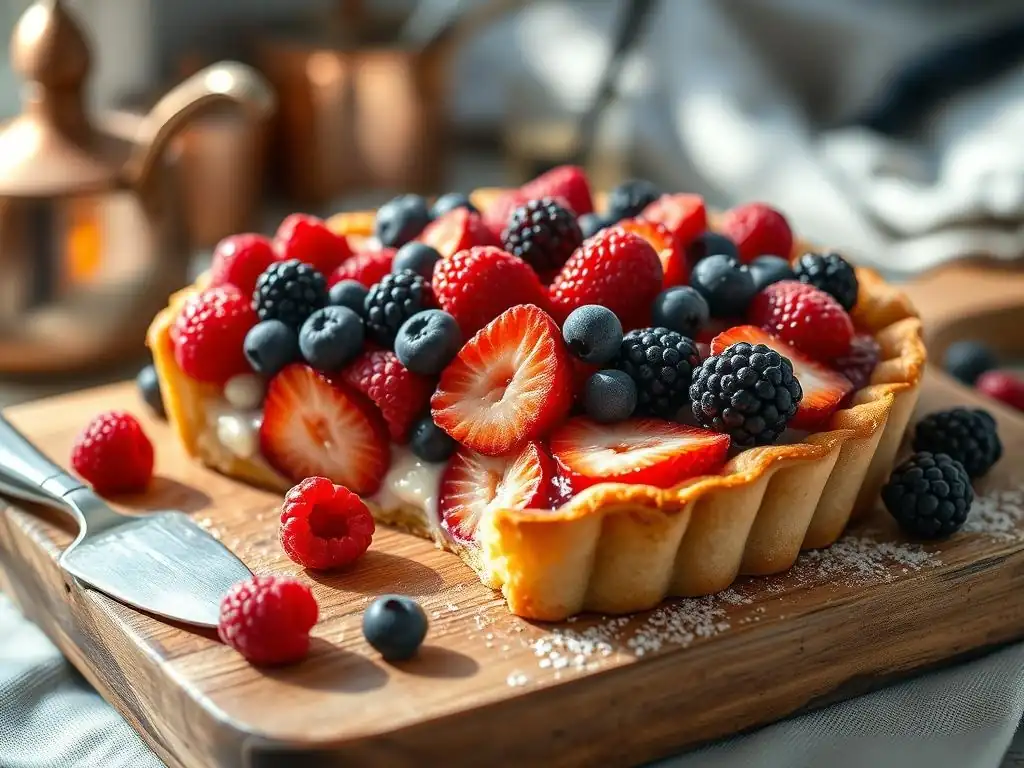
Enhancing Berry Flavor with Citrus Zest and Extracts
To truly elevate the flavor profile of your perfectly juicy berry tart recipe, consider adding complementary flavor enhancers. Citrus zest, particularly from lemons or oranges, can brighten the natural sweetness and tartness of the berries. The zest of one small lemon or half an orange, finely grated, can be tossed with the berries and sugar before filling the tart. This adds a wonderful aromatic lift without adding extra liquid.
Extracts like pure vanilla extract or almond extract can also deepen the flavor. A teaspoon of vanilla extract or a 1/4 teaspoon of almond extract mixed into the berry filling can provide a subtle background note that highlights the fruit. For instance, almond extract pairs beautifully with raspberries, while vanilla is a classic enhancer for strawberries and blueberries. These small additions make a significant difference in creating a complex and delicious filling.
Glazing Your Berry Tart for Shine and Added Sweetness
A glaze adds a professional finish and an extra touch of sweetness and moisture to your berry tart. One simple method is to gently melt about 1/4 cup of red currant jelly (the same secret ingredient!) or apricot jam with a tablespoon of water or lemon juice over low heat. Once melted and smooth, use a pastry brush to lightly brush this warm glaze over the baked and slightly cooled berry filling. This gives the tart a beautiful, glossy sheen and enhances the vibrant color of the berries.
Alternatively, you can make a simple powdered sugar glaze by whisking together about 1/2 cup of powdered sugar with 1-2 tablespoons of milk or lemon juice until smooth. Drizzle this glaze decoratively over the completely cooled tart just before serving. This provides a sweet contrast and a lovely visual element. Both glazing methods add to the appeal of a perfectly juicy berry tart recipe.
Preventing a Soggy Crust: Advanced Techniques
Beyond standard blind baking, a few advanced techniques can provide extra insurance against a soggy crust, especially with particularly juicy fillings. One method is to brush the blind-baked crust with a thin layer of egg wash (an egg whisked with a tablespoon of water or milk) during the last 5-10 minutes of blind baking. The egg wash creates a protein barrier that seals the crust surface, making it more resistant to absorbing moisture from the filling.
Another effective technique is to sprinkle a thin layer of fine cake crumbs, ground nuts (like almond flour), or even crushed cookies (like vanilla wafers or graham crackers) on the bottom of the blind-baked crust before adding the berry filling. These dry ingredients act as a sponge, absorbing any excess moisture that might seep from the berries during baking, helping to maintain a crisp bottom crust beneath your perfectly juicy berry tart filling. About 2-3 tablespoons is usually sufficient for a 9-inch tart.
Variations on the Classic Berry Tart Recipe
Raspberry Tart with Pistachio Cream
Elevate your berry tart game with a sophisticated variation like a Raspberry Tart with Pistachio Cream. This recipe features a layer of rich, nutty pistachio cream baked into the bottom of the tart shell before adding the raspberries. Pistachio cream is typically made from finely ground pistachios, sugar, butter, egg, and a touch of flour or almond flour. It bakes up into a moist, flavorful layer that provides a wonderful textural and flavor contrast to the bright, slightly tart raspberries.
For this variation on a perfectly juicy berry tart recipe, you would typically spread about 1/2 to 3/4 cup of prepared pistachio cream into the blind-baked crust before arranging fresh raspberries (about 3-4 cups) on top. The pistachio cream bakes simultaneously with the berries, its richness complementing the raspberries' tanginess beautifully. This variation offers a more complex dessert experience, moving beyond the simple fruit filling.
Blackberry Tart with Chocolate Ganache
The pairing of blackberries and chocolate is a classic for a reason, and it translates beautifully into a tart variation. A Blackberry Tart with Chocolate Ganache starts with a layer of smooth, decadent dark chocolate ganache spread into the blind-baked crust before being topped with fresh blackberries. The slight tartness of the blackberries cuts through the richness of the chocolate, creating a balanced and indulgent dessert.
To make the ganache, heat about 1/2 cup of heavy cream until just simmering, then pour it over 4 ounces of finely chopped good quality dark chocolate. Let it sit for a few minutes, then stir until smooth and glossy. Pour this ganache into the cooled, blind-baked tart shell and let it set slightly before arranging about 3-4 cups of fresh blackberries on top. This creates a stunning and delicious contrast, offering a twist on the traditional perfectly juicy berry tart recipe.
Cranberry Tart with Orange Zest
While often associated with summer, berries like cranberries lend themselves to seasonal variations. A Cranberry Tart with Orange Zest is a vibrant, tart, and sweet option perfect for autumn or winter baking. This variation highlights the intense flavor of cranberries, which require more sugar than sweeter summer berries, and pairs them wonderfully with the aromatic brightness of orange zest.
For this tart, you'd use about 4-5 cups of fresh or frozen cranberries (no need to thaw if frozen), tossed with more sugar (perhaps 1 to 1.5 cups, depending on preference), a thickener, and the zest of one large orange. The orange zest is crucial here, adding a layer of fragrance and citrusy notes that balance the cranberries' tartness. Bake until the cranberries have burst and the filling is bubbly and thickened. This tart is a delicious departure from the typical perfectly juicy berry tart recipe, showcasing berries in a different light.
Storing and Serving Your Juicy Berry Tart
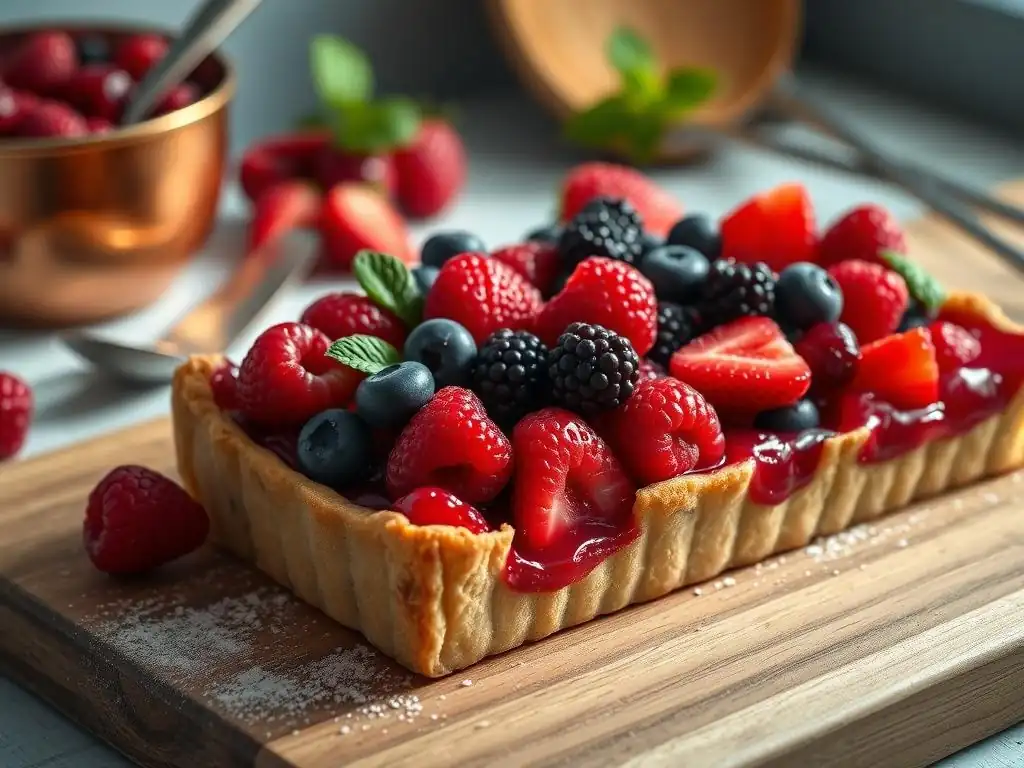
Maintaining Freshness: Proper Storage Techniques
Once your perfectly juicy berry tart has cooled completely, proper storage is key to maintaining its freshness and texture. If you plan to serve it within 24 hours, it can typically be kept at cool room temperature, loosely covered with foil or a cake dome. This helps keep the crust crisp.
For longer storage, or in warm climates, refrigerate the tart. Cover it tightly with plastic wrap or place it in an airtight container. Refrigeration will keep the filling fresh for up to 2-3 days. Be aware that refrigerating a fruit tart can sometimes slightly soften the crust, but the filling will remain perfectly set and juicy. Let the tart sit at room temperature for 15-20 minutes before serving if desired, to take the chill off.
Serving Suggestions: Pairings and Garnishes for Your Tart
A perfectly juicy berry tart is delicious on its own, but pairing it with simple accompaniments can elevate the serving experience. Classic pairings include a dollop of freshly whipped cream, a scoop of high-quality vanilla ice cream, or a spoonful of tangy crème fraîche. These creamy elements provide a lovely contrast to the bright, fruity filling.
For garnishes, a simple dusting of powdered sugar over the top adds a touch of elegance. Fresh mint leaves scattered over the berries provide a pop of color and a refreshing aroma. You can also drizzle a little extra melted red currant jelly or a raspberry coulis around the plate. Serving a warm slice (gently reheated if desired) with melting ice cream is particularly delightful, allowing the juices to mingle with the vanilla.
Troubleshooting Your Berry Tart: Common Problems and Solutions
Soggy Crust Solutions
Ending up with a soggy bottom crust is a common frustration, but there are reliable solutions. As covered earlier, the most effective defense is thorough blind baking. Ensure you bake the crust until the bottom is truly golden and dry, not just set. Using pie weights or beans is crucial to keep the dough from puffing up, allowing even cooking.
Additionally, consider the advanced techniques mentioned: brushing the blind-baked crust with egg wash or a thin layer of melted white chocolate creates a moisture barrier. Sprinkling cake crumbs or ground nuts on the bottom before adding the filling can also absorb excess liquid. Finally, ensure your filling isn't overly wet before adding it to the crust, and allow the tart to cool completely before slicing; cutting into a warm tart releases steam and moisture into the crust.
Runny Filling Fixes
A runny filling means the juices haven't thickened properly, often due to insufficient thickener or not baking long enough for the thickener to activate. Ensure you're using the correct amount of cornstarch or tapioca starch for the volume and type of berries (remember berries like raspberries may need slightly more).
Make sure the tart bakes until the filling is actively bubbling across the surface, not just around the edges. This bubbling indicates the thickener is reaching its setting temperature. If the crust is browning too quickly, cover it with foil while the filling continues to bake and thicken. And again, the importance of cooling cannot be overstated; the filling continues to set significantly as it cools for several hours.
Burnt Crust Prevention
Preventing the crust from burning while ensuring the filling is cooked through requires monitoring and sometimes intervention. If your tart edges are browning too quickly early in the baking process, use a crust shield or loosely tent the entire tart with aluminum foil.
Sometimes, the oven temperature might be uneven. If you suspect this, rotate the tart halfway through the baking time. If the top crust (if using a lattice or double crust) is browning too much before the filling is ready, tenting with foil is also the solution. The goal is a golden brown crust and a bubbly, set filling for your perfectly juicy berry tart.
Frequently Asked Questions
How can I prevent my berry tart crust from becoming soggy?
Preventing a soggy crust involves several techniques. One is to blind bake the crust before adding the filling. Also, brushing the crust with melted chocolate or egg wash can create a moisture barrier.
What's the secret to ensuring the berries in my tart stay juicy and don't dry out?
The key is to use a glaze over the berries. This glaze, often made from apricot jam or a simple sugar syrup, seals in moisture and gives them a beautiful shine.
Can I use frozen berries in my berry tart recipe?
While fresh berries are ideal, frozen berries can be used in a pinch. Be sure to thaw and drain them well to remove excess moisture before adding them to the tart.
What type of crust works best for a berry tart?
A classic shortcrust pastry is a great choice for a berry tart. It's buttery, flaky, and provides a sturdy base. You can also experiment with graham cracker crusts for a different flavor profile.
How long will a berry tart last, and how should I store it?
A berry tart is best enjoyed fresh, but it can last for 2-3 days in the refrigerator. Store it in an airtight container to prevent the crust from drying out and the berries from wilting.
Final Reflection: The Enduring Allure of the Perfectly Juicy Berry Tart
The pursuit of the perfectly juicy berry tart is more than just a culinary quest; it's a reflection of our desire for simple pleasures and the enduring power of seasonal ingredients. The techniques explored in this article – from selecting the ripest berries to mastering the delicate balance of sweetness and tartness – are not merely recipes, but pathways to a deeper appreciation for the artistry of baking. The seemingly simple act of creating a perfect tart becomes a meditative process, a testament to the transformative power of mindful creation.
The influence of seasonal baking, and the joy derived from sharing homemade treats, continues to resonate deeply within our culture. It's a connection to simpler times, a reminder of the importance of slowing down and savoring the fruits of our labor (quite literally! ). The best things in life are simple,
a sentiment often repeated, finds its perfect embodiment in the humble berry tart. The act of sharing this creation, the smiles it evokes, solidifies its place as more than just a dessert; it's a symbol of connection and warmth.
Now, I invite you to consider the lessons learned within these pages. Don't just bake a tart; experience the process. Embrace the imperfections, celebrate the successes, and most importantly, savor the juicy, bursting flavors that await. Let the creation of this seemingly simple dessert become a moment of mindful creation, a testament to your own ability to craft something beautiful and delicious. The journey to the perfect tart is a journey of self-discovery, a reminder that even the smallest acts of creation can bring immense joy.
Unlock Your Inner Pastry Chef!
Thanks for joining us on this delicious journey into the world of berry tarts! We hope you've gained some invaluable tips and tricks to create your own masterpiece. Now it's time to put your newfound knowledge into practice.
- Bake your dream berry tart! Gather your ingredients, follow your favorite recipe (or try one of ours! ), and get baking. Don't be afraid to experiment with different berries and flavors.
- Share your creation! Post a picture of your finished tart on social media using #BakeWithEaseBerryTart and tag us – we’d love to see your beautiful work!
- Explore our other recipes: Dive deeper into our collection of delectable desserts and discover your next baking adventure.
Ready to transform your kitchen into a sweet haven? What’s your favorite berry to use in baking?