
Bake Your First Vegan Sourdough Loaf with Ease

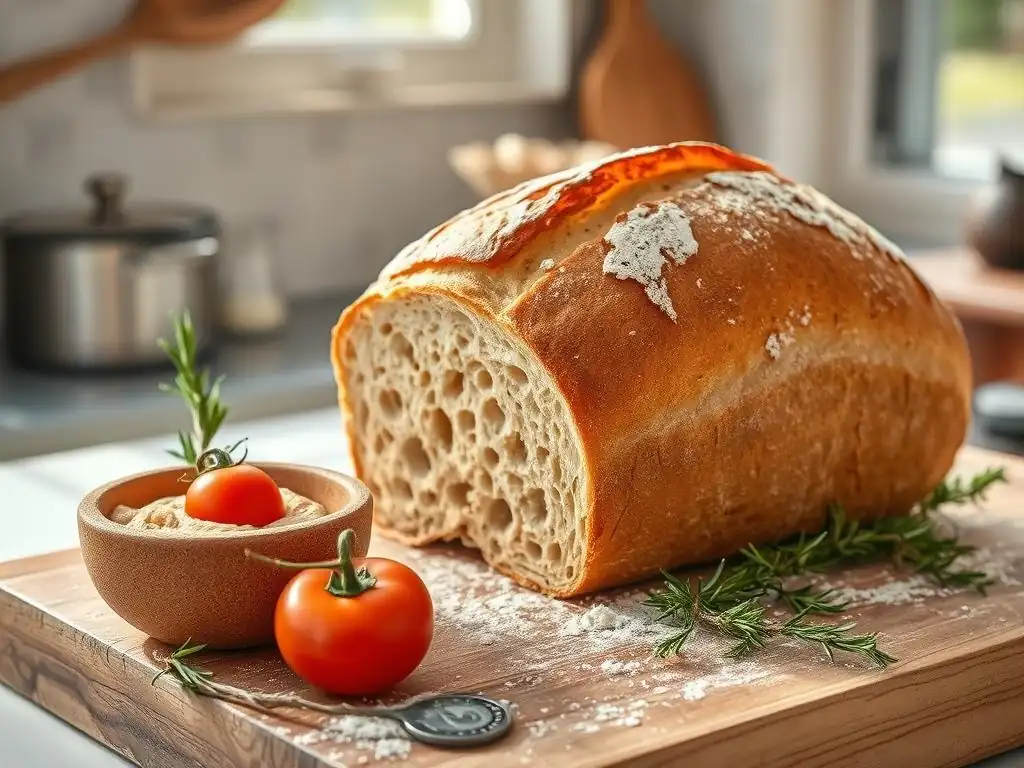
Welcome to BakeWithEase, where the art of baking is simplified for everyone! If you've ever wanted to create the perfect vegan sourdough loaf, you're in the right place. Our passion for baking shines through in our carefully crafted recipes and step-by-step guides, designed to empower bakers of all levels. Get ready to dive into the world of delicious breads, pastries, and sweet treats, as we unlock the secrets to mastering baking with ease. Join us on this delightful journey and discover how you can bake your first vegan sourdough loaf effortlessly!
- Introduction to Vegan Sourdough Baking: A Beginner's Guide
- Understanding Vegan Sourdough Starters
- The Ultimate Vegan Sourdough Loaf Recipe
- Baking Your Vegan Sourdough Loaf to Perfection
- Tips and Tricks for Vegan Sourdough Success
- Storing Your Vegan Sourdough Bread
- Troubleshooting Your Vegan Sourdough Loaf
- Conclusion: Enjoy Your Delicious Vegan Sourdough Creation
- Frequently Asked Questions
- Final Reflection: The Unexpected Joys of Vegan Sourdough
- Unleash Your Inner Baker: Craft Your Dream Vegan Sourdough!
Introduction to Vegan Sourdough Baking: A Beginner's Guide
Embarking on the journey of baking your own bread is incredibly rewarding, and tackling a vegan sourdough loaf recipe is a fantastic step. Unlike conventional sourdough that might sometimes use animal products in unexpected ways (like dairy washes), a vegan version ensures your loaf is entirely plant-based from start to finish. This guide is designed to walk you through every step, making the process approachable and enjoyable, even if you've never baked sourdough before. We'll cover everything from nurturing your starter to achieving that perfect crust and airy crumb in your homemade vegan sourdough bread.
Understanding the nuances of vegan sourdough baking involves appreciating the natural fermentation process. Without commercial yeast, the active microorganisms in your sourdough starter are responsible for leavening the dough, creating complex flavors, and improving the texture. This traditional method requires patience and attention to detail, but the result – a delicious, tangy, and chewy vegan sourdough loaf – is well worth the effort. Get ready to transform simple ingredients like flour and water into a masterpiece you can proudly share (or keep all to yourself! ).
Why Bake a Vegan Sourdough Loaf? Benefits and Considerations
Baking a vegan sourdough loaf recipe offers numerous benefits, starting with the satisfaction of creating something truly wholesome from scratch. For those following a vegan lifestyle, it ensures your bread is free from all animal products, providing peace of mind. Sourdough bread is also often considered easier to digest for some people compared to breads made with commercial yeast, due to the long fermentation process which breaks down starches and gluten. Furthermore, the unique tangy flavor developed during fermentation is simply unparalleled.
Beyond the dietary and digestive advantages, mastering a vegan sourdough loaf connects you to age-old baking traditions. It's a process that teaches patience and observation, as you learn to read your starter and dough. While the initial time investment in creating and maintaining a starter might seem daunting, it quickly becomes a simple routine. The main consideration is the time required for fermentation, which can range from 8 to 24 hours depending on temperature and starter activity. However, this hands-off time allows you to fit baking into a busy schedule once you understand the rhythm.
Essential Equipment for Vegan Sourdough Bread Making
Having the right tools can significantly smooth the process of baking a delicious vegan sourdough loaf. You don't need a professional kitchen setup, but a few key items are highly recommended. A digital kitchen scale is arguably the most important tool; sourdough recipes, especially for beginners, are most reliable when ingredients are measured by weight (grams are standard). This ensures consistency and accuracy, which is crucial for successful fermentation and dough hydration. Expect to measure flour, water, and starter precisely – for example, using 400g of flour and 300g of water for a typical loaf.
Other essential equipment includes a large mixing bowl (glass, plastic, or ceramic are fine), a dough scraper (for handling sticky dough), and a proofing basket (also known as a banneton) to help your shaped loaf hold its form during the final rise. A Dutch oven is highly recommended for baking, as it creates a steamy environment that helps the loaf achieve maximum oven spring and a beautiful crust.
If you don't have a Dutch oven, you can simulate steam by placing a tray of hot water in the oven during baking, though results may vary slightly. You'll also need parchment paper and a sharp razor blade or lame for scoring the dough.
Understanding Vegan Sourdough Starters
At the heart of any vegan sourdough loaf recipe is the sourdough starter. This is a living culture of wild yeast and bacteria that naturally exist in flour and the environment. It's essentially a fermented mix of flour and water that, when active and healthy, provides the leavening power and signature tang to your bread. Creating and maintaining your own starter is a fundamental step in the sourdough journey, and it's entirely plant-based by nature, requiring no animal products whatsoever.
A healthy vegan sourdough starter will exhibit predictable behavior: it will rise and fall after feeding, develop a bubbly texture, and smell pleasantly tangy, perhaps slightly yeasty or acidic. The wild yeasts consume the sugars in the flour, producing carbon dioxide gas (which makes the dough rise) and alcohol. The bacteria, primarily lactic acid bacteria, produce lactic and acetic acids, contributing to the characteristic sour flavor. Understanding these processes helps you gauge the health and readiness of your starter for baking your first vegan sourdough loaf.
Creating a Vegan Sourdough Starter: Step-by-Step Instructions
Creating your own vegan sourdough starter from scratch is a simple process that requires patience and consistency. You'll need just two ingredients: flour (rye or whole wheat flour often work best initially due to higher microbial activity, but all-purpose or bread flour works too) and non-chlorinated water. Start with equal weights of flour and water in a clean jar – for example, 50 grams of flour and 50 grams of water. Mix them together thoroughly until no dry spots remain, forming a thick paste.
For the next 7 to 14 days, you will feed your starter regularly. Each day, discard a portion of the starter (leaving about 50-100 grams) and feed it with fresh flour and water, again at equal weights (e.g., 50g discarded, feed with 50g flour and 50g water). Stir well.
Keep the starter loosely covered at room temperature, ideally between 70-80°F (21-27°C). You should start to see bubbles and signs of activity within a few days. Once your starter consistently doubles in size within 4-8 hours after feeding and smells pleasantly tangy, it's likely mature and ready to bake a vegan sourdough loaf.
Maintaining Your Vegan Sourdough Starter for Optimal Results
Once your vegan sourdough starter is active and mature, proper maintenance is key to ensuring it's ready whenever you want to bake a vegan sourdough loaf. The most common method is storing it in the refrigerator and feeding it once a week. To do this, take your starter out, discard a portion, feed it with fresh flour and water (e.g., 1:1:1 ratio of starter:flour:water by weight), let it sit at room temperature for 1-2 hours until you see some activity, then return it to the fridge.
If you plan to bake frequently (more than once a week), you can keep your starter at room temperature and feed it daily. An active starter at room temperature typically needs a feeding every 12-24 hours, depending on the ambient temperature. A common feeding ratio is 1:1:1 (starter:flour:water) or 1:2:2 if you need more starter or want to slow down fermentation slightly. Always use a clean jar and non-chlorinated water. A well-maintained starter is the foundation of a successful vegan sourdough loaf recipe.
Troubleshooting Common Vegan Sourdough Starter Problems
It's normal to encounter a few hiccups when working with a vegan sourdough starter, especially when starting out. One common issue is a lack of activity – the starter isn't bubbling or rising. This could be due to cold temperatures; try moving it to a warmer spot. It might also need more time to develop; continue daily feedings. Using chlorinated water can inhibit microbial growth; switch to filtered or bottled water. Ensure you are using the correct feeding ratio and mixing thoroughly.
Another issue is a layer of dark liquid forming on top, known as "hooch." This alcohol is a sign that the starter is hungry and needs to be fed. Simply stir it back in or pour it off, discard a portion, and feed as usual. If your starter develops mold, unfortunately, you'll need to discard it and start over, ensuring your jar is clean and you're using fresh ingredients. Don't give up; persistence is key to developing a robust starter for your vegan sourdough loaf.
The Ultimate Vegan Sourdough Loaf Recipe
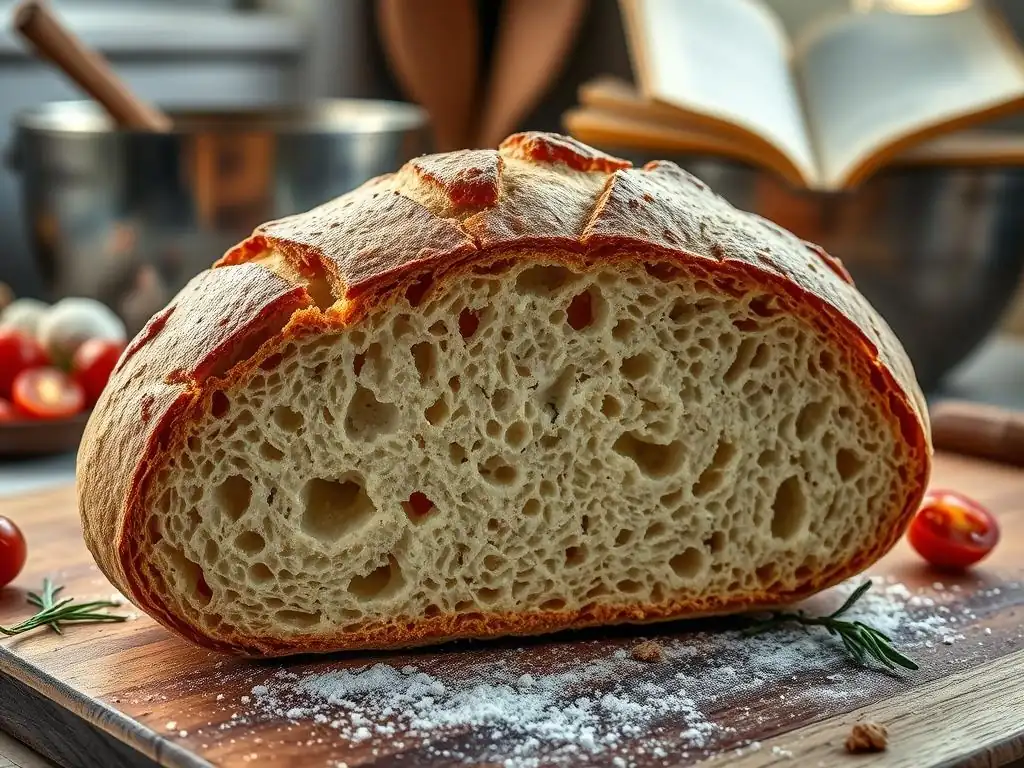
Ready to bake your first vegan sourdough loaf? This recipe is designed for beginners, focusing on fundamental techniques that yield a delicious and beautiful loaf. We'll use simple ingredients and walk through each stage, from mixing to baking. The key to success lies in understanding the dough and trusting the process. Patience is your best friend when working with sourdough.
This vegan sourdough loaf recipe typically takes about 24 hours from initial mix to baked bread, though most of that time is hands-off fermentation. The active time is relatively short, involving mixing, a few sets of folds, shaping, and baking. Follow these steps closely, and you'll be rewarded with a crusty exterior and soft, airy interior that's perfect for slicing and enjoying.
Ingredients for a Perfect Vegan Sourdough Bread
To bake a standard-sized vegan sourdough loaf, you'll need just a few basic ingredients, measured precisely by weight.
- Active and bubbly vegan sourdough starter: 100 grams
- Lukewarm water: 350 grams (around 85-90°F or 30-32°C)
- Strong white bread flour: 450 grams (or a mix, e.g., 400g white, 50g whole wheat)
- Fine sea salt: 9-10 grams
Using strong bread flour is recommended because its higher protein content (typically 12-14%) helps develop a strong gluten network, essential for trapping the gases produced by the starter and achieving a good rise in your vegan sourdough loaf. The ratio of water to flour (hydration level) is around 78% in this example, which is common for sourdough and results in a relatively wet dough that produces an open crumb. Adjustments can be made as you gain experience.
Step-by-Step: Mixing and Kneading Your Vegan Sourdough Dough
The initial mixing for your vegan sourdough loaf recipe involves combining the starter, water, and flour. In a large mixing bowl, whisk together the active sourdough starter and lukewarm water until the starter is mostly dissolved. Add the flour and mix with your hands or a spatula until no dry flour remains and you have a shaggy dough. At this stage, do not add the salt yet.
Cover the bowl and let the dough rest for 30-60 minutes. This resting period is called the autolyse, and it's a crucial step in developing the gluten structure in your vegan sourdough loaf without intensive kneading. After the autolyse, sprinkle the salt over the dough and gently mix it in by folding the dough over itself a few times until the salt is incorporated. The dough will become slightly tighter.
Autolyse: The Secret to Improved Vegan Sourdough Texture
Autolyse is a simple yet powerful technique used in baking, especially for sourdough, that significantly improves the dough's texture and handling. It involves mixing just the flour and water (and sometimes the starter, though traditionally it's just flour and water) and letting it rest before adding the salt. During this rest period, enzymes naturally present in the flour begin to break down starches, and the gluten proteins start to hydrate and align.
For your vegan sourdough loaf, performing an autolyse for 30-60 minutes allows the gluten network to start forming passively. This makes the dough more extensible and easier to work with after the salt is added. It also potentially increases the dough's ability to absorb water, leading to a more hydrated dough and ultimately a lighter, airier crumb in your finished bread. It's a minimal effort step that yields noticeable benefits.
Bulk Fermentation: Timing and Techniques for Vegan Dough
Bulk fermentation, also known as the first rise, is arguably the most critical stage in your vegan sourdough loaf recipe. This is when the starter gets to work, fermenting the dough, producing gases that cause it to rise, and developing flavor. After mixing in the salt, the dough undergoes a series of "stretch and folds" over 2-3 hours.
Every 30-45 minutes, dampen your hands and gently stretch one side of the dough up and over to the opposite side of the bowl. Rotate the bowl and repeat 3-4 times until all sides have been stretched. This builds strength in the gluten network.
Following the stretch and folds, the dough rests at room temperature to continue fermenting. The total bulk fermentation time can range significantly, typically from 4 to 12 hours or even longer, depending on the ambient temperature and the activity of your starter. A warm kitchen (around 75-80°F or 24-27°C) will ferment the dough faster than a cooler one (68-72°F or 20-22°C). The dough is ready when it has increased in volume by about 40-70%, looks visibly bubbly, and feels light and airy. It should also pass the "poke test" – when gently poked, the indentation should slowly spring back.
Shaping Your Vegan Sourdough Loaf
Once bulk fermentation is complete, it's time to shape your vegan sourdough loaf. Gently turn the dough out onto a lightly floured surface. Be careful not to deflate it too much. If the dough is very sticky, a bench scraper can help. Shape the dough into a rough ball or rectangle and let it rest for 20-30 minutes. This is called the bench rest and allows the gluten to relax before the final shaping.
After the bench rest, perform the final shaping. For a round loaf (boule), gently pull the edges of the dough towards the center to create tension on the surface, then flip it over and use your hands to pull it into a tight ball. For an oval loaf (batard), shape it into a rectangle, fold the top third down, the bottom third up, and then fold the dough in half lengthwise, sealing the seam.
The goal is to create surface tension that will help the loaf hold its shape and rise upwards during baking. Place the shaped loaf seam-side up (for a boule) or seam-side down (for a batard) into a floured proofing basket.
Proofing Your Vegan Sourdough: Achieving the Right Rise
Proofing, or the final rise, is the last stage before baking your vegan sourdough loaf. This happens after shaping and before the dough goes into the oven. The shaped dough is placed in a proofing basket and allowed to rise further. The most common method for proofing sourdough is cold proofing in the refrigerator for 8-14 hours (or even up to 24 hours). This slow, cold fermentation develops more complex flavors and makes the dough easier to handle and score.
Alternatively, you can proof at room temperature for 1-3 hours, but this requires careful monitoring as the dough can overproof quickly in a warm environment. To check if your vegan sourdough loaf is properly proofed, perform the poke test again. If you gently poke the dough with a floured finger and the indentation slowly springs back halfway, it's likely ready. If it springs back immediately, it needs more time. If the indentation stays completely, it might be overproofed.
Baking Your Vegan Sourdough Loaf to Perfection
Baking is where the magic happens, transforming your proofed dough into a beautiful vegan sourdough loaf with a golden crust and airy interior. Using a preheated Dutch oven is the preferred method for home bakers as it mimics the steamy environment of a professional bread oven, which is essential for achieving maximum oven spring and a thin, crispy crust.
The high initial temperature and trapped steam allow the crust to remain pliable for longer, enabling the loaf to expand significantly before the crust sets. This stage is crucial for the final structure and appearance of your vegan sourdough loaf. Getting the oven and baking vessel to the correct temperature is key.
Preheating Your Oven and Preparing for Baking
Proper preheating is non-negotiable for baking a great vegan sourdough loaf. Place your Dutch oven (with the lid on) in your oven and preheat to a high temperature, typically between 450°F and 500°F (230°C and 260°C). Let it preheat for at least 45-60 minutes to ensure the Dutch oven itself is screaming hot. This intense heat provides the initial burst of energy needed for oven spring.
While the oven and Dutch oven preheat, prepare your proofed vegan sourdough loaf for baking. If using a cold-proofed dough, carefully invert the proofing basket onto a piece of parchment paper. The parchment paper makes it easy and safe to transfer the dough into the hot Dutch oven. If your loaf is proofed seam-side up, this will now be the bottom of the loaf. If proofed seam-side down, this will be the top.
Scoring Your Vegan Sourdough for Oven Spring
Scoring, or slashing, the top of your vegan sourdough loaf just before baking is both functional and artistic. Functionally, it provides controlled vents for the expanding gases inside the dough to escape during oven spring. Without scoring, the loaf might burst unpredictably at its weakest point. Artistically, it allows you to create beautiful patterns on the crust.
Using a sharp razor blade (lame) or a very sharp knife, make quick, confident cuts into the surface of the dough, about 1/2 inch (1-2 cm) deep. For a simple ear, make one long, curved slash. For multiple slashes, arrange them creatively. The angle and depth of the score influence how the crust opens up. Scoring is a fun part of the process and adds a personal touch to your vegan sourdough loaf.
Baking Process: Temperature and Time for a Golden Crust
Carefully transfer your scored vegan sourdough loaf into the preheated Dutch oven using the parchment paper as handles. Place the lid on the Dutch oven. The lidded stage traps the steam released by the dough, creating the ideal environment for oven spring. Bake with the lid on for the first 20-25 minutes at 450-475°F (230-245°C).
After the initial covered bake, carefully remove the lid. You should see that your vegan sourdough loaf has expanded significantly. Reduce the oven temperature slightly, usually to around 425-450°F (220-230°C), and continue baking uncovered for another 20-30 minutes. This second stage allows the crust to brown and crisp up beautifully. The loaf is done when the crust is a deep golden brown and the internal temperature reaches about 205-210°F (96-99°C).
Cooling and Slicing Your Homemade Vegan Sourdough
Patience is required even after your beautiful vegan sourdough loaf comes out of the oven. It's crucial to let the bread cool completely on a wire rack before slicing. This allows the internal structure to set and moisture to redistribute throughout the loaf. Slicing too early can result in a gummy texture inside.
Allow your loaf to cool for at least 2-3 hours, or ideally longer, before cutting into it. The waiting is the hardest part, but it's essential for the perfect texture. Once fully cooled, slice your homemade vegan sourdough loaf with a serrated knife and enjoy the fruits of your labor. It's perfect with vegan butter, avocado, or simply on its own.
Tips and Tricks for Vegan Sourdough Success
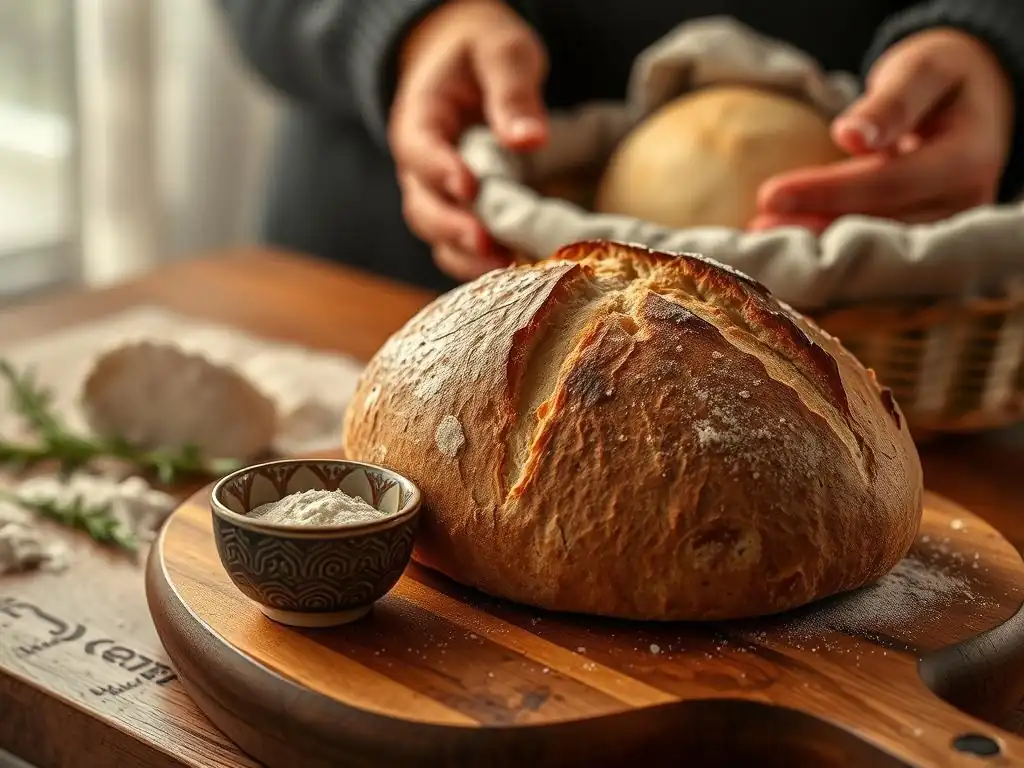
Baking a vegan sourdough loaf is a learning process, and a few tips can help you achieve better results and avoid common pitfalls. Pay attention to the feel and behavior of your dough rather than strictly adhering to timings, as fermentation rates vary based on temperature and starter activity. Developing a feel for the dough's readiness comes with practice.
Don't be discouraged by imperfect loaves initially. Every bake is a learning opportunity. Keep a baking journal to note variables like temperatures, timings, and how your starter behaved; this helps troubleshoot and replicate successful bakes of your vegan sourdough loaf recipe.
Achieving a Crispy Crust on Your Vegan Sourdough
A hallmark of a great vegan sourdough loaf is a wonderfully crispy crust. The high initial temperature and the presence of steam during the first part of the bake are the primary factors in achieving this. Using a Dutch oven effectively traps the steam released by the dough, keeping the surface moist and allowing it to expand maximally before the crust hardens.
Once the lid is removed, the dry heat of the oven allows the crust to rapidly dehydrate and brown, creating that desired crispness. Baking uncovered for a sufficient amount of time (usually 20-30 minutes) is necessary for full crust development. Some bakers also lightly mist the loaf with water before the uncovered bake for extra crispness, but the Dutch oven method usually provides plenty of steam. Ensure your oven is fully preheated and the Dutch oven is hot before loading the dough.
Avoiding Common Vegan Sourdough Baking Mistakes
Several common mistakes can hinder your success when baking a vegan sourdough loaf. One is using an inactive starter; always ensure your starter is bubbly and has at least doubled in size after feeding before using it. Another is insufficient bulk fermentation or proofing; the dough needs adequate time to develop gases and flavor. Learn to recognize the signs of properly fermented dough (volume increase, bubbles, feel, poke test).
Overworking the dough can also be an issue, though less common with the gentle stretch and fold method. Conversely, not developing enough gluten strength can lead to a flat loaf. Pay attention during the stretch and folds; the dough should become progressively smoother and stronger. Lastly, slicing a hot loaf is a common mistake that impacts texture; always let your vegan sourdough loaf cool completely.
Flavor Variations: Adding Seeds, Herbs, and More to Your Vegan Sourdough
Once you've mastered the basic vegan sourdough loaf recipe, you can experiment with flavor variations. Seeds are a popular addition; toasted sesame seeds, poppy seeds, sunflower seeds, or a mix can be incorporated during the mixing stage or added to the exterior before proofing. For a 450g flour loaf, adding 30-50g of seeds is a good starting point.
Dried herbs like rosemary or thyme, or spices like caraway seeds, can also be added to the dough during the initial mix for an aromatic loaf. About 1-2 teaspoons of dried herbs per loaf is usually sufficient. For a slightly sweeter or richer loaf, a small amount of olive oil (10-15g) or a touch of sugar (5-10g) can be added, although traditional sourdough is made without these. These additions add complexity and personalize your vegan sourdough loaf.
Storing Your Vegan Sourdough Bread
Proper storage is essential to keep your delicious vegan sourdough loaf fresh and enjoyable for as long as possible. Because it doesn't contain commercial preservatives, homemade sourdough has a different shelf life than store-bought bread.
The tanginess and lower pH of sourdough bread do help inhibit mold growth somewhat, but it will still dry out over time. Knowing how to store it correctly ensures you can savor that wonderful texture and flavor for several days after baking your vegan sourdough loaf.
Keeping Your Vegan Sourdough Fresh
For storing your freshly baked vegan sourdough loaf at room temperature, the best method is typically to store it cut-side down on a cutting board if you've already sliced it. For a whole loaf, you can store it in a paper bag or a bread box. Paper bags allow the crust to remain somewhat crisp, while a bread box helps maintain a balance between crust and interior moisture.
Avoid storing your vegan sourdough loaf in plastic bags at room temperature, as this can trap moisture and make the crust soft and potentially encourage mold growth, especially in humid environments. A well-baked loaf stored properly at room temperature should remain fresh and delicious for 2-3 days.
Freezing Vegan Sourdough for Later
If you won't finish your vegan sourdough loaf within a few days, freezing is an excellent way to preserve its quality. To freeze, ensure the loaf is completely cooled. You can freeze it whole, in halves, or sliced. For sliced bread, it's helpful to freeze slices individually on a baking sheet first before transferring them to a freezer-safe bag or container; this prevents them from sticking together.
Wrap the loaf or sections tightly in plastic wrap, then in aluminum foil or place in a freezer bag to prevent freezer burn. Frozen vegan sourdough loaf can last for several months. To thaw, simply leave it wrapped at room temperature for a few hours. Slices can often be toasted directly from frozen.
Troubleshooting Your Vegan Sourdough Loaf
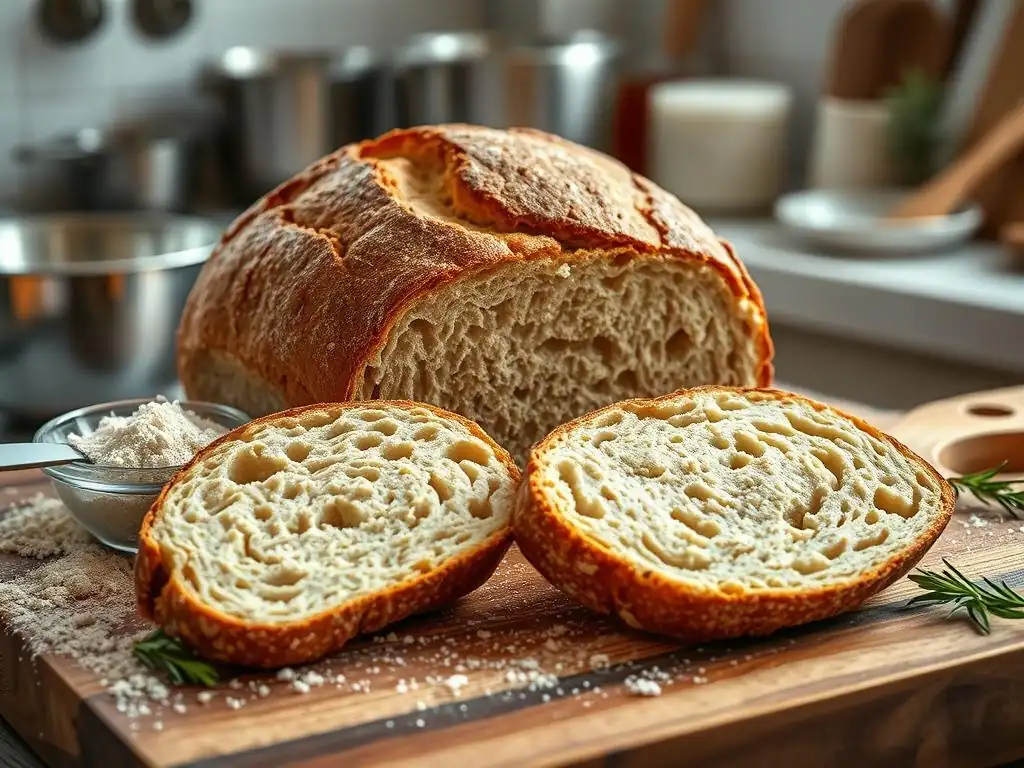
Even with a great vegan sourdough loaf recipe, things don't always go perfectly on the first try. Troubleshooting is a normal part of the sourdough baking journey. Understanding common issues helps you identify what went wrong and adjust your process for the next bake.
Don't view these challenges as failures, but rather as clues. Each loaf provides feedback on your starter health, fermentation timing, shaping technique, and baking method. Learning to diagnose problems with your vegan sourdough loaf will ultimately make you a more intuitive and successful baker.
My Vegan Sourdough is Too Dense: Possible Causes and Solutions
A dense vegan sourdough loaf is a common frustration. This is usually a sign of insufficient leavening. The most likely culprits are an inactive starter or not enough fermentation time (either bulk fermentation or proofing). Ensure your starter is active and bubbly, ideally doubling in size after feeding before you use it in your recipe.
Check the temperature of your kitchen; colder temperatures significantly slow down fermentation. Allow more time for the dough to rise, looking for a significant increase in volume (40-70% in bulk) and proper signs of proofing (poke test). Other factors could include not developing enough gluten strength during stretch and folds, or over-handling the dough during shaping, which can knock out the precious gases.
My Vegan Sourdough is Too Sour: Adjusting the Fermentation
While a pleasant tang is characteristic of sourdough, an overly sour vegan sourdough loaf might not be desirable for everyone. Excessive sourness is typically a result of prolonged or very warm fermentation, which encourages the production of acetic acid (the vinegary tang).
To reduce sourness, try adjusting your starter maintenance and dough fermentation. Keep your starter in the refrigerator more often, and feed it with a higher ratio of fresh flour and water (e.g., 1:2:2) to dilute the acidity. For the dough, shorten the bulk fermentation time or proof at a cooler temperature. Using a younger starter (one that hasn't peaked and fallen significantly) can also result in a milder flavor in your vegan sourdough loaf.
My Vegan Sourdough Didn't Rise: Troubleshooting Tips
A vegan sourdough loaf that doesn't rise well (lack of oven spring) can be disappointing. This is often related to the same issues as dense bread: an inactive starter, insufficient fermentation, or poor shaping/scoring. Double-check that your starter is truly active and ready.
Ensure your bulk fermentation went long enough – did the dough show significant volume increase and bubble activity? Was the dough properly proofed? Overproofing can also lead to poor oven spring, as the gluten structure might collapse. Finally, make sure your oven and Dutch oven are fully preheated to a high temperature; the initial heat is crucial for that explosive rise. Incorrect scoring can also restrict expansion; ensure your cuts are deep enough.
Conclusion: Enjoy Your Delicious Vegan Sourdough Creation
Congratulations! You've taken the steps to bake your very first vegan sourdough loaf. It's a rewarding process that connects you with the ancient art of baking. Whether your first loaf is a masterpiece or has room for improvement, you've gained invaluable experience working with a living culture and understanding the fundamentals of slow fermentation.
Each vegan sourdough loaf recipe you attempt will teach you more about how temperature, time, and technique influence the final outcome. Celebrate your accomplishment by sharing your loaf with friends and family, or simply enjoy the satisfaction of eating bread you made entirely from scratch, free from animal products and full of natural flavor.
Continuing Your Vegan Sourdough Baking Journey
Baking your first vegan sourdough loaf is just the beginning! There's a whole world of sourdough variations and techniques to explore. Try adjusting the hydration level to see how it affects the crumb, or experiment with different types of flour like whole wheat, rye, or spelt for different flavors and textures in your vegan sourdough bread.
Consider venturing into enriched vegan sourdoughs, perhaps adding ingredients like plant-based milk, sugar, or vegan butter to create softer loaves or rolls. Practice different shaping techniques and scoring patterns. With each loaf you bake, you'll refine your skills, build intuition, and become more confident in your ability to create delicious, wholesome vegan sourdough loaf variations right in your own kitchen. Happy baking!
Frequently Asked Questions
What is a vegan sourdough loaf?
A vegan sourdough loaf is a bread made without any animal products, using natural fermentation from sourdough starter to achieve its unique flavor and texture.
How do I get started with a vegan sourdough loaf recipe?
To begin, you’ll need a sourdough starter that is vegan-friendly. The recipe will guide you through mixing, kneading, and fermenting your dough.
Can I use all-purpose flour for my vegan sourdough loaf?
Yes, you can use all-purpose flour, but for a more rustic loaf, consider using whole wheat or a mix of flours for added flavor and nutrition.
How long does it take to bake a vegan sourdough loaf?
From start to finish, a vegan sourdough loaf can take several hours, including mixing, fermenting, and baking time. Plan for at least a few hours of active and inactive time.
What are some tips for perfecting my vegan sourdough loaf?
Ensure your sourdough starter is active and bubbly, use the right hydration levels, and follow the kneading and folding techniques for optimal results.
Final Reflection: The Unexpected Joys of Vegan Sourdough
Baking a vegan sourdough loaf isn't just about creating a delicious bread; it's about connecting with a centuries-old tradition in a completely new and exciting way. This recipe, designed for ease of access, aims to demystify the process and show that anyone, regardless of dietary restrictions, can experience the satisfaction of crafting a truly exceptional loaf from scratch. The rising popularity of vegan baking highlights a growing awareness of both ethical consumption and the incredible versatility of plant-based ingredients.
The journey of creating sourdough, with its unpredictable nature and rewarding results, mirrors the evolution of vegan baking itself. It's a testament to human ingenuity and our capacity to adapt and innovate. The process, while demanding patience, offers a profound sense of accomplishment and connection to the food we consume. Bread is the staff of life,
they say, and this holds true whether your loaf is vegan or not. The act of baking, particularly sourdough, fosters a mindful appreciation for the simple ingredients and the transformative power of time and fermentation.
Now, I invite you to roll up your sleeves and embark on your own sourdough adventure. Don't be intimidated by the seemingly complex process; embrace the challenge, savor the journey, and revel in the delicious reward. The knowledge and satisfaction gained from baking your first vegan sourdough loaf will be far more rewarding than any store-bought bread could ever offer. Let this experience be a testament to your own creativity and resilience, proving that even the most seemingly daunting tasks can be conquered with a little patience and a whole lot of heart.
Unleash Your Inner Baker: Craft Your Dream Vegan Sourdough!
Thanks for joining us on this sourdough journey! We hope you've gained the confidence to tackle this seemingly complex bread. Ready to take the next step and transform your kitchen into a bakery?
- Bake your first vegan sourdough loaf today! Use the recipe and tips from this article as your guide. Don't be afraid to experiment – that's where the magic happens!
- Share your baking adventure! Post a picture of your loaf on social media and tag us – we'd love to see your creation!
- Consider joining our online community forum to connect with other passionate bakers and share your sourdough triumphs (and challenges! ).
What unique ingredient will you add to your next vegan sourdough loaf to give it a personal touch?