
Troubleshooting Dough That Won't Stretch Without Tearing

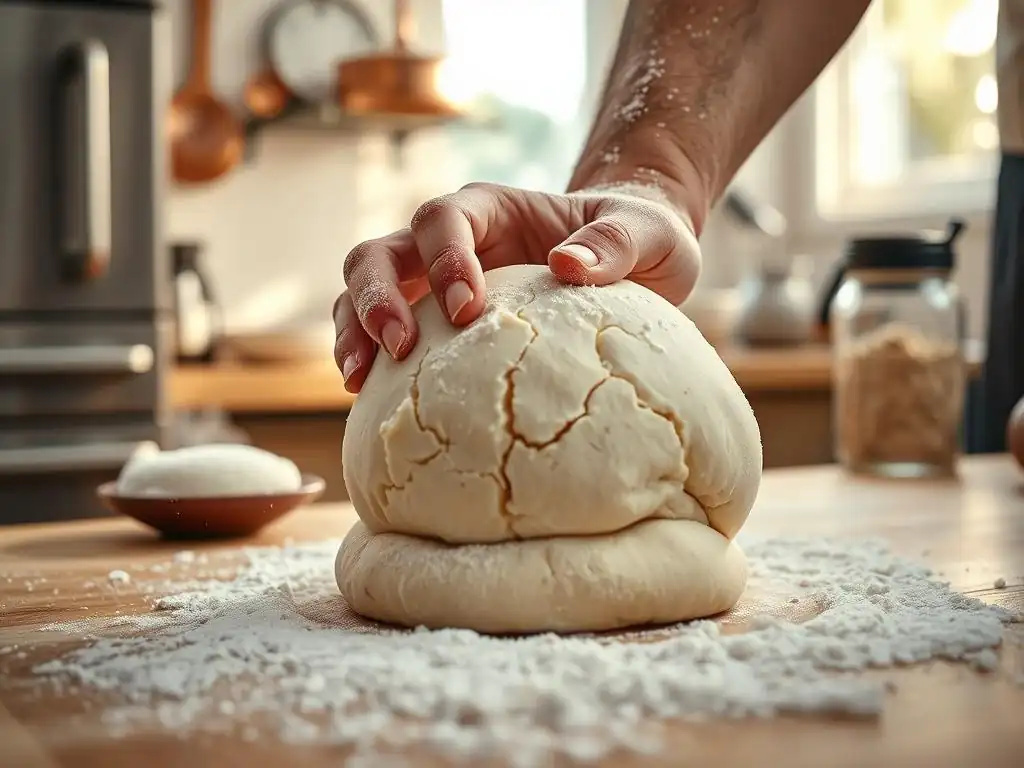
Welcome to BakeWithEase, your haven for all things baking! Ever wondered why your bread dough refuses to stretch without tearing, leaving you with less-than-perfect results? Unlock the secrets to a flawlessly pliable dough in our article, "Troubleshooting Dough That Won't Stretch Without Tearing," and discover the simple techniques to achieve that perfect, airy crumb you've always dreamed of. Let's get baking!
- Understanding Why Your Dough Tears
- Diagnosing Your Dough: Identifying the Root Cause
- Solutions for Dough That Tears: Achieving Perfect Stretch
- Advanced Techniques for Tear-Resistant Dough
- Preventing Dough Tearing in the Future
-
Frequently Asked Questions
- Why is my dough tearing when I try to stretch it?
- What kind of flour should I use to avoid tearing?
- How does kneading affect the elasticity of my dough?
- Can adding oil help prevent tearing when stretching dough?
- Is there anything else I can do if my dough is still tearing after kneading and using bread flour?
- Final Reflection: The Joy of a Perfectly Stretchy Dough
- Unleash Your Inner Pizzaiolo: Master That Dough!
Understanding Why Your Dough Tears
The Science Behind Dough Elasticity and Extensibility
At the heart of achieving stretchy dough that won't tear is understanding gluten. Flour contains proteins, primarily gliadin and glutenin. When you add water and mix, these proteins link together to form a complex network called gluten. This network is like a microscopic mesh that can trap the gases produced by yeast fermentation. It's this gluten network that gives dough its structure, allowing it to be stretched thinly without breaking.
Dough needs both elasticity (the ability to spring back after stretching) and extensibility (the ability to stretch without tearing). Think of it like a rubber band – it's elastic. Now think of taffy – it's extensible. Good dough, especially for things like pizza crust or artisan bread, requires a balance. If the dough is too elastic (snaps back quickly) or lacks extensibility (tears easily), your gluten development or hydration might be off. The goal is a dough where the gluten strands are strong and flexible enough to stretch considerably before showing signs of tearing.
Common Causes of Tearing Dough
Several factors can prevent your dough from developing the necessary strength and flexibility to become stretchy dough that won't tear. One major culprit is insufficient hydration; simply put, if there's not enough water, the gluten proteins can't fully hydrate and form a supple network, resulting in a stiff, tear-prone dough.
Another frequent issue relates to gluten development during mixing. Under-mixing means the gluten network hasn't fully formed, leaving the dough weak and shaggy. Conversely, over-mixing, especially in a stand mixer, can damage the gluten strands, causing the dough to lose structure and tear easily. Other factors include dough temperature (cold dough is less extensible), the type of flour used (low protein flour develops less gluten), and even how gently you handle the dough during shaping.
Diagnosing Your Dough: Identifying the Root Cause
Is Your Dough Too Dry? Assessing Hydration
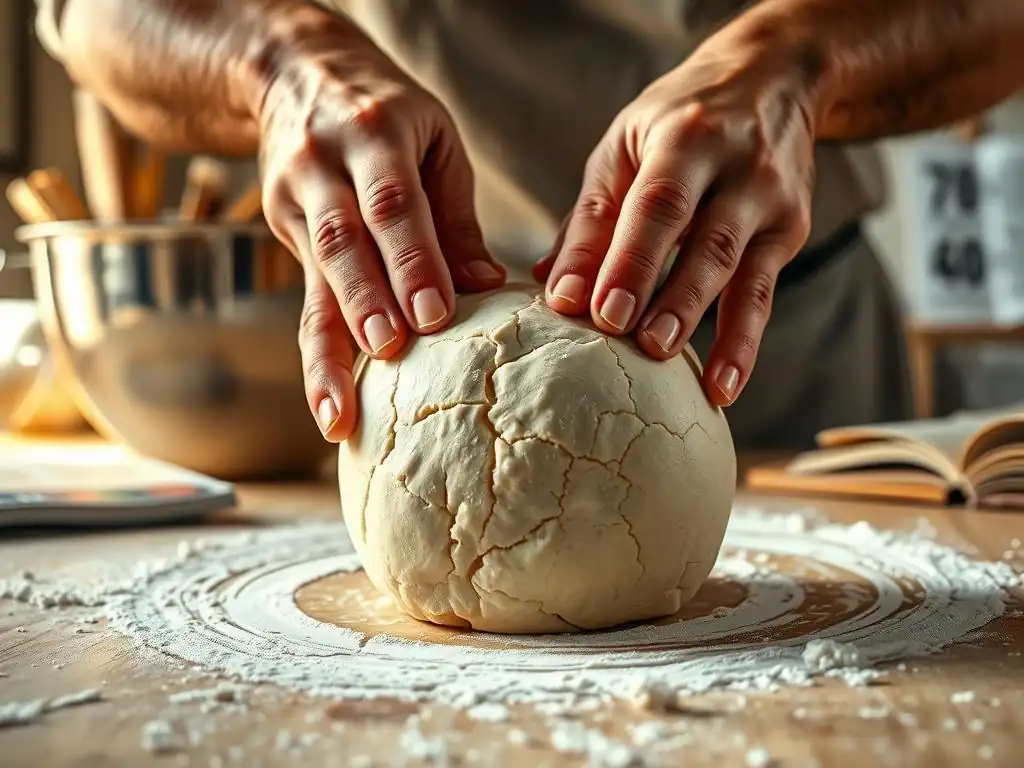
One of the most common reasons a dough tears is inadequate hydration. The amount of water relative to flour (hydration percentage) significantly impacts dough consistency. A typical bread dough might have a hydration of 60-65% (60-65g water per 100g flour), while pizza dough or ciabatta can go much higher, upwards of 70-80% or even more. If your dough feels stiff, dense, and hard to bring together during mixing, it's likely too dry. It might also absorb flour added to the work surface very quickly rather than resisting it.
To test if hydration is the issue, take a small piece of dough and try to stretch it gently. If it resists stretching significantly and breaks almost immediately without any give, low hydration is a strong possibility. Compare the feel to recipes you've made successfully or descriptions of well-hydrated dough – it should feel somewhat pliable, maybe a little tacky, but not dry or crumbly. Achieving stretchy dough that won't tear is much harder when starting with a low-hydration, stiff base.
Gluten Development Issues: Under- or Over-Mixing?
The mixing process is crucial for building the gluten network required for stretchy dough that won't tear. Under-mixing results in a dough that looks shaggy, lacks smoothness, and feels weak. When you try to stretch it, it will likely tear very easily because the gluten strands haven't connected sufficiently to form a strong, continuous network. You won't see a smooth, elastic quality.
Over-mixing, while less common with hand kneading, can happen with powerful stand mixers. This breaks down the developed gluten network, leading to a dough that becomes very sticky, loses its structure, and might even appear "soupy" or slack. When stretched, over-mixed dough can tear because the strands are fragmented, much like trying to stretch a broken rubber band. A visual cue for over-mixed dough can be a shiny, almost wet appearance, even if the hydration level is correct.
Dough Temperature Problems: Too Cold or Too Warm?
Dough temperature plays a significant role in both fermentation speed and the physical properties of the dough, including its extensibility. Cold dough (e.g., straight from the refrigerator) is much stiffer and less pliable than dough at room temperature. The gluten network is less relaxed and more resistant to stretching, making it prone to tearing when handled aggressively.
Conversely, dough that is too warm can ferment too quickly, potentially leading to over-fermentation if not monitored. Over-fermented dough can sometimes have a weakened gluten structure, making it more susceptible to tearing. While warmth generally increases extensibility, extreme temperatures on either end of the spectrum can hinder your ability to produce stretchy dough that won't tear successfully. Ideal dough temperature post-mix is often around 75-80°F (approx 24-27°C).
Incorrect Flour Type: Choosing the Right Flour
The protein content of your flour directly impacts how much gluten can be developed. Flours labeled "bread flour" typically have a higher protein content (around 12-14%) compared to "all-purpose flour" (around 10-12%) or "pastry/cake flour" (8-10%). Higher protein flours are better suited for recipes where a strong, extensible gluten network is desired, such as chewy bread or pizza crust, because they can form more gluten strands.
Using a lower protein flour for a recipe designed for high-protein flour can result in a dough that simply cannot develop enough gluten to be truly stretchy dough that won't tear. While all-purpose flour is versatile, it might require more careful mixing and handling to achieve the desired stretch compared to bread flour. Ensure the flour type you're using is appropriate for the kind of dough you're trying to make.
Solutions for Dough That Tears: Achieving Perfect Stretch
Hydration Adjustment: Adding Water for Extensibility
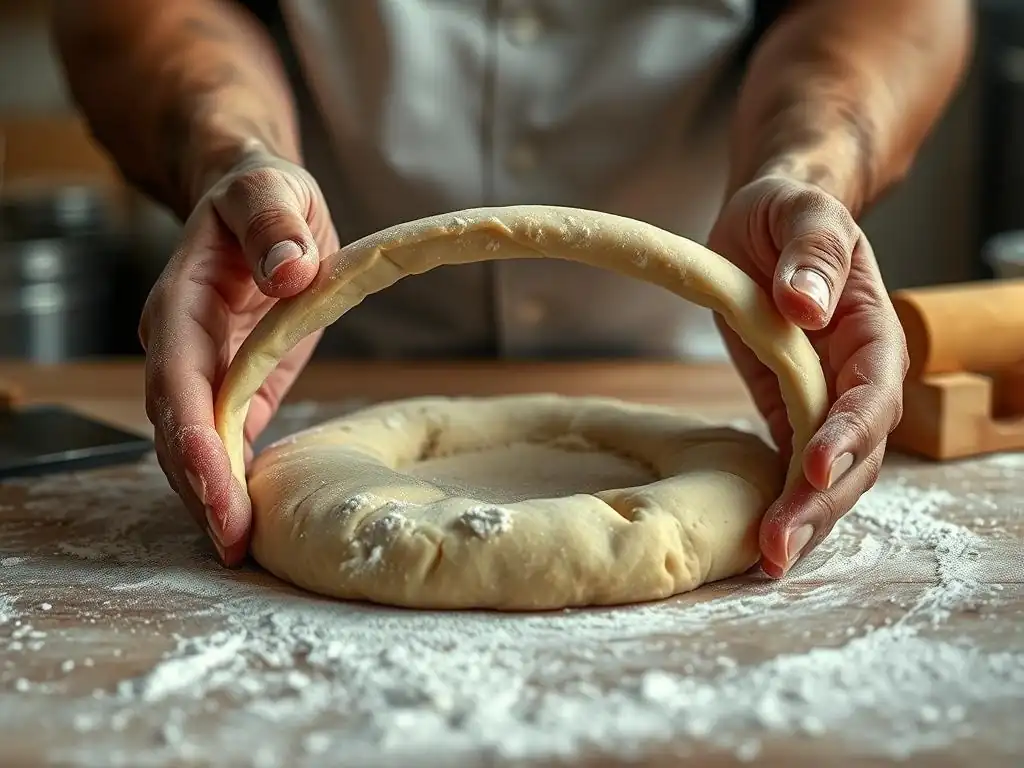
If you've diagnosed your dough as being too dry, the most direct solution is to add more water. Water is essential for the gluten proteins to hydrate and form the flexible network that allows for stretching. Even a small increase in hydration, say adding 10-20g of water per 500g of flour, can significantly improve extensibility.
Adding water needs to be done carefully. Don't just dump a lot in at once. Add it gradually and work it into the dough. This process can be a bit messy initially as the dough becomes stickier, but as you continue to knead or fold, the water will be absorbed, and the dough should become more pliable and less resistant to stretching. This adjustment is key to transforming a stiff, tear-prone dough into stretchy dough that won't tear.
Gradually Incorporating Water
- Set aside a small amount of water (e.g., 1-2 tablespoons for 500g flour).
- Pour a tiny portion (e.g., 1 teaspoon or 5ml) onto the dough.
- Knead or fold the dough until the water is fully absorbed. The dough might become very sticky temporarily.
- Assess the dough's feel. If it still feels too stiff and tears easily, repeat by adding another tiny amount of water.
- Continue this process, adding water in small increments and kneading between additions, until the dough reaches the desired pliability and resists tearing when stretched gently. Avoid adding too much water at once, as it's hard to correct overly wet dough.
Gluten Development: Mastering the Mixing Process
For under-mixed dough, the solution is straightforward: keep mixing or kneading! The gluten network develops through mechanical action (kneading) or enzymatic action and time (autolyse/fermentation). Continue kneading until the dough transforms from a shaggy, weak mass into a smooth, elastic ball that holds its shape reasonably well. This might take longer than the recipe specifies depending on your flour and technique.
If you suspect slight over-mixing (dough feels a bit slack or slightly sticky but isn't completely soupy), the best course of action is often to let the dough rest. Resting allows the gluten to relax and recover some of its structure. Avoid further aggressive kneading. Gentle folds during bulk fermentation can also help regain structure without causing further damage, helping you work towards stretchy dough that won't tear.
Kneading Techniques for Strong Gluten: Hand vs. Machine
- Hand Kneading: Techniques like the stretch-and-fold method are excellent for developing gluten. Instead of constant pushing, you stretch a portion of the dough upwards and fold it over onto itself, then rotate and repeat. This builds tension and aligns the gluten strands. Aim for a smooth surface and a dough that feels more elastic over time. This typically takes 10-15 minutes or more for many doughs.
- Machine Kneading: Using a stand mixer with a dough hook is faster. Start on a low speed to combine ingredients, then increase to a medium speed (e.g., speed 2-4 on a KitchenAid) for the main kneading. Monitor the dough's appearance; it should clear the sides of the bowl and form a smooth ball. Mixing time can range from 6-10 minutes or sometimes longer. Be careful not to over-mix; stop once the dough looks smooth and elastic.
The Windowpane Test: Assessing Gluten
- Take a small piece of dough, about the size of a golf ball.
- Gently stretch the dough outwards with your fingers, working from the center outwards.
- Try to stretch it thin enough so that light can pass through it without the dough tearing.
- If the dough tears immediately or breaks before becoming translucent, the gluten is likely underdeveloped or potentially damaged from over-mixing.
- If you can stretch it into a thin, translucent membrane without it tearing, your gluten development is likely sufficient for stretchy dough that won't tear.
Temperature Control: Optimizing Dough Temperature
If your dough feels stiff and tears because it's too cold, simply allowing it to warm up is the solution. Place the dough in a warmer environment, such as a proofing box, a turned-off oven with the light on (which provides gentle warmth), or even just on the counter away from drafts. Give it 30-60 minutes to relax and become more pliable. As the dough warms, the gluten becomes more flexible, making it significantly easier to stretch without tearing.
If your dough is too warm and potentially fermenting too rapidly, or feels overly slack due to warmth, chilling it down in the refrigerator will help. Cold temperatures slow down yeast activity and firm up the dough, making it easier to handle and shape. However, remember that cold dough will initially be stiffer, so you'll still need to let it temper at room temperature for a bit before attempting to stretch it vigorously for shaping, ensuring you still achieve stretchy dough that won't tear when needed.
Dough Proving in Warm Environments
- Ideal temperature for bulk fermentation and proofing is often between 75°F and 80°F (24-27°C).
- Warmth encourages consistent yeast activity, leading to good rise.
- It also helps the gluten network relax and become more extensible over time.
- Maintaining this temperature range contributes to developing a dough that is both well-risen and stretchy dough that won't tear.
Cold Fermentation: Improving Flavor and Structure
- Fermenting dough in the refrigerator (typically 35-40°F / 2-4°C) for 24-72 hours is a fantastic technique.
- The slow fermentation develops complex flavors.
- Enzymatic activity during the long, cold rest helps break down starches and proteins, leading to improved extensibility and strength in the gluten network.
- Dough that has undergone cold fermentation is often incredibly easy to handle and stretch after it has been allowed to warm up slightly at room temperature, resulting in exceptionally stretchy dough that won't tear.
Flour Selection: Choosing the Right Flour
If you're consistently struggling to get enough stretch with a specific flour, consider its protein content. If you're aiming for a very extensible dough like pizza or ciabatta and are using all-purpose flour, switching to a bread flour (with its higher protein content, 12-14%) can make a significant difference in gluten development and the dough's ability to stretch without tearing.
Even within the same type (e.g., all-purpose), protein content can vary slightly between brands or even batches. Pay attention to how your dough feels with your specific flour and be prepared to make small adjustments to hydration or mixing time based on its behavior. Learning to read your dough's feel is more important than blindly following times/amounts, helping you consistently achieve stretchy dough that won't tear.
High-Protein vs. All-Purpose Flour
- High-Protein Flour (Bread Flour): Contains 12-14% protein. Forms a strong, robust gluten network. Ideal for doughs that require significant structure, chewiness, and high extensibility, making it perfect for achieving stretchy dough that won't tear for breads like baguettes, sourdough, or pizza.
- All-Purpose Flour: Contains 10-12% protein. A versatile flour suitable for a wide range of baking. It can develop sufficient gluten for many bread recipes, but might require slightly longer mixing or more careful handling compared to bread flour to achieve maximum stretchiness without tearing.
- Lower Protein Flours (Pastry/Cake Flour): Contains 8-10% protein. Used for tender baked goods like cakes, pastries, and biscuits where minimal gluten development is desired. These flours are not suitable for doughs that need to be stretched significantly.
Advanced Techniques for Tear-Resistant Dough
Autolyse: Enhancing Hydration and Gluten
The autolyse technique, popularized by Professor Raymond Calvel, involves mixing just the flour and water from your recipe (sometimes excluding salt and leavening initially) and letting it rest for 20 to 60 minutes before adding the remaining ingredients and beginning the main mixing. This simple step has a profound impact on dough structure and makes achieving stretchy dough that won't tear much easier.
During the autolyse rest, the flour fully hydrates without the interference of salt (which tightens gluten) or yeast activity. Enzymes naturally present in the flour begin to break down proteins, which paradoxically helps the gluten network start to form and become more extensible even without kneading. When you return to mix, the dough will be noticeably smoother and easier to develop, requiring less kneading time to reach the desired elasticity and extensibility.
Dough Strengthening Folds: Building Structure
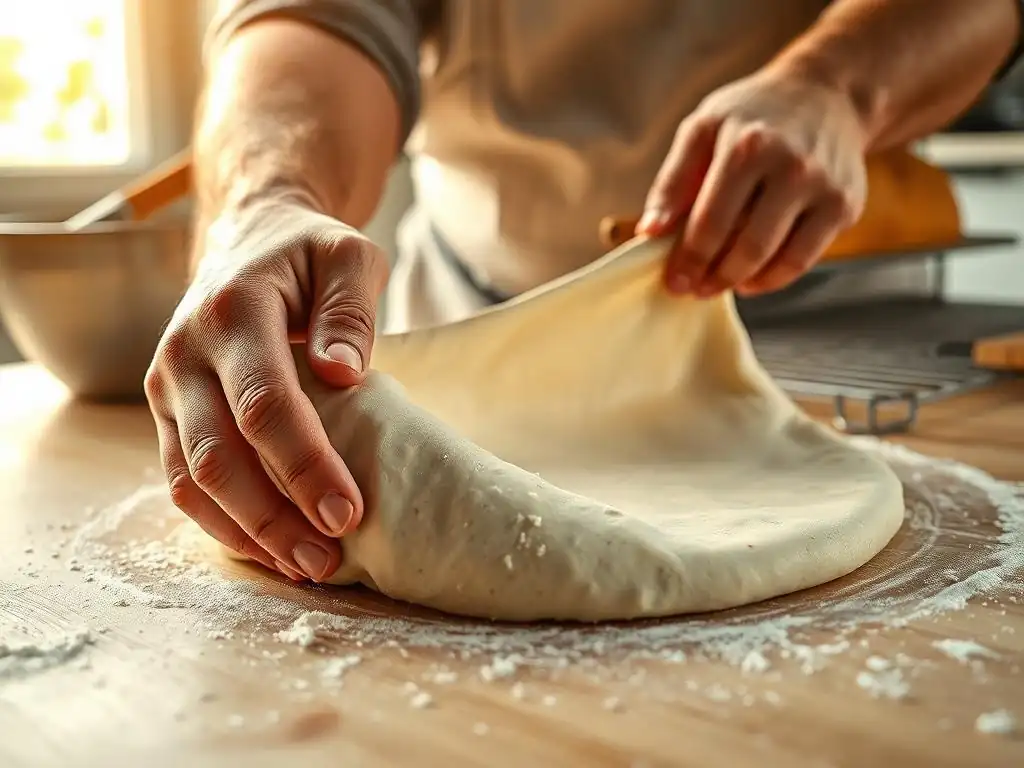
Incorporating a series of "folds" during the bulk fermentation (the first rise) is a powerful way to build dough strength and structure, leading to stretchy dough that won't tear. This technique involves gently stretching and folding the dough over itself periodically, typically every 30-60 minutes for the first 1-2 hours of the rise.
Folds help align the gluten strands, build tension in the dough, and redistribute the yeast and gases. Unlike aggressive kneading, folds strengthen the dough without damaging the delicate gluten network that is developing. This results in a dough that is more cohesive, holds its shape better, and has significantly improved extensibility, making it much easier to handle and stretch when it comes time to shape.
Pre-Shaping and Shaping: Gentle Handling
Even with perfectly developed gluten, rough handling during the final stages can cause tears. Pre-shaping involves gently forming the dough into a rough shape (like a ball or log) after bulk fermentation and before the final shape. This allows the dough to rest and relax for 10-20 minutes, easing tension in the gluten developed during the rise and making the final shaping process much smoother.
When performing the final shape, whether it's a pizza crust, a loaf, or rolls, gentleness is paramount. Avoid forcing the dough to stretch more than it wants to go at that moment. If it resists or starts to tear, stop, let it rest for 5-10 minutes, and then try again. Patience and gentle technique are crucial steps to ensure that your carefully developed stretchy dough won't tear right before it goes into the oven.
Preventing Dough Tearing in the Future
Accurate Measurements: The Importance of Precision
Consistent results in baking, including achieving stretchy dough that won't tear, start with accurate measurements. Hydration is a critical factor, and the ratio of water to flour significantly impacts dough consistency. Using a kitchen scale to measure both flour and water by weight (grams are standard in most professional recipes) is far more accurate than using volume measurements (cups), which can vary wildly depending on how you scoop the flour.
Inconsistent measurements, particularly of water, can lead to unpredictable dough behavior. If you accidentally use too little water, your dough will be too dry and prone to tearing, no matter how well you mix. Using a scale helps ensure you are hitting the target hydration level specified in your recipe, providing a reliable foundation for developing a dough with the correct balance of elasticity and extensibility.
Proper Mixing Times: Avoiding Extremes
Finding the sweet spot in mixing time is essential for developing gluten properly without damaging it. Under-mixing leaves the gluten network weak and fragmented, while severe over-mixing can break it down. While recipes provide time estimates (e.g., "knead for 8-10 minutes"), these are just guides. Factors like flour type, hydration, and mixer power affect the actual time needed.
Learn to rely on the dough's appearance and feel, and use tests like the windowpane test, to determine when mixing is complete. The dough should look smooth, feel elastic and slightly tacky, and pass the windowpane test. Stopping mixing at this point, rather than adhering rigidly to a timer, ensures the gluten is developed just enough to provide structure and extensibility, helping you reliably produce stretchy dough that won't tear.
Gentle Handling Techniques: Minimizing Stress
Throughout the entire bread-making process, from mixing to shaping, treat your dough with care. Avoid punching down aggressively or forcing the dough into shape. If the dough feels tight and resists stretching during pre-shaping or shaping, it means the gluten needs to relax. Cover it and let it rest for 10-15 minutes (a process sometimes called "benching").
Allowing the dough to rest lets the gluten relax, making it much more pliable and easier to work with. Trying to stretch a tight, resistant dough is a sure way to cause tears, even if the gluten was well-developed initially. Patience and gentle hands are vital to maintaining the integrity of the gluten network and ensuring your stretchy dough won't tear when you need it to perform.
Troubleshooting Checklist
Here's a quick list to review when your dough isn't stretching as expected:
- [ ] Check Hydration: Is the dough too dry based on the recipe and feel?
- [ ] Assess Gluten: Does the dough pass the windowpane test, or is it shaggy (under-mixed) or overly sticky/slack (potentially over-mixed)?
- [ ] Verify Temperature: Is the dough too cold (stiff) or too warm (fermenting too fast)?
- [ ] Consider Flour: Is the flour type appropriate for the desired dough structure and stretch?
- [ ] Review Handling: Were you gentle during mixing, folding, and shaping? Did you allow sufficient rest periods?
- [ ] Was salt added at the correct time? (Salt tightens gluten; often added after initial hydration/autolyse).
- [ ] Did you try Autolyse or Strengthening Folds? (Advanced techniques for improved structure).
Frequently Asked Questions
Why is my dough tearing when I try to stretch it?
The most common reason is a lack of gluten development. This can be due to insufficient kneading time or using a low-protein flour. Try kneading for longer or using a bread flour.
What kind of flour should I use to avoid tearing?
For doughs that require stretching, such as pizza or focaccia, use a high-protein flour like bread flour. This provides the necessary gluten structure for a stronger, more elastic dough. All-purpose flour can work, but the results may vary.
How does kneading affect the elasticity of my dough?
Kneading develops gluten strands, which provide the dough with its elasticity and strength. Proper kneading ensures the gluten is well-developed, allowing the dough to stretch without tearing. Under-kneading results in a weak dough.
Can adding oil help prevent tearing when stretching dough?
Yes, incorporating a bit of oil, such as olive oil, into the dough can help. Oil lubricates the gluten strands, making the dough more pliable and less prone to tearing during stretching. Just don't overdo it!
Is there anything else I can do if my dough is still tearing after kneading and using bread flour?
Allow the dough to rest and relax for a longer period. This allows the gluten to relax, making the dough easier to stretch. Proofing the dough can also help.
Final Reflection: The Joy of a Perfectly Stretchy Dough
The quest for a dough that stretches without tearing is more than just a baking challenge; it's a testament to the power of understanding fundamental baking principles. A perfectly extensible dough represents mastery over hydration, kneading, and timing – skills that translate far beyond the confines of the kitchen. This understanding allows for the creation of beautiful, airy breads and pizzas, elevating the simple act of baking into an art form.
The journey to mastering stretchy dough is a deeply personal one. It's about embracing the imperfections, learning from each failed attempt, and celebrating the small victories along the way. The satisfaction of finally achieving that perfect, delicate stretch is unparalleled. The best bread is made with love, patience, and a little bit of flour dust on your apron.
This sentiment, though simple, encapsulates the essence of the process and the reward it offers. The pursuit of this seemingly small goal reflects a larger human desire for control and mastery over our craft, whatever that craft may be.
Now, consider your own baking journey. What challenges have you faced? What lessons have you learned? Take the knowledge gained from troubleshooting your dough and apply it to other areas of your life. Embrace the process of experimentation, the importance of precise measurements, and the satisfaction of overcoming obstacles. The ability to troubleshoot a stubborn dough translates to a stronger ability to problem-solve in any situation. Remember the feeling of that perfectly stretched dough, and let that feeling inspire you to tackle your next challenge with confidence and creativity.
Unleash Your Inner Pizzaiolo: Master That Dough!
Thanks for taking the time to conquer your dough challenges! We hope you now feel more confident tackling even the stickiest situations. Ready to put your new skills to the test?
- Attempt a Neapolitan-style pizza: Use your newly acquired stretching techniques to create the perfect thin crust. This is the ultimate test of your newfound dough mastery!
- Share your pizza-making journey: Post a photo of your creation on social media and tag us @BakeWithEase – we’d love to see your results!
- Experiment with different flour types: Explore how different flours affect dough elasticity and share your findings in the comments.
What unique ingredient or technique will you try next to perfect your pizza dough?