
Leveling Your Cake Layers: Easy Techniques for a Flat Top

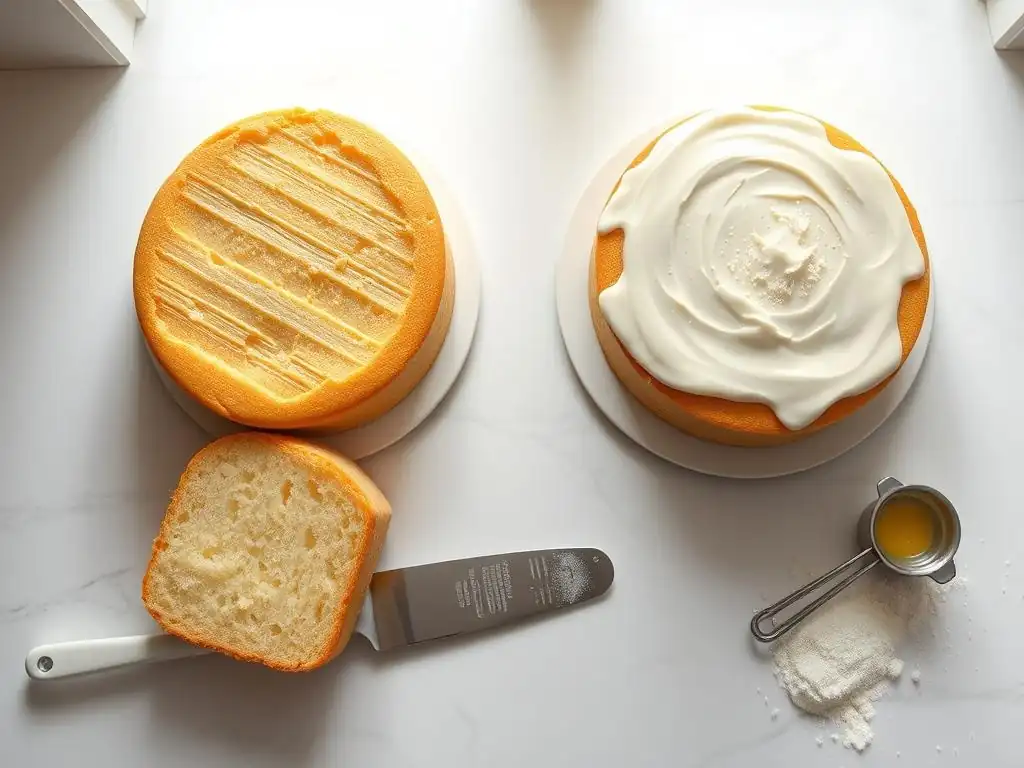
Welcome to BakeWithEase, where even the most ambitious baking projects become delightfully achievable. Tired of lopsided cakes? Discover the secret to achieving perfectly flat cake layers in our latest guide. Unlock the art of even baking and frosting, creating stunning desserts that are as beautiful as they are delicious. Ready to elevate your cake game? Let's get started!
- Why Perfectly Flat Cake Layers Matter for Stunning Cakes
- Common Problems That Cause Uneven Cake Layers
- Essential Tools for Leveling Cake Layers
- Step-by-Step Guide to Leveling Cake Layers with a Serrated Knife
- Alternative Leveling Techniques for Perfectly Flat Cake Layers
- Tips and Tricks for Achieving Consistently Level Cake Layers
- Troubleshooting Common Cake Leveling Issues
- Ensuring Level Cake Layers for Perfect Cake Assembly
- Beyond Leveling: Creating a Stable Cake Foundation
-
Frequently Asked Questions
- How important is it to have perfectly flat cake layers?
- What are some common reasons why cake layers bake unevenly?
- What are the best tools for leveling cake layers?
- Can I level a cake layer that has already been frosted?
- What if I don't have a cake leveler or a serrated knife? Are there alternative methods?
- Final Reflection: The Pursuit of the Perfectly Flat Cake Layer
- Unlock Perfectly Flat Cake Layers: Your Baking Game Changer!
Why Perfectly Flat Cake Layers Matter for Stunning Cakes
Achieving Professional-Looking Cakes Starts with Level Layers
Creating a visually stunning cake often begins before the frosting even comes out. The foundation of a truly professional-looking cake lies in its structure, and that structure is built upon perfectly flat cake layers. When your layers are level, they stack neatly, creating clean lines and a stable base for decoration.
Imagine a multi-tiered wedding cake; any tilt or unevenness in the base layers will be amplified as you add height, leading to a leaning tower rather than an elegant centerpiece. Achieving perfectly flat cake layers ensures that each tier sits squarely on the one below it, allowing for smooth, even frosting application and precise decorative details like sharp edges or intricate piping.
Beyond aesthetics, level layers contribute significantly to the overall finish of your cake. An uneven layer can cause frosting to be thicker on one side than the other, leading to an inconsistent texture and taste profile in each bite.
Furthermore, if you plan to add fillings between layers, a flat surface ensures the filling is evenly distributed, preventing it from squeezing out the sides under the weight of the upper layers. Mastering the technique for perfectly flat cake layers is a fundamental skill that elevates your baking from home enthusiast to near-professional quality, making your cakes not just delicious, but also beautiful to behold.
The Importance of Leveling for Structural Integrity and Stability
While aesthetics are important, the structural integrity of your cake is paramount, especially for stacked or tiered creations. Perfectly flat cake layers provide a solid, stable foundation that can support the weight of subsequent layers, frosting, and decorations without collapsing or tilting. Think of building with blocks; if the base blocks aren't level, the entire structure will be wobbly and prone to falling. The same principle applies to cakes. An uneven layer creates pressure points and weak spots within the cake structure.
Consider a two-tier cake: if the bottom layer is significantly domed and not leveled, the top tier will rest precariously on the highest point of the dome. This uneven weight distribution can cause the cake to crack, bulge, or even lean over time, particularly if the cake is transported or sits out for an extended period.
By leveling your cake layers to be perfectly flat, you ensure that the weight is distributed evenly across the entire surface of the layer below, maximizing stability and preventing potential structural failures. This attention to detail is crucial for cakes that need to travel or stand tall for celebrations.
Common Problems That Cause Uneven Cake Layers
Oven Temperature Fluctuations and Their Impact
One of the most frequent culprits behind uneven cake layers is an oven that doesn't maintain a consistent temperature. Many home ovens, even relatively new ones, can have temperature swings of 25°F to 50°F (approximately 15°C to 30°C) above or below the set temperature during the baking cycle. These fluctuations mean that different parts of the cake are exposed to varying heat levels at different times.
For example, if the oven spikes in temperature early on, the outer edges of the cake might set quickly while the center continues to rise rapidly, resulting in a dome. Conversely, inconsistent heat can lead to one side baking faster than the other, creating a sloped layer.
To mitigate the impact of temperature fluctuations on achieving perfectly flat cake layers, it's highly recommended to use an oven thermometer placed inside the oven. This allows you to monitor the actual temperature and adjust accordingly. Preheating your oven thoroughly for at least 20-30 minutes after it signals it's reached the set temperature is also crucial, as this helps the oven cavity and racks heat evenly. Understanding and compensating for your oven's quirks is a vital step towards consistently baking level cakes.
Pan Placement and Heat Distribution Issues
Where you place your cake pans in the oven significantly affects how heat is distributed and, consequently, how evenly your cake bakes. Placing a pan too close to a heating element (like the bottom element in many electric ovens) can cause the bottom of the cake to bake and set much faster than the top, leading to a dense or even burned bottom and a heavily domed top.
Similarly, crowding the oven with too many pans can restrict air circulation, causing hot and cold spots and resulting in uneven rise and baking across different cakes or even within a single large cake.
For optimal heat distribution when aiming for perfectly flat cake layers, place your cake pan on the center rack of the oven. This position typically provides the most even exposure to circulating hot air. If baking multiple cakes, it's best to bake them one at a time if possible. If you must bake more than one, ensure there is ample space between the pans and the oven walls for air to circulate freely. Using pans of similar size and material also helps ensure they heat and bake at comparable rates, contributing to more consistent and level results.
Inconsistent Batter Distribution: A Recipe for Sloped Cakes
Even if your oven is perfectly calibrated and you place your pans correctly, uneven cake layers can result from how you distribute the batter into the pan. Simply scooping batter into the center and letting it spread naturally often leads to more batter settling towards the edges, or a higher concentration in one section. As the cake bakes, the areas with more batter will likely rise higher or bake differently than areas with less batter, creating slopes or uneven textures within the layer. This simple oversight is a common cause of frustratingly uneven cakes.
To prevent this and encourage perfectly flat cake layers from the start, always ensure your batter is evenly distributed in the pan before baking. After pouring the batter, use an offset spatula or the back of a spoon to gently spread it towards the edges of the pan, creating a slightly higher ring of batter around the perimeter and a slight depression in the center.
This technique, often called "reverse mounding," encourages the edges to set first while the center catches up, often resulting in a much flatter top than if you had just left a dome in the center. Giving the pan a gentle tap on the counter to release any large air bubbles also contributes to a more even bake.
Essential Tools for Leveling Cake Layers
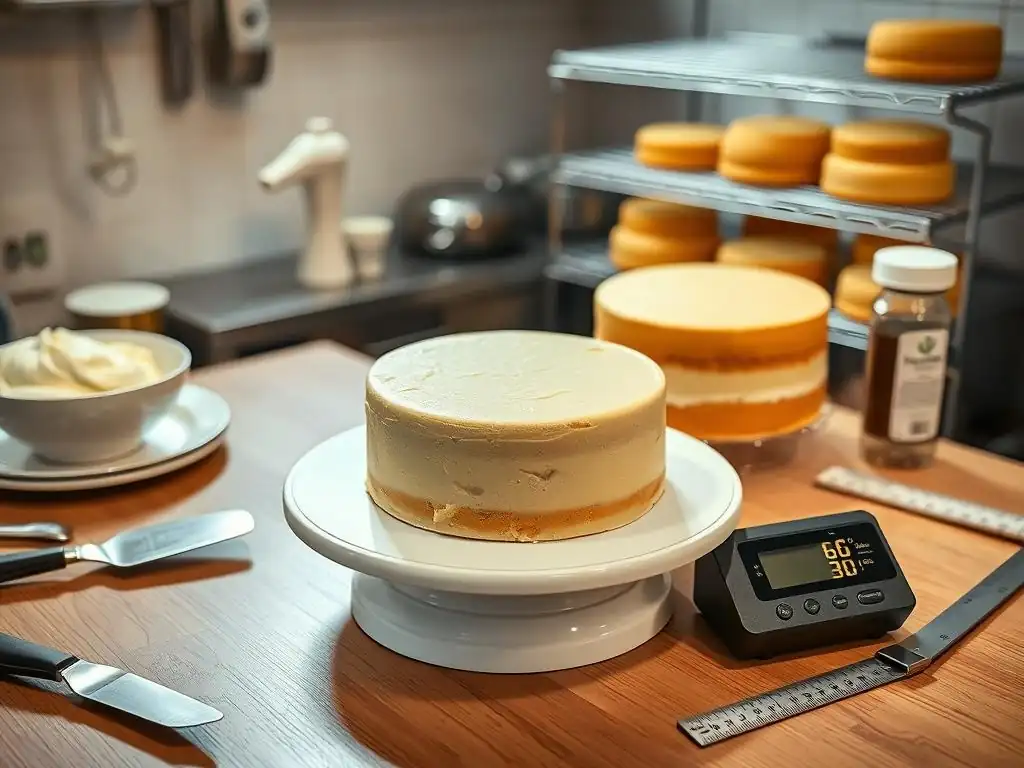
The Serrated Knife: Your Best Friend for Cake Leveling
For many bakers, from beginners to seasoned pros, a long, sharp serrated knife is the go-to tool for achieving perfectly flat cake layers. A serrated edge is crucial because it allows you to saw gently through the cake without tearing or compressing the delicate crumb, which can happen with a straight blade. A knife with a blade length longer than the diameter of your cake is ideal, as it allows you to make the cut in one continuous motion across the entire layer, minimizing the risk of an uneven cut.
Using a serrated knife requires a steady hand and a bit of practice, but it offers excellent control and precision. It's particularly versatile for leveling cakes of various sizes and shapes. While it might not offer the absolute perfect consistency of a mechanical leveler every single time, it's an accessible and effective tool that, when used correctly, can consistently produce beautifully leveled layers. Many bakers start with this method and continue to rely on it even after trying other tools.
Cake Leveler Tools: Pros and Cons [Agbay Cake Leveler vs. Wilton Cake Leveler]
Cake leveler tools offer a more mechanical approach to achieving perfectly flat cake layers and are favored by those seeking maximum consistency and ease of use, especially when leveling multiple layers. These tools typically consist of a wire or blade stretched between two adjustable feet or frames. You simply set the desired height, place the leveler next to or over the cake, and saw through.
Popular options include the Wilton Cake Leveler, a simple wire-based tool with adjustable height notches, and the Agbay Cake Leveler, a professional-grade tool with a sharp blade and precise height adjustments. The Wilton leveler is affordable and easy for home bakers but can sometimes waver, leading to slight unevenness if not held steady. The Agbay, while more expensive, offers unparalleled precision and stability, making it a favorite among professional bakeries. Both tools significantly reduce the learning curve compared to a freehand knife cut, making them excellent choices for reliably achieving perfectly flat cake layers.
Using a Ruler or Level for Precise Measurements
While not cutting tools themselves, a ruler or a small spirit level can be invaluable aids in ensuring your cake layers are perfectly flat. Before you even make your cut, you can use a ruler to measure the height of your cake at various points to identify the highest spot, which is where you should aim to cut. This helps you determine the correct height for your leveler tool or guide your knife cut.
After leveling, placing a ruler across the top of the cake layer or using a spirit level can give you visual confirmation of how flat the surface is. A spirit level is particularly useful for larger cakes or when trying to assess the overall evenness. While this step might seem overly meticulous, it provides an objective way to check your work and can be very helpful when you're learning to achieve perfectly flat cake layers consistently. It's about adding an extra layer of precision to your process.
Step-by-Step Guide to Leveling Cake Layers with a Serrated Knife
Preparing Your Cake for Leveling
The first step to achieving perfectly flat cake layers with a serrated knife is proper preparation. Ensure your cake is completely cooled, preferably chilled in the refrigerator for at least 30 minutes. A cold cake is much firmer and less likely to crumble or tear during the leveling process. This is a critical step; attempting to level a warm or even room-temperature cake often results in a messy, crumb-filled disaster.
Once chilled, gently remove the cake from its pan. If the cake has a significant dome, you might want to place it on a flat surface, like a cutting board or cake plate, with the domed side facing up. If the bottom of the cake is uneven, you may choose to flip it so the flatter bottom becomes the top surface for leveling, depending on your preference and the cake's structure. Having a clean workspace is also essential to prevent crumbs from sticking to your leveled surface.
Marking the Cake for Even Cutting
To ensure you cut perfectly flat cake layers, it's helpful to create a guideline around the cake's perimeter. You can do this visually or with the aid of tools. For a visual guide, simply eyeball the desired height you want to cut at and make a small indentation with the tip of your knife or a toothpick around the cake's circumference.
For more precision, especially when trying to achieve perfectly flat cake layers of a specific height, use a ruler. Place the ruler against the side of the cake and make small marks with a toothpick or the tip of your knife at the desired height around the entire cake. Alternatively, you can use long toothpicks inserted horizontally into the cake at your desired height as a physical guide for your knife blade. Consistency in this marking step sets you up for a successful, even cut.
The Cutting Technique: Gentle and Precise
With your cake prepared and marked, it's time for the cut. Position the serrated knife parallel to your work surface and align the blade with your guide marks or toothpicks. Use a gentle sawing motion, moving the knife back and forth while slowly rotating the cake with your other hand. Avoid pushing down on the cake, as this can compress it and lead to an uneven cut. The serrated edge should do the work of cutting through the cake's crumb.
Keep your eye on your guide marks or toothpicks as you work your way around the cake, ensuring the knife blade stays level. Some bakers find it helpful to keep their non-cutting hand lightly on top of the cake dome to stabilize it, but be careful not to apply pressure. The goal is a smooth, continuous cut that removes the dome in one piece, leaving you with a perfectly flat cake layer. Take your time; rushing this step is the quickest way to end up with a wavy surface.
Addressing Minor Imperfections After Cutting
Even with careful technique, you might find minor imperfections after removing the dome from your cake layer. Perhaps a small section is slightly higher or lower than the rest, or there are a few rogue crumbs stuck to the surface. For minor high spots, you can carefully shave off a thin layer using the serrated knife held almost parallel to the cake surface. Use a very light touch and a gentle sawing motion.
For small depressions or areas that aren't quite perfectly flat cake layers, you generally shouldn't try to add cake back. Instead, acknowledge that minor variations can often be compensated for with frosting later. If the imperfection is significant, you might need to make another thin cut to try and level the layer further, though this risks making the layer too thin. Often, a small amount of buttercream can fill in minor dips, ensuring a stable surface for the next layer.
Alternative Leveling Techniques for Perfectly Flat Cake Layers
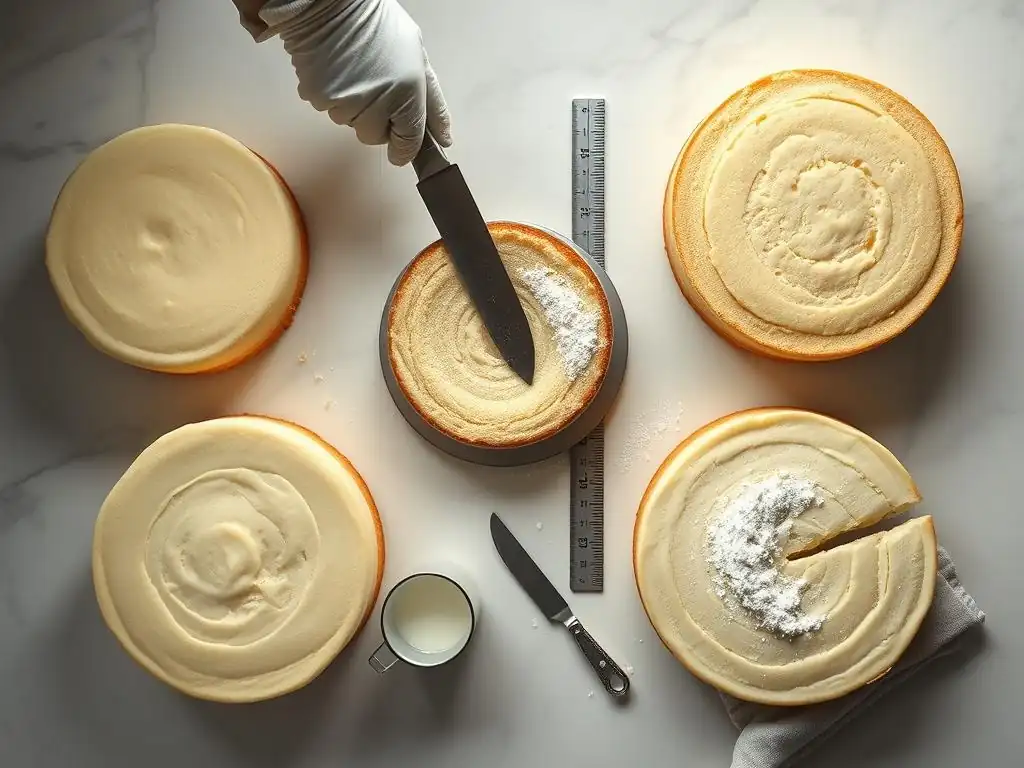
Using Dental Floss or String for Cake Leveling
A surprisingly effective and simple method for achieving perfectly flat cake layers, particularly for softer cakes, is using plain, unwaxed, unflavored dental floss or a thin, strong piece of thread or string. This technique works best on cakes that are well-chilled.
To use this method, first mark your desired cutting height around the cake's perimeter, similar to the knife method. Then, take a length of floss or string long enough to wrap around the cake. Carefully wrap the floss around the cake, aligning it with your guide marks.
Cross the ends of the floss in front of you and gently pull them away from the cake, drawing the floss through the cake's crumb. The floss will slice through the cake cleanly and evenly, often resulting in beautifully perfectly flat cake layers with minimal crumbs. It's an excellent technique for delicate cakes where a knife might cause tearing.
The Frozen Cake Method: Leveling Made Easier
Leveling a cake that is partially or fully frozen can significantly simplify the process and lead to remarkably perfectly flat cake layers with very few crumbs. When a cake is frozen, its structure is rigid, making it much easier to slice cleanly without compressing or tearing.
To use this method, allow your cake to cool completely, then wrap it tightly in plastic wrap and aluminum foil. Freeze it for at least 2-4 hours, or until firm but not frozen solid throughout (unless you prefer that). A partially frozen cake is ideal. Once firm, unwrap the cake and place it on a stable surface.
Use a sharp serrated knife or a cake leveler tool. The blade will glide through the semi-frozen cake with ease, creating a clean, perfectly flat surface. Allow the leveled cake to thaw before frosting. This method is particularly useful when baking ahead or working with very moist or delicate cake recipes.
Baking Strips: Prevention is Better Than Cure
While not a leveling technique in the traditional sense, using baking strips (also known as cake strips) is a highly effective preventative measure that helps you bake perfectly flat cake layers from the start, often eliminating the need for significant leveling. These fabric strips are soaked in water and wrapped around the outside of the cake pan before baking.
The damp strips insulate the sides of the pan, causing the cake edges to bake slower and rise more evenly with the center. Without strips, the edges bake and set faster because they are in direct contact with the hot metal pan, while the center continues to rise, forming a dome. With strips, the entire cake bakes more uniformly, resulting in a cake with a much flatter top.
While they require a small investment, baking strips are a fantastic tool for consistently producing perfectly flat cake layers with minimal effort post-baking. Many bakers find they drastically reduce or even eliminate the need to trim off a large dome.
Tips and Tricks for Achieving Consistently Level Cake Layers
Measuring Batter Accurately for Even Baking
One of the most fundamental steps towards consistently achieving perfectly flat cake layers begins before the batter even goes into the oven: accurate measurement. Using a kitchen scale to weigh your ingredients, especially flour, sugar, and leavening agents, ensures you have the correct proportions specified in the recipe. Measuring by volume (using cups) can be notoriously inaccurate due to variations in packing density.
Furthermore, when dividing batter among multiple pans, it's crucial to measure the batter by weight or volume to ensure each pan contains the exact same amount. Even a slight difference in batter quantity can lead to one cake baking faster or rising higher than another.
For instance, if one pan has 50 grams more batter than another, that cake will likely take longer to bake and might develop a larger dome. Using a scale to ensure each pan receives precisely, say, 600 grams of batter per 8-inch round pan, is a simple yet powerful technique for promoting perfectly flat cake layers from the outset.
Rotating Cakes During Baking for Uniform Heat Exposure
Even in an oven that seems to heat evenly, there can still be subtle temperature variations. To counteract this and encourage perfectly flat cake layers, especially if baking multiple pans at once, consider rotating your cake pans partway through the baking time.
Around two-thirds of the way through the estimated baking time (e.g., after 20 minutes for a cake that bakes for 30 minutes), carefully open the oven door and rotate each cake pan 180 degrees. If you have multiple pans on different racks, you can also swap their positions, moving the bottom pan to the top rack and vice-versa.
This ensures that all sides of the cake are exposed to similar oven temperatures, promoting a more uniform rise and helping to prevent one side from baking faster than the other, which can lead to sloped layers. Perform this rotation quickly to minimize heat loss from the oven.
Cooling Cakes Properly to Prevent Warping
How you cool your cakes after baking plays a significant role in whether they maintain a perfectly flat shape or develop dips and warps. Immediately after removing cakes from the oven, let them cool in their pans on a wire rack for the amount of time specified in the recipe, usually 10-20 minutes. This allows the cake to finish setting and firm up slightly within the structure of the pan.
After the initial cooling period in the pan, invert the cakes onto a wire rack to cool completely. Cooling on a wire rack is essential because it allows air to circulate around the entire cake, preventing moisture build-up on the bottom which can make the cake stick or become gummy, and promoting even cooling.
Placing a hot cake directly onto a solid surface can trap heat and steam, potentially leading to a soggy bottom or uneven cooling that results in a warped layer. Ensuring cakes are fully cooled before handling or leveling is key to preserving those perfectly flat cake layers you worked to achieve.
Troubleshooting Common Cake Leveling Issues
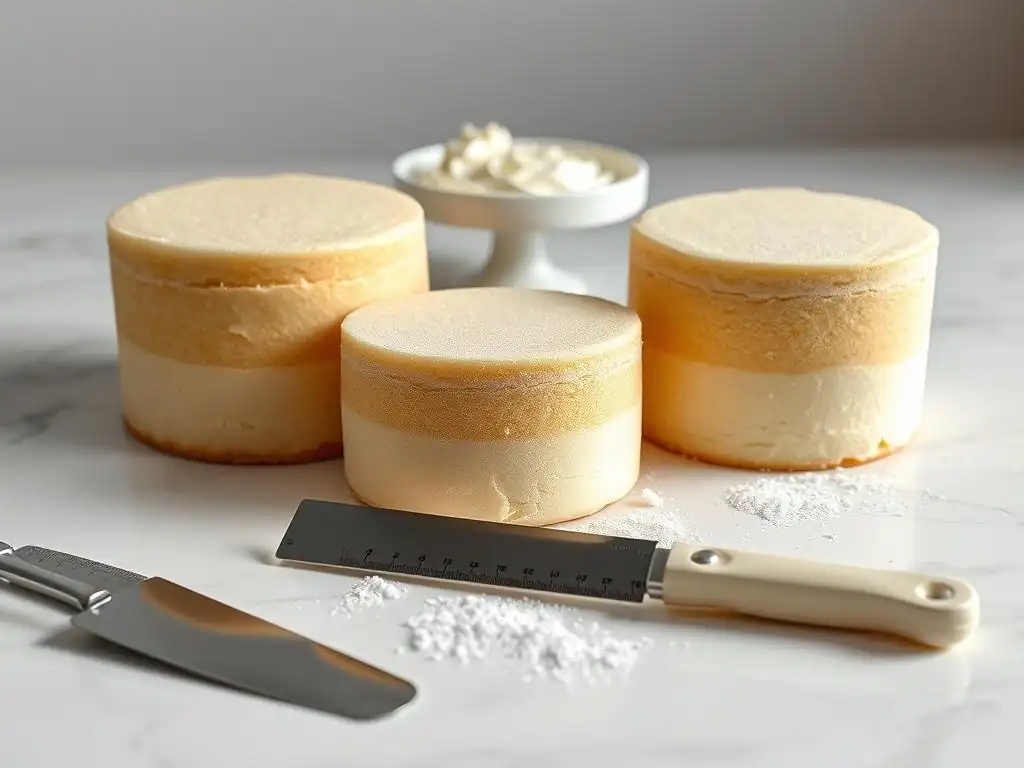
Dealing with Crumbly Cakes During Leveling
Leveling a cake can sometimes turn into a crumb-fest, especially with certain types of cakes like those made with oil or very tender recipes. If your cake is crumbling excessively while you're trying to achieve perfectly flat cake layers, the most common reason is that the cake is not cold enough. Warm cake is soft and fragile, making it highly susceptible to tearing and crumbling when sliced.
The best solution is to stop leveling immediately and place the cake back in the refrigerator or even the freezer for a longer period. Chilling the cake until it is quite firm (even slightly frozen) will make it much easier to slice cleanly. Ensure your knife or leveler is sharp. A dull blade will tear rather than cut, exacerbating the crumbling issue. If the cake is inherently very delicate, consider using the dental floss method, which often produces fewer crumbs than a knife.
Correcting Major Slopes and Unevenness
Sometimes, despite your best efforts, a cake layer might come out of the oven with a significant slope or pronounced unevenness that can't be fixed by just trimming the dome. If you're aiming for perfectly flat cake layers for a stacked cake, a major slope needs to be addressed.
If the slope is substantial, the most effective way to correct it is to treat the entire layer as if it were a dome and level off the highest side. Place the cake on a flat surface and identify the lowest point. You will need to cut parallel to your work surface, starting your cut at the highest point of the cake and guiding your knife or leveler to remove the sloped section.
This might mean removing more cake than just a dome. Alternatively, if the cake is thick enough, you could potentially slice it into two thinner layers, leveling each one individually. While this uses more cake, it's often the best way to salvage a badly sloped layer and achieve perfectly flat cake layers for stacking.
Preventing Cake Layers from Sticking to the Cutting Surface
A minor but annoying issue when leveling cakes is the tendency for the cut layer or the removed dome to stick to your cutting board or work surface, especially if the cake is slightly moist or warm. This can make it difficult to slide the leveled layer onto a cake board or serving plate without breaking or damaging it.
To prevent sticking and ensure your perfectly flat cake layers are easily transferable, always level your cake on a surface that you've prepared. A piece of parchment paper placed under the cake works well, as you can simply slide the parchment (with the cake layer on top) onto your desired surface. Alternatively, level the cake directly on the cake board you plan to use for assembly. Some bakers also lightly dust their cutting surface with a tiny amount of powdered sugar or cornstarch, though this isn't always necessary if using parchment or a cake board.
Ensuring Level Cake Layers for Perfect Cake Assembly
Using Leveling Boards for Support
Once you've gone through the effort of creating perfectly flat cake layers, you want to handle them with care during assembly. Leveling boards, or cake boards, provide crucial support for individual cake layers, especially when moving them or stacking. Trying to lift a delicate cake layer directly from your work surface can cause it to bend, crack, or break, undoing all your leveling work.
Always slide your leveled cake layer onto a sturdy cake board that is the same size or slightly smaller than the cake itself. These thin cardboard circles or squares provide a rigid base that keeps the cake layer perfectly flat and stable as you transfer it, apply filling, and stack it onto the layer below. Using a thin spatula or cake lifter to help slide the cake onto the board minimizes stress on the cake structure. This simple step ensures that the perfectly flat cake layers you created remain flat and intact throughout the assembly process.
Checking for Levelness Before Frosting
Even after leveling and placing layers on boards, it's a good practice to perform a final check for levelness just before you start frosting. Place the cake layer on your assembly surface and stand back to look at it from multiple angles at eye level. Does it appear perfectly flat?
For an extra layer of assurance, you can carefully place a ruler or a small spirit level across the top surface of the cake layer. The ruler should sit flush across the entire diameter without rocking, and the bubble in the spirit level should be centered. If you spot a very minor tilt or dip at this stage, it's much easier to address before you start applying frosting. This quick check helps confirm that your perfectly flat cake layers are ready for the next step and will contribute to a professional-looking finished cake.
Adjusting Frosting Thickness to Compensate for Minor Imperfections
Even with the best leveling techniques, sometimes a cake layer might have a very slight, almost imperceptible dip or high spot. For these minor imperfections, you don't necessarily need to re-level or discard the layer. Instead, you can use your frosting to subtly compensate and still achieve the appearance of perfectly flat cake layers in your final assembly.
When applying your filling or crumb coat between layers, you can slightly increase the amount of frosting or filling in the areas that are lower and decrease it in the higher areas. Use an offset spatula to gently spread and manipulate the frosting, creating a level surface on top of the slightly uneven cake layer.
This technique requires a bit of finesse but is highly effective for masking minor variations. It allows you to build a stable, level surface for the next cake layer to rest on, ensuring your finished cake looks like it was built with perfectly flat cake layers throughout.
Beyond Leveling: Creating a Stable Cake Foundation
The Importance of Cake Boards and Drums
While we've discussed using thin cake boards for individual layers, the base board your cake sits on is equally, if not more, important for overall stability and presentation. For multi-tiered cakes or any cake that will be transported, using a sturdy cake drum (a thicker, often 1/2-inch or 1/4-inch thick board) as the base is essential. These drums provide a rigid foundation that prevents the cake from flexing or cracking when lifted or moved.
Even for single-tier cakes, using a base cake board makes handling and serving much easier. The board should be the same size as or slightly larger than your bottom cake layer. This provides a stable platform for applying frosting, decorating, and transferring the finished cake. A well-chosen, sturdy cake board is the silent hero that supports your perfectly flat cake layers and beautiful decoration, ensuring your cake arrives safely and looks stunning from base to top.
Properly Icing the Cake for Added Support
Beyond making the cake look beautiful, the frosting itself contributes significantly to the cake's structural integrity, especially when aiming for a stable structure built upon perfectly flat cake layers. A proper crumb coat, a thin layer of frosting applied to seal in loose crumbs, not only makes the final frosting layer smoother but also helps to hold the cake layers together and fill any tiny gaps or imperfections between them.
The subsequent layers of frosting, particularly the frosting between layers, act as a form of "glue" and structural support. When applying frosting or filling between layers, ensure it's spread evenly right to the edges. This creates a solid bond between the layers and provides lateral support, preventing the layers from shifting. For taller cakes, chilling the cake after applying the crumb coat and again after the main frosting layer helps the frosting firm up, adding significant stability to the structure built from your perfectly flat cake layers.
Storing Leveled Cake Layers to Maintain Flatness
If you're baking your cake layers ahead of time, proper storage is crucial to maintain the perfectly flat cake layers you've worked to achieve. Simply stacking unfrosted layers on top of each other can cause them to compress, stick, or warp.
After your cakes are completely cooled and leveled, wrap each individual layer tightly in plastic wrap. Ensure the plastic wrap is smooth against the cake surface to prevent air pockets. For longer storage (more than a day or two), wrap the plastic-wrapped layers again in aluminum foil or place them in an airtight container.
Store wrapped layers flat on a stable surface. If stacking wrapped layers, place a flat, rigid surface like a cake board or cutting board between each layer to distribute weight evenly and prevent compression. Storing your perfectly flat cake layers correctly ensures they are in perfect condition when you're ready to assemble and decorate.
Frequently Asked Questions
How important is it to have perfectly flat cake layers?
Having perfectly flat cake layers is crucial for achieving a professional-looking cake. It allows for even frosting distribution and a stable, aesthetically pleasing final product. Uneven layers can lead to a tilted or wobbly cake.
What are some common reasons why cake layers bake unevenly?
Uneven baking can be caused by an unlevel oven, an uneven distribution of batter in the pan, or hot spots within the oven. Ensuring your oven is level and rotating the cake during baking can help.
What are the best tools for leveling cake layers?
A serrated knife (like a bread knife) and a cake leveler are the best tools. A cake leveler ensures a perfectly even cut across the entire cake layer. A serrated knife offers more control for smaller adjustments.
Can I level a cake layer that has already been frosted?
It is generally not recommended to level a frosted cake layer. The frosting will make the process messy and can damage the cake's structure. Leveling should always be done before frosting.
What if I don't have a cake leveler or a serrated knife? Are there alternative methods?
Yes, you can use dental floss or fishing line. Simply mark the desired height around the cake and gently pull the floss through. This is a surprisingly effective and affordable alternative.
Final Reflection: The Pursuit of the Perfectly Flat Cake Layer
The quest for the perfectly flat cake layer transcends mere aesthetics; it's a foundational element of elegant cake design and a testament to baking precision. A flawlessly level surface allows for clean, professional-looking frosting, intricate designs, and ultimately, a cake that is as visually stunning as it is delicious. This pursuit, while seemingly simple, speaks volumes about the dedication and artistry involved in baking.
The impact of achieving that perfectly flat top extends beyond the individual baker. It represents a commitment to excellence, a desire to elevate the everyday into something extraordinary. The pursuit of this seemingly small detail reflects a larger cultural shift towards valuing craftsmanship and attention to detail, even in the seemingly simple act of baking a cake. The details are not the details. They make the design.
- Charles Eames. This quote perfectly encapsulates the importance of mastering the seemingly insignificant aspects of baking, like leveling cake layers, to achieve a truly exceptional result.
Now, consider your own baking journey. Perhaps you've struggled with uneven layers in the past, feeling frustrated by the seemingly insurmountable challenge. But remember the techniques discussed in this article – from proper baking times and pans to the gentle touch of a serrated knife. Embrace the process, celebrate the small victories, and remember that the pursuit of perfection, even in baking, is a rewarding journey in itself. Go forth and create cakes that are not only delicious but also visually breathtaking, a testament to your skill and dedication.
Unlock Perfectly Flat Cake Layers: Your Baking Game Changer!
Thanks for taking the time to learn how to achieve those flawlessly flat cake layers! You're now equipped with the knowledge to bake cakes that are as beautiful as they are delicious. Ready to put your new skills to the test?
- Bake your dream cake: Try out one of the techniques we discussed today – slow baking or using a cake leveler – and experience the difference! Prepare to be amazed by how easy it is to achieve perfectly even layers.
- Share your success: Snap a picture of your perfectly flat cake and share it on social media using #BakeWithEaseFlatCakes. Let's inspire each other!
- Challenge a friend: Nominate a baking buddy to master flat cake layers too! It's more fun together.
So, what incredible cake creation will you bake next, now that you have mastered perfectly flat layers?