
How to Get a Beautiful Golden Crust on Your Vanilla Cake

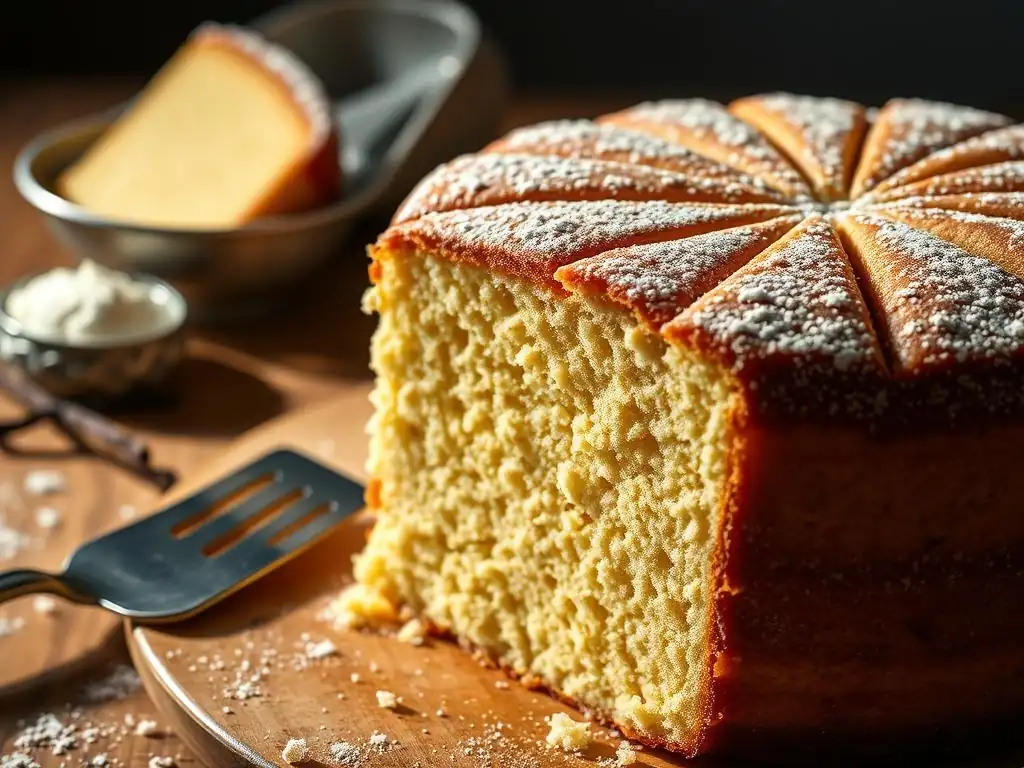
Welcome to BakeWithEase, where baking becomes a joy! Ever wondered how to achieve that perfect, irresistibly golden crust on your vanilla cake? It's more attainable than you think. Dive into our guide and unlock the secrets to baking a vanilla cake that's as beautiful as it is delicious. Get ready to transform your baking and create a Golden Crust Vanilla Cake that will impress every time!
- How to Get a Beautiful Golden Crust on Your Vanilla Cake: BakeWithEase Guide
- Introduction: Achieving the Perfect Golden Crust on Your Vanilla Cake
- Understanding the Science Behind a Golden Crust
- Key Ingredients for a Golden Crust Vanilla Cake
- Step-by-Step Guide to Baking a Golden Crust Vanilla Cake
- Advanced Techniques for Enhancing Your Golden Crust
- Troubleshooting Common Golden Crust Problems
- Golden Crust Vanilla Cake Recipe Variations
- Storing Your Golden Crust Vanilla Cake
- Conclusion: Enjoy Your Perfectly Golden Vanilla Cake
-
Frequently Asked Questions
- How crucial is the oven temperature for achieving a golden crust on a vanilla cake?
- What role does sugar play in developing a golden crust on a vanilla cake?
- Are there specific ingredients that can enhance the browning process of a vanilla cake?
- How does the type of baking pan affect the crust of a vanilla cake?
- What are some troubleshooting tips if my vanilla cake isn't browning sufficiently?
- Final Reflection: The Golden Ratio of Baking and Life
- Unlock Your Cake's Golden Potential!
How to Get a Beautiful Golden Crust on Your Vanilla Cake: BakeWithEase Guide
Introduction: Achieving the Perfect Golden Crust on Your Vanilla Cake
Welcome to BakeWithEase! There's something truly satisfying about pulling a cake out of the oven, especially a classic vanilla cake, and seeing that gorgeous, evenly colored golden crust. It's not just about aesthetics; that beautiful golden brown hue often signals a perfectly baked cake with delightful texture and enhanced flavor. Achieving this ideal finish on your vanilla cake is a skill worth mastering, turning a simple bake into a showstopper.
A well-formed golden crust adds a pleasant contrast in texture to the soft, tender crumb of the vanilla cake. It provides a slight chewiness or crispness that complements the moist interior. Furthermore, the browning process itself contributes significantly to the overall taste profile, introducing rich, complex flavors that are absent in a pale, under-baked crust. Let's dive into how you can consistently achieve that coveted golden crust on your vanilla cake.
Why a Golden Crust Matters for Your Vanilla Cake
A golden crust is more than just pretty; it's a sign of proper baking and contributes significantly to the sensory experience of eating your vanilla cake. The appealing color invites you in, suggesting deliciousness before you even take a bite. From a baker's perspective, it often indicates that the cake has reached the correct internal temperature and is fully cooked, ensuring a tender crumb and good structure throughout.
Beyond visual appeal, the golden crust on a vanilla cake is crucial for flavor development. The heat applied during baking triggers chemical reactions on the surface, particularly the Maillard reaction and caramelization, which are responsible for creating hundreds of new flavor compounds. These compounds lend the crust nutty, toasty, and even slightly savory notes that enhance the simple, sweet profile of the vanilla cake itself. Without this browning, the crust can taste bland and starchy.
BakeWithEase' Secret to a Perfectly Golden Brown Vanilla Cake
At BakeWithEase, we believe the secret to a perfect golden brown vanilla cake lies in understanding the fundamentals and paying attention to detail. It's not just one magic ingredient or temperature; it's a combination of factors working together. Our approach emphasizes careful ingredient selection, precise temperature control, and vigilant monitoring during the baking process.
One of our key insights is the importance of balancing fat and sugar content, as both play a vital role in browning. Using quality butter contributes not only flavor but also aids in achieving that rich golden hue. Similarly, the type and amount of sugar influence how quickly and deeply the crust browns. Coupled with baking the vanilla cake at the optimal temperature for the correct duration, and positioning it correctly in the oven, you're well on your way to achieving that sought-after golden crust.
Understanding the Science Behind a Golden Crust
Achieving a beautiful golden crust on your vanilla cake isn't just guesswork; it's rooted in fascinating kitchen science. Two primary chemical reactions are responsible for the desirable browning and flavor development on the surface of your cake: the Maillard reaction and caramelization. Understanding these processes helps you control them for optimal results.
The surface of your vanilla cake batter contains proteins, sugars, and moisture. As the cake bakes and the surface temperature rises above approximately 300°F (150°C), these complex reactions begin.
The interaction between amino acids (from proteins) and reducing sugars (like glucose and fructose) initiates the Maillard reaction, creating melanoidins, the compounds responsible for the brown color and many of the complex, savory-sweet flavors we associate with baked goods. Simultaneously, if the surface temperature reaches around 320°F (160°C) or higher, sugars begin to caramelize, breaking down and forming new compounds that contribute nutty, buttery, and slightly bitter notes, further enhancing the golden crust vanilla cake experience.
The Maillard Reaction: The Key to Golden Brown Baking
The Maillard reaction is arguably the most important process for creating the golden brown color and complex flavors on the crust of your vanilla cake. This reaction occurs between amino acids (found in proteins, like those in flour or eggs) and reducing sugars (like glucose, fructose, and lactose from milk). It doesn't require extremely high temperatures; it can start occurring around 280°F (140°C), though it accelerates significantly at higher temperatures.
This complex series of chemical transformations produces a vast array of flavor compounds, estimated to be in the hundreds, along with the characteristic brown pigments called melanoidins. These compounds are responsible for the savory, toasted, and nutty aromas and tastes found in the golden crust of your vanilla cake. Controlling the temperature and moisture on the cake's surface is key to managing the Maillard reaction; if the surface stays too wet, the temperature won't rise sufficiently for the reaction to occur effectively.
Sugars and Browning: How They Affect Your Vanilla Cake Crust
Sugars play a critical role in the browning of your vanilla cake crust, participating in both the Maillard reaction (as reducing sugars) and caramelization. Different types of sugar behave differently. Granulated sugar (sucrose) is a non-reducing sugar, but it breaks down into reducing sugars (glucose and fructose) when heated in the presence of moisture and acid, readily participating in the Maillard reaction. Brown sugar, containing molasses, adds moisture and already contains some inverted sugars, which can accelerate browning and add a slightly chewier texture to the crust.
The amount of sugar is also crucial. A higher sugar content in your vanilla cake batter will generally lead to faster and deeper browning of the crust. This is because there are more reactants available for both the Maillard reaction and caramelization. However, too much sugar can cause the crust to brown or even burn before the interior of the cake is fully baked. Finding the right balance, often around 25-35% of the flour weight in a standard vanilla cake recipe, is key for a beautiful golden crust.
The Role of Heat in Achieving a Golden Vanilla Cake Surface
Heat is the catalyst for both the Maillard reaction and caramelization, making oven temperature and baking time critical factors in achieving a golden crust on your vanilla cake. The oven temperature determines how quickly the surface of the cake dries out and reaches the necessary temperatures for these browning reactions to occur. A common temperature for vanilla cake is 325-350°F (160-175°C). Baking at too low a temperature might result in a pale crust, while too high a temperature can lead to a burnt crust before the cake is cooked through.
Proper oven placement is also important for even heating. Baking the golden crust vanilla cake on the middle rack typically ensures that heat circulates evenly around the pan, promoting uniform browning. Using a preheated oven is non-negotiable; placing a cake in a cold oven means it takes longer to reach the necessary temperature for browning, potentially drying out the cake or resulting in a less vibrant golden crust.
Key Ingredients for a Golden Crust Vanilla Cake
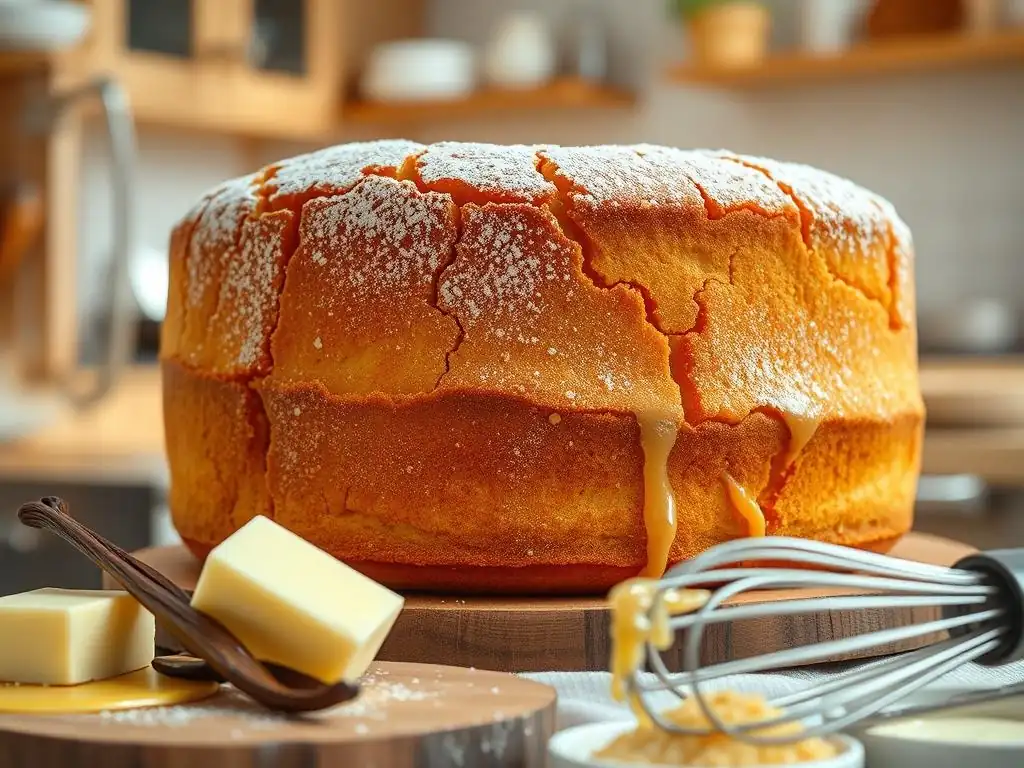
While many ingredients contribute to a delicious vanilla cake, a few play a particularly significant role in developing that desirable golden crust. Understanding the function of these key players allows you to optimize your recipe and technique for maximum browning potential. It's the synergy of these ingredients, combined with proper baking technique, that results in a truly stunning golden crust vanilla cake.
The quality and type of fats and sugars used are paramount. Butter, for instance, doesn't just add richness and moisture; its milk solids participate in the Maillard reaction, aiding in browning. Similarly, the kind of sugar influences both the rate and color of the crust's development. Even the seemingly simple vanilla extract contributes subtle nuances that are enhanced by the browning process on the crust.
Butter: The Secret Ingredient for a Rich, Golden Hue
Butter is often considered the foundation of a great vanilla cake, and it's a powerhouse when it comes to achieving a beautiful golden crust. The fat in butter helps to tenderize the cake and promotes even heat distribution on the surface. More importantly, the milk solids present in butter contain proteins and lactose (a reducing sugar) that are prime participants in the Maillard reaction.
As the butter melts and the cake bakes, these milk solids brown, contributing to the rich golden color of the crust. Using high-quality butter with a good percentage of milk solids can enhance this effect. Clarified butter or oil, which lack these milk solids, will not contribute to browning in the same way, highlighting why solid butter is preferred for achieving that classic golden crust on a vanilla cake.
Sugar: Choosing the Right Type for a Perfect Crust
The type of sugar you use significantly impacts the browning of your vanilla cake crust. Granulated sugar is standard and works well, breaking down into reducing sugars during baking to fuel the Maillard reaction and caramelize at higher temperatures. However, using a portion of brown sugar can enhance both the color and flavor of the golden crust.
Brown sugar contains molasses, which adds moisture and already includes some inverted sugars (glucose and fructose). These inverted sugars brown more readily than sucrose. Including brown sugar can lead to a faster, deeper golden color and a slightly richer, more complex flavor in the crust. Experimenting with replacing perhaps 10-20% of the granulated sugar with light brown sugar in your favorite vanilla cake recipe can noticeably improve the golden crust.
The Importance of Quality Vanilla Extract
While vanilla extract doesn't directly participate in the browning reactions like fats and sugars, the quality of your vanilla extract is crucial for the overall flavor experience, especially as the crust develops its complex notes. A good quality vanilla extract, preferably pure extract rather than imitation, provides a clean, aromatic vanilla base that complements the nutty, caramelized flavors of the golden crust vanilla cake.
The heat of baking concentrates the vanilla flavor compounds, particularly on the drying surface of the crust. Using a premium extract ensures that the vanilla notes are robust enough to stand alongside the rich flavors developed by the Maillard reaction and caramelization. Think of it as the perfect finishing touch that makes your golden crust vanilla cake truly shine.
Step-by-Step Guide to Baking a Golden Crust Vanilla Cake
Achieving a beautiful golden crust on your vanilla cake involves careful execution at each stage of the baking process. From preparing the batter correctly to monitoring the bake in the oven, each step contributes to the final outcome. Follow these steps for your best chance at a perfectly golden brown vanilla cake.
This guide breaks down the process into manageable parts, focusing specifically on the elements that influence crust development. We'll cover batter consistency, oven conditions, monitoring techniques, and proper cooling – all essential for that enviable golden finish.
Step 1: Preparing Your Vanilla Cake Batter for Optimal Browning
The journey to a golden crust vanilla cake begins with the batter. Ensure your ingredients are at room temperature; this allows them to emulsify properly, creating a smooth, well-combined batter. Overmixing can develop too much gluten, potentially leading to a tough crumb, but also affecting how the surface dries and browns. Mix just until the ingredients are incorporated and the batter is smooth.
The consistency of the batter matters. A batter that is too wet might take longer to dry out on the surface, delaying the browning process. Ensure you measure your ingredients accurately, especially liquids, typically using the spoon-and-level method for flour. For instance, a standard vanilla cake recipe might call for approximately 200-250 grams of flour per 150-200 grams of sugar and 100-150 grams of butter, along with appropriate liquid; maintaining these ratios helps ensure the surface has the right composition for browning.
Step 2: Oven Temperature and Placement for Even Baking
Preheating your oven is absolutely non-negotiable for a golden crust vanilla cake. Allow your oven to preheat for at least 15-20 minutes after it indicates it has reached the target temperature, typically 325-350°F (160-175°C). This ensures the oven walls and racks are also heated, providing consistent radiant heat. An oven thermometer is a wise investment, as oven temperatures can vary by as much as 50°F (10°C) from the dial setting.
Place your cake pan on the middle rack of the oven. This position offers the most even heat circulation, preventing the bottom from burning before the top browns or the top from browning too quickly from proximity to the upper heating element. Avoid placing multiple cakes too close together, as this can obstruct airflow and lead to uneven baking and patchy browning on your golden crust vanilla cake.
Step 3: The Baking Process: Monitoring for Golden Perfection
Once your vanilla cake is in the oven, resist the urge to open the door frequently, especially during the first two-thirds of the baking time. Opening the oven releases heat, dropping the temperature and potentially causing the cake to sink. After the initial rise, you can start monitoring. The edges of the cake will begin to pull away from the sides of the pan, and the surface will transition from pale to a light golden color.
Browning typically accelerates in the last 10-15 minutes of baking. Look for an even golden-brown color across the entire surface. A skewer or toothpick inserted into the center should come out clean when the cake is done. If the top is browning faster than you'd like but the center isn't cooked, you can loosely tent the top of the golden crust vanilla cake with aluminum foil to slow down the surface browning while the inside finishes baking.
Tips for Preventing a Burnt Crust on Your Vanilla Cake
Preventing a burnt crust while still achieving a beautiful golden hue requires vigilance.
- Monitor Closely: Start checking on your cake about 10-15 minutes before the recipe's minimum suggested baking time.
- Use Aluminum Foil: If the top is browning too quickly, loosely tent the cake with foil. Ensure the foil doesn't touch the crust.
- Check Oven Temperature: Use an independent oven thermometer to verify your oven's accuracy. Calibrate or adjust if necessary.
- Consider Pan Material: Dark metal pans absorb and radiate heat more quickly than light-colored pans or glass, potentially leading to faster crust browning. Adjust baking time or temperature slightly if using dark pans.
- Rotate the Pan: If your oven has hot spots, rotating the cake pan halfway through the baking time (after the initial rise) can help ensure even browning of the golden crust vanilla cake.
Step 4: Cooling Your Vanilla Cake to Maintain the Golden Crust
Proper cooling is essential not only for the cake's structure but also for preserving that lovely golden crust. Immediately after removing the golden crust vanilla cake from the oven, let it cool in the pan on a wire rack for the amount of time specified in your recipe, usually 10-15 minutes. This allows the cake to set slightly and prevents it from breaking when you attempt to remove it.
Cooling on a wire rack allows air to circulate around the entire pan, preventing steam from condensing on the bottom or sides, which could make the crust soggy. After the initial cooling period in the pan, carefully invert the cake onto the wire rack to cool completely. This ensures the crust remains dry and maintains its texture. Cooling completely before slicing or frosting is crucial; cutting a warm cake can compress the crumb and damage the delicate golden crust.
Advanced Techniques for Enhancing Your Golden Crust
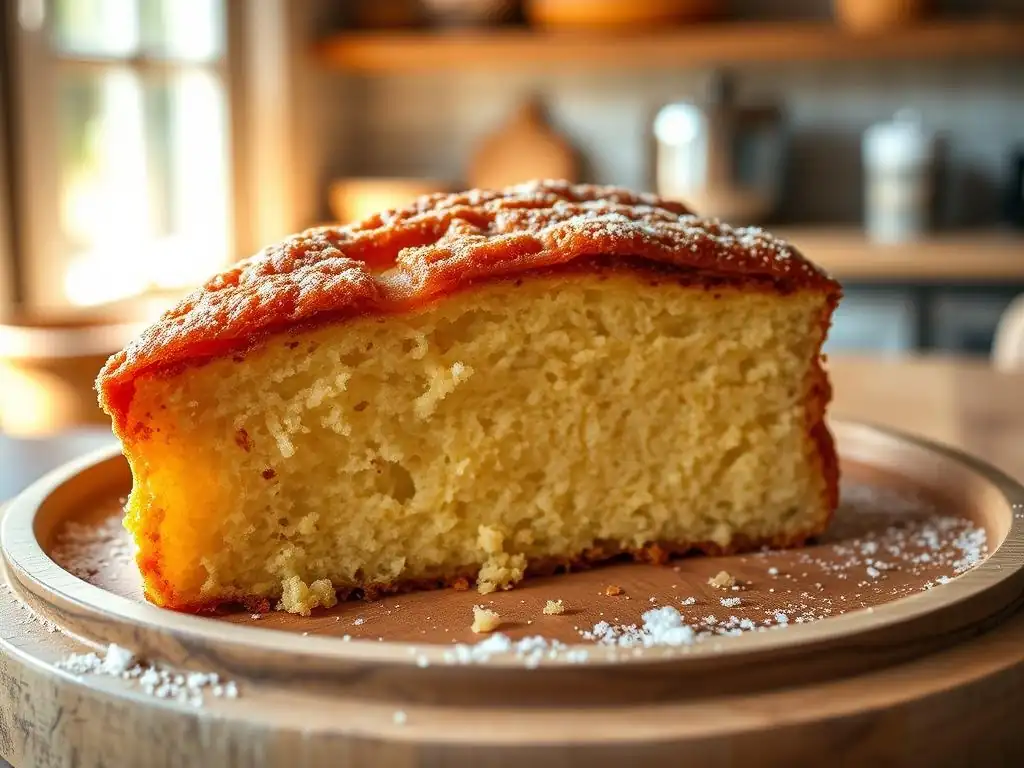
Once you've mastered the basics of achieving a golden crust vanilla cake, you might want to explore advanced techniques to further enhance its appearance and flavor. These methods can add extra shine, deepen the color, or create a unique texture on the surface of your cake.
These techniques are often used by professional bakers to give their cakes a polished, professional finish. They require a bit more attention but can take your golden crust vanilla cake from great to absolutely stunning.
Brushing with Butter or Egg Wash for Extra Shine
For an extra glossy and slightly richer golden crust, consider brushing the top of your vanilla cake. A simple option is to brush the warm cake lightly with melted butter immediately after it comes out of the oven. The butter melts into the warm crust, adding flavor and a subtle sheen.
Another classic technique, more common for breads but effective for some cakes, is an egg wash. A simple egg wash (one egg whisked with a tablespoon of milk or water) can be lightly brushed over the cake surface before baking. The proteins in the egg contribute to browning and create a beautiful, shiny finish. However, use this sparingly on a delicate vanilla cake batter to avoid adding too much weight or interfering with the rise. Test this on a smaller cake first!
Using a Kitchen Torch for Controlled Browning
For precise control over the browning of specific areas or to add a final touch of color, a kitchen torch can be a useful tool, though it requires caution. This technique is best used on a cooled or slightly warm golden crust vanilla cake just before serving or frosting.
Hold the torch a few inches away from the cake surface and move it continuously to apply heat evenly. Watch closely as the sugar on the surface caramelizes and the crust deepens in color. This method is particularly good for evening out patchy browning or adding a localized deeper golden hue. Be very careful not to burn the crust; the process happens quickly.
Adjusting Baking Time for a Deeper Golden Color
Slightly adjusting the baking time can be a way to achieve a deeper golden crust, but it must be done carefully to avoid over-baking the interior of the vanilla cake. If your cake is consistently done in the center but the crust is still paler than you'd like, you can try baking it for an extra 2-5 minutes.
Monitor the cake closely during this extended time. The color will deepen rapidly. Ensure the extra baking time doesn't result in a dry cake crumb. This technique is most effective when your cake is already nearly finished baking and just needs a little extra time for the surface browning to catch up. It's a fine balance between a perfect golden crust and a moist interior.
Troubleshooting Common Golden Crust Problems
Even with the best intentions, you might encounter issues when trying to achieve that perfect golden crust on your vanilla cake. Don't worry, these are common challenges, and understanding their causes can help you fix them for future bakes.
Here, we address some of the most frequent problems bakers face when aiming for a beautiful golden brown vanilla cake crust and provide practical solutions to get you back on track.
Pale Crust: How to Get More Color
A pale crust on your vanilla cake usually indicates that the surface didn't reach a high enough temperature or wasn't exposed to sufficient heat for long enough to trigger the Maillard reaction and caramelization effectively.
Possible causes and solutions:
- Oven Temperature Too Low: Verify your oven temperature with a thermometer. Increase the temperature by 15-25°F (8-15°C) in your next bake.
- Baking Time Too Short: Extend the baking time by 5-10 minutes, monitoring closely.
- Batter Too Wet: Ensure accurate measurement of liquids. Reduce liquid slightly (e.g., by 1-2 tablespoons per standard recipe) in your next attempt if consistently getting pale crusts.
- Insufficient Sugar or Fat: Review your recipe. Ensure it has adequate sugar and fat content (butter is best for browning).
- Opening Oven Door Too Often: Avoid opening the oven until at least two-thirds of the way through the baking time.
Uneven Browning: Achieving a Uniform Golden Hue
Patchy or uneven browning on your golden crust vanilla cake is often due to inconsistent heat distribution in the oven or improper pan placement.
Possible causes and solutions:
- Oven Hot Spots: Use an oven thermometer to identify hot spots. Rotate the cake pan halfway through the baking time (after the cake has set).
- Improper Rack Placement: Ensure the cake is on the middle rack for even heat circulation. Avoid placing pans too close to heating elements or oven walls.
- Crowding the Oven: Do not bake too many items in the oven at once, as this restricts airflow.
- Pan Material/Color: Dark pans brown faster. If using dark pans, consider reducing the oven temperature by 25°F (15°C) or reducing baking time slightly.
- Uneven Batter Distribution: Ensure the batter is spread evenly in the pan before baking.
Soggy Crust: Preventing a Soft Vanilla Cake Surface
A soggy or soft crust on your vanilla cake, especially the bottom, is usually caused by moisture trapped during cooling or under-baking.
Possible causes and solutions:
- Cooling in the Pan Too Long: Transfer the cake to a wire rack after 10-15 minutes in the pan.
- Cooling Surface: Always cool the cake on a wire rack to allow air circulation underneath. Cooling on a solid surface traps steam.
- Under-baking: Ensure the cake is fully baked by checking with a skewer. If it comes out with wet batter, it needs more time. A slightly moist crumb is okay, but wet batter means it's not done.
- High Humidity: Baking on a very humid day can affect crust crispness. While harder to control, ensure proper cooling on a wire rack is extra important.
- Wrapping While Warm: Never wrap or store the golden crust vanilla cake until it is completely cool. Trapped heat creates steam, which condenses and makes the crust soggy.
Golden Crust Vanilla Cake Recipe Variations
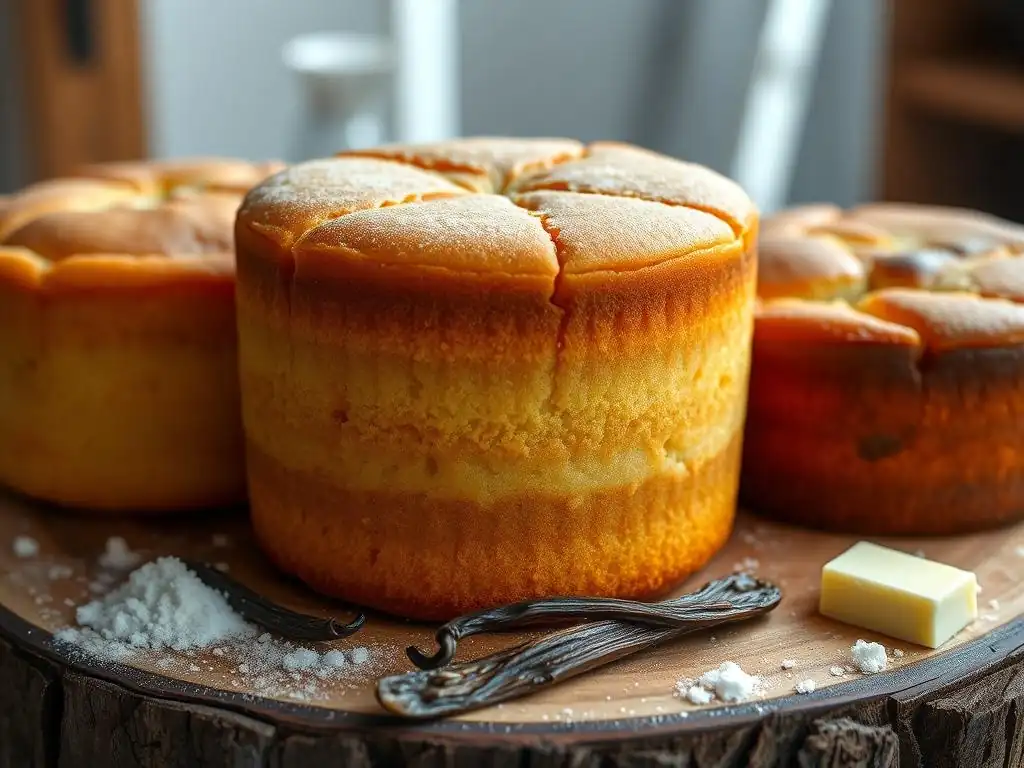
Once you've mastered the basic golden crust vanilla cake, you can explore variations that not only change the flavor profile but can also influence the crust's color and texture. Simple additions or substitutions can lead to exciting new results.
These variations demonstrate how small changes in ingredients can impact the chemical reactions responsible for browning, offering new ways to achieve and enjoy a beautiful golden crust.
Adding Citrus Zest for Enhanced Flavor and Color
Incorporating citrus zest, such as lemon or orange, into your vanilla cake batter can subtly enhance the flavor and potentially impact the crust's color. The oils in the zest release aromatic compounds during baking that pair wonderfully with vanilla.
While zest doesn't directly participate in browning reactions in a major way, the slight acidity can sometimes influence the Maillard reaction. More noticeably, the vibrant color of the zest itself becomes more prominent and beautiful as the golden crust forms around it. Use zest from one medium lemon or half an orange for a standard 8-inch cake recipe, ensuring it's finely zested to distribute evenly.
Incorporating Brown Butter for a Nutty, Golden Crust
Browning the butter before adding it to your vanilla cake batter is an excellent way to introduce deep, nutty flavors and promote a richer golden crust. Brown butter is made by melting butter and cooking it gently until the milk solids separate and brown at the bottom of the pan.
Using brown butter adds pre-browned milk solids and complex flavor compounds formed during the browning process directly into the batter. This contributes to a deeper, more intense golden hue and a wonderfully nutty aroma and taste in the finished golden crust vanilla cake. Ensure you scrape all the browned bits from the bottom of the pan into your batter for maximum flavor and color.
Experimenting with Different Sugars for Unique Crust Textures
We've discussed how brown sugar can affect browning, but experimenting with other types of sugar can also yield unique golden crust textures and colors. For example, using a small amount of demerara or turbinado sugar sprinkled on top of the batter just before baking can create a slightly crunchy, extra-golden crust due to the larger crystal size and molasses content.
These larger sugar crystals melt and caramelize on the surface, forming a pleasant, slightly crisp layer. Replacing a small portion (e.g., 1-2 tablespoons per cup of granulated sugar) of the granulated sugar in the batter with light or dark brown sugar will yield a moister, chewier golden crust vanilla cake due to the molasses. Each sugar variation offers a different path to a desirable golden finish.
Storing Your Golden Crust Vanilla Cake
Proper storage is crucial for maintaining the texture and appearance of your beautiful golden crust vanilla cake. You've put in the effort to achieve that perfect finish; now, ensure it stays that way for as long as possible.
Protecting the crust from excess moisture and air is key to preserving its texture and preventing it from becoming soggy or stale.
Maintaining the Crust's Integrity During Storage
The enemy of a crispy or chewy golden crust is moisture. When storing your vanilla cake, the goal is to protect the interior from drying out while preventing the crust from absorbing excess moisture, either from the cake itself or the environment.
Allow the golden crust vanilla cake to cool completely before storing. Wrap it tightly in plastic wrap, then place it in an airtight container. For a whole cake, wrapping the cut surface first helps prevent moisture loss from the interior and minimizes exposure for the crust. Avoid storing the cake in the refrigerator if possible, as the cold, dry air can dry out the crumb and alter the crust's texture, making it less pleasant. Room temperature storage in an airtight container is often best for short-term storage (1-3 days).
Tips for Keeping Your Vanilla Cake Fresh
To keep your golden crust vanilla cake tasting its best and maintain its lovely crust, follow these tips:
- Complete Cooling: Never store a warm cake. Wait until it reaches room temperature.
- Airtight Storage: Use plastic wrap and an airtight container or cake dome. This is your best defense against staleness and moisture issues.
- Cut Surfaces: If the cake is cut, cover the exposed surfaces with plastic wrap before placing it in the container. This helps retain moisture in the crumb while minimizing contact with the crust.
- Avoid Refrigeration (if possible): Refrigeration can dry out the cake and affect crust texture. Store at room temperature for 1-3 days. For longer storage (up to a week), refrigeration is necessary, but the crust may soften.
- Freezing: For longer storage (up to 2-3 months), wrap the completely cooled golden crust vanilla cake tightly in plastic wrap, then foil, and place in a freezer-safe bag or container. Thaw wrapped at room temperature to minimize condensation on the crust.
Conclusion: Enjoy Your Perfectly Golden Vanilla Cake
Achieving a beautiful golden crust on your vanilla cake is a rewarding skill that elevates your baking. It's a result of understanding the science of browning, carefully selecting your ingredients, and executing the baking process with attention to detail. From the initial mixing of the batter to the final cooling, each step plays a role in developing that desirable color, texture, and flavor on the surface of your cake.
Remember, practice makes perfect. Don't be discouraged if your first attempt doesn't yield the exact golden hue you envisioned. Pay attention to what happened, adjust your technique or recipe slightly based on the principles discussed, and try again. With patience and the tips from BakeWithEase, you'll be consistently baking golden crust vanilla cakes that are as delightful to look at as they are to eat.
BakeWithEase' Final Thoughts on Achieving a Beautiful Crust
A truly great golden crust vanilla cake is a sensory delight. It offers a visual promise of deliciousness, a satisfying texture contrast to the soft crumb, and complex flavors that enhance the simple sweetness of vanilla. By focusing on the Maillard reaction and caramelization, optimizing your ingredients (especially butter and sugar), controlling your oven environment, and monitoring the bake closely, you are well on your way to mastering this skill.
At BakeWithEase, we encourage you to experiment and find what works best with your specific oven and ingredients. Perhaps a slightly longer bake at a slightly lower temperature works for you, or maybe adding a touch of brown sugar is the key. Enjoy the process of perfecting your golden crust vanilla cake, and most importantly, enjoy sharing the delicious results!
Frequently Asked Questions
How crucial is the oven temperature for achieving a golden crust on a vanilla cake?
Oven temperature is absolutely critical. A slightly higher temperature, within a safe range for baking, helps to caramelize the sugars on the cake's surface, leading to that desirable golden-brown color. Too high, though, and you risk burning the cake.
What role does sugar play in developing a golden crust on a vanilla cake?
Sugar is essential for browning. During baking, sugar undergoes a process called Maillard reaction and caramelization, which are key to achieving a golden crust. More sugar can often lead to a deeper color.
Are there specific ingredients that can enhance the browning process of a vanilla cake?
Yes, ingredients like honey or maple syrup can be added in small amounts to boost browning. Brushing the top with melted butter or milk before baking can also promote a golden crust.
How does the type of baking pan affect the crust of a vanilla cake?
Darker baking pans tend to absorb more heat, leading to a darker and potentially crispier crust. Lighter-colored pans reflect heat and may result in a lighter-colored crust. Adjust baking time accordingly.
What are some troubleshooting tips if my vanilla cake isn't browning sufficiently?
If your cake isn't browning enough, try increasing the oven temperature slightly (within a safe range) for the last few minutes of baking. You can also broil the top briefly, keeping a close watch to prevent burning.
Final Reflection: The Golden Ratio of Baking and Life
The pursuit of the perfect golden crust on a vanilla cake is more than just a culinary quest; it's a metaphor for the dedication and precision required to achieve excellence in any endeavor. The seemingly simple act of baking, as detailed in this article, reveals a surprising depth of understanding needed to master even the most basic recipes. From the careful selection of ingredients to the precise control of oven temperature and baking time, each step contributes to the final, glorious result.
The impact of a beautifully browned crust extends beyond mere aesthetics. It speaks to a deeper appreciation for the process, the satisfaction of creating something beautiful and delicious from humble beginnings. This resonates with so many aspects of life, where patience, attention to detail, and a willingness to experiment are key to achieving our goals. The best things in life are worth waiting for,
a sentiment perfectly embodied in the slow, deliberate creation of a perfectly golden crust.
Now, I invite you to consider your own "golden crust" moments. What are the areas of your life where you strive for excellence, where meticulous attention to detail yields extraordinary results? Perhaps it's a project at work, a personal creative pursuit, or even a cherished relationship. Remember the lessons learned here – the importance of quality ingredients, the power of precise execution, and the undeniable satisfaction of achieving perfection. Embrace the process, savor the journey, and let the golden glow of your accomplishments shine brightly.
Unlock Your Cake's Golden Potential!
Thanks for joining us on this delicious journey to the perfect golden cake crust! You've now got the secrets to baking a showstopper. Ready to put your new skills to the test?
- Bake your dream cake today! Try the recipe from the article and watch your masterpiece shine. Experiment with different baking times and temperatures to fine-tune your technique.
- Share your golden-crusted creation with us! Post a photo on social media and tag #BakeWithEaseGoldenCrust – we’d love to see your baking triumphs.
- Challenge a friend to a golden crust bake-off! It’s a fun way to share your newfound expertise and inspire others.
What unique ingredient will you try to enhance your golden crust even further?