
Bake Egyptian Eish Baladi: Simple Whole Wheat PitaLike Bread

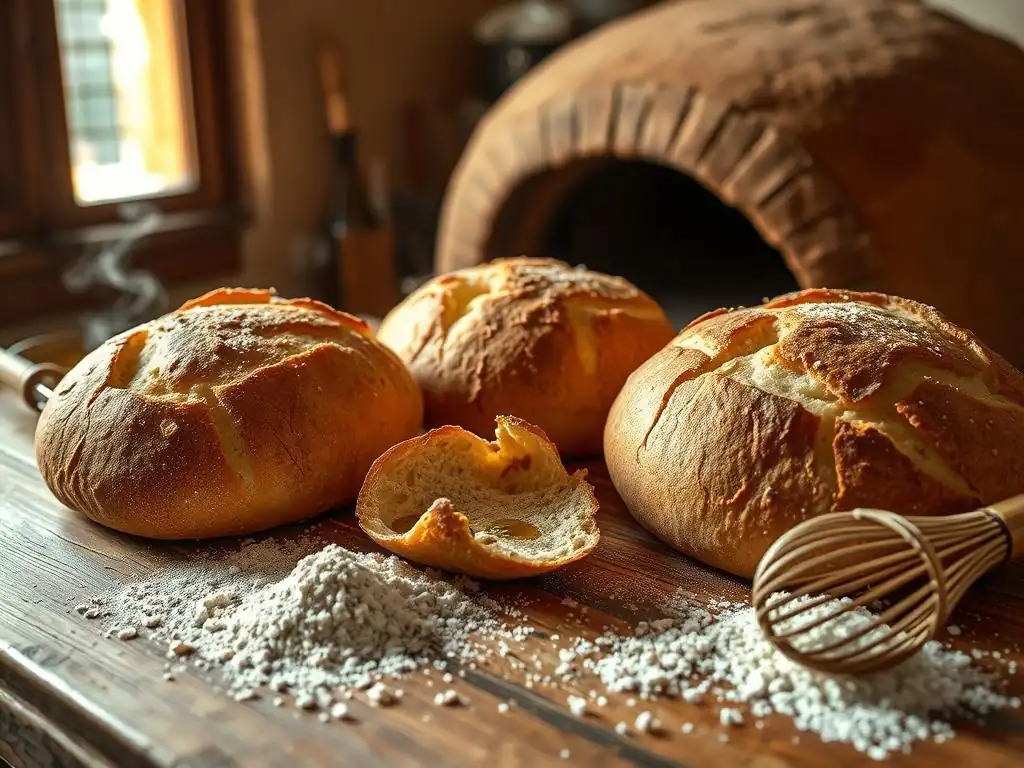
Welcome to BakeWithEase, your companion in the delightful world of baking! Ever dreamt of creating warm, fluffy pita bread at home, but felt intimidated? Think again! Dive into our guide and discover how incredibly simple it is to bake delicious, easy whole wheat pita bread. We'll demystify the process, using easy-to-find ingredients and straightforward steps, leaving you with a taste of Egypt and a craving for more. Ready to get started?
- Introduction to Eish Baladi: An Easy Whole Wheat Pita Bread Recipe
- What Makes Eish Baladi Special? Understanding the Bread
- Easy Whole Wheat Pita Bread: Your Step-by-Step Guide to Eish Baladi
- Tips for Perfecting Your Homemade Eish Baladi
- Serving and Enjoying Your Freshly Baked Eish Baladi
- Storing Your Eish Baladi for Maximum Freshness
- Variations on the Classic Eish Baladi Recipe
- Conclusion: Enjoy the Simplicity of Baking Authentic Egyptian Bread
-
Frequently Asked Questions
- What makes Egyptian Eish Baladi different from regular pita bread?
- Is Eish Baladi difficult to make at home, especially for beginners?
- Can I substitute ingredients in the Eish Baladi recipe?
- How do I ensure my Eish Baladi puffs up properly during baking?
- What are some serving suggestions for Eish Baladi?
- Final Reflection: The Humble Loaf and the Global Kitchen
- Unleash Your Inner Baker: Craft Perfect Eish Baladi!
Introduction to Eish Baladi: An Easy Whole Wheat Pita Bread Recipe
Eish Baladi, which translates literally to "local bread," is a cornerstone of Egyptian cuisine and daily life. Far from being just a side dish, it's an integral part of every meal, used to scoop, wrap, and accompany everything from stews to dips.
This traditional bread, often baked in large, communal wood-fired ovens in Egypt, holds a special place in the hearts of those who know its rustic charm. While replicating the exact conditions of a rural Egyptian oven might be challenging at home, making a delicious and authentic-tasting version of this easy whole wheat pita bread is surprisingly achievable for home bakers of any skill level.
This article will guide you through the simple process of baking Eish Baladi in your own kitchen. We'll cover the basic ingredients, the steps from mixing dough to baking, and offer tips for achieving that characteristic puff. You'll discover that creating this staple bread is not only rewarding but also a fantastic way to connect with a rich culinary tradition. Get ready to fill your home with the comforting aroma of freshly baked bread and enjoy the simple pleasure of homemade Eish Baladi.
Discover the Flavors of Egypt: Baking Eish Baladi at Home
Baking Eish Baladi at home is more than just following a recipe; it's an invitation to experience a slice of Egyptian culture. As the dough proofs and bakes, your kitchen will fill with a warm, earthy aroma that is instantly comforting. In Egypt, bakeries often operate from early morning, and the smell of fresh bread is a familiar scent mingling with the bustling street life. Recreating this smell in your home brings a touch of that vibrant atmosphere right to you.
Imagine tearing into a warm, puffy piece of bread straight from your oven. The simple combination of flour, water, yeast, and salt transforms into something truly special. This bread is designed to be versatile – sturdy enough to handle hearty dips yet soft enough to fold around fillings. Making it yourself allows you to enjoy it at its absolute freshest, experiencing the texture and flavor in a way that store-bought versions simply cannot replicate.
Why Eish Baladi is a Great Choice for Home Bakers
Eish Baladi stands out as an excellent bread project for home bakers, especially those looking for an easy whole wheat pita bread. Unlike some elaborate bread recipes that require multiple long rises, complex shaping techniques, or specialized equipment, Eish Baladi is relatively forgiving and straightforward. The ingredient list is minimal – just four core components are needed to get started.
Furthermore, the process is quite quick compared to breads requiring overnight fermentation or multiple folds. From mixing to baking, you can often have fresh Eish Baladi ready in under two hours, depending on your kitchen temperature. It’s a fantastic entry point into the world of yeasted breads, teaching fundamental skills like mixing, kneading, and proofing without the pressure of achieving a perfect, open crumb structure often sought in artisan loaves. Its rustic nature means small imperfections are part of its charm!
What Makes Eish Baladi Special? Understanding the Bread
Eish Baladi, while often grouped with pita bread, possesses distinct characteristics that set it apart. Understanding these nuances helps appreciate its unique place in Egyptian cuisine and guides you in baking a more authentic loaf at home. Its identity is deeply tied to its ingredients and the traditional baking methods used to achieve its signature structure.
Eish Baladi vs. Traditional Pita Bread: Key Differences
One of the primary differences between Eish Baladi and many commercially available pita breads lies in the flour used. Eish Baladi is traditionally made with a high percentage, often 100%, of whole wheat flour, frequently stone-ground. This gives it a darker color, a denser texture, and a more pronounced, nutty flavor compared to pitas made primarily with refined white flour. Many store-bought pitas are pale, thin, and very uniform.
Additionally, the thickness of the bread differs. Eish Baladi is typically thicker and more substantial than the thin, flexible pitas often used for wraps. This thickness, combined with the specific hydration and high-heat baking method, results in a robust pocket that is perfect for scooping or filling. While both breads rely on steam to create a pocket, the composition and final structure of Eish Baladi feel more rustic and hearty.
The Unique Texture and Flavor Profile of Egyptian Bread
The texture of Eish Baladi is a delightful combination of a soft, slightly chewy interior and a thin, sometimes slightly crispy crust. The magic happens in the oven when the intense heat causes the moisture in the dough to turn into steam, inflating the bread like a balloon and creating that essential inner pocket. This pocket is the bread's defining feature, making it ideal for holding various fillings or acting as an edible scoop.
Flavor-wise, Eish Baladi is simple yet profound. The use of whole wheat flour provides an earthy, slightly sweet, and nutty undertone that forms the base. There are no added sugars or fats in the traditional recipe, allowing the pure taste of the fermented grain to shine through. It's a clean, wholesome flavor that pairs beautifully with the rich and diverse flavors of Egyptian and Middle Eastern dishes, making it a perfect easy whole wheat pita bread to complement any meal.
Easy Whole Wheat Pita Bread: Your Step-by-Step Guide to Eish Baladi
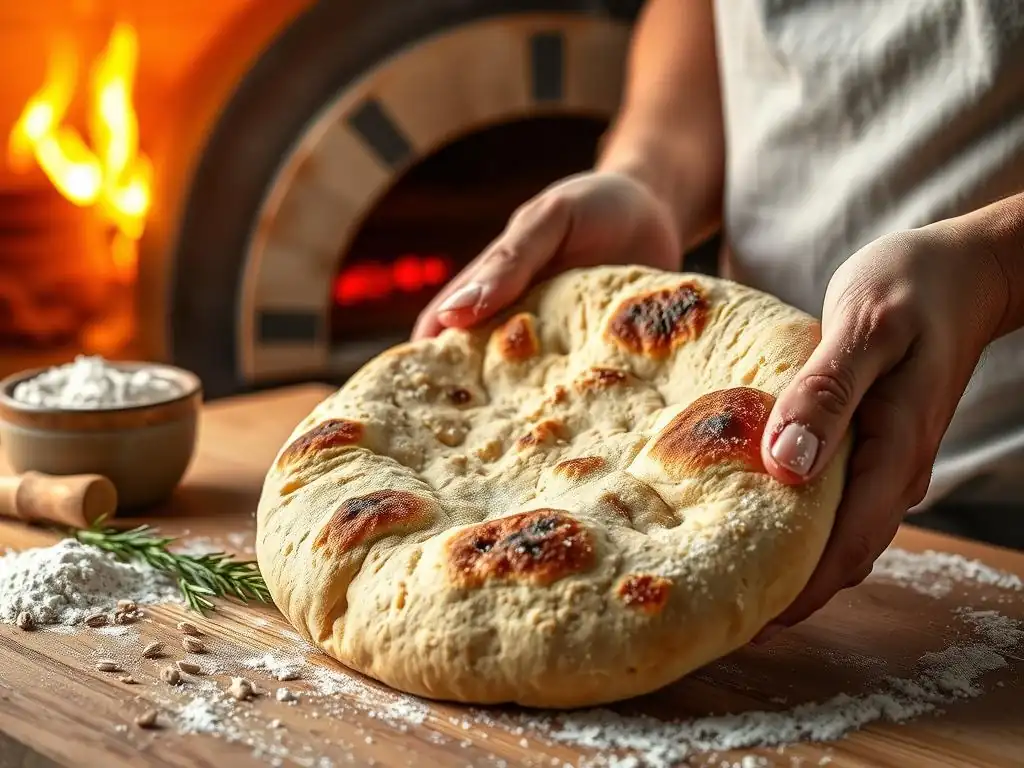
Ready to bake your own Eish Baladi? This step-by-step guide breaks down the process into manageable parts, making it easy for anyone to achieve delicious results at home. We'll start with the essentials: gathering your ingredients, focusing on the quality and role of each one in creating this easy whole wheat pita bread.
Gathering Your Ingredients for Homemade Eish Baladi
The beauty of Eish Baladi lies in its simplicity, reflected in its minimal ingredient list. Before you begin, ensure you have fresh, good-quality ingredients ready. The basic recipe requires just four items: whole wheat flour, yeast, water, and salt. Having these measured out and ready makes the mixing process much smoother.
You'll also need some basic kitchen tools, such as mixing bowls, measuring cups and spoons, a clean kitchen towel or plastic wrap for covering, and something to bake on – a baking stone, steel, or even a heavy baking sheet will work. A digital scale is helpful for precise measurements, especially for flour and water, which can significantly impact dough consistency.
Whole Wheat Flour: The Foundation of Authentic Eish Baladi
The star ingredient in Eish Baladi is undoubtedly whole wheat flour. For an authentic taste and texture, aim for 100% whole wheat flour. Different types exist, such as stone-ground or finely milled whole wheat. Stone-ground flour often retains more of the bran and germ, contributing to a richer flavor and coarser texture, which is characteristic of traditional Eish Baladi.
Whole wheat flour absorbs more liquid than white flour due to the presence of the bran. This means the dough might feel stickier or require slightly more water than a white flour dough. A typical recipe might use around 500 grams of whole wheat flour. The quality and type of flour will influence the final texture, so using a good quality one will enhance your easy whole wheat pita bread.
Other Essential Ingredients: Yeast, Water, and Salt
Yeast is the leavening agent that makes the bread rise and creates the pocket. You can use active dry yeast or instant yeast. If using active dry yeast (typically sold in 7-gram packets), you'll usually need to activate it in warm water first. Instant yeast can often be mixed directly with the dry ingredients. Ensure your yeast is fresh and not expired for a successful rise.
Water is crucial for hydrating the flour and activating the yeast. Use lukewarm water, ideally between 100-115°F (38-46°C) for active dry yeast, or just room temperature for instant yeast mixed with flour. The amount of water can vary depending on the flour's absorption, but a common starting point for 500g of whole wheat flour is around 300-350 ml. Salt is essential for flavor and also helps control the yeast's activity, contributing to a better dough structure. About 10-12 grams (around 1.5-2 teaspoons) of fine salt per 500g flour is typical.
Step 1: Preparing the Dough for Your Egyptian Bread
With your ingredients ready, the first step is to bring them together to form the dough. This involves mixing the dry and wet components and then developing the gluten structure through kneading. Patience and attention to consistency are key during this phase to ensure your easy whole wheat pita bread develops correctly.
Mixing the Ingredients: Achieving the Right Consistency
Begin by combining the dry ingredients – the whole wheat flour, yeast (if using instant), and salt – in a large mixing bowl. If using active dry yeast, first dissolve it in the lukewarm water and let it sit for 5-10 minutes until frothy before adding it to the dry ingredients. Gradually add the water (or yeast mixture) to the dry ingredients, mixing with a spoon or your hands until a shaggy, cohesive dough forms.
The consistency should be slightly sticky but manageable. Avoid the temptation to add too much flour at this stage, as this can result in a dry, tough bread. The hydration level for whole wheat dough is often higher than white dough, sometimes around 65-70% hydration (water weight divided by flour weight). Mix until all the flour is incorporated and no dry pockets remain.
Kneading the Dough: Developing Gluten for a Perfect Rise
Kneading is vital for developing the gluten network within the dough. Gluten is the protein structure that gives bread its elasticity and strength, allowing it to trap the gases produced by the yeast and rise. Kneading can be done by hand or using a stand mixer with a dough hook.
Knead the dough for approximately 5-10 minutes by hand on a lightly floured surface, or 3-5 minutes in a stand mixer on medium speed. The dough should transform from a shaggy mass into a relatively smooth, elastic ball. You can test for sufficient kneading by gently stretching a small piece of dough; if it stretches thinly without tearing easily (the "windowpane test"), the gluten is well-developed. Proper kneading is fundamental for achieving that characteristic puff in your easy whole wheat pita bread.
Step 2: Proofing and Shaping Your Eish Baladi
After kneading, the dough needs time to rest and rise. This fermentation process is where the yeast gets to work, producing carbon dioxide gas that makes the dough expand. Shaping the dough into rounds is the next step before the final short rest before baking.
First Rise: Allowing the Dough to Double in Size
Place the kneaded dough in a lightly oiled bowl, turning the dough to coat it. Cover the bowl tightly with plastic wrap or a clean kitchen towel. Find a warm, draft-free spot for the dough to rise. An oven with just the light on is often an ideal environment. The first rise, or bulk fermentation, typically takes about 60-90 minutes, or until the dough has roughly doubled in size.
The exact time can vary significantly depending on the temperature of your kitchen. In a warmer environment (around 75-80°F or 24-27°C), it might rise faster. In a cooler kitchen, it will take longer. This rise develops flavor and creates lightness. Watch the dough itself rather than the clock; it's ready when it looks visibly larger and feels airy.
Shaping the Dough: Creating the Traditional Eish Baladi Rounds
Once the dough has doubled, gently punch it down to deflate it. Turn the dough out onto a lightly floured surface. Divide the dough into equal portions. For medium-sized Eish Baladi, dividing the dough into 8 to 10 pieces (each roughly 80-100 grams) is a good starting point.
Shape each piece into a smooth ball. Then, using a rolling pin or your hands, flatten each ball into a disc about 6-8 inches (15-20 cm) in diameter and approximately 1/4 inch (about 0.5-0.7 cm) thick. Aim for an even thickness to ensure uniform puffing. Place the shaped rounds on sheets of parchment paper or a lightly floured surface, cover them lightly with a towel, and let them rest for a final short proof, about 15-20 minutes. This relaxes the gluten and prepares them for baking.
Step 3: Baking Your Eish Baladi to Perfection
Baking Eish Baladi requires high heat and a hot surface to achieve the characteristic puff. This is the most exciting part, as you watch the dough transform from flat discs into puffy bread. Proper oven setup is crucial for success with this easy whole wheat pita bread.
Preheating Your Oven: Achieving the Ideal Baking Temperature
Preheat your oven to a high temperature, ideally between 450°F and 500°F (230°C and 260°C). High heat is essential because the sudden burst of heat hitting the dough is what generates the steam inside, causing the bread to inflate and create the pocket. If you have a baking stone or baking steel, place it on a rack in the oven before preheating.
Allow the oven and stone/steel to preheat for at least 30-60 minutes after it reaches the target temperature. This ensures the baking surface is intensely hot, which is key to achieving that rapid puff. If you don't have a stone or steel, preheating a heavy baking sheet in the oven works as an alternative, though the results might vary slightly.
Baking Time and Technique: Ensuring a Puffy, Delicious Bread
Carefully transfer the shaped dough rounds onto the preheated baking surface. If using parchment paper, you can often slide the paper with the dough directly onto the stone/steel. Don't overcrowd the oven; bake only as many as fit comfortably with space between them (usually 2-4 at a time).
Bake for a short period, typically 3-6 minutes. Watch them closely! You will see them puff up like balloons within the first few minutes. Once they are fully puffed and the tops are lightly golden brown (or have characteristic darker spots if using a very hot stone/steel), they are done. Remove them from the oven and place them on a cooling rack or wrap them in a clean towel to keep them soft. The rapid, high-heat bake is what makes this an easy whole wheat pita bread that delivers on the puff.
Tips for Perfecting Your Homemade Eish Baladi
While Eish Baladi is an easy whole wheat pita bread to make, a few tips can help you achieve even better results, especially when it comes to getting that satisfying puff. Mastering the high-heat baking technique is paramount.
Achieving the Perfect Puff: Mastering the Baking Technique
The secret to the puff is simple: intense, direct heat hitting the dough from below and above simultaneously. Ensure your oven is fully preheated to the highest recommended temperature (450-500°F / 230-260°C) for at least 30-60 minutes if using a stone or steel. The baking surface must be screaming hot.
Also, ensure your shaped dough rounds are not too thick (aim for about 1/4 inch). They should be handled gently after the short rest to avoid deflating them before they go into the oven. Transferring them quickly to the hot surface helps maintain the dough's temperature and promotes rapid steam creation inside, leading to that beautiful pocket.
Troubleshooting Common Eish Baladi Baking Issues
Even with a simple recipe, sometimes things don't go exactly as planned. Knowing how to troubleshoot common issues like dough not rising or bread not puffing can save your bake.
Dough Not Rising: Identifying and Resolving the Problem
If your dough isn't rising, the most common culprit is inactive yeast. This can happen if the yeast is old or expired, or if the water used to activate it was either too cold (doesn't activate) or too hot (kills the yeast). For active dry yeast, water around 105-115°F (40-46°C) is ideal; for instant yeast mixed with flour, room temperature water is fine.
Ensure your proofing environment is warm enough. A cool room will significantly slow down or halt fermentation. If you suspect inactive yeast, test a small amount in warm water with a pinch of sugar – it should become frothy within 10 minutes. If it doesn't, get fresh yeast. If the yeast is active, simply give the dough more time to rise in a warmer spot.
Eish Baladi Not Puffing: Tips for a Successful Bake
The most frequent reason Eish Baladi doesn't puff is insufficient oven heat or a baking surface that isn't hot enough. Re-verify your oven temperature with an oven thermometer and ensure you've preheated your stone/steel or baking sheet for the full recommended time. The dough needs that initial shock of heat.
Other causes include the dough being too thick when shaped, being under-proofed (not enough gas built up to expand), or being over-proofed (the gluten structure has collapsed). Ensure your shaped discs are consistently about 1/4 inch thick and that you bake them after the short 15-20 minute rest, not a longer second rise. Handling the shaped dough too roughly can also expel gas needed for the puff.
Serving and Enjoying Your Freshly Baked Eish Baladi
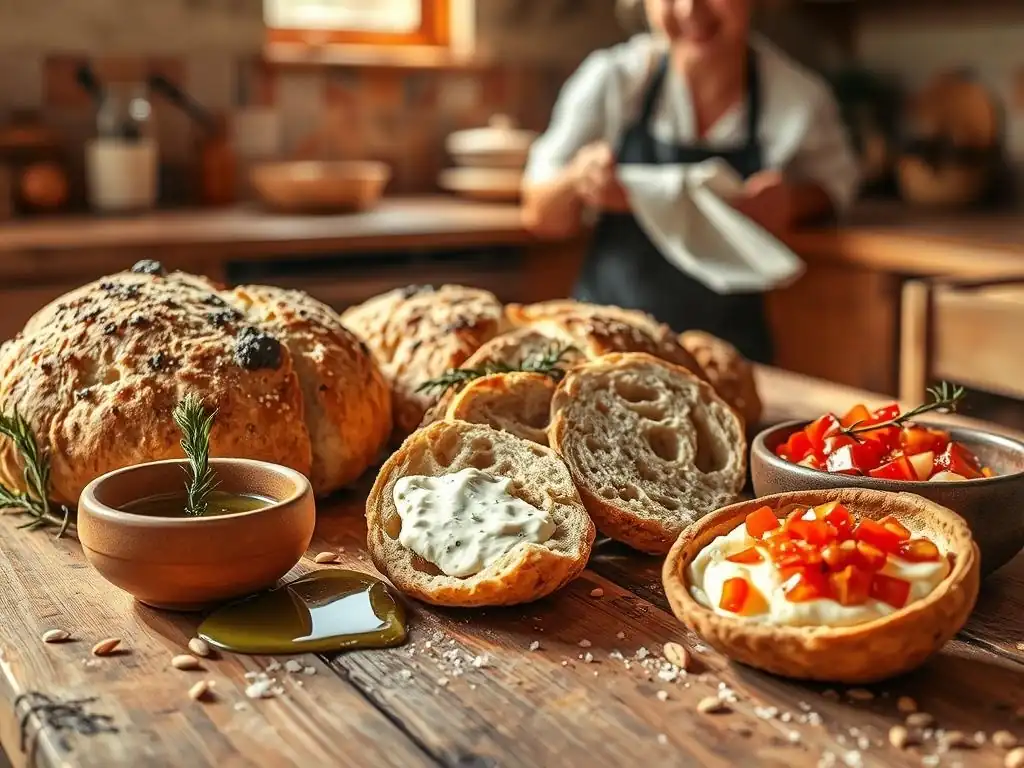
Once your Eish Baladi is baked and slightly cooled, it's time to enjoy the fruits of your labor! This versatile easy whole wheat pita bread is meant to be shared and savored. Its unique structure makes it perfect for a variety of uses in the kitchen.
Traditional Ways to Serve Eish Baladi
In Egypt, Eish Baladi is rarely served empty. It's the essential accompaniment to almost every dish. One of the most common ways is simply tearing off pieces and using them to scoop up popular dips like hummus, baba ghanoush (roasted eggplant dip), or foul medames (slow-cooked fava beans seasoned with olive oil, lemon, and spices), which is a quintessential Egyptian breakfast.
It's also served alongside main courses such as grilled meats (like kebabs or kofta), stews, and vegetable dishes. The pocket can be partially opened and used to grab bites of food. Its slightly rustic texture and wholesome flavor provide a perfect counterpoint to rich or flavorful main dishes. Serve it warm for the best experience.
Delicious Filling Ideas for Your Whole Wheat Pita Bread
The natural pocket in Eish Baladi makes it an ideal vessel for fillings, much like a traditional pita. You can stuff it with savory ingredients to create satisfying sandwiches or wraps. Popular fillings include falafel, shawarma (marinated meat), grilled chicken or beef, or even simple scrambled eggs for a hearty breakfast on the go.
Think beyond just meat. Grilled or roasted vegetables like peppers, onions, zucchini, and mushrooms make a fantastic vegetarian filling. Add fresh elements like chopped tomatoes, cucumbers, lettuce, pickles, and a drizzle of tahini sauce, garlic sauce, or a squeeze of lemon juice. The possibilities are nearly endless, allowing you to turn your easy whole wheat pita bread into a complete meal.
Storing Your Eish Baladi for Maximum Freshness
Homemade bread, including Eish Baladi, is at its peak freshness shortly after baking. However, you can store it to enjoy over a few days or even longer by freezing. Proper storage helps maintain its texture and prevents it from drying out or becoming stale too quickly.
Best Practices for Storing Homemade Bread
Once your Eish Baladi has cooled completely, store it at room temperature. The best way to keep the crust from becoming soggy is to store the bread in a paper bag or wrapped in a clean kitchen towel. This allows air circulation. For slightly longer storage at room temperature (up to 2-3 days), an airtight container or plastic bag will keep it softer, though it may compromise the crust's texture slightly.
Avoid storing homemade bread in the refrigerator, as this can actually cause it to go stale faster due to a process called retrogradation of starches. Room temperature storage is best for immediate consumption within a few days.
Freezing Eish Baladi: Extending Its Shelf Life
Eish Baladi freezes remarkably well, making it easy to bake a larger batch and store some for later. Once the bread has cooled completely, wrap each loaf individually or stack them with parchment paper in between, then wrap the stack tightly in plastic wrap, followed by a layer of aluminum foil, or place them in a freezer-safe bag.
Label the package with the date. Frozen Eish Baladi can maintain good quality for about 2-3 months. To thaw, simply remove the desired number of loaves from the freezer and let them sit at room temperature for a few hours. For best results, reheat them in a toaster, under a broiler, or in a hot oven (around 350°F or 175°C for a few minutes) to restore some of their warmth and texture. Reheating often helps the pocket puff up slightly again.
Variations on the Classic Eish Baladi Recipe
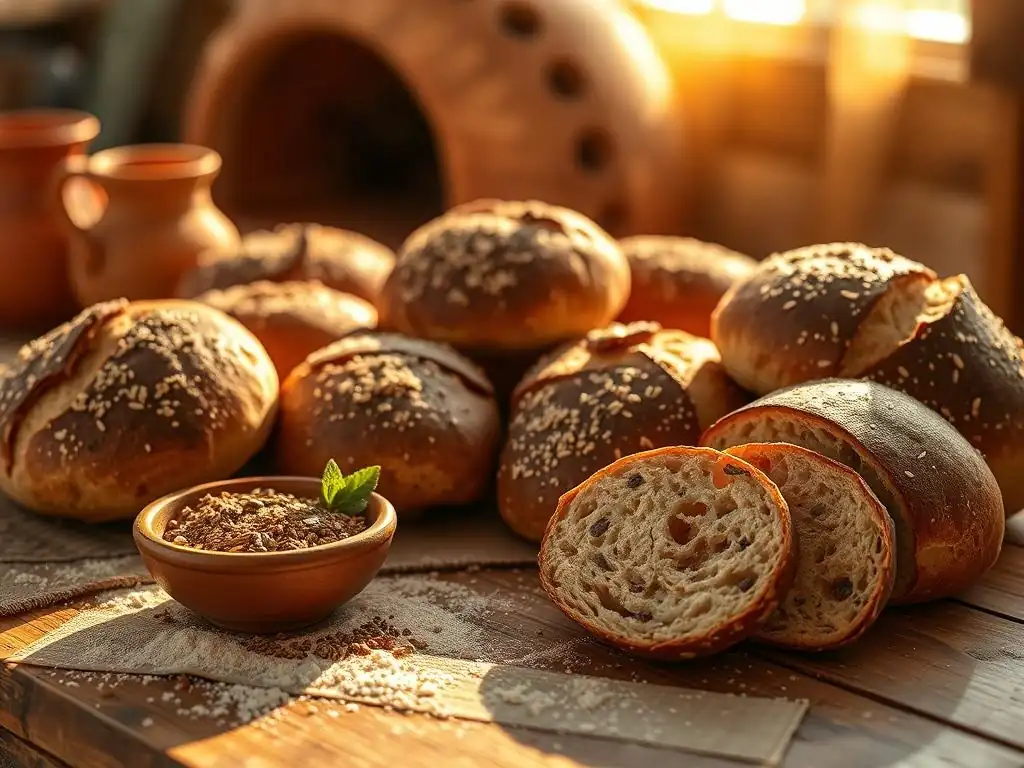
While the traditional Eish Baladi recipe is wonderfully simple, there's room to experiment once you've mastered the basics. Exploring different flour combinations or adding subtle flavorings can introduce new dimensions to your easy whole wheat pita bread baking.
Exploring Different Flour Combinations: From Whole Wheat to White
Authentic Eish Baladi relies heavily on whole wheat, but you can adjust the flour ratio. If you find 100% whole wheat dough challenging to handle or prefer a lighter texture, try using a blend. A common variation is 50% whole wheat flour and 50% white bread flour. This mix often results in a slightly softer, more pliable dough that might be easier to roll out while still retaining some of the nutty flavor and nutritional benefits of whole wheat.
Experimenting with other flours like spelt or a small percentage of rye flour can add different flavors and characteristics, though they may affect the dough's elasticity and the bread's puffing ability. Stick primarily to whole wheat and bread flour blends for a reliable easy whole wheat pita bread experience that maintains the classic structure.
Adding Flavor: Experimenting with Herbs and Spices in Your Eish Baladi
The basic Eish Baladi is unadorned, designed to complement other foods. However, you can add subtle flavorings directly to the dough during the mixing stage. A popular addition in Middle Eastern breads is Nigella seeds (also known as black cumin seeds), which add a unique, slightly oniony flavor and visual appeal. Sesame seeds are another common choice.
Consider incorporating a pinch of dried herbs like oregano or thyme, or even a small amount of a spice blend like za'atar. For fresh herbs, finely chopped parsley or cilantro can be kneaded in. Be mindful that adding large quantities of seeds or herbs might slightly impact the dough's ability to puff perfectly, but they can add delicious complexity to your easy whole wheat pita bread.
Conclusion: Enjoy the Simplicity of Baking Authentic Egyptian Bread
Baking Eish Baladi is a rewarding experience that connects you to a rich culinary heritage through a surprisingly simple process. This easy whole wheat pita bread is a testament to how basic ingredients, handled with care and baked with high heat, can create something truly delicious and versatile. It's a perfect project for anyone looking to expand their bread-baking repertoire without venturing into overly complex territory.
From measuring the flour to watching the magical puff in the oven, each step offers a sense of accomplishment. The result is a warm, flavorful bread that is infinitely better than anything you can buy. It's the perfect companion to countless meals, ready to scoop up dips, hold savory fillings, or simply be enjoyed on its own.
Embrace the Art of Homemade Bread with this Easy Recipe
Making your own bread from scratch is an empowering skill, and Eish Baladi provides an accessible entry point. This easy whole wheat pita bread recipe demonstrates that you don't need fancy equipment or years of experience to create authentic, flavorful bread at home. It encourages you to feel the dough, understand its texture, and learn the basics of fermentation and baking at high temperatures.
Embrace the process, and don't be discouraged if your first few loaves aren't perfectly uniform or don't puff as much as you hoped. Each bake is a learning experience. The simple satisfaction of pulling warm bread from your oven is unparalleled and makes every attempt worthwhile.
We love seeing what our community creates! If you bake this easy whole wheat pita bread, we encourage you to share your results. Did you get a perfect puff? Did you try a fun filling? Sharing your experiences helps inspire other bakers in the BakeWithEase community.
Let us know how your Eish Baladi turned out. What did you serve it with? Did you try any variations? Your successes and even your troubleshooting tips can provide valuable insights for fellow baking enthusiasts. Join the conversation and celebrate the joy of baking authentic Egyptian bread!
Frequently Asked Questions
What makes Egyptian Eish Baladi different from regular pita bread?
Eish Baladi, though similar to pita, often uses a higher percentage of whole wheat flour, resulting in a slightly nutty flavor and denser texture. It's also traditionally baked at a higher temperature for a quicker puff.
Is Eish Baladi difficult to make at home, especially for beginners?
Not at all! BakeWithEase provides simple, step-by-step instructions and uses easy-to-find ingredients. The recipe is designed to be accessible even for those new to baking.
Can I substitute ingredients in the Eish Baladi recipe?
While following the recipe closely is recommended, you can experiment. For example, you might be able to adjust the hydration level slightly, but the ratio of whole wheat to other flours significantly impacts the texture.
How do I ensure my Eish Baladi puffs up properly during baking?
A very hot oven is crucial. Also, ensure the dough has rested adequately and is properly shaped. The steam generated during baking helps create the pocket.
What are some serving suggestions for Eish Baladi?
Eish Baladi is incredibly versatile! Enjoy it with hummus, falafel, or other dips. It's also fantastic filled with meats, cheeses, or vegetables, making it a perfect, healthy, and satisfying meal.
Final Reflection: The Humble Loaf and the Global Kitchen
The simple act of baking Eish Baladi connects us to ancient traditions while simultaneously offering a modern, healthy, and delicious alternative to commercially produced bread. This seemingly small act of making whole wheat pita bread at home speaks volumes about our relationship with food, culture, and the pursuit of a more mindful lifestyle. It's a powerful reminder that even the most basic of foods can hold deep significance and profound impact.
Baking Eish Baladi wasn't just about following a recipe; it was about experiencing a tangible link to history and culture. The process itself, from kneading the dough to watching it puff up in the oven, felt deeply satisfying. It's a connection to generations past who relied on similar techniques for sustenance and community. Bread is the staff of life,
a phrase often heard, truly resonates when you understand the effort and care that goes into creating something so fundamental. This experience highlighted the importance of appreciating the simple things and the rich heritage embedded within our everyday meals.
Now, consider your own kitchen. What simple act of food preparation could connect you to your heritage or inspire a healthier, more mindful approach to eating? I encourage you to try your hand at baking Eish Baladi, or perhaps another traditional bread from your own background. Embrace the process, savor the aroma, and share the experience with others. Let the humble loaf be a catalyst for connection, reflection, and a deeper appreciation for the food we consume and the cultures it represents.
Unleash Your Inner Baker: Craft Perfect Eish Baladi!
Thanks for joining us on this baking adventure! We hope you learned valuable tips and tricks for creating delicious, authentic Eish Baladi. Ready to take your baking skills to the next level?
- Bake a batch of Eish Baladi today! Use the recipe as your guide, and don't be afraid to experiment with different flours or baking times. This is your chance to truly master this wonderful bread.
- Share your baking journey! Snap a picture of your Eish Baladi and post it on social media – tag us so we can see your creation!
- Explore other traditional bread recipes on our website – we have a whole world of baking adventures waiting for you.
What unique twist will you add to your Eish Baladi recipe? Let us know in the comments below!