
Using a Turntable for Easier Cake Assembly and Decoration

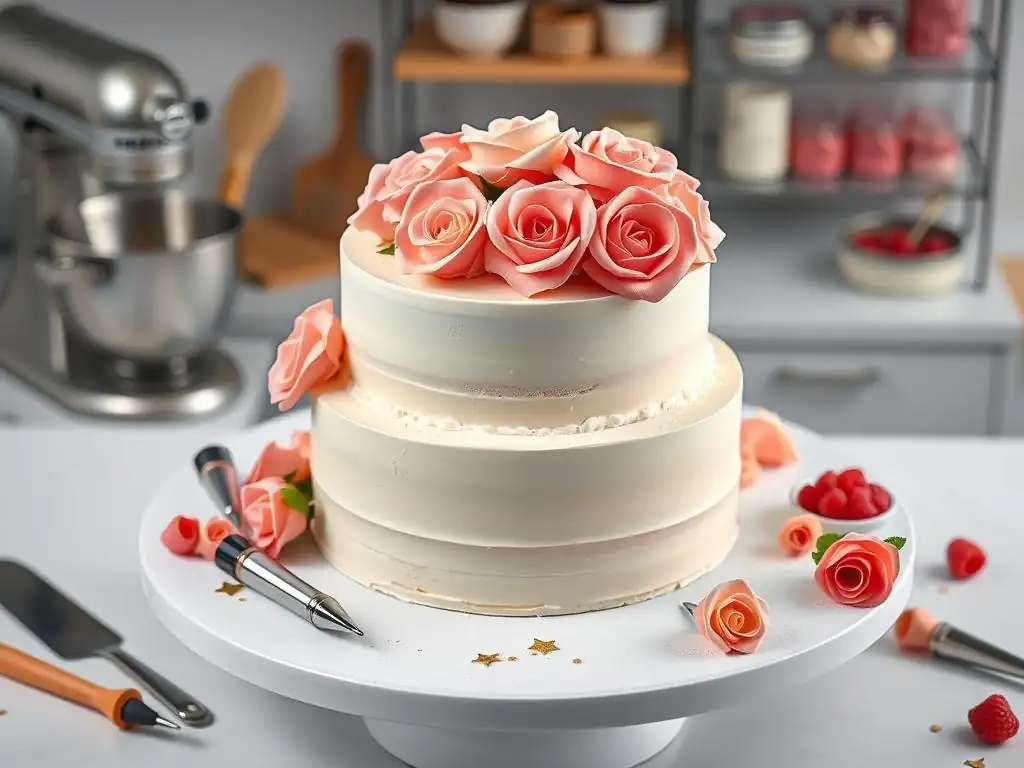
Welcome to BakeWithEase!
Are you ready to elevate your cake decorating game? Discover how a simple cake turntable can revolutionize your baking process. Master the art of effortless assembly and stunning decorations with our expert tips. Intrigued? Let's get started and unlock the secrets to creating bakery-worthy cakes from the comfort of your own kitchen!
- Mastering Cake Decorating with a Turntable: A Baker's Guide
- Introduction: The Essential Cake Turntable
- Selecting the Perfect Cake Turntable
- Streamlining Cake Assembly with a Turntable
- Mastering Cake Decorating Techniques Using a Turntable
- Advanced Cake Decorating with a Rotating Cake Stand
- Cake Turntable Decorating Tips: Expert Advice
- Cleaning and Maintaining Your Cake Turntable
- Conclusion: Unleash Your Cake Decorating Potential with a Turntable
- Frequently Asked Questions
- Final Reflection: The Sweet Simplicity of the Cake Turntable
- Unleash Your Inner Cake Artist!
Mastering Cake Decorating with a Turntable: A Baker's Guide
Introduction: The Essential Cake Turntable
Why a Turntable is a Baker's Best Friend
For anyone serious about creating stunning cakes, from simple birthday treats to elaborate wedding tiers, the cake turntable is arguably one of the most indispensable tools in the kitchen. It's not just a stand; it's a dynamic aid that transforms the often-challenging processes of cake assembly and decoration into a smoother, more controlled experience.
Think of it as your co-pilot for achieving those clean lines and perfectly smooth surfaces that make a cake look professionally finished. Its ability to rotate allows you to work on all sides of the cake without constantly repositioning yourself or the cake itself, significantly reducing the risk of accidental bumps or smudges.
Beyond just convenience, a cake turntable is crucial for developing fundamental decorating skills. Techniques like applying an even layer of frosting, creating uniform borders, or executing precise piping patterns become infinitely easier when you can simply spin the cake instead of awkwardly reaching around it.
Many professional bakers cite the turntable as one of the first specialized tools they invest in, often noting that it cut down their frosting time by as much as 30% and drastically improved the overall aesthetic quality of their finished cakes. It's an investment that pays dividends in both efficiency and the visual appeal of your baked creations.
Benefits of a Rotating Cake Stand for Professional Results
Using a rotating cake stand elevates your baking from homemade to high-level artistry. The primary benefit is the unparalleled control it offers during the frosting process. You can hold your offset spatula or bench scraper steady against the cake while rotating the turntable, resulting in sides that are remarkably smooth and level. This technique is difficult, if not impossible, to replicate with the same consistency on a stationary surface. The smooth rotation ensures that frosting is applied or removed evenly around the entire circumference, eliminating thick or thin spots that can detract from the cake's appearance.
Furthermore, a cake turntable is essential for achieving crisp edges and sharp corners, particularly important for modern, minimalist cake designs. When applying the final layer of frosting, you can use a straight edge or bench scraper held at a 90-degree angle to the cake's surface and rotate the turntable, shaving off excess frosting and creating a perfectly flat side.
This method, when combined with chilling the cake, allows for the creation of those coveted sharp edges on the top surface. Many bakers find that incorporating a turntable into their process allows them to achieve results that look like they came from a professional bakery, often after just a few practice attempts.
Selecting the Perfect Cake Turntable
Comparing Turntable Materials: Stainless Steel vs. Aluminum vs. Plastic
Cake turntables come in various materials, each offering distinct advantages and considerations. Plastic turntables are typically the most budget-friendly and lightweight option. They are easy to clean and suitable for beginners or occasional use. However, they may lack the stability and smooth rotation of their metal counterparts, sometimes exhibiting a slight wobble or less fluid spin, particularly with heavier cakes. A good quality plastic turntable, often made from sturdy ABS plastic, can still provide a stable base for basic cake turntable assembly decorating tips and techniques.
Aluminum and stainless steel turntables represent a step up in quality and durability. Aluminum is often lighter than stainless steel but still provides excellent stability and a very smooth rotation, often thanks to ball bearings. Stainless steel is the most robust and durable option, offering exceptional stability and a heavy base that prevents movement during intense decorating.
While heavier and generally more expensive, stainless steel is highly resistant to rust and odors and can support multi-tiered cakes with ease. Professional bakers often prefer metal turntables for their reliability and the superior smoothness of the spin, which is crucial for precision work.
Determining the Right Size: Considerations for Cake Dimensions
Choosing the correct size turntable is crucial for comfortable and effective cake turntable assembly and decorating. The diameter of the turntable should ideally be large enough to comfortably hold your largest typical cake with a little room to spare around the edges. A turntable that is too small for your cake can make it difficult to work around the base and increases the risk of the cake tipping or sliding off. For instance, if you frequently bake 8-inch or 9-inch round cakes, a turntable with a diameter of 10 to 12 inches is usually sufficient.
However, if you plan to work on larger cakes, such as 10-inch or 12-inch rounds, or even square or rectangular cakes (which require more clearance for scraping), a larger turntable, perhaps 12 to 14 inches in diameter, would be more appropriate. Consider the maximum size cake you anticipate decorating regularly. While a larger turntable can accommodate smaller cakes, a small turntable cannot safely handle large ones. Investing in a size that covers your potential needs will prevent limitations later on and improve your cake turntable assembly decorating tips application.
Key Features: Stability, Smooth Rotation, and Height
Beyond material and size, several key features differentiate cake turntables and impact their performance. Stability is paramount; the turntable base should be wide and heavy enough to prevent wobbling or tipping, especially when working on taller or heavier cakes. Look for features like non-slip feet or a weighted base. A wobbly turntable makes precise decorating incredibly difficult and frustrating.
Smooth rotation is another critical factor. High-quality turntables, especially metal ones, often use ball bearings to ensure a nearly effortless and continuous spin. This smooth motion is essential for applying even frosting layers, piping consistent borders, and executing delicate details. Test the spin if possible or read reviews focusing on the smoothness. Finally, consider the height of the turntable. Some models are low-profile, while others are elevated. A higher turntable can be more ergonomic, allowing you to work on the sides of the cake without bending over as much, which can be a significant advantage during long decorating sessions.
Streamlining Cake Assembly with a Turntable
Achieving Level Cake Layers: Trimming and Adjusting
Before you even think about applying frosting, having level cake layers is fundamental to a stable and professional-looking finished cake. Cake layers often bake with a slight dome or uneven top surface. Using a cake turntable significantly aids in the process of leveling these layers.
Place the cooled cake layer on the turntable. While slowly rotating the turntable with one hand, use a serrated knife or a cake leveler held parallel to the surface to carefully slice off the domed top. The rotation helps ensure that your cut is even all the way around, resulting in a perfectly flat surface ready for stacking.
Once the layers are leveled, the turntable also assists in the initial stacking and adjustment. Place your first layer on the turntable, spread a thin layer of frosting or filling, and then carefully place the second layer on top. Use the turntable to view the cake from all angles and gently nudge the layers into perfect alignment.
This ability to easily rotate and view the cake from every side makes it simple to ensure your stack is straight and centered before applying the crucial crumb coat. This attention to detail in alignment, facilitated by the turntable, prevents leaning towers of cake later on.
Applying a Flawless Crumb Coat: A Step-by-Step Method
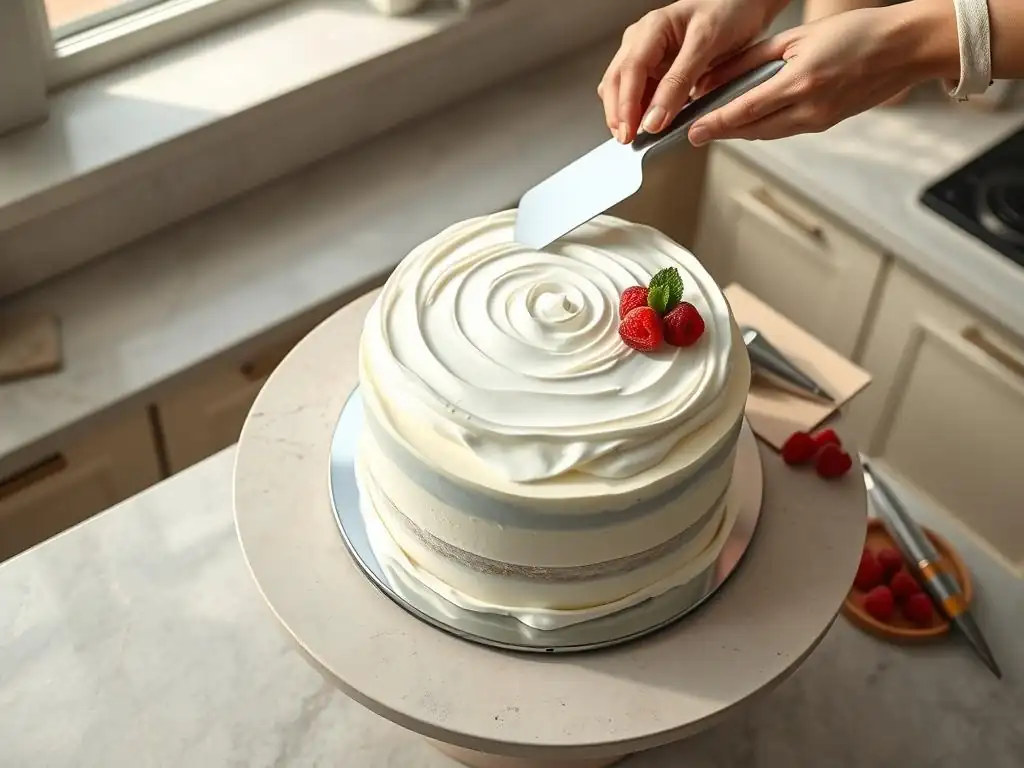
The crumb coat is a thin layer of frosting applied to the bare cake layers. Its primary purpose is to trap any loose crumbs, preventing them from getting into your final frosting layer, and to provide a stable base for the final decoration. The cake turntable is absolutely essential for achieving a flawless crumb coat. Start by placing your stacked and aligned cake on the turntable, ideally on a cake board. Apply a relatively thin amount of frosting to the top and sides of the cake using an offset spatula.
Now, the magic happens with the turntable. Holding your offset spatula or a bench scraper at a slight angle against the side of the cake, slowly rotate the turntable with your other hand. Allow the rotation to spread the frosting evenly around the sides, filling in any gaps and capturing crumbs. Use the spatula to smooth the top as well.
The key here is a thin, even layer. Don't worry about perfection at this stage, just coverage and crumb containment. Chill the cake in the refrigerator for 15-30 minutes until the crumb coat is firm. This chilling step, facilitated by the turntable holding the cake securely, is critical for setting the crumb coat and preparing the cake for the final frosting layer.
Techniques for a Smooth Crumb Coat Finish
While the crumb coat doesn't need to be perfectly smooth, applying it with some care using the turntable sets you up for a much easier final frosting application. After applying the initial layer of frosting, use a bench scraper or a long offset spatula held vertically against the side of the cake. As you rotate the turntable, gently press the scraper against the frosting to smooth it and remove excess. This action helps fill in any air pockets and creates a more uniform surface.
For the top of the crumb coat, use an offset spatula to smooth the surface by pulling the excess frosting from the center towards the edges, creating a slight lip around the top edge. Then, use the spatula to gently pull that lip inwards towards the center. Rotate the turntable as you work to ensure you address the entire circumference.
The smoother your crumb coat is, the less frosting you'll need for the final layer and the easier it will be to achieve a pristine finish. Mastering these basic cake turntable assembly decorating tips for the crumb coat significantly impacts the final outcome.
Mastering Cake Decorating Techniques Using a Turntable
Achieving a Professional Final Frosting Layer
Applying the final frosting layer is where the cake turntable truly shines, allowing you to achieve that smooth, bakery-quality finish. Start by applying a generous amount of frosting to the top and sides of your chilled, crumb-coated cake. Don't be shy; having enough frosting makes it easier to smooth without pulling up the crumb coat. Use an offset spatula to spread the frosting roughly over the entire surface.
Now, grab your bench scraper or a large, straight offset spatula. Hold it vertically against the side of the cake at a slight angle (about 45 degrees relative to the cake surface, not the turntable). With your other hand, slowly and steadily rotate the turntable. The scraper will smooth the frosting, removing excess and filling in low spots.
Keep the scraper stationary relative to your body while the cake rotates. Wipe excess frosting off your scraper frequently. Repeat this process, adjusting the angle and pressure slightly until the sides are smooth and even. This technique, powered by the smooth rotation of the turntable, is the secret to those perfectly finished cake sides.
Creating Perfectly Smooth Cake Sides: The Scraping Technique
The scraping technique is fundamental to achieving smooth cake sides, and it is entirely dependent on the use of a cake turntable. After applying your final layer of frosting, select a tall bench scraper or a long, straight offset spatula. Ensure the tool is taller than your cake.
Hold the scraper firmly against the side of the cake, keeping your wrist and arm steady. The angle you hold the scraper at will influence the finish – a slight angle helps remove more frosting and create a sharper edge on top, while holding it more perpendicular can leave a thicker, smoother layer.
With the scraper held steady, use your other hand to rotate the turntable at a consistent speed. As the cake spins, the scraper shaves off excess frosting, leaving a smooth, flat surface. You may need to repeat this process several times, wiping the excess frosting from your scraper after each pass.
For extra smooth results, slightly warm your scraper under hot water, dry it completely, and then use it for a final pass. This melts the outer layer of frosting slightly, creating a glass-like finish. Practicing this technique with your cake turntable assembly decorating tips will dramatically improve your cake finishes.
Mastering Buttercream Swirls: From Simple to Complex
Piping swirls on top of a cake or cupcakes is a classic decorating technique, and a turntable can even assist here, especially for consistency. While you might hold the piping bag, placing the cake on the turntable allows you to easily spin the cake as you pipe. For simple top swirls, start in the center and pipe in a circular motion outwards while slowly rotating the turntable. This helps maintain even spacing between the rings of frosting.
For more complex patterns, like rosettes or shells around the top edge, the turntable allows you to pipe a section, rotate the cake to the next starting point, and pipe again, ensuring uniform spacing and size around the entire circumference. If you're practicing piping techniques directly onto the cake sides, the turntable is invaluable.
You can pipe a continuous pattern, like a rope border, by holding the piping bag steady and rotating the cake, creating a consistent design all the way around without stopping and starting. This consistency in piping, aided by the turntable, is key to a professional look.
Advanced Cake Decorating with a Rotating Cake Stand
Intricate Piping Techniques: Shell Borders, Ropes, and Flowers
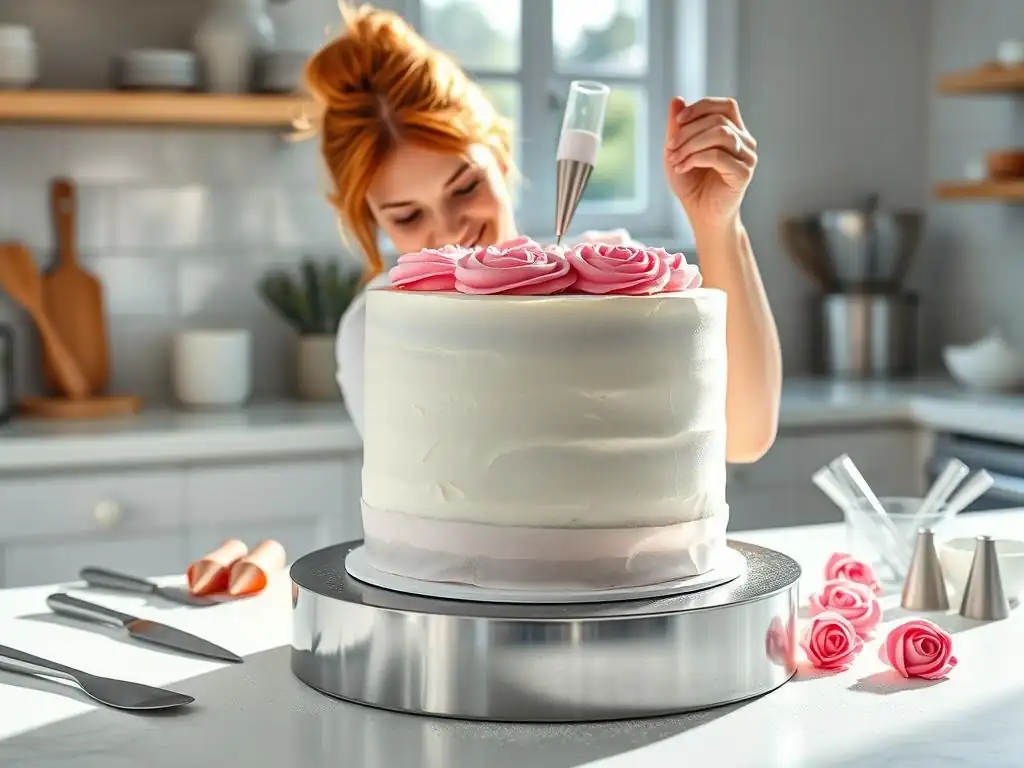
Taking your piping skills to the next level often involves intricate designs like shell borders, rope borders, or even piped buttercream flowers directly onto the cake. A cake turntable is not just helpful but often essential for executing these techniques with precision and uniformity around the entire cake.
For a continuous shell or rope border around the base or top edge, you hold the piping bag and tip steady, applying consistent pressure, while slowly rotating the turntable. This allows you to create a seamless pattern without breaks or inconsistencies that would occur if you had to lift and reposition the cake.
Piped buttercream flowers, like roses or hydrangeas, are often piped onto a flower nail and then transferred to the cake. However, when arranging multiple flowers or piping leaves and vines to connect them, the turntable allows you to easily position the cake to access specific areas without disturbing existing decorations. For example, placing leaves between piped roses becomes much easier when you can simply spin the cake to the exact spot you need to pipe, ensuring proper placement and spacing. Mastering these advanced cake turntable assembly decorating tips requires practice, but the turntable provides the necessary control.
Achieving Ombre Effects with Airbrushing or Layered Frosting
Creating a smooth ombre effect on a cake, where colors blend seamlessly from dark to light, is another technique greatly simplified by using a cake turntable. If you're using an airbrush, place the frosted cake on the turntable. As you operate the airbrush, slowly rotate the turntable to apply the color evenly around the cake's surface. You can control the intensity by varying the distance of the airbrush and the speed of the rotation, building up the color gradually from the bottom upwards or top downwards to achieve the gradient.
For an ombre effect using different shades of buttercream, you can apply bands of color around the cake and then use a bench scraper on the rotating turntable to blend them. Apply the darkest shade around the base, a medium shade above that, and the lightest shade on top. Then, using the standard scraping technique described earlier, rotate the turntable while holding the scraper against the side. The scraper will smooth and blend the colors together as the cake spins, creating a beautiful gradient. This blending action is far more effective and consistent when the cake is rotating smoothly.
Incorporating Textures and Stencils for Unique Designs
A cake turntable is also invaluable when adding texture or using stencils on your cake's surface. For applying textures using tools like texture combs or scrapers with patterned edges, you apply the final layer of frosting and then hold the texture comb against the side of the cake. As you rotate the turntable, the comb creates a consistent pattern around the entire circumference. This is nearly impossible to do evenly on a stationary cake, as you would have to lift and reposition the comb repeatedly, leading to visible seams.
When using stencils, especially larger wrap-around stencils, the turntable helps keep the stencil aligned and taut against the cake while you apply frosting, royal icing, or airbrush color over it. You can secure one end of the stencil and then wrap it around the cake as you slowly rotate the turntable, ensuring a snug fit. Once the stencil is in place, you apply your medium.
The turntable allows you to easily reach all parts of the stencil while the cake remains stable, leading to sharper, cleaner stencil designs. These advanced cake turntable assembly decorating tips open up a world of creative possibilities.
Cake Turntable Decorating Tips: Expert Advice
Maintaining a Clean and Organized Workspace
A clean and organized workspace is crucial for successful cake decorating, and your cake turntable is at the center of this. Before you start, clear your decorating area of any unnecessary items. Have all your tools, frosting, and colors ready and within easy reach. Place your turntable on a stable, level surface. Many bakers recommend placing a non-slip mat underneath the turntable's base for extra security, especially if you have a lightweight model or are working on a smooth countertop.
During the decorating process, keep a damp cloth or paper towels handy to wipe your offset spatula and bench scraper clean frequently. This prevents crumbs and excess frosting from being reintroduced onto the cake and helps you achieve a smoother finish. Also, keep a small container nearby to collect scraped-off frosting or crumbs. A clean turntable surface itself is important – wipe away any drips or smudges as you go. A tidy workspace, facilitated by keeping your turntable area clean, makes the process less stressful and helps you focus on the cake.
Controlling Turntable Speed for Different Techniques
Controlling the speed of your cake turntable's rotation is a subtle but important aspect of mastering cake decorating. For applying the initial crumb coat or the final layer of frosting with a scraper, a relatively slow, consistent speed is best. This allows the scraper or spatula enough time to smooth the frosting effectively as the cake rotates. Aim for a smooth, continuous motion rather than jerky spins.
When doing more detailed work, like piping intricate borders or applying textures, you'll likely need to rotate the turntable much slower, or even in small increments, stopping frequently. For example, when piping shells, you pipe one shell, stop the turntable, pipe the next, stop, and so on. For airbrushing or applying stencils, a slow, steady spin is usually preferred to ensure even application. Practice will help you develop a feel for the right speed for different cake turntable assembly decorating tips and techniques.
Troubleshooting Common Decorating Challenges: Uneven Frosting
Even with a turntable, you might encounter challenges like uneven frosting. If you notice thick or thin spots after scraping, it often means you didn't apply enough frosting initially, or you're holding your scraper inconsistently. To fix this, apply a little more frosting to the thin area and repeat the scraping process, ensuring your scraper is held straight and steady as you rotate the turntable. Sometimes, chilling the cake briefly (5-10 minutes) can make the frosting firmer and easier to re-scrape smoothly.
Another common issue is pulling up crumbs into your final layer. This indicates the crumb coat wasn't firm enough or wasn't applied effectively. Ensure your crumb coat is chilled until firm before applying the final layer. If crumbs appear, try to gently lift them off with a clean spatula or toothpick. If it's severe, you might need to gently scrape off the affected area, re-apply frosting, and re-scrape. Patience and practice with your cake turntable assembly decorating tips are key to overcoming these hurdles.
Cleaning and Maintaining Your Cake Turntable
Cleaning Methods for Various Turntable Materials
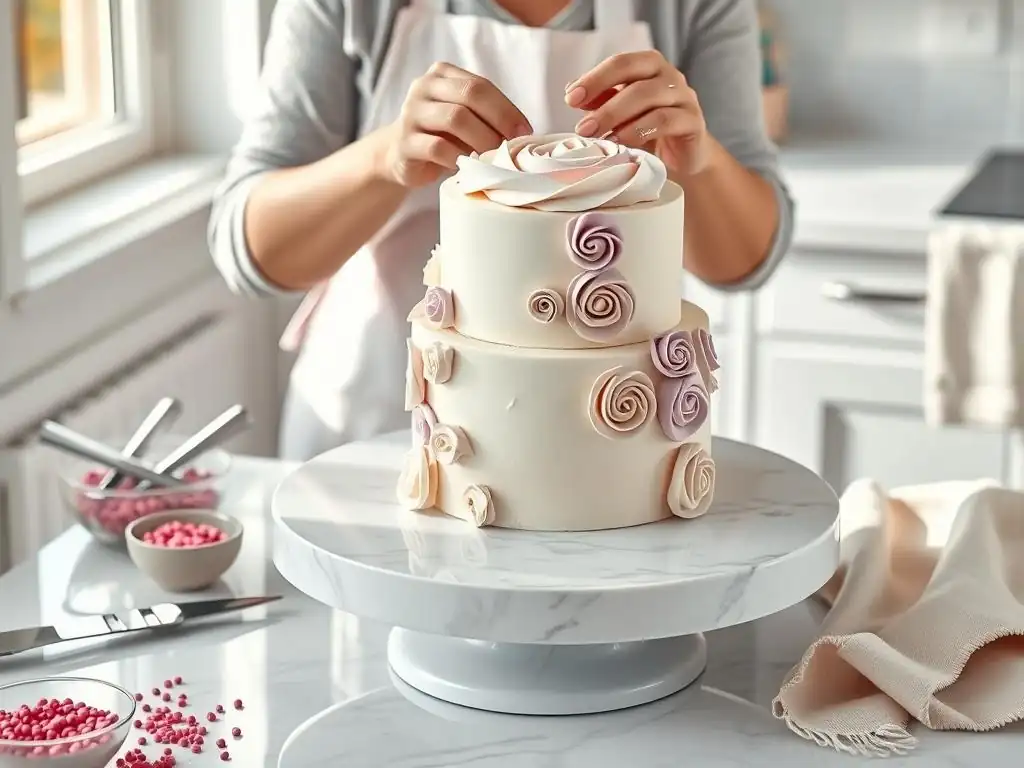
Proper cleaning is essential to keep your cake turntable in good working order and hygienic. For plastic turntables, cleaning is straightforward. Wash them in warm, soapy water using a soft sponge or cloth immediately after use. Avoid abrasive scrubbers that can scratch the surface. Rinse thoroughly and dry completely before storing. Most plastic turntables are not dishwasher safe, as the heat can warp the plastic or damage internal mechanisms if present.
Metal turntables (aluminum or stainless steel) also benefit from immediate cleaning. Wash them by hand in warm, soapy water. Pay attention to the area around the spindle or bearings, ensuring no frosting or crumbs are lodged there, which could affect the smooth rotation. Use a brush if necessary to get into crevices. Rinse thoroughly and dry immediately with a soft cloth to prevent water spots or potential rust (though stainless steel is highly rust-resistant). Avoid harsh chemicals or metal scouring pads that can damage the finish.
Storage Solutions to Preserve Your Turntable
Storing your cake turntable properly helps protect it from damage and keeps it ready for use. Ensure the turntable is completely clean and dry before putting it away. Store it in a place where it won't be knocked over or have heavy items placed on top of it, which could potentially damage the rotating mechanism or warp the platform.
If you have a metal turntable with exposed bearings, consider covering it or storing it in a box to prevent dust and debris from accumulating in the mechanism. Some turntables come with a protective box or can be stored in their original packaging. If stacking multiple turntables, place a soft cloth or paper towel between them to prevent scratches. Proper storage ensures your turntable remains stable and spins smoothly, ready for your next cake turntable assembly decorating project.
Conclusion: Unleash Your Cake Decorating Potential with a Turntable
Incorporating a cake turntable into your baking routine is one of the most impactful steps you can take to improve the appearance and finish of your cakes. From streamlining the initial assembly and achieving perfectly level layers to mastering smooth frosting techniques and executing intricate piping designs, the rotating cake stand provides the stability and control necessary for professional-level results.
Whether you choose a lightweight plastic model for occasional use or invest in a sturdy metal version for daily decorating, the benefits are undeniable. Practicing basic cake turntable assembly decorating tips like applying a crumb coat and using a bench scraper will quickly elevate your skills. So, grab your turntable, prepare your frosting, and get ready to spin your way to beautifully decorated cakes!
Frequently Asked Questions
What is a cake turntable, and why is it useful?
A cake turntable is a rotating platform used to ease cake assembly and decoration. It allows you to smoothly rotate the cake while applying frosting or decorations, ensuring even coverage and professional results.
What are the different types of cake turntables available?
Cake turntables primarily come in two materials: plastic and metal. Metal turntables are generally more durable and stable, while plastic turntables are often more affordable and lightweight.
How do I assemble a cake turntable?
Assembly is usually straightforward. Typically, you'll just need to attach the base to the rotating platform. Some models may require tightening a screw or two for added stability.
What are some basic cake decorating tips when using a turntable?
Start by applying a crumb coat before the final layer of frosting. Use a spatula or scraper held at a consistent angle while rotating the turntable for a smooth and even finish.
How do I clean and maintain my cake turntable?
Most turntables can be easily cleaned with soap and water. For metal turntables, ensure they are thoroughly dried to prevent rust. Avoid abrasive cleaners that could scratch the surface.
Final Reflection: The Sweet Simplicity of the Cake Turntable
The humble cake turntable, often overlooked, is a game-changer for anyone serious about cake assembly and decoration. Its impact extends far beyond mere convenience; it's a tool that empowers both novice bakers and experienced professionals to achieve stunning results with greater ease and precision. This simple device unlocks a world of creative possibilities, transforming the potentially frustrating process of cake decorating into a joyful and rewarding experience.
The influence of the turntable on the home baking landscape is undeniable. It's become a staple in many kitchens, a testament to its practicality and versatility. More than just a tool, it represents a shift towards a more accessible and enjoyable approach to cake making. The ease it provides allows bakers to focus on the creative aspects of cake decorating, rather than wrestling with an unwieldy cake. The best things in life are simple,
and the cake turntable embodies this sentiment perfectly. It's a small investment that yields significant returns in terms of both time saved and improved results.
Now, consider your own baking journey. Have you ever struggled with icing a cake? Did you find yourself frustrated by uneven frosting or difficulty adding intricate details? I encourage you to embrace the simplicity and efficiency of the cake turntable. Experiment with different techniques, explore your creativity, and discover the joy of effortlessly creating beautiful, professional-looking cakes. The next time you bake, remember the power of this often-underestimated tool and let it elevate your baking experience to new heights.
Unleash Your Inner Cake Artist!
Thanks for taking the time to explore the world of turntable cake decorating! We hope you gained some valuable tips and tricks to elevate your baking game. Ready to put your newfound skills to the test?
- Master the Spin: Practice your cake decorating techniques using your turntable. Try creating a design you've always admired!
- Share Your Creation: Show us your stunning cake creations on social media using #BakeWithEaseTurntable! We'd love to see what you bake.
- Join the Conversation: What’s your favorite turntable decorating tip or favorite cake design? Let us know in the comments below!