
Simple Steps to a Rustic Whole Wheat Artisan Loaf

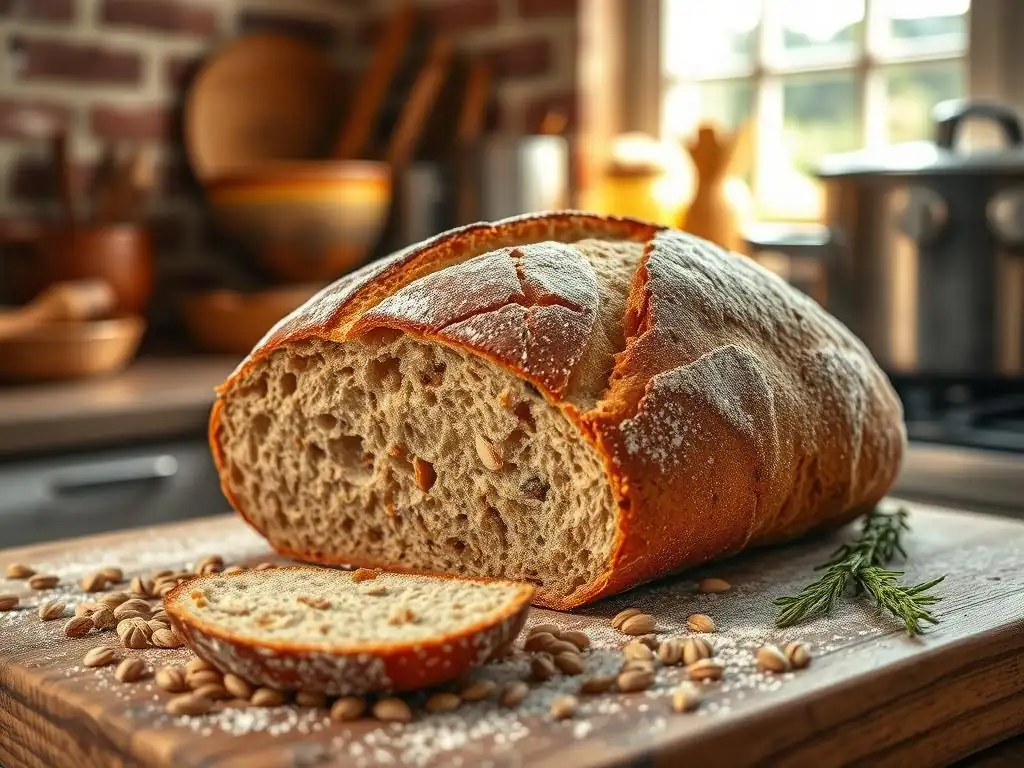
Welcome to BakeWithEase, where baking becomes a joy, not a chore! Ever dreamt of pulling a warm, crusty loaf of bread from your oven, filling your home with its irresistible aroma? This week, we're diving into the heart of bread baking with a rustic whole wheat loaf recipe designed for simplicity and maximum flavor. Discover the secrets to achieving that perfect artisan crust and airy crumb, and prepare to impress with your newfound baking skills. But that's just the beginning – explore our collection of bread baking guides and unlock a world of delicious possibilities!
- Introduction to Rustic Whole Wheat Bread Baking
- Mastering the Rustic Whole Wheat Loaf Recipe
-
Step-by-Step Guide: Baking Your Rustic Whole Wheat Artisan Bread
- Step 1: Preparing the Dough - Mixing and Initial Kneading
- Step 2: Bulk Fermentation - Developing Flavor and Structure
- Step 3: Shaping the Loaf - Creating the Rustic Form
- Step 4: Proofing - The Final Rise
- Step 5: Baking - Achieving a Golden-Brown Crust
- Step 6: Cooling and Enjoying Your Rustic Whole Wheat Bread
- Tips for Baking the Perfect Rustic Whole Wheat Loaf
- Variations and Adaptations of the Whole Wheat Artisan Loaf
- Storing Your Rustic Whole Wheat Bread
- Conclusion: Enjoy the Art of Rustic Whole Wheat Bread Baking
-
Frequently Asked Questions
- What makes this recipe a rustic whole wheat loaf?
- Is this "Simple Steps to a Rustic Whole Wheat Artisan Loaf" recipe suitable for beginner bakers?
- Can I substitute all-purpose flour for the whole wheat flour in this recipe?
- What is the best way to store a Rustic Whole Wheat Artisan Loaf to keep it fresh?
- How can I tell if my Rustic Whole Wheat Artisan Loaf is fully baked?
- Final Reflection: The Enduring Appeal of the Rustic Loaf
- Unleash Your Inner Baker: Craft Your Perfect Loaf!
Introduction to Rustic Whole Wheat Bread Baking
Why Bake a Rustic Whole Wheat Loaf at Home?
Baking a rustic whole wheat loaf at home is an incredibly rewarding experience, offering benefits far beyond just having fresh bread. For one, you have complete control over the ingredients. You can select high-quality organic whole wheat flour, avoid preservatives found in many store-bought loaves, and tailor the salt level to your preference. This control ensures a healthier, more wholesome product for you and your family, free from artificial additives or unnecessary sugars often present in commercial breads.
Beyond the health aspects, there's the sheer joy and satisfaction derived from the baking process itself. The tactile experience of kneading dough, the enticing aroma filling your kitchen as the loaf bakes, and the moment you slice into a perfectly golden, crackling crust are unparalleled. It's a creative and mindful activity that connects you to centuries-old traditions of bread making, culminating in a delicious, hearty rustic whole wheat loaf that tastes infinitely better than anything you can buy.
BakeWithEase: Your Guide to Artisan Bread
At BakeWithEase, we believe that mastering artisan bread, including a beautiful rustic whole wheat loaf recipe, should be accessible to everyone, regardless of their experience level. Our philosophy is rooted in simplifying complex techniques into manageable steps, providing clear instructions, and offering helpful tips to ensure your baking success. We demystify the process, from understanding the role of each ingredient to achieving that coveted open crumb and crispy crust.
Our resources are designed to build your confidence in the kitchen. We provide detailed guides, explain the science behind baking in simple terms, and offer troubleshooting advice for common challenges. Whether you're attempting your very first rustic whole wheat loaf or looking to refine your technique, BakeWithEase is here to guide you through every stage, making the journey enjoyable and leading to consistently delicious results you'll be proud to share.
Mastering the Rustic Whole Wheat Loaf Recipe
Key Ingredients for Your Rustic Whole Wheat Loaf
High-Quality Whole Wheat Flour: The Foundation
The quality of your whole wheat flour is paramount when baking a rustic whole wheat loaf. Unlike refined white flour, whole wheat flour contains the entire grain kernel – the bran, germ, and endosperm – which provides more fiber, nutrients, and a richer, nuttier flavor. Look for stone-ground whole wheat flour if possible, as it often retains more of the grain's natural oils and character, contributing significantly to the depth of flavor in your rustic whole wheat loaf. The protein content can vary, typically ranging from 13% to 15%, which affects gluten development and the structure of your bread.
Using fresh whole wheat flour also makes a noticeable difference. Flour that has been sitting on the shelf for a long time can become stale and lose some of its leavening power. Storing your flour in an airtight container in a cool, dark place, or even the freezer, helps maintain its freshness. Remember that whole wheat flour absorbs water differently than white flour, often requiring slightly more liquid, which is a key consideration when following any rustic whole wheat loaf recipe.
Water Temperature: Crucial for Yeast Activation
Water temperature plays a critical role in activating the yeast, which is the leavening agent in your rustic whole wheat loaf recipe. For active dry yeast, water typically needs to be between 105°F and 115°F (40°C to 46°C) to wake it up effectively. Instant yeast is more forgiving and can often be added directly to the dry ingredients, using water that is lukewarm, usually between 85°F and 95°F (29°C to 35°C). Using water that is too cold will result in slow or inactive yeast, leading to a dense loaf with poor rise.
Conversely, water that is too hot can kill the yeast, rendering it completely inactive. This will result in a loaf that doesn't rise at all. Using a thermometer to check your water temperature is a simple step that significantly increases your chances of success with your rustic whole wheat loaf. The water also hydrates the flour, allowing gluten development to occur, which is essential for the bread's structure and texture.
Salt: Enhancing Flavor and Controlling Fermentation
Salt is not just for flavor in a rustic whole wheat loaf; it's a crucial component that impacts the dough's structure and the yeast's activity. It strengthens the gluten network, helping the dough hold its shape and capture the gases produced by the yeast, which contributes to a better crumb structure. Without salt, the dough can be sticky and difficult to handle, and the resulting bread will taste bland and lack character.
Furthermore, salt helps regulate the rate of yeast fermentation. It slows down the yeast activity slightly, allowing for a longer, more controlled rise. This slower fermentation process allows more complex flavors to develop in your rustic whole wheat loaf. Typically, salt is added at a ratio of about 1.8% to 2% of the total flour weight in a bread recipe. Using non-iodized salt, such as sea salt or kosher salt, is often preferred by bakers as iodine can sometimes interfere with yeast activity.
Optional Additions: Seeds, Herbs, and More
Enhancing your rustic whole wheat loaf recipe with optional additions can add layers of flavor, texture, and nutritional value. Seeds like sunflower, pumpkin, flax, or sesame seeds are popular choices. You can mix them directly into the dough during the kneading process, typically adding them after the initial gluten development has occurred, or sprinkle them on the exterior before baking. A common ratio is adding 10-20% of the total flour weight in seeds.
Herbs and spices can also elevate your rustic whole wheat loaf. Dried rosemary, thyme, or a blend of Italian herbs can be kneaded into the dough for an aromatic loaf. Spices like caraway seeds are classic additions to rye or whole wheat breads. For a touch of sweetness and moisture, consider adding dried fruits like cranberries or raisins, or even nuts. Just be mindful that some additions, particularly seeds and dried fruits, can affect the dough's hydration, so you might need to slightly adjust the water content.
Step-by-Step Guide: Baking Your Rustic Whole Wheat Artisan Bread
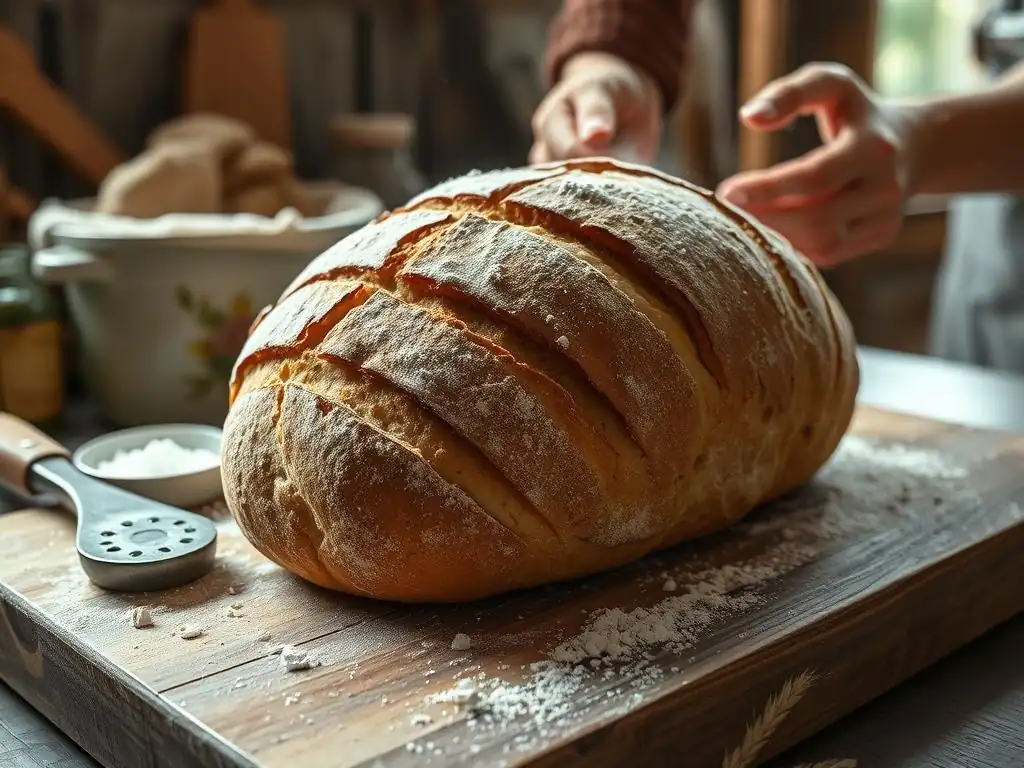
Step 1: Preparing the Dough - Mixing and Initial Kneading
Combining the Flour, Water, and Yeast
Begin by accurately measuring your ingredients. For a typical rustic whole wheat loaf recipe using around 500 grams of whole wheat flour, you might use approximately 375-400 grams of water (75-80% hydration), 7-10 grams of salt, and 2-3 grams of instant dry yeast (or activate active dry yeast separately). In a large mixing bowl, combine the whole wheat flour and salt. In a separate bowl or jug, whisk the instant yeast into the lukewarm water (around 90°F or 32°C is a good target if using instant yeast directly).
Pour the water-yeast mixture into the bowl with the flour and salt. Use a sturdy spoon or a dough whisk to initially combine the ingredients until no dry flour remains and a shaggy dough forms. At this stage, the dough will likely be quite sticky due to the high hydration common in rustic bread recipes and the nature of whole wheat flour. This initial mix ensures all ingredients are incorporated before the gluten development process begins.
Achieving the Right Dough Consistency
Once the ingredients are roughly combined, turn the shaggy dough out onto a lightly floured or wet surface. Knead the dough. The goal isn't vigorous kneading initially, but rather gentle folding and stretching to start developing the gluten network. Whole wheat flour's bran particles can sometimes interfere with gluten development compared to white flour, so patience is key. Knead for about 5-10 minutes, until the dough starts to become smoother and more elastic.
Alternatively, you can use the stretch and fold method, especially for high-hydration doughs. In the bowl, wet your hands and grab one edge of the dough, stretching it up and folding it over the center. Rotate the bowl a quarter turn and repeat this process 3-4 times.
Let the dough rest for 10-15 minutes, then repeat the stretch and folds. Doing this several times over an hour or two is very effective for developing strength in a rustic whole wheat loaf dough without intensive kneading. The dough should eventually pass the "windowpane test," where a small piece can be stretched thin enough to see light through it without tearing.
Step 2: Bulk Fermentation - Developing Flavor and Structure
The Importance of Bulk Fermentation
Bulk fermentation, also known as the first rise, is a critical stage in your rustic whole wheat loaf recipe where yeast produces carbon dioxide gas, causing the dough to expand. More importantly, during this time, enzymes in the flour and yeast break down starches into sugars, and complex flavors develop through microbial activity.
The length of bulk fermentation depends heavily on the dough temperature, ambient room temperature, and the amount of yeast used. A typical bulk fermentation might last anywhere from 2 to 4 hours at room temperature (around 70-75°F or 21-24°C), or significantly longer in a cooler environment (e.g., 8-12 hours in a refrigerator).
During bulk fermentation, the dough should roughly double in volume. You'll also notice bubbles forming on the surface and within the dough structure. This stage is crucial for building the internal structure and ensuring a light, airy crumb in your finished rustic whole wheat loaf. Don't rush this process; patience is key to developing deep flavor. Pay attention to the dough's appearance and feel rather than sticking rigidly to a specific time.
Folding the Dough for Strength
Folding the dough during bulk fermentation is a technique used to build strength and structure, especially in high-hydration doughs like those for a rustic whole wheat loaf. These folds redistribute the yeast, equalize the temperature throughout the dough, and help develop the gluten network by aligning the protein strands. Typically, you perform 2-4 sets of folds during the first 1-2 hours of bulk fermentation, with 30-45 minutes rest time between each set.
To perform a fold, gently wet your hands and reach under the dough in the bowl. Lift a section of the dough and stretch it upwards, then fold it back over the rest of the dough. Rotate the bowl and repeat this process 3-4 times until you have folded all sides. The dough will feel tighter and more structured after each set of folds. These folds contribute significantly to the final shape and crumb of your rustic whole wheat loaf.
Step 3: Shaping the Loaf - Creating the Rustic Form
Gently Shaping the Dough
After bulk fermentation, turn the dough out onto a lightly floured surface. Avoid using too much flour, as this can create dry spots in the final bread. Gently degas the dough by lightly pressing out some of the large bubbles – you want to retain some gas for the rustic texture.
For a round loaf (a boule), gently pull the edges of the dough towards the center and pinch them together to form a seam. Then, flip the dough over so the seam is underneath and use your hands to gently cup the dough and rotate it against the surface, creating tension on the surface and forming a smooth, tight ball.
For an oval loaf (a bâtard), gently shape the dough into a rough rectangle. Fold the top third down to the center, then the bottom third up over the top fold, like folding a letter. Pinch the seam. Then, fold the dough in half lengthwise and pinch the final seam firmly. Gently roll the dough back and forth on the surface, tapering the ends slightly, to create an even oval shape. The goal is to create surface tension which helps the loaf hold its shape and rise upwards during baking, contributing to a beautiful rustic whole wheat loaf.
Preparing Your Banneton Basket or Proofing Bowl
A banneton basket (a proofing basket, often made of cane or wood pulp) is an excellent tool for the final proof of a rustic whole wheat loaf. It helps the dough maintain its shape and imparts a lovely patterned surface texture. Lightly flour the banneton generously, especially if using whole wheat flour which can be stickier. Rice flour is often recommended as it's less likely to be absorbed by the dough and helps prevent sticking.
If you don't have a banneton, you can use a bowl lined with a clean linen or cotton towel. Flour the towel well with rice flour or whole wheat flour. Place the shaped dough into the prepared banneton or lined bowl, seam-side up if you plan to bake it seam-side down (which is common for a rustic look), or seam-side down if you plan to flip it out and score the top. Covering the dough with a plastic bag or plastic wrap prevents it from drying out during the final proof.
Step 4: Proofing - The Final Rise
Proofing Time and Temperature
The final proof, also called the second rise or proofing, is where the shaped loaf rises one last time before baking. Like bulk fermentation, the time required for proofing depends significantly on the temperature. At room temperature (around 70-75°F or 21-24°C), proofing might take anywhere from 45 minutes to 1.5 hours. The dough should increase in volume, but not necessarily double – aim for about a 50-75% increase.
Alternatively, you can cold proof the dough in the refrigerator for a longer period, typically 8-16 hours. Cold proofing develops even more complex flavors and makes the dough easier to handle and score. It also fits conveniently into a busy schedule. Whether proofing at room temperature or cold proofing, ensure the dough is adequately covered to prevent a skin from forming, which can inhibit oven spring and affect the crust of your rustic whole wheat loaf.
The Poke Test: Knowing When It's Ready
The poke test is the most reliable way to determine if your rustic whole wheat loaf is properly proofed and ready to bake. Gently flour your finger and lightly press it about half an inch into the side of the dough. If the indentation springs back immediately, the dough is under-proofed and needs more time. If the indentation stays completely without springing back at all, the dough is likely over-proofed.
A perfectly proofed dough will show an indentation that slowly springs back about halfway. This indicates that the yeast is still active enough to provide good oven spring, but the dough has developed enough structure to hold its shape during baking. Getting the timing right for the poke test is crucial for achieving a well-risen rustic whole wheat loaf with a good crumb structure.
Step 5: Baking - Achieving a Golden-Brown Crust
Preheating Your Oven and Dutch Oven (Optional)
Achieving a fantastic crust on a rustic whole wheat loaf often relies on creating a steamy environment in the oven. The most effective way to do this at home is by baking in a preheated Dutch oven. Place your Dutch oven with its lid in the oven and preheat the oven to a high temperature, typically between 450°F and 500°F (230°C to 260°C). Allow at least 30 minutes, or even up to an hour, for the Dutch oven and the oven itself to reach the target temperature evenly. This intense initial heat is crucial for immediate oven spring.
If you don't have a Dutch oven, you can still create steam. Place a baking stone or steel in the oven while it preheats. Just before loading the bread, place a tray or cast iron pan on the bottom rack of the oven.
Once the loaf is in, carefully pour a cup of hot water into the hot tray/pan to create steam. Be cautious when doing this to avoid burns. This steam helps keep the crust soft initially, allowing the loaf to expand fully before the crust sets, resulting in a better rise and a crispier finish on your rustic whole wheat loaf.
Scoring the Loaf: Releasing Steam and Controlling Expansion
Scoring involves making cuts on the surface of the shaped dough just before it goes into the oven. This isn't just for aesthetics; it serves a vital function. As the loaf bakes and expands (oven spring), scoring provides weak points where the dough can tear in a controlled manner. Without scoring, the loaf might burst unpredictably in weaker spots, resulting in a less attractive shape and potentially a denser section of crust.
Use a very sharp blade, like a razor blade (a lame), or a sharp knife. Make quick, confident cuts about half an inch deep. For a simple boule, a cross or a hashtag pattern is common. For a bâtard, one or more long, angled cuts along the length are typical. Experiment with different scoring patterns; they can significantly influence the final look of your rustic whole wheat loaf.
Baking Temperatures and Times
Baking temperatures and times for a rustic whole wheat loaf vary depending on the loaf size, oven, and whether you're using a Dutch oven. A common method involves baking at a high temperature, such as 475°F (245°C), for the first 20 minutes (with the lid on if using a Dutch oven or with steam if baking on a stone/steel). This initial high heat maximizes oven spring and sets the crust.
After the initial phase, reduce the temperature (e.g., to 425°F or 220°C) and remove the Dutch oven lid (or stop generating steam). Continue baking for another 20-30 minutes, or until the crust is a deep golden brown and the internal temperature of the loaf reaches 200-210°F (93-99°C) when checked with an instant-read thermometer. This second phase finishes the cooking and develops the final crust color and texture of your rustic whole wheat loaf.
Step 6: Cooling and Enjoying Your Rustic Whole Wheat Bread
Allowing the Loaf to Cool Completely
Once your rustic whole wheat loaf is baked to a beautiful golden brown, it's crucial to resist the urge to slice into it immediately. As tempting as the aroma is, the bread is still cooking internally as it cools. Moisture is redistributing throughout the crumb, and the structure is setting. Cutting into a hot loaf will result in a gummy, dense texture.
Transfer the loaf from the Dutch oven or baking surface to a wire rack immediately after removing it from the oven. Allow it to cool completely, which can take 2-3 hours for a standard-sized rustic whole wheat loaf. This cooling period is essential for achieving the best possible crumb texture and flavor. Patience at this stage is rewarded with a superior final product.
Slicing and Serving Suggestions
Once fully cooled, your rustic whole wheat loaf is ready to be sliced and enjoyed. Use a sharp serrated bread knife for clean cuts through the crispy crust and hearty crumb. The beauty of a rustic loaf lies in its versatility. Serve thick slices with butter, olive oil, or your favorite spread. It makes excellent toast, perfect for avocado or jam.
This rustic whole wheat loaf is also ideal for sandwiches, providing a sturdy base and nutty flavor that complements various fillings. Don't forget to use it for delicious croutons or breadcrumbs if you have any leftovers (though that's unlikely!). Enjoy the fruits of your labor – the satisfying texture, the deep, wholesome flavor, and the knowledge that you created this wonderful rustic whole wheat loaf yourself.
Tips for Baking the Perfect Rustic Whole Wheat Loaf
Troubleshooting Common Baking Problems
Dense Loaf: Possible Causes and Solutions
A dense rustic whole wheat loaf is a common frustration, often pointing to insufficient rise. One primary cause is inactive or insufficient yeast. Ensure your yeast is fresh and activated properly with water at the correct temperature (105-115°F for active dry yeast). Another major factor is under-proofing. If the dough hasn't had enough time during bulk fermentation and final proof, it won't develop enough gas to create a light structure. Check the poke test carefully before baking.
Poor gluten development can also lead to density. Whole wheat flour requires careful handling to build a strong gluten network. Ensure adequate kneading or stretch and folds, and don't rush the bulk fermentation, as this is when much of the structure develops. Finally, too much flour added during shaping or kneading can also result in a heavier loaf; use flour sparingly.
Flat Loaf: Preventing a Lack of Rise
A flat rustic whole wheat loaf, lacking height and oven spring, can be disheartening. This is often related to insufficient strength in the dough or over-proofing. If the gluten network isn't strong enough (due to inadequate kneading/folding or poor flour quality), the dough won't be able to hold its shape and gas during baking, causing it to spread outwards rather than rise upwards. Ensure you perform enough folds during bulk fermentation to build strength.
Over-proofing is another common culprit. If the dough proofs for too long, the gluten structure can collapse, and the yeast may exhaust its food supply. The poke test will show an indentation that doesn't spring back. Baking in a well-preheated Dutch oven or with sufficient steam is also crucial; the initial burst of heat helps set the crust quickly, supporting the rising dough and preventing a flat rustic whole wheat loaf.
Over-Proofing vs. Under-Proofing
Understanding the difference between over-proofing and under-proofing is key to mastering a rustic whole wheat loaf recipe. An under-proofed loaf hasn't developed enough gas or flavor. It will have a very tight, compact crumb, often with large, irregular tunnels, and may burst unpredictably during baking. The poke test springs back immediately.
An over-proofed loaf has gone too far. The gluten structure is weakened, and the gas bubbles may have started to collapse. This results in a loaf that spreads out, lacks oven spring, and has a dense, uniform crumb structure without open holes. It may also taste overly sour. The poke test indentation stays completely. Aim for that sweet spot where the indentation slowly springs back halfway for the perfect rustic whole wheat loaf.
Achieving a Crispy Crust and Open Crumb
The Role of Steam in Baking
Steam is absolutely essential for developing that desirable crispy, crackling crust on a rustic whole wheat loaf. When the loaf first enters a hot, steamy oven, the moisture in the steam condenses on the cooler surface of the dough. This keeps the crust soft and pliable longer, allowing the dough to expand fully during oven spring before the crust sets. Without sufficient steam, the crust forms too quickly, restricting expansion and resulting in a denser loaf and a thinner, less crispy crust.
Baking in a preheated Dutch oven is the easiest way to trap the moisture released by the dough itself, creating a perfect steamy environment. If baking on a stone or steel, generating steam by pouring hot water into a hot tray works similarly. The steam phase typically lasts for the first 15-25 minutes of baking, depending on the recipe and oven.
Techniques for Creating a Superior Crust
Beyond steam, several factors contribute to a superior crust on your rustic whole wheat loaf. High initial baking temperature is crucial for maximum oven spring and rapid crust development. Temperatures around 450-500°F (230-260°C) are common. Once the initial steam phase is over (by removing the lid or steam source), allowing the loaf to bake uncovered at a slightly lower temperature (around 400-425°F or 200-220°C) for the remaining time allows the crust to dry out and brown beautifully.
Ensuring the loaf is fully baked is also key. An underbaked loaf will have a pale, soft crust. Bake until the crust is a deep golden brown and the internal temperature reaches 200-210°F (93-99°C). Finally, allowing the loaf to cool completely on a wire rack prevents steam from condensing on the bottom crust, which can make it soggy.
Variations and Adaptations of the Whole Wheat Artisan Loaf
Adding Seeds and Grains for Texture and Flavor
Incorporating seeds and grains is a fantastic way to add complexity and nutrition to your rustic whole wheat loaf. Popular options include sunflower seeds, pumpkin seeds, flax seeds, sesame seeds, and even cooked grains like oats or rye berries. Seeds add a pleasant crunch and nutty flavor, while cooked grains contribute moisture and a chewier texture.
You can add seeds directly to the dough during the mixing or early kneading phase, typically at a ratio of 10-20% of the flour weight. For an extra layer of flavor and texture, you can also toast the seeds lightly before adding them. Alternatively, seeds can be sprinkled generously on the exterior of the loaf just before baking, either by wetting the surface slightly or rolling the shaped dough in a bed of seeds. This creates a visually appealing and delightfully crunchy crust on your rustic whole wheat loaf.
Incorporating Herbs and Spices
Infusing your rustic whole wheat loaf with herbs and spices can transform its flavor profile, making it a perfect accompaniment to specific meals. Dried herbs like rosemary, thyme, oregano, or a blend of Italian herbs work wonderfully. Add them to the dry ingredients with the flour and salt, typically 1-2 tablespoons per loaf, depending on how pronounced you want the flavor to be.
Spices such as caraway seeds, fennel seeds, or even a pinch of smoked paprika can add warmth and depth. Experiment with different combinations to find your favorites. Consider the flavor profile you're aiming for – rosemary and sea salt are classic with whole wheat, while caraway is traditional in many darker bread styles. Fresh herbs can also be used, though they are best folded in towards the end of kneading to preserve their flavor and color in your rustic whole wheat loaf.
Exploring Different Types of Whole Wheat Flour
The world of whole wheat flour is more diverse than you might think, and experimenting with different types can significantly alter the characteristics of your rustic whole wheat loaf. Hard red wheat flour is the most common type, known for its high protein content (13-15%) which yields strong gluten and a robust crumb. This is an excellent all-purpose choice for a hearty loaf.
However, you can also try softer varieties like hard white wheat flour, which has a milder flavor and lighter color while still being 100% whole grain. Ancient grains milled into whole wheat flour, such as spelt, einkorn, or Khorasan (Kamut®), offer unique flavors and nutritional profiles. Spelt, for example, has a slightly nutty, sweet flavor and can result in a more tender crumb. While some of these might require slight adjustments to hydration and handling due to different protein structures, they offer exciting possibilities for your rustic whole wheat loaf adventures.
Storing Your Rustic Whole Wheat Bread
Keeping Your Loaf Fresh
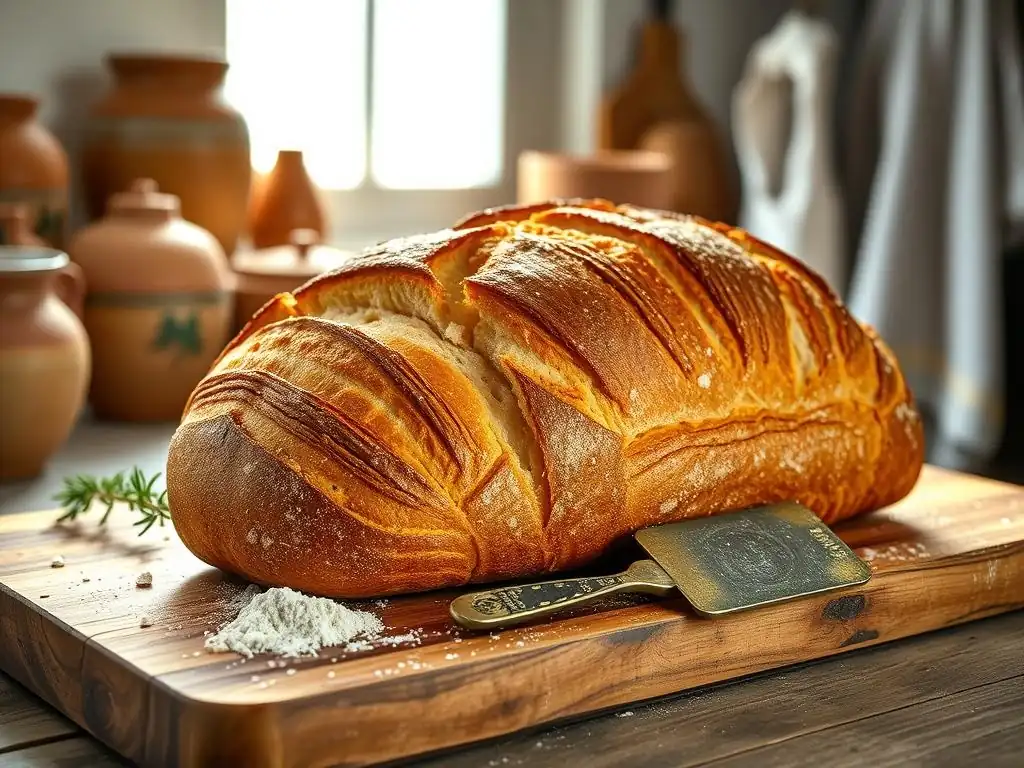
Proper storage is key to preserving the texture and flavor of your homemade rustic whole wheat loaf. Once the loaf is completely cool (this is essential! ), the best way to store it for the first day or two is at room temperature, cut-side down on a cutting board. This allows the crust to remain crisp while protecting the exposed crumb.
For longer storage at room temperature (up to 3-4 days), wrap the cooled loaf loosely in a linen bread bag, a paper bag, or a clean kitchen towel. Avoid airtight plastic bags or containers if you want to maintain a crispy crust, as these trap moisture and can make the crust soggy. If the crust does soften, you can often refresh it by briefly reheating the loaf in a hot oven (around 350°F or 175°C) for 5-10 minutes.
Freezing for Later Enjoyment
Freezing is an excellent option if you won't finish your rustic whole wheat loaf within a few days or if you like to bake multiple loaves at once. Ensure the loaf is completely cooled before freezing. You can freeze the loaf whole or slice it first. Slicing before freezing allows you to take out just a few slices at a time as needed.
Wrap the cooled loaf or individual slices tightly in plastic wrap, ensuring no air pockets, and then place it in a freezer-safe bag or wrap it again in aluminum foil. This double layer of protection helps prevent freezer burn. Properly wrapped, your rustic whole wheat loaf can be stored in the freezer for up to 3-4 months. To thaw, simply unwrap the loaf or slices and let them sit at room temperature, or pop slices directly into a toaster. A whole loaf can be reheated from frozen, wrapped in foil, in a 300°F (150°C) oven for about 30-40 minutes.
Conclusion: Enjoy the Art of Rustic Whole Wheat Bread Baking
Embrace the Process and Experiment!
Baking a rustic whole wheat loaf at home is a journey, and like any journey, it involves learning and sometimes a few bumps along the way. Don't be discouraged if your first loaf isn't absolutely perfect. Each bake is an opportunity to learn about how your ingredients behave, how your oven performs, and how small adjustments can make a big difference. Pay attention to the feel of the dough, the way it rises, and the sound of the crust.
Embrace the process, from the initial mix to the final cooling. Enjoy the tactile experience and the incredible aromas that fill your kitchen. Once you've mastered the basic rustic whole wheat loaf recipe, feel free to experiment with variations – add seeds, herbs, or try different types of whole wheat flour. The possibilities are vast, and the satisfaction of creating something so delicious and wholesome from scratch is immense.
One of the greatest joys of baking a rustic whole wheat loaf is the ability to share it with others. There's something incredibly special about offering a slice of warm, homemade bread, knowing the care and effort that went into making it. The robust flavor and hearty texture of a whole wheat loaf are often universally appreciated.
Bring a loaf to a gathering, gift one to a neighbor, or simply enjoy it with your loved ones around the dinner table. The act of sharing food, especially something as fundamental and comforting as bread, strengthens connections and creates memorable moments. So, bake with ease, bake with joy, and share your wonderful rustic whole wheat loaf creations!
Frequently Asked Questions
What makes this recipe a rustic whole wheat loaf?
The "rustic" nature comes from the simplicity of the recipe and the natural shaping process. It emphasizes a hearty, less refined final product.
Is this "Simple Steps to a Rustic Whole Wheat Artisan Loaf" recipe suitable for beginner bakers?
Yes, absolutely! The recipe focuses on clear, concise instructions and readily available ingredients, making it accessible to beginners.
Can I substitute all-purpose flour for the whole wheat flour in this recipe?
While possible, substituting entirely will alter the texture and flavor. We recommend using at least 50% whole wheat flour to maintain the desired rustic character and nutritional benefits.
What is the best way to store a Rustic Whole Wheat Artisan Loaf to keep it fresh?
Store your loaf in a bread bag or tightly wrapped in plastic wrap at room temperature. Slicing only when needed will also help maintain freshness.
How can I tell if my Rustic Whole Wheat Artisan Loaf is fully baked?
The loaf should have an internal temperature of 200-210°F when tested with a thermometer. The crust should also be a deep golden brown and sound hollow when tapped.
Final Reflection: The Enduring Appeal of the Rustic Loaf
The simple act of baking a rustic whole wheat loaf connects us to a timeless tradition, a practice richer and more rewarding than any store-bought alternative. This article explored the surprisingly accessible process of crafting this beautiful and nourishing bread, demystifying the techniques and empowering home bakers to create something truly special. The current interest in sourdough and homemade bread reflects a growing desire for connection to our food, a yearning for authenticity in a fast-paced world.
The journey of crafting a rustic loaf, from the initial mixing to the satisfying crusty crackle of the finished product, is a deeply rewarding one. It's a process that fosters patience, mindfulness, and a profound appreciation for the simple ingredients that create something so extraordinary. Bread is the staff of life,
a proverb that rings truer than ever as we rediscover the joy and nourishment found in making our own. This isn't just about a recipe; it's about reclaiming a piece of culinary heritage and finding solace in the rhythm of the process.
Now, I invite you to roll up your sleeves and embark on your own rustic loaf adventure. Don't be intimidated by the seemingly complex steps; each one is a small step towards a larger reward: the satisfaction of creating something beautiful, delicious, and entirely your own. The aroma alone will fill your kitchen with warmth and the taste will transport you to a simpler, more connected time. Embrace the process, savor the results, and share the joy of homemade bread with those you love.
Unleash Your Inner Baker: Craft Your Perfect Loaf!
Thanks for joining us on this rustic bread journey! We hope you gained valuable insights into creating a delicious, wholesome loaf. Now it's time to put your newfound knowledge into practice.
- Knead your way to success: Begin your baking adventure by attempting this recipe today! Remember, even small imperfections add to the charm of handmade bread.
- Share your masterpiece: Snap a photo of your rustic loaf and share it with us – we’d love to see your baking creations! Use #BakeWithEaseRustic to join the conversation.
- Discover your next baking project: Explore our other artisan bread recipes on BakeWithEase.com. You might be surprised by what you find!
Ready to experience the satisfaction of baking your own artisan bread? What unique ingredient will you add to your next loaf to make it truly your own?