
Crumb Coat Alternatives: Quick Ways to Seal Your Cake

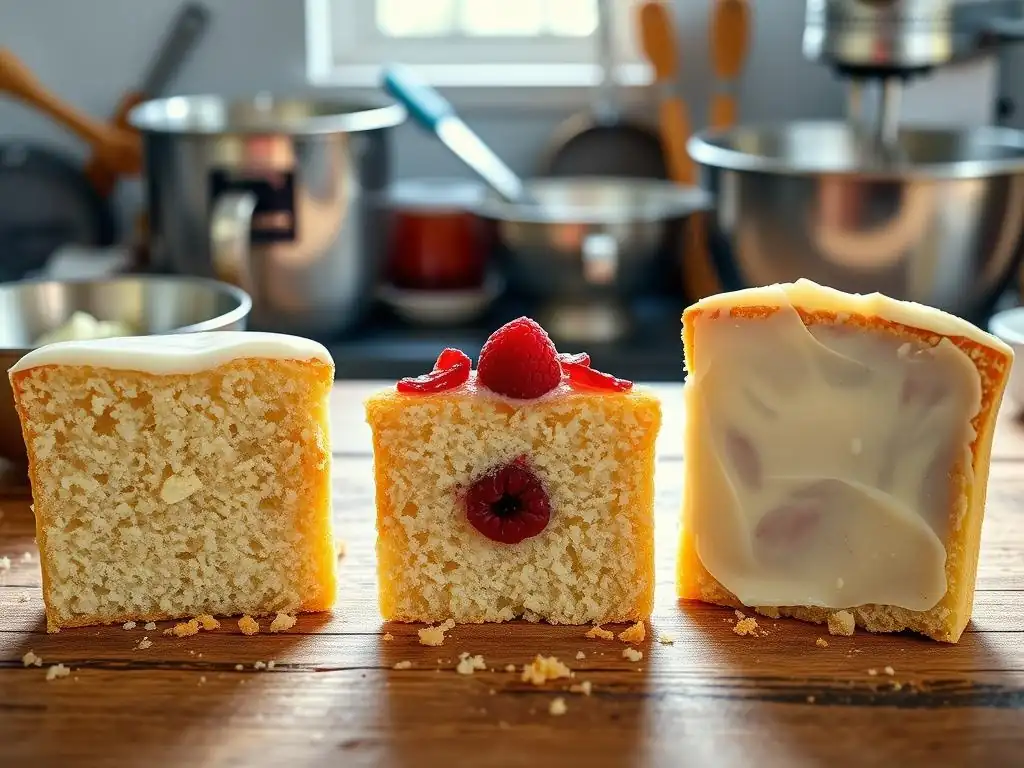
Welcome to BakeWithEase, your partner in creating delightful baked goods! Ever struggled with getting that perfectly smooth finish on your cake? This article dives into creative crumb coat alternatives that will revolutionize your cake decorating game. Discover quick and effective methods to achieve a flawless seal, all without the fuss. Ready to unlock the secrets to a beautifully finished cake? Let's get started!
- Crumb Coat Alternatives: Quick Ways to Seal Your Cake - BakeWithEase
- Introduction: Beyond the Traditional Crumb Coat
- Quick & Easy Crumb Coat Substitutes for Cake Decorating
- No-Crumb-Coat Cake Decorating: Achieving a Smooth Finish Without It
- Troubleshooting Common Crumb Coat Alternative Issues
- Which Crumb Coat Alternative is Right for You? Considerations for Different Cakes
- Conclusion: Mastering Quick Cake Sealing Techniques
- Frequently Asked Questions
- Final Reflection: Beyond the Crumb Coat: A Baker's Journey to Flawless Frosting
- Unlock Your Cake's Potential: Mastering the Crumb Coat
Crumb Coat Alternatives: Quick Ways to Seal Your Cake - BakeWithEase
Introduction: Beyond the Traditional Crumb Coat
Why Consider Crumb Coat Alternatives? Saving Time and Effort
Let's face it, while a traditional crumb coat is a reliable step in achieving a flawless final frosting layer, it adds time to your baking process. It requires an initial thin layer of frosting, followed by chilling, often for 15-30 minutes or even longer, before applying the final decorative coat. For busy home bakers or those looking for a quicker path to cake decorating success, exploring alternatives to the standard crumb coat can be a game-changer.
These methods aim to achieve the same goal – trapping loose crumbs and providing a stable base – but often with less fuss and a shorter overall timeframe. Mastering an easy cake crumb coating technique or alternative can significantly speed up your cake assembly.
Opting for a different strategy doesn't mean compromising on quality. Many alternative methods are not only faster but can also add unique textures or flavors to your finished cake. For instance, using a ganache can introduce a rich chocolate element, while a simple patching technique allows for immediate application of the final layer.
The goal here is to equip you with a repertoire of techniques so you can choose the best approach based on your cake, your time constraints, and your desired outcome. Finding an easy cake crumb coating method that fits your needs is key to making cake decorating more enjoyable and less time-consuming.
Understanding the Purpose of a Crumb Coat: Preventing Crumbs and Locking in Moisture
The primary function of a crumb coat is to create a barrier between the cake layers and the final frosting layer. Cakes, especially those with a tender crumb like vanilla or chocolate sponge, naturally shed small particles when handled or frosted. Without a crumb coat, these loose crumbs would inevitably mix into your beautiful final frosting, creating an uneven and unsightly finish.
The thin layer of frosting in a traditional crumb coat essentially glues these crumbs down, sealing them against the cake and providing a clean surface for the main decoration. It's the unsung hero for achieving that smooth, professional look.
Beyond just trapping crumbs, a crumb coat also plays a role in locking in moisture. While not its main purpose, a sealed cake surface can help prevent the cake from drying out slightly while it chills or before the final frosting is applied, contributing to a more moist and tender bite. It also helps to firm up the cake layers slightly, making them easier to handle and stack, especially for multi-tiered cakes. Understanding these core functions helps in evaluating how well different alternatives perform as an easy cake crumb coating solution.
Quick & Easy Crumb Coat Substitutes for Cake Decorating
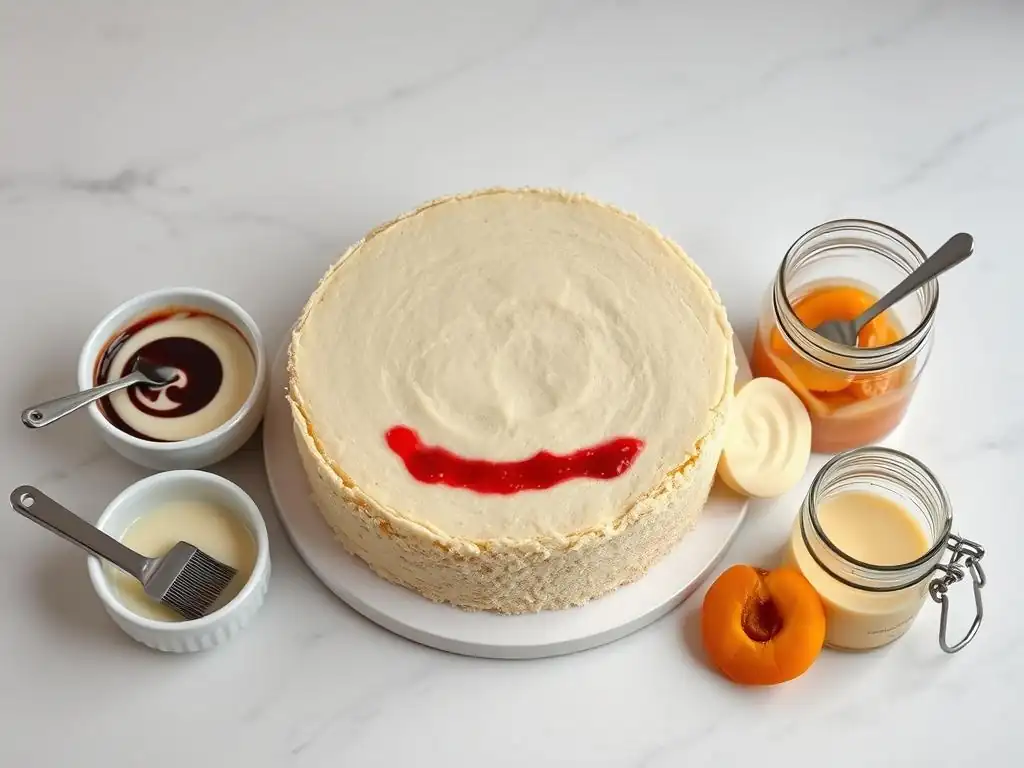
Option 1: The Inverted Cake Method: A Simple Crumb Control Technique
The inverted cake method is a surprisingly effective way to minimize visible crumbs, especially with sturdier cakes. It leverages the fact that the bottom of a cake layer, which was against the flat bottom of the pan, is typically denser and less crumbly than the top (which often domes). By flipping the cake layer over and using the bottom as the top surface, you start with a smoother, less crumb-prone canvas for your frosting. This simple technique is often the first step towards an easy cake crumb coating approach without needing a separate chilling step.
This method is particularly useful when working with a single layer cake or the top layer of a stacked cake, where the top surface is most visible. You simply bake your cake, let it cool completely, and then carefully invert it onto your serving plate or cake stand. Trim any significant dome if necessary, but often, simply using the flat bottom eliminates the need for excessive leveling, which also reduces crumb generation. This strategy is a fundamental part of achieving an easy cake crumb coating effect through preparation rather than an extra frosting step.
How to Apply Frosting to the Bottom Layer Effectively
Once your cake layer is inverted, you're working with the dense, flat "bottom" as your top surface. Apply your frosting directly to this surface. Because it's less crumbly, you can often apply a thicker, more generous layer of frosting right away, which will serve as your final top coat. Use an offset spatula to spread the frosting smoothly, working from the center outwards. Any minor crumbs that do appear will be minimal and can often be smoothed over or carefully wiped away from the edge of your spatula as you work.
When frosting the sides, apply the frosting with your spatula and use a bench scraper or cake smoother held perpendicular to the cake side to smooth it out. The key is to apply enough pressure to smooth the frosting without digging into the cake itself. Because the sides are still the original cake sides, you might encounter slightly more crumbs here than on the inverted top, but they are usually manageable. This direct application technique bypasses the traditional thin crumb coat layer and subsequent chilling, making it a much faster process for an easy cake crumb coating.
Best Frosting Types for the Inverted Cake Method
The inverted cake method works best with frostings that are relatively stable and easy to spread smoothly. American buttercream, Swiss meringue buttercream, or even a stable cream cheese frosting are excellent choices. These frostings hold their shape well and can be applied in a single, thicker layer. A frosting that is too soft or runny might be harder to smooth without dragging crumbs.
- American Buttercream: Stable, easy to make, holds shape well. Requires minimal smoothing effort.
- Swiss/Italian Meringue Buttercream: Silky smooth, less sweet, very stable for sharp edges. Excellent for a polished look.
- Stable Cream Cheese Frosting: Ensure it's thick enough by using softened, not melted, butter and cream cheese, and sufficient powdered sugar (or a stabilizer).
Less ideal might be very soft glazes or whipped cream, which lack the body to easily trap potential crumbs and create a smooth surface in one go. For an easy cake crumb coating using this method, choose a frosting that sets up slightly and provides a good barrier.
Option 2: Ganache Drizzle: An Elegant Crumb Coat Replacement
A ganache drizzle isn't a full-coverage crumb coat, but it's a fantastic alternative for cakes where the sides will be left exposed or covered in a different way (like with a textured frosting or by applying decorations directly). A simple pourable ganache, made from chocolate and cream, can be drizzled over the top edge of a chilled cake.
As it drips down the sides, it elegantly seals any potential crumbs along the top edge and upper sides, creating a beautiful visual effect while also serving a functional purpose. This is a stylish way to achieve an easy cake crumb coating look with added flavor.
This method works particularly well for naked cakes or semi-naked cakes where the cake layers and filling are visible. The ganache provides a clean transition from the top surface to the exposed sides. It sets relatively quickly as it cools, trapping crumbs effectively. Plus, who doesn't love chocolate ganache? It adds a layer of richness and visual appeal that a traditional crumb coat simply cannot offer. This is an easy cake crumb coating substitute that doubles as decoration.
Making a Simple Chocolate Ganache for Cake Sealing
Making ganache is surprisingly simple. The basic ratio is typically equal parts (by weight) good quality chocolate and hot heavy cream. For a pourable ganache suitable for drizzling, you might use a ratio closer to 1 part chocolate to 1 or 1.25 parts cream.
For example, combine 200g of finely chopped chocolate (dark, milk, or white, depending on your cake) with 200-250g of hot heavy cream. Heat the cream just until it simmers, then pour it over the chocolate in a heatproof bowl. Let it sit for 5 minutes to allow the chocolate to melt, then whisk gently from the center outwards until smooth and emulsified.
Ensure your chocolate is finely chopped for easier melting. Using chocolate chips can sometimes lead to a less smooth ganache due to stabilizers. Let the ganache cool slightly before using it. It should be warm enough to pour but not so hot that it melts your cake or frosting underneath. A temperature around 85-90°F (29-32°C) is often ideal for drizzling consistency. Too hot, it runs too quickly; too cool, it thickens too much. This simple preparation makes it an easy cake crumb coating method to implement.
Tips for Achieving a Smooth Ganache Drizzle
Achieving a perfect drip requires attention to detail. First, ensure your cake is well-chilled. A cold cake helps the warm ganache set quickly upon contact, creating defined drips. Place the chilled cake on a wire rack set over a baking sheet (to catch drips). Use a spoon, a squeeze bottle, or a piping bag with a small round tip to apply the ganache. Start by creating drips around the edge, letting the ganache flow naturally. For more controlled drips, push a small amount over the edge and let gravity do the rest.
Once the drips are done, you can pour more ganache onto the top surface and spread it evenly with an offset spatula, working quickly before it sets. The excess ganache caught on the baking sheet can often be gently reheated and reused if needed. Practice makes perfect with drizzles! The consistency of the ganache is key – if it's too thick, gently warm it; if too thin, let it cool slightly. This method provides an easy cake crumb coating alternative that is both functional and visually appealing.
Option 3: Buttercream Patching: A Minimalist Approach
Buttercream patching is perhaps the most minimalist approach to crumb control and an effective easy cake crumb coating method for those who want to apply their final frosting layer immediately. Instead of applying a thin layer over the entire cake, you only use small amounts of frosting to "patch" visible areas where crumbs are likely to be problematic – typically the sides and edges after filling and stacking. It's about spot treatment rather than full coverage.
This method relies on the cake layers being relatively stable and chilled. After stacking your filled layers, you'll notice areas on the sides where the cake surface is exposed and potentially crumbly. Using a small offset spatula, take a tiny amount of your final frosting and gently press it onto these crumb-prone spots. The goal is just to cover the exposed cake surface and trap those loose crumbs, not to create a smooth, even layer across the whole cake. This focused approach makes it an incredibly fast and easy cake crumb coating technique.
Achieving a Smooth Surface with Buttercream Patching
After patching the crumbly areas, you can immediately proceed to apply your final, thicker layer of frosting over the entire cake. Because the most problematic crumb areas have been sealed, the risk of dragging crumbs into your final coat is significantly reduced. Apply the final frosting generously, then smooth it using a bench scraper or offset spatula. The patched areas underneath will help provide a stable base for the final layer.
The key here is using a frosting that is smooth and spreadable for the final coat. The small patches underneath should blend seamlessly into the overall layer. This method works best if your cake layers are relatively flat and your filling is stable, minimizing the need for extensive side frosting just to build shape. It's about efficiency and speed, providing an easy cake crumb coating effect without the extra chilling step.
When to Use the Buttercream Patching Method
The buttercream patching method is ideal for cakes that are going to be fully covered in a medium to thick layer of frosting, especially if time is of the essence. It's less suitable for naked or semi-naked cakes where the cake surface will be visible.
- Time Constraints: When you need to frost a cake quickly without waiting for a traditional crumb coat to chill.
- Stable Cakes: Works best with denser, less crumbly cake recipes like pound cake or certain butter cakes.
- Full Frosting Coverage: Designed for cakes where the patching will be hidden under a complete layer of frosting.
This method might be less effective for very delicate or extremely crumbly cakes, as the patching might not be sufficient to contain all crumbs. However, for many standard cake recipes, it's a reliable and incredibly fast way to achieve an easy cake crumb coating effect.
Option 4: Using Apricot Glaze as a Cake Base Layer
Using a warm apricot glaze as a base layer is a classic technique, particularly in European patisserie, and serves as an excellent easy cake crumb coating alternative, especially for fruit-based cakes or those destined for fondant or marzipan covering. A simple glaze made from strained apricot jam acts as a sticky barrier that effectively seals the cake surface, trapping crumbs and providing a smooth, slightly tacky surface for the next layer.
This method adds a subtle fruity flavor and a beautiful sheen if left exposed. It's particularly effective on sponge cakes or génoise that might be slightly drier or more prone to crumbling. The warmth of the glaze helps it penetrate the surface slightly, creating a strong seal. It sets quickly as it cools, providing a firm base. This traditional technique offers a flavorful and easy cake crumb coating solution.
Choosing the Right Apricot Glaze for Your Cake Flavor
For cake glazing, you'll typically use smooth apricot jam (or preserves). Choose a good quality jam with a vibrant flavor. The flavor of the apricot is generally mild and pairs well with a wide variety of cakes, including vanilla, almond, lemon, and even some chocolate cakes. If you're concerned about chunks of fruit, use apricot preserves and strain it after heating to remove any solids.
To prepare the glaze, gently heat the jam in a small saucepan over medium heat, stirring occasionally, until it becomes liquid and pourable. You can add a tablespoon or two of water or a complementary liqueur (like Grand Marnier or apricot brandy) to thin it slightly if needed. Once heated and smooth, you can strain it through a fine-mesh sieve for a perfectly smooth glaze. This simple preparation makes it an easy cake crumb coating option.
Application Tips for Apricot Glaze
Apply the warm (but not boiling hot) apricot glaze to your cooled cake layers using a pastry brush. Brush it generously over the top and sides, ensuring full coverage. The warmth helps it soak in slightly and create a good seal. Work quickly as the glaze will start to set as it cools.
- Cool Cake: Ensure your cake is completely cool before applying the warm glaze.
- Even Coat: Apply an even layer to trap all crumbs and create a uniform base.
- Set Time: Allow the glaze to set for about 10-15 minutes before applying your next layer of frosting or covering.
This method is particularly useful if you plan to cover your cake with fondant or marzipan, as the slightly tacky glaze provides an excellent surface for them to adhere to, preventing slippage and hiding minor imperfections. It's a classic, flavorful, and easy cake crumb coating alternative.
No-Crumb-Coat Cake Decorating: Achieving a Smooth Finish Without It
Sometimes the best crumb coat alternative is focusing on techniques that minimize crumbs from the start, potentially allowing you to skip a dedicated crumb control step altogether. This requires careful attention to the cake baking and preparation process itself. By optimizing your cake layers, you can create a surface so stable and smooth that an easy cake crumb coating becomes almost unnecessary.
This approach focuses on foundational baking principles. It emphasizes using the right recipes, proper cooling techniques, and precise handling. While not always feasible for every cake or every decorator, mastering these steps can drastically reduce the need for extensive crumb control measures, making your overall decorating process smoother and faster.
Choosing the Right Cake Recipe: Moisture Matters
The choice of cake recipe significantly impacts how many crumbs you'll encounter. Recipes that produce a moist, tender, yet slightly dense crumb are generally less crumbly than very light, airy, or dry cakes. Cakes enriched with butter, oil, or buttermilk tend to be more forgiving in this regard.
- Butter-based cakes: Often have a tighter crumb structure.
- Oil-based cakes: Tend to be very moist and less likely to crumble.
- Adding Buttermilk or Sour Cream: Increases moisture and can improve texture stability.
Extremely dry cakes are more prone to crumbling. Ensuring your cake is baked correctly – not overbaked – is crucial. An overbaked cake will be dry and crumbly, making any easy cake crumb coating attempt more challenging. Pay attention to baking times and oven temperature.
Chilling Your Cake Layers for Easy Handling
Chilling cake layers is perhaps the most important step in minimizing crumbs, regardless of whether you use a traditional crumb coat or an alternative. A cold cake is firm and much easier to handle and frost without causing breakage or excessive crumbling.
After baking and cooling your cakes on a wire rack until they are just warm, wrap them tightly in plastic wrap. For best results, chill them in the refrigerator for at least 2 hours, or ideally, freeze them for 30-60 minutes until firm but not frozen solid. This firming-up process makes leveling, splitting, and frosting significantly cleaner. A well-chilled cake is the foundation for an easy cake crumb coating process, even if you skip the traditional step.
The Importance of a Sharp Serrated Knife for Leveling
If your cake has a dome, leveling is necessary to create flat layers for stacking. Using a sharp serrated knife is crucial for this task. A sharp knife cuts cleanly through the cake structure, producing minimal crumbs compared to a dull knife which can tear and pull the cake, creating a crumb storm.
Hold the knife level and use a gentle sawing motion to slice off the dome. Don't press down. For extra precision, you can use a cake leveler tool, which ensures an even cut across the entire layer. Removing the dome effectively and cleanly is a vital step in preparing the cake for an easy cake crumb coating or direct frosting application.
Troubleshooting Common Crumb Coat Alternative Issues
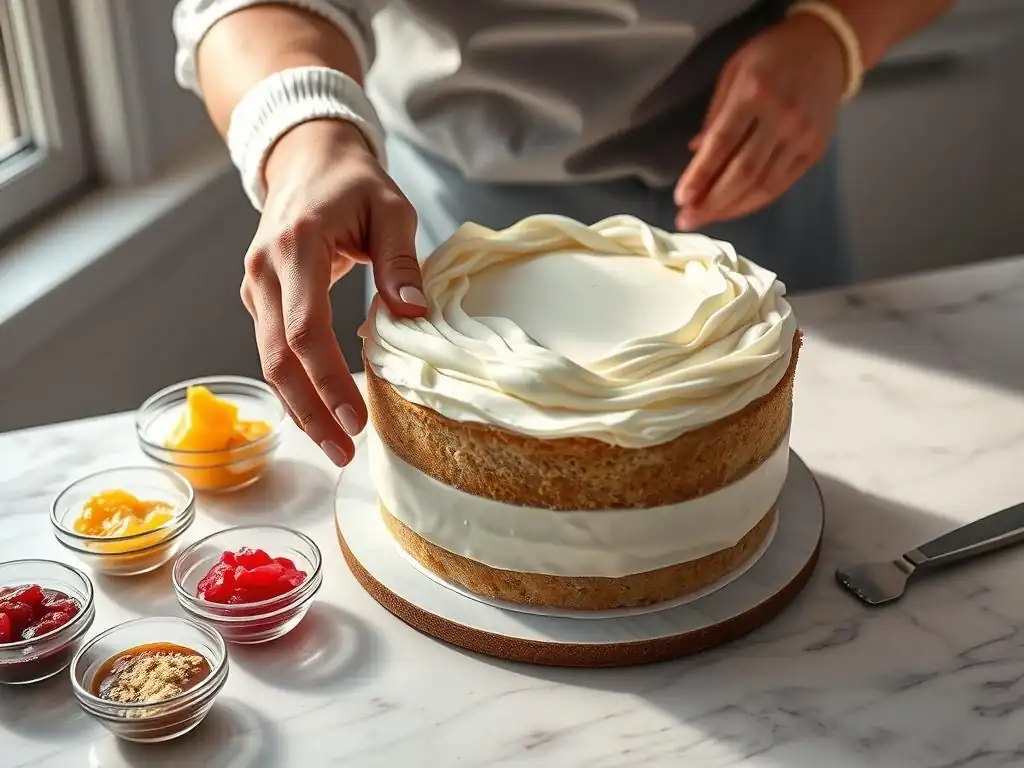
Even with the best alternatives, you might encounter challenges. Knowing how to address them ensures a smooth decorating process.
Dealing with Crumbs: Techniques for a Clean Finish
- First Pass: If you're applying the final frosting layer directly after chilling, use your first pass of frosting just to trap crumbs. Don't aim for smoothness yet. Apply a thin layer, let it sit for a minute, then apply a second, thicker layer.
- Clean Spatula: Keep a bowl of warm water and a towel handy. Dip your spatula in warm water and wipe it clean frequently while frosting. A clean, warm spatula glides more smoothly and is less likely to drag crumbs.
- Work Quickly: With methods like patching or direct frosting, work efficiently. The less you handle the cake and frosting, the fewer crumbs you'll disturb.
Preventing the Frosting from Sliding: Temperature Control
If your frosting is sliding or not adhering well, the cake might be too cold, or the frosting might be too warm or soft.
- Allow Cake to Warm Slightly: If the cake is frozen solid, let it sit at room temperature for 10-15 minutes to take the extreme chill off before frosting.
- Check Frosting Consistency: Ensure your frosting is the right consistency – firm enough to hold its shape but spreadable. If it's too soft, chill it briefly. If it's too stiff, beat in a tiny bit of milk or cream.
Addressing Issues with Ganache Setting Too Quickly
Ganache can set up very fast, especially on a cold cake or in a cool room.
- Warm Slightly: If your ganache becomes too thick to drizzle or spread, gently warm it over a double boiler or in the microwave in short bursts (5-10 seconds), stirring until it reaches the desired consistency.
- Work Faster: Have your chilled cake ready and work quickly once the ganache is the right temperature.
Which Crumb Coat Alternative is Right for You? Considerations for Different Cakes
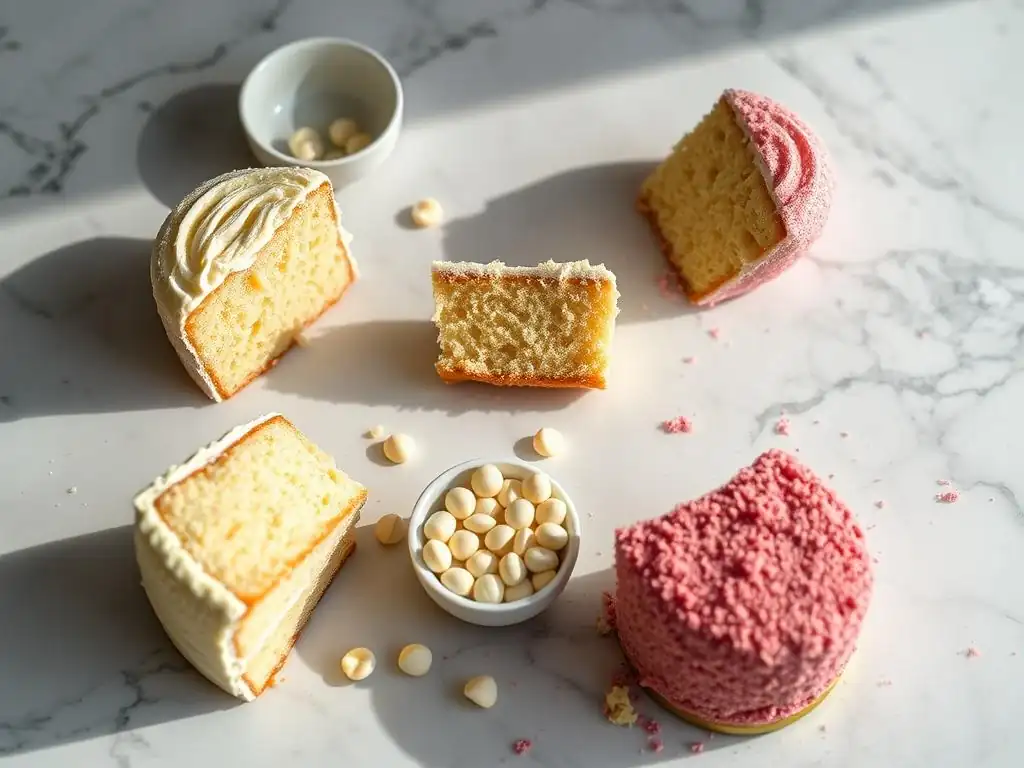
Choosing the best easy cake crumb coating alternative depends on several factors related to your specific cake project.
Cake Type and Flavor Pairing
- Delicate/Crumbly Cakes: Apricot glaze or chilling followed by careful direct frosting might be best.
- Sturdy Cakes (e.g., pound cake): The inverted method or buttercream patching is very effective.
- Chocolate Cakes: Ganache is a natural and delicious pairing.
- Fruit Cakes: Apricot glaze complements fruit flavors beautifully.
Your Skill Level and Available Time
- Beginner/Time-Pressed: The inverted method or buttercream patching are generally the simplest and fastest.
- Intermediate: Ganache drizzles require a bit more practice but offer stunning results. Apricot glaze is straightforward if you're comfortable making simple glazes.
- Plenty of Time: While these are alternatives for speed, if time allows, mastering any of them is rewarding.
Desired Aesthetic: Smooth vs. Textured
- Perfectly Smooth Finish: Chilling plus careful direct frosting or patching followed by smoothing are key. The apricot glaze also provides a very smooth underlayer.
- Drip Effect: Ganache drizzle is the clear choice.
- Rustic/Textured: Some methods like patching are less critical for a perfectly smooth final coat, allowing for more textured finishes.
Conclusion: Mastering Quick Cake Sealing Techniques
Embracing Flexibility in Cake Decorating
Moving beyond the traditional crumb coat opens up a world of possibilities for efficient and creative cake decorating. Understanding the purpose of an easy cake crumb coating allows you to strategically choose the best method for your specific needs, whether it's saving time, adding flavor, or achieving a particular look. There's no single "right" way to seal a cake; the best method is the one that works for you, your cake, and your vision. Embracing these alternatives adds valuable techniques to your baking repertoire.
From flipping your cake layers to drizzling rich ganache or simply patching crumb-prone spots, these alternatives offer effective ways to manage crumbs and create a stable base for your final decoration without mandatory long chilling periods. By focusing on cake preparation techniques like chilling and using a sharp knife, you can further minimize the need for extensive crumb control. Experiment with these different methods to find your favorites and discover how much faster and easier cake decorating can be.
BakeWithEase Tips for Perfecting Your Crumb Coat Alternatives
- Always Chill Your Cake: Regardless of the method, a cold cake is your best friend for minimizing crumbs and easier handling.
- Use the Right Tools: A sharp serrated knife, a good offset spatula, and a bench scraper are invaluable.
- Practice Makes Perfect: Try these methods on practice cakes or cupcakes before tackling a special occasion cake.
- Don't Be Afraid to Experiment: Combine techniques! Maybe you patch the sides and do a ganache drip on top.
- Focus on the Final Result: The goal is a beautiful cake. Choose the easiest cake crumb coating method that helps you achieve that goal efficiently and effectively.
Frequently Asked Questions
What is a crumb coat, and why is it important?
A crumb coat is a thin layer of frosting applied to a cake before the final frosting layer. It's crucial for sealing in crumbs and creating a smooth surface for decorating.
What are some easy alternatives to a traditional buttercream crumb coat?
Alternatives include a thin layer of ganache, jam, or even a simple syrup wash. These options can provide a smooth base without the fuss of buttercream.
Can I skip the crumb coat altogether?
While possible, skipping it often results in visible crumbs in your final frosting. For a professional look, a crumb coat is highly recommended.
What if I don't have time to let the crumb coat chill?
Freezing the cake for a short period can help firm up the crumb coat quickly. This allows for a faster final frosting application.
What kind of frosting works best for a "easy cake crumb coating"?
A smooth, easily spreadable frosting like buttercream is ideal. However, any frosting that can create a thin, even layer will work effectively.
Final Reflection: Beyond the Crumb Coat: A Baker's Journey to Flawless Frosting
The quest for the perfect cake frosting often begins—and sometimes ends—with the dreaded crumb coat. This seemingly simple step is the cornerstone of a beautifully smooth finish, yet many bakers struggle with its execution. This article explored faster, easier alternatives, proving that achieving that professional look isn't about endless layers of frosting, but about smart techniques and a little creativity.
The impact of a flawlessly frosted cake extends far beyond the visual appeal. It's a symbol of celebration, a testament to patience and skill, and a delicious centerpiece that brings joy to countless gatherings. A cake is a celebration of life, a moment of pure joy, and a testament to the power of simple ingredients transformed into something extraordinary.
This sentiment, though not directly about crumb coats, perfectly encapsulates the emotional weight we place on the seemingly small details of baking, like achieving a smooth, even surface. The pursuit of perfecting this one step reflects a larger desire for mastery and the satisfaction of creating something beautiful.
Now, consider your own baking journey. What challenges have you faced in achieving that perfect finish? What new techniques will you try after reading this article? Don't be afraid to experiment! Embrace the imperfections, learn from each attempt, and remember that the joy of baking lies not just in the final product, but in the process itself. The next time you're faced with a crumb-coated cake, remember the alternatives explored here and let your creativity guide you to a smoother, more efficient, and ultimately more satisfying baking experience.
Unlock Your Cake's Potential: Mastering the Crumb Coat
Thanks for taking the time to explore different ways to seal your cake! We hope you discovered some new techniques to elevate your baking game. Ready to put your newfound knowledge into practice?
- Master the Perfect Crumb Coat: Try out your favorite method from the article – whether it's the classic crumb coat, the reverse crumb coat, or a ganache seal – and bake a cake this week! Challenge yourself to try a new flavor combination!
- Share Your Success (or Struggles!): Snap a picture of your beautifully sealed cake and share it with us on social media using #BakeWithEaseCrumbCoat. We'd love to see your creations!
- Explore Advanced Techniques: Dive deeper into cake decorating by researching different frosting techniques or exploring unique cake designs. What new challenge will you tackle next?
Ready to create your masterpiece? What unique flavor combination will you try for your next crumb-coated cake?