
Secrets to Uniform Cream Puffs Every Time

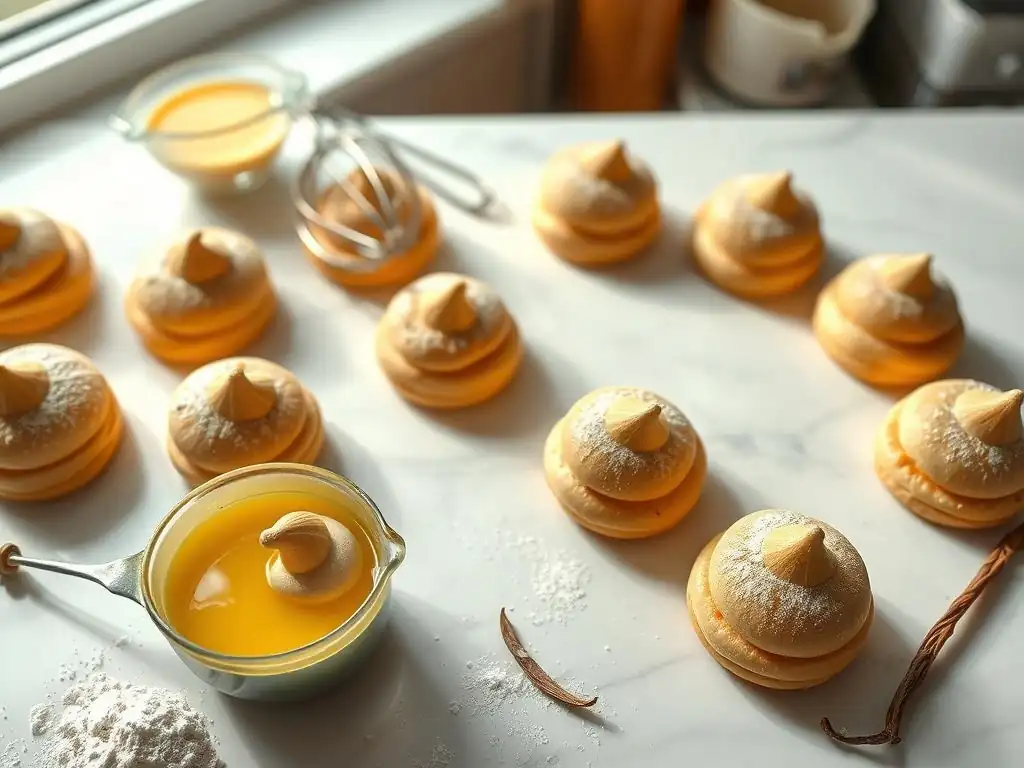
Welcome to BakeWithEase, where baking dreams become delicious reality! Ever wondered how professional bakeries achieve perfectly uniform cream puffs? We're about to unlock those secrets for you. Forget lopsided pastries and inconsistent results; prepare to master the art of the pâte à choux with our step-by-step guide. Ready to bake beyond the basics and create cream puffs that are as beautiful as they are delectable? Let's begin...
- Secrets to Uniform Cream Puffs Every Time - BakeWithEase
- Introduction: Mastering the Art of Uniform Cream Puffs
- Understanding the Science Behind Perfect Cream Puffs
- Uniform Cream Puff Recipe Secrets: Step-by-Step Guide
- Troubleshooting Common Cream Puff Problems
- Advanced Tips for Uniform Cream Puff Perfection
- Beyond the Basics: Creative Cream Puff Variations
- Conclusion: Bake With Ease and Achieve Cream Puff Mastery
- Frequently Asked Questions
- Final Reflection: Mastering the Art of the Perfect Cream Puff
- Unlock Your Inner Pastry Chef: Perfect Cream Puffs Await!
Secrets to Uniform Cream Puffs Every Time - BakeWithEase
Introduction: Mastering the Art of Uniform Cream Puffs
Why Uniform Cream Puffs Matter for Perfect Presentation
Creating a batch of cream puffs where each one is a perfect, golden sphere is the hallmark of a skilled baker. Uniformity isn't just about aesthetics; it speaks to consistency in technique and a deep understanding of the choux pastry process. Imagine a towering croquembouche or a platter of profiteroles – their visual impact is exponentially greater when each puff is roughly the same size, shape, and color. This consistency ensures even baking, leading to a uniform texture from the crisp exterior to the hollow interior, ready for filling.
Beyond the visual appeal, uniform cream puffs offer a predictable outcome when baking multiple batches or serving guests. A consistent size means consistent baking time, reducing the risk of some puffs being underbaked and others overbaked in the same batch. Achieving this level of uniformity elevates your baking from good to exceptional, showcasing precision and mastery in the delicate art of choux pastry. This guide delves into the essential techniques and secrets needed to achieve those coveted, perfectly uniform cream puffs every single time.
BakeWithEase' Guide to Consistent Cream Puff Success
Welcome to your comprehensive guide on unlocking the secrets to uniform cream puff success. We understand the frustration of unpredictable results – some puffs rising beautifully, others collapsing or spreading flat. That's why we've compiled the essential steps, backed by baking science, to help you achieve consistently excellent cream puffs. This guide covers everything from ingredient ratios and dough consistency to precise piping and the critical baking process.
We'll walk you through the uniform cream puff recipe secrets that professional bakers rely on. By focusing on accuracy and technique at each stage, you'll build confidence and skill in handling choux pastry. Whether you're aiming for picture-perfect éclairs, classic profiteroles, or the foundation for a stunning dessert centerpiece, mastering uniformity is the first step. Get ready to transform your cream puff baking from a gamble into a consistently rewarding experience.
Understanding the Science Behind Perfect Cream Puffs
The Crucial Role of Ingredients in Cream Puff Formation
Choux pastry, or pâte à choux, relies on a precise balance of simple ingredients: liquid (usually water, milk, or a mix), butter, flour, and eggs. The magic happens when these come together correctly. When the liquid and butter are heated and the flour is added, the starch in the flour gelatinizes, absorbing the liquid and forming a thick paste.
This paste is then cooked further to dry it out slightly, creating a stable base. A common starting ratio might be 1 part liquid, 1 part butter, 1 part flour, and 2 parts eggs by weight, though slight variations exist. For instance, using milk instead of water can add richness and color due to its fat content, but water provides more steam for lift.
The eggs are perhaps the most critical component for achieving the characteristic hollow interior and lift. Added gradually to the warm paste, the egg proteins emulsify the fat, add structure, and, most importantly, provide moisture that turns into steam during baking. As the intense oven heat hits the dough, this internal steam expands dramatically, inflating the pastry shell.
The gelatinized starch and coagulated egg proteins then set the structure, creating the crisp crust and airy void within. Too much flour can result in a dense puff, while too few eggs will lead to insufficient steam and poor lift. Conversely, too many eggs make the dough too wet, causing the puffs to spread rather than rise vertically.
Temperature's Impact on Choux Pastry Dough
Temperature control is paramount throughout the choux pastry process, from cooking the dough on the stovetop to baking it in the oven. The initial cooking of the flour paste over heat is vital for gelatinizing the starch and drying out the dough.
This process, often taking 2-3 minutes of vigorous stirring after adding the flour, develops the dough's structure and ensures it can later absorb the correct amount of egg. The temperature of the dough when adding the eggs is also critical; it should be warm enough (typically around 120-140°F or 50-60°C) to incorporate the eggs smoothly and activate the starch/protein setting, but not so hot (above 160°F or 71°C) that it scrambles the eggs.
During baking, temperature plays a dual role. An initial high temperature (often 400-425°F or 200-220°C) provides a burst of heat that rapidly converts the internal moisture to steam, causing the dough to puff dramatically. This high heat also quickly sets the exterior crust.
After about 10-15 minutes, the temperature is typically reduced (to 350-375°F or 175-190°C) to allow the puffs to continue baking through and drying out without burning the exterior. This lower temperature phase is essential for developing a stable structure and preventing the puffs from collapsing upon cooling. Insufficient baking time or temperature will leave the interior damp and prone to deflating.
Uniform Cream Puff Recipe Secrets: Step-by-Step Guide
Secret 1: Precise Measurements for Consistent Dough
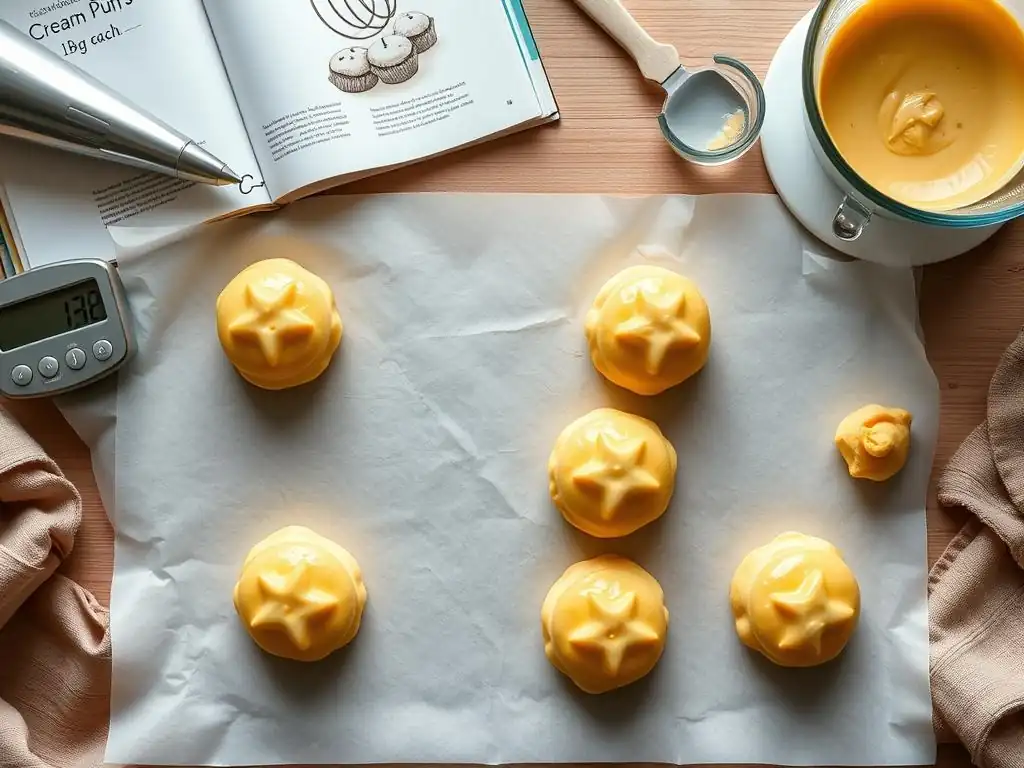
The foundation of achieving uniform cream puffs lies in the accuracy of your ingredients. Unlike some baking where a little wiggle room exists, choux pastry is sensitive to ratios. Using a kitchen scale to weigh your ingredients is the most reliable method for consistency. Measuring flour by volume (cups) can vary significantly depending on how it's scooped and leveled, potentially throwing off the delicate balance of the dough. For instance, 1 cup of all-purpose flour can weigh anywhere from 120g to 140g.
A typical recipe might call for 125g water, 100g unsalted butter, 150g all-purpose flour, and 4-5 large eggs (which weigh roughly 50-60g each, totaling 200-300g). Weighing ensures you have the exact amount of liquid, fat, and flour to create the correct paste consistency before adding the eggs. This precision is the first and arguably most important step in unlocking the uniform cream puff recipe secrets. By starting with an accurately measured dough base, you set yourself up for success in the subsequent steps.
Secret 2: Achieving the Right Dough Consistency: The Spoon Test
After cooking the flour paste and cooling it slightly, the eggs are incorporated. This stage is where many bakers encounter inconsistency. The goal is to add just enough egg to make a dough that is smooth, glossy, and pliable, but still holds its shape. Eggs should be added gradually, often one at a time, mixing thoroughly after each addition until fully incorporated before adding the next. The number of eggs can vary slightly based on factors like the size of the eggs, how much the dough dried out on the stovetop, and even ambient humidity.
The "spoon test" or "V test" is the classic method to determine if the dough has the perfect consistency for piping uniform cream puffs. To perform the test, dip a spoon or spatula into the dough and lift it up. The dough should hang from the spoon in a thick "V" shape or fall back into the bowl in a slow, continuous ribbon that eventually breaks, leaving a V-shape trailing from the spoon.
If the dough is too stiff and breaks off in clumps, it needs more egg. If it's too runny and drips rapidly, too much egg has been added (a difficult fix at this stage). Mastering this visual cue is a key uniform cream puff recipe secret.
Secret 3: Mastering the Piping Technique for Uniform Shapes
Once your dough is the correct consistency, piping is the next step to achieving uniform size and shape. Using a piping bag fitted with a tip is essential for creating consistently sized puffs. Free-forming the dough with spoons often results in uneven shapes and sizes, leading to inconsistent baking. Fill your piping bag no more than two-thirds full to make it easier to handle and apply consistent pressure.
Prepare your baking sheet by lining it with parchment paper or a silicone baking mat. These prevent sticking and promote even browning on the bottom. When piping, hold the bag vertically, perpendicular to the baking sheet, about half an inch above the surface. Apply steady, even pressure, allowing the dough to build up into a mound. Stop squeezing before lifting the bag straight up, twisting slightly to break cleanly from the dough. For perfectly round puffs, gently smooth down any peaks left by the piping tip using a damp fingertip or the back of a wet spoon.
Choosing the Right Piping Tip for Even Cream Puffs
The choice of piping tip significantly impacts the final shape and texture of your cream puffs. For classic, smooth-surfaced puffs that rise into round spheres, a large round tip is ideal. Tips like the Ateco 808 (3/8 inch) or Ateco 809 (1/2 inch) are excellent choices. The large opening allows the dough to flow smoothly without resistance, promoting even expansion during baking.
If you prefer a slightly different look, such as puffs with ridges that bake up crispier, a large star tip can be used. Tips like the Ateco 826 or 829 produce beautiful defined ridges. Regardless of whether you choose a round or star tip, using a large tip is crucial for cream puffs. Small tips restrict the flow of the relatively thick choux dough, making consistent piping difficult and potentially hindering the dough's ability to expand properly in the oven.
Consistent Piping Pressure: Key to Uniform Size
Achieving uniformity in size relies heavily on maintaining consistent pressure on the piping bag for the same amount of time for each puff. Practice piping on a piece of parchment paper without dough first to get a feel for applying steady pressure. Once you have the dough in the bag, pipe your first puff, then try to replicate the amount of dough for each subsequent puff by applying the same pressure for the same duration.
Aim for puffs that are roughly the same diameter and height. Piping dots about 1.5 to 2 inches in diameter is a good starting point for standard profiterole-sized puffs. Remember that they will expand significantly in the oven, often doubling or tripling in volume. Piping them too close together (less than 2 inches apart) can cause them to merge during baking. Focusing on consistent pressure and spacing is a fundamental aspect of the uniform cream puff recipe secrets.
Secret 4: Baking at the Correct Temperature and Time
Baking is arguably the most critical stage for achieving perfectly risen, hollow, and uniform cream puffs. The oven temperature and baking time must be precise to ensure the puffs achieve maximum lift, set their structure, and dry out completely without burning. A common and highly effective method is the two-stage baking process.
Start by preheating your oven to a high temperature, typically between 400°F and 425°F (200°C to 220°C). Place the baking sheet of piped puffs into the hot oven. This initial blast of high heat creates steam rapidly inside the dough, causing the puffs to expand dramatically. Bake at this high temperature for the first 10-15 minutes, without opening the oven door. Opening the door releases the steam and drops the temperature, which can cause the delicate, still-forming structure to collapse.
Oven Temperature Calibration for Even Baking
Knowing your oven's true temperature is essential for consistent baking. Oven thermostats can be inaccurate, sometimes by as much as 25-50°F (15-30°C). Using an oven thermometer placed inside your oven will show you the actual temperature, allowing you to adjust your oven's setting accordingly. If your oven runs cool, you might need to set it higher than the recipe specifies; if it runs hot, set it lower. This calibration ensures the puffs experience the correct temperature phases needed for proper rise and structure development.
After the initial high-heat period, reduce the oven temperature to a lower setting, usually between 350°F and 375°F (175°C to 190°C), and continue baking for another 15-25 minutes, or until the puffs are deeply golden brown and feel light and hollow when lifted. This lower temperature allows the interior to cook and dry out without the exterior burning. It's better to slightly overbake cream puffs than underbake them, as underbaked puffs are prone to collapsing. The total baking time for medium-sized puffs is typically between 25 and 40 minutes.
Avoiding a Soggy Bottom: Baking Sheet Placement
The placement of your baking sheet in the oven also affects how evenly your cream puffs bake. Using a light-colored baking sheet is preferable to a dark one, as dark sheets absorb more heat and can cause the bottoms of the puffs to brown too quickly or even burn before the tops are fully baked. Lining the sheet with parchment paper or a silicone baking mat further helps regulate heat transfer to the bottom.
Positioning the baking sheet on the middle rack of the oven usually provides the most even heat circulation, ensuring the tops and bottoms of the puffs bake at a similar rate. If you are baking multiple sheets, rotate their positions halfway through the lower-temperature baking phase to account for potential hot spots in your oven. This attention to detail in baking sheet choice and placement is a subtle but important uniform cream puff recipe secret.
Secret 5: Cooling Cream Puffs Properly to Prevent Collapse
The final step to ensuring your uniform cream puffs maintain their shape and crispness is proper cooling. Removing them from the oven and letting them cool incorrectly can lead to deflation and a soggy texture. Immediately after taking the puffs out of the oven, while they are still hot and firm, it's beneficial to pierce each one.
Using a sharp paring knife or the tip of a skewer, make a small slit or pierce the side or bottom of each cream puff. This allows the steam trapped inside the hollow cavity to escape gradually. Releasing this steam prevents condensation from building up inside the puff, which can make the interior soggy and potentially cause the puff to soften and collapse as it cools. This simple step is a highly effective uniform cream puff recipe secret for maintaining a crisp exterior.
Piercing the Cream Puffs for Steam Release
Piercing the cream puffs immediately after removing them from the hot oven is a critical step for preventing them from becoming soft or deflating. The internal temperature of the puff is still very high, and the moisture within is eager to escape. By creating a small vent, you provide a controlled exit for this steam.
Make a small slit about 1/2 inch long on the side of each puff, or pierce the bottom with a skewer. Be gentle so you don't crush the delicate shell. This allows the hot, moist air trapped inside to dissipate, leaving a dry, hollow cavity. Without this step, the steam cools and condenses inside, leading to a damp interior and a softer crust that loses its crispness.
Cooling Rack Essentials for Uniform Texture
Once pierced, transfer the cream puffs to a wire cooling rack immediately. Cooling them on the hot baking sheet will continue to cook the bottoms and trap steam underneath, potentially making them soggy. A wire rack allows air to circulate freely around the entire surface of each puff, promoting even cooling and preventing condensation.
Ensure the puffs are spaced apart on the cooling rack so air can flow around them. Let them cool completely before filling them. Filling warm cream puffs will cause the filling (especially creams or whipped cream) to melt and can also make the pastry soggy from the inside out. Proper cooling on a wire rack is the final guardian of your uniform cream puff's structure and crisp texture.
Troubleshooting Common Cream Puff Problems
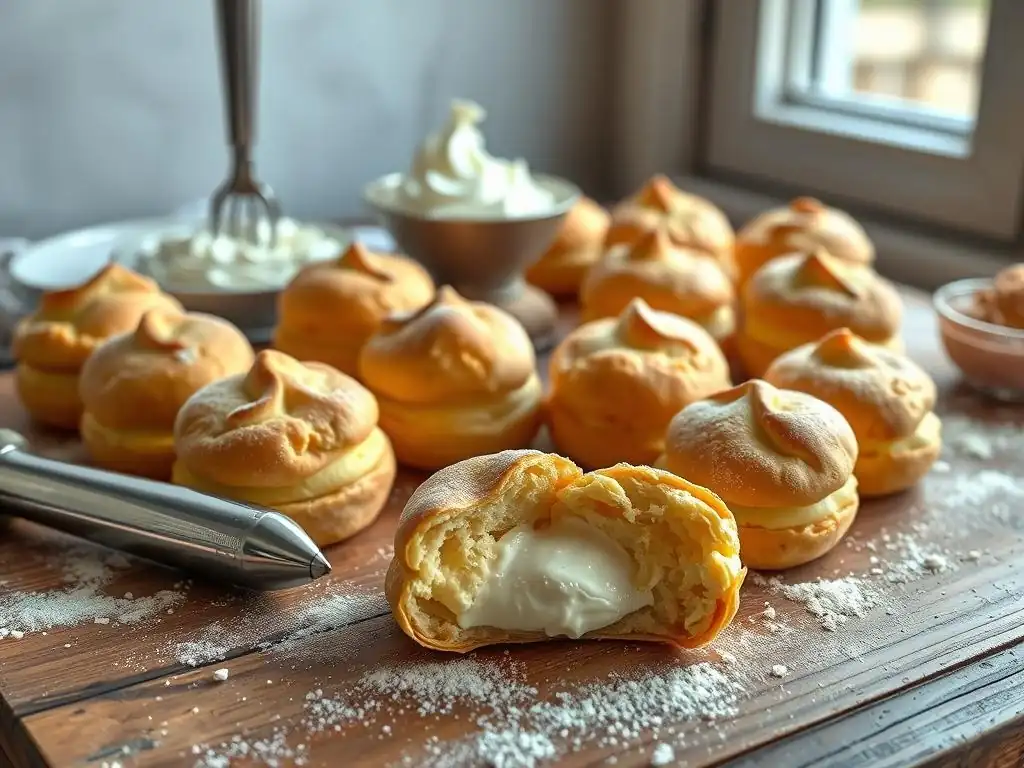
Why Are My Cream Puffs Flat?
Flat cream puffs are a common frustration and usually indicate insufficient steam production or structural failure during baking. One primary reason is underbaking – if the puffs aren't baked long enough, especially at the lower temperature, the structure doesn't fully set, and they collapse as they cool. Opening the oven door too early during the initial high-heat phase is another major culprit; this releases the steam needed for lift and causes a sudden temperature drop.
Other factors contributing to flatness include a dough that was too wet (too many eggs added), which lacks the necessary structure to hold its shape, or an oven temperature that was too low throughout the baking process, preventing adequate steam generation and crust formation. Ensuring precise measurements, proper dough consistency (using the spoon test), baking at the correct temperatures for the required time, and resisting the urge to open the oven door are key to avoiding flat puffs.
Why Are My Cream Puffs Soggy?
Soggy cream puffs, either on the bottom or throughout, are typically a sign of trapped moisture. The most common reason is underbaking; if the puffs aren't baked long enough to fully dry out the interior, the remaining moisture turns the pastry soft and heavy. Baking at too low a temperature can also contribute to sogginess as the water doesn't convert to steam efficiently or the crust doesn't set properly to contain the steam for lift before drying out.
Improper cooling is another major cause. Leaving hot cream puffs on a solid surface like a baking sheet traps steam underneath, making the bottoms soggy. Not piercing the puffs immediately after baking also traps steam inside, leading to condensation and a damp interior. Always bake until the puffs are deeply golden and feel very light, then pierce them and cool completely on a wire rack.
Why Are My Cream Puffs Cracking?
Excessive cracking on the surface of cream puffs can happen for a few reasons. One common cause is an oven temperature that is too high, especially during the initial phase. The exterior crust forms and sets too quickly and rigidly before the inside has fully expanded with steam, causing the crust to crack as the internal pressure builds.
Another factor can be a dough that is slightly too dry (not enough egg added). A stiffer dough is less elastic and more prone to cracking as it expands. Sometimes, slight cracking is natural for choux pastry, especially with star tips which encourage ridges. However, large, uneven cracks often point to issues with oven temperature or dough hydration. Using an oven thermometer to ensure accurate temperature control and checking the dough consistency carefully with the spoon test can help minimize excessive cracking.
Advanced Tips for Uniform Cream Puff Perfection
Adding Flavor Extracts to Choux Pastry
While classic choux pastry is simple, you can easily infuse flavor directly into the dough itself. This adds an extra dimension to your uniform cream puffs before they are even filled. Extracts like vanilla, almond, or even a touch of orange zest can be added with the eggs. For a batch using 4-5 large eggs, start with about 1 teaspoon of pure vanilla extract or 1/2 teaspoon of a stronger extract like almond.
Add the extract along with the final egg additions, ensuring it is fully incorporated into the dough. Be mindful that adding liquid extracts can slightly alter the dough consistency, so you may need a tiny bit less egg if using a significant amount of extract, though standard extract quantities are usually negligible in terms of dough hydration. This simple technique allows you to create flavored shells that perfectly complement your chosen fillings.
Glazing Techniques for Professional-Looking Cream Puffs
A simple glaze can elevate the appearance and taste of your uniform cream puffs, giving them a professional finish. A classic glaze is a simple mixture of powdered sugar and a liquid (water, milk, or juice). For a basic glaze, whisk together about 1 cup of powdered sugar with 1-2 tablespoons of milk or water until smooth and pourable.
Once the cream puffs are completely cool, you can dip the tops into the glaze or drizzle it over them using a spoon or piping bag. For a chocolate glaze, melt about 4 ounces of good quality chocolate (bittersweet or semi-sweet) with 1-2 tablespoons of butter or cream. Let it cool slightly until it thickens before dipping the puff tops. Ensure the glaze isn't too hot, as this can melt the pastry. Glazing adds sweetness and visual appeal, making your perfectly uniform cream puffs even more enticing.
Freezing and Storing Cream Puffs for Later Use
One of the great advantages of uniform cream puffs is that they can be baked ahead of time and stored, allowing you to prepare components for a dessert well in advance. Fully baked and cooled cream puff shells can be frozen successfully. Ensure they are completely cool before freezing.
Place the cooled, un-filled puffs in a single layer on a baking sheet and freeze until solid, about 1-2 hours. Once frozen, transfer them to an airtight container or freezer bag. They can be stored in the freezer for up to 2-3 months.
To use, simply remove the desired number of puffs from the freezer and let them thaw at room temperature for about 30-60 minutes. For best results and to restore crispness, you can warm them in a preheated oven at 300°F (150°C) for 5-10 minutes before filling. This method is a fantastic way to always have uniform cream puff shells ready for spontaneous dessert creation.
Beyond the Basics: Creative Cream Puff Variations
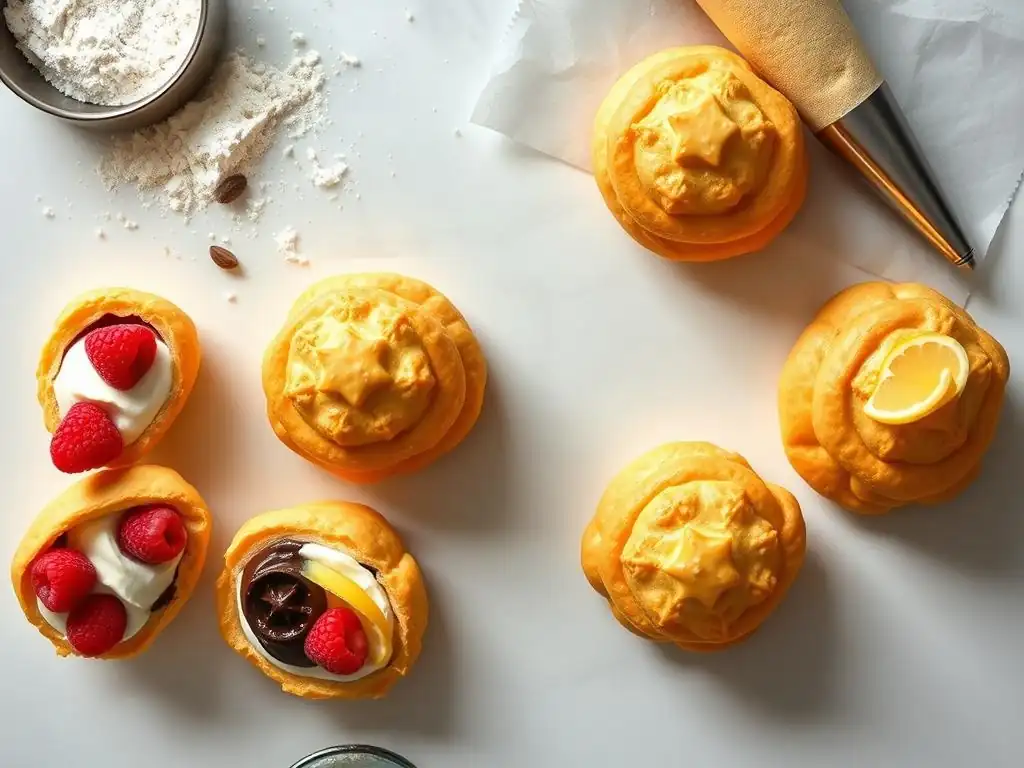
Chocolate Cream Puffs: Adding Cocoa to the Dough
Infusing your choux pastry with chocolate is a delicious variation that starts with the dough itself. To make chocolate uniform cream puffs, you typically substitute a small portion of the flour with unsweetened cocoa powder. A common ratio is to replace about 10-15% of the flour weight with cocoa powder. For a recipe using 150g flour, you might use 130g flour and 20g unsweetened cocoa powder.
Sift the cocoa powder together with the flour before adding it to the hot liquid and butter mixture on the stovetop. Proceed with the recipe as usual, cooking the dough thoroughly and adding the eggs. The cocoa will give the dough a rich color and subtle chocolate flavor, creating a perfect base for chocolate fillings or simply dusting with powdered sugar. Ensure the cocoa powder is unsweetened for the best results, as sweetened cocoa contains sugar that can affect the dough's structure.
Savory Cream Puffs: Exploring Cheese and Herb Combinations
Cream puffs aren't just for sweets! Choux pastry makes an excellent base for savory appetizers or side dishes. To create savory uniform cream puffs, omit any sugar called for in the basic recipe (though most classic choux recipes contain none). After the dough has been cooked on the stovetop and is ready for eggs, you can stir in grated cheese and/or finely chopped fresh herbs.
Hard cheeses like Gruyère, Parmesan, or cheddar work wonderfully. For a batch using 150g flour, you might stir in 50-75g of finely grated cheese and 1-2 tablespoons of fresh herbs like chives, thyme, or rosemary. The cheese will melt slightly into the dough, adding flavor and richness. Proceed with adding the eggs and piping. Savory puffs can be filled with cheese spreads, smoked salmon, herb butter, or served plain as a sophisticated accompaniment to soups or salads.
Croquembouche: Building a Tower of Uniform Cream Puffs
The Croquembouche, a classic French dessert, is a cone-shaped tower made of uniform cream puffs (often filled with pastry cream) glued together with caramel. Achieving uniformity in size and shape is absolutely critical when planning a Croquembouche, as uneven puffs make assembly difficult and result in a lopsided tower. This is where all the uniform cream puff recipe secrets truly come into play.
Each puff must be consistently piped, baked to a stable, crisp structure, and cooled properly. When assembling, the uniform shape allows the puffs to fit together neatly, creating a sturdy structure. The caramel, heated to the hard-crack stage (around 300-310°F or 149-154°C), acts as the glue. Dipping each puff quickly in the hot caramel and attaching it to the others requires speed and precision, made easier when working with uniformly sized pieces. Building a Croquembouche is the ultimate test of your ability to create uniform cream puffs.
Conclusion: Bake With Ease and Achieve Cream Puff Mastery
Recap of Key Secrets for Uniform Cream Puffs
Mastering uniform cream puffs is entirely achievable with attention to detail and practice. We've covered the essential uniform cream puff recipe secrets: precise ingredient measurements (preferably by weight), achieving the perfect dough consistency (the 'spoon test'), mastering piping technique for consistent shapes and sizes (using a large tip and steady pressure), the critical two-stage baking process (high heat for lift, lower heat for drying, never opening the oven door early), and proper cooling (piercing and using a wire rack).
By understanding the science behind how these simple ingredients interact and how temperature influences the dough's structure, you gain control over the process. Troubleshooting common issues like flatness, sogginess, or cracking becomes easier when you know the likely causes. Incorporating advanced tips like flavoring the dough or glazing adds further polish. Remember, consistency in execution at each stage is the key to consistently beautiful and delicious uniform cream puffs.
We hope this guide empowers you to bake your best batch of uniform cream puffs yet! The journey of baking is one of continuous learning and delicious rewards. Don't be discouraged if your first few batches aren't perfect; practice truly makes perfect when it comes to choux pastry. Each attempt is a learning opportunity, bringing you closer to consistently achieving those light, airy, uniform shells.
Now that you're equipped with these uniform cream puff recipe secrets, we encourage you to put them into practice. Experiment with fillings, try the savory variations, or even attempt your first mini-Croquembouche. Share your successes, your learning experiences, and photos of your perfectly uniform cream puffs with the BakeWithEase community! Happy Baking!
Frequently Asked Questions
How can I ensure my cream puffs are consistently the same size?
Using a piping bag with a consistent tip size is crucial. Also, weighing the dough for each puff ensures uniformity before baking.
What causes cream puffs to collapse after baking?
Cream puffs collapse usually due to insufficient baking. Ensure they are golden brown and firm before removing them from the oven. Also, avoid opening the oven during baking.
What is the ideal oven temperature for baking cream puffs?
Typically, a higher initial temperature (around 400°F or 200°C) helps the puffs rise, followed by a lower temperature (around 350°F or 175°C) to bake them through. This temperature adjustment prevents burning.
What type of flour is best for making cream puffs?
All-purpose flour is generally recommended. Avoid using self-rising flour, as it can affect the texture of the cream puffs.
What is the key to achieving a hollow center in cream puffs?
The steam generated during baking is what creates the hollow center. Ensuring enough moisture in the dough and proper baking are essential for this result.
Final Reflection: Mastering the Art of the Perfect Cream Puff
The pursuit of the flawlessly uniform cream puff transcends mere culinary skill; it's a testament to precision, patience, and the unwavering pursuit of perfection. In today's fast-paced world, where instant gratification often reigns supreme, the meticulous process of crafting these delicate pastries stands as a powerful reminder of the rewards of dedication and attention to detail. The secrets shared in this article—from the precise ratio of ingredients to the crucial role of oven temperature—are not just recipes; they are pathways to mastering a classic technique.
The enduring appeal of the cream puff lies not only in its delightful taste but also in its symbolic representation of balance and harmony. The delicate balance between crisp, golden shell and airy, light filling is a microcosm of life itself, requiring a careful orchestration of elements to achieve a harmonious whole. As the renowned chef Julia Child once said, Find something you're passionate about and keep tremendously interested in it.
This sentiment perfectly encapsulates the spirit of cream puff making – a journey of continuous learning and refinement driven by a love for the craft.
Now, it's your turn. Don't be intimidated by the seemingly complex process. Embrace the challenge, experiment with the techniques outlined in this article, and discover the joy of creating your own batch of perfectly uniform cream puffs. The satisfaction of achieving culinary mastery, even in a seemingly small endeavor, is a rewarding experience that will leave you feeling empowered and inspired. So, gather your ingredients, preheat your oven, and embark on this delicious journey. The perfect cream puff awaits!
Unlock Your Inner Pastry Chef: Perfect Cream Puffs Await!
Thanks for joining us on this delicious journey into the world of cream puffs! We hope you gained valuable insights and confidence in your baking skills. Ready to take your newfound knowledge to the next level?
- Master the art of the perfect cream puff: Practice makes perfect! Try the recipe again, focusing on the techniques we discussed – you’ll be amazed at the difference.
- Share your success (or even your struggles!): Tag us on social media with your cream puff creations – we'd love to see them!
- Explore our other baking guides: Discover even more delicious recipes and techniques on BakeWithEase.com to expand your culinary repertoire.
What unique flavor combination will you create with your next batch of flawless cream puffs?