
DairyFree, GlutenFree Bread That Tastes Amazing

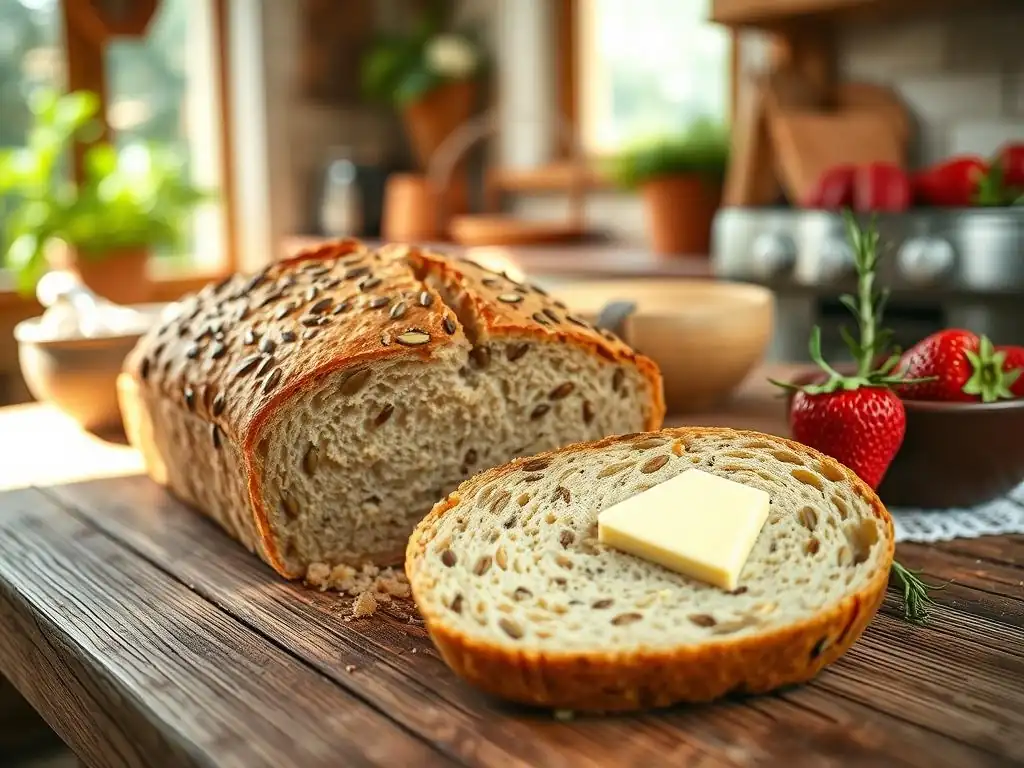
Welcome to BakeWithEase, your guide to effortless baking! Ever dreamt of a delicious, dairy-free, gluten-free bread that doesn't compromise on taste or texture? You're in the right place. Discover the secrets to creating a loaf so good, you'll wonder why you didn't try it sooner. Ready to unlock the recipe?
- Homemade Gluten-Free and Dairy-Free Sandwich Bread: A Simple Guide
- Introduction: The Joy of Gluten-Free and Dairy-Free Baking
- Why Choose Gluten-Free and Dairy-Free Bread? Dietary Needs and Preferences
- Essential Ingredients for Gluten-Free and Dairy-Free Sandwich Bread
- Step-by-Step Instructions: Baking Your Own Sandwich Bread
- Variations and Flavor Ideas for Gluten-Free and Dairy-Free Bread
- Troubleshooting Common Problems in Gluten-Free and Dairy-Free Bread Baking
- Storing and Freezing Gluten-Free and Dairy-Free Bread
- Conclusion: Enjoy Your Homemade Bread!
-
Frequently Asked Questions
- What makes this DairyFree, GlutenFree Bread recipe different from other similar recipes?
- What are the key ingredients needed for this DairyFree, GlutenFree Bread?
- Can I substitute any of the ingredients in this DairyFree, GlutenFree Bread recipe?
- How long does it take to bake this DairyFree, GlutenFree Bread?
- What are some tips for achieving the best results with this DairyFree, GlutenFree Bread recipe?
- Final Reflection: The Delicious Promise of Inclusion
- Unleash Your Inner Baker: Delicious Dairy-Free & Gluten-Free Bread Awaits!
Homemade Gluten-Free and Dairy-Free Sandwich Bread: A Simple Guide
Introduction: The Joy of Gluten-Free and Dairy-Free Baking
Finding a truly satisfying loaf of bread can be a significant challenge when navigating dietary restrictions like gluten or dairy intolerance. Many store-bought options can be dry, crumbly, or simply lack the inviting texture of traditional bread. The quest for a delicious, sliceable sandwich loaf that caters to these needs often leads bakers into uncharted territory.
Our goal with this guide is to empower you to bake a soft, resilient, and utterly delicious sandwich bread right in your own kitchen – a bread that is entirely free from gluten and dairy. This guide will walk you through the process, providing tips and insights to help you achieve baking success and enjoy the simple pleasure of a homemade loaf that meets your specific dietary requirements.
Why Choose Gluten-Free and Dairy-Free Bread? Dietary Needs and Preferences
Many individuals opt for a Dairyfree glutenfree bread recipe due to medical necessity or personal choice. Conditions such as Celiac disease, an autoimmune disorder triggered by gluten, require strict adherence to a gluten-free diet. Similarly, non-celiac gluten sensitivity can cause digestive upset and other symptoms when gluten is consumed.
Lactose intolerance, a common digestive issue, means the body cannot properly digest lactose, the sugar in milk. Dairy allergies, a more severe immune response to milk proteins, necessitate avoiding all dairy products. Baking a Dairyfree glutenfree bread recipe provides a safe and enjoyable option for those managing these sensitivities. Beyond medical needs, some people simply prefer to avoid gluten and dairy as part of a vegan lifestyle or for perceived health benefits like reduced inflammation or improved digestion. Crafting your own loaf ensures you know exactly what ingredients are included, offering peace of mind and control over your diet.
Essential Ingredients for Gluten-Free and Dairy-Free Sandwich Bread
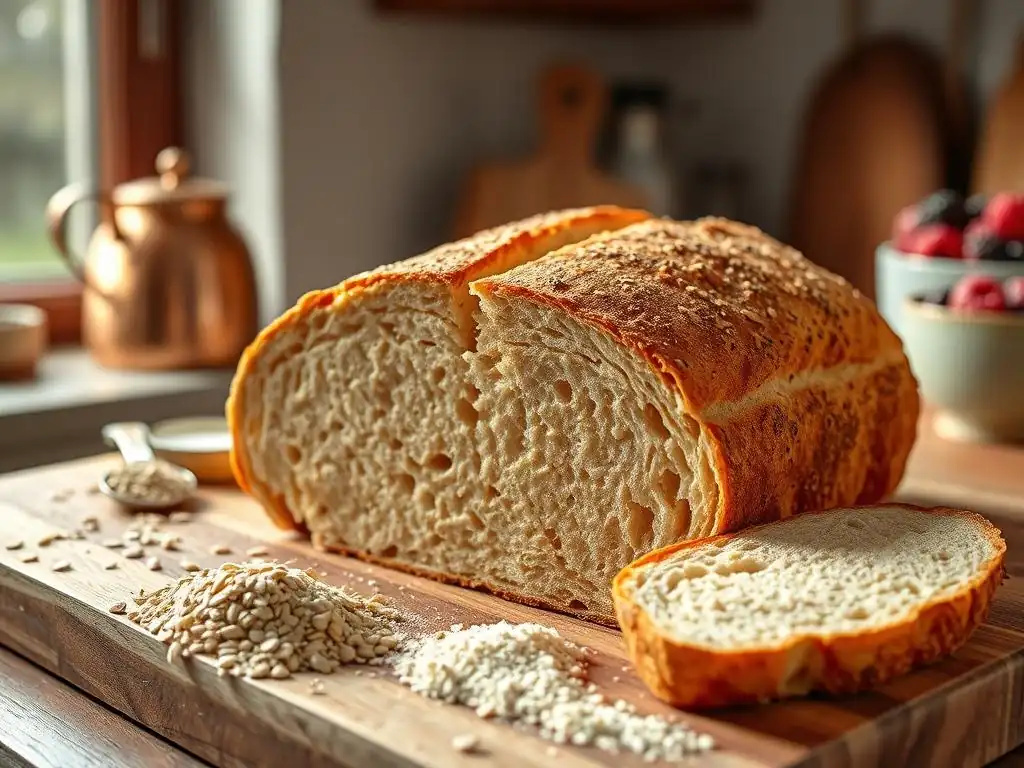
Gluten-Free Flour Blend: A balanced mix for texture and structure
Achieving the right texture in a gluten-free loaf depends heavily on the flour blend used. Gluten provides structure and elasticity in traditional bread, so a combination of different flours is needed to mimic these properties. A good blend often includes a mix of starches and whole-grain flours.
Individual flours like brown rice flour, tapioca starch, sweet rice flour, and sorghum flour each contribute unique characteristics. Tapioca starch provides chewiness, while brown rice flour and sorghum flour offer structure and a slightly nutty flavor. Xanthan gum is absolutely crucial in Dairyfree glutenfree bread recipes; it acts as a binder, replacing the elasticity lost by removing gluten, and helps prevent the bread from becoming crumbly. Using a pre-mixed blend like King Arthur Measure for Measure Gluten-Free Flour can simplify the process, as these blends are typically formulated with the right balance of flours and already contain xanthan gum.
Dairy-Free Liquid: Adding moisture and richness
The liquid component hydrates the flours and starches, which is essential for developing the bread's structure and providing moisture. In a Dairyfree glutenfree bread recipe, you'll replace traditional milk with a plant-based alternative.
Unsweetened almond milk is a popular choice due to its neutral flavor. Coconut milk (from a carton, not the thick canned variety) or oat milk also work well, adding a subtle creaminess. The liquid should be warm (around 105-115°F or 40-46°C) when combined with yeast to activate it effectively. The specific type of dairy-free milk can slightly influence the final flavor and texture of your homemade loaf.
Yeast and Leavening: Achieving a good rise
Yeast is the primary leavening agent in this Dairyfree glutenfree bread recipe, responsible for producing the carbon dioxide gas that makes the bread rise and gives it a light, airy texture. Instant yeast, also known as rapid rise yeast, is convenient because it can often be mixed directly with the dry ingredients without prior proofing.
However, especially when working with gluten-free flours which can be less predictable, it's a good practice to proof your yeast first. This involves dissolving the yeast in warm water (around 105-115°F) with a pinch of sugar. If the yeast is active, it will become foamy within 5-10 minutes, confirming its viability before you add it to the rest of your ingredients.
Sweeteners and Binders: Enhancing flavor and structure
Sweeteners like maple syrup or agave nectar serve multiple purposes in this Dairyfree glutenfree bread recipe. They provide food for the yeast, helping it to activate and produce gas for rising. Additionally, they contribute to the browning of the crust and add a subtle sweetness that balances the flavors of the flours.
Binders are essential in gluten-free baking to hold the ingredients together and prevent crumbling. While xanthan gum is the primary binder in the flour blend, incorporating a flaxseed meal mixed with water (often called a "flax egg") can add extra binding power and nutritional value. To make a flax egg, whisk together 1 tablespoon of flaxseed meal with 3 tablespoons of water and let it sit for 5-10 minutes until it forms a gel-like consistency.
Fats and Oils: Contributing to moisture and tenderness
Adding a source of fat or oil is key to achieving a soft crumb and extending the shelf life of your Dairyfree glutenfree bread recipe. Fats coat the starch molecules, interfering with their ability to form a rigid structure, which results in a more tender loaf.
Olive oil, melted coconut oil, or a high-quality vegan butter (like Miyoko's Kitchen Cultured Vegan Butter or Earth Balance Vegan Buttery Sticks) are excellent choices. The type of fat can impart a slight flavor difference, so choose one that complements your desired bread profile. Using about 2-3 tablespoons of fat per loaf is typically sufficient to achieve a noticeable improvement in texture and moisture retention.
Step-by-Step Instructions: Baking Your Own Sandwich Bread
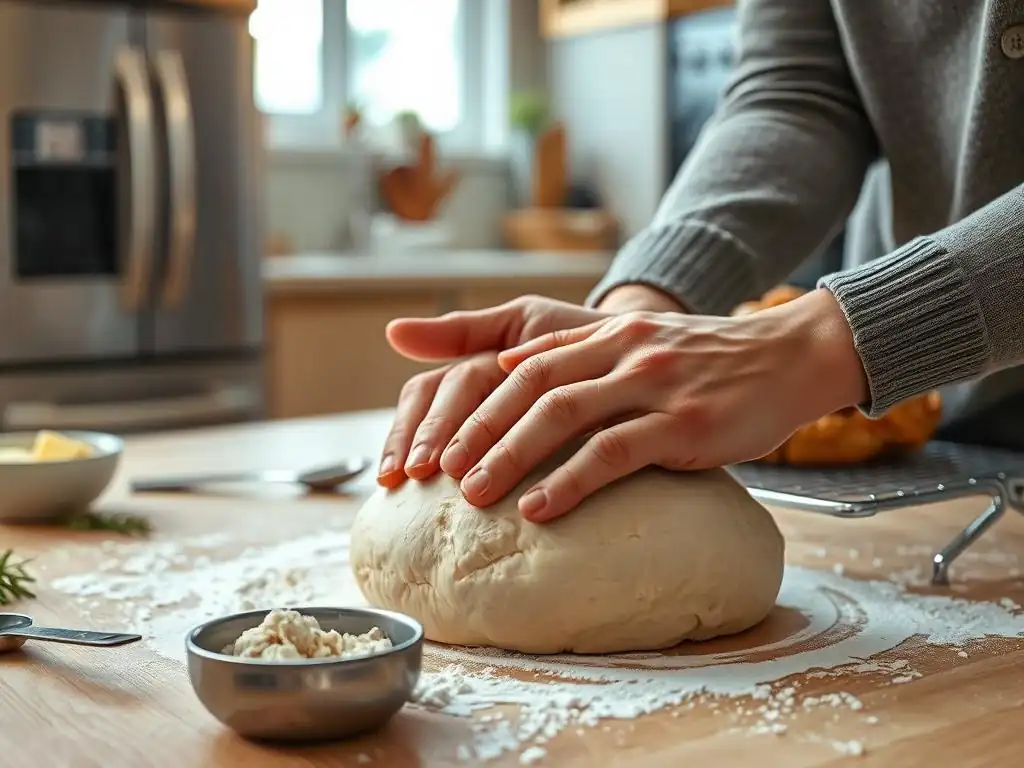
Here is a simple guide to baking a delicious Dairyfree glutenfree bread recipe:
- [ ] Step 1: Preparing the Dough: Combine ingredients for a smooth batter.
- In a large mixing bowl, whisk together your gluten-free flour blend (with xanthan gum), salt, and any optional dry ingredients like seeds or herbs. Ensure these dry ingredients are well distributed.
- In a separate bowl or large measuring cup, combine your warm dairy-free liquid, activated yeast (if proofing separately), sweetener, flax egg (if using), and chosen fat or oil. Whisk these wet ingredients together.
- Pour the wet ingredients into the dry ingredients and mix with a stand mixer fitted with a paddle attachment, or a sturdy wooden spoon, until a smooth, thick batter forms. Unlike traditional bread dough, this Dairyfree glutenfree bread recipe will result in a consistency more like thick cake batter or muffin batter – it will not be kneadable. Mix for about 3-5 minutes on medium speed to help the xanthan gum develop its binding properties.
- [ ] Step 2: First Rise: Allowing the dough to develop.
- Cover the bowl loosely with plastic wrap or a clean kitchen towel. Find a warm, draft-free place for the dough to rise. A slightly warm oven (turned off but perhaps heated briefly to 75-80°F / 24-27°C) or a proofing drawer works well.
- The first rise for gluten-free dough is often shorter and less dramatic than for wheat dough. Expect the batter to increase in size by about 30-50% over 45-75 minutes, depending on the warmth of your environment and the yeast activity. It will look puffy but likely won't double.
- [ ] Step 3: Shaping the Loaf: Gently transferring to a loaf pan.
- Grease a 9x5-inch loaf pan thoroughly with dairy-free butter or oil. For easiest removal, line the pan with parchment paper, leaving an overhang on the long sides. This is a crucial step for a Dairyfree glutenfree bread recipe, as the delicate structure can make it prone to sticking.
- Gently pour or spoon the risen batter into the prepared loaf pan. Smooth the top with a wet spatula or the back of a spoon dipped in water. This helps create an even crust and prevents the top from cracking excessively during baking.
- [ ] Step 4: Second Rise: Final proof before baking.
- Cover the loaf pan loosely with plastic wrap or a clean towel and return it to a warm, draft-free place for the second rise. This rise is usually shorter than the first, perhaps 20-40 minutes.
- Preheat your oven towards the end of the second rise to 350°F (175°C). The loaf should look slightly puffy and have risen close to the top edge of the pan. Avoid over-proofing, which can cause the loaf to collapse in the oven.
- Bake the loaf in the preheated oven for 50-60 minutes. To prevent the top from browning too quickly while the inside cooks, you can tent the loaf loosely with aluminum foil about halfway through the baking time (around the 25-30 minute mark).
- The bread is done when the crust is golden brown and firm, and an instant-read thermometer inserted into the center of the loaf registers an internal temperature between 200-210°F (93-99°C). Baking to the correct internal temperature is vital to avoid a gummy texture inside.
- [ ] Step 5: Cooling and Slicing: Essential for texture development.
- Once baked, remove the loaf from the oven. Let it cool in the pan for about 10-15 minutes. This allows the structure to set slightly before handling.
- Carefully lift the loaf out of the pan using the parchment paper overhang (if used) or by inverting it onto a wire rack. Remove the parchment paper.
- Allow the bread to cool completely on the wire rack before attempting to slice it. This is arguably the most important step for a good sliceable texture in a Dairyfree glutenfree bread recipe. Slicing warm gluten-free bread often results in a gummy, crumbly mess. Cooling can take 1-2 hours, depending on the loaf size and ambient temperature. Use a sharp serrated knife for clean slices once fully cooled.
Variations and Flavor Ideas for Gluten-Free and Dairy-Free Bread
Once you've mastered the basic Dairyfree glutenfree bread recipe, you can easily customize it with various additions to enhance texture, flavor, and nutritional value. These variations allow you to create a loaf perfectly suited for any meal or snack.
Seeds and Nuts: Adding texture and nutritional value
Incorporating seeds and nuts provides a delightful crunch and boosts the fiber and healthy fat content of your bread. Try mixing in a few tablespoons of chia seeds, sesame seeds, poppy seeds, or sunflower seeds directly into the batter in Step 1. For a heartier loaf, fold in chopped nuts like pecans, walnuts, or almonds. A popular choice is a "seedy" loaf with a mix of several types of seeds, adding visual appeal as well as texture.
Herbs and Spices: Creating savory flavor profiles
Transform your basic Dairyfree glutenfree bread recipe into a savory masterpiece by adding dried herbs and spices. About 1-2 teaspoons of dried oregano, Italian seasoning, or rosemary mixed into the dry ingredients can add a wonderful aroma and taste, pairing perfectly with soups or savory sandwiches. For a rich, aromatic loaf, consider adding a teaspoon of roasted garlic powder or onion powder. Fresh herbs can also be used but add them towards the end of mixing.
Sweet Variations: Indulging in dessert-like bread
Who says bread has to be savory? Your Dairyfree glutenfree bread recipe can easily be adapted for sweeter cravings. Mix in 1/2 cup of dairy-free chocolate chips for a treat, or add 1 teaspoon of cinnamon and 1/4 cup of finely diced apple for a comforting apple-cinnamon loaf. Ensure any add-ins are evenly distributed throughout the batter before pouring it into the pan.
Savory Variations: Pairing well with soups and sandwiches
Beyond simple herbs, you can add more substantial savory components. Sun-dried tomatoes (drained and patted dry) or olives (pitted and chopped) can be folded into the batter for a Mediterranean-inspired loaf. About 1/4 to 1/2 cup of these additions is usually sufficient to impart flavor without overwhelming the bread's structure. A rosemary and sea salt variation, achieved by adding fresh or dried rosemary to the batter and sprinkling flaky sea salt on top before baking, is a simple yet elegant option.
Troubleshooting Common Problems in Gluten-Free and Dairy-Free Bread Baking
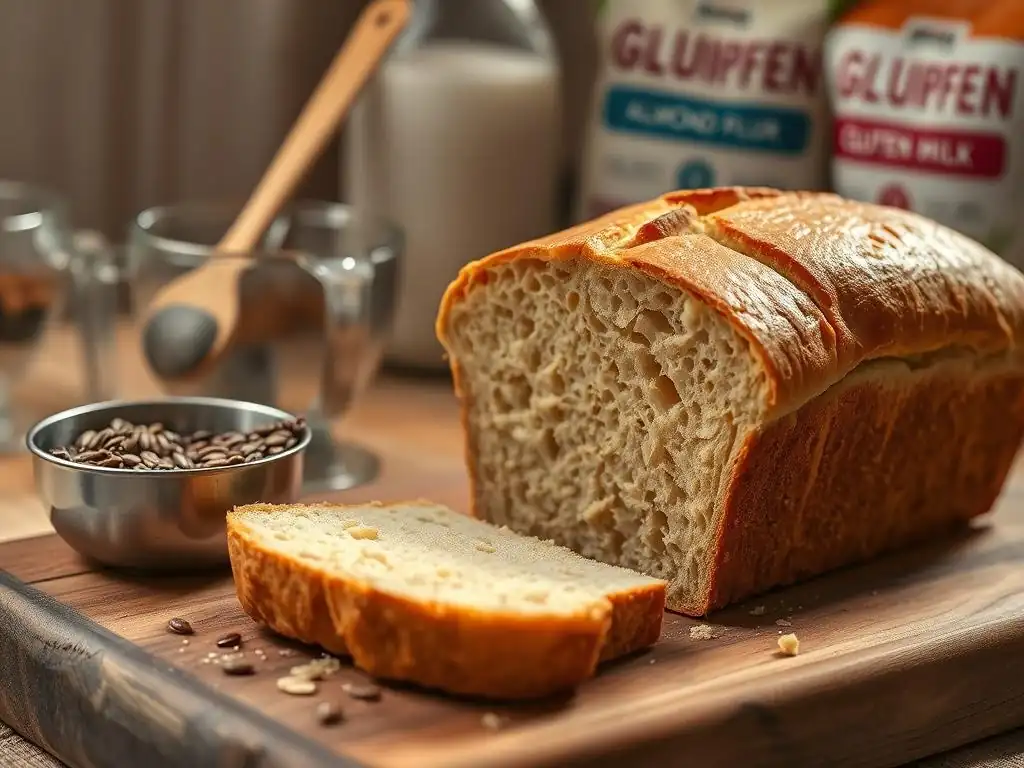
Baking a Dairyfree glutenfree bread recipe can sometimes present unique challenges compared to traditional baking. Understanding the common issues and their causes can help you achieve better results.
Dense Bread: Insufficient leavening or improper proofing
If your loaf turns out heavy and brick-like, it's often due to issues with the rise. This could mean your yeast wasn't active (perhaps the water was too hot or too cold, or the yeast was old). Always proof your yeast if unsure.
Alternatively, the dough might not have had enough time or a warm enough environment for the first and second rises. While gluten-free doughs don't double like wheat doughs, they should show a noticeable increase in volume. Baking soda or powder is sometimes added to gluten-free recipes to provide an extra lift, especially if relying solely on yeast proves difficult.
Crumbly Bread: Lack of binding agents or too little moisture
A loaf that falls apart easily when sliced is typically suffering from a lack of structure. This is where binders like xanthan gum and flax eggs are essential in a Dairyfree glutenfree bread recipe. Ensure your gluten-free flour blend contains sufficient xanthan gum, or add the recommended amount if using individual flours. Too little liquid in the recipe can also lead to a dry, crumbly crumb. The batter should be thick but pourable, not stiff. Double-checking your measurements, especially of liquids and binders, is key.
Gummy Bread: Underbaked or too much moisture
A gummy texture, often described as sticky or dense, is a common frustration. The most frequent cause is underbaking. Gluten-free breads need adequate time in the oven for the starches to fully cook and set. Always bake until the internal temperature reaches 200-210°F (93-99°C). Using too much liquid can also contribute to gumminess. Ensure you measure liquids accurately. Allowing the bread to cool completely before slicing is also critical; slicing warm bread traps steam inside and can make the interior appear gummy.
Lacks Flavor: Use of bland ingredients or insufficient seasoning
Sometimes, a homemade Dairyfree glutenfree bread recipe can taste flat or bland. This can happen if using a gluten-free flour blend that is predominantly made up of mild starches like rice flour and tapioca starch without balancing them with more flavorful flours like sorghum or millet. Salt is crucial for flavor; ensure you are using the correct amount (typically 1-1.5 teaspoons per loaf).
Adding a touch of sweetener (even in savory bread) or a small amount of fat also helps enhance the overall flavor profile. Don't hesitate to experiment with adding herbs, seeds, or a pinch of sugar to boost taste.
Storing and Freezing Gluten-Free and Dairy-Free Bread
Proper storage is essential to keep your homemade Dairyfree glutenfree bread recipe fresh and delicious. Gluten-free bread tends to dry out faster than traditional bread because it lacks gluten's protein structure to retain moisture.
At room temperature, store the completely cooled loaf in an airtight container, a bread box, or a sealed plastic bag. This will help maintain its moisture and prevent it from becoming stale quickly. Stored this way, the bread is typically best enjoyed within 2-3 days. Avoid refrigerating gluten-free bread, as this can actually speed up the staling process.
For longer storage, freezing is an excellent option. It's best to slice the loaf before freezing. Once cooled completely, slice the bread to your desired thickness. Place the slices in a single layer on a baking sheet and freeze for about 30-60 minutes until firm.
Then, transfer the frozen slices to a freezer-safe bag or container, removing as much air as possible. Frozen sliced bread can be stored for up to 2 months. To reheat, simply pop a slice directly from the freezer into a toaster or microwave for a few seconds. This method allows you to enjoy a fresh slice whenever you like without thawing the entire loaf.
Conclusion: Enjoy Your Homemade Bread!
Baking your own Dairyfree glutenfree bread recipe is a rewarding experience. The aroma filling your kitchen and the satisfaction of pulling a warm, golden loaf from the oven are unparalleled, especially when you know it meets your specific dietary needs. This simple guide provides a solid foundation for creating a delicious, soft, and sliceable sandwich bread that you can enjoy plain, toasted, or as the base for your favorite sandwiches.
Don't be afraid to experiment with the variations and flavor ideas discussed. Adding seeds, herbs, or a touch of sweetness can personalize your Dairyfree glutenfree bread recipe and keep your baking adventures exciting. Refer back to this guide as needed, and enjoy the peace of mind and delicious taste that comes with baking your own healthy bread. Happy baking!
Frequently Asked Questions
What makes this DairyFree, GlutenFree Bread recipe different from other similar recipes?
This recipe focuses on flavor and texture, using a specific blend of flours and binders to mimic the characteristics of traditional bread while remaining dairy-free and gluten-free. It prioritizes ease of preparation for home bakers.
What are the key ingredients needed for this DairyFree, GlutenFree Bread?
You'll need a blend of gluten-free flours (such as rice flour, tapioca starch, and potato starch), a binder like xanthan gum, dairy-free milk, yeast, and a sweetener. Specific amounts are listed in the recipe.
Can I substitute any of the ingredients in this DairyFree, GlutenFree Bread recipe?
While some substitutions are possible, be cautious. Changing the flour blend significantly can affect the texture and rise. Dairy-free milk can be substituted with another plant-based milk, but the results may vary slightly.
How long does it take to bake this DairyFree, GlutenFree Bread?
The baking time will depend on your oven, but generally, it takes around 50-60 minutes at 350°F (175°C). It's crucial to check for internal doneness using a toothpick or by tapping the bottom.
What are some tips for achieving the best results with this DairyFree, GlutenFree Bread recipe?
Ensure your ingredients are at room temperature for optimal yeast activity. Don't overmix the dough, and allow for a proper rising time in a warm place. Using a bread machine may help as well.
Final Reflection: The Delicious Promise of Inclusion
The quest for delicious dairy-free and gluten-free bread is more than just a culinary challenge; it's a testament to the power of inclusive food choices. This recipe, designed to be both accessible and mouthwatering, highlights the possibility of enjoying satisfying, flavorful bread even with dietary restrictions. The increasing demand for such recipes underscores a growing awareness of food allergies and intolerances, pushing the boundaries of traditional baking and expanding the culinary landscape for everyone.
The journey of creating this recipe, and the positive feedback it has already received, has been incredibly rewarding. It's a small step, but it represents a larger movement towards inclusivity and acceptance within the food community. Food is symbolic of love when words are inadequate.
This quote perfectly encapsulates the emotional connection we have with food, and the importance of ensuring everyone can participate in that experience, regardless of dietary needs. The impact of this recipe extends beyond the individual, fostering a sense of community and shared enjoyment.
Now, I invite you to take this recipe and make it your own. Experiment with different flavors, share it with friends and family, and most importantly, savor the delicious results. Don't let dietary restrictions limit your culinary adventures; embrace the challenge, explore the possibilities, and discover the joy of baking – and eating – truly inclusive bread. Let this recipe be a starting point for your own journey of culinary exploration and a reminder that delicious food can be accessible to everyone.
Unleash Your Inner Baker: Delicious Dairy-Free & Gluten-Free Bread Awaits!
Thanks for joining us on this delicious journey into the world of dairy-free and gluten-free baking! We hope you've discovered some new techniques and recipes that will inspire your next culinary adventure. Ready to get baking?
- Dive into our recipe collection: Explore more amazing dairy-free and gluten-free bread recipes on our site—we've got a whole library waiting for you! Find your new favorite loaf.
- Share your baking triumphs (and challenges!): Tag us on social media with your creations using #BakeWithEaseDairyFree. We love seeing what you make!
- Try a surprising twist: Experiment with different flours and add-ins to personalize your bread. What unique combination will you create?
What creative ingredient will you add to your next dairy-free and gluten-free bread masterpiece?