
Cool Your White Bread Like a Pro for Best Texture

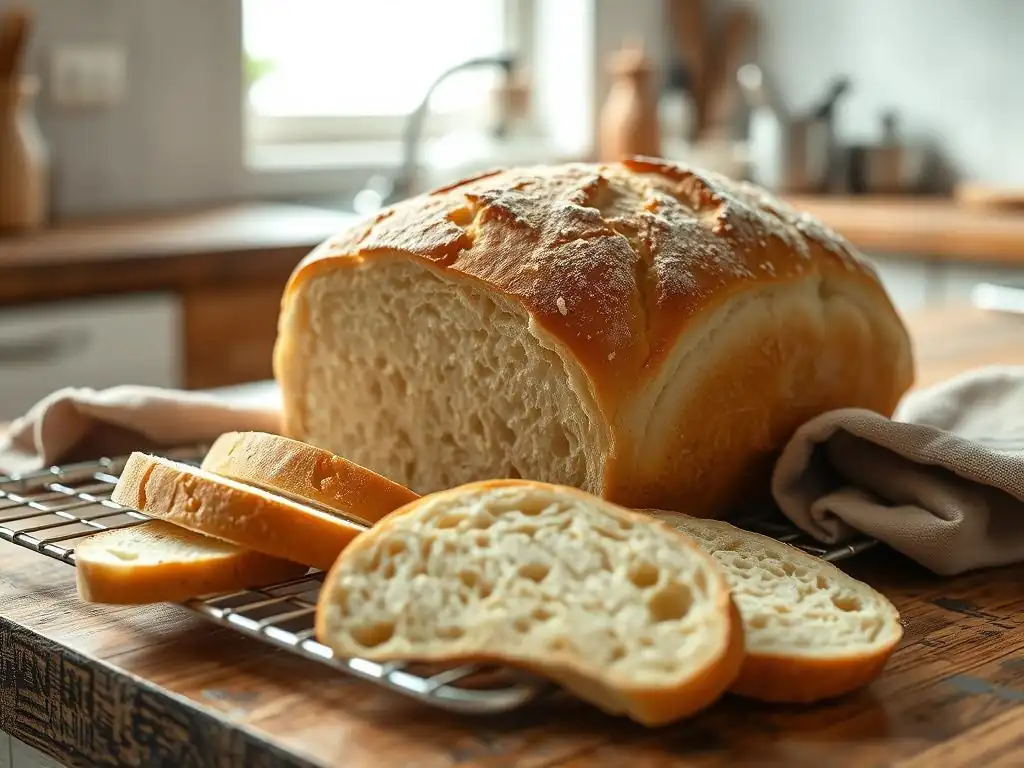
Welcome to BakeWithEase, your haven for all things baking! Ever wondered if you're really getting the most out of your homemade white bread? This article delves into the often-overlooked, yet crucial, world of white bread cooling techniques. Discover the secrets to achieving that perfect crumb and texture. Intrigued? Let's explore how proper cooling can elevate your bread from good to absolutely irresistible!
- Cooling Bread for Optimal Texture: A Comprehensive Guide
- Introduction to Bread Cooling Techniques
- Step-by-Step Guide to Cooling Bread
- Advanced Cooling Methods for Specific Textures
- Troubleshooting Common Cooling Problems
- Storing Cooled Bread for Lasting Freshness
- Frequently Asked Questions
- Final Reflection: The Unexpected Art of Cooling White Bread
- Unleash Your Inner Bread Baker!
Cooling Bread for Optimal Texture: A Comprehensive Guide
Introduction to Bread Cooling Techniques
Baking a beautiful loaf of white bread is incredibly rewarding, isn't it? You've mixed, kneaded, proofed, and baked to perfection. But did you know that the journey isn't over the moment you pull that golden-brown masterpiece from the oven? The cooling process is just as critical as any step that came before it. It's not merely about letting the bread become comfortable to handle; it's a vital stage that actively contributes to the final texture and quality of your loaf. Mastering white bread cooling techniques ensures your hard work results in a truly exceptional bread experience.
Ignoring proper white bread cooling techniques can undermine all your previous efforts. If you've ever eagerly sliced into a loaf too soon and found it gummy or dense, you've experienced the consequences of improper cooling firsthand. This phase allows internal moisture to redistribute, starches to set, and flavors to fully develop. Think of it as the bread taking its final breath and settling into its perfect form. Understanding the science behind this step is key to consistently achieving that ideal airy crumb and satisfying crust.
Why Proper Cooling Matters: Beyond Temperature
Cooling bread isn't just about making it cool enough to handle; it's a complex process involving significant physical and chemical changes. As the bread cools, moisture inside the loaf, which is mostly steam at baking temperatures, begins to condense and redistribute throughout the crumb. This movement helps to hydrate the starch molecules further, contributing to a tender and moist interior. Without adequate cooling time, this process is incomplete, leading to an uneven and often gummy texture.
Furthermore, the starches within the bread undergo a process called retrogradation as they cool. This is where the gelatinized starch molecules begin to re-crystallize, firming up the crumb structure. Proper white bread cooling techniques allow this retrogradation to occur evenly.
Studies, while varying based on bread type, suggest that a significant portion of this starch setting happens within the first hour or two of cooling. For example, research often indicates that starch retrogradation responsible for staling begins immediately upon cooling, but the initial cooling phase is crucial for setting the desired crumb structure before significant staling occurs. Skipping this step means you're essentially slicing into a loaf where the structure hasn't fully stabilized.
Impact of Cooling on Bread's Crumb and Crust
The way you cool your white bread has a direct and dramatic impact on both its internal structure (the crumb) and its exterior (the crust). The crumb needs time to set properly. When the bread is hot, the interior is still somewhat fluid and steamy. Slicing at this stage can compress the delicate cell structure, resulting in a dense, sometimes sticky or gummy texture. Proper cooling allows the steam to dissipate and the gluten and starch structures to firm up, leading to an open, airy, and resilient crumb that springs back when gently pressed.
As for the crust, cooling plays a critical role in its texture. When the bread first comes out of the oven, the crust is usually at its crispiest due to dehydration during baking. However, the hot, steamy interior is still releasing moisture. If the bread cools on a solid surface, this steam gets trapped underneath, condensing and making the bottom crust soggy.
Cooling on a wire rack, a core element of effective white bread cooling techniques, allows air to circulate all around the loaf, letting the steam escape and helping the crust, including the bottom, stay crisp or develop the desired texture. For instance, a typical loaf might lose 1-3% of its weight as moisture during cooling, primarily from the crust and surface. Managing this moisture loss is key to crust quality.
Step-by-Step Guide to Cooling Bread
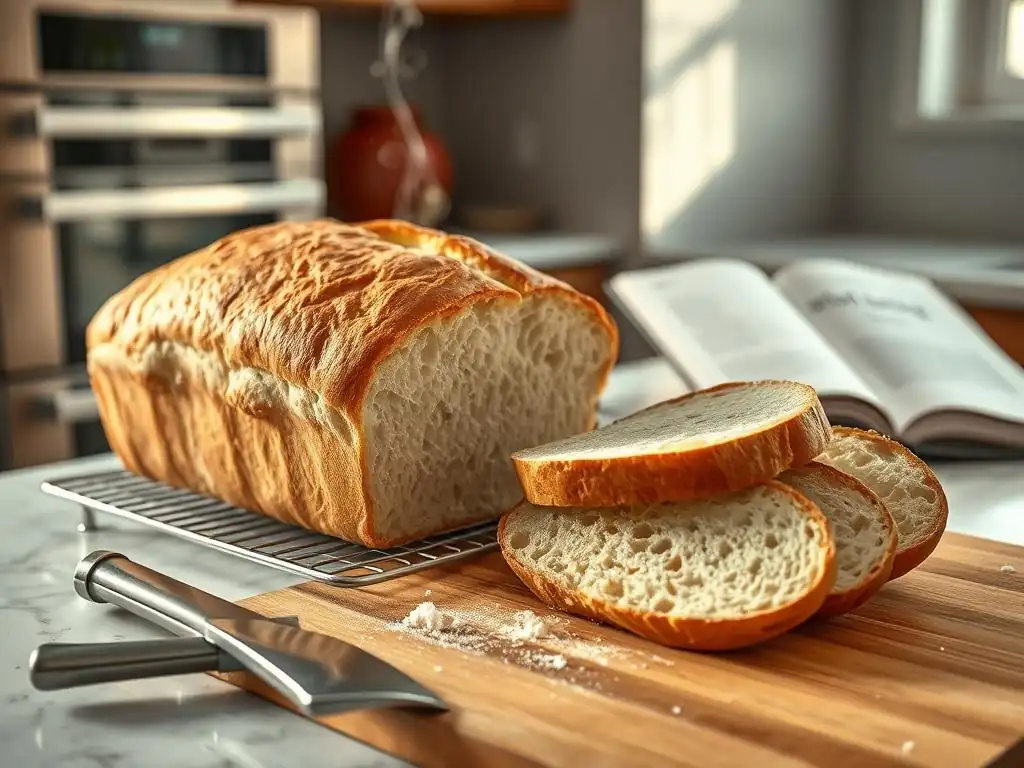
Achieving that perfect loaf texture involves following a few simple yet crucial steps during the cooling phase. These steps are foundational white bread cooling techniques that every baker should master.
Step 1: Removing Bread from the Pan Immediately After Baking (If Applicable)
If you've baked your white bread in a loaf pan, this first step is non-negotiable. The moment that oven timer dings and you pull out your beautifully browned loaf, it needs to come out of that hot pan. Leaving it in the pan, even for just a few minutes, is one of the quickest ways to ruin your crust.
The pan retains a significant amount of heat, and the bottom and sides of the bread are in direct contact with it. The steam escaping from the hot interior gets trapped between the bread and the pan surfaces. This trapped steam condenses into water droplets, which are then absorbed by the crust, turning it from delightfully crisp to disappointingly soggy and wrinkled.
Think of it like putting a hot, steamy lid on a container – condensation is inevitable. Removing the bread promptly allows this steam to escape freely into the air, preserving the crust you worked hard to achieve. It's a fundamental aspect of effective white bread cooling techniques.
Preventing Soggy Crust
The primary goal of immediate pan removal is to prevent the dreaded soggy bottom crust. As soon as the bread is out of the oven, gently invert the pan (using oven mitts!) onto a cooling rack and lift the pan away. Sometimes a gentle shake is needed. The loaf should release easily if the pan was greased properly. This ensures that the hot, steamy underside of the bread is exposed to air circulation right away.
Consider this: The internal temperature of a fully baked white bread loaf is typically between 190°F and 210°F (88°C to 99°C). At these temperatures, water is readily turning to steam inside the loaf. If that steam hits a cooler surface like a bread pan, it condenses. By moving the loaf to an open-air environment on a rack, you facilitate the rapid evaporation of this surface moisture, helping the crust set and dry rather than becoming damp. This simple action is one of the most impactful white bread cooling techniques you can employ.
Step 2: Placing Bread on a Wire Rack for Air Circulation
Once your bread is out of the pan (or if it was baked freeform on a baking stone or sheet), the next crucial step in white bread cooling techniques is to transfer it onto a wire cooling rack. Do not place it directly on a solid counter or cutting board. This step is vital for ensuring that air can circulate freely around the entire loaf.
Placing the bread on a wire rack allows air to reach the bottom and sides of the loaf, facilitating even cooling and allowing moisture to escape from all surfaces. If the bread is placed on a solid surface, the bottom will remain hot and steamy longer than the top, leading to uneven cooling and, critically, a soggy bottom crust as mentioned before. A wire rack elevates the bread, creating a gap underneath for airflow. This is a cornerstone principle of effective white bread cooling techniques for achieving uniform texture.
Importance of Wire Rack Cooling
The importance of using a wire rack cannot be overstated when it comes to white bread cooling techniques. It's all about managing moisture and temperature evenly. As the bread cools, moisture migrates from the hot interior towards the cooler exterior and then evaporates. A wire rack maximizes the surface area exposed to air, speeding up this evaporation process and preventing condensation from pooling beneath the loaf.
Think of it this way: A loaf placed on a solid surface might trap steam, causing the bottom crust to become soft and potentially stick. On a wire rack, the steam can escape downwards, allowing the bottom crust to remain crisp or at least firm up properly alongside the rest of the loaf. This balanced cooling is essential for developing the desired texture throughout the bread, from the airy crumb to the satisfying crust. It contributes significantly to the overall quality and lifespan of your baked goods.
Choosing the Right Wire Rack
Not all wire racks are created equal, although most standard cooling racks will work perfectly well for white bread cooling techniques. Look for a rack with a grid pattern that is tight enough so the bread doesn't fall through or sag significantly, but open enough to allow ample airflow. Racks made from chrome-plated steel or stainless steel are common and durable.
Ensure the rack is elevated enough off the counter to allow air to flow freely underneath the loaf. Standard cooling racks typically have feet that provide about 1/2 to 1 inch of clearance. The size of the rack should be appropriate for your loaf, allowing the entire bread to sit on it without hanging over the edges. Having a few different sizes can be helpful depending on the bread you bake. A sturdy, well-made rack is a simple investment that greatly improves your white bread cooling techniques.
Step 3: Allowing Bread to Cool Completely Before Slicing
This is arguably the hardest step for many eager bakers: waiting! No matter how tempting that warm, fragrant loaf is, slicing into it too soon is detrimental to its texture. The bread must be allowed to cool completely before you even think about cutting into it. Patience is a virtue, especially in white bread cooling techniques.
When bread is hot, the internal structure is still delicate and the starches haven't fully set. Slicing warm bread can compress the crumb, making it dense and gummy. The steam trapped inside also condenses on the knife blade, further damaging the structure and creating a sticky mess. Allowing it to cool completely gives the internal moisture time to redistribute evenly and the starches time to firm up through retrogradation, resulting in a clean slice and a perfectly set, airy crumb.
Ideal Cooling Time: 1-2 Hours
For most standard-sized white bread loaves (like a 1.5 lb loaf), the ideal cooling time on a wire rack at room temperature is typically between 1 to 2 hours. Larger or very dense loaves might require longer, perhaps up to 3 hours. Smaller loaves or rolls might be ready in 30-60 minutes. The key is that the bread should feel cool to the touch on all surfaces, including the bottom.
As a general guideline for white bread cooling techniques, aim for the internal temperature to drop significantly. While it comes out of the oven at 190-210°F (88-99°C), it needs to cool down towards room temperature, ideally below 100°F (38°C), before slicing. Some bakers even recommend waiting until it's below 80°F (27°C) for the absolute best crumb structure. Waiting the full time ensures the starches have set adequately for a clean slice and optimal texture.
Testing for Doneness: Internal Temperature
The most reliable way to know if your white bread has cooled sufficiently before slicing is to check its internal temperature. While touch is a good indicator (the loaf should feel cool), a probe thermometer provides certainty. Carefully insert a thermometer into the center of the loaf.
As mentioned, you are looking for the temperature to be significantly lower than its baking temperature. A range of 80°F to 100°F (27°C to 38°C) is often cited as the target temperature for slicing. If you slice above this temperature range, you risk a gummy crumb. This precise method is a professional white bread cooling technique that takes the guesswork out of waiting.
- Remove bread from pan immediately after baking.
- Place bread on a wire cooling rack.
- Allow bread to cool completely (1-2+ hours).
- Check internal temperature before slicing (ideally below 100°F/38°C).
- Resist the urge to slice too soon!
Advanced Cooling Methods for Specific Textures
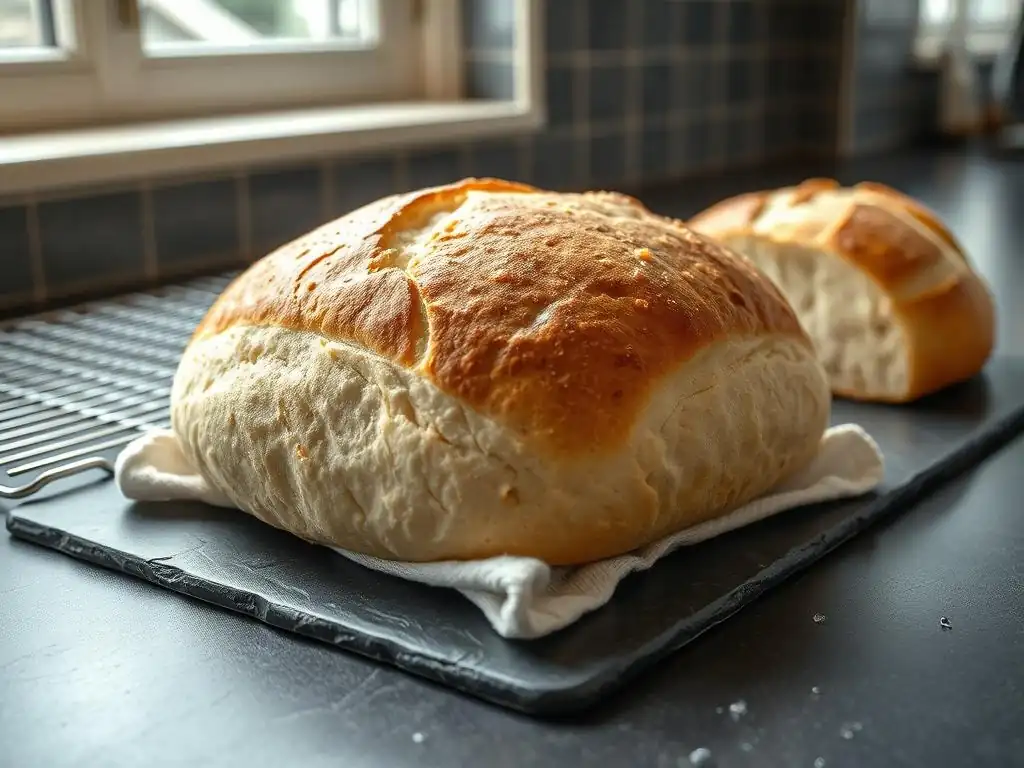
While the basic wire rack cooling is standard, you can modify your white bread cooling techniques slightly to influence the final crust texture, depending on your preference.
Achieving a Softer Crust: Tent with Linen
If you prefer a softer crust on your white bread, you can slightly modify the cooling process. Once the bread has been on the wire rack for about 10-15 minutes and the initial vigorous steaming has subsided, you can loosely tent the loaf with a clean linen towel or a cotton cloth.
This technique traps a small amount of the escaping steam around the loaf, which is then reabsorbed by the crust. This prevents the crust from drying out and becoming overly crisp. The key is to use a linen or cotton towel, not a synthetic one, as natural fibers breathe better and prevent excessive condensation that could make the crust truly soggy. It's a subtle adjustment to standard white bread cooling techniques for a specific textural outcome.
Creating a Crisper Crust: Leave Uncovered
For those who love a bold, crunchy crust on their white bread, the best approach is to simply follow the standard white bread cooling techniques and leave the loaf completely uncovered on the wire rack throughout the entire cooling process. Ensure the environment around the bread is not excessively humid.
Maximum air circulation around the loaf allows the moisture migrating from the interior to the surface to evaporate quickly. This drying effect helps the crust retain its crispness developed during baking. Avoid covering the bread at all until it is completely cool and ready for storage. This method is the simplest way to maintain a crisp crust.
Cooling Bread in Humid Environments: Increase Airflow
Cooling bread in a very humid kitchen can be challenging, as the air is already saturated with moisture, making it harder for the bread's surface moisture to evaporate. This can lead to a softer, less desirable crust texture. In such conditions, you need to maximize airflow as part of your white bread cooling techniques.
Ensure your wire rack provides ample clearance. If possible, choose a location with better air circulation, away from kettles or steamy stovetops. Sometimes, placing the cooling rack over your cold oven door (left ajar) can provide a slightly warmer, less humid spot for cooling, as long as it's not interfering with other baking. The goal is to get as much air moving around the loaf as possible to encourage evaporation despite the high ambient humidity.
Troubleshooting Common Cooling Problems
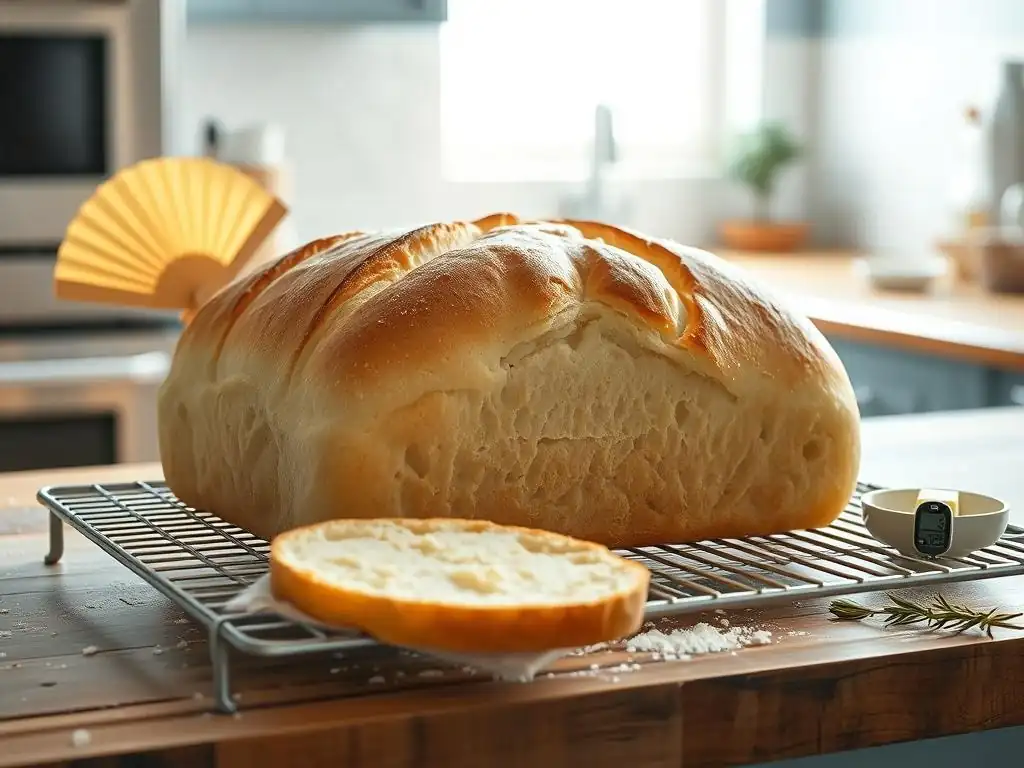
Even with the best intentions, you might encounter issues during the cooling phase. Recognizing and addressing these common problems is part of mastering white bread cooling techniques.
Preventing Condensation and Soggy Crust
The most frequent cooling problem is a soggy bottom or side crust, almost always caused by trapping steam. This happens when bread is left in the hot pan too long or placed on a solid surface instead of a wire rack.
The solution is preventative: always remove bread from the pan immediately upon taking it out of the oven and always cool it on a wire rack. Ensure the rack is elevated, allowing air to circulate underneath. If you live in a very humid climate, increasing airflow (perhaps with a fan not blowing directly on the bread, but circulating air in the room) can help surface moisture evaporate more effectively. These are fundamental white bread cooling techniques to prevent moisture issues.
Dealing with Uneven Cooling
Sometimes, a loaf might cool unevenly, perhaps faster on the ends than in the middle, or slower on the bottom if airflow isn't optimal. Uneven cooling can lead to variations in crumb texture throughout the loaf.
Ensure your wire rack is properly elevated and the loaf is centered on it. If you are cooling multiple loaves, give them space on the rack so they aren't touching, allowing air to circulate around each one independently. Make sure the cooling environment has consistent ambient temperature. If you notice one side is cooling significantly slower, you can carefully rotate the loaf on the rack halfway through the cooling time, though this is often unnecessary if airflow is good. Consistent application of standard white bread cooling techniques usually prevents this.
Addressing Premature Slicing
The temptation to slice into a warm, fragrant loaf is powerful, but doing so leads to a gummy, dense crumb. This is a problem of impatience, not technique, but its consequences are textural.
If you have already sliced warm bread and found it gummy, there's not much you can do to fix the texture of the already-cut slices. However, you can save the rest of the loaf. Stop slicing and allow the remainder of the loaf to cool completely on the wire rack. The uncured portion will continue to set properly. Next time, set a timer for the full cooling duration and distract yourself – maybe clean up your baking mess! Remembering the negative impact on texture reinforces the importance of this crucial white bread cooling technique.
Storing Cooled Bread for Lasting Freshness
Once your white bread has completely cooled using proper white bread cooling techniques, it's time to think about storage. Storing bread correctly helps maintain its texture and prevents it from staling too quickly.
Best Practices for Storage
The best way to store completely cooled white bread depends on how quickly you plan to eat it. For consumption within 1-2 days, storing it at room temperature is ideal. An airtight bread box or a clean paper bag inside a plastic bag works well. The paper bag helps keep the crust from getting too soft, while the outer plastic bag prevents it from drying out too quickly. Avoid refrigeration, as this actually accelerates the staling process (starch retrogradation happens fastest at refrigerator temperatures, around 35-40°F or 1-4°C).
For longer storage, freezing is your best option. Ensure the bread is fully cooled. Slice the loaf (or leave it whole), wrap it tightly in plastic wrap, and then place it in a freezer-safe bag or aluminum foil. Properly wrapped bread can be frozen for several months. When ready to use, thaw it at room temperature or gently warm slices in a toaster or oven. Proper storage is the final step in preserving the quality achieved through diligent white bread cooling techniques.
Maintaining Texture and Flavor
The goal of storage is to preserve the wonderful texture and flavor you worked so hard to develop through baking and proper white bread cooling techniques. Room temperature storage in a suitable container balances keeping the crust from getting too hard while preventing the crumb from drying out.
Air is the enemy of freshness for cooled bread stored at room temperature, causing it to dry out and the crust to harden. Conversely, too much trapped moisture can encourage mold. The paper-bag-in-plastic-bag method offers a good compromise. For frozen bread, the tight wrapping is crucial to prevent freezer burn, which dehydrates the bread and spoils its texture. By following these storage guidelines, you can enjoy your perfectly cooled white bread for days to come, savoring the results of your successful white bread cooling techniques.
Frequently Asked Questions
How long should I let my white bread cool before slicing?
You should let your white bread cool completely, typically for at least 1-2 hours, before slicing. This allows the internal structure to set, preventing a gummy texture.
Why is cooling bread on a wire rack important?
Cooling on a wire rack allows air circulation around the entire loaf. This prevents the bottom crust from becoming soggy and ensures even cooling.
What happens if I slice my white bread while it's still warm?
Slicing warm bread can result in a squashed loaf and a gummy interior. The bread's structure hasn't fully set, making it difficult to cut cleanly.
Can I speed up the cooling process for my white bread?
While you can't drastically speed it up, ensuring good airflow around the loaf on a wire rack is key. Avoid placing it in the refrigerator as this can affect the texture and flavor.
What's the best way to store white bread after it's completely cooled?
Store your cooled white bread in an airtight bag or container at room temperature. This helps maintain its freshness and moisture for a longer period.
Final Reflection: The Unexpected Art of Cooling White Bread
The perfect slice of white bread isn't just about the baking; it's about the cool-down. Mastering the art of cooling white bread significantly impacts its texture, preventing a gummy interior and ensuring that fluffy, airy crumb we all crave. This seemingly simple process holds the key to unlocking the true potential of a classic.
The journey from hot loaf to perfectly cooled slice has profoundly shaped my own baking experience. I've learned that patience, precision, and a deep understanding of the bread's transformation during cooling are crucial. It's more than just letting it sit; it's about actively managing the process to achieve optimal results. The best things in life are worth waiting for,
and this certainly applies to the perfect slice of white bread. The subtle differences in texture achieved through careful cooling are a testament to this truth.
Now, it's your turn. Consider the next loaf you bake – don't just let it cool; actively cool it. Experiment with the techniques discussed, paying attention to the subtle changes in texture. Embrace the process, and you'll discover a new level of appreciation for this everyday staple. The reward? A slice of white bread that's not just good, but truly exceptional.
Unleash Your Inner Bread Baker!
Thanks for taking the time to level up your bread-baking game! You've now got the secrets to perfectly textured white bread – a skill that'll impress even the most discerning palates. Ready to put your new knowledge to the test?
- Bake a batch of your own amazing white bread today! Use this newfound knowledge to experiment with different flours, hydration levels, and baking times to discover your perfect loaf.
- Share your baking journey with us on social media! Tag us with your creations – we'd love to see your results.
- Explore more of our bread-baking tips and tricks on BakeWithEase.com (This will be an actual link on the site).
What unique flavor or texture will you try in your next loaf?