
Basic White Bread: Beyond the Recipe Tips & Tricks

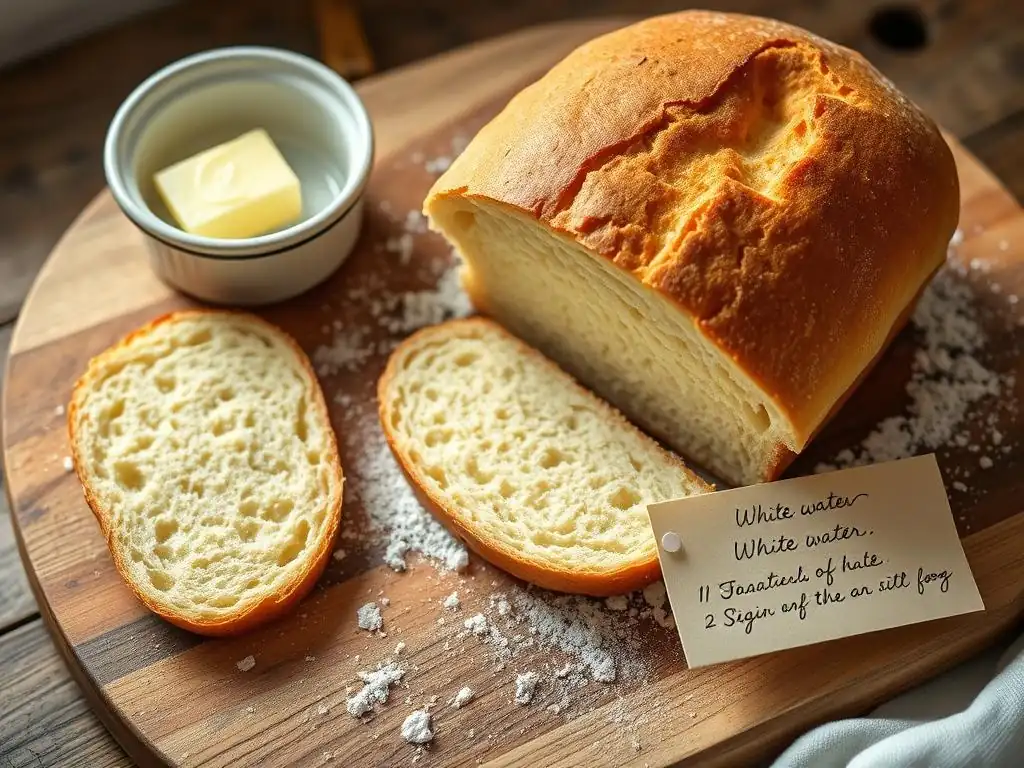
Welcome to BakeWithEase, your kitchen companion for all things baking! Ever wondered how to achieve that perfect, golden-crusted loaf of bread? Dive into our latest article, "Basic White Bread: Beyond the Recipe – Tips & Tricks," where we unravel the secrets to an easy white bread recipe, offering invaluable insights that go beyond the basic instructions. Discover the simple tweaks and techniques that will transform your baking, ensuring soft, delicious bread every time. Ready to elevate your bread-making game? Let's get started!
- Sourdough Bread: Beyond the Recipe - Tips & Tricks | BakeWithEase.com
- Mastering Sourdough Bread: Essential Tips for Baking Success
- Understanding the Sourdough Bread Recipe Fundamentals
- Sourdough Bread Recipe Tips: Achieving the Perfect Dough
- Shaping and Baking Your Sourdough Bread Loaf
- Troubleshooting Common Problems in Sourdough Bread Baking
- Advanced Tips for Enhancing Your Sourdough Bread
- Sourdough Bread Recipe: A Quick Recap for Baking Success
-
Frequently Asked Questions
- What are some essential tips for ensuring a successful easy white bread recipe?
- How can I troubleshoot common problems like dense or flat white bread?
- What are some easy variations I can make to a basic white bread recipe?
- What is the best temperature for proofing my white bread dough?
- How do I know when my white bread is fully baked?
- Final Reflection: The Enduring Power of Simple Bread
- Unleash Your Inner Baker: Master the Art of White Bread!
Sourdough Bread: Beyond the Recipe - Tips & Tricks | BakeWithEase.com
Mastering Sourdough Bread: Essential Tips for Baking Success
BakeWithEase's Guide to Perfecting Your Sourdough Bread
Welcome to the wonderful world of sourdough baking! Moving beyond simple yeast-based breads, like an easy white bread recipe, sourdough offers a unique depth of flavor and texture derived from wild yeast and bacteria cultivated in your starter. While it might seem intimidating at first glance, understanding the core principles and applying a few key techniques can transform your baking journey, making the process feel much more approachable. Our goal at BakeWithEase is to demystify sourdough, helping you achieve consistently delicious loaves with that signature tangy crumb and crispy crust.
Embarking on the sourdough path requires patience and observation, but the rewards are immense. From feeding your starter to the final bake, each step plays a crucial role. This guide will walk you through the essential elements, offering practical tips and insights gleaned from experience.
We'll explore everything from selecting the right ingredients and tools to mastering fermentation and troubleshooting common hiccups. By focusing on these fundamental techniques, you'll gain the confidence to bake beautiful, flavorful sourdough bread that rivals your favorite bakery, perhaps even making it seem as manageable as following an easy white bread recipe you've made many times.
Understanding the Sourdough Bread Recipe Fundamentals
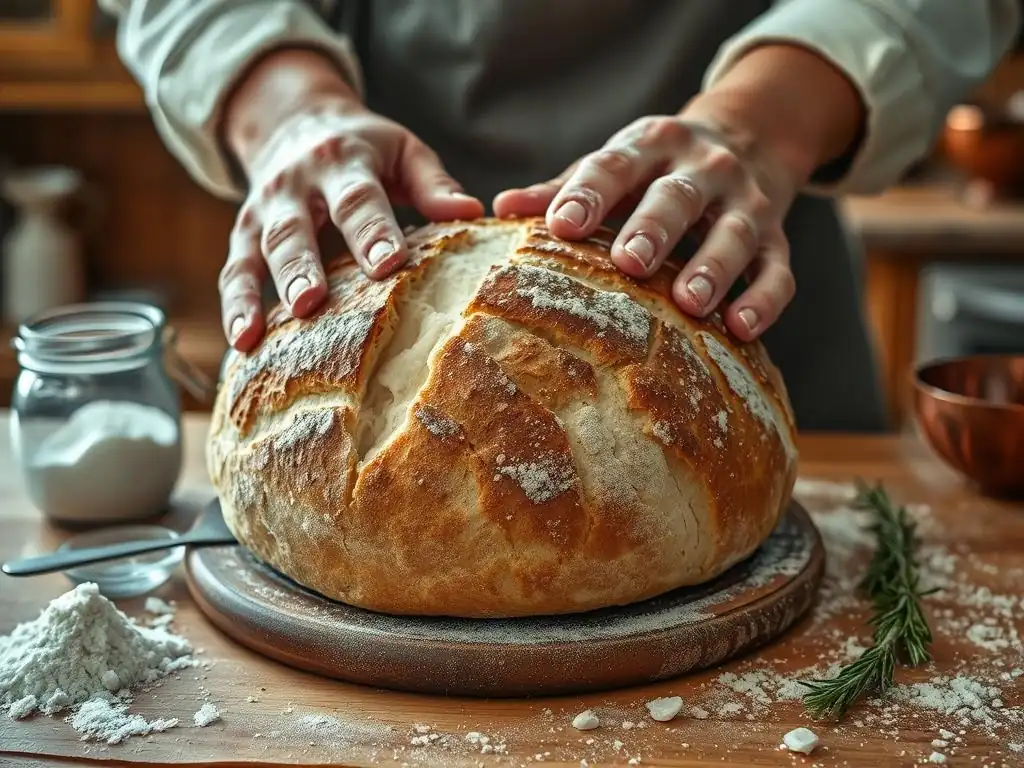
Sourdough Bread Ingredients: A Baker's Checklist
At its heart, sourdough bread requires just four basic ingredients: flour, water, salt, and active sourdough starter. The quality and type of each ingredient significantly impact the final loaf. For instance, using a high-protein bread flour (typically 12-14% protein) provides the gluten structure necessary for a good rise and open crumb, while using filtered water free of chlorine is vital for the health of your starter's microbial community. Salt, usually around 2% of the total flour weight, isn't just for flavor; it also controls fermentation speed and strengthens the gluten network.
Having your ingredients prepped and measured accurately is a cornerstone of successful sourdough baking. Many recipes use baker's percentages, where all ingredients are measured relative to the weight of the flour. For example, a recipe might call for 100% flour, 75% water, 2% salt, and 20% starter. This means if you use 500g of flour, you'd use 375g of water, 10g of salt, and 100g of starter. Precision is key, so using a digital scale for all measurements, including water and starter, is highly recommended to ensure consistent results every time you bake.
Essential Baking Equipment for Sourdough Bread
While you can bake sourdough with minimal tools, certain equipment makes the process significantly easier and yields better results. A sturdy mixing bowl, preferably clear or translucent to observe dough development, is essential for mixing and bulk fermentation. Dough scrapers – both bench and bowl scrapers – are incredibly useful for handling the sticky dough without excessive flour. For proofing, bannetons (proofing baskets) lined with linen or dusted with rice flour are ideal for holding the dough's shape, especially for higher hydration doughs, leading to better oven spring.
The baking vessel is perhaps the most impactful piece of equipment for home bakers aiming for a professional-quality crust. A Dutch oven or a heavy-duty pot with a lid traps steam released by the dough during the initial phase of baking. This moist environment allows the crust to expand fully before hardening, resulting in maximum oven spring and a thin, crispy crust.
Temperatures inside a Dutch oven can reach well over 450°F (230°C), providing the intense heat needed for a beautiful bake. Other helpful items include a digital thermometer (for water/dough temp) and parchment paper to easily transfer dough into a hot Dutch oven.
Sourdough Bread Recipe Tips: Achieving the Perfect Dough
The Importance of Flour Type for Sourdough Bread
The type of flour you choose dramatically affects your sourdough's structure, flavor, and hydration needs. High-protein bread flour is a popular choice for its strong gluten-forming capabilities, which trap the gases produced by fermentation, leading to a well-risen, airy loaf.
All-purpose flour (typically 10-12% protein) can also be used, often resulting in a slightly less structured but perhaps more tender crumb. Experimenting with different types, like whole wheat, rye, or spelt, introduces distinct flavors and textures, though they generally require more water due to their higher absorption rates and can weaken the overall gluten structure if used in large quantities.
Understanding the protein content of your flour is crucial for adjusting hydration levels. A flour with 14% protein will absorb more water than one with 10%. Using a mix of flours is common; for example, combining 90% white bread flour with 10% whole wheat adds nutritional value and flavor without significantly compromising structure. This blend can also contribute to a more active fermentation. Always check the protein content listed on the flour packaging – it's a key indicator of how the dough will behave and how much water it can handle effectively.
Water Temperature: Key to Sourdough Dough Hydration
The temperature of the water used in your dough mix is a critical factor that directly influences the rate of fermentation. Using warm water, typically between 75°F and 85°F (24°C - 30°C), helps to activate the wild yeast and bacteria in your starter, encouraging a more vigorous fermentation process. This is especially useful in cooler kitchen environments where dough might ferment too slowly. Water that is too hot (above 100°F or 38°C) can damage or kill the microbes in your starter, halting fermentation altogether, while very cold water will significantly slow it down.
Aiming for a target dough temperature after mixing is a more advanced technique that ensures consistent fermentation times regardless of ambient temperature. Many bakers target a dough temperature between 75°F and 80°F (24°C - 27°C). To achieve this, you can adjust your water temperature using a simple formula, taking into account the temperature of your starter, flour, and kitchen. For instance, if your kitchen is cool, you'll need warmer water. Using a digital thermometer to check your water and dough temperature provides valuable data for replicating successful bakes.
Autolyse: Enhancing Dough Strength and Flavor
Autolyse is a simple yet powerful technique where you mix only the flour and water from your recipe and let it rest for 20 minutes to several hours before adding the starter and salt. During this resting period, the flour hydrates fully, and enzymes naturally present in the flour begin to break down proteins, initiating gluten development without any mechanical work.
This step allows the gluten network to form more easily, making the dough less sticky and much easier to handle later on. It also contributes to a more extensible dough, which is beneficial for shaping and achieving a good crumb structure.
Implementing an autolyse phase, even for just 30 minutes, significantly improves dough handling and structure. For instance, a dough that feels shaggy and resistant initially will become noticeably smoother and more pliable after a proper autolyse.
This technique is particularly beneficial when working with whole grain flours, which benefit from extra hydration time. By giving the flour and water time to mingle undisturbed, you effectively kickstart gluten development and improve the dough's ability to absorb water, leading to a more hydrated dough that's easier to manage than you might expect, perhaps even simpler than some steps in an easy white bread recipe.
Bulk Fermentation: Developing Flavor in Sourdough
Bulk fermentation, or the first rise, is the crucial period where the dough sits after mixing (and adding starter/salt after autolyse) until it has increased significantly in volume and developed complex flavors. This phase is where the yeast produces carbon dioxide, causing the dough to rise, while the bacteria produce organic acids (lactic and acetic), giving sourdough its characteristic tang. The duration of bulk fermentation is highly dependent on temperature; at room temperature (around 70-75°F or 21-24°C), it might take 4-6 hours, while in a warmer environment (80°F or 27°C), it could be as short as 2-3 hours.
Monitoring the dough, not just the clock, is key during bulk fermentation. Look for visual cues: the dough should increase in volume by 30-50%, look gassy with bubbles visible on the surface and sides (especially if using a clear container), and feel lighter and airy when gently lifted.
Performing 'stretch and folds' or 'coil folds' every 30-60 minutes during the first couple of hours helps to build dough strength and even out the dough temperature. For example, lifting the dough from one side and folding it over itself, repeating four times, helps align the gluten strands and build tension, contributing to a better final structure.
Shaping and Baking Your Sourdough Bread Loaf
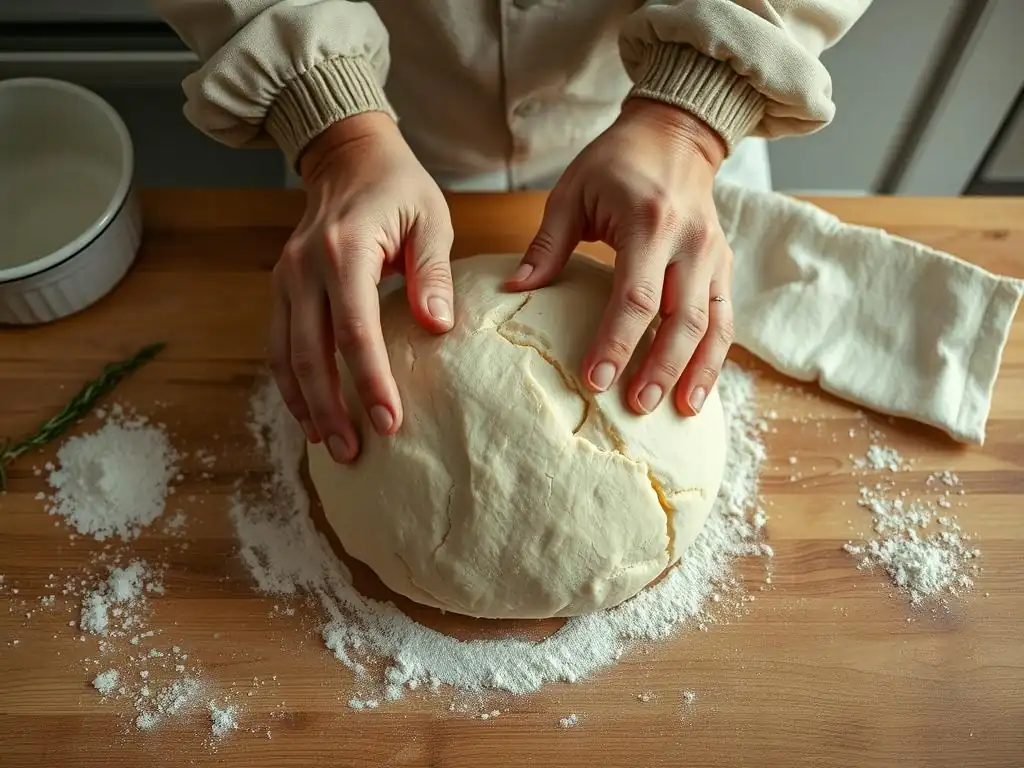
Shaping Techniques: Creating Beautiful Sourdough Boules and Batards
Proper shaping is essential for giving your sourdough loaf structure and tension, which helps it hold its form during proofing and encourages a good oven spring. The two most common shapes are the boule (round) and the batard (oval). For a boule, gently pre-shape the dough into a loose round after bulk fermentation, let it rest for 20-30 minutes (bench rest), and then perform the final shaping by creating surface tension. Pulling the edges into the center and then rounding the dough against the counter creates a tight skin on the outside.
For a batard, the process involves folding the dough into a rectangle and then rolling it up tightly, sealing the seam. The goal of both techniques is to create a taut surface that will expand upwards rather than outwards during baking. Using minimal flour during shaping prevents the dough from sticking but also ensures the seams seal properly. A well-shaped loaf will maintain its form during proofing and provide the necessary structure for a beautiful, high-rising loaf in the oven, making the end result look far more complex than an easy white bread recipe might yield.
Final Proofing: Ensuring Optimal Oven Spring
The final proof, or second rise, is the period after shaping and before baking, where the dough rests, typically in a banneton. This stage allows the dough to relax slightly from shaping and accumulate a bit more gas. The duration and temperature of the final proof are crucial for achieving optimal oven spring – the rapid expansion of the loaf in the hot oven. An under-proofed loaf will have explosive, uncontrolled oven spring and potentially burst seams, while an over-proofed loaf will spread out and have poor oven spring.
Many bakers opt for a cold final proof in the refrigerator (usually 4°F or 4°C) for 8-18 hours. Cold temperatures significantly slow down fermentation, allowing acids to develop more slowly and contribute more complex flavors. Cold dough is also much easier to score cleanly. Alternatively, a shorter room-temperature proof (1-3 hours, depending on ambient temperature) is possible, but requires closer monitoring. A good test for readiness is the 'poke test': gently poke the dough with a floured finger; if it springs back slowly but leaves a slight indentation, it's likely ready to bake.
Baking Temperature and Time: Achieving a Dark and Crispy Crust
Baking sourdough at high temperatures is key to achieving a dark, crispy crust and maximizing oven spring. Preheat your oven, with your baking vessel (like a Dutch oven) inside, to a high temperature, typically between 450°F and 500°F (230°C - 260°C). The initial high heat creates the necessary steam environment inside the covered vessel and provides a powerful thermal boost to the dough. Bake covered for the first 20-25 minutes. This traps the steam released by the dough, keeping the crust pliable and allowing the loaf to expand fully.
After the initial covered bake, remove the lid and reduce the oven temperature slightly (e.g., to 425-450°F or 220-230°C) to finish baking. This phase, lasting another 20-30 minutes, allows the crust to brown and crisp up. The internal temperature of the bread should reach at least 200°F (93°C) when fully baked. A dark, caramelized crust contributes significantly to the flavor and texture of the sourdough, a hallmark that distinguishes it from simpler loaves like an easy white bread recipe.
Scoring: Creating Beautiful and Functional Bread Slashes
Scoring, or slashing the surface of the dough just before baking, serves both aesthetic and functional purposes. Functionally, the cuts act as controlled vents, allowing the dough to expand predictably in the oven's heat. Without scoring, the expanding gases would find the weakest point in the crust, resulting in an uncontrolled burst. Aesthetically, scoring allows bakers to create beautiful patterns, from simple single slashes (a 'grigne' or 'ear' is a desirable outcome) to intricate designs.
Use a sharp blade, like a lame (a razor blade on a stick) or a very sharp knife. Hold the blade at a 20-30 degree angle to the dough's surface for main cuts to encourage a good ear, and make swift, confident cuts about 1/2 inch deep. For decorative cuts, a vertical angle is often used, and these cuts are usually shallower. Practicing on scrap dough or even playdough can help build confidence before scoring your actual loaf. Proper scoring ensures your loaf expands beautifully and evenly, a satisfying step after mastering the dough preparation.
Troubleshooting Common Problems in Sourdough Bread Baking
Dense and Gummy Bread: Identifying the Causes and Solutions
A dense or gummy crumb is a common frustration in sourdough baking and can stem from several issues. One primary cause is insufficient fermentation, either during the bulk rise or the final proof. If the dough hasn't developed enough gas, it won't expand properly in the oven, leading to a tight, heavy texture. Another factor is underbaking; if the internal temperature hasn't reached at least 200°F (93°C), the starches won't fully gelatinize, resulting in a wet, gummy interior.
To address this, ensure your starter is active and bubbly before use. Pay close attention to the dough's signs during bulk fermentation – look for a significant increase in volume (30-50%) and airiness. For the final proof, use the poke test to gauge readiness. Always bake until the internal temperature is correct, even if the crust looks done. If consistently facing density, consider slightly increasing hydration or ensuring you're developing sufficient gluten strength through mixing and folds.
Flat Bread: Tips for Optimal Rise
Flat sourdough loaves often indicate a lack of structure or over-proofing. If the gluten network isn't sufficiently developed through mixing and stretch/coil folds, the dough won't be able to hold the gas produced by fermentation, causing it to spread instead of rise. Over-proofing is another major culprit; if the dough ferments for too long, the gluten structure weakens, and the yeast exhausts its food supply, leaving no energy for oven spring.
To prevent flat loaves, focus on building dough strength during bulk fermentation with regular folds. Ensure your final proof isn't too long, especially at room temperature – dough that looks overly puffy or collapses easily when handled is likely over-proofed. Shaping techniques also play a role; creating sufficient surface tension helps the loaf hold its shape. Using a banneton provides support during the final proof. Baking in a hot Dutch oven provides crucial support and heat transfer during the initial bake, promoting upward expansion.
Pale Crust: Achieving the Perfect Deep Brown Color
A pale crust often suggests insufficient baking time or temperature. The Maillard reaction and caramelization, responsible for the rich brown color and complex flavors of the crust, occur best at high temperatures and require adequate time. If your oven temperature is too low or you shorten the baking time, these reactions won't complete, resulting in a pale, often softer crust.
Ensure your oven is accurately calibrated and preheated thoroughly, ideally with the baking vessel inside, for at least 30-60 minutes. Baking at temperatures between 450°F and 500°F (230°C - 260°C) is usually necessary for the first part of the bake. Once the lid is off, continue baking until the crust reaches your desired color, which is typically a deep golden to reddish-brown. Don't be afraid of a dark crust; it adds significant flavor. Baking longer or at a slightly higher temperature during the uncovered phase can help achieve a darker color.
Over-Proofing: Recognizing and Correcting the Issue
Over-proofing is a common problem, especially when proofing at room temperature or when ambient temperatures are warmer than expected. Signs of over-proofing include dough that looks very puffy, feels excessively airy and fragile, and collapses easily when gently poked or handled. It might also have a very strong, overly acidic smell. An over-proofed loaf will likely have poor oven spring and a dense, gummy interior because the gluten structure has degraded and the yeast is spent.
If you suspect your dough is slightly over-proofed, you can try baking it immediately, handling it very gently to avoid degassing it further. For significantly over-proofed dough, it might be beyond saving as a whole loaf. However, you can often salvage it by gently degassing it, reshaping it into smaller rolls or flatbreads, and baking them quickly. Learning to read your dough's signals – its volume increase, feel, and response to the poke test – is the best way to prevent over-proofing in the future.
Advanced Tips for Enhancing Your Sourdough Bread
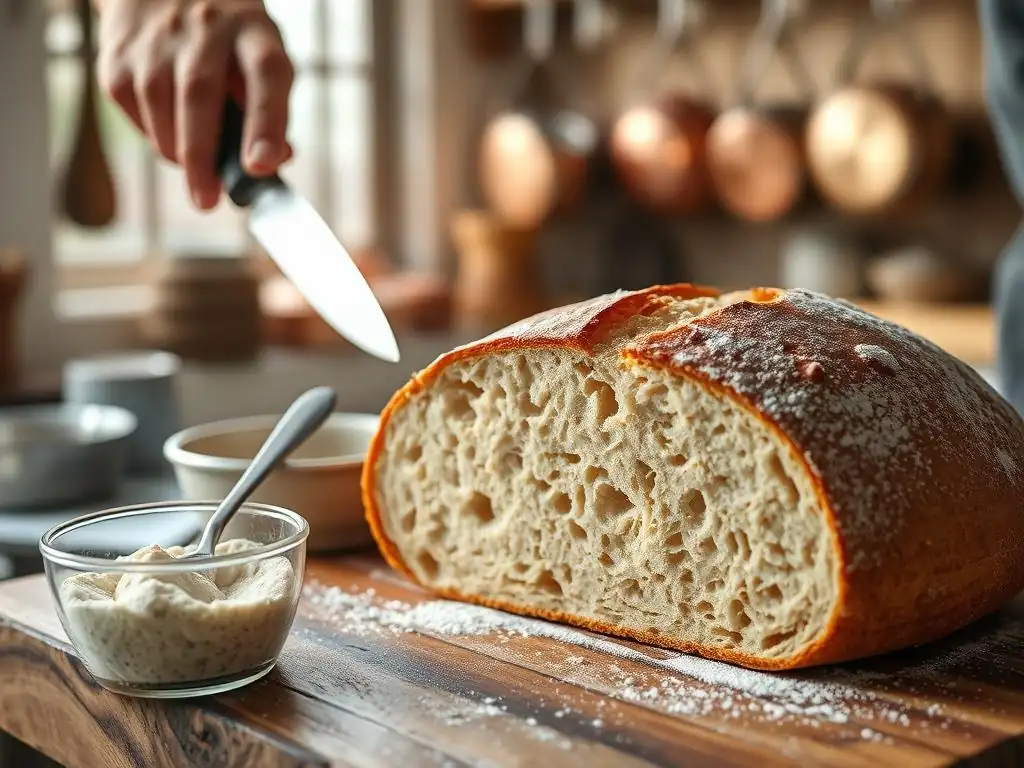
Flour Combinations: Exploring Different Flavor Profiles
Beyond basic white bread flour, incorporating other flours can significantly enhance the flavor, texture, and nutritional profile of your sourdough. Adding a percentage of whole wheat flour (5-20%) introduces nutty, earthy notes and increases fiber content. Rye flour, even in small amounts (5-10%), adds a distinct tang and moisture. Flours like spelt, kamut, or einkorn offer unique historical grains with their own subtle flavors and characteristics.
Experimenting with different flour blends opens up a world of possibilities. For instance, a blend of 80% strong white bread flour and 20% whole wheat can yield a loaf with excellent structure and added complexity. A small addition of rye (5%) to a white loaf adds moisture and a pleasant tang without making the dough difficult to handle. Remember that different flours absorb water differently, so you may need to adjust hydration levels when changing your flour blend.
Hydration Levels: Mastering High-Hydration Sourdough
Hydration refers to the ratio of water to flour in your dough, expressed as a percentage of the flour weight. A typical sourdough might be 70-75% hydration, meaning for every 100g of flour, you use 70-75g of water. Higher hydration doughs (75%+) are wetter, stickier, and generally harder to handle, but they often result in a more open, airy crumb structure and a crispier crust. Lower hydration doughs (below 70%) are easier to work with and yield a tighter crumb, similar to some easy white bread recipe textures.
Mastering higher hydration requires developing good dough handling skills and relying on techniques like stretch and folds or coil folds to build strength. While challenging initially, pushing hydration levels can lead to stunning results. Start by gradually increasing hydration by just 2-3% in successive bakes. Pay attention to how the dough feels and behaves, and adjust your technique accordingly. A dough at 80% hydration will feel very different from one at 65%, requiring more reliance on scrapers and less on dry flour during shaping.
Cold Retarding: Slowing Down Fermentation for Enhanced Flavor
Cold retarding, or proofing the shaped dough in the refrigerator for an extended period (typically 12-18 hours, sometimes up to 24-48 hours), is a technique beloved by sourdough enthusiasts for its impact on flavor and convenience. The cold temperature dramatically slows down the yeast activity while allowing the bacteria to continue producing organic acids, resulting in a more pronounced tangy flavor.
Beyond flavor, cold retarding makes baking easier. Cold dough is much firmer and easier to score cleanly. It also provides flexibility, allowing you to bake the loaf straight from the fridge when it's convenient for you. This slow fermentation also contributes to a better crust development during baking. While a room-temperature proof can be quicker, the flavor complexity gained from a long, cold proof is often well worth the wait, elevating your sourdough far beyond the flavor profile of an easy white bread recipe.
Understanding Starter Activity: Ensuring a Strong and Active Starter
The health and activity level of your sourdough starter are foundational to successful baking. An active starter, often referred to as being 'ripe,' is one that has been fed regularly and is vigorously bubbling and has roughly doubled or tripled in volume within 4-8 hours of feeding (depending on temperature and feeding ratio). It should smell pleasantly tangy, not overwhelmingly acidic or like nail polish remover.
Using a starter that is at its peak activity (typically a few hours after feeding, when it's most bubbly) provides the yeast with the energy needed to leaven the dough effectively. An inactive or weak starter will result in slow or stalled fermentation and a flat, dense loaf. Regularly feeding your starter, keeping it at a consistent temperature, and observing its behavior are essential practices to ensure it's always ready to perform when you need it for your next bake, making the whole sourdough process feel less daunting.
Sourdough Bread Recipe: A Quick Recap for Baking Success
Baking sourdough bread is a rewarding process that involves understanding the interplay of simple ingredients, time, and temperature. From nurturing an active starter to mastering dough handling and achieving the perfect bake, each step contributes to the final loaf. Remember the importance of accurate measurements, the benefits of techniques like autolyse and cold retarding, and the visual cues your dough provides throughout fermentation.
- Use a digital scale for precision.
- Ensure your starter is active and ripe.
- Pay attention to water temperature and dough temperature.
- Develop gluten strength with folds during bulk fermentation.
- Learn to read your dough for proofing readiness (poke test).
- Bake at high temperatures in a covered vessel for oven spring and crust.
- Don't be afraid of a dark crust for flavor.
- Troubleshoot patiently – each bake is a learning opportunity.
While it involves more steps than an easy white bread recipe from a package, the control and depth of flavor you achieve with sourdough are unparalleled. With practice and attention to these tips, you'll soon be baking consistently beautiful and delicious sourdough loaves right in your own kitchen, simplifying what might initially seem like a complex process.
Frequently Asked Questions
What are some essential tips for ensuring a successful easy white bread recipe?
The key is using fresh ingredients, especially yeast. Also, don't skip the kneading process, as it develops the gluten necessary for a good texture.
How can I troubleshoot common problems like dense or flat white bread?
Dense bread often results from too little yeast or not kneading enough. Flat bread can be caused by over-proofing or using old yeast.
What are some easy variations I can make to a basic white bread recipe?
You can add herbs like rosemary or garlic for flavor. Swirling in cinnamon sugar before baking creates a sweet variation.
What is the best temperature for proofing my white bread dough?
A warm, draft-free environment is ideal, around 75-85°F (24-29°C). This helps the yeast activate properly for optimal rising.
How do I know when my white bread is fully baked?
The internal temperature should reach 190-200°F (88-93°C). The loaf should also sound hollow when tapped on the bottom.
Final Reflection: The Enduring Power of Simple Bread
The humble loaf of white bread, far from being a culinary afterthought, remains a cornerstone of global cuisine and a powerful symbol of comfort and sustenance. Its simplicity belies a depth of technique and tradition that continues to captivate home bakers and professional chefs alike. Mastering the art of making basic white bread isn't just about following a recipe; it's about understanding the interplay of ingredients and the transformative power of time and heat.
The enduring appeal of homemade bread, especially a perfectly risen white loaf, transcends mere sustenance; it's a connection to history, a testament to human ingenuity, and a source of immense personal satisfaction. Bread is the staff of life,
a saying so simple yet profoundly true, encapsulates the importance of this seemingly basic food. The act of creating something so fundamental from simple ingredients fosters a deep appreciation for the process and the resulting product, a feeling that resonates far beyond the kitchen. This connection to the past, to our ancestors who relied on bread as a staple, is a powerful reminder of our shared human experience.
Now, consider your own journey with bread. Have you ever felt the satisfying weight of a freshly baked loaf in your hands? Have you experienced the joy of sharing that loaf with loved ones? I encourage you to embrace the simplicity of the basic white bread recipe, to experiment with the tips and tricks discussed, and to discover the unique satisfaction of creating something delicious and meaningful with your own hands. The journey of baking is a journey of discovery, and the perfect loaf awaits your exploration.
Unleash Your Inner Baker: Master the Art of White Bread!
Thanks for taking the time to explore the world of basic white bread with us! We hope you gained some valuable insights and new techniques to elevate your baking game. Ready to put your newfound knowledge into practice?
- Bake a loaf today! Use your newly acquired tips to create a truly exceptional white bread. Experiment with different flours or additions to personalize your recipe.
- Share your baking journey! Snap a picture of your masterpiece and post it on social media, tagging BakeWithEase – we'd love to see your results!
- Challenge yourself: Try adjusting the hydration level in your next batch to see how it affects the final texture.
What creative twist will you add to your next loaf of white bread?