
Your GoTo Resource for Ciabatta & Rustic Bread Baking

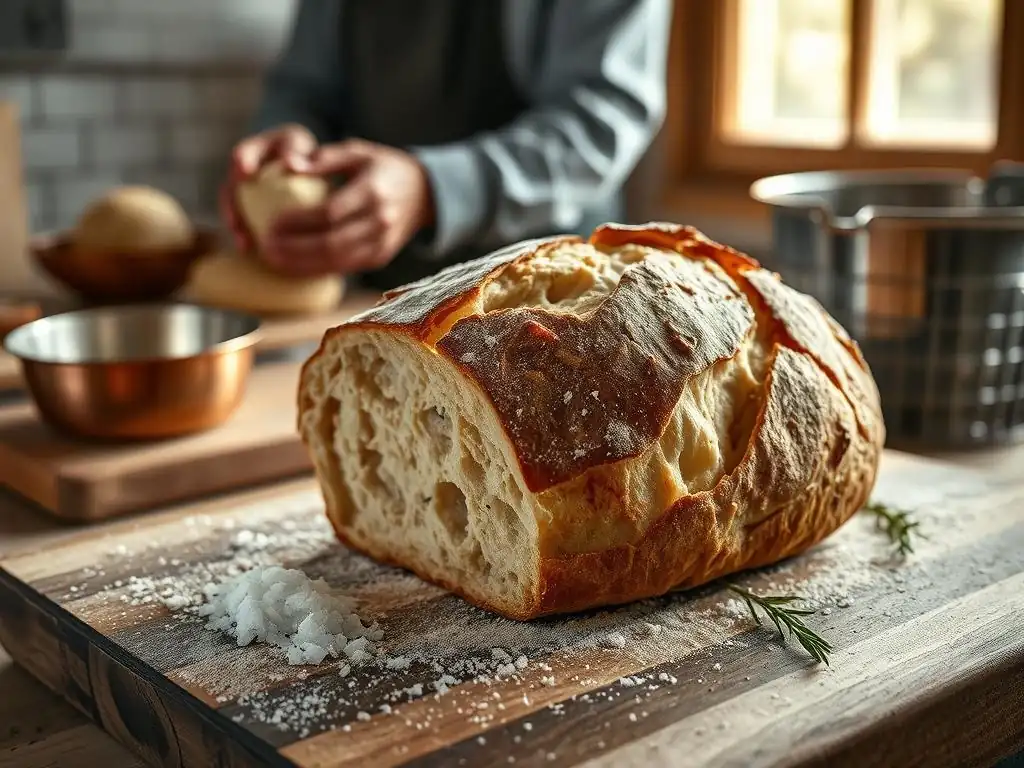
Welcome to BakeWithEase, your trusted guide to the delightful world of baking!
Ready to unlock the secrets to perfectly airy and crusty Ciabatta? Dive in! In this article, we're sharing essential Ciabatta bread baking tips that will transform your bread game. Discover simple techniques and expert advice to create bakery-worthy loaves right in your own kitchen. What if you could consistently bake stunning Ciabatta? Read on to find out!
- Mastering Ciabatta: An Introduction to Rustic Bread Baking
- Essential Ciabatta Bread Baking Tips for Beginners
- Advanced Ciabatta Baking Techniques for Superior Results
- Troubleshooting Common Ciabatta Baking Problems
- Exploring Rustic Bread Variations Beyond Ciabatta
- Ciabatta Bread Baking Recipes: Step-by-Step Guides
- Serving and Storing Your Homemade Ciabatta
- Ciabatta Bread Baking: Frequently Asked Questions (FAQ)
-
Frequently Asked Questions
- What is the most important factor in achieving a light and airy crumb in Ciabatta bread?
- What are some common mistakes beginners make when baking Ciabatta bread?
- How can I create that characteristic rustic shape for my Ciabatta loaf?
- What type of flour is best for baking Ciabatta bread?
- Can I use a stand mixer to make Ciabatta bread dough, or is it better to mix by hand?
- Final Reflection: The Enduring Allure of the Perfect Ciabatta Loaf
- Unlock Your Inner Baker: Craft the Perfect Ciabatta!
Mastering Ciabatta: An Introduction to Rustic Bread Baking
Understanding Ciabatta Bread: Origins and Characteristics
Ciabatta, meaning "slipper" in Italian, is a rustic bread that originated in the Veneto region of Italy in 1982. Its creation was a response to the popularity of French baguettes, aiming to produce an Italian alternative with a unique texture and flavor. Unlike many traditional Italian loaves, ciabatta is known for its elongated, broad, and flat shape, resembling a well-worn slipper.
The defining characteristics of ciabatta are its incredibly open, airy crumb structure and a wonderfully crisp, chewy crust. This texture is primarily achieved through a very high hydration level – often 70% to 85% water relative to the flour weight – and minimal handling during shaping. The dough's wetness is key to developing those large, irregular holes that are the hallmark of authentic ciabatta.
Why Bake Ciabatta at Home? The Joys of Rustic Baking
Baking ciabatta at home offers immense satisfaction, transforming simple ingredients into a truly artisanal loaf. The process, while seemingly intimidating due to the wet dough, is surprisingly accessible and incredibly rewarding. There's a unique joy in watching the dough transform, develop air bubbles, and finally emerge from the oven with that signature crackling crust.
Beyond the personal fulfillment, baking ciabatta allows you to control the quality of ingredients, ensuring a fresh, flavorful bread free from preservatives. A loaf from a good bakery might cost $4-$6, but baking at home can reduce that cost significantly, often to less than $1-$2 per loaf depending on ingredient costs. Mastering these ciabatta bread baking tips opens up a world of possibilities, from perfect sandwich bread to a simple, elegant accompaniment for any meal.
Essential Ciabatta Bread Baking Tips for Beginners
Key Ingredients for Authentic Ciabatta: Flour, Water, and Yeast
The foundation of great ciabatta lies in understanding its core ingredients. High-protein bread flour (typically 12-14% protein content) is crucial because it can absorb large amounts of water and develop the strong gluten network needed to support the open crumb structure. All-purpose flour might work, but it won't yield the same airy interior.
Water is not just a hydration agent; it's a vital component in developing the gluten and activating the yeast. For ciabatta, the water content is unusually high, often between 70% and 85% of the flour weight. Using good quality water is recommended. Fresh yeast, whether instant or active dry, is essential for fermentation, producing the gas that creates the characteristic bubbles. A small amount of salt is also necessary for flavor and to control yeast activity.
The Importance of Hydration: Achieving the Perfect Ciabatta Dough
High hydration is arguably the single most important factor in achieving the classic ciabatta crumb. A hydration level of 75% means that for every 100 grams of flour, you use 75 grams of water. This creates a very wet, sticky dough that can be challenging for beginners, but it's essential for developing the expansive air pockets during fermentation and baking.
Working with such a wet dough requires a different approach than lower-hydration breads. Instead of traditional kneading, techniques like stretch and fold or coil folds are used. These methods gently build gluten strength over time without forcing air out of the dough. Embracing the stickiness and learning to handle it with wet hands or a dough scraper is a fundamental ciabatta bread baking tip.
Kneading Techniques for Ciabatta: Developing Gluten Strength
Given the high hydration, vigorous kneading like you might do for a standard loaf isn't ideal for ciabatta. The preferred methods focus on developing gluten structure gently over time. The 'stretch and fold' technique involves wetting your hands, grabbing an edge of the dough, stretching it upwards, and folding it back over the rest of the dough in the bowl. You repeat this from different sides, typically performing 3-4 rounds of folds every 30-45 minutes during the initial bulk fermentation phase.
Another effective technique is the 'coil fold'. With wet hands, you lift the dough from the center, allowing the ends to hang down, and then gently lay it back down, folding the ends underneath like a coil. Both methods help align the gluten strands, creating a strong yet extensible network capable of trapping gas and creating large bubbles without collapsing the delicate structure. These gentle movements are key ciabatta bread baking tips for achieving the airy crumb.
Advanced Ciabatta Baking Techniques for Superior Results
Poolish and Biga: Pre-Ferments for Enhanced Flavor
To elevate the flavor and texture of your ciabatta, incorporating a pre-ferment is a game-changer. A poolish is a liquid pre-ferment made from equal weights of flour and water, plus a small amount of yeast, left to ferment for 12-16 hours, often overnight. It contributes a slightly tangy flavor and improves the extensibility of the dough.
A biga is a stiffer pre-ferment, typically with a hydration of 50-60%. It's made with flour, less water, and a small amount of yeast, also fermented for 8-16 hours. A biga contributes more structure and a nutty, complex flavor. Using either a poolish or a biga in your ciabatta recipe significantly enhances the depth of flavor and improves the crumb structure and crust quality compared to using just direct yeast.
Shaping Ciabatta Like a Pro: Achieving the Signature Open Crumb
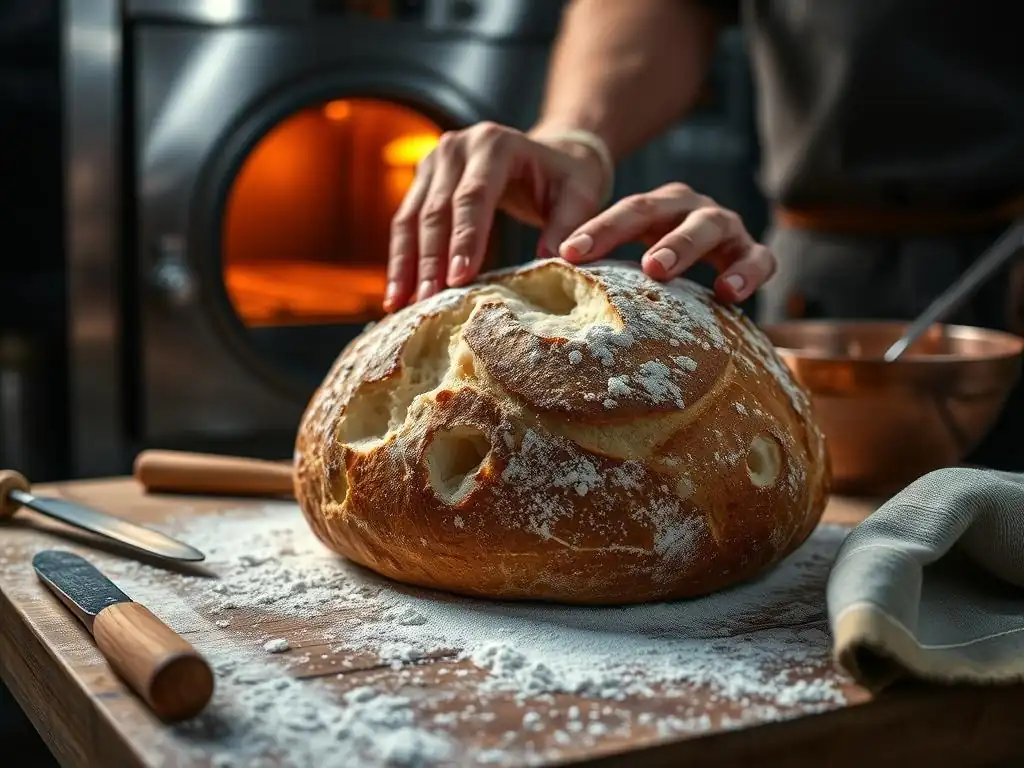
The shaping process for ciabatta is less about creating tension and more about preserving the air bubbles that have developed during fermentation. After the bulk fermentation, the dough is typically turned out onto a well-floured surface. It's gently stretched or coaxed into a rough rectangle or square.
The dough is then divided into desired loaf sizes using a bench scraper, avoiding excessive handling or degassing. Some methods involve folding the pieces in half lengthwise or simply leaving them as irregular shapes. The key is to be gentle and use plenty of flour to prevent sticking. Minimal intervention during shaping is a crucial ciabatta bread baking tip for maintaining that coveted open crumb.
Baking Ciabatta in a Dutch Oven: Creating a Crispy Crust
While ciabatta can be baked on a baking stone with steam, using a Dutch oven is an excellent way to replicate professional bakery conditions and achieve a superb crust at home. The lidded Dutch oven traps the steam released by the dough during the initial phase of baking. This trapped steam keeps the surface of the dough moist and flexible, allowing the loaf to expand fully (oven spring) before the crust sets.
Typically, the Dutch oven is preheated at a high temperature, often 450-500°F (230-260°C). The bread is baked covered for the first 20-25 minutes, allowing for maximum expansion and steam development. Then, the lid is removed, and the bread continues to bake for another 15-20 minutes until the crust is deeply golden brown and crispy. This two-stage baking process within the Dutch oven is a highly effective ciabatta bread baking tip for crust development.
Troubleshooting Common Ciabatta Baking Problems
Avoiding a Flat Ciabatta: Understanding Proofing and Oven Spring
A common frustration when baking ciabatta is ending up with a flat, dense loaf instead of an airy one. This is often related to proofing and oven spring. Under-proofing means the dough hasn't developed enough gas during fermentation to rise properly in the oven. Over-proofing, conversely, means the gluten structure has weakened and can no longer support the gas, causing the dough to collapse before or during baking.
Proper proofing for ciabatta involves watching the dough, not just the clock. The dough should be airy and bubbly but still have some structure and resistance when gently poked. Oven spring is the final burst of rising that occurs in the hot oven before the crust hardens. Good oven spring relies on adequate gluten development, proper proofing, and sufficient initial oven heat and steam. Getting the proofing right is a vital ciabatta bread baking tip.
Dealing with Sticky Dough: Tips for Handling High-Hydration Doughs
Handling very wet, sticky ciabatta dough can be intimidating, but it's a necessary part of the process. Remember that the stickiness is normal for high-hydration doughs and is key to the open crumb. Avoid the temptation to add excessive amounts of flour into the dough itself, as this will lower the hydration and result in a denser loaf.
Instead, rely on external aids. Keep your hands wet when handling the dough during folds or shaping – water acts as a lubricant. Use a metal bench scraper extensively to move and divide the dough on a well-floured surface. Generously flour your work surface before turning the dough out. A non-stick surface or baking parchment can also be your friend during the final proofing and transfer to the oven. These handling tips are essential for successful ciabatta bread baking.
Achieving the Ideal Crust: Temperature and Baking Time Considerations
The perfect ciabatta crust is thin, crispy, and has a satisfying chew. This is achieved through a combination of high baking temperature and proper moisture management. Baking at a high temperature (typically 450-500°F or 230-260°C) ensures rapid oven spring and quick crust formation.
Steam in the oven during the initial phase is critical. It keeps the crust pliable, allowing the loaf to expand fully before setting. This can be achieved by baking in a covered Dutch oven or by placing a pan of hot water or ice cubes on the bottom rack of your oven if baking on a stone.
Baking time varies depending on the loaf size and your oven, but typically ranges from 30-45 minutes total. The bread is done when it's deeply golden brown and sounds hollow when tapped on the bottom, or reaches an internal temperature of 200-210°F (93-99°C).
Exploring Rustic Bread Variations Beyond Ciabatta
Baking Baguettes: A Classic French Rustic Bread
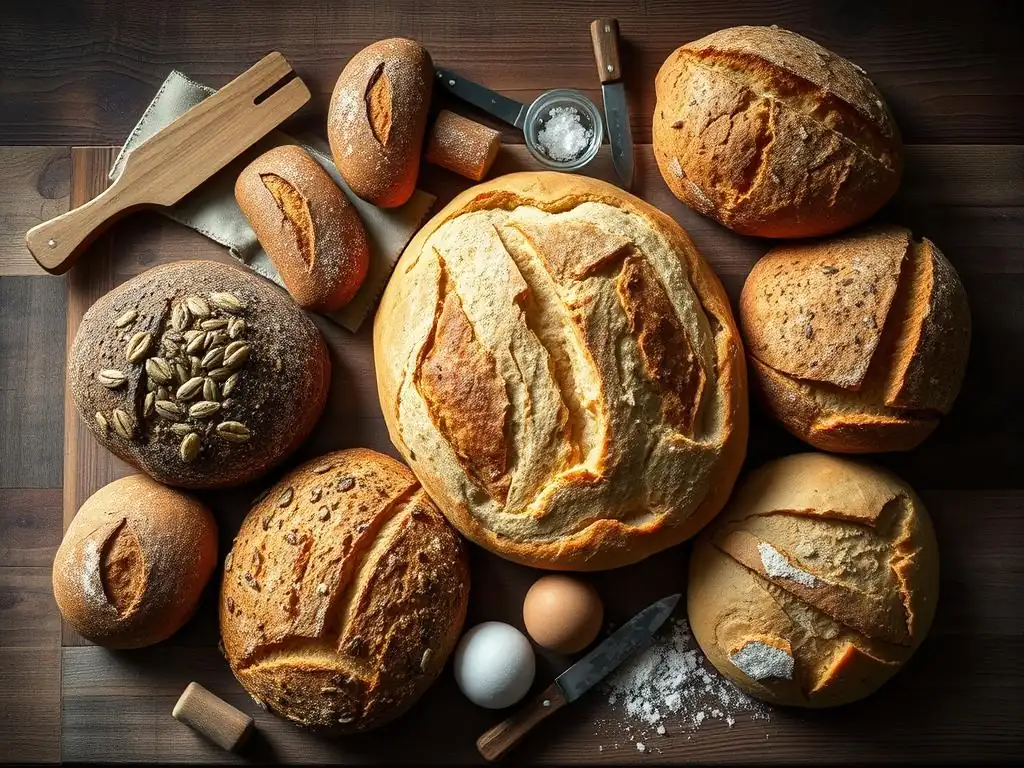
While ciabatta hails from Italy, its rustic cousins are found across Europe. The French baguette is perhaps the most iconic. Known for its long, thin shape, exceptionally crispy crust, and airy interior, the baguette shares similarities with ciabatta in its relatively high hydration (though often slightly lower than ciabatta) and focus on developing an open crumb.
Baking baguettes involves careful shaping to achieve the characteristic form and scoring the surface to control expansion. Like ciabatta, steam is crucial during the initial bake to achieve the signature crust. Mastering the shaping technique is one of the key ciabatta bread baking tips that can transfer well to baguette baking.
Sourdough Rustic Bread: Embracing Natural Leavening
Sourdough bread represents another prominent category of rustic loaves, utilizing a wild yeast starter (levain) instead of commercial yeast for leavening. This natural fermentation process imparts a distinct tangy flavor and a chewy texture that is highly prized. Sourdough often involves longer fermentation periods, contributing to deeper flavor development.
Many rustic loaves, including some versions of ciabatta, can be made using a sourdough starter. This requires maintaining an active starter and adjusting the recipe to account for the starter's hydration and leavening power. Baking sourdough often follows similar principles to ciabatta regarding hydration and steam for the crust.
Focaccia: An Italian Flatbread
Another Italian rustic bread, focaccia, offers a slightly different experience. Typically baked in a pan, focaccia is often less hydrated than ciabatta and has a more uniform, though still open, crumb. Its surface is traditionally dimpled and generously topped with olive oil, sea salt, and often herbs or other ingredients.
Focaccia is generally considered easier to handle than ciabatta due to its lower hydration and pan-baking method. It's a versatile bread, perfect for dipping, sandwiches, or as a side dish. While different in form, the principles of developing gluten and creating a good crumb structure share common ground with ciabatta bread baking tips.
Ciabatta Bread Baking Recipes: Step-by-Step Guides
Classic Ciabatta Recipe: A Beginner-Friendly Guide
A classic ciabatta recipe typically starts with creating a very wet, shaggy dough by mixing high-protein flour, water, a small amount of yeast, and salt. The dough is usually left to rest for 20-30 minutes (autolyse) to allow the flour to hydrate.
Following the rest, the dough undergoes a bulk fermentation period, often lasting 2-4 hours at room temperature. During this time, a series of gentle stretch and folds (typically 3-4 sets performed every 30-45 minutes) are crucial to develop the gluten structure. After bulk fermentation, the dough is turned out onto a heavily floured surface, gently shaped into a rectangle, divided, and left for a final proof before baking. These steps are fundamental ciabatta bread baking tips.
Sourdough Ciabatta Recipe: For the Advanced Baker
For those comfortable with sourdough baking, converting a ciabatta recipe to use a sourdough starter (levain) adds complexity and flavor. This involves calculating the amount of flour and water contributed by the active starter and reducing the amount of commercial yeast (or eliminating it entirely for a pure sourdough).
Sourdough ciabatta typically requires a longer bulk fermentation time, often 4-6 hours or even overnight in a cooler environment, to allow the wild yeast to work. The stretch and fold regimen remains similar. The shaping and baking process is generally the same as classic ciabatta, focusing on minimal handling and achieving a great crust through steam. Mastering these nuances is part of advanced ciabatta bread baking tips.
Olive Ciabatta: A Savory Variation
Adding ingredients like olives transforms classic ciabatta into a flavorful savory loaf. Pitted, roughly chopped olives (such as Kalamata or Castelvetrano) are typically added to the dough during the initial mixing phase or during the first set of stretch and folds. Other additions like chopped fresh rosemary or sun-dried tomatoes can also be included.
When adding substantial ingredients like olives, be aware that they can slightly affect the dough's hydration and structure. You might need to make minor adjustments to the water or flour. Distributing the additions evenly without overworking the dough is key. The fermentation, shaping, and baking processes follow the standard ciabatta bread baking tips.
Serving and Storing Your Homemade Ciabatta
Pairing Suggestions: Complementing Ciabatta with Various Dishes
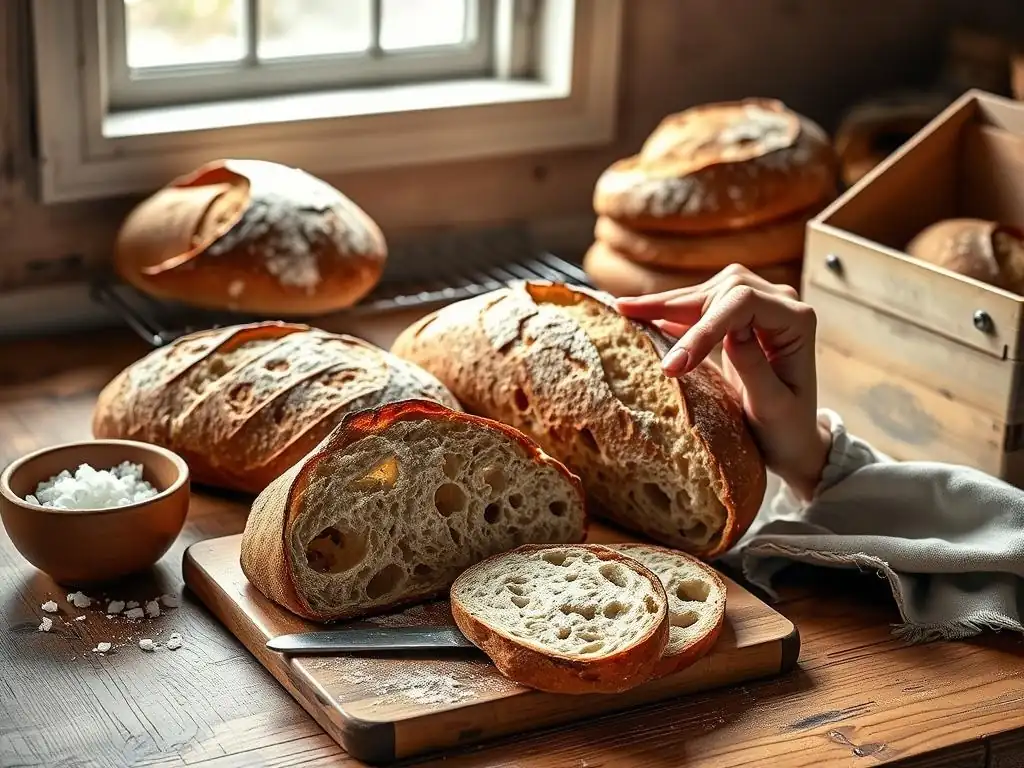
Homemade ciabatta, with its rustic charm and airy texture, is incredibly versatile. Its porous crumb is perfect for soaking up liquids. It's a classic accompaniment to a simple dish of good quality olive oil and balsamic vinegar for dipping.
Ciabatta makes excellent sandwiches, especially paninis, as its structure holds up well under pressing. It's also fantastic served alongside soups, stews, and pasta dishes, perfect for sopping up sauces. Consider serving sliced ciabatta with a cheese board or using it as the base for bruschetta or crostini.
Proper Storage Techniques: Keeping Your Ciabatta Fresh
Rustic breads like ciabatta are best enjoyed fresh, ideally within a day or two of baking, as their high water content and lack of preservatives mean they stale relatively quickly. Store the cooled loaf at room temperature. A paper bag is often preferred over plastic, as plastic can trap moisture and soften the crust. A linen bread bag or wrapping in a clean tea towel also works well.
For longer storage, freezing is the best option. You can freeze a whole loaf, half a loaf, or even individual slices. Wrap the bread tightly in plastic wrap, then in aluminum foil or a freezer bag to prevent freezer burn. Frozen ciabatta can last for several months. To enjoy, thaw at room temperature and refresh in a warm oven (around 350°F or 175°C) for 5-10 minutes to revive the crust.
Ciabatta Bread Baking: Frequently Asked Questions (FAQ)
What is the best flour for ciabatta bread?
The best flour for ciabatta is typically a high-protein bread flour with a protein content of around 12-14%. This higher protein level is essential for developing the strong gluten network required to support the high hydration and create the characteristic open, airy crumb structure. While all-purpose flour can be used, it generally results in a less open crumb.
How long should I proof ciabatta dough?
Proofing time for ciabatta is highly variable and depends significantly on factors like room temperature, the amount of yeast used, and whether a pre-ferment is included. Bulk fermentation (the first rise with folds) typically lasts 2-4 hours at room temperature (around 70-75°F or 21-24°C), but can be longer in a cooler environment or with less yeast/sourdough. Final proofing after shaping is usually shorter, perhaps 30-60 minutes. Look for visual cues: the dough should be significantly increased in volume, bubbly, and airy, but still have some structure.
Can I freeze ciabatta bread?
Yes, ciabatta bread freezes exceptionally well. Freezing is the recommended method for storing ciabatta for more than a couple of days to preserve its texture and flavor. Ensure the bread is completely cooled before freezing. Wrap it tightly to prevent moisture loss and freezer burn. You can freeze whole loaves, halves, or slices for convenience. Thawing at room temperature and reheating in a warm oven will help restore the crispy crust.
Frequently Asked Questions
What is the most important factor in achieving a light and airy crumb in Ciabatta bread?
The most important factor is proper hydration of the dough. A high water content, typically over 70%, is crucial for creating the signature large holes in Ciabatta.
What are some common mistakes beginners make when baking Ciabatta bread?
Common mistakes include over-kneading the dough, which develops too much gluten and results in a dense crumb, and under-proofing the dough, leading to insufficient rise.
How can I create that characteristic rustic shape for my Ciabatta loaf?
Avoid over-handling the dough. Gently fold the dough during shaping, and refrain from tightly forming it. Lightly flour the surface before baking to allow for irregular expansion and rustic appearance.
What type of flour is best for baking Ciabatta bread?
A strong bread flour with a high protein content (around 12-14%) is ideal. This helps to develop the necessary gluten structure to support the high hydration dough and create a chewy texture.
Can I use a stand mixer to make Ciabatta bread dough, or is it better to mix by hand?
A stand mixer can be used, but be cautious not to over-mix. The goal is to develop gluten without making the dough too tight. Gentle mixing and folding are key, regardless of the method.
Final Reflection: The Enduring Allure of the Perfect Ciabatta Loaf
The art of ciabatta baking, once a niche pursuit, has exploded in popularity, reflecting a growing appreciation for artisanal bread and the satisfaction of crafting something delicious from scratch. This surge in interest highlights a deeper cultural shift: a return to traditional methods, a desire for authenticity, and a growing awareness of the simple pleasures found in the kitchen. The seemingly simple ciabatta loaf represents a commitment to quality ingredients and the patience required to achieve perfection.
The journey of mastering ciabatta, for me, has been a lesson in both technical skill and mindful practice. It's a process that demands attention to detail, from the precise hydration of the dough to the careful timing of the fermentation. This meticulous approach mirrors a larger societal trend towards mindful consumption and appreciation for the craftsmanship behind our food. Bread is the staff of life,
they say, and in the case of ciabatta, it's a staff crafted with love, patience, and a deep respect for the ingredients.
Now, it's your turn. Don't be intimidated by the seemingly complex process. Take the tips and techniques outlined in this article, experiment with different flours and techniques, and embrace the journey. The reward? Not just a crusty, airy loaf of ciabatta, but a deeper connection to the food you eat and the satisfaction of creating something truly beautiful from simple ingredients. The perfect ciabatta awaits – begin your baking adventure today!
Here's a CTA based on the provided information:
Unlock Your Inner Baker: Craft the Perfect Ciabatta!
Thanks for diving into the world of ciabatta and rustic bread baking with us! We hope you've gained valuable insights and are feeling inspired to create delicious loaves. Now it's time to put your newfound knowledge to the test.
- Bake your first ciabatta today! Use what you've learned to try a recipe – even a small one! The feeling of accomplishment will be rewarding.
- Share your baking journey! Snap a photo of your creation and post it on social media using #BakeWithEaseCiabatta. We'd love to see your results!
- Explore our other rustic bread recipes on BakeWithEase.com for even more delicious inspiration.
Ready to transform your kitchen into a bakery? What's the first step you'll take to perfect your ciabatta technique?