
Secrets to Smooth, CrystalFree Fudge That Impresses

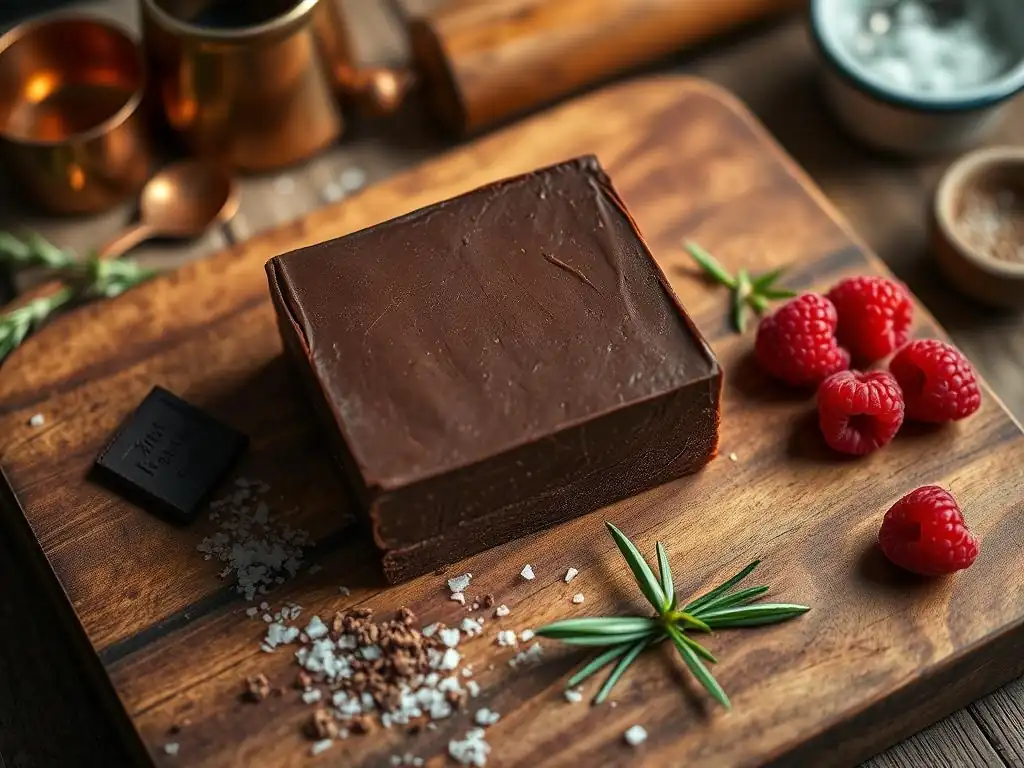
Welcome to BakeWithEase, your haven for baking brilliance! Are you ready to unlock the secrets to irresistible homemade treats? Dive into our latest exploration of baking science as we unravel the mystery behind perfecting smooth, crystal-free fudge. Discover the techniques and tips that will transform your fudge-making from frustrating to flawless, and leave everyone begging for more. What's the key ingredient for a truly decadent, melt-in-your-mouth fudge? Let's find out!
- BakeWithEase' Guide to Perfecting Smooth, Crystal-Free Fudge Recipe
- Understanding Fudge Crystallization: The Key to a Smooth Texture
- The Secret Ingredients for Crystal-Free Fudge: Beyond the Basics
- Step-by-Step: Mastering the Crystal-Free Fudge Recipe Technique
- Troubleshooting Common Fudge Problems: Fixing Grainy or Crumbly Fudge
- Flavor Variations: Expanding Your Crystal-Free Fudge Repertoire
- Pro Tips for Impressing with Your Homemade Fudge
- Advanced Fudge Techniques: Taking Your Fudge Skills to the Next Level
-
Frequently Asked Questions
- How does BakeWithEase ensure a smooth fudge texture?
- What are the key ingredients BakeWithEase recommends for crystal-free fudge?
- How can I prevent sugar crystals from forming in my fudge, according to BakeWithEase?
- What baking experience level is required to follow BakeWithEase's fudge recipe?
- What types of fudge recipes can I find on BakeWithEase?
- Final Reflection: The Enduring Allure of Perfectly Smooth Fudge
- Unlock Your Inner Fudge Master!
BakeWithEase' Guide to Perfecting Smooth, Crystal-Free Fudge Recipe
Welcome, fellow baking enthusiasts! If you've ever dreamed of achieving that velvety, melt-in-your-mouth fudge texture that skips the dreaded graininess, you're in the right place. Perfecting smooth, crystal-free fudge recipe is a goal many bakers strive for, and while it might seem tricky, understanding a few key principles can elevate your fudge game dramatically. This guide will walk you through the science and technique behind flawless fudge, turning potential pitfalls into stepping stones toward confectionery success.
Creating fudge that is consistently smooth and free of sugar crystals is less about luck and more about control – specifically, control over sugar crystallization. We'll dive deep into how crystals form, how temperature plays a crucial role, and even how your ingredient choices impact the final texture. From the initial cooking process to the final cooling stages, every step is important. Get ready to unlock the secrets to making fudge so smooth, it'll become your signature treat.
Understanding Fudge Crystallization: The Key to a Smooth Texture
Achieving that sought-after smooth texture in fudge hinges entirely on managing sugar crystallization. When sugar dissolves in liquid and is heated, it forms a syrup. As this syrup cools, the sugar molecules want to return to their solid, crystalline state. In candy making, this process is controlled to create different textures, from the large crystals of rock candy to the tiny, almost imperceptible crystals needed for smooth fudge. The challenge is to prevent large, noticeable crystals from forming, which is what causes that unpleasant grainy texture.
Think of it like building with LEGOs. If you let the LEGOs (sugar molecules) clump together randomly, you get a rough, uneven structure (grainy fudge). To get a smooth surface, you need the pieces to be tiny and dispersed evenly, forming a tight, uniform matrix.
This requires careful handling of the sugar syrup as it cools. Disturbing the syrup too early or too aggressively while it's cooling can trigger rapid, uncontrolled crystal growth, leading to a grainy result. The goal is to encourage the formation of many small crystals, or ideally, keep the sugar in a mostly amorphous (non-crystalline) state until setting.
Why Does Fudge Crystallize? Exploring Sugar Crystal Formation
Fudge crystallization is primarily driven by supersaturation and nucleation. When you heat sugar with liquid, you dissolve more sugar than the liquid can hold at room temperature, creating a supersaturated solution. As this solution cools, it becomes unstable. Any disturbance – a stray sugar grain from the side of the pan, stirring too soon, or even a bump – can provide a nucleation point, a starting place for crystals to form. Once a few crystals start, other sugar molecules in the supersaturated solution quickly attach to them, causing rapid growth and the formation of large, grainy crystals.
Consider a typical batch of fudge using about 3 cups (around 600g) of sugar dissolved in milk or cream. When heated to the soft-ball stage (approximately 235-240°F or 118-121°C), this solution holds a significantly higher concentration of sugar than it would at room temperature. If even a single undissolved sugar crystal remains on the side of the pan or is introduced later, it acts as a seed.
The cooling, supersaturated sugar molecules rush to join this seed, quickly building larger crystals. Preventing these initial seeds and controlling when and how crystallization occurs is paramount for perfecting smooth, crystalfree fudge recipe.
The Role of Temperature in Preventing Grainy Fudge
Temperature control is arguably the most critical factor in preventing grainy fudge. The sugar syrup must reach a specific temperature, typically the "soft-ball" stage (235-240°F / 118-121°C), to achieve the correct sugar concentration. Cooking the mixture too low prevents it from becoming sufficiently supersaturated, resulting in fudge that might not set properly. Cooking it too high, into the firm-ball or hard-ball stage, can lead to overly hard or brittle fudge with a higher tendency to crystallize rapidly into large grains. Using a reliable candy thermometer is essential; even a few degrees difference can impact the final texture.
Equally important is the cooling temperature before stirring. After reaching the target temperature, the fudge mixture must be allowed to cool undisturbed to a specific lower temperature, usually around 110-120°F (43-49°C). Cooling without stirring allows the supersaturated solution to become more stable.
Stirring while the syrup is too hot (above 120°F) is a common cause of graininess because the sugar molecules are still highly mobile and eager to crystallize around any disturbance. Cooling to the correct temperature before stirring allows the mixture to thicken slightly, so when stirring begins, it encourages the formation of many tiny crystals simultaneously, rather than letting a few large ones dominate.
Ingredient Selection: Choosing the Right Components for Smooth Fudge
The type and quality of your ingredients significantly impact the final texture of your fudge. Granulated sugar is the base, but its purity can matter; finer, more uniform sugar dissolves more easily, reducing the risk of undissolved grains acting as seeds. However, the real secret weapon against crystallization often lies in adding 'interfering agents' – substances that disrupt the sugar molecules' ability to form large, organized crystals.
Common interfering agents include corn syrup, honey, or glucose syrup. These contain different types of sugars (like glucose and fructose) that physically get in the way of sucrose molecules trying to link up and form large crystals. A small amount, perhaps 1-2 tablespoons per batch using 3-4 cups of sugar, can make a significant difference in preventing graininess.
The fat content from dairy (butter, milk, cream) and chocolate also acts as an interfering agent, coating sugar crystals and preventing them from growing too large. Using high-quality, higher-fat ingredients can contribute to a smoother texture, adding another layer to perfecting smooth, crystalfree fudge recipe.
The Secret Ingredients for Crystal-Free Fudge: Beyond the Basics
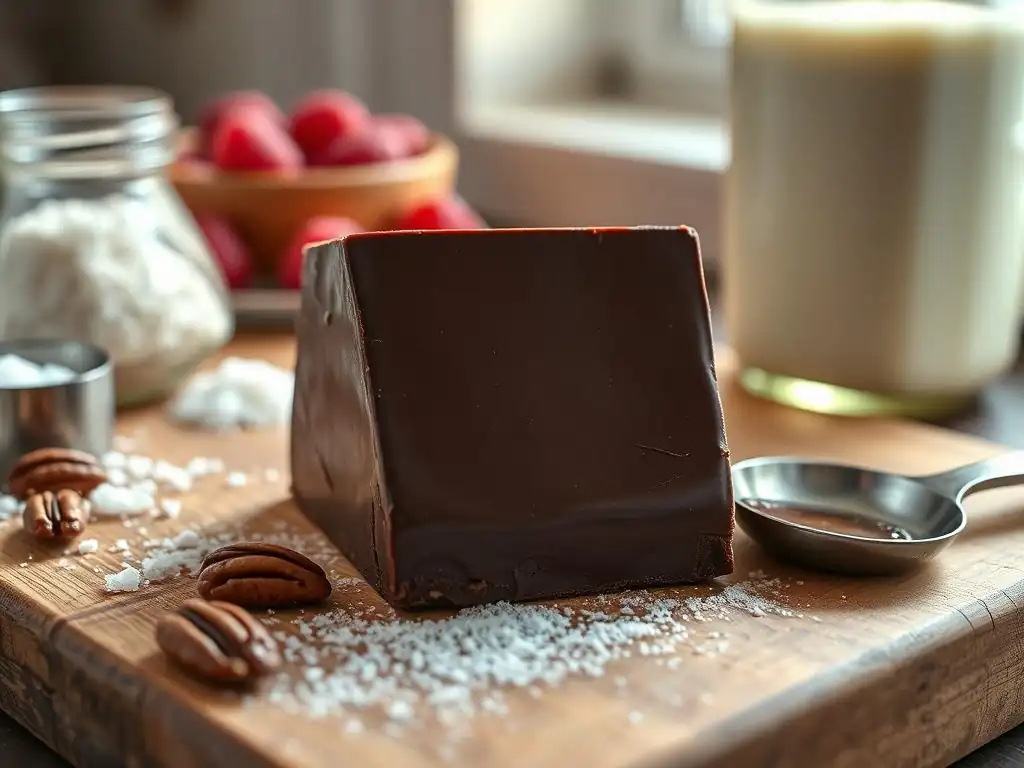
While sugar, dairy, and chocolate form the foundation of most fudge recipes, incorporating specific 'secret' ingredients can dramatically improve your chances of achieving a smooth, crystal-free texture. These additions aren't just for flavor; they serve a crucial scientific purpose by interfering with the sugar crystallization process. Understanding how they work allows you to wield them effectively in your quest for perfect fudge.
These interfering agents work by introducing other sugar molecules (like glucose and fructose found in invert sugars) or fat that physically block or slow down the growth of sucrose crystals. This forces the sugar to either remain in a more amorphous state or form many tiny, imperceptible crystals rather than large, gritty ones. Mastering the use of these ingredients is a key step in perfecting smooth, crystalfree fudge recipe and elevating your confectionery skills.
Corn Syrup vs. Other Invert Sugars: Which Works Best?
Corn syrup is a widely used interfering agent in fudge and other candies. It's an 'invert sugar' because it contains glucose and fructose, which are the result of breaking down sucrose. These smaller sugar molecules don't fit neatly into the sucrose crystal lattice, effectively disrupting crystal formation. Typically, adding just 1-2 tablespoons of light corn syrup per standard batch (using 3-4 cups of sugar) is sufficient to inhibit large crystal growth without significantly altering the flavor.
Other invert sugars like glucose syrup or even honey (though honey adds distinct flavor) can serve the same purpose. Glucose syrup is often preferred by professional confectioners for its neutral flavor and consistent performance. While the exact amount needed can vary slightly based on the specific recipe and other ingredients, the principle remains the same: introduce alternative sugar molecules to hinder sucrose crystallization. For home bakers perfecting smooth, crystalfree fudge recipe, light corn syrup is readily available and highly effective.
The Importance of High-Quality Chocolate in Fudge Making
The quality and type of chocolate used in your fudge recipe play a significant role, not just in flavor but also in texture. Chocolate contains cocoa solids and cocoa butter (fat). Cocoa butter is a powerful interfering agent; its fat molecules coat sugar particles and inhibit their ability to form large crystals. Higher-quality chocolates, especially those labeled as couverture or baking chocolate with a higher percentage of cocoa butter (often 30% or more in milk chocolate, much higher in dark), contribute more fat to the mixture.
Using compound chocolate (often labeled "baking chips" or "wafers" made with vegetable oil instead of cocoa butter) can result in a less smooth texture because it lacks sufficient cocoa butter to properly interfere with crystallization. For a truly luxurious and smooth fudge, opt for real chocolate with a good amount of cocoa butter. For instance, using 12-16 ounces (340-450g) of high-quality chocolate or chocolate chips containing real cocoa butter will significantly improve the texture compared to using a similar weight of compound chocolate.
Dairy Fat Content: How Milk and Butter Impact Fudge Texture
The dairy components – milk, cream, and butter – are vital for both the richness and the texture of fudge. Like cocoa butter, the fat in dairy acts as an interfering agent, coating sugar crystals and preventing them from growing too large. Higher-fat dairy products generally contribute to a smoother, more decadent texture. Using heavy cream (around 36-40% fat) instead of milk (around 3.25% fat) provides substantially more fat.
Butter, typically 80-82% fat, is another critical component. It adds richness and contributes significantly to the smooth texture by interfering with crystallization. Many classic fudge recipes call for a substantial amount of butter, often 1/2 cup (1 stick or about 113g) per batch using 3-4 cups of sugar. The combination of fat from butter, cream, and high-quality chocolate creates a rich environment that naturally inhibits the formation of large sugar crystals, aiding in perfecting smooth, crystalfree fudge recipe.
Step-by-Step: Mastering the Crystal-Free Fudge Recipe Technique
Achieving smooth, crystal-free fudge isn't just about ingredients; the technique you employ during cooking and cooling is equally crucial. Each step, from heating the initial mixture to the final cooling process, requires attention to detail to prevent sugar crystallization. Following a precise method is key to transforming simple ingredients into a confectionery masterpiece.
This step-by-step guide focuses on the critical moments where crystallization can occur and how to manage them. By controlling temperature, stirring, and cooling, you can ensure your fudge sets into a smooth, velvety texture every time. Mastering these techniques is fundamental for perfecting smooth, crystalfree fudge recipe.
Precise Temperature Control: Achieving the Perfect Soft-Ball Stage
The first critical temperature point is reaching the soft-ball stage during cooking. This stage occurs between 235°F and 240°F (118°C and 121°C). To accurately measure this, use a reliable candy thermometer clipped to the side of the pan, ensuring the bulb is fully submerged but not touching the bottom. Heat the mixture gently at first, stirring only until the sugar is dissolved. Once it boils, stop stirring to prevent sugar crystals from splashing onto the sides of the pan, where they could act as seeds later.
Boil the fudge mixture steadily until it reaches the target temperature range. This ensures the correct concentration of sugar is dissolved in the liquid. For example, boiling a mixture to 235°F (118°C) yields a specific sugar-to-liquid ratio that results in a soft, pliable candy when cooled – the ideal consistency for fudge. Cooking below this temperature means too much liquid remains, potentially leading to fudge that won't set properly. Cooking above this range results in less moisture and a harder, more brittle candy prone to graininess.
Stirring Techniques: When and How to Stir for Optimal Results
Stirring is a major factor in controlling crystallization, and when you stir is more important than how. Resist the urge to stir the fudge while it's boiling and immediately after it comes off the heat. Stirring at high temperatures (above 120°F / 49°C) introduces air bubbles and friction, which can easily trigger rapid crystal growth in the supersaturated solution.
The critical stirring moment occurs after the fudge has cooled undisturbed to around 110-120°F (43-49°C). At this temperature, the mixture has thickened slightly and is less prone to forming large crystals. Now, you can begin stirring.
Stirring at this cooler temperature encourages the formation of many tiny crystals simultaneously, rather than a few large ones. Stir continuously with a wooden spoon or spatula until the fudge starts to thicken, lose its glossy sheen, and becomes slightly opaque. This change indicates that micro-crystallization is happening evenly throughout the mixture, leading to that smooth texture desired when perfecting smooth, crystalfree fudge recipe.
Cooling and Setting: The Crucial Final Steps for Smooth Fudge
Once the fudge has been cooked to the correct temperature and stirred until it starts to thicken (usually indicated by a loss of gloss), the cooling and setting process is the final hurdle for crystal-free perfection. Immediately pour the thickened fudge into a prepared pan (greased or lined with parchment paper). Do not scrape the pan; any sugar crystals clinging to the sides could seed the batch.
Allow the fudge to cool and set completely at room temperature, undisturbed. This typically takes several hours, often 2-4 hours depending on the batch size and ambient temperature. Resist the temptation to move or refrigerate the fudge during this time, as sudden temperature changes can sometimes encourage crystallization. For example, cooling a 9x13 inch pan of fudge might take 3 hours at a room temperature of 70°F (21°C). Patience during this final cooling phase ensures the structure you've worked hard to create remains intact, resulting in the smooth, sliceable fudge you're aiming for.
Troubleshooting Common Fudge Problems: Fixing Grainy or Crumbly Fudge
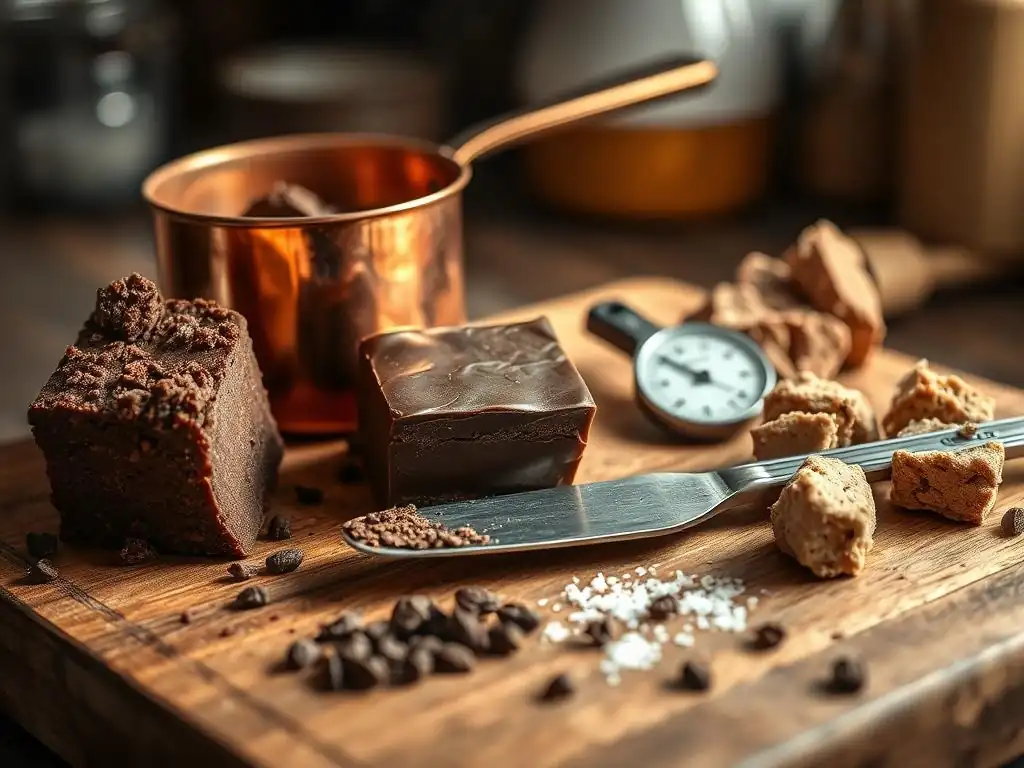
Even with careful technique, sometimes fudge doesn't turn out perfectly. Grainy texture and crumbliness are common issues that arise from uncontrolled sugar crystallization or moisture imbalance. Don't despair! Understanding the root causes and knowing some troubleshooting steps can help you salvage a less-than-perfect batch or prevent future failures.
Addressing issues like graininess often involves reversing the crystallization process, while crumbliness might require adjusting moisture or cooking time. These fixes highlight the delicate balance required in confectionery. Learning to troubleshoot is an essential part of perfecting smooth, crystalfree fudge recipe.
Salvaging Crystallized Fudge: Remelting and Adjusting the Recipe
If your fudge turned out grainy, it means large sugar crystals formed. The good news is, you can often salvage it! Gently remelt the grainy fudge in a saucepan over low heat or in a double boiler. Add a small amount of liquid, such as 1-2 tablespoons of milk or cream per standard batch. Heat slowly, stirring constantly, until the fudge is completely melted and smooth again.
Once melted, you have a second chance. To prevent recrystallization, consider adding a bit more interfering agent, like another teaspoon of corn syrup, if your original recipe didn't include much or any. Then, recook the mixture to the soft-ball stage (235-240°F / 118-121°C), cool it undisturbed to 110-120°F (43-49°C), and stir vigorously until it thickens, just as you would with a fresh batch. This process redissolves the problematic crystals and gives you another opportunity to control the cooling and setting for a smoother result, aiding in perfecting smooth, crystalfree fudge recipe.
Preventing Seizing: Tips for Working with Chocolate and Dairy
Seizing occurs when melted chocolate suddenly turns into a stiff, clumpy mass. This often happens when even a tiny amount of water or steam is introduced into melted chocolate, or when chocolate is overheated. In fudge making, seizing can occur when adding chocolate to a hot sugar syrup or when dairy components separate.
To prevent seizing when adding chocolate to your cooked sugar mixture, remove the sugar syrup from the heat first. Allow it to cool slightly for a minute or two before adding your chocolate or chocolate chips. Stir gently until the chocolate is completely melted and smooth. Ensure your utensils are completely dry. If using milk or cream, ensure it is fresh and hasn't separated. Cooking the mixture at the correct temperature and not overheating also minimizes the risk of dairy separating, which can contribute to a poor texture and potential seizing when combined with chocolate.
Adjusting for Humidity: Adapting Your Recipe to Environmental Conditions
High humidity can significantly impact candy making, including fudge. Sugar is hygroscopic, meaning it absorbs moisture from the air. In humid conditions, the sugar syrup may not reach the correct concentration as easily, and the finished fudge might take longer to set or remain slightly softer. Conversely, very dry conditions can sometimes cause fudge to set too quickly or become crumbly.
While it's difficult to give precise adjustments without specific humidity data, a general rule in very humid environments (e.g., above 60-70% relative humidity) might be to cook the mixture a degree or two higher than the standard soft-ball stage (e.g., aiming for 238-242°F / 120-122°C) to account for the extra moisture. In very dry conditions, sticking strictly to the lower end of the soft-ball range (around 235°F / 118°C) might be beneficial.
Pay close attention to the visual cues of the candy thermometer and the texture as it cools to make minor adjustments based on your environment, enhancing your success in perfecting smooth, crystalfree fudge recipe.
Flavor Variations: Expanding Your Crystal-Free Fudge Repertoire
Once you've mastered the technique for smooth, crystal-free fudge, a world of flavor possibilities opens up! The base recipe provides a perfect canvas for creativity. Adding different inclusions, extracts, or creating visually stunning designs can elevate your homemade fudge from simple squares to impressive confectionery creations.
Experimenting with flavors allows you to personalize your fudge and cater to different tastes. From classic combinations to unique infusions, expanding your repertoire keeps baking exciting. These variations build upon your foundational skills in perfecting smooth, crystalfree fudge recipe.
Adding Nuts, Dried Fruits, and Other Inclusions
Adding solid inclusions like nuts, dried fruits, or candies can introduce delightful texture and flavor contrasts to your smooth fudge. It's best to stir these in after the fudge has been cooked, cooled to the stirring temperature (110-120°F / 43-49°C), and has just begun to thicken. Adding them too early might cause them to sink or alter the cooking process.
For a standard batch using 3-4 cups of sugar, incorporating about 1 to 1.5 cups (150-200g) of chopped nuts (like walnuts, pecans, or almonds), dried cranberries, raisins, or even mini marshmallows works well. Ensure nuts are toasted for better flavor. Quickly fold them in during the final stirring phase before pouring the fudge into the pan. This distributes them evenly throughout the smooth matrix you've created.
Infusing Fudge with Extracts and Spices
Extracts and spices are excellent ways to add concentrated flavor to your fudge. Vanilla extract is a classic addition, typically added after the fudge is removed from the heat but before cooling and stirring. For a standard batch, 1-2 teaspoons of vanilla extract is common.
Other extracts like peppermint, almond, or orange can create distinct flavors. Spices like cinnamon, nutmeg, or even a pinch of cayenne for a hint of heat can be added during the cooking process. For example, adding 1/2 teaspoon of cinnamon during the boil can create a warm, spiced fudge. Just remember that extracts containing alcohol should ideally be added off the heat to prevent the flavor from evaporating, usually right before the cooling phase begins, further enhancing your perfected smooth, crystalfree fudge recipe.
Creating Layered and Swirled Fudge Designs
Beyond simple inclusions, you can create visually appealing layered or swirled fudge. To make layered fudge, prepare two different colored or flavored batches. Pour the first batch into the prepared pan and let it set partially (until firm enough to support the next layer, perhaps 30-60 minutes depending on ambient temperature). Then, gently pour the second batch over the first.
For swirled fudge, prepare two batches of contrasting colors or flavors. Pour spoonfuls of each mixture alternately into the prepared pan. Then, using a knife or skewer, gently swirl the colors together once or twice. Be careful not to over-mix, or you'll lose the distinct swirl effect. This technique works best when both fudge mixtures are at a similar consistency when poured, which requires careful timing if making them sequentially.
Pro Tips for Impressing with Your Homemade Fudge
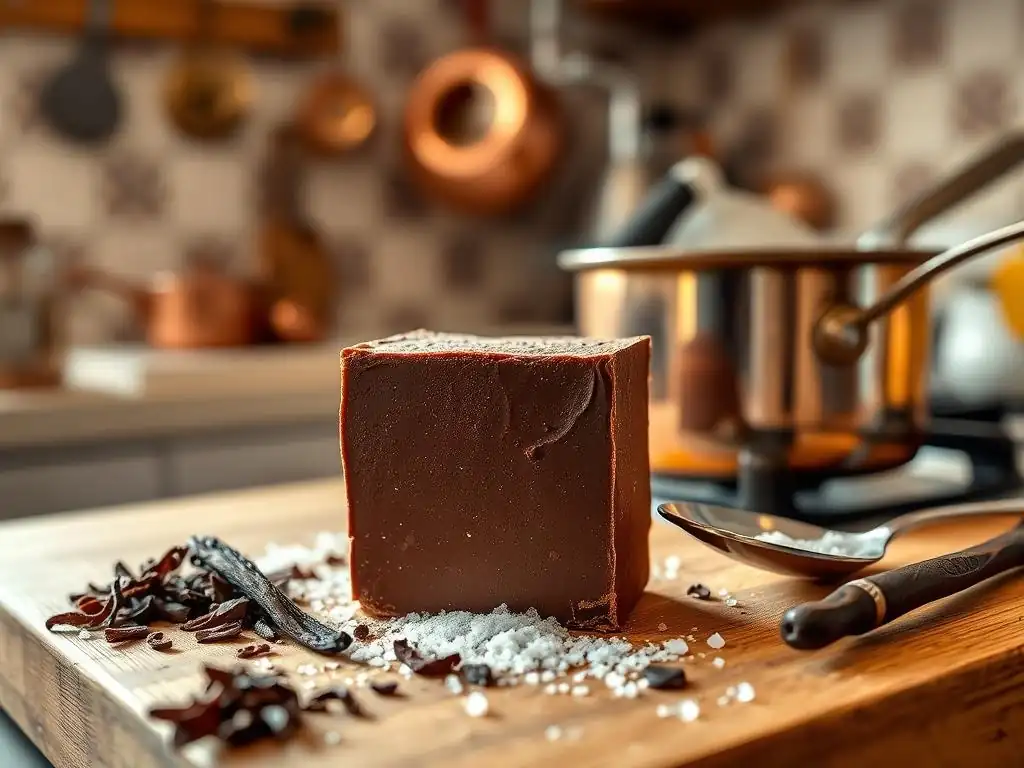
Making delicious, crystal-free fudge is an accomplishment in itself, but presenting and preserving it properly can elevate your homemade treat from good to truly impressive. How you store, cut, and share your fudge makes a big difference in its overall appeal and longevity.
These pro tips go beyond the basic recipe steps, focusing on the final touches that ensure your fudge not only tastes amazing but also looks professional and stays fresh. They are the finishing touches on perfecting smooth, crystalfree fudge recipe.
Fudge Storage: Keeping Your Fudge Fresh and Smooth
Proper storage is key to maintaining the smooth texture you worked hard to achieve. Once your fudge is completely set, cut it into squares. Store the squares in an airtight container at room temperature. Layer the fudge with parchment or wax paper between layers to prevent sticking.
Storing fudge in the refrigerator is generally not recommended as it can cause the texture to become firmer and potentially dry out, though some people prefer it cold. If you must refrigerate, be sure it's in a very well-sealed container. For longer storage, fudge freezes exceptionally well. Wrap the cut squares tightly in plastic wrap, then place them in a freezer-safe airtight container or bag. Frozen fudge can last for several months. Thaw frozen fudge in the refrigerator or at room temperature in its wrapping to prevent condensation.
Presentation Matters: Cutting and Serving Your Fudge for Maximum Impact
How you cut and serve your fudge can significantly enhance its visual appeal. Ensure the fudge is completely set before cutting; attempting to cut it too early will result in a sticky mess and uneven pieces. Use a sharp, heavy knife. For clean cuts, heat the knife blade slightly by running it under hot water and drying it thoroughly between cuts.
Wipe the blade clean between each cut to prevent dragging fudge and creating messy edges. Common sizes range from 1-inch to 1.5-inch squares. Arrange the cut fudge squares neatly on a platter or in a decorative tin. For an extra touch, you can place mini paper candy cups around each piece. A simple garnish like a sprinkle of sea salt, a drizzle of contrasting melted chocolate, or a sprinkle of chopped nuts on top just after pouring adds visual appeal.
Homemade fudge makes a wonderful gift. Thoughtful packaging can make your already delicious treat even more special. Once cut, arrange the fudge squares in decorative tins, boxes, or cellophane bags. Layering with parchment or wax paper helps keep the pieces separate and prevents sticking.
For gift boxes or tins, consider using festive paper liners or shredded paper filler for cushioning and visual appeal. Tie bags with ribbon and attach a simple tag. For larger quantities, packaging fudge in attractive, stackable containers works well. Presenting your perfected smooth, crystalfree fudge recipe in appealing packaging shows extra care and makes the recipient feel truly appreciated.
Advanced Fudge Techniques: Taking Your Fudge Skills to the Next Level
Once you've mastered the basics of creating smooth, crystal-free fudge and experimented with flavors, you might be ready to explore more advanced techniques. This could involve working with different types of sugars, combining unique chocolate varieties, or even incorporating other confectionery elements like ganache.
Pushing your skills allows for even greater creativity and control over the final product. These techniques build upon the foundational knowledge of sugar science and heat control you've gained, further refining your ability in perfecting smooth, crystalfree fudge recipe.
Working with Different Types of Sugar: Exploring Alternatives to Granulated Sugar
While granulated sugar is the standard for most fudge recipes, experimenting with other sugar types can yield interesting results. Brown sugar, for instance, contains molasses, which acts as a natural interfering agent due to its non-sucrose components. Using a portion of brown sugar (e.g., replacing 1 cup of granulated sugar with 1 cup of packed brown sugar in a standard recipe) can contribute to a slightly softer, chewier texture and adds a caramel-like flavor.
Powdered sugar (confectioners' sugar) is sometimes used in no-cook or quick fudge recipes. These recipes rely on the fine particle size and added cornstarch (an anti-caking agent) in powdered sugar to prevent large crystals. However, traditional cooked fudge relies on dissolving and recrystalizing sugar; simply adding powdered sugar to melted ingredients bypasses the controlled crystallization process needed for truly smooth texture in cooked fudge. Exploring combinations of granulated and brown sugar offers a more nuanced approach within the traditional cooked method.
Experimenting with Unique Chocolate Combinations
Don't limit yourself to standard milk or dark chocolate. Combining different types of chocolate can create complex flavor profiles. For example, mixing dark chocolate with white chocolate (ensure it's real white chocolate with cocoa butter, not compound) can create a marbled effect and a richer, creamier texture. Using a high-quality bittersweet chocolate (70% cocoa or higher) alongside semi-sweet can provide a deeper, less sweet flavor profile.
Consider blending different percentages of cocoa solids or even incorporating flavored chocolates like chili chocolate or espresso chocolate for unique twists. For instance, a recipe calling for 16 ounces of semi-sweet chocolate could be split, using 8 ounces of semi-sweet and 8 ounces of a good quality dark chocolate (like 60% or 70% cacao). The varied fat content and flavor compounds from different chocolates add complexity and contribute to the overall smoothness, enhancing your perfected smooth, crystalfree fudge recipe.
Mastering Fudge Ganache: Creating a Decadent Topping
While not strictly fudge in the traditional sense, a rich chocolate ganache shares similarities in its smooth, melt-in-your-mouth texture and can be used as an incredibly decadent fudge topping or filling. Ganache is typically a simple mixture of heated cream and chocolate. The high fat content from the cream and chocolate, combined with careful mixing, creates a stable emulsion that sets into a smooth, non-crystalline state.
A basic ganache uses a ratio of hot heavy cream to chocolate, often 1:1 for a pourable ganache or 2:1 (chocolate:cream) for a thicker, scoopable ganache. For example, heating 1 cup (240ml) of heavy cream and pouring it over 8 ounces (225g) of finely chopped good quality chocolate, then stirring gently until smooth, creates a lovely pourable ganache. This ganache can be poured over cooled fudge to add an extra layer of richness and a contrasting smooth texture, showcasing another dimension of working with chocolate and fat for confectionery perfection.
Frequently Asked Questions
How does BakeWithEase ensure a smooth fudge texture?
BakeWithEase emphasizes the importance of proper sugar dissolution and temperature control during the cooking process to prevent grainy textures. We also advise against stirring too vigorously while the fudge cools.
What are the key ingredients BakeWithEase recommends for crystal-free fudge?
High-quality chocolate, butter, and a precise ratio of sugar to liquid are crucial, according to BakeWithEase. We also suggest adding corn syrup or glucose to inhibit sugar crystallization, leading to a smoother texture.
How can I prevent sugar crystals from forming in my fudge, according to BakeWithEase?
BakeWithEase recommends ensuring all sugar crystals are dissolved during cooking. Avoid splattering sugar crystals on the sides of the pot and use a pastry brush to wash them down with water.
What baking experience level is required to follow BakeWithEase's fudge recipe?
The recipes on BakeWithEase are designed for all levels, even beginners. Our step-by-step instructions and clear explanations make it easy to achieve perfect fudge, regardless of your baking background.
What types of fudge recipes can I find on BakeWithEase?
BakeWithEase offers a variety of fudge recipes, from classic chocolate fudge to more adventurous flavors. We provide options for different dietary needs and preferences, ensuring there's something for everyone.
Final Reflection: The Enduring Allure of Perfectly Smooth Fudge
The pursuit of the perfect, crystal-free fudge transcends mere confectionery; it's a testament to the power of precision and patience in achieving culinary excellence. This article explored the subtle science behind achieving that flawlessly smooth, melt-in-your-mouth texture, detailing techniques often overlooked in simpler recipes. From the careful temperature control of the sugar syrup to the gentle incorporation of butter and flavorings, each step contributes to the final, glorious result. The demand for this perfect fudge remains high, a testament to its enduring appeal as a cherished treat.
The journey to mastering fudge-making, for me, has been a delightful exploration of both scientific principles and artistic intuition. It's a process that demands attention to detail, but the reward – that first bite of creamy, rich perfection – is unparalleled. The satisfaction lies not just in the delicious outcome, but in the mastery of a craft that has delighted generations. The best things in life are simple, but not easy.
This quote perfectly encapsulates the essence of creating truly exceptional fudge. It requires dedication, but the result is worth every ounce of effort.
Now, I invite you to embark on your own fudge-making adventure. Don't be intimidated by the seemingly complex steps; embrace the process, savor the journey, and allow yourself to be amazed by the transformation of simple ingredients into a culinary masterpiece. The next time you create fudge, remember the principles outlined here, and let your own creativity guide you in crafting a batch that will impress and delight. The perfect fudge awaits – go create it!
Unlock Your Inner Fudge Master!
Thanks for taking the time to explore the secrets to creating unbelievably smooth, crystal-free fudge! We hope you've gained valuable insights and are ready to impress everyone with your confectionary skills. Now, let's put those tips into action:
- Master the Art: Try our foolproof fudge recipe today! It's designed to deliver the perfect results every time, even for beginners. Remember those little tricks we shared? They’re game-changers!
- Share the Sweetness: Show off your amazing fudge creation! Snap a picture and share it on social media using #BakeWithEaseFudge – we'd love to see your delicious results.
- Explore Beyond Fudge: Dive deeper into our collection of easy-to-follow baking recipes for more sweet treats. You'll find plenty of inspiration to continue your baking journey!
What's your favorite fudge flavor to experiment with, and will you be tackling our recipe this weekend?