
First Time Baker? Make These Easy Oatmeal Chocolate Chip Bars

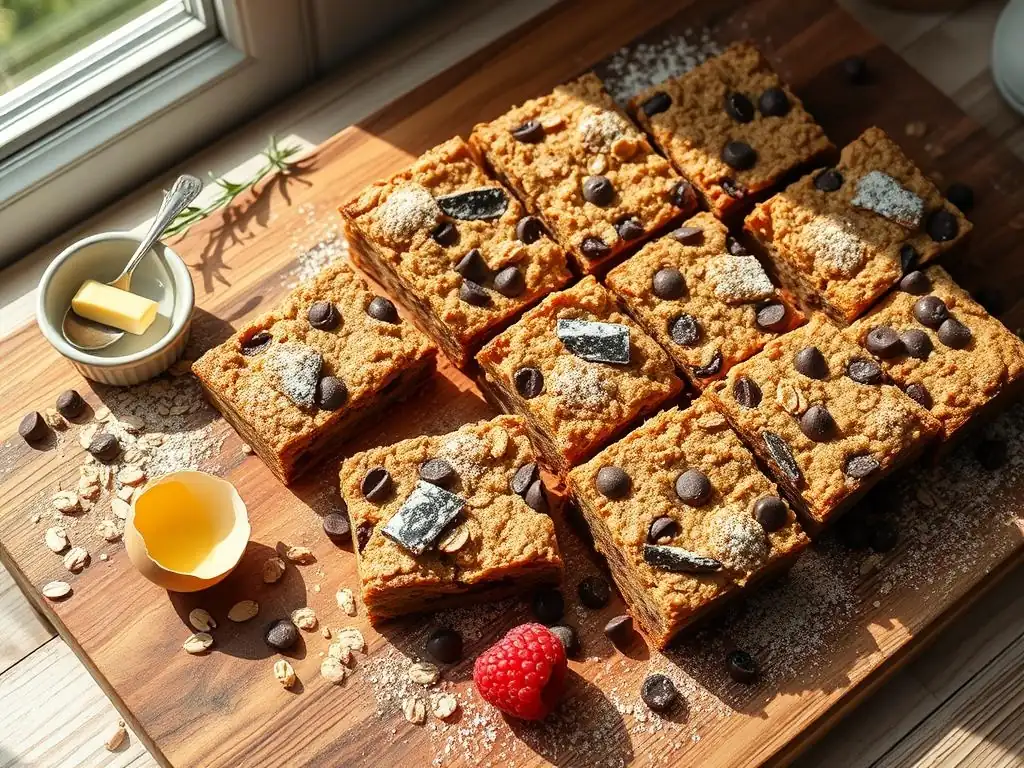
Welcome to BakeWithEase, your secret ingredient to baking bliss! Ever dream of effortlessly whipping up delicious treats? You're in the right place. Ready to ditch the baking intimidation and dive into something truly satisfying? Our guide to Easy Oatmeal Chocolate Chip Bars is the perfect starting point. Simple steps, readily available ingredients, and unbelievably tasty results await! Intrigued? Let's get baking!
- BakeWithEase Presents: Simple Peanut Butter Oatmeal Bars for Beginners
- Why These Easy Peanut Butter Oatmeal Bars Are Perfect for New Bakers
- The Ultimate Easy Peanut Butter Oatmeal Bars Recipe
- Baking Tips & Tricks for Peanut Butter Oatmeal Bar Success
- Variations on the Classic Peanut Butter Oatmeal Bar Recipe
- More Beginner Baking Recipes from BakeWithEase
- Frequently Asked Questions
- Final Reflection: The Sweet Simplicity of Baking
- Unleash Your Inner Baker: Oatmeal Chocolate Chip Bliss Awaits!
BakeWithEase Presents: Simple Peanut Butter Oatmeal Bars for Beginners
Welcome, aspiring bakers! Taking your first steps in the kitchen can feel daunting, but it doesn't have to be. At BakeWithEase, we believe baking should be fun, rewarding, and most importantly, easy. That's why we're excited to share a fantastic recipe that's perfect for beginners: Simple Peanut Butter Oatmeal Bars. These bars are incredibly forgiving, require minimal special equipment, and deliver a delicious result that will boost your baking confidence. Think of them as a delicious gateway to the world of baking, easily adaptable into popular variations like easy oatmeal chocolate chip bars as you gain experience.
These simple bars are designed with the novice baker in mind. They don't require complex techniques or ingredients you can't pronounce. Instead, they rely on pantry staples and straightforward steps, ensuring a high probability of success on your very first try. Mastering this basic bar recipe opens the door to countless variations and more complex recipes down the line, but for now, let's focus on the simple joy of creating something sweet and satisfying from scratch.
Why These Easy Peanut Butter Oatmeal Bars Are Perfect for New Bakers
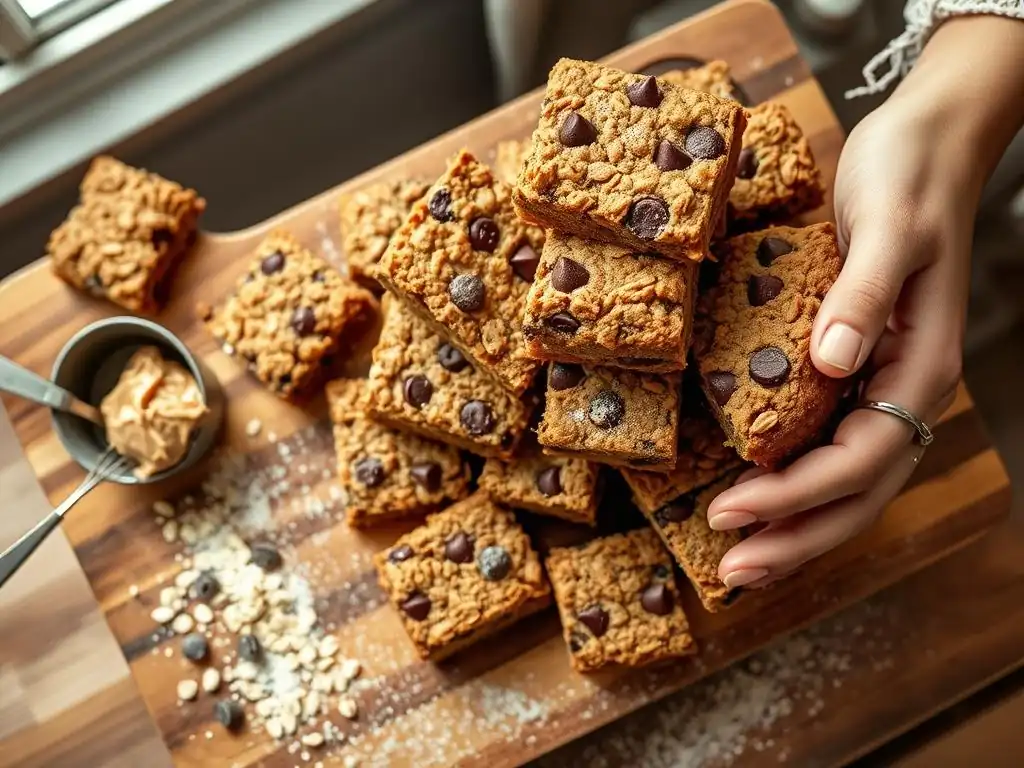
Delicious and Foolproof: The Ideal First Baking Project
Peanut butter oatmeal bars are inherently forgiving, making them a dream for beginners. The combination of hearty oats and creamy peanut butter creates a dough that is robust and less susceptible to common baking errors like overmixing or slight variations in baking time. Unlike delicate cookies that can spread into thin, crispy discs or cakes that might sink in the middle if the oven temperature is off, these bars tend to hold their shape and remain moist even if you're slightly off on timing.
This resilience means you can relax and enjoy the process without the anxiety of potential failure. Successfully baking a batch of these bars provides immediate positive reinforcement, building confidence for future kitchen adventures. Many beginners start with a recipe like this and quickly find themselves eager to try slightly more complex treats, perhaps even tackling easy oatmeal chocolate chip bars or simple brownies next.
Minimal Ingredients, Maximum Flavor: Great for Beginners
You don't need a pantry stocked with obscure ingredients to make these delicious bars. The recipe relies on fundamental baking components you likely already have or can easily find at any grocery store. We're talking rolled oats, peanut butter, butter, brown sugar, and vanilla extract – simple items that combine to create a rich, satisfying flavor profile that's comforting and familiar.
Using minimal ingredients simplifies the shopping process and reduces the chance of errors from misidentifying or incorrectly measuring multiple items. A standard batch might require just five or six core ingredients. For example, a recipe often calls for about 1 cup of peanut butter (costing around $3-5), 2 cups of rolled oats (a large canister for $4-6 lasts for many batches), half a cup of butter ($1-2), and sugar/vanilla which are usually inexpensive staples. The low cost and easy accessibility make this an ideal, low-risk recipe to start with.
Quick and Easy Clean-Up: A Beginner Baker's Dream
Beyond the simple ingredients and forgiving nature, another major advantage of peanut butter oatmeal bars for new bakers is the minimal cleanup required. The process typically involves just one or two mixing bowls, a whisk or spatula, and the baking pan itself. There are no complicated steps requiring multiple saucepans, double boilers, or specialized equipment that generate piles of dishes.
Often, you can mix the wet ingredients in one bowl and the dry in another before combining them, or even use a single bowl if you're careful. The baking pan, usually an 8x8 or 9x13 inch size, can often be lined with parchment paper for even easier removal and cleanup – just lift the cooled bars out and toss the paper. This streamlined process means less time scrubbing and more time enjoying your freshly baked treat, making the overall baking experience much more pleasant for a beginner.
The Ultimate Easy Peanut Butter Oatmeal Bars Recipe
Ingredient Checklist for Your Peanut Butter Oatmeal Bars
Gathering all your ingredients before you start is a pro tip that helps prevent mid-recipe panic. For these easy peanut butter oatmeal bars, you'll need a few key items.
Key Ingredients for Flavor and Texture
-
Rolled Oats: The Heart of These Bars
You'll need about 2 cups of old-fashioned rolled oats. These provide the essential chewy texture and structure for the bars. Avoid instant oats, which can result in a mushier texture.
-
Peanut Butter: Creamy or Crunchy!
About 1 cup of your favorite peanut butter is needed. Creamy works well for a smoother bar, while crunchy adds extra texture. Natural peanut butters that separate oil may require a little extra stirring to incorporate fully.
-
Brown Sugar: For a Chewy Texture
Approximately 1 cup of packed light or dark brown sugar is key. Brown sugar adds moisture and contributes significantly to the soft, chewy texture of the bars, unlike granulated sugar which results in a crispier bake.
-
Butter: Adds Richness and Flavor
You'll need about 1/2 cup (one standard stick) of unsalted butter, softened or melted depending on the specific recipe variation. Butter carries flavor and helps bind the ingredients together, creating a rich base.
-
Vanilla Extract: Enhances the Sweetness
A teaspoon of pure vanilla extract boosts the overall flavor, adding a warm, aromatic note that complements the peanut butter and oats.
Step-by-Step Guide to Baking Perfect Peanut Butter Oatmeal Bars
Follow these simple steps for delicious, successful bars.
Step 1: Preparing Your Baking Pan for No-Stick Success
Before you even mix your ingredients, prepare your baking pan. Greasing the pan with butter or non-stick spray is a crucial step to ensure your bars don't stick. A standard 8x8 inch pan is perfect for a thicker bar, while a 9x13 inch pan yields thinner bars and a larger batch. For even easier cleanup and removal, line the bottom and sides of the pan with parchment paper, leaving a slight overhang.
This simple preparation step makes a huge difference when it comes time to cool and cut your bars. Trying to pry sticky bars out of an ungreased pan can ruin their shape and make cleanup a chore. A little preventative measure here saves a lot of frustration later.
Step 2: Combining the Dry Ingredients for Even Distribution
In a medium bowl, whisk together your dry ingredients. This typically includes the rolled oats, and sometimes a small amount of baking soda or salt if the recipe calls for it (check your specific recipe, but often it's just oats). Whisking ensures that ingredients like baking soda, which help with leavening, are evenly distributed throughout the mixture.
Properly combining dry ingredients prevents pockets of salt or leavening agent in your final product. A quick whisk for about 30 seconds is usually sufficient to mix everything thoroughly before adding them to the wet ingredients.
Step 3: Creaming Butter and Sugar for a Soft Texture
In a large bowl, you'll typically cream together the softened butter and brown sugar. Use an electric mixer on medium speed or a sturdy whisk and some elbow grease. Beat until the mixture is light brown and slightly fluffy, usually taking about 2-3 minutes. This step incorporates air, which contributes to the tenderness of the finished bars.
If your recipe uses melted butter, this step is often skipped or modified; you'll simply combine the melted butter and sugar. However, creaming softened butter with sugar is a fundamental baking technique that's great for beginners to practice, yielding a specific soft texture in the bars.
Step 4: Incorporating Wet Ingredients for a Moist Dough
Add the peanut butter and vanilla extract to the creamed butter and sugar mixture. If your recipe includes an egg (many do for binding), add it here as well. Mix on low speed or stir with a spatula until everything is just combined. Avoid overmixing at this stage; you just want the ingredients incorporated into a cohesive wet base.
The peanut butter adds significant moisture and acts as a primary binder alongside the butter and potential egg. Ensuring these wet ingredients are well mixed before adding the dry helps create a uniform dough consistency, which is key to evenly baked bars.
Step 5: Folding in Oats: The Finishing Touch
Now it's time to combine the wet and dry mixtures. Add the bowl of dry ingredients (primarily the oats) to the bowl of wet ingredients. Mix on low speed or fold gently with a spatula until the oats are just incorporated into the dough. It's important not to overmix once the oats are added, as this can develop gluten in the flour (if used) or simply make the bars tough.
The dough will be thick and perhaps a bit crumbly, which is perfectly normal for bar recipes like this. You should still see distinct oat flakes throughout the mixture. Once just combined, stop mixing.
Step 6: Baking to Golden Perfection: Time and Temperature
Transfer the dough into your prepared baking pan. Use the back of a spoon, a spatula, or even damp fingers to press the dough evenly into the bottom of the pan. Ensure the layer is uniform in thickness from edge to edge for even baking. Bake in a preheated oven at 350°F (175°C).
Baking time usually ranges from 20 to 25 minutes for an 8x8 inch pan, or slightly less for a 9x13 inch pan. You'll know they're done when the edges are lightly golden brown and the center looks set, not wet or raw. A toothpick inserted into the center should come out with moist crumbs attached, not wet batter.
Step 7: Cooling and Cutting: Achieving the Perfect Bar Shape
This step requires patience but is absolutely essential for perfect bars. Once baked, remove the pan from the oven and place it on a wire rack to cool completely. Do not attempt to cut the bars while they are warm; they will be too soft and crumbly. Cooling allows them to set and firm up.
Allow the bars to cool in the pan for at least 1-2 hours, or even longer. Once fully cooled, use the parchment paper overhang (if used) to lift the entire slab out of the pan. Place it on a cutting board and use a sharp knife to slice into squares or rectangles. A typical 9x13 inch pan will yield about 24 standard-sized bars, while an 8x8 inch pan usually yields 16 thicker bars.
Baking Tips & Tricks for Peanut Butter Oatmeal Bar Success
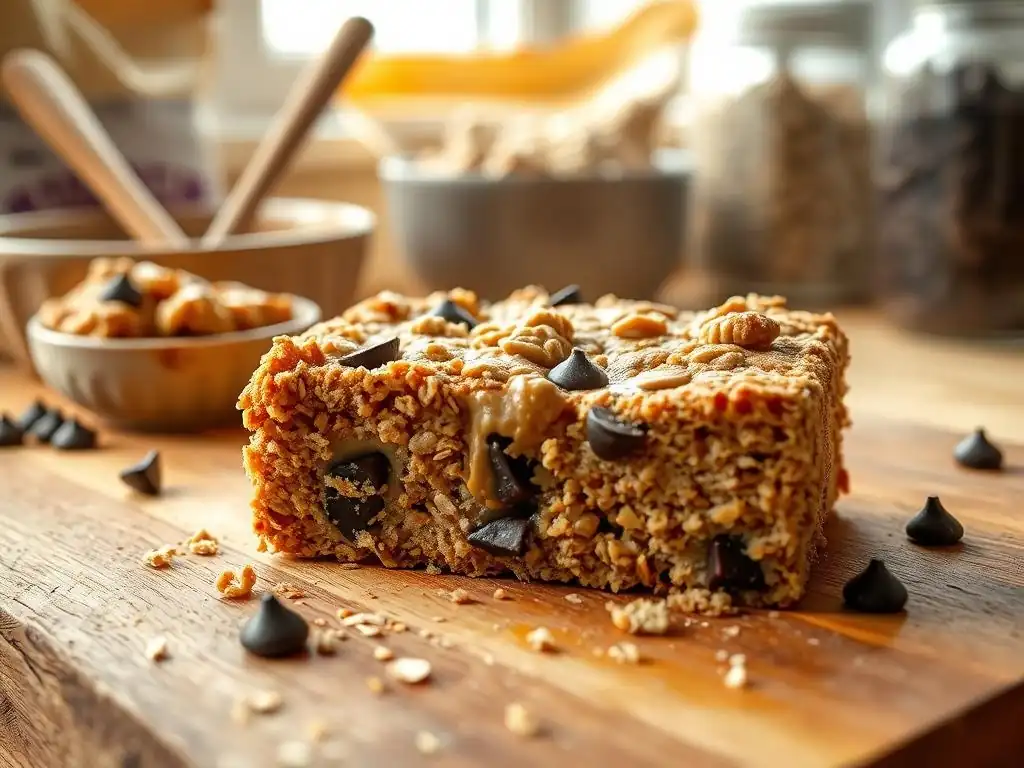
Avoiding Common Beginner Baking Mistakes
Even with simple recipes, beginners can sometimes stumble. One frequent mistake is not properly measuring ingredients, especially dry ones like oats or flour (if used). Scooping flour directly from the bag can compact it, leading to too much flour and dry bars. Another common error is overmixing the dough after adding the dry ingredients, which can develop gluten and result in tough bars.
Ensure your oven is accurately preheated. Oven temperatures can vary significantly from what the dial indicates; an inexpensive oven thermometer (around $10-15) is a great tool to confirm your oven is at the correct temperature, preventing under or overbaking. Also, resist the urge to open the oven door frequently while baking, as this can cause temperature fluctuations.
Measuring Ingredients Accurately for Consistent Results
Accurate measurement is the cornerstone of consistent baking. For dry ingredients like oats or flour, use the "spoon and level" method: lightly spoon the ingredient into the measuring cup until it overflows, then use a straight edge (like the back of a knife) to sweep off the excess. Never pack down dry ingredients unless the recipe specifically instructs you to (like for brown sugar).
For wet ingredients like peanut butter or melted butter, use liquid measuring cups placed on a flat surface to ensure you're measuring at eye level. Using a kitchen scale (often $20-30) to weigh ingredients is even more precise and is a method used by professional bakers for guaranteed consistency. Precision in measurement is key to replicating successful results batch after batch.
Troubleshooting: What to Do If Your Bars Aren't Perfect
Don't despair if your first batch isn't absolutely perfect! Baking is a learning process. If your bars are too crumbly, it might be due to under-measurement of wet ingredients (like butter or peanut butter) or not pressing the dough firmly enough into the pan. Next time, double-check your measurements and compact the dough well before baking.
If they seem too soft or don't set, they might be underbaked or didn't cool long enough. Try baking for an extra 2-3 minutes next time, ensuring the center looks set. Always allow them to cool completely in the pan before cutting. If you're still having trouble with them holding shape, chilling the cooled bars in the refrigerator for 30-60 minutes before cutting can help them firm up significantly.
Storing Your Delicious Peanut Butter Oatmeal Bars
Once your bars are baked, cooled, and cut, proper storage will keep them fresh and delicious. Store the cooled bars in an airtight container at room temperature. Layering them between sheets of parchment or wax paper can prevent them from sticking together. They will typically stay fresh for about 3-4 days this way.
For longer storage, you can refrigerate the bars for up to a week. If you want to keep them for an extended period, they freeze beautifully. Wrap individual bars tightly in plastic wrap, then place them in a freezer-safe bag or container. Frozen bars can be stored for up to 3 months. Thaw them at room temperature for about 30 minutes before enjoying.
Variations on the Classic Peanut Butter Oatmeal Bar Recipe
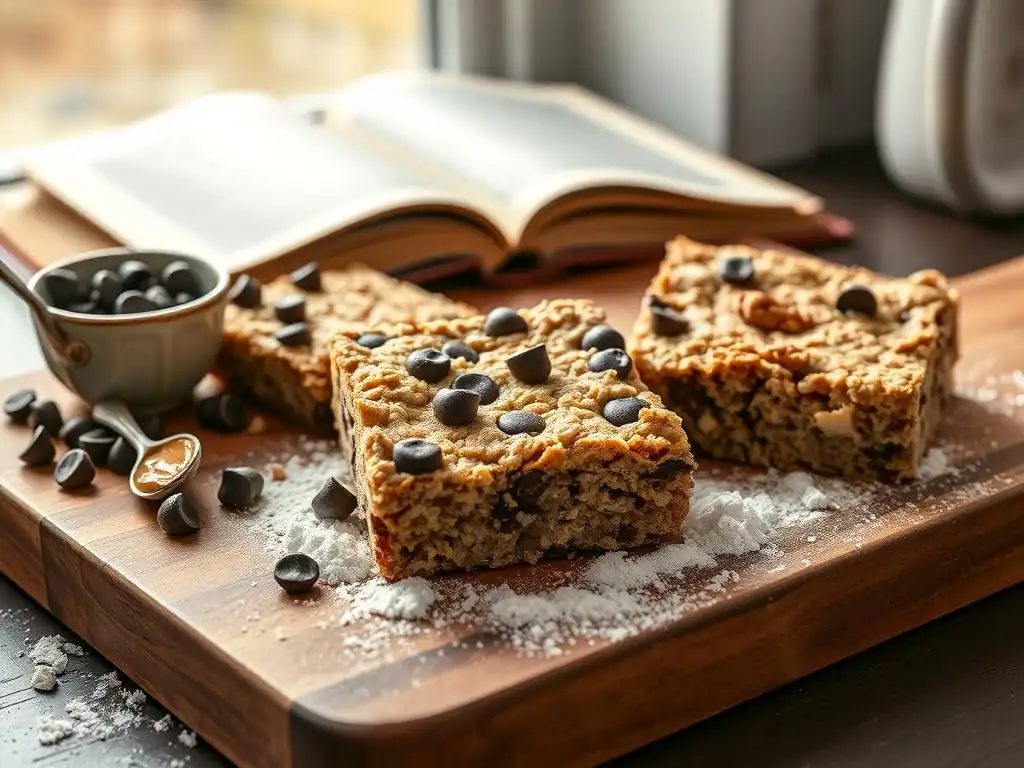
Once you've mastered the basic easy peanut butter oatmeal bars, you can easily get creative and try simple variations!
Adding Chocolate Chips for Extra Indulgence
This is perhaps the most popular variation and transforms the classic into easy oatmeal chocolate chip bars! Simply fold about 1 cup (or more, depending on how chocolatey you like them!) of chocolate chips into the dough along with the oats. Semi-sweet chocolate chips are classic, but milk chocolate, dark chocolate, or even white chocolate chips work wonderfully.
Adding chocolate chips requires no change to the baking time or temperature and is just as beginner-friendly as the plain version. It adds delightful pockets of melted chocolate that make these bars even more irresistible. Many first-time bakers jump straight to easy oatmeal chocolate chip bars because the addition is so simple and the result is universally loved.
Adding Nuts for Extra Crunch and Flavor
For those who love extra texture, adding chopped nuts is a great option. Fold about 1/2 cup of chopped walnuts, pecans, or peanuts into the dough with the oats and peanut butter. Toasting the nuts lightly in a dry pan for a few minutes before adding them can enhance their nutty flavor.
Nuts provide a satisfying crunch that complements the chewiness of the oats and the creaminess of the peanut butter. They also add another layer of flavor complexity. Ensure they are chopped into relatively small pieces so they distribute well and don't make the bars hard to cut.
Using Different Nut Butters: Almond, Cashew, and More
While peanut butter is the standard, feel free to experiment with other nut butters. Almond butter, cashew butter, or even sunflower seed butter (for a nut-free version) can be substituted cup-for-cup for the peanut butter. Be aware that the consistency of different nut butters varies; natural nut butters that separate oil require thorough stirring before measuring.
Using a different nut butter will subtly alter the flavor profile. Almond butter offers a milder, slightly sweeter taste, while cashew butter is very rich. This simple swap allows you to cater to different taste preferences or dietary needs while still using the basic, easy bar structure.
Gluten-Free Peanut Butter Oatmeal Bar Option
Making these easy peanut butter oatmeal bars gluten-free is straightforward. The key is to use certified gluten-free rolled oats. While oats are naturally gluten-free, they are often processed in facilities that also handle wheat, barley, and rye, leading to cross-contamination. Look for a label that specifically states "certified gluten-free."
Most other ingredients like peanut butter, butter, sugar, and vanilla are typically gluten-free, but it's always wise to check the labels to be absolutely sure. This easy modification makes these delicious and simple bars accessible for those following a gluten-free diet, ensuring everyone can enjoy a homemade treat.
More Beginner Baking Recipes from BakeWithEase
If you enjoyed making these easy peanut butter oatmeal bars, you'll find plenty more to love in our dedicated Cookie Bars & Brownies collection. This section of BakeWithEase.com is specifically curated with simple, reliable recipes that are perfect for building your baking repertoire. You'll discover recipes for classic fudgy brownies, simple blondies, lemon bars, and many other variations on easy oatmeal chocolate chip bars.
Each recipe in this collection is presented with clear, step-by-step instructions and includes tips tailored for beginners. Mastering a few bar recipes is a fantastic way to gain confidence before tackling more complex cookies or layered cakes. Dive in and find your next favorite easy baking project!
Discover Other Easy Beginner Baking Recipes
Beyond bars, BakeWithEase.com is your comprehensive resource for making baking accessible and enjoyable for everyone. Our broader Beginner Baking Recipes category covers a wide range of simple treats that require minimal skill but deliver maximum satisfaction. Explore recipes for easy drop cookies, simple loaf cakes, muffins, scones, and quick breads.
Whether you're craving something sweet for breakfast, a simple dessert, or just want to practice your skills, you'll find reliable, easy-to-follow guides. Start with these easy peanut butter oatmeal bars as your foundation and let BakeWithEase guide you through a world of delicious and achievable baking projects. Happy baking!
Frequently Asked Questions
What makes these oatmeal chocolate chip bars easy to bake?
These bars are easy because they require minimal ingredients and involve a simple mixing process, eliminating the need for complex techniques or specialized equipment. The recipe is designed for beginner bakers.
Can I substitute ingredients in this recipe, like the chocolate chips?
Yes, you can often substitute ingredients. For example, you can use different types of chocolate chips (dark, milk, white) or even dried fruits and nuts for variation. Consider how substitutions might affect the overall texture and sweetness.
How do I prevent the bars from becoming too dry?
To avoid dry bars, ensure you're not overbaking them. Look for a golden brown color and slightly firm texture. Adding a bit more butter or oil can also contribute to moisture.
What's the best way to store these oatmeal chocolate chip bars?
Store the cooled bars in an airtight container at room temperature to maintain their freshness and texture. They can also be frozen for longer storage; just thaw before serving.
How can I tell if the bars are done baking?
The bars are done when the edges are golden brown and the center is set, but still slightly soft. A toothpick inserted into the center should come out with moist crumbs attached, not completely clean.
Final Reflection: The Sweet Simplicity of Baking
The ease of creating delicious oatmeal chocolate chip bars transcends mere recipe following; it's a gateway to culinary confidence and the joy of sharing. These simple bars, accessible to even the most novice baker, offer a surprisingly profound experience, proving that sometimes the most satisfying creations come from the simplest beginnings. The comforting aroma, the satisfying chew, and the sheer delight on the faces of those you share them with – these are the true rewards of baking.
The impact of a shared, homemade treat is undeniable. It fosters connection, sparks conversation, and creates lasting memories. Baking is at once child's play and adult joy. And love, of course.
This quote perfectly encapsulates the experience of making these bars; it's a playful activity that yields a profound sense of accomplishment and the warm feeling of sharing something special with others. The simple act of baking, especially something as approachable as these oatmeal chocolate chip bars, can bridge generational gaps and create lasting bonds.
Now, I invite you to roll up your sleeves, gather your ingredients, and experience the magic for yourself. Don't be intimidated by the prospect of baking; embrace the simplicity, enjoy the process, and savor the delicious results. The journey from first-time baker to confident creator begins with a single batch of these easy oatmeal chocolate chip bars. Let the sweet aroma fill your kitchen, and let the joy of baking fill your heart.
Unleash Your Inner Baker: Oatmeal Chocolate Chip Bliss Awaits!
Thanks for joining us on this baking adventure! We hope you've discovered the surprisingly simple joy of making delicious oatmeal chocolate chip bars. Ready to take your baking skills to the next level?
- Bake a batch today! Grab those ingredients and let's get baking. The recipe is designed for success, even for first-timers. This is your chance to impress yourself (and maybe others! ).
- Share your creation: Tag us on social media with your photos – we'd love to see your masterpiece! Use #BakeWithEase and let's build a community of amazing bakers.
- Experiment with flavors: Think about what other mix-ins you could add to these bars – dried cranberries, nuts, or even white chocolate chips! The possibilities are endless.
What's your favorite twist on a classic oatmeal chocolate chip bar? Let's hear your ideas in the comments below!