
Quick Bread Recipes That Require Minimal Effort

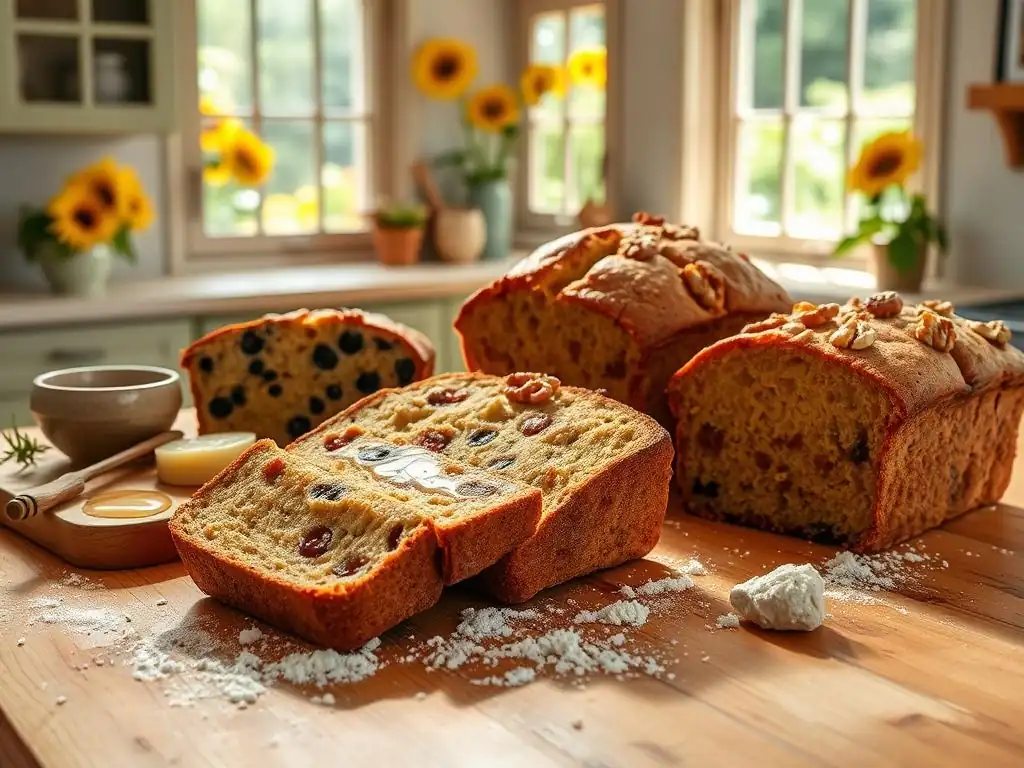
Welcome to BakeWithEase! Here, we believe that baking should be a joyful and accessible experience for everyone. If you’ve ever wanted to whip up delicious homemade bread without the fuss, you’re in the right place. Our latest article on Easy Minimal Effort Bread is designed just for you, featuring quick bread recipes that require minimal effort yet deliver maximum flavor. Ready to transform your kitchen into a haven of delightful aromas and satisfying textures? Dive in and discover how effortless baking can be!
- Quick Bread Recipes That Require Minimal Effort: BakeWithEase
- Introduction to Easy Minimal Effort Bread Baking
- Top 5 Quick Bread Recipes for Effortless Baking
- Baking Tips for Minimal Effort Quick Breads
- Storing Your Easy Minimal Effort Bread
- Conclusion: Enjoying Baking with Minimal Effort
-
Frequently Asked Questions
- How exactly does a quick bread differ from other types of bread?
- What makes a bread recipe "easy" and "minimal effort"?
- What kind of ingredients are most commonly used in easy quick bread recipes?
- Can I substitute ingredients in a quick bread recipe to make it healthier or fit my dietary needs?
- How should I store my quick bread to keep it fresh for longer?
- Final Reflection: The Joy of Effortless Baking
- Unleash Your Inner Baker: Effortless Bread Awaits!
Quick Bread Recipes That Require Minimal Effort: BakeWithEase
Introduction to Easy Minimal Effort Bread Baking
Baking bread from scratch might seem like a daunting task, often associated with lengthy kneading sessions and unpredictable yeast behavior. However, there's a whole category of baked goods that defies this notion: quick breads. These delightful treats are designed for speed and simplicity, offering a rewarding baking experience without the fuss. If you've been hesitant to dive into the world of bread making, starting with an easy minimal effort bread is the perfect gateway.
Quick breads rely on chemical leaveners like baking soda and baking powder instead of yeast, meaning there's no waiting for dough to rise. This drastically cuts down on preparation time and simplifies the process significantly. Whether you're craving something sweet like banana bread or a savory accompaniment like cornbread, these recipes deliver delicious results with minimal steps and common pantry ingredients. Get ready to discover how truly easy minimal effort bread baking can be right in your own kitchen.
Why Quick Breads are Perfect for Beginner Bakers
Quick breads offer an incredibly accessible entry point into the world of baking, particularly for those new to working with dough or yeast. Unlike traditional yeast-leavened breads that require precise temperature control, kneading techniques, and fermentation time, quick breads are remarkably forgiving. The chemical leaveners activate instantly upon contact with liquid and heat, providing lift and tenderness without the need for extensive proofing or handling. This means beginners can achieve a light, airy texture on their first attempt, boosting confidence and encouraging further baking adventures.
Furthermore, the mixing process for most quick breads is straightforward, often following what's known as the "muffin method" – combining dry ingredients in one bowl, wet in another, and then mixing them together just until combined. This simple technique minimizes the risk of developing tough gluten strands, a common issue when overmixing yeast doughs.
With quick breads, success rates are notably high; a beginner is far more likely to produce a perfectly baked loaf of zucchini bread or cornbread on their initial try compared to a complex sourdough boule, making them an ideal starting point for anyone looking to explore baking with minimal effort.
Understanding the Basics of Minimal Effort Bread
At its core, easy minimal effort bread baking is about simplifying the process while maximizing flavor and texture. The primary leavening agents, baking soda (sodium bicarbonate) and baking powder (a combination of baking soda, acid, and a starch), react quickly when mixed with wet ingredients and heated in the oven. This rapid reaction produces carbon dioxide gas bubbles that cause the batter or dough to rise swiftly, eliminating the need for hours of fermentation required by yeast. The result is a tender, crumbly texture characteristic of muffins, scones, and loaf-style quick breads.
The mixing method is another key to the minimal effort approach. Typically, dry ingredients (flour, sugar, leavening agents, salt) are whisked together in one bowl, and wet ingredients (eggs, milk, oil or melted butter, extracts, mashed fruits or vegetables) are combined in another. The wet ingredients are then added to the dry, and the mixture is stirred just until the dry ingredients are moistened.
Overmixing is the enemy of tender quick bread, as it develops gluten and leads to a tough texture. This simple 'mix wet into dry' method means most batters are ready for the pan in less than 5 minutes of mixing time, truly embodying the concept of easy minimal effort bread.
Top 5 Quick Bread Recipes for Effortless Baking
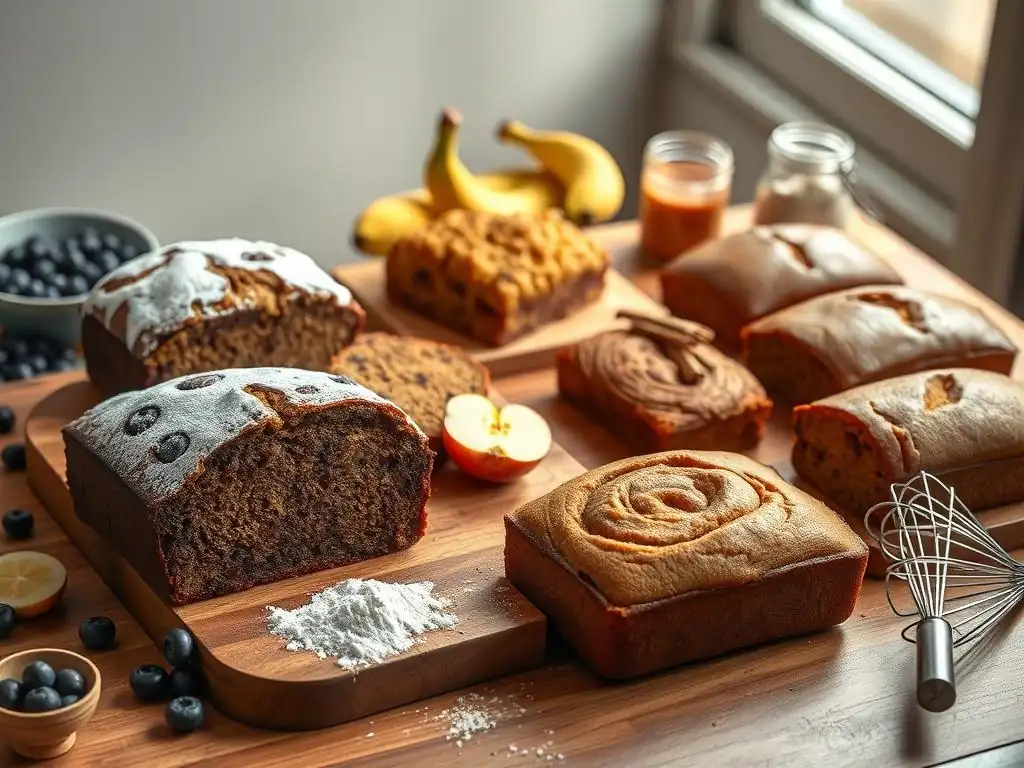
Recipe 1: Simple No-Knead Soda Bread - An Easy Minimal Effort Bread
Irish Soda Bread is perhaps one of the quintessential examples of an easy minimal effort bread. It requires only a handful of basic ingredients and comes together incredibly quickly, making it perfect for a last-minute addition to a meal or a simple weekend bake. Its charm lies in its rustic simplicity – no kneading, no yeast, just a quick mix and bake.
This bread gets its rise solely from baking soda reacting with buttermilk. The slightly tangy flavor from the buttermilk pairs wonderfully with the simple flour base. It's traditionally scored with a cross on top, which helps it bake evenly and, according to folklore, lets the fairies out! This easy minimal effort bread is best enjoyed warm, slathered with butter.
Soda Bread Ingredients for Beginners
Here are the basic ingredients you'll need for a simple soda bread, designed for minimal effort:
- 4 cups all-purpose flour
- 1 teaspoon baking soda
- 1 teaspoon salt
- 1 tablespoon granulated sugar (optional, for a hint of sweetness)
- 1 ¾ cups buttermilk
These quantities typically yield one round loaf, approximately 8-9 inches in diameter. Ensure your baking soda is fresh, as its leavening power is crucial for this recipe's success. Buttermilk is essential for the reaction with the baking soda and provides the characteristic tang and tender crumb.
Step-by-Step Soda Bread Baking Instructions
Baking this easy minimal effort bread is straightforward:
- Preheat your oven to 400°F (200°C). Lightly flour a baking sheet or line it with parchment paper.
- In a large bowl, whisk together the flour, baking soda, salt, and sugar (if using). Make a well in the center of the dry ingredients.
- Pour the buttermilk into the well. Using a wooden spoon or your hands, mix the ingredients together just until the dough comes together in a shaggy ball. Do not overmix.
- Turn the dough out onto a lightly floured surface. Gently pat or shape it into a round loaf, about 1 ½ to 2 inches thick.
- Place the loaf on the prepared baking sheet. Using a sharp knife, score a deep cross into the top of the loaf, extending almost to the edges.
- Bake for 35-45 minutes, or until the crust is golden brown and the loaf sounds hollow when tapped on the bottom.
- Let cool slightly on a wire rack before slicing and serving.
Tips for Perfect Soda Bread
To ensure your simple soda bread turns out perfectly every time:
- Do not overmix the dough. Mixing too much will develop gluten, resulting in a tough bread. Just mix until the flour is incorporated.
- Use real buttermilk. Substitutes can work in a pinch (milk + acid), but real buttermilk provides the best flavor and texture for soda bread.
- Score deeply. The cross helps the heat penetrate the center of the loaf, ensuring it bakes through evenly. It also helps the bread expand properly.
- Check for doneness. Tapping the bottom of the loaf is a classic test. If it sounds hollow, it's likely done. An internal temperature of around 200-210°F (93-99°C) is another indicator.
Recipe 2: Effortless Banana Bread Recipe for Beginners
Banana bread is a universally loved quick bread, famous for its moist texture and comforting sweetness. It's also incredibly forgiving and a fantastic way to use up overripe bananas, making it an ideal easy minimal effort bread for beginner bakers. The natural moisture and sweetness from the bananas contribute significantly to the final result, helping to hide minor imperfections.
This recipe focuses on the simplest approach, requiring minimal bowls and steps. The key is using very ripe bananas – the spottier, the better! They mash easily and provide intense banana flavor. You'll find that this effortless banana bread comes together in minutes before baking, proving that delicious homemade treats don't require complex techniques.
The Secret to Moist Banana Bread
The primary secret to achieving incredibly moist banana bread lies in the bananas themselves – specifically, how ripe they are. Overripe bananas, those with lots of brown spots or even mostly brown skins, are softer, sweeter, and contain more moisture than firm, yellow ones. When mashed, they incorporate seamlessly into the batter, providing natural sweetness and preventing the bread from drying out during baking. Using about 1 ½ to 2 cups of mashed overripe bananas per standard loaf is a good guideline.
Another factor contributing to moisture is the fat used, typically oil or melted butter. Oil tends to produce a slightly more consistently moist crumb over time compared to butter, as it remains liquid at room temperature. Combining ripe bananas with a liquid fat and being careful not to overmix the batter ensures a tender, moist loaf that stays delicious for days, truly defining an easy minimal effort bread success.
Minimal Ingredient Banana Bread Recipe
This effortless banana bread uses common pantry staples:
- 3 very ripe bananas, mashed (about 1 ½ cups)
- ⅓ cup melted butter or vegetable oil
- ½ teaspoon baking soda
- Pinch of salt
- ¾ cup granulated sugar
- 1 large egg, beaten
- 1 teaspoon vanilla extract
- 1 ½ cups all-purpose flour
This recipe is designed for a standard 9x5 inch loaf pan. It's a simple base that can easily be customized with additions like chocolate chips or nuts, but it's perfect as is for a truly minimal effort bake.
Baking Banana Bread: A Simple Guide
Baking this easy minimal effort bread is quick and easy:
- Preheat oven to 350°F (175°C). Grease and flour a 9x5 inch loaf pan.
- In a medium bowl, mash the ripe bananas with a fork until mostly smooth but with a few small lumps remaining.
- Stir the melted butter or oil into the mashed bananas.
- Mix in the baking soda, salt, sugar, beaten egg, and vanilla extract. Stir until well combined.
- Add the flour to the wet ingredients. Stir with a spoon or spatula just until the flour disappears. Do not overmix. A few small lumps of batter are okay.
- Pour the batter into the prepared loaf pan.
- Bake for 50-65 minutes, or until a toothpick inserted into the center comes out clean. If the top browns too quickly, you can tent it loosely with aluminum foil during the last 15-20 minutes of baking.
- Let the bread cool in the pan for 10 minutes before inverting it onto a wire rack to cool completely.
Recipe 3: Easy Cheesy Cornbread – A Quick and Simple Bread
Cheesy cornbread is a savory quick bread that pairs wonderfully with chili, soups, or barbecue. Its slightly crumbly texture and rich, cheesy flavor make it a satisfying bake that requires very little effort. Unlike some traditional breads, cornbread batter comes together in minutes, making it a perfect candidate for an easy minimal effort bread when you need a warm side dish fast.
This recipe emphasizes simplicity, mixing wet and dry ingredients separately before combining. The addition of cheese adds moisture and a delicious tang, ensuring a flavorful result even for beginner bakers. It's a versatile recipe that can be baked in a square pan, cast iron skillet, or even as muffins.
Ingredients for the Quickest Cheesy Cornbread
Gather these simple ingredients for a fast and easy cheesy cornbread:
- 1 cup all-purpose flour
- 1 cup yellow cornmeal
- ½ cup granulated sugar (adjust to preference for sweetness)
- 1 tablespoon baking powder
- ½ teaspoon salt
- 1 ½ cups milk
- ⅓ cup vegetable oil or melted butter
- 1 large egg, lightly beaten
- 1 cup shredded cheddar cheese (or your favorite cheese)
This list makes enough batter for an 8x8 inch square pan or a 9-10 inch cast iron skillet. The sugar level can be adjusted – reduce it or omit entirely for a less sweet, more savory cornbread.
Cornbread Baking Made Easy: Steps for Beginners
Follow these simple steps for baking your easy minimal effort bread:
- Preheat oven to 400°F (200°C). Grease an 8x8 inch baking pan or a 9-10 inch cast iron skillet. If using a skillet, you can place it in the oven while it preheats with a tablespoon of butter to get it hot and create a crispy crust.
- In a large bowl, whisk together the flour, cornmeal, sugar, baking powder, and salt.
- In a separate medium bowl, whisk together the milk, oil or melted butter, and egg.
- Pour the wet ingredients into the bowl with the dry ingredients. Stir with a spoon or spatula just until combined and the dry ingredients are moistened. Do not overmix.
- Gently fold in the shredded cheese.
- Pour the batter into the prepared hot skillet or baking pan.
- Bake for 20-25 minutes, or until the top is golden brown and a toothpick inserted into the center comes out clean.
- Let cool slightly in the pan before slicing and serving warm.
Variations: Adding Spice to Your Cornbread
While the basic cheesy cornbread is an easy minimal effort bread on its own, you can easily add variations for extra flavor:
- Jalapeño Cornbread: Add ¼ to ½ cup of finely chopped pickled or fresh jalapeños (seeds removed for less heat) to the batter along with the cheese.
- Green Chile Cornbread: Fold in a small can (about 4 ounces) of diced green chilies, drained, for a milder pepper flavor.
- Spicy Kick: Add a pinch of cayenne pepper or a dash of hot sauce to the wet ingredients for a subtle heat.
Recipe 4: Minimal Effort Zucchini Bread Recipe
Zucchini bread is a fantastic way to sneak some vegetables into a delicious baked good, and it's surprisingly easy to make. The grated zucchini adds incredible moisture to the bread, resulting in a tender crumb that stays fresh for days. It's a classic easy minimal effort bread, particularly popular during zucchini season, but can be made year-round using grocery store zucchini.
The process is very similar to banana bread, following the simple wet-into-dry mixing method. The "minimal effort" aspect comes from how forgiving the recipe is and how quickly the batter comes together. You don't even need to peel the zucchini; just grate it and you're ready to go!
Utilizing Zucchini: A Beginner's Baking Project
Baking with zucchini is a perfect project for beginners because the vegetable adds moisture without significantly altering the texture in a way that requires complex adjustments. When grated, zucchini blends seamlessly into the batter. It’s important to note that zucchini contains a lot of water, so some recipes call for squeezing out excess moisture. However, for a truly minimal effort zucchini bread, you can often skip this step, especially if using smaller, less watery zucchini. The key is simply incorporating the grated vegetable evenly into the batter.
Using zucchini also provides a slightly denser, wonderfully moist loaf compared to quick breads without added vegetables or fruits. This density helps prevent the bread from drying out quickly. A standard medium zucchini (about 1 ½ to 2 cups grated) is sufficient for one loaf, making it easy to measure and incorporate. This simple addition transforms a basic quick bread into a flavorful, moist treat with minimal fuss.
Zucchini Bread Ingredients for Minimal Effort
Here are the simple ingredients needed for this easy minimal effort bread:
- 1 ½ cups all-purpose flour
- 1 teaspoon baking soda
- ½ teaspoon baking powder
- ½ teaspoon salt
- 1 teaspoon ground cinnamon
- ¼ teaspoon ground nutmeg (optional)
- 1 cup granulated sugar
- ½ cup vegetable oil
- 2 large eggs
- 1 teaspoon vanilla extract
- 1 ½ cups grated zucchini (from about 1 medium zucchini)
This recipe makes one standard loaf. You can add ½ cup of chopped nuts (walnuts or pecans) or chocolate chips if desired, folding them in at the end.
Simple Zucchini Bread Baking Instructions
Follow these steps for baking your simple zucchini bread:
- Preheat oven to 350°F (175°C). Grease and flour a 9x5 inch loaf pan.
- In a large bowl, whisk together the flour, baking soda, baking powder, salt, cinnamon, and nutmeg (if using).
- In a separate medium bowl, whisk together the sugar, oil, eggs, and vanilla extract until well combined.
- Add the wet ingredients to the dry ingredients. Stir with a spoon or spatula just until the flour is incorporated.
- Gently fold in the grated zucchini (and nuts or chocolate chips, if using). Do not overmix.
- Pour the batter into the prepared loaf pan.
- Bake for 50-65 minutes, or until a toothpick inserted into the center comes out clean. If the top browns too quickly, tent with foil.
- Let cool in the pan for 10-15 minutes before turning out onto a wire rack to cool completely.
Recipe 5: Easy Pumpkin Bread Recipe
Pumpkin bread is a seasonal favorite that brings the warm, comforting flavors of fall into your kitchen. Like banana and zucchini bread, it's incredibly moist thanks to the pumpkin puree and relies on chemical leaveners, making it another excellent easy minimal effort bread option. It's straightforward to mix and bakes up into a fragrant, tender loaf perfect for breakfast or snacking.
Using canned pumpkin puree (not pumpkin pie filling) simplifies the process even further, eliminating the need to prepare fresh pumpkin. The combination of pumpkin and warm spices like cinnamon and nutmeg creates a classic flavor profile that's hard to resist. This recipe is designed for maximum flavor with minimal steps.
Fall Baking: A Simple Pumpkin Bread Recipe
Pumpkin bread is synonymous with autumn, but this simple recipe allows you to enjoy its comforting flavors any time of year using canned pumpkin puree. The moisture from the pumpkin ensures a tender crumb, while the blend of spices evokes cozy feelings. This easy minimal effort bread is perfect for beginners because the pumpkin puree is very forgiving and helps prevent the bread from drying out, even if slightly over-baked.
The standard recipe uses about 1 cup of canned pumpkin puree for a single loaf, providing ample moisture and flavor. The spices commonly used – cinnamon, nutmeg, cloves, and ginger – complement the pumpkin beautifully and fill your home with a wonderful aroma as it bakes. It's a satisfying bake that requires minimal fuss, delivering maximum fall flavor.
Pumpkin Bread Ingredients for Easy Baking
Assemble these ingredients for your easy minimal effort bread:
- 1 ¾ cups all-purpose flour
- 1 teaspoon baking soda
- ½ teaspoon baking powder
- ½ teaspoon salt
- 1 teaspoon ground cinnamon
- ½ teaspoon ground nutmeg
- ¼ teaspoon ground cloves
- ¼ teaspoon ground ginger
- 1 ½ cups granulated sugar
- ½ cup vegetable oil
- 2 large eggs
- 1 cup canned pumpkin puree
This recipe makes one standard 9x5 inch loaf. Ensure you are using plain pumpkin puree and not spiced pumpkin pie filling, which contains added sugar and spices.
Baking Pumpkin Bread: Quick and Easy Steps
Follow these simple steps to bake your easy pumpkin bread:
- Preheat oven to 350°F (175°C). Grease and flour a 9x5 inch loaf pan.
- In a large bowl, whisk together the flour, baking soda, baking powder, salt, cinnamon, nutmeg, cloves, and ginger.
- In a separate medium bowl, whisk together the sugar, oil, eggs, and pumpkin puree until well combined and smooth.
- Pour the wet ingredients into the bowl with the dry ingredients. Stir with a spoon or spatula just until the flour is incorporated and no dry streaks remain. Do not overmix.
- Pour the batter into the prepared loaf pan.
- Bake for 55-70 minutes, or until a toothpick inserted into the center comes out clean. If the top browns too quickly, tent it loosely with aluminum foil.
- Let cool in the pan for 10-15 minutes before turning out onto a wire rack to cool completely.
Baking Tips for Minimal Effort Quick Breads

Even with easy minimal effort bread recipes, a few simple techniques can elevate your results from good to great. Paying attention to how you measure, mix, and bake ensures consistent success and helps you avoid common pitfalls. These tips are straightforward and require no special skills or equipment beyond what you likely already have in your kitchen.
Mastering these basic principles will make all your quick bread baking experiences smoother and more reliable. From accurately measuring flour to understanding the signs of a perfectly baked loaf, these pointers are essential for anyone looking to consistently achieve delicious, tender quick breads with minimal fuss.
Measuring Ingredients Accurately for Easy Baking
Accurate measurement is crucial in baking, even for forgiving easy minimal effort bread recipes. For dry ingredients like flour, the most common method is the "spoon and level" technique: gently spoon the flour into your measuring cup until it overflows, then use a straight edge (like a knife or spatula) to level off the excess. Scooping directly from the bag can compact the flour, leading to using too much – potentially an extra ¼ cup or more per cup, which results in a dense, dry bread. Using too little flour can cause the bread to collapse.
For wet ingredients, use liquid measuring cups and place them on a flat surface to read the measurement at eye level. Granulated sugar can be measured by scooping and leveling, while brown sugar should be packed firmly into the measuring cup. Baking soda and baking powder must be measured precisely with small measuring spoons; using too much can result in a soapy taste or excessive rising followed by collapse, while too little means the bread won't rise properly. Precision in these simple steps greatly improves your chances of baking a perfect easy minimal effort bread.
Mixing Techniques for Quick Breads: Keep it Simple
The key mixing technique for most easy minimal effort bread recipes is the "muffin method." This involves combining all the dry ingredients in one bowl and all the wet ingredients in another. You then pour the wet ingredients into the dry ingredients and stir just until they are combined. The goal is to mix until there are no visible dry streaks of flour. It's perfectly fine, and often desirable, for the batter to be slightly lumpy.
Overmixing is the most common mistake when making quick breads. Stirring too much develops gluten in the flour, which is great for chewy yeast breads but results in a tough, dense texture in quick breads. Once the wet and dry ingredients are barely combined, stop stirring. Folding in additions like chocolate chips, nuts, or fruit should also be done gently, requiring only a few strokes. This simple approach ensures a tender, light crumb, living up to the promise of easy minimal effort bread.
Oven Temperatures and Baking Times for Perfect Results
Correct oven temperature is vital for successful quick bread baking. Most quick breads are baked at moderate temperatures, typically between 350°F (175°C) and 375°F (190°C). Baking at the specified temperature ensures the bread rises properly and bakes through evenly without burning the exterior. It's highly recommended to use an oven thermometer to verify your oven's actual temperature, as oven thermostats can often be inaccurate by as much as 25-50°F (15-30°C). Baking at too low a temperature can result in a heavy, gummy texture, while too high a temperature can cause the outside to burn before the inside is cooked.
Baking times provided in recipes are always estimates, as they can vary based on your specific oven, the pan material, and even the moisture content of your ingredients. For a standard loaf baked in a 9x5 inch pan, baking time is usually between 50 and 70 minutes. Smaller items like muffins might only take 20-25 minutes.
To check for doneness, insert a wooden skewer or toothpick into the center of the loaf or muffin; it should come out clean or with just a few moist crumbs attached, but no wet batter. If the top is browning too quickly, loosely tent the bread with aluminum foil.
Storing Your Easy Minimal Effort Bread
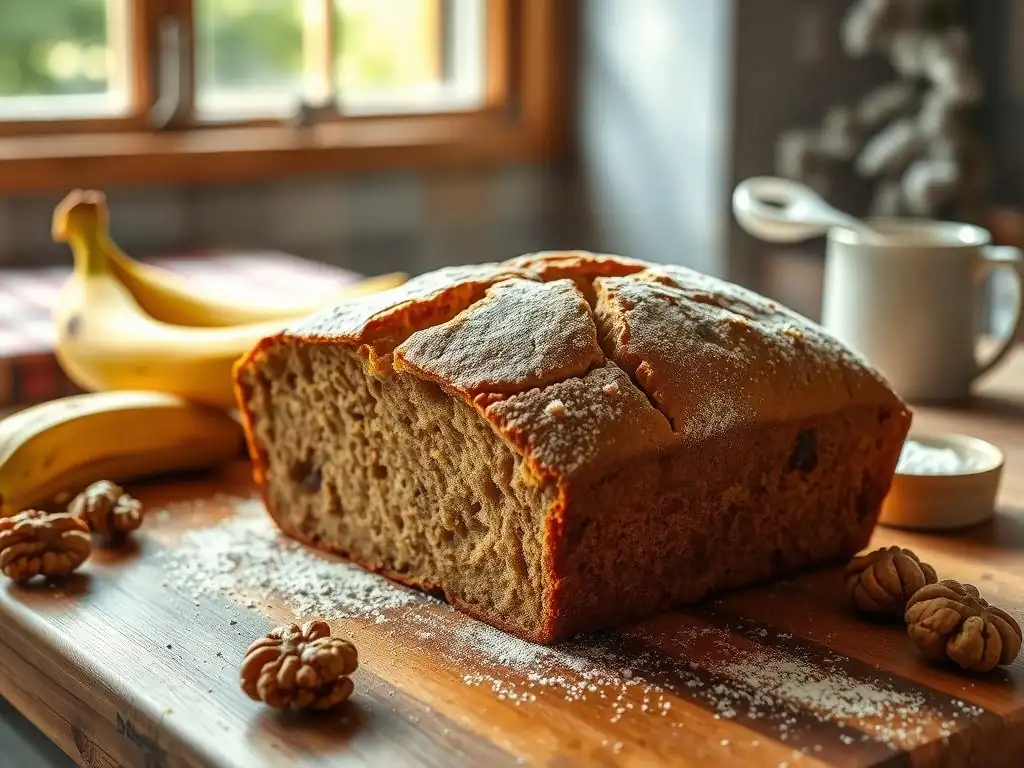
Once your delicious easy minimal effort bread has cooled, proper storage is key to keeping it fresh and enjoyable. Quick breads, due to their moisture content from ingredients like fruit or vegetables, tend to stay moist longer than some other types of bread. However, they can dry out or become stale if not stored correctly.
Whether you plan to enjoy your quick bread over a few days or save some for later, simple storage methods will help maintain its texture and flavor. From countertop storage for immediate enjoyment to freezing for future treats, preserving your easy minimal effort bread is as simple as making it.
Keeping Your Quick Bread Fresh
To keep your freshly baked easy minimal effort bread fresh at room temperature, wait until it has completely cooled. Warm bread will create condensation inside a container, leading to a soggy crust and potential mold growth. Once cool, wrap the loaf tightly in plastic wrap, then place it in an airtight container or a resealable plastic bag.
Stored this way on the countertop, most quick breads will stay fresh and moist for about 3 to 4 days. If you live in a humid climate or plan to keep it longer, refrigeration can extend its life by a few extra days, though it can sometimes slightly alter the texture. For the best flavor and texture, room temperature storage is generally preferred for immediate consumption.
Freezing Quick Bread for Later
Freezing is an excellent way to preserve your easy minimal effort bread for longer periods, allowing you to enjoy your baking efforts weeks or even months later. Ensure the quick bread is completely cooled before freezing. Wrap the entire loaf or individual slices tightly in plastic wrap, making sure there are no gaps.
After wrapping in plastic, add another layer of protection using aluminum foil or place the wrapped bread in a freezer-safe bag. This double layer helps prevent freezer burn. Label the package with the type of bread and the date. Properly wrapped, quick bread can be stored in the freezer for 2 to 3 months. To thaw, simply unwrap the bread (or slices) and let it sit at room temperature for a few hours (slices thaw much faster than a whole loaf).
Conclusion: Enjoying Baking with Minimal Effort
Diving into the world of baking doesn't have to mean tackling complex recipes or spending hours in the kitchen. As you've seen with these quick bread recipes, creating delicious, homemade baked goods can be incredibly simple and require truly minimal effort. From savory cornbread to sweet banana bread, these easy minimal effort bread options prove that satisfying baking experiences are well within reach for anyone, regardless of their experience level.
Embracing quick bread baking opens up a world of possibilities for delicious treats and accompaniments that come together quickly and reliably. The use of simple ingredients and straightforward techniques ensures a high success rate, making baking a joyful and rewarding activity rather than a stressful one. So grab your apron, choose your favorite easy minimal effort bread recipe, and experience the simple pleasure of baking something wonderful from scratch.
The Joy of Easy Bread Baking
There's a unique satisfaction that comes from pulling a warm, fragrant loaf of bread from the oven. When that bread is an easy minimal effort bread, the joy is amplified by the simplicity of the process. You get all the sensory rewards – the comforting aroma filling your home, the beautiful golden crust, the tender crumb – without the lengthy steps or potential pitfalls associated with more complex bread types. This accessibility makes baking a regular, enjoyable part of your routine.
The ease of these recipes means you can bake whenever the craving strikes, whether it's a last-minute side for dinner or a quick treat for breakfast. Sharing a slice of homemade quick bread with family or friends feels special, and knowing you created it with minimal effort makes it even sweeter. Embracing easy minimal effort bread baking is about discovering that delicious results are achievable for everyone, fostering a love for baking one simple loaf at a time.
Frequently Asked Questions
How exactly does a quick bread differ from other types of bread?
Quick breads rely on chemical leaveners like baking powder or baking soda, rather than yeast, allowing for a faster baking process. This means no kneading or proofing is required!
What makes a bread recipe "easy" and "minimal effort"?
Easy and minimal effort bread recipes typically involve fewer steps, readily available ingredients, and require no kneading or complicated techniques. The focus is on simplicity and speed.
What kind of ingredients are most commonly used in easy quick bread recipes?
Common ingredients include flour, sugar, baking powder/soda, eggs, milk or buttermilk, and oil or melted butter. Variations can involve fruits, nuts, or spices for added flavor.
Can I substitute ingredients in a quick bread recipe to make it healthier or fit my dietary needs?
Yes, often you can! Consider using whole wheat flour for a healthier option or dairy-free milk alternatives. However, be mindful of how substitutions might affect the texture and rise.
How should I store my quick bread to keep it fresh for longer?
Wrap your quick bread tightly in plastic wrap or foil and store it at room temperature for a few days. For longer storage, you can freeze it in an airtight container.
Final Reflection: The Joy of Effortless Baking
The pursuit of delicious, homemade bread shouldn't be a Herculean task. This article has highlighted that simple, satisfying loaves are entirely within reach, even for the busiest among us. We've debunked the myth that incredible bread requires hours of kneading and proofing, showcasing recipes that prioritize ease and minimal effort without sacrificing flavor.
The impact of accessible baking extends far beyond the kitchen table. It's about reclaiming the joy of creating something nourishing and comforting from scratch, a connection to a simpler time that many crave in our fast-paced world. Baking is at once child's play and adult joy. And love, of course.
- This sentiment perfectly encapsulates the feeling of accomplishment and satisfaction that comes from effortlessly whipping up a quick bread, regardless of baking experience.
Now, I invite you to embrace the simplicity. Try one of the recipes featured in this article, and experience the magic of effortless baking for yourself. Don't let the fear of complexity hold you back from the pleasure of sharing homemade bread with loved ones. The reward – the aroma filling your kitchen, the warm, soft texture, the delighted faces around your table – is well worth the minimal effort involved.
Unleash Your Inner Baker: Effortless Bread Awaits!
Thanks for joining us on this delicious journey into the world of quick breads! We hope you've discovered some new favorites and gained the confidence to bake with ease. Now it's time to put your newfound skills to the test.
- Bake your first quick bread today! Choose one of the recipes from the article and gather your ingredients. Don't worry about perfection—just enjoy the process.
- Share your baking adventure! Post a picture of your creation on social media and tag us—we'd love to see your delicious results!
- Explore our other easy recipes: Dive deeper into our collection of simple and satisfying baked goods – you might find your next culinary obsession!
What quick bread will you conquer first? Let us know in the comments below!