
NoBake Cheesecake: Your Easiest Dessert Ever

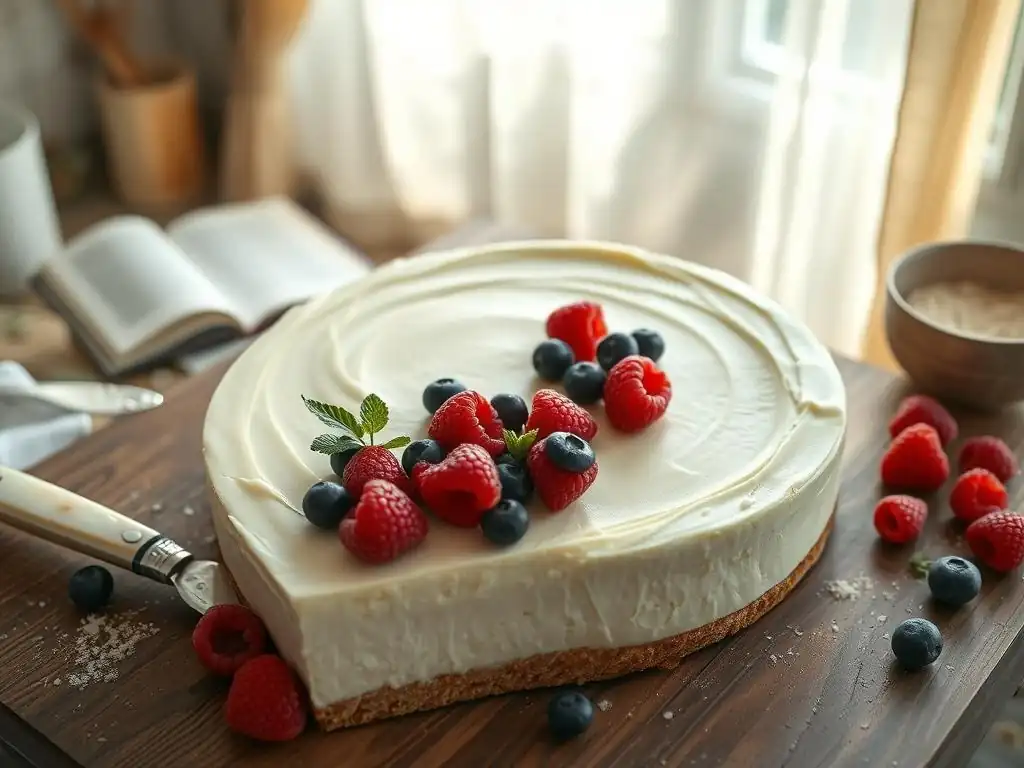
Welcome to BakeWithEase, your haven for effortless baking! Ever dreamed of a decadent dessert without turning on the oven? You're in the right place. Dive into our delightfully simple "Nobake cheesecake recipe beginners" guide and discover how to create a creamy, dreamy cheesecake with minimal fuss. Ready to impress without the stress? Let's get baking (without the baking)!
- Lemon Raspberry No-Bake Cheesecake: Effortless Summer Dessert
- Sweet Surrender Bakes: The Ultimate Lemon Raspberry No-Bake Cheesecake Recipe
- Why This Lemon Raspberry No-Bake Cheesecake is Perfect
- Mastering the Lemon Raspberry No-Bake Cheesecake: A Step-by-Step Guide
- No-Bake Cheesecake Variations: Add Your Personal Touch
- Tips and Tricks for a Perfect Lemon Raspberry No-Bake Cheesecake
- Troubleshooting Your Lemon Raspberry No-Bake Cheesecake
- Enjoy Your Effortless Lemon Raspberry No-Bake Cheesecake!
- Frequently Asked Questions
- Final Reflection: The Sweet Simplicity of No-Bake Bliss
- Unlock Your Inner Pastry Chef: Effortless Dessert Awaits!
Lemon Raspberry No-Bake Cheesecake: Effortless Summer Dessert
Sweet Surrender Bakes: The Ultimate Lemon Raspberry No-Bake Cheesecake Recipe
Welcome to BakeWithEase, where we believe that creating delicious desserts should be a joy, not a chore! If you're looking for a truly easy no-bake cheesecake recipe that delivers stunning results with minimal effort, you've come to the right place. This Lemon Raspberry No-Bake Cheesecake is a vibrant, creamy delight, perfect for warmer months or whenever you crave a burst of fresh flavor.
It's designed to be straightforward, making it an ideal nobake cheesecake recipe beginners can confidently tackle. Forget the stress of water baths and cracked tops – this recipe is all about sweet surrender to simplicity and taste.
This particular recipe, affectionately dubbed the "Sweet Surrender" version, combines the tangy brightness of lemon with the sweet-tart notes of raspberries, all nestled on a simple graham cracker crust. It requires no baking whatsoever, relying solely on refrigeration to set into a firm, sliceable dessert. We'll walk you through each step, providing helpful tips along the way to ensure your success. Whether you're a complete novice or just short on time, this simple no-bake cheesecake promises a delightful outcome that will impress everyone who tries it.
Why This Lemon Raspberry No-Bake Cheesecake is Perfect
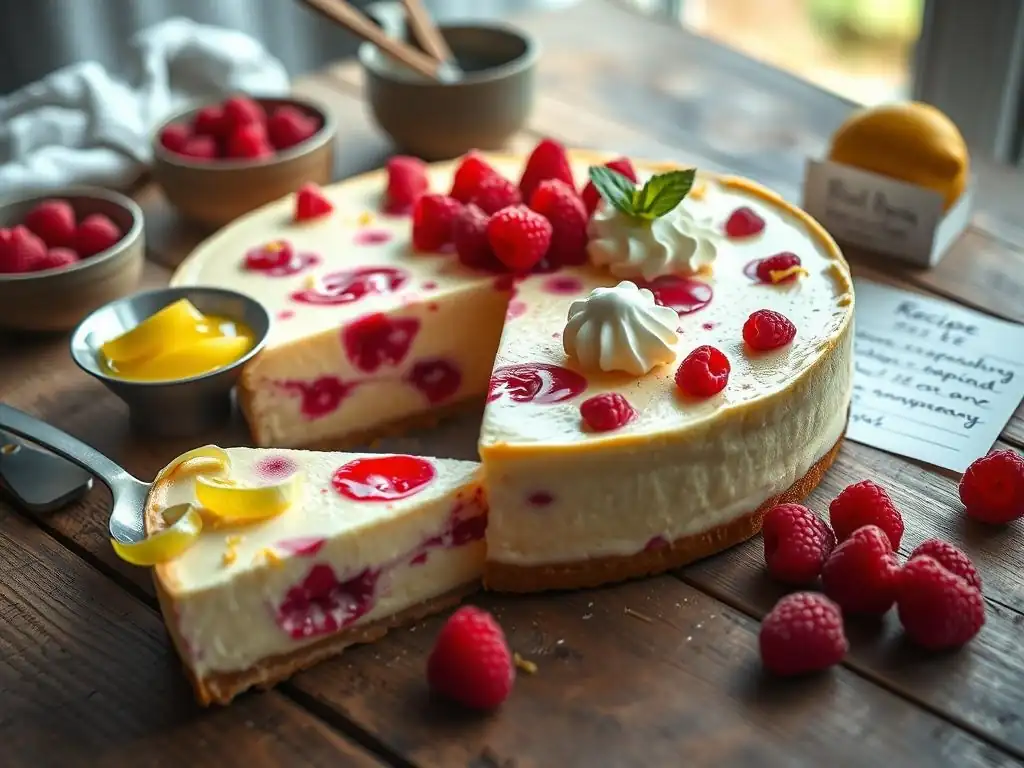
Simple Ingredients for a Tangy and Sweet Cheesecake
One of the greatest appeals of this nobake cheesecake recipe beginners will appreciate is its reliance on readily available ingredients. You won't need to hunt for obscure items; everything from the cream cheese to the graham crackers can typically be found at your local grocery store. The core of the filling is standard full-fat cream cheese, which provides the necessary richness and structure. Fresh lemons contribute the essential zest and juice for that vibrant tang, while fresh or frozen raspberries (thawed if frozen) create the beautiful swirl and add sweetness.
Beyond the stars of the show, you'll need just a few pantry staples: sugar or honey for sweetness, butter or coconut oil for the crust, and perhaps a touch of cornstarch or gelatin for extra stability, though many simple recipes rely just on the cream cheese setting power. Using real lemon zest is crucial for maximum flavor impact – aim for the zest of about 1-2 medium lemons for a pronounced citrus note. For the raspberry swirl, approximately one cup of fresh raspberries, mashed or pureed, is usually sufficient to create a lovely contrast without overwhelming the lemon.
Quick and Easy: No Oven Needed!
The defining characteristic of this dessert, and why it's such a fantastic easy no-bake cheesecake recipe, is the complete absence of baking. This saves significant time and effort, eliminating the need to preheat an oven, monitor baking times, or worry about the cheesecake cracking. The process involves simply preparing the crust, whisking together the filling ingredients, assembling, and chilling. This makes it an ideal dessert for hot summer days when you want to avoid turning on the oven, or for busy schedules where you need a delicious treat without the fuss.
Compared to traditional baked cheesecakes which can take upwards of 60-90 minutes in the oven plus cooling time, a simple no-bake cheesecake can be assembled in under 30 minutes. The majority of the time is passive – waiting for the cheesecake to set in the refrigerator. This drastically reduces active preparation time, making it perfect for last-minute gatherings or weeknight desserts. Many home bakers report spending only about 20 minutes of hands-on time from start to finish before the chilling phase begins.
A Crowd-Pleasing Dessert for Any Gathering
This Lemon Raspberry No-Bake Cheesecake is a guaranteed hit at almost any event. Its bright, cheerful colors and refreshing flavor profile appeal to a wide range of palates, making it a perfect centerpiece for parties, potlucks, or family dinners. The combination of creamy texture, crunchy crust, and fruity tang is universally appealing. Because it needs to be made ahead of time to chill and set, it's also incredibly convenient for hosts, allowing you to prepare the dessert hours or even a day in advance, freeing up your time on the day of the event.
Think about the versatility: serve it simply as is, or garnish with extra fresh raspberries, lemon slices, or a dollop of whipped cream for an extra touch of elegance. Its light and refreshing nature means it pairs well after a heavy meal, unlike some richer baked desserts. Data from informal polls among dessert enthusiasts often shows fruit-flavored cheesecakes ranking high in popularity, and the vibrant red and yellow hues of this lemon raspberry version make it particularly attractive on a dessert table, prompting guests to ask for the easy no-bake cheesecake recipe.
Mastering the Lemon Raspberry No-Bake Cheesecake: A Step-by-Step Guide
Let's break down the process for this simple no-bake cheesecake into manageable steps. Following these instructions carefully will ensure a smooth and successful outcome, even if this is your first attempt at a nobake cheesecake recipe beginners will find approachable.
Step 1: Preparing the Graham Cracker Crust
The foundation of your cheesecake is the crust. A classic graham cracker crust is simple and delicious.
Choosing Gluten-Free Graham Crackers
For those with dietary restrictions or preferences, many excellent gluten-free graham cracker options are available today. Brands like Kinnikinnick Foods or Schar offer gluten-free alternatives that work perfectly for cheesecake crusts. Ensure the crackers you choose have a good snap to them, as this indicates they will grind into fine crumbs easily. Using gluten-free crackers doesn't significantly alter the process or the amount needed; you'll typically use the same weight or number of sheets as you would with traditional graham crackers.
Achieving Finely Ground Graham Cracker Crumbs
The key to a good crust is uniform, fine crumbs. The easiest way to achieve this is using a food processor. Pulse the graham crackers until they resemble fine sand with no large chunks.
If you don't have a food processor, place the crackers in a large zip-top bag, squeeze out the air, and crush them using a rolling pin or the bottom of a heavy pan. Aim for consistency; rough estimates suggest about 10-12 full graham cracker sheets yield roughly 1 ½ cups of fine crumbs, which is typically enough for a standard 9-inch pie plate or springform pan.
Binding the Crust: Coconut Oil and Maple Syrup Ratio
Traditional crusts use melted butter, but using melted coconut oil (refined for a neutral flavor) offers a delicious alternative, especially if you're aiming for a vegan or dairy-free version. The binding agent is crucial for holding the crumbs together. A common ratio is about ¼ to ⅓ cup of melted butter or coconut oil per 1 ½ cups of graham cracker crumbs.
Adding a tablespoon or two of maple syrup or sugar isn't strictly necessary for binding but adds a touch of sweetness and helps create a slightly firmer crust texture. Mix the melted fat and sweetener thoroughly into the crumbs until they are evenly moistened and resemble wet sand.
Pressing the Crust into the Pan: Firm and Even
Once the crumbs are mixed, transfer them to your chosen pan – a 9-inch springform pan is ideal for easy slicing and serving. Use the bottom of a glass or a flat-bottomed measuring cup to firmly and evenly press the crumb mixture into the bottom and slightly up the sides of the pan. The firmer you press, the less likely the crust is to crumble when sliced.
Ensure the thickness is consistent across the bottom and sides for uniform texture. Some bakers recommend chilling the crust for about 10-15 minutes at this stage while you prepare the filling, though it's not strictly required for a no-bake crust.
Step 2: Making the Lemon Raspberry No-Bake Cheesecake Filling
Now for the star of the show: the creamy, tangy filling. This is where the magic happens with minimal effort, making it truly a simple no-bake cheesecake.
Cream Cheese: Room Temperature is Key
Using full-fat cream cheese is essential for the structure and richness of a no-bake cheesecake. It provides the body that allows the filling to set properly. Crucially, the cream cheese must be softened to room temperature. Cold cream cheese will result in a lumpy filling that is impossible to make smooth. Take the cream cheese out of the refrigerator at least 1-2 hours before you plan to make the filling. It should be soft enough to easily indent with your finger. Typically, two 8-ounce blocks of cream cheese are used for a 9-inch cheesecake.
Sweetening the Deal: Honey and Lemon Zest
Sweeten the cream cheese to your liking. Granulated sugar is standard, but honey adds a lovely subtle flavor that pairs well with lemon and raspberry. Start with about ½ to ¾ cup of sugar or honey for two blocks of cream cheese, tasting as you go. Whisk the sweetener into the softened cream cheese until smooth and creamy.
This is also the stage to add the finely grated zest of 1-2 lemons. Zest contains the essential oils that provide intense lemon flavor without adding excess liquid, unlike juice. Ensure you only zest the yellow part of the peel, avoiding the bitter white pith.
Adding Stability: Lemon Juice and Cornstarch
Lemon juice adds essential tang and liquid to the filling. However, too much liquid can prevent the cheesecake from setting. Use fresh lemon juice – about ¼ to ½ cup for two blocks of cream cheese, depending on how tart you like it.
To help the filling set firmly, especially in a nobake cheesecake recipe beginners often worry about being too soft, you can add a stabilizer. A common method is dissolving 1-2 tablespoons of cornstarch in a few tablespoons of the lemon juice before whisking it into the cream cheese mixture. Alternatively, some recipes use a small amount of dissolved unflavored gelatin (following package instructions for setting liquid) for extra firmness, though many simple recipes rely solely on the chilling effect on the cream cheese.
Achieving the Perfect Texture: Gentle Folding
Once the cream cheese, sweetener, lemon zest, and lemon juice (and optional stabilizer) are combined, the filling should be smooth and creamy. Avoid overmixing, especially if using a stand mixer, as incorporating too much air can sometimes affect the set. Whisk or beat on low speed just until everything is combined and lump-free. The goal is a thick, spreadable consistency. This smooth base is perfect for incorporating the raspberry swirl in the next step, creating that beautiful marbled effect characteristic of this easy no-bake cheesecake recipe.
Step 3: Assembling and Chilling Your Lemon Raspberry No-Bake Cheesecake
With the crust ready and the filling mixed, it's time to bring it all together. This is the final active step before patience takes over.
Swirling Raspberry Puree into the Filling
Prepare your raspberry puree by mashing fresh raspberries with a fork or pulsing them briefly in a food processor. You can strain the puree through a fine-mesh sieve to remove seeds if desired, but leaving them in adds a rustic touch. Gently spoon dollops of the raspberry puree over the plain lemon filling already spread in the crust. Aim for about ½ to ¾ cup of puree for a noticeable swirl. Don't mix it completely!
Creating a Marble Effect on the Surface
Using a knife, skewer, or toothpick, gently swirl the raspberry puree into the lemon filling. Draw the tool through the dollops of puree and into the plain filling, creating graceful curves and patterns. Be careful not to over-swirl, or you'll end up with a uniformly pink filling rather than distinct swirls. The goal is a beautiful marble effect where the lemon and raspberry colors remain separate but intertwined. This visual appeal is part of what makes this simple no-bake cheesecake so impressive.
Chilling Time: At Least 4 Hours
Once assembled and swirled, the cheesecake needs ample time in the refrigerator to set. This is the most critical step for achieving a firm, sliceable texture. Cover the cheesecake loosely with plastic wrap (try using toothpicks inserted around the edge to keep the wrap from touching the surface). Place it in the refrigerator for a minimum of 4 hours, but ideally, overnight.
Chilling allows the fats in the cream cheese to firm up, solidifying the filling. Resist the urge to check it too early! A full overnight chill (8-12 hours) usually yields the best results for a firmly set cheesecake.
No-Bake Cheesecake Variations: Add Your Personal Touch
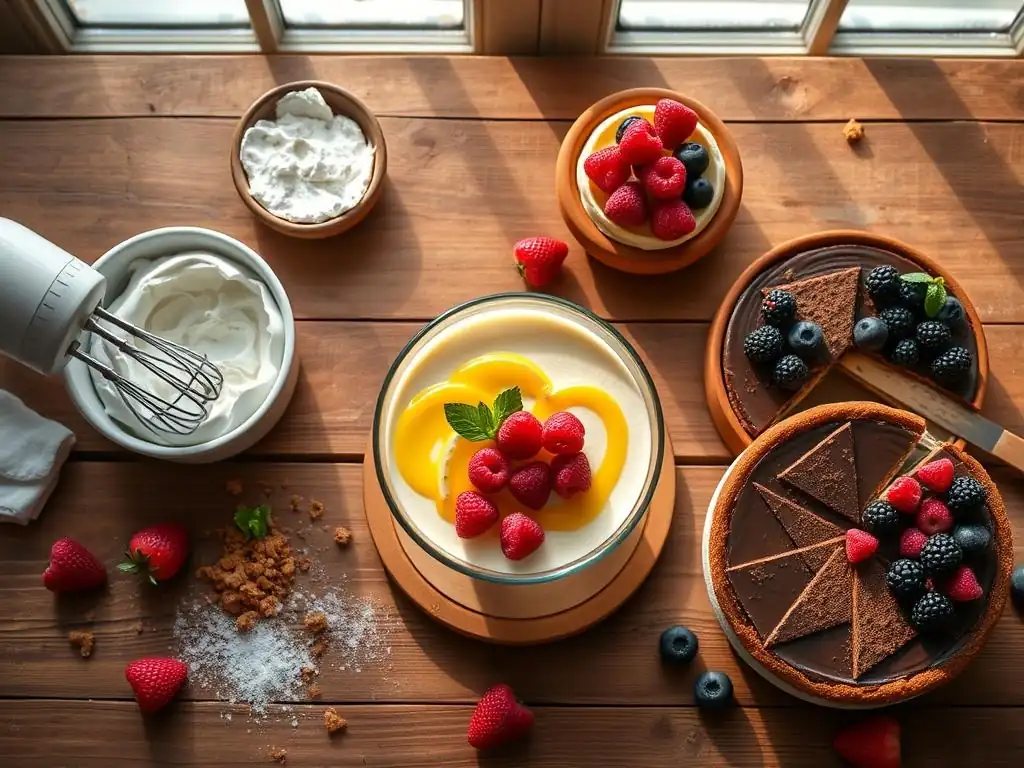
One of the joys of a nobake cheesecake recipe beginners can enjoy is how easily it adapts to different flavors and dietary needs. Here are a few popular variations:
Classic Lemon Raspberry No-Bake Cheesecake
This is the recipe we've detailed, featuring a standard graham cracker crust and a creamy lemon filling with a vibrant raspberry swirl. It's the perfect starting point for anyone learning how to make a simple no-bake cheesecake. It can be made with either butter or coconut oil in the crust and sweetened with sugar or honey.
White Chocolate Lemon Raspberry No-Bake Cheesecake
For an extra layer of indulgence, melt about 4-6 ounces of good quality white chocolate and whisk it into the cream cheese filling after it's been mixed with the lemon. Ensure the white chocolate isn't too hot when adding it. The white chocolate adds sweetness and a subtle richness that complements the lemon and raspberry beautifully. This variation might set slightly firmer due to the chocolate.
Vegan Lemon Raspberry No-Bake Cheesecake (Cashew-Based)
A popular vegan approach uses soaked cashews as the base instead of cream cheese. Soak 1-2 cups of raw cashews overnight, then drain and blend them in a high-powered blender or food processor with coconut cream (the thick part from a can of full-fat coconut milk), lemon juice, sweetener (like maple syrup), and a touch of vanilla until incredibly smooth. Use a date and nut crust (like almonds and dates pulsed together) or a vegan graham cracker crust with coconut oil. Swirl in raspberry puree as usual. This yields a rich, creamy texture surprisingly similar to dairy cheesecake.
Mini Lemon Raspberry No-Bake Cheesecakes (Individual Servings)
Instead of a large cheesecake, you can make individual servings. Prepare the crust mixture and press it into muffin liners placed in a muffin tin or into small dessert cups. Fill with the lemon cheesecake mixture and swirl in the raspberry puree. These mini versions often set faster, sometimes in as little as 2-3 hours, making them even quicker for an easy no-bake cheesecake recipe when you need dessert in a hurry. They are also perfect for portion control and easy serving at parties.
Tips and Tricks for a Perfect Lemon Raspberry No-Bake Cheesecake
Even with an easy no-bake cheesecake recipe, a few simple tips can elevate your results and prevent common pitfalls.
Preventing a Soggy Crust: Chocolate Coating
A common issue with fruit-topped or moist fillings on graham cracker crusts is the crust becoming soggy over time. To prevent this, especially with a simple no-bake cheesecake that will be chilled for a while, you can create a barrier. After pressing the crust into the pan and chilling it briefly, melt about 2-3 ounces of white chocolate or dark chocolate.
Brush a thin layer of the melted chocolate over the bottom and slightly up the sides of the crust. Let this chocolate layer harden in the refrigerator for about 10 minutes before adding the filling. This forms a waterproof layer protecting the crust from moisture.
Achieving a Smooth and Creamy Filling: Avoid Overmixing
As mentioned earlier, starting with room temperature cream cheese is paramount for a smooth filling. When combining ingredients, mix just until everything is incorporated and no lumps remain. Overmixing, especially with an electric mixer on high speed, can incorporate too much air, which can sometimes lead to a less dense, less creamy texture, or even cause the filling to weep later. Whisking by hand or using a mixer on low speed is often sufficient for this simple no-bake cheesecake.
Storing Your No-Bake Cheesecake: Airtight Container
Once set, store any leftover cheesecake in the refrigerator. The best way to maintain its texture and freshness is in an airtight container. If the cheesecake is still in its springform pan, cover the top tightly with plastic wrap, then ideally wrap the entire pan in aluminum foil. For sliced portions, place them in a container with a tight-fitting lid. Stored properly, a no-bake cheesecake can last for 3-4 days in the refrigerator. Note that the crust might soften slightly over time.
Troubleshooting Your Lemon Raspberry No-Bake Cheesecake
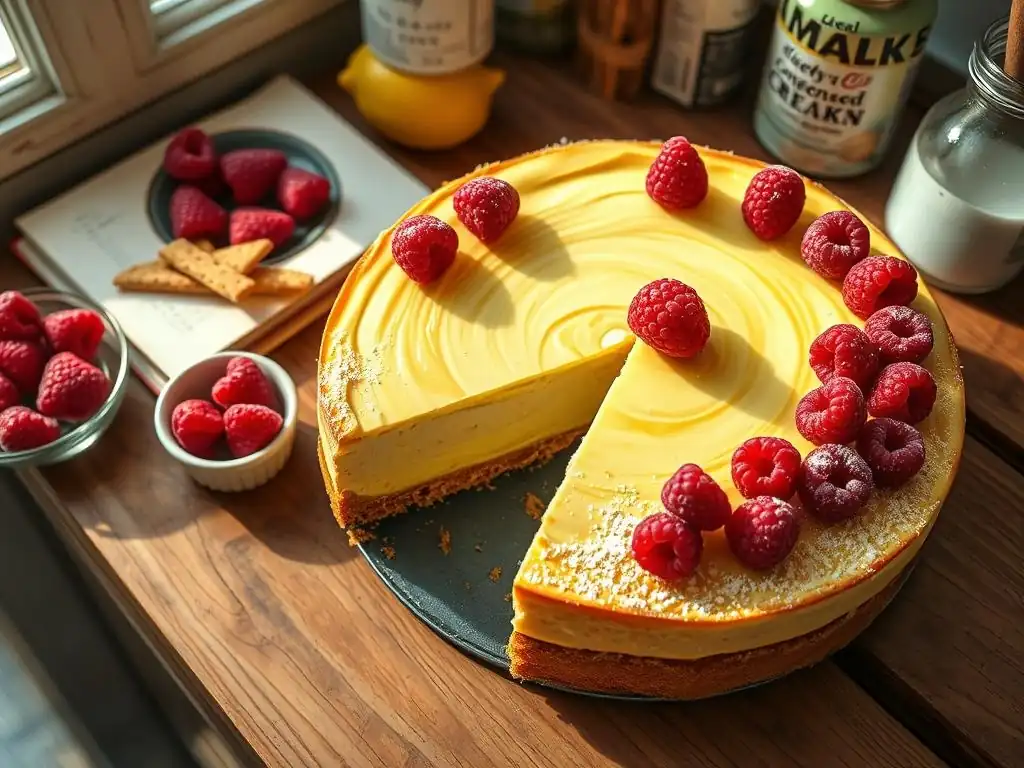
Even with the most straightforward nobake cheesecake recipe beginners might encounter minor issues. Here are solutions to some common problems.
My No-Bake Cheesecake is Too Soft: Increase Cornstarch
If your cheesecake filling hasn't set firmly after adequate chilling time (at least 4 hours, preferably overnight), it could be due to too much liquid or insufficient stabilizer. For future attempts, try reducing the amount of liquid slightly (like lemon juice) or, more effectively, increase the amount of cornstarch or use a small amount of dissolved gelatin. For instance, if you used 1 tablespoon of cornstarch, try 1.5 or 2 tablespoons next time, ensuring it's fully dissolved before adding to the filling. Ensure your cream cheese was full-fat and fully softened but not melted.
My No-Bake Cheesecake Crust is Crumbling: Add More Coconut Oil
A crumbly crust usually means there wasn't enough binding agent (butter or coconut oil) to hold the crumbs together. Ensure you're using the recommended amount of melted fat (roughly ¼ to ⅓ cup per 1.5 cups of crumbs) and that it's thoroughly mixed into the crumbs before pressing. Also, the firmness with which you press the mixture into the pan is critical.
Use the bottom of a glass or measuring cup to compact the crumbs very firmly. For your current crumbling crust, you can sometimes press stray crumbs back into place or serve it in bowls if it's too far gone to slice cleanly.
My No-Bake Cheesecake Has Lumps: Strain the Filling
Lumps in the filling are almost always due to using cold or insufficiently softened cream cheese. Ensure your cream cheese is at room temperature before you start mixing. If you find lumps after mixing, you can try pressing the filling through a fine-mesh sieve using a spatula before pouring it into the crust. This extra step takes a few minutes but will result in a perfectly smooth filling, saving your simple no-bake cheesecake from a bumpy texture. This is an excellent trick for any nobake cheesecake recipe beginners who might rush the softening step.
Enjoy Your Effortless Lemon Raspberry No-Bake Cheesecake!
You've done it! You've created a beautiful, delicious Lemon Raspberry No-Bake Cheesecake with minimal effort. This easy no-bake cheesecake recipe proves that you don't need to be a pastry chef to make stunning desserts. Slice into your perfectly chilled creation and enjoy the refreshing blend of creamy lemon and sweet raspberry, all balanced by the simple graham cracker crust. It's the ideal dessert for any occasion, requiring only patience for chilling.
We love seeing what our community bakes! If you made this Sweet Surrender Lemon Raspberry No-Bake Cheesecake (or any variation! ), share a picture and tell us about your experience. Was this your first nobake cheesecake recipe beginners attempt? What did you think? Your successes and learning experiences inspire us all. Happy no-baking!
Frequently Asked Questions
What makes this NoBake Cheesecake recipe ideal for beginners?
This recipe is perfect for beginners because it eliminates the need for oven baking, focusing on simple mixing techniques and readily available ingredients. The instructions are easy to follow, ensuring a successful cheesecake every time.
What are the key ingredients I need for this NoBake Cheesecake?
You'll primarily need cream cheese, sweetened condensed milk, lemon juice, and a graham cracker crust. These ingredients are easily accessible and require minimal preparation.
Can I customize the flavor of my NoBake Cheesecake?
Absolutely! You can customize your cheesecake with various toppings, such as fresh fruit, chocolate shavings, or a fruit compote. Consider adding a touch of vanilla extract or other flavorings to the cream cheese mixture.
How long does the NoBake Cheesecake need to chill?
The cheesecake requires a minimum of 4 hours of chilling in the refrigerator to properly set. For best results, chill it overnight, allowing the flavors to fully meld.
What can I do if my NoBake Cheesecake isn't setting properly?
Ensure you're using full-fat cream cheese and sweetened condensed milk, as these are essential for proper setting. Adequate chilling time is also crucial; give it more time in the refrigerator.
Final Reflection: The Sweet Simplicity of No-Bake Bliss
The ease and deliciousness of no-bake cheesecake transcends mere recipe; it's a testament to the power of accessible culinary creativity. This simple dessert, perfect for beginners, proves that achieving impressive results doesn't require hours of complicated techniques or specialized equipment. In a world increasingly demanding of our time, the no-bake cheesecake offers a refreshing counterpoint – a delightful treat achievable even on the busiest of days.
The enduring appeal of no-bake cheesecake lies not just in its simplicity, but in its adaptability. It's a blank canvas for culinary exploration, allowing for endless variations in flavor and presentation. From classic cream cheese to vibrant fruit infusions, the possibilities are truly limitless. This resonates deeply with me, as it reflects the joy of creating something beautiful and delicious without feeling overwhelmed. The best things in life are simple,
a sentiment perfectly embodied by this delightful dessert.
Now, I invite you to embrace the simplicity and embark on your own no-bake cheesecake adventure. Don't be intimidated by the kitchen; instead, let this recipe be a springboard for your culinary confidence. Experiment with flavors, share your creations, and discover the joy of creating something truly special – all without turning on the oven! The sweet taste of success awaits.
Unlock Your Inner Pastry Chef: Effortless Dessert Awaits!
Thanks for joining us on this delicious journey! We hope you're feeling inspired to create amazing desserts without the fuss. Now it's time to put your newfound skills to the test.
- Whip up your very own No-Bake Cheesecake: Grab those ingredients and let's get baking (or rather, assembling)! This recipe is designed to be incredibly simple, so don't be intimidated.
- Share your masterpiece: Snap a picture of your creation and tag us on social media – we’d love to see your culinary triumph! Use #BakeWithEaseNoBake.
- Explore our other No-Bake recipes: Discover a world of easy, delightful desserts that require no oven time at all!
Ready to transform your dessert game? What's your favorite part of making no-bake desserts – the ease, the taste, or the feeling of accomplishment? Let us know in the comments!