
Simple Fruit Preparation Tips for Baking Success

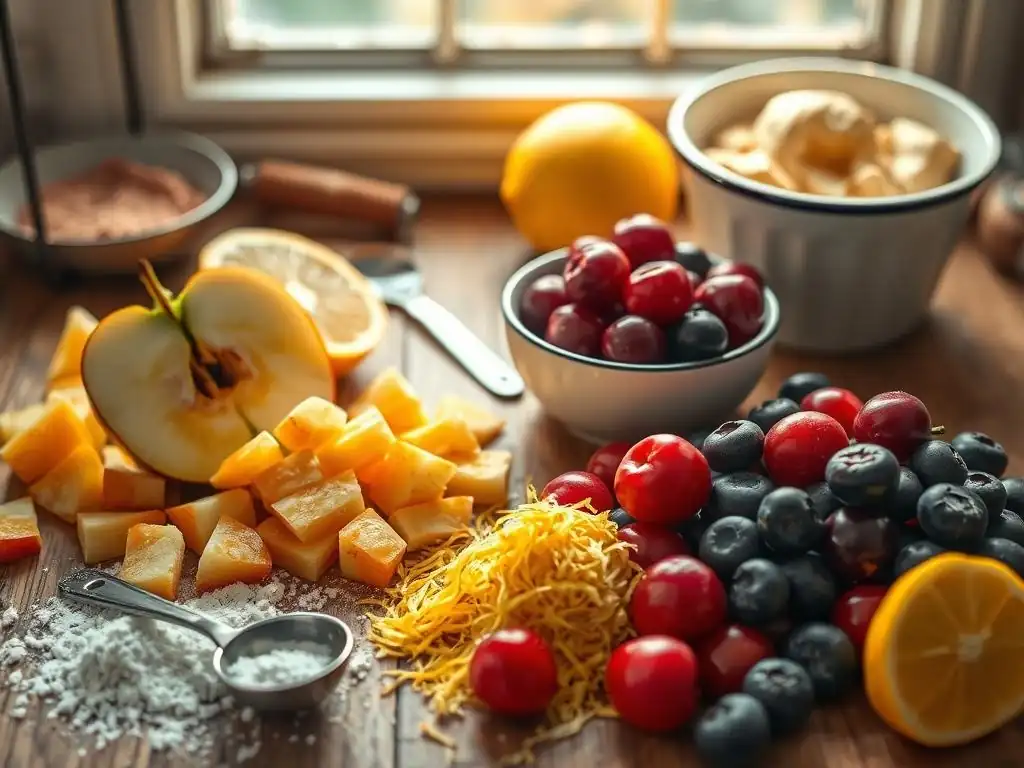
Welcome to BakeWithEase, your haven for unlocking baking brilliance! Ever wondered how to elevate your fruit-filled creations from good to absolutely irresistible? Our guide to easy fruit prep baking is your secret weapon. Discover insider tips and tricks that will transform your pastries, cakes, and more. Ready to master the art of perfectly prepared fruit and take your baking to the next level? Let's dive in!
- Mastering Fruit Preparation for Baking
- The Art of Baking with Fresh Fruit
- Why Proper Fruit Prep is Crucial for Baking Success
- Essential Fruit Preparation Techniques for Baking
- Cutting Techniques for Baking
- Managing Moisture in Fruit Baking
- Enhancing Fruit Flavor Before Baking
- Specific Fruit Preparation Guidelines
- Storing Prepared Fruit
- Troubleshooting Fruit Baking Issues
- Resources for Fruit Baking
-
Frequently Asked Questions
- What is the best way to prevent fruit from sinking to the bottom of my baked goods?
- How can I ensure my fruit stays vibrant in my baked goods?
- Should I use fresh, frozen, or canned fruit in my baking recipes?
- What are some simple ways to prepare fruit for baking?
- How do I know if my fruit is ripe enough for baking?
- Final Reflection: Unlocking Baking Bliss Through Simple Fruit Prep
- Unlock Your Baking Potential: Sweeten Your Day!
Mastering Fruit Preparation for Baking
The Art of Baking with Fresh Fruit
Baking with fresh fruit adds a burst of vibrant flavor, natural sweetness, and delightful texture to cakes, pies, muffins, and pastries. It's a wonderful way to incorporate seasonal produce into your creations, turning simple recipes into extraordinary treats. From the juicy tang of berries in a summer cobbler to the warm, comforting notes of apples in an autumn pie, fruit elevates baking to a new level.
However, achieving that perfect bake with fruit isn't just about mixing ingredients; it starts with understanding how to handle the fruit itself. Mastering easy fruit prep baking techniques is fundamental for consistent, delicious results every time you bake.
Fresh fruit presents unique challenges compared to canned or frozen options, primarily due to its varying moisture content, ripeness, and structure. A perfectly ripe peach brings incredible flavor but also a significant amount of liquid. Underripe apples might stay too firm, while overripe berries could turn to mush.
This variability means that simple fruit prep baking steps like washing, cutting, and managing moisture are not just suggestions, but crucial elements of the baking process. By paying attention to these early stages, you set the stage for a successful bake, ensuring your fruit shines without compromising the texture or structure of your baked good.
Why Proper Fruit Prep is Crucial for Baking Success
The Impact of Fruit Preparation on Baking Outcomes
The way you prepare fruit directly influences the final texture, flavor distribution, and even the structural integrity of your baked goods. Consider a classic apple pie. If the apples aren't sliced uniformly, some pieces will become overly soft and mushy while others remain too firm. This inconsistency impacts the overall texture of the filling.
Furthermore, apples release moisture as they bake. If this isn't accounted for through proper slicing and potentially draining or thickening, you risk a soggy bottom crust, a common baking woe. A good example is comparing a pie made with thinly and uniformly sliced apples versus one with haphazardly cut chunks; the former will bake more evenly and present a more appealing texture.
Beyond texture, proper preparation affects flavor concentration and distribution. Slicing fruit too thickly might mean less surface area is exposed to sugar and spices, leading to less infused flavor. Conversely, cutting too small can cause some fruits, like delicate berries, to break down completely and disappear into the batter rather than providing distinct pockets of flavor.
Think about blueberry muffins: if the blueberries are crushed during mixing due to poor handling, you end up with a purple batter rather than distinct blue bursts of flavor. Effective fruit preparation for baking, including simple steps like gently folding in berries, ensures the fruit's natural flavor is a highlight, not a hidden element.
Avoiding Common Baking Problems Through Fruit Prep
Many common baking issues can be traced back to inadequate fruit preparation. Soggy bottoms in pies and tarts are often caused by excess moisture released from fruit that wasn't properly drained or thickened. Muffins or cakes with fruit that sinks to the bottom might be due to fruit that is too wet, too heavy, or not coated properly before being added to the batter.
For instance, a cup of fresh blueberries can contain several tablespoons of excess water after washing; failing to pat them dry or lightly coat them in flour before adding them to a cake batter can lead to them sinking during baking. This simple fruit prep baking step makes a significant difference.
Another frequent problem is uneven baking or the fruit not softening enough. This often happens when fruit pieces are not uniform in size, as mentioned earlier, or when using fruit that is too firm for the recipe (like underripe pears).
Browning or discoloration of fruit like apples and bananas is also a preparation issue, easily prevented with simple techniques like a lemon juice wash. By implementing careful, easy fruit prep baking techniques from the start, you proactively address these potential pitfalls, leading to more consistent, predictable, and ultimately, more successful baking outcomes. It's the foundational step that prevents a host of headaches later in the process.
Essential Fruit Preparation Techniques for Baking
Washing and Drying: Ensuring Clean and Safe Fruit
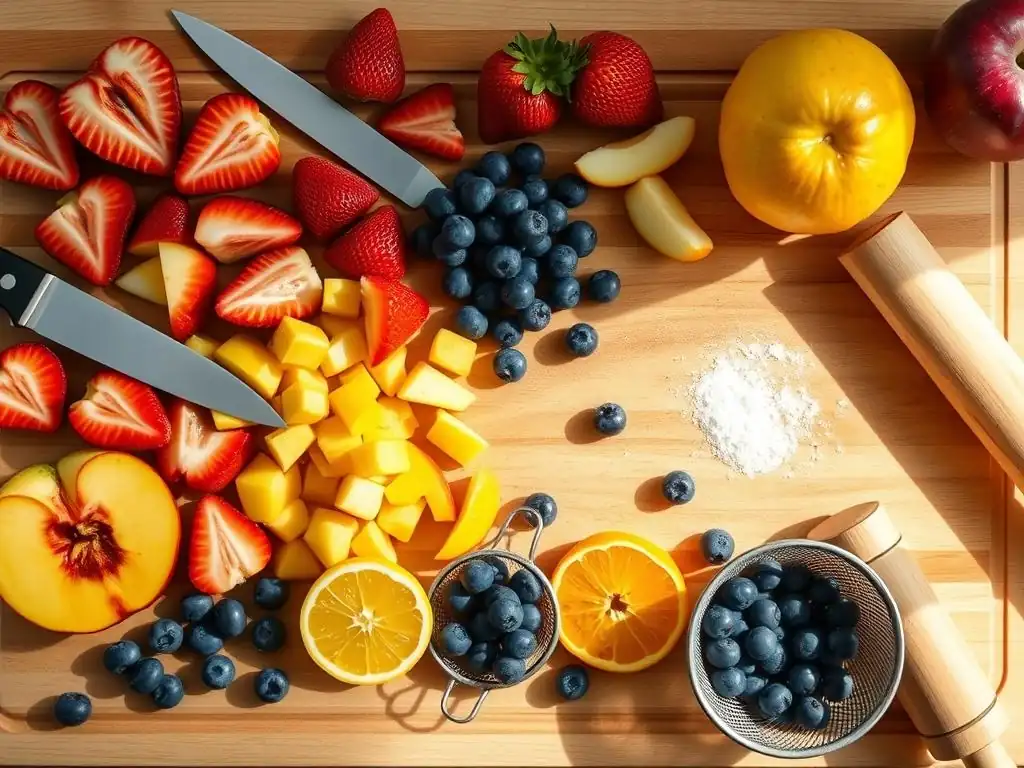
The very first step in preparing any fruit for baking is thorough washing. This removes dirt, pesticides, and any lingering bacteria or contaminants that could be present on the surface. Rinsing fruit under cool running water is generally sufficient for most types.
For fruits with skins that will be consumed, like apples or berries, gently rubbing the surface helps remove residues. Some bakers use a fruit and vegetable wash or a diluted vinegar solution (about one part vinegar to three parts water) for an extra layer of cleanliness, especially for non-organic produce. This is a critical, yet simple fruit prep baking step for food safety.
Equally important, and often overlooked, is drying the fruit completely after washing. Excess water is the enemy of many baked goods, contributing to sogginess and affecting batter consistency. Berries, in particular, hold a lot of water.
Patting them dry with paper towels or letting them air dry on a clean towel or rack for a while is essential. For larger fruits like apples or pears, simply wipe them dry. This seemingly small step in easy fruit prep baking prevents introducing unwanted moisture into your dough or batter, which is vital for achieving the correct texture, whether it's a flaky pie crust or a light muffin crumb.
Peeling, Pitting, and Seeding: Preparing Fruit for Recipes
Many baking recipes require fruit to be peeled, pitted, or seeded to enhance texture and palatability. Apples and pears are typically peeled for pies and tarts so the skin doesn't create tough bits in the filling. Peeling can be done with a vegetable peeler or a paring knife. Stone fruits like peaches, plums, and cherries require pitting. For larger stone fruits, cutting the fruit in half and twisting gently usually allows the pit to be removed easily. Cherries require a cherry pitter, a small gadget that makes the task quick and efficient, preventing damage to the delicate fruit.
Seeding is necessary for fruits like melons (though less common in baking) or sometimes for citrus segments. Removing seeds from berries like raspberries or blackberries is usually not required unless specifically stated in a recipe, as their seeds are small and soft. These preparation steps are crucial for creating a pleasant eating experience.
Imagine biting into a plum cake and hitting a pit, or chewing on tough apple peels in a smooth apple sauce filling. Taking the time for these simple fruit prep baking steps ensures the focus remains on the delicious flavor and tender texture of the fruit itself.
Cutting Techniques for Baking
Dicing, Slicing, and Chopping: Choosing the Right Size
The size and shape of your fruit pieces significantly impact how they bake and distribute within the finished product. Recipes often specify whether to dice, slice, or chop fruit, and following these instructions is key. Dicing involves cutting fruit into small, uniform cubes, typically ranging from 1/4 inch to 1/2 inch. This is common for muffins, quick breads, and cakes where you want small, evenly distributed pieces. Chopping is less precise, resulting in irregular pieces, often used for rustic tarts or fillings where exact uniformity isn't critical.
Slicing involves cutting fruit into thin, flat pieces. This is the standard for pies, tarts, and certain cakes like tarte Tatin, where the slices are often arranged decoratively. The thickness of the slices matters – too thick, and the fruit might not soften properly; too thin, and it could turn to mush.
For apple pie, slices are often about 1/4 inch thick. For a beautiful plum tart, thinner slices might be preferred. Choosing the correct cutting technique and size, a key part of easy fruit prep baking, ensures the fruit integrates correctly with the batter or dough and bakes through evenly.
Achieving Uniformity for Even Baking
Regardless of whether you're dicing, slicing, or chopping, aiming for uniformity in size is paramount for even baking. When fruit pieces are roughly the same size, they will soften and release moisture at a similar rate in the oven. This prevents some pieces from being undercooked or overly firm while others disintegrate.
For example, if you're making an apple crumble with diced apples, having some pieces that are 1 inch cubes and others that are 1/4 inch cubes will result in a very inconsistent texture in the final dessert. The small pieces will likely turn to sauce, while the large ones might still be quite hard.
Achieving uniformity simply requires attention to detail while cutting. For slices, stack pieces to check their thickness. For dice, make sure your initial cuts create columns of similar width before cutting across. While perfect precision isn't always necessary, striving for pieces that are within a reasonable size range (e.g., all dice being between 1/4 and 1/2 inch) makes a significant difference in the final product. This aspect of easy fruit prep baking ensures that every bite of your baked good offers a consistent and pleasant texture.
Managing Moisture in Fruit Baking
Draining Excess Liquids: Preventing Soggy Crusts
One of the biggest challenges when baking with fresh fruit, especially juicy varieties like berries, stone fruits, and even some apples, is managing the moisture they release as they heat up. Excess liquid can make pie crusts soggy, cause cakes to be dense or gummy, and prevent muffins from developing a proper crumb.
For fruits known to be very juicy, like a pound of ripe strawberries or peaches, simply letting them sit in a colander after cutting for 15-30 minutes can allow a significant amount of liquid to drain off before they even go into the filling or batter. Some recipes even call for sprinkling the cut fruit with a little sugar and letting it macerate (which also draws out juice) before draining.
Another technique, particularly for pies, is to partially cook the fruit filling on the stovetop before baking. This allows some of the excess moisture to evaporate before it ever reaches the pie shell. For example, gently cooking 4 cups of sliced apples with sugar and spices for 5-10 minutes can reduce the liquid considerably. Implementing these steps as part of your easy fruit prep baking routine is crucial for avoiding the dreaded soggy bottom and achieving a perfectly baked crust or a well-structured cake.
Using Thickeners: Flour, Starch, and Tapioca
Even after draining, most fruit fillings and some batters benefit from the addition of a thickening agent to absorb released moisture during baking. Common thickeners include all-purpose flour, cornstarch, and tapioca starch (or instant tapioca). The choice of thickener often depends on the fruit and the desired texture. Cornstarch provides a clear, glossy finish and is excellent for berries and stone fruits. A typical ratio might be 2-3 tablespoons of cornstarch per 4-5 cups of fruit.
Flour is a classic thickener for apple fillings, providing a slightly cloudier finish. About 1/4 cup of flour per 5-6 cups of sliced apples is a common starting point. Tapioca starch, or instant tapioca, creates a slightly less glossy, almost pudding-like texture and works well with juicy fruits like cherries and berries. Instant tapioca needs about 15-30 minutes to soften and absorb juices before baking. Using the correct amount and type of thickener is a vital step in easy fruit prep baking to ensure your fillings set properly and your baked goods aren't watery.
Enhancing Fruit Flavor Before Baking
Maceration: Softening and Infusing Flavor
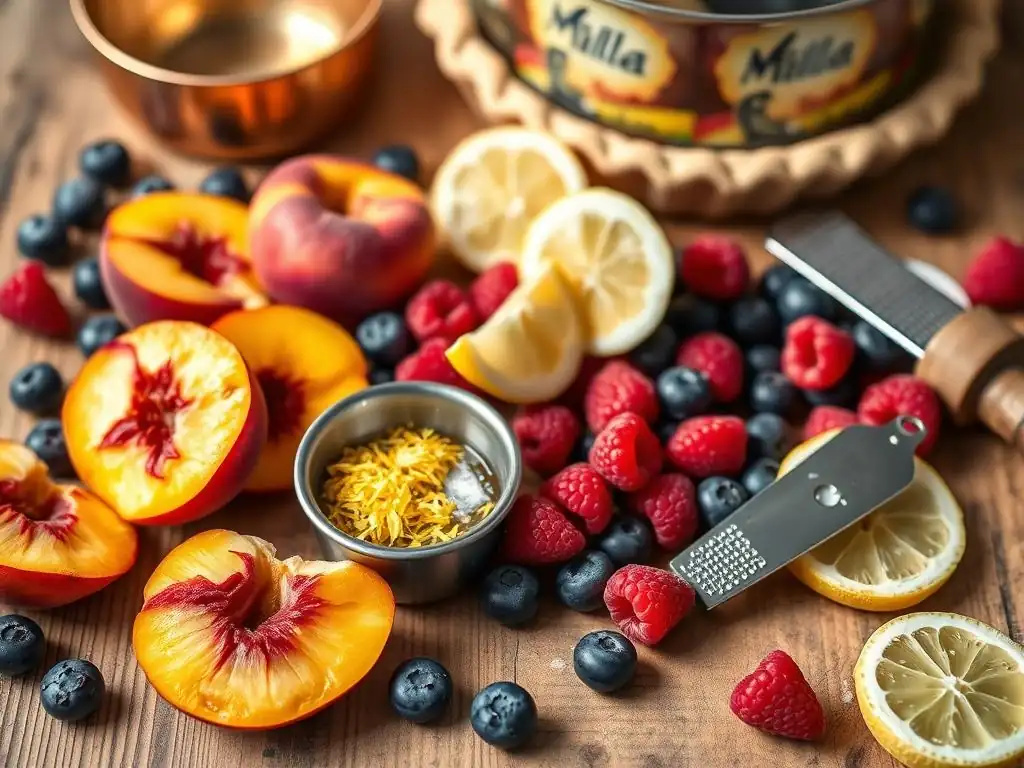
Maceration is a simple yet effective technique to enhance fruit flavor, soften texture, and draw out some excess moisture before baking. It involves tossing cut or whole fruit with sugar (and sometimes a splash of lemon juice, liqueur, or spice) and letting it sit for a period, usually from 30 minutes to several hours. The sugar draws juice out of the fruit through osmosis, creating a flavorful syrup. This syrup can either be drained off (managing moisture) or included in the filling, adding concentrated flavor.
For example, macerating sliced strawberries with a few tablespoons of sugar for an hour before adding them to a shortcake or pie filling softens the berries and intensifies their natural sweetness, while also creating a delicious juice. This process works wonderfully with berries, peaches, plums, and even rhubarb. It’s an easy fruit prep baking step that significantly boosts the taste profile of your finished product, making the fruit taste even more vibrant and delicious.
Roasting: Concentrating Flavors for Depth
Roasting fruit before incorporating it into baked goods is a fantastic way to deepen and concentrate its flavors, especially for fruits like apples, pears, stone fruits, or even grapes. When fruit is roasted at a moderate temperature (e.g., 350-375°F or 175-190°C), its natural sugars caramelize, and some of its water content evaporates, resulting in a more intense, complex flavor profile and a slightly softer texture.
Imagine roasted pears added to a cake or muffins – the flavor is richer and more nuanced than with raw pears. To roast, toss cut fruit with a little oil or butter, maybe some sugar or spices (like cinnamon or star anise), and spread on a baking sheet. Roast until slightly softened and caramelized, typically 15-30 minutes depending on the fruit. This step, while adding a bit of time to your easy fruit prep baking, contributes a depth of flavor that can transform a simple recipe into something truly special.
Specific Fruit Preparation Guidelines
Berries: Gentle Handling for Optimal Results
Berries are delicate and require gentle handling throughout the preparation process. Always wash them just before use, as washing too early can cause them to absorb excess water and become mushy or even mold faster. Rinse them gently under cool water or give them a quick dip in a bowl of water, then spread them in a single layer on paper towels or a clean cloth to air dry completely. Avoid soaking them.
When incorporating berries into batters, fold them in gently to avoid crushing them. Crushed berries release excessive juice, which can discolor the batter and make the final product dense or gummy. For recipes where you want the berries suspended evenly, like muffins, lightly tossing dry berries with a tablespoon or two of flour before adding them to the batter can help prevent them from sinking. This gentle, easy fruit prep baking approach preserves the berries' shape and ensures bursts of juicy flavor in every bite.
Apples and Pears: Preventing Browning and Maintaining Texture
Apples and pears are prone to oxidation, turning brown quickly once cut due to exposure to air. To prevent this during your easy fruit prep baking, particularly if you need to prepare them ahead of time, toss the cut fruit immediately with a little lemon juice or a solution of water and a commercial anti-browning agent. About 1 tablespoon of lemon juice per pound of fruit is usually sufficient. This acidic coating slows down the enzymatic browning process.
Choosing the right type of apple or pear for baking is also crucial for texture. For pies and tarts, varieties that hold their shape well, like Granny Smith, Honeycrisp, or Braeburn apples, or Bosc or Anjou pears, are preferred. Softer varieties might break down too much. Cutting them uniformly (typically 1/4 to 1/2 inch slices or chunks) ensures they cook evenly. This attention to variety and anti-browning steps are key aspects of effective easy fruit prep baking for these common fruits.
Stone Fruit: Removing Pits and Slicing Properly
Stone fruits like peaches, plums, cherries, and apricots are beloved in baking for their sweet, juicy flesh. The primary preparation step is removing the pit. For peaches and plums, if they are ripe, you can often cut along the seam, twist the halves apart, and the pit will pop out easily (these are called freestone varieties). If the pit clings to the flesh (clingstone varieties), you'll need to cut around the pit. For cherries, a cherry pitter is the most efficient tool.
Once pitted, stone fruits are typically sliced or diced depending on the recipe. Slices are common for tarts or upside-down cakes, while dice are used in muffins or crumbles. Due to their high moisture content, draining or using thickeners is often necessary, as discussed earlier.
For peaches, some recipes call for blanching them briefly in boiling water (about 30-60 seconds) then plunging into ice water to make peeling easier, though leaving the skin on is also common, especially for plums and apricots, adding color and a slight tang. Proper pitting and slicing are fundamental easy fruit prep baking skills for these fruits.
Citrus Fruit: Zesting and Segmenting for Flavor and Texture
Citrus fruits like lemons, oranges, and grapefruits are used in baking primarily for their zest and juice, which provide bright, acidic notes that balance sweetness. Zesting involves carefully grating or peeling the outermost layer of the rind, which contains potent oils full of flavor. Avoid the white pith underneath, as it is bitter. A microplane zester is ideal for creating fine zest. Always zest the fruit before juicing it; it's much easier.
Segmenting citrus involves removing the peel and pith entirely, then cutting out the individual fruit segments from between the membranes. This provides juicy, pith-free pieces perfect for tarts or cakes where you want soft bursts of citrus. To segment, slice off the top and bottom, then use a sharp knife to cut away the peel and pith following the curve of the fruit. Then, slice between the membranes to free the segments. While more involved than just zesting, segmenting is part of easy fruit prep baking when a recipe calls for clean fruit pieces.
Storing Prepared Fruit
Refrigeration: Maintaining Freshness and Preventing Spoilage
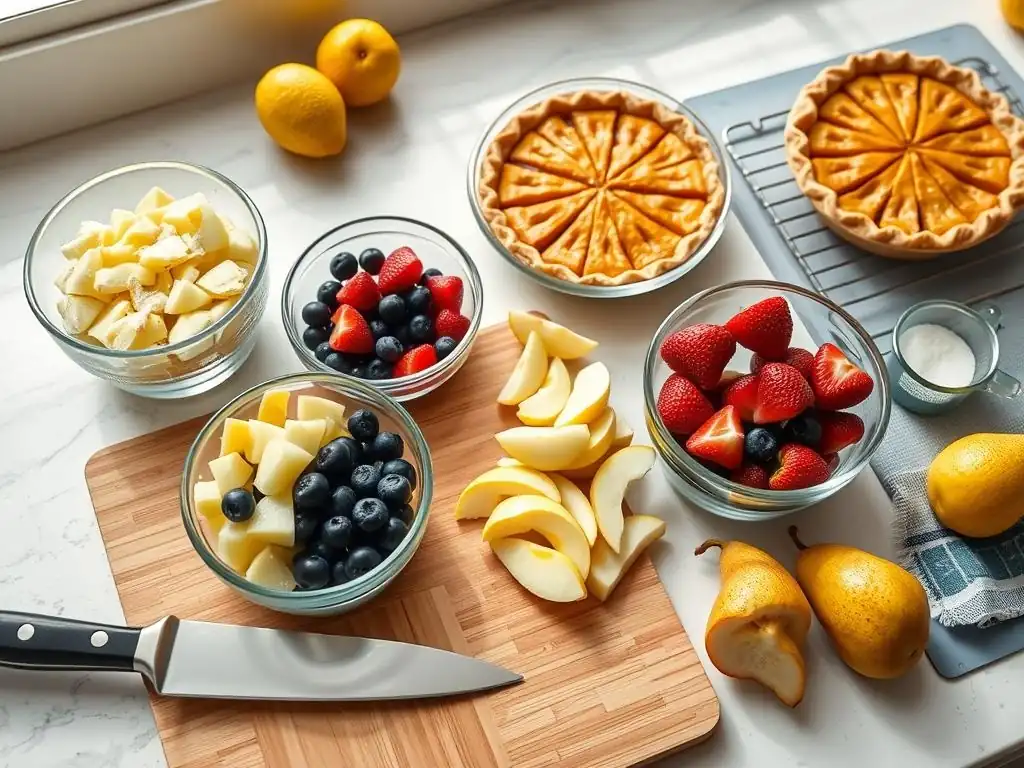
Once fruit has been washed, peeled, or cut, its shelf life decreases significantly compared to whole fruit. Prepared fruit intended for baking within a day or two should be stored in the refrigerator. Place cut fruit in an airtight container. For fruits prone to browning, like apples or pears, ensure they are coated with a little lemon juice or stored submerged in a very light sugar syrup to minimize oxidation.
Berries should be spread in a single layer on a paper towel-lined container to absorb any residual moisture and prevent them from becoming moldy or mushy. Proper refrigeration at temperatures around 35-40°F (1-4°C) slows down the spoilage process, keeping your fruit fresh and ready for your easy fruit prep baking projects. Always smell and visually inspect stored fruit before use to ensure it hasn't spoiled.
Freezing: Preserving Fruit for Future Baking
Freezing is an excellent way to preserve fruit for longer-term storage, making it available for baking months after it's in season. Most fruits freeze well, though their texture will soften significantly upon thawing, making them best suited for pies, crumbles, sauces, or jams rather than applications where firm texture is desired (like a fruit tart with raw fruit). To freeze, first wash and prepare the fruit (peel, pit, slice, or dice as needed).
For most fruits, it's best to "flash freeze" them first. Spread the prepared fruit in a single layer on a baking sheet lined with parchment paper and freeze until solid (usually 1-2 hours). Once frozen, transfer the fruit to airtight freezer bags or containers, removing as much air as possible to prevent freezer burn. Label with the fruit type and date.
Frozen fruit should be used within about 6-12 months for best quality. When ready to bake, many recipes call for adding fruit directly from frozen, especially for pies or muffins, as thawing can release excessive moisture. This is a convenient easy fruit prep baking strategy for year-round access to your favorite fruits.
Troubleshooting Fruit Baking Issues
Preventing Fruit Sinkage: Density and Distribution Solutions
A common issue is fruit sinking to the bottom of cakes, muffins, or quick breads. This often happens because the fruit is heavier or wetter than the batter, causing it to settle during baking. To combat this, ensure your fruit is well-dried after washing. For heavier or very juicy fruits like blueberries or chopped apples, tossing them lightly with a tablespoon or two of the dry flour mixture from your recipe before adding them to the batter can help. The flour creates a slight coating that helps the fruit cling to the batter.
Another factor is batter consistency. A very thin batter is more likely to let fruit sink. Using a recipe with a slightly thicker batter can help keep the fruit suspended. Finally, avoid overmixing the batter once the fruit is added, as this can cause the fruit to settle. Gently folding the fruit in just until it's evenly distributed is sufficient. Implementing these easy fruit prep baking tips improves fruit distribution.
Minimizing Fruit Discoloration: Oxidation Prevention
As discussed earlier, oxidation causes cut fruits like apples, pears, bananas, and peaches to turn brown when exposed to air. While this doesn't necessarily affect flavor (unless the fruit is old), it is visually unappealing. The most effective way to prevent this during easy fruit prep baking is to minimize air exposure and use an acid. Tossing cut fruit with lemon juice, lime juice, or a citric acid solution immediately after cutting is the standard method. About 1 tablespoon of lemon juice per pound of fruit is a good starting point.
If preparing fruit ahead of time for refrigeration, storing it in an airtight container helps. For fruits like apples or pears, you can also store them submerged in a light sugar-water solution. When using fruit in fillings that will be baked immediately, the heat and presence of other ingredients often slow down browning within the bake itself, but the initial preparation steps are key for the period between cutting and baking. These preventative easy fruit prep baking steps ensure your fruit looks as good as it tastes.
Resources for Fruit Baking
Link to Relevant Baking Recipe Website
Frequently Asked Questions
What is the best way to prevent fruit from sinking to the bottom of my baked goods?
To prevent fruit from sinking, try tossing it in a little flour or sugar before adding it to the batter. This helps the fruit stay suspended during baking.
How can I ensure my fruit stays vibrant in my baked goods?
To keep fruit looking vibrant, consider using fresh, high-quality fruit and avoiding over-baking. A little lemon juice can also help prevent browning.
Should I use fresh, frozen, or canned fruit in my baking recipes?
The best choice depends on the recipe and your preference. Fresh fruit often provides the best flavor and texture, while frozen fruit is convenient and can work well in many recipes.
What are some simple ways to prepare fruit for baking?
Simple fruit prep includes washing, peeling (if necessary), and cutting the fruit into appropriately sized pieces. You might also need to drain excess juice to avoid a soggy bake.
How do I know if my fruit is ripe enough for baking?
Ripe fruit should be slightly soft to the touch and have a pleasant aroma. Avoid using fruit that is overly ripe or bruised, as it may affect the texture and flavor of your baked goods.
Final Reflection: Unlocking Baking Bliss Through Simple Fruit Prep
Mastering the art of fruit preparation is not just about convenience; it's the key that unlocks truly exceptional baked goods. The seemingly small details—from proper washing and slicing techniques to understanding the unique properties of different fruits—can dramatically elevate the flavor and texture of your creations, transforming an ordinary bake into something truly extraordinary. This is especially relevant today, as home baking continues to flourish, and people seek ways to improve their skills and create delicious treats with ease.
The impact of simple, well-executed fruit preparation is profound, extending far beyond the immediate satisfaction of a perfectly baked pie or muffin. It's about understanding the ingredients you work with, respecting their natural qualities, and appreciating the artistry involved in transforming raw produce into something beautiful and delicious. This mindful approach to food preparation resonates deeply with the current movement towards conscious consumption and appreciation for seasonal ingredients. The best things in life are simple,
a phrase often heard, truly applies to baking. The simpler the preparation, the more the natural flavors shine.
Now, it's your turn. Consider the next time you bake. Will you approach your fruit preparation with the same level of care and attention to detail as you do other aspects of your recipe? I invite you to experiment with the techniques discussed in this article, to observe the subtle differences they make, and to discover the joy of unlocking baking bliss through simple, yet impactful, fruit preparation. Your taste buds (and your baking success!) will thank you for it.
Unlock Your Baking Potential: Sweeten Your Day!
Thanks for taking the time to explore these fruit preparation tips! We hope you've gained some valuable insights to make your baking even more delicious. Ready to put your new knowledge into action?
- Master the Art of Fruit Prep: Practice your newfound skills by prepping fruit for your next baking project. Challenge yourself to try a new fruit or technique!
- Share Your Success: Show us your beautifully prepped fruit and finished baked goods on social media using #BakeWithEaseFruit. We'd love to see your creations!
- Explore More Baking Tips: Dive deeper into our recipe collection and discover even more baking secrets to enhance your skills.
What delicious fruit-filled creation are you planning to bake next? Let us know in the comments below!