
Simple Techniques for Super Flaky Scones

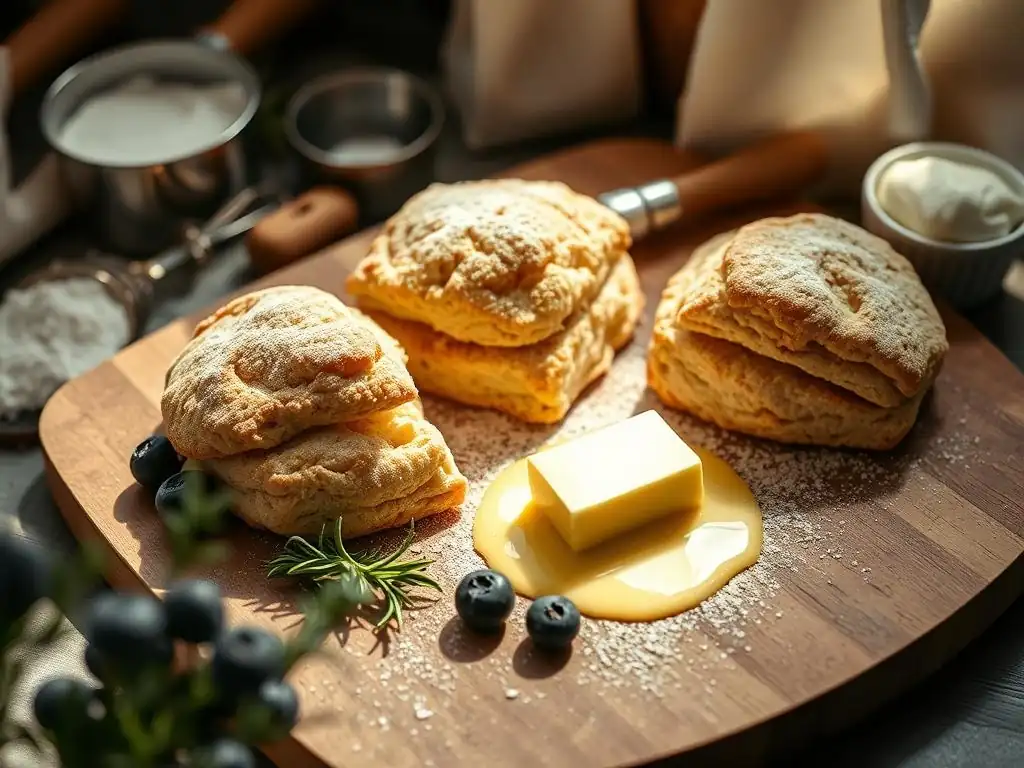
Welcome to BakeWithEase, your haven for all things baking! Ever dreamt of crafting scones that are incredibly light and flaky? Unlock the secrets to perfect scone baking with our guide to achieving bakery-worthy results at home. Discover simple, yet effective, flaky scones baking techniques that will elevate your baking game, and leave you wondering why you didn't try this sooner. Ready to transform your scones from ordinary to extraordinary? Let's get baking!
- Introduction: Achieving Perfectly Flaky Scones at Home
- Understanding the Science Behind Flaky Scones
- Essential Techniques for Super Flaky Scones
- Step-by-Step Recipe for Flaky Scones (Easy Version)
- Troubleshooting Common Scone Baking Problems
- Variations and Flavor Ideas for Your Flaky Scones
- Storing and Reheating Your Flaky Scones
- Conclusion: Mastering the Art of Flaky Scones
-
Frequently Asked Questions
- What is the most important technique for achieving flaky scones?
- Why is it important to use cold butter in scone recipes?
- What is the best way to incorporate the butter into the flour for flaky scones?
- Can I use a food processor to make scone dough, and will it still be flaky?
- What's the secret to preventing tough scones and ensuring a flaky texture?
- Final Reflection: The Enduring Allure of the Perfectly Flaky Scone
- Unlock Your Inner Baker: Flaky Scone Secrets Await!
Introduction: Achieving Perfectly Flaky Scones at Home
Why Flaky Scones are a Baker's Dream
Flaky scones are a true delight, offering a texture that's both tender and layered, providing that characteristic melt-in-your-mouth quality. Unlike denser, cake-like scones, a truly flaky scone separates into distinct, buttery layers when gently pulled apart. This texture is the hallmark of expert flaky scones baking techniques and is highly sought after by home bakers. Achieving this perfect crumb isn't difficult, but it does require understanding a few fundamental principles and applying specific methods consistently.
The appeal of flaky scones extends beyond just texture; it's about the rich flavor infused by the butter and the way it complements various additions, from plump blueberries to sharp cheddar cheese. Mastering these techniques for flaky scones elevates your baking from good to exceptional, allowing you to create treats that are not only delicious but also visually impressive. It’s a skill that brings immense satisfaction, transforming simple ingredients into bakery-quality goods right in your own kitchen.
Simple Guide to Simple Scone Perfection
Embarking on the journey to perfect flaky scones is exciting, and it's more accessible than you might think. This guide is designed to walk you through the essential flaky scones baking techniques that make all the difference. We'll explore the science behind the flakiness, demystify key steps like working with cold ingredients and handling the dough, and provide a simple recipe to put it all into practice.
By focusing on a few core principles and practicing these straightforward methods, you'll build confidence and consistently achieve that coveted flaky texture. Whether you're a beginner baker or looking to refine your scone-making skills, these techniques will equip you to bake super flaky scones every time. Get ready to discover the secrets to tender, layered perfection!
Understanding the Science Behind Flaky Scones
The Role of Cold Ingredients in Scone Flakiness
The secret to those beautiful, airy layers in flaky scones lies significantly in the temperature of your ingredients, particularly the fat. When cold butter (or other solid fat) is cut into the dry ingredients, it remains in small, distinct pieces rather than being fully incorporated. As the scones bake in a hot oven, these cold butter pieces melt, creating steam. This steam pushes the layers of dough apart, forming pockets and contributing directly to the flaky texture.
Using cold liquids, such as cold buttermilk or milk, is equally crucial. Cold liquid helps to keep the butter solid and cold until it hits the oven's heat. It also helps to limit the development of gluten, which we'll discuss next. Warm ingredients would melt the butter prematurely, leading to a greasy dough and a denser, less flaky scone. Maintaining cold temperatures throughout the mixing process is a foundational flaky scones baking technique.
Gluten Development: Key to Tender and Flaky Scones
Gluten is a protein network that develops when flour is mixed with liquid and agitated. While essential for the structure of bread, too much gluten development in scones results in a tough, dense texture, which is the opposite of what we want for a flaky scone. The goal is to minimize gluten development to keep the scones tender.
This is where gentle handling comes in. Mixing the dough only until it just comes together and avoiding excessive kneading or working the dough prevents the gluten strands from strengthening too much. Using low-protein flour like pastry flour or cake flour can also help, though all-purpose flour works well when handled correctly. Cold liquids slow down gluten development, adding another layer of control in achieving tender, flaky results through careful flaky scones baking techniques.
The Importance of Fat in Scone Texture
Fat, typically cold butter, is the cornerstone of flaky scones. As mentioned, the cold butter pieces melt during baking, creating steam that lifts the layers. The fat also coats the flour particles, inhibiting excessive gluten development, which further contributes to tenderness. The type and amount of fat used significantly impact the final texture.
Using solid, unsalted butter is preferred for its flavor and structure-building properties. Some recipes might incorporate shortening or lard for even more flakiness, as these fats have higher melting points than butter, allowing them to remain solid for longer in the oven before melting and steaming. A common ratio might involve about 1/2 cup (approximately 113g) of cold butter for every 2 cups (approximately 240g) of flour, though this can vary. The way the fat is incorporated, cut into small pieces, is a vital step in successful flaky scones baking techniques.
Essential Techniques for Super Flaky Scones
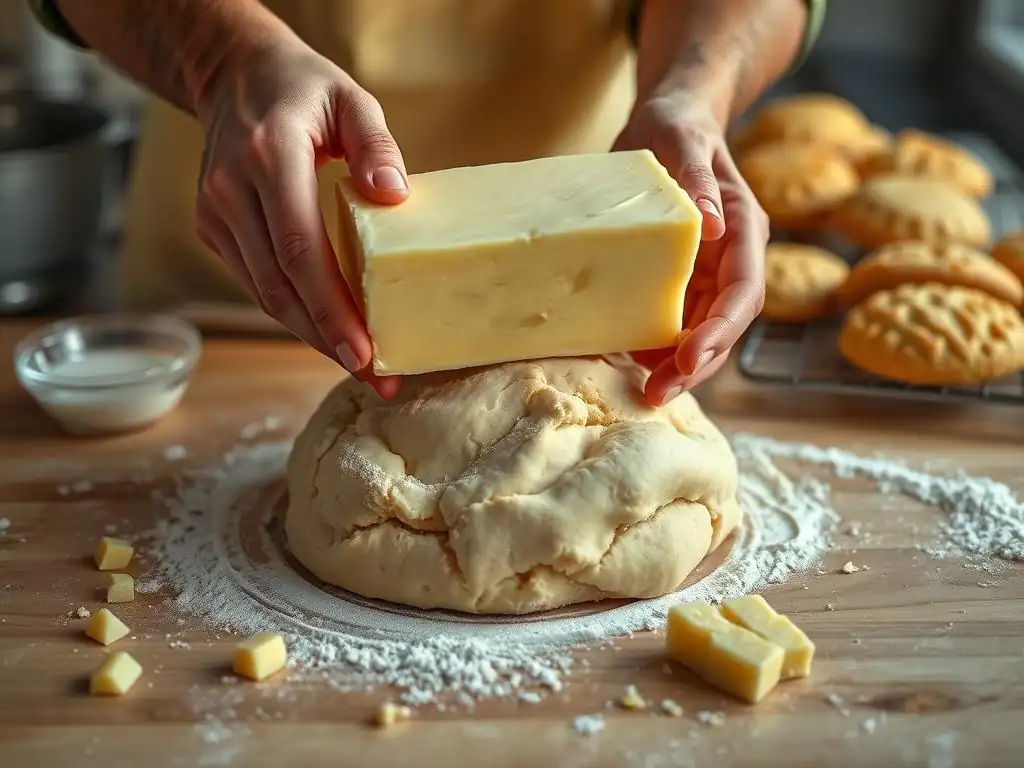
Technique 1: Keeping Ingredients Ice-Cold for Scones
Chilling Butter and Flour for Optimal Results
This is perhaps the most critical step for achieving flaky layers. Your butter should be very cold, ideally straight from the refrigerator and cut into small cubes (about 1/2 inch or 1 cm). Some bakers even go a step further and freeze the cut butter for 10-15 minutes before using it. The flour can also benefit from being chilled in the freezer for about 30 minutes before you start mixing. This ensures that when the cold butter is cut into the cold flour, the butter pieces remain solid and distinct.
The goal is to work the butter into the flour until it resembles coarse crumbs with some pea-sized pieces of butter still visible. These larger pieces are key to creating those steam pockets during baking. Using a pastry blender, a fork, or even your fingertips (working quickly to avoid warming the butter) are common methods. Remember, keeping everything cold is paramount among effective flaky scones baking techniques.
Using Cold Buttermilk in Scone Dough
Just like the butter and flour, the liquid you add to the scone dough should be cold. Buttermilk is often preferred for scones because its acidity helps tenderize the dough and reacts with baking soda (a common leavener in scones) to produce lift. Ensure your buttermilk (or milk, or cream) is straight from the refrigerator.
Adding cold liquid gradually and mixing only until the dry ingredients are just moistened is crucial. Overmixing at this stage will develop gluten and melt the cold butter pieces you worked so hard to preserve. The dough should look shaggy and just barely hold together. Using cold liquid is an indispensable part of mastering flaky scones baking techniques.
Technique 2: The Lamination Method for Scones
Creating Layers of Butter for Flakiness
While not always explicitly called "lamination" in simple scone recipes, the principle of creating distinct layers of butter within the dough is fundamental. The process of cutting cold butter into flour already starts this, but a simple folding technique can enhance the flakiness significantly. After the dough is mixed, gently bringing it together and perhaps folding it over itself a couple of times before shaping helps create more defined layers of dough separated by thin films of butter.
Imagine folding a piece of paper in thirds – this simple action creates multiple layers. Doing this with your scone dough, without overworking it, helps distribute the butter pieces into more distinct strata. This technique, combined with cold ingredients, is a powerful tool in your flaky scones baking techniques arsenal.
Gentle Handling: Avoiding Overmixing the Scone Dough
This point cannot be stressed enough. Overmixing is the enemy of tender, flaky scones. Once the liquid is added, use a light hand. Stir just until the dry ingredients are incorporated and the dough starts to come together. It's okay if there are still some dry spots; they will hydrate during shaping and baking.
When turning the dough out and bringing it together, resist the urge to knead it like bread dough. Gently pat it into the desired shape (a disc or rectangle) rather than rolling vigorously. Every time you work the dough excessively, you develop more gluten and melt more butter, sacrificing flakiness for toughness. Mastering gentle handling is a core flaky scones baking technique.
Technique 3: Mastering the Scone Cut and Shape
Cutting Dough Evenly for Uniform Baking
Once your dough is gently formed into a disc or rectangle, the way you cut it impacts both appearance and how evenly the scones bake. For traditional wedges, a sharp knife or a bench scraper works best. For round scones, use a biscuit cutter. Regardless of the tool, ensure it's sharp and press straight down without twisting.
Cutting straight down helps the layers you've created stay distinct and allows them to rise cleanly in the oven. If you twist the cutter or knife, you can seal the edges of the layers, which hinders their ability to separate and puff up into flaky layers. Uniform size is also important; scones of similar size will bake at the same rate, preventing some from being overdone while others are underbaked. Precise cutting is a key flaky scones baking technique.
Avoiding Twisting: The Key to Tall Scones
As mentioned above, twisting the cutter or knife when cutting scones is a common mistake that leads to shorter, less flaky results. When you press straight down, you create clean edges where the dough can rise freely. Twisting seals those edges, trapping the layers and preventing them from expanding fully.
If using a biscuit cutter, dipping it in flour between cuts can help prevent sticking. Arrange the cut scones on your baking sheet without crowding them, allowing hot air to circulate around each one. This simple step of cutting cleanly without twisting is a vital, yet often overlooked, flaky scones baking technique for achieving maximum height and flakiness.
Technique 4: Baking at the Right Temperature for Scones
Optimizing Oven Temperature for Flaky Layers
Baking scones at a relatively high temperature is essential for achieving flakiness. A hot oven, typically around 400°F (200°C) or even 425°F (220°C), causes the cold butter pieces to melt rapidly and create steam quickly. This burst of steam provides the initial lift and helps push those layers apart before the structure of the scone sets.
If the oven temperature is too low, the butter will melt and spread before the dough structure is established, leading to flatter, less flaky scones. Preheating your oven properly is also crucial to ensure it's at the target temperature when the scones go in. An accurate oven thermometer can be a great tool to verify your oven's temperature. Proper oven temperature is a cornerstone of effective flaky scones baking techniques.
Checking for Doneness: The Perfect Scone Color
Scones are typically baked for 15 to 20 minutes, depending on their size and your oven. They are done when they are well-risen, golden brown on top and around the edges, and feel firm to the touch. The color is a good indicator – they should have a rich, golden hue, not just pale yellow.
If you're unsure, you can break one open (preferably one from the center of the pan) to check the interior. It should look cooked through, not wet or doughy. Overbaking can lead to dry scones, while underbaking means they might collapse or have a raw interior. Achieving the perfect golden color is the final step in successful flaky scones baking techniques.
Step-by-Step Recipe for Flaky Scones (Easy Version)
Ingredients List for Flaky Scones
Here's a simple list for a classic batch of flaky scones. Remember, keep everything cold!
- 2 cups (approx. 240g) all-purpose flour
- 1/3 cup (approx. 65g) granulated sugar
- 2 teaspoons baking powder
- 1/2 teaspoon baking soda
- 1/4 teaspoon salt
- 1/2 cup (approx. 113g) unsalted butter, very cold, cut into 1/2-inch cubes
- 3/4 cup (approx. 180ml) cold buttermilk (or whole milk with 1 tsp lemon juice/vinegar added and left for 5 mins)
- Optional: 1 large egg, whisked (for egg wash)
- Optional: 1 tablespoon coarse sugar (for topping)
Detailed Instructions: How to Make Flaky Scones
Let's put those flaky scones baking techniques into practice!
Step 1: Preparing the Dry Ingredients
In a large bowl, whisk together the 2 cups of flour, 1/3 cup sugar, 2 teaspoons baking powder, 1/2 teaspoon baking soda, and 1/4 teaspoon salt. Ensure everything is well combined. You can place this bowl in the freezer for 15-30 minutes to ensure the flour is cold.
Step 2: Cutting in the Cold Butter
Add the 1/2 cup of very cold butter cubes to the dry ingredients. Use a pastry blender, two forks, or your fingertips to cut the butter into the flour mixture. Work quickly until the mixture resembles coarse crumbs with some pea-sized pieces of butter remaining. These visible butter pieces are crucial for flakiness.
Step 3: Adding the Cold Buttermilk
Pour the 3/4 cup of cold buttermilk into the center of the dry ingredients. Use a fork or a rubber spatula to mix until the dough just starts to come together. Don't overmix! The dough will look shaggy and a bit dry in places – this is exactly what you want.
Step 4: Gently Forming the Dough
Turn the shaggy dough out onto a lightly floured surface. Gently bring the dough together into a cohesive mass. Pat it into a circle or rectangle about 3/4 to 1 inch thick. Avoid kneading or rolling vigorously. You can gently fold the dough over on itself once or twice to create layers, then pat it back into shape.
Step 5: Cutting and Shaping the Scones
Using a sharp knife, bench scraper, or biscuit cutter (dipped in flour), cut the dough into desired shapes. For wedges, cut the circle into 6 or 8 triangles. For rounds, press the cutter straight down without twisting. Place the cut scones onto a baking sheet lined with parchment paper, leaving about 1-2 inches between them. If using egg wash, brush the tops gently. Sprinkle with coarse sugar if desired.
Step 6: Baking to Golden Perfection
Preheat your oven to 400°F (200°C). Bake the scones for 15-20 minutes, or until they are well-risen and golden brown on top and around the edges. Baking time will vary depending on the size and thickness of your scones and the accuracy of your oven. Once baked, transfer the scones to a wire rack to cool slightly before serving.
Troubleshooting Common Scone Baking Problems
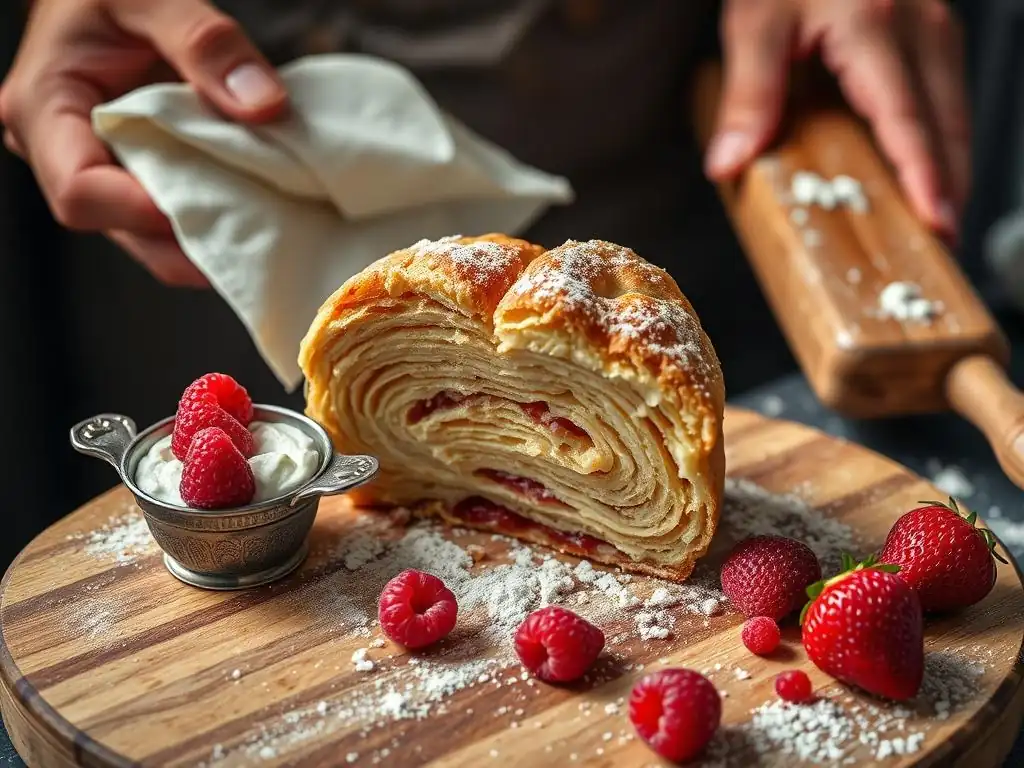
Why are My Scones Flat? (Solutions & Tips)
Flat scones are a common issue and usually stem from a few key factors, often related to the flaky scones baking techniques used. The most frequent culprit is warm butter or overworking the dough. If your butter wasn't cold enough, it melted before baking, preventing the steam lift. Similarly, if you mixed or kneaded the dough too much, you developed too much gluten, which makes the scones tough and unable to rise properly, and also potentially melted the butter through friction.
Ensure your butter and liquid are ice-cold. Cut the butter into the flour until you still see distinct pieces (like small peas). Mix the dough minimally, just until the dry ingredients are incorporated. Don't overwork the dough when shaping – gently pat it into shape. Also, check your leaveners (baking powder/soda) – they might be old and inactive. Store them in a cool, dry place and check their expiration dates. Finally, make sure your oven is properly preheated to a high temperature (400°F or higher) to encourage rapid lift.
Scones are Too Dry? (Hydration Techniques)
Dry, crumbly scones can be disappointing. This usually means there wasn't enough liquid in the dough or they were overbaked. The amount of liquid needed can sometimes vary slightly depending on the humidity and the specific flour used. While you don't want a wet dough (that leads to toughness), a dough that's too dry won't come together properly and will result in a dense, crumbly texture.
Ensure you measure your liquid accurately. When mixing, the dough should look shaggy but should eventually come together when gently pressed. If it seems excessively dry and crumbly even before shaping, you might need to add a tiny bit more cold liquid, literally a tablespoon at a time, mixing minimally until it just holds together. Be very cautious not to add too much. Also, always check for doneness by color and feel, not just time, to avoid overbaking. Baking just until golden brown is key to moist interiors, a crucial part of good flaky scones baking techniques.
Achieving an Even Bake in Your Scones
Unevenly baked scones – some burnt, some pale – are often due to oven hot spots or improper placement on the baking sheet. Most ovens have variations in temperature within them. Rotating your baking sheet halfway through the baking time can help ensure all scones bake evenly. For example, if you're baking for 18 minutes, turn the pan around at the 9-minute mark.
Also, avoid crowding the scones on the baking sheet. Leave enough space (at least 1-2 inches) between each scone to allow hot air to circulate freely around them. This promotes even rising and browning. Using a quality, light-colored baking sheet can also help prevent the bottoms from burning before the tops are done. Understanding your oven's quirks is part of mastering flaky scones baking techniques.
Variations and Flavor Ideas for Your Flaky Scones
Sweet Scone Variations: Chocolate Chip, Lemon Poppy Seed
Once you've mastered the basic flaky scones baking techniques, the possibilities for flavor variations are endless! For a classic sweet treat, add 1/2 to 3/4 cup of chocolate chips or chopped chocolate to the dry ingredients before adding the butter.
For a bright, citrusy scone, add the zest of one large lemon and 2 tablespoons of poppy seeds to the dry ingredients. You could also replace a portion of the buttermilk with fresh lemon juice (ensure the total liquid amount remains the same). Gently fold in fresh or frozen berries (like blueberries or cranberries) during Step 4, being careful not to overmix, as they can make the dough wet.
Savory Scone Variations: Cheddar, Bacon & Chive
Scones aren't just for sweet cravings! Savory scones make a wonderful accompaniment to soups, stews, or even as a light meal. For a simple cheddar scone, add 1/2 cup of grated sharp cheddar cheese to the dry ingredients.
Elevate your savory scones with crispy bacon and fresh chives. Crumble about 4-6 slices of cooked bacon and finely chop 2-3 tablespoons of fresh chives. Add these to the dry ingredients along with the cheese. You can sprinkle a little extra cheese on top before baking. These variations show the versatility of your flaky scones baking techniques.
Adding Extracts and Zest for Enhanced Flavor
Incorporating extracts and zest is an easy way to add depth and complexity to your scones. A teaspoon of vanilla extract can be added to the cold buttermilk for a subtle sweetness boost in sweet scones. Almond extract pairs wonderfully with berry scones.
Citrus zest, like lemon, orange, or lime, adds a bright, aromatic note. Rubbing the zest into the sugar or flour before adding the butter helps release its oils and distribute the flavor evenly. Remember to use only the colored part of the peel, avoiding the bitter white pith. These small additions can significantly enhance the flavor profile achieved by your flaky scones baking techniques.
Storing and Reheating Your Flaky Scones

Best Practices for Keeping Scones Fresh
Scones are best enjoyed fresh, ideally within a few hours of baking, when their texture is at its peak flakiness. However, you can store them to enjoy later. Once completely cooled, store scones in an airtight container at room temperature for up to 2 days. Avoid refrigerating baked scones, as this can dry them out and make them dense.
If you need to store them for longer, freezing is the best option. Place cooled scones in a single layer on a baking sheet and freeze until solid (about 1-2 hours). Then, transfer them to a freezer-safe bag or container, removing as much air as possible. Frozen scones can be stored for up to 2-3 months. Proper storage helps preserve the results of your careful flaky scones baking techniques.
Reheating Techniques to Maintain Flakiness
To revive the texture of stored scones, especially frozen ones, reheating is key. Avoid the microwave, which tends to make scones tough and rubbery. The best way to reheat scones is in a preheated oven or toaster oven.
For room temperature scones, warm them at 300-350°F (150-175°C) for 5-10 minutes until heated through. For frozen scones, you can bake them directly from frozen. Place them on a baking sheet and bake at 300-350°F (150-175°C) for 15-20 minutes, or until heated through and the exterior is crisp again. This gentle reheating method helps to reactivate some of the steam from the butter and restore some of the flakiness achieved through your flaky scones baking techniques.
Conclusion: Mastering the Art of Flaky Scones
Recap of Key Techniques for Scone Success
Achieving super flaky scones is entirely within your reach by focusing on a few core flaky scones baking techniques. Remember these essentials:
- Keep Ingredients Cold: Especially the butter and liquid. Cold butter creates steam, which leads to layers.
- Cut in the Butter Properly: Leave some pea-sized pieces of butter visible; don't blend it completely into the flour.
- Handle Gently: Avoid overmixing the dough once the liquid is added to prevent excessive gluten development.
- Cut Cleanly: Press straight down with a sharp cutter or knife; don't twist.
- Bake Hot: A high oven temperature creates the necessary steam burst for lift and flakiness.
By consistently applying these principles, you'll significantly improve your scone texture, moving from dense to delightfully layered. Practice makes perfect, and each batch will build your confidence in these essential flaky scones baking techniques.
Further Baking Resources on BakeWithEase.com
Ready to explore more easy baking recipes or dive deeper into specific techniques? BakeWithEase.com offers a wealth of resources for bakers of all levels.
- Explore our Beginner Baking Recipes category for more simple starting points.
- Check out the Easy Muffins & Scones subcategory for variations and tips.
- Find step-by-step guides for other pastries and breads.
- Discover tips on ingredient substitutions and baking tools.
Keep practicing these flaky scones baking techniques, and enjoy the delicious results! Happy baking!
Frequently Asked Questions
What is the most important technique for achieving flaky scones?
The most important technique is keeping your ingredients cold. This prevents the butter from melting before baking, creating pockets of steam for a flaky texture. Also, avoid overmixing.
Why is it important to use cold butter in scone recipes?
Cold butter is crucial because it creates layers of fat within the dough. These layers melt during baking, producing steam and resulting in the desired flaky texture in the scones.
What is the best way to incorporate the butter into the flour for flaky scones?
Use a pastry blender or your fingertips to cut the cold butter into the flour until the mixture resembles coarse crumbs. This method ensures the butter remains in small pieces, essential for flakiness.
Can I use a food processor to make scone dough, and will it still be flaky?
While you can use a food processor, be extremely careful not to over-process the dough. Pulse the ingredients until just combined, or you risk the butter melting and losing flakiness. It is best to avoid overmixing.
What's the secret to preventing tough scones and ensuring a flaky texture?
Avoid overmixing the dough once the wet ingredients are added. Overmixing develops the gluten, resulting in tough scones. Mix just until combined for a tender and flaky final product.
Final Reflection: The Enduring Allure of the Perfectly Flaky Scone
The pursuit of the perfect flaky scone transcends mere baking; it's a testament to the power of simple techniques yielding extraordinary results. From the careful handling of cold butter to the gentle folding of the dough, each step in the process contributes to that coveted, melt-in-your-mouth texture. This isn't just about a recipe; it's about understanding the fundamental principles of pastry and applying them with precision and care.
The impact of a truly excellent scone extends far beyond the individual experience. It's a symbol of comfort, of home-baked goodness, a small act of culinary artistry that can brighten someone's day. Baking is at once child's play and adult joy. And love, of course.
This quote perfectly encapsulates the feeling of creating something delicious and sharing it with others, a sentiment deeply connected to the simple act of baking scones. The enduring appeal of this seemingly simple treat lies in its ability to evoke feelings of warmth, nostalgia, and shared moments.
Now, consider your own baking journey. What techniques resonate most with you? What small adjustments can you make to elevate your scone game? Don't be afraid to experiment, to embrace the slight imperfections, and to savor the process as much as the final product. The path to the perfect flaky scone is a journey of learning, refinement, and ultimately, the joy of creating something truly special. So, gather your ingredients, embrace the chill, and embark on your own scone adventure. The reward? A taste of perfection, and the satisfaction of mastering a timeless baking technique.
Unlock Your Inner Baker: Flaky Scone Secrets Await!
Thanks for joining us on this flaky scone adventure! We hope you now feel confident in creating those perfectly layered, melt-in-your-mouth treats. Ready to put your new skills to the test?
- Bake a batch of scones this week: Use your favorite recipe (or try one of ours on bakewithease.com – just kidding, no links here! ), and focus on mastering the techniques we discussed. Pay close attention to the chilling and folding steps!
- Share your baking journey: Snap a picture of your amazing scones and share them on social media using #BakeWithEaseFlakyScones. We'd love to see your creations!
- Experiment with flavors: Don't be afraid to get creative! Try adding different fruits, spices, or even cheeses to your scones. What unexpected flavor combination will you discover?
What unique ingredient will you incorporate into your next batch of perfect scones?