
Too Tough or Too Tender? Mastering Gluten Development Control

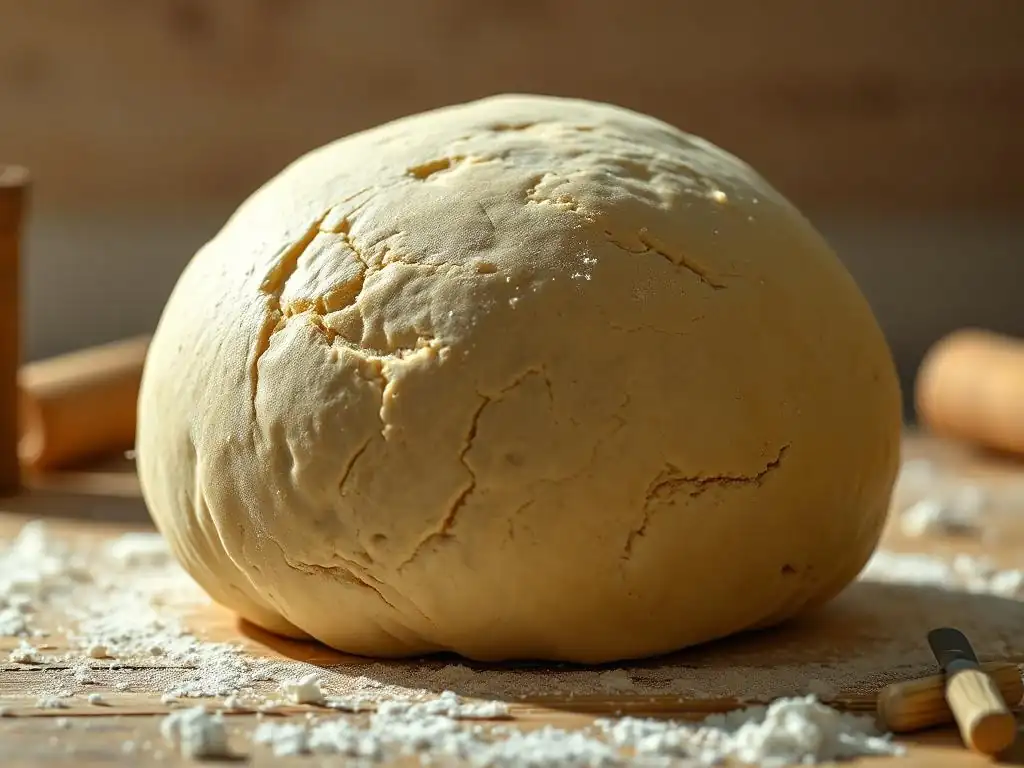
Welcome to BakeWithEase, your guide to baking brilliance! Ever wondered why some baked goods are perfectly chewy, while others crumble at the slightest touch? This article delves into the fascinating world of gluten development baking tips, unlocking the secrets to achieving the ideal texture in your breads, pastries, and more. Prepare to master the art of gluten control and elevate your baking game – the answers to your toughest baking questions are just a scroll away!
- Mastering Gluten Development for Optimal Bread Baking
- Introduction to Gluten Development
- The Science Behind Gluten Formation
- Techniques for Optimal Gluten Development
- Factors Influencing Gluten Development
- Diagnosing Gluten Imbalances
- Troubleshooting Common Baking Issues
- Gluten Development in Various Baked Goods
- Advanced Gluten Control Techniques
- Conclusion: Refining Your Bread Baking Skills
-
Frequently Asked Questions
- What is gluten development and why is it important in baking?
- How can I tell if I've underdeveloped the gluten in my dough?
- What are some common mistakes that lead to overdeveloping gluten?
- What are some practical gluten development baking tips to consider when baking bread?
- Can gluten development be controlled in all types of baked goods, or is it more relevant for certain recipes?
- Final Reflection: The Art and Science of Gluten Mastery
- Unlock Your Baking Potential: Master the Art of Gluten!
Mastering Gluten Development for Optimal Bread Baking
Introduction to Gluten Development
The Importance of Gluten in Bread Making
Gluten is the backbone of most baked goods, especially bread. It's the protein network that forms when water is added to wheat flour and agitated through mixing or kneading. This network traps gases produced by yeast during fermentation, allowing the dough to rise and create a light, airy texture. Without proper gluten development, bread would be dense, heavy, and lack the desirable structure and chewiness we expect. Mastering gluten development baking tips is crucial for achieving consistent, high-quality results in your kitchen.
Think of gluten development as building a microscopic scaffolding within your dough. This scaffolding needs to be strong enough to support the weight of the rising dough and the expansion caused by carbon dioxide gas, yet elastic enough to stretch without breaking. Achieving this balance is key to preventing flat or overly dense loaves. Understanding how to control this process is fundamental, whether you're making a simple sandwich loaf or a complex sourdough boule.
Understanding Gluten: Elasticity and Structure in Bread
Gluten provides two primary characteristics to dough: elasticity and extensibility. Elasticity is the dough's ability to spring back to its original shape after being stretched, much like a rubber band. Extensibility, on the other hand, is its ability to be stretched and pulled without tearing. A well-developed gluten network possesses a good balance of both. Too much elasticity (and not enough extensibility) results in a dough that is difficult to shape and springs back excessively, while too much extensibility (and not enough elasticity) leads to a dough that tears easily and cannot hold its shape or trap gas effectively.
The structure provided by gluten is what gives bread its crumb – the internal texture characterized by the size and distribution of air pockets. A fine, even crumb indicates a well-developed gluten network that efficiently trapped small air bubbles during fermentation. A coarse or irregular crumb might suggest issues with gluten development or proofing. Learning to evaluate your dough's texture and behavior is one of the most valuable gluten development baking tips you can acquire.
The Science Behind Gluten Formation
Glutenin and Gliadin: Protein Network in Bread Dough
Wheat flour contains two primary proteins: glutenin and gliadin. Glutenin molecules are larger and provide strength and elasticity, while gliadin molecules are smaller and contribute extensibility and fluidity. When water is added to flour, these proteins absorb the liquid and begin to link together. Agitation, through mixing or kneading, further encourages these proteins to bond and align, forming the complex, three-dimensional gluten network. This process is essential for creating dough with the desired structure.
The ratio and composition of glutenin and gliadin vary depending on the type of wheat and flour. Hard wheat flours, like bread flour, typically have higher protein content (around 12-14%) and a more favorable ratio of glutenin to gliadin for strong gluten development, making them ideal for yeast-leavened breads. Softer wheat flours, like cake flour (around 8-10% protein), have less protein and a different protein composition, resulting in weaker gluten, which is desirable for tender cakes and pastries.
Hydration's Impact on Gluten Development
Water plays a critical role in initiating gluten development. The glutenin and gliadin proteins must first absorb water to become mobile and able to bond. The amount of water, or hydration level, significantly impacts the resulting dough's consistency and the speed of gluten development. Higher hydration doughs (e.g., 75% or more water relative to flour weight) tend to develop gluten more easily through simple mixing and folding because the proteins can move and link more freely in the wetter environment.
Conversely, lower hydration doughs (e.g., 60-65% hydration) require more mechanical effort, like vigorous kneading, to fully develop the gluten network. The proteins are less mobile in a stiffer dough, necessitating physical manipulation to bring them into contact and encourage bonding. Understanding the relationship between hydration and kneading requirements is a key piece of gluten development baking tips. Adequate hydration is the first step; the right amount of mixing or kneading follows.
Techniques for Optimal Gluten Development
Mixing Methods: Impact on Gluten Strength
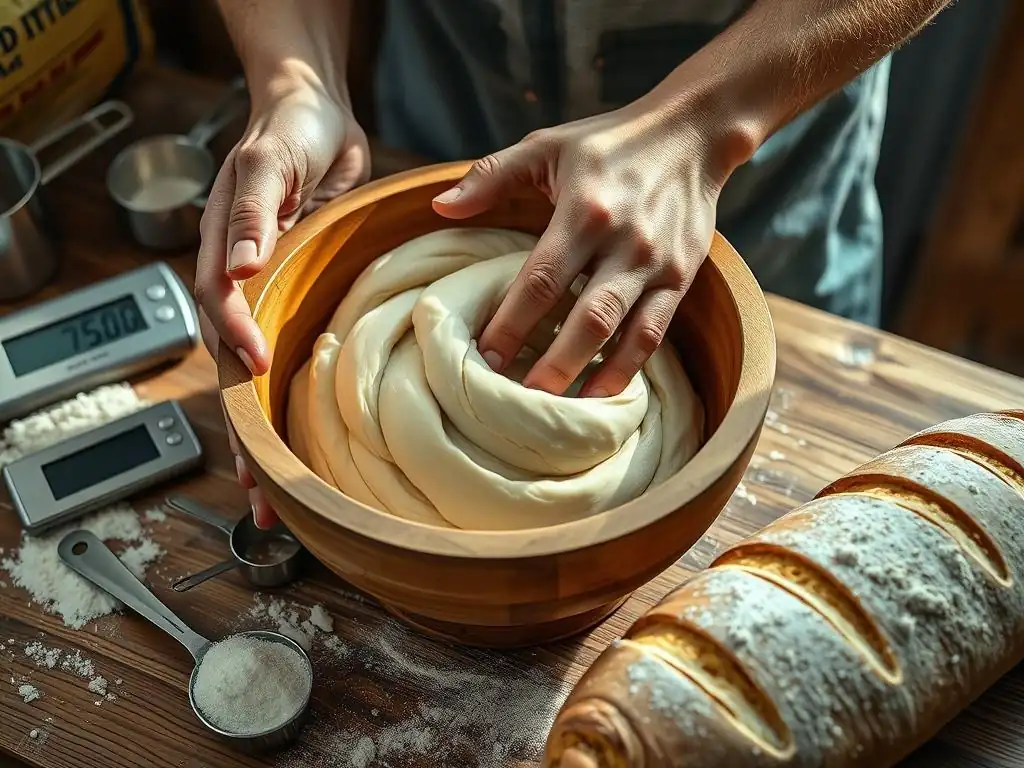
The way ingredients are combined and worked has a profound effect on gluten development. Different mixing methods are employed depending on the desired outcome and dough hydration. For instance, the straight dough method, where all ingredients are mixed together at once, relies heavily on subsequent kneading to build strength. The sponge or poolish methods, which involve a pre-ferment, allow some initial gluten development to occur in the wetter, pre-fermented portion before the final mix.
The intensity and duration of mixing are also critical. Over-mixing can break down the gluten structure, leading to a sticky, slack dough that lacks elasticity. Under-mixing results in weak gluten, leading to a dense, poorly risen loaf. Finding the sweet spot is part of mastering gluten development baking tips. For many standard bread doughs, medium-speed mixing in a stand mixer for 8-12 minutes or hand kneading for 15-20 minutes is sufficient, but this varies based on flour type and hydration.
Autolyse: Enhancing Dough Flavor and Extensibility
The autolyse technique involves mixing just the flour and water for a recipe and letting it rest for 20 minutes to several hours before adding the salt and yeast and proceeding with kneading. During this rest period, enzymes naturally present in the flour begin to break down starches into sugars, which provides more food for the yeast later. More importantly for gluten development, the water fully hydrates the proteins, allowing the gluten network to start forming without the interference of salt (which tightens gluten) or yeast (which starts producing gas).
The autolyse significantly improves the dough's extensibility, making it easier to handle and shape after kneading. It also allows for more efficient gluten development with less kneading time required. For example, a dough that might typically need 10-12 minutes of stand mixer kneading might achieve similar gluten strength with a 30-minute autolyse followed by only 5-7 minutes of kneading. This technique is a valuable addition to your gluten development baking tips repertoire, particularly for higher hydration doughs like ciabatta or sourdough.
Kneading: Building Dough Strength
Kneading is the traditional and most direct way to develop gluten. The physical action of stretching, folding, and compressing the dough aligns the gluten proteins and encourages them to form stronger bonds. This process transforms a shaggy, sticky mass into a smooth, elastic dough. Whether done by hand or machine, the goal is the same: to create a robust, resilient gluten network capable of supporting the dough's rise and structure.
The duration and intensity of kneading depend on the flour, hydration, and desired bread type. Lean doughs for crusty breads typically require thorough kneading to develop strong gluten. Enriched doughs, containing fat and sugar, develop gluten differently and may require less intense kneading. Learning to feel the dough and recognize the signs of proper development is key among gluten development baking tips.
Hand Kneading: Developing Dough Texture
Hand kneading is a tactile process that connects you directly to the dough. It typically involves folding the dough over, pressing it down with the heel of your hand, rotating it, and repeating the process. This physical manipulation stretches and aligns the gluten strands. Hand kneading is often performed on a lightly floured surface, but minimizing added flour is important to maintain the correct hydration.
While more labor-intensive than machine kneading, hand kneading allows you to constantly assess the dough's texture, temperature, and resistance. You can feel the gluten strengthening as the dough becomes smoother, less sticky, and more elastic. A standard hand kneading session for a loaf of bread might last 15-20 minutes until the dough passes the windowpane test.
Stand Mixer Kneading: Achieving Consistent Results
Using a stand mixer with a dough hook offers a consistent and less physically demanding way to develop gluten. The mechanical action of the hook efficiently stretches and folds the dough against the sides of the bowl, promoting protein alignment. Stand mixers are particularly useful for larger batches or wetter, stickier doughs that are challenging to knead by hand.
Mixer kneading is often faster than hand kneading, typically taking 8-12 minutes on medium speed for a standard bread dough. However, it's crucial not to over-mix, as this can overheat the dough and damage the gluten structure. Monitoring the dough's appearance – it should pull away from the sides of the bowl and look smooth and elastic – and performing the windowpane test are essential steps when using a mixer.
No-Knead Method: Long Fermentation for Gluten Development
The no-knead method, popularized by Jim Lahey, relies on a very wet dough and an extended, slow fermentation at room temperature (12-18 hours) to develop gluten. In this technique, minimal initial mixing is done, just enough to combine the ingredients. The high hydration allows the glutenin and gliadin proteins to hydrate fully and move freely. Over the long fermentation period, these proteins naturally link and align simply through time and the gentle movement caused by gas production.
While the dough won't feel as strong or elastic as a vigorously kneaded dough immediately after mixing, the long fermentation builds a sufficient gluten network to support a good rise and open crumb structure, especially when baked in a Dutch oven. This method demonstrates that mechanical kneading isn't the only way to develop gluten; time and hydration can also do the job, offering a different perspective on gluten development baking tips.
Factors Influencing Gluten Development
Flour Type: Protein Content and Gluten Strength
The type of flour used is perhaps the most significant factor influencing gluten development. As mentioned earlier, flours vary widely in their protein content and the quality of those proteins. Bread flour, with its higher protein (12-14%), is designed for strong gluten development, essential for chewy breads. All-purpose flour (around 10.5-12%) offers a good balance and works for many recipes but may result in a slightly less structured loaf than bread flour.
Lower protein flours like cake flour (8-10%) and pastry flour (9-10%) are milled from soft wheat and develop weak gluten. This is desirable for tender cakes, biscuits, and pastries where a delicate crumb is preferred over chewiness. Whole wheat flour typically has high protein content (13-14%) but the bran and germ particles can interfere with gluten formation, often requiring more hydration or a rest period to fully develop strength. Selecting the right flour is the starting point for successful gluten development baking tips.
Water Temperature: Controlling Gluten Formation
Water temperature affects the rate of gluten development and yeast activity. Warmer water (around 105-115°F or 40-46°C) speeds up yeast activity, leading to faster gas production, and also slightly accelerates gluten hydration. However, very hot water can kill the yeast and potentially damage the gluten proteins. Colder water (tap temperature or cooler) slows down yeast activity and gluten development, allowing for a longer, slower fermentation which can contribute to more complex flavors.
For typical bread recipes using active dry or instant yeast, warm water is often recommended to kickstart the yeast. However, for long, slow ferments like sourdough or some artisan breads, cooler water is intentionally used to control the pace of both yeast activity and gluten development, allowing flavor to build. Pay attention to the recipe's recommendation, but generally, water that feels lukewarm (not hot) is a safe bet for most yeast doughs.
Salt: Flavor and Gluten Development Regulation
Salt is not just for flavor in bread; it also plays a crucial role in regulating gluten development. Salt tightens the gluten network, making it stronger and more elastic. This can improve dough handling and structure. However, adding salt too early in the process, especially directly to yeast or before the flour is hydrated, can negatively impact both yeast activity (salt can draw water out of yeast cells) and potentially hinder initial gluten formation.
For optimal results, many bakers add salt after the initial mixing or after an autolyse period. This allows the flour to hydrate and gluten to begin forming before the tightening effect of salt comes into play. A typical salt percentage in bread dough is around 1.8% to 2% of the flour weight. Too little salt results in slack, difficult-to-handle dough, while too much can inhibit rise and create a tough texture.
Fat: Tenderizing and Shortening Effects
Fats, such as butter, oil, or eggs, have a tenderizing or "shortening" effect on dough. Fat coats the flour particles and gluten strands, preventing them from linking together as effectively. This weakens the gluten network, resulting in a softer, more tender crumb. This is why enriched doughs, like brioche or challah which contain significant amounts of fat, sugar, and eggs, are much softer and less chewy than lean doughs like baguette.
In recipes where a tender crumb is desired, fat is often incorporated after some initial gluten development has occurred. For example, in brioche, the dough is often kneaded until moderate gluten strength is achieved before softened butter is gradually added and kneaded in. This allows some structure to form before the fat interferes. Understanding how fat impacts gluten is a key gluten development baking tip for richer doughs.
Diagnosing Gluten Imbalances
Over-Developed Gluten: Identification and Correction
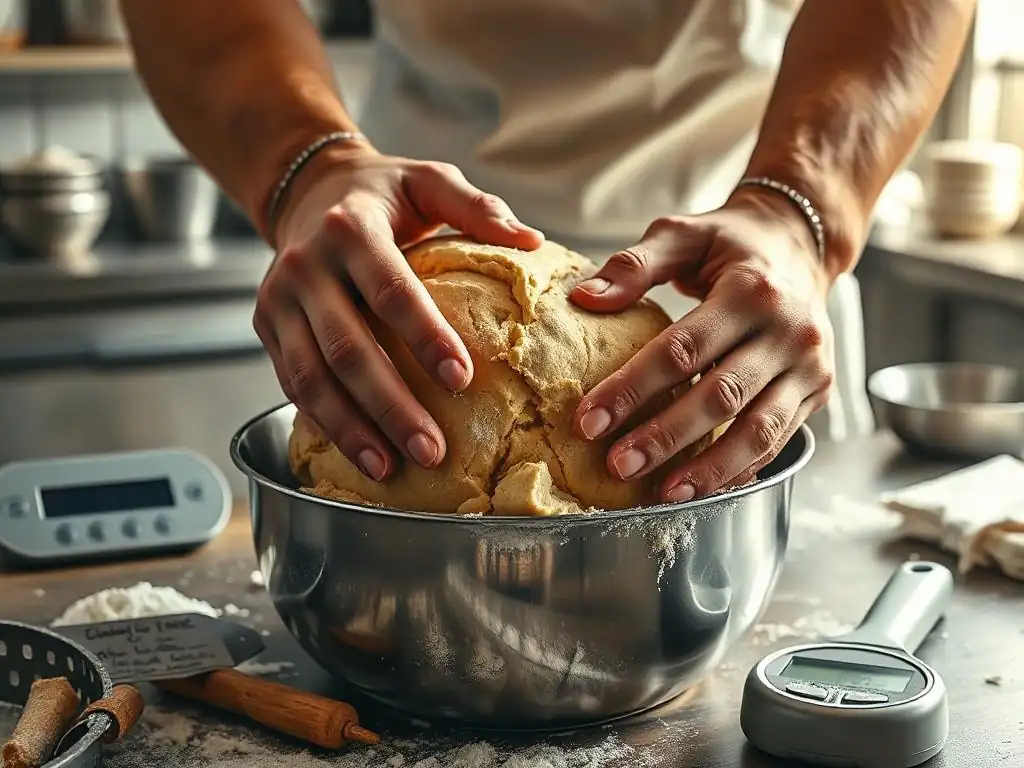
Over-developing gluten is less common than under-developing it, especially when hand kneading, but it can happen with vigorous or prolonged machine mixing, particularly with lower hydration doughs. Over-worked dough becomes excessively tight, stiff, and difficult to stretch without tearing. It might also feel wet or sticky on the surface even if properly hydrated internally, as the damaged gluten releases moisture.
Recognizing the signs early is crucial. If you suspect your dough is becoming over-developed, stop mixing or kneading immediately. While you can't fully reverse the damage, you can sometimes mitigate the effects.
Recognizing Tough Dough
An over-developed dough feels very resistant when you try to stretch or shape it. It snaps back quickly, almost aggressively, like a tight rubber band. It might also appear shiny or greasy on the surface. When you try the windowpane test, instead of stretching into a thin membrane, it tears almost immediately, often with jagged edges. This toughness makes shaping difficult and can lead to a dense, tough final product.
Imagine trying to roll out a piece of chewing gum that has been chewed for hours – it's stiff and wants to retract. That's similar to how over-developed dough behaves. It lacks the necessary extensibility to expand gracefully during proofing and oven spring.
Resting Dough: Relaxing Over-Developed Gluten
If you catch over-development early, the best course of action is to give the dough a significant rest. Place the dough in a lightly oiled bowl, cover it, and let it relax at room temperature for 30-60 minutes, or even longer in the refrigerator. This rest period allows the tight gluten strands to relax and rearrange themselves slightly.
After resting, gently try to handle the dough again. It should feel more pliable and easier to work with, though it may never be as perfect as optimally developed dough. For severely over-developed dough, sometimes incorporating a small amount of fresh, unmixed flour and water (if hydration allows) and gently folding can help integrate it and provide some undamaged protein, but this is a more advanced fix.
Under-developed gluten is a very common issue for beginner bakers. It results from insufficient mixing or kneading, or inadequate hydration preventing the proteins from linking properly. Dough with under-developed gluten feels slack, sticky, and lacks structure. It won't hold its shape well and will feel heavy and dense.
The good news is that under-development is usually fixable! You can often continue kneading or mixing the dough until the gluten reaches the desired strength.
Recognizing Weak Dough
Weak, under-developed dough feels floppy and lacks resistance. It tears easily when stretched and doesn't spring back much. It might also feel excessively sticky, not because it's too wet, but because the gluten network isn't strong enough to hold the water within the structure. When you try to shape it, it spreads out rather than holding tension.
If you attempt the windowpane test, the dough will likely tear before you can stretch it thinly at all, or it will tear very quickly and messily. It looks more like a broken web than a smooth membrane. This lack of strength means the dough won't be able to trap gas effectively, resulting in poor rise and a dense crumb.
Windowpane Test: Assessing Gluten Strength
The windowpane test is the classic method for checking if gluten is sufficiently developed in bread dough. To perform it, pinch off a small piece of dough (about the size of a walnut). Gently stretch and pull the dough outwards with your fingers, rotating it as you go. The goal is to stretch it into a thin membrane without tearing.
If you can stretch the dough thin enough that light passes through it, creating a translucent "windowpane," without the dough tearing, your gluten is well-developed. If it tears before you can stretch it thinly, it needs more kneading. This test is one of the most practical gluten development baking tips for determining when your dough is ready for proofing.
Troubleshooting Common Baking Issues
Dense Bread: Gluten, Proofing, and Oven Spring
Dense bread is a common disappointment, and it can stem from several factors, often related to gluten development and subsequent steps. Insufficient gluten development is a primary culprit; a weak gluten network cannot trap enough gas to create an airy crumb. This leads to a loaf that feels heavy and compact.
However, density can also be caused by under-proofing (not allowing enough time for yeast to produce sufficient gas) or over-proofing (where the gluten structure collapses after rising too much). Lack of proper oven spring (the final burst of rising in the oven) can also contribute. Ensuring adequate, but not excessive, kneading to build strong gluten is the first step in avoiding dense bread, followed by correct proofing and baking technique.
Tough Crusts: Gluten and Baking Temperature Factors
A tough or overly thick crust can sometimes be related to gluten, but more often it's a factor of baking conditions. While over-developed gluten can contribute to a less tender crumb overall, the crust's texture is heavily influenced by hydration, steam, and oven temperature. Baking lean doughs at high temperatures (450-500°F or 230-260°C) is essential for developing a crisp crust.
Using steam in the oven during the initial phase of baking is critical for preventing the crust from setting too early. Steam keeps the surface of the dough moist, allowing it to expand fully during oven spring and developing a thinner, crispier crust rather than a thick, hard one. Techniques like baking in a Dutch oven or using a steam tray are crucial gluten development baking tips for achieving perfect crusts on artisan loaves.
Flatbreads: Balancing Gluten and Tenderness
While many breads aim for maximum volume, flatbreads like tortillas, pita, or focaccia require a different approach to gluten development. For these, you typically want enough gluten to provide structure and chewiness, but not so much that they become tough or balloon excessively (unless that's the goal, like with pita). Hydration levels vary greatly, from low-hydration tortillas to relatively wet focaccia doughs.
Kneading for flatbreads is often moderate – just enough to bring the dough together and create a smooth, workable consistency, but not necessarily to the point of a full windowpane. For example, tortilla dough requires minimal kneading, while focaccia dough benefits from folding over a period of time to build some strength. The key is balancing workability with tenderness, adjusting your gluten development baking tips based on the specific flatbread type.
Gluten Development in Various Baked Goods
Bread Baking: Sourdough vs. Commercial Yeast Techniques
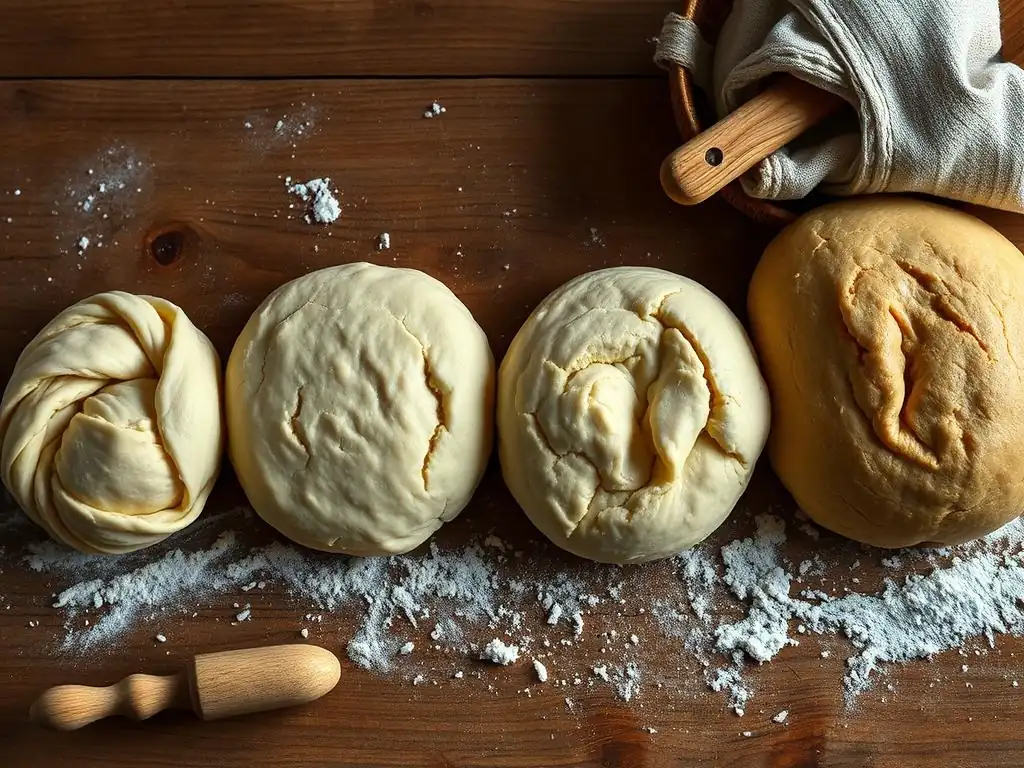
Gluten development is central to both sourdough and commercial yeast bread baking, but the techniques might differ slightly. Commercial yeast provides a rapid, predictable rise, requiring the gluten structure to be developed relatively quickly through focused kneading or mixing before proofing. The fermentation time is shorter, so the gluten network must be strong enough to support the rapid gas production.
Sourdough fermentation is slower and relies on wild yeast and lactic acid bacteria. The longer fermentation time allows for a more gradual gluten development process. Techniques like autolyse and periodic coil folds or stretch-and-folds during bulk fermentation are often used instead of intensive initial kneading. The acids produced in sourdough also affect gluten, making it more extensible. Adapting your gluten development baking tips to the leavening agent is essential.
Pastry: Achieving Flaky Layers Through Lamination
In pastries like croissants, puff pastry, or danishes, gluten development is approached differently than in bread. While some gluten structure is needed to hold the dough together, excessive development would lead to toughness. The goal is to create distinct, flaky layers separated by fat (usually butter). This is achieved through lamination – repeatedly folding and rolling a dough envelope that contains a block of butter.
During lamination, the gluten network is developed just enough to allow the dough to be rolled out thinly without tearing, but not so much that it becomes overly elastic and shrinks back. The layers of dough and butter are built through multiple folds (e.g., three or four "turns"). Proper handling, chilling the dough between turns, and minimizing kneading outside of the lamination process are key gluten development baking tips for flaky pastries.
Cakes: Balancing Structure and Moisture
For cakes, the goal is a tender, moist crumb, not chewiness. Therefore, gluten development is minimized. Cake recipes typically use low-protein flour (cake flour) and often employ mixing methods that coat the flour particles with fat and sugar before liquids are added (like the creaming method for butter cakes or the reverse creaming method), inhibiting gluten formation.
Mixing is usually done just until the ingredients are combined, avoiding vigorous or prolonged stirring. Over-mixing cake batter develops too much gluten, resulting in a tough, dry cake with tunnels. The structure in cakes comes more from the coagulation of egg proteins and the setting of starches than from a strong gluten network. Understanding this difference is crucial for applying the right gluten development baking tips across different baking categories.
Advanced Gluten Control Techniques
Lamination: Creating Layers in Viennoiserie
Lamination is a specialized technique used in viennoiserie (rich, layered pastries like croissants and danishes) and puff pastry. It involves enclosing a block of cold butter within a detrempe (basic dough) and then repeatedly rolling and folding the dough. Each fold creates multiple layers of dough separated by thin layers of butter. During baking, the water in the butter turns to steam, which forces the dough layers apart, creating the characteristic flaky texture.
The dough for lamination requires careful gluten development – enough to be elastic and strong enough to withstand repeated rolling without tearing, but not so much that it becomes overly tight and difficult to roll or results in a tough texture. This balance is achieved through specific mixing techniques (often just combining ingredients) and controlled chilling between folds, which relaxes the gluten. Mastering lamination is an advanced gluten development baking tip for creating truly spectacular pastries.
Tangzhong: Enhancing Moisture and Softness
Tangzhong is a Japanese technique that involves cooking a small portion of the flour with a liquid (usually milk or water) to form a thick paste before adding it to the main dough ingredients. This cooked paste gelatinizes the starches, allowing them to absorb and hold onto significantly more liquid than uncooked flour. When added to the dough, this extra moisture is locked within the structure, resulting in incredibly soft, moist, and tender baked goods with extended shelf life.
The increased hydration from the tangzhong also affects gluten development. While the initial paste doesn't have developed gluten, its presence in the final dough allows for higher overall hydration without the dough becoming excessively sticky. This can sometimes lead to slightly less intense kneading being required for a given level of softness, or it can enable you to achieve extreme softness while still having enough structure for a good rise. Using tangzhong is a clever way to influence both moisture and gluten development for superior texture.
Gluten-Free Baking: Adapting for Alternative Flours
Gluten-free baking presents a unique challenge because the primary structure-building protein network (gluten) is absent. Gluten-free flours like rice flour, almond flour, oat flour, and starches like tapioca or potato starch do not contain glutenin or gliadin. To mimic the properties of gluten, bakers must rely on alternative binders and structure builders.
Common substitutes include hydrocolloids like xanthan gum or guar gum, psyllium husk, or ingredients like eggs and pshed flaxseed. These binders help trap gases and provide some elasticity and structure to the dough or batter. Recipes must be carefully formulated, often using precise ratios of different gluten-free flours and binders, as there is no natural gluten development baking tips to rely on. It's a completely different approach to achieving structure.
Conclusion: Refining Your Bread Baking Skills
Continuous Learning in Gluten Development
Mastering gluten development is a journey, not a destination. Each type of flour, each recipe, and even environmental factors like humidity can influence how gluten develops. Continuous learning and experimentation are key to refining your skills. Try slightly different kneading times, experiment with hydration levels, or explore techniques like autolyse or stretch-and-folds.
Pay close attention to how the dough feels and behaves at each stage – during mixing, kneading, proofing, and shaping. Does it feel slack or tight? Does it tear or stretch? These observations are invaluable gluten development baking tips that build your intuition over time. Read widely, watch tutorials, and don't be afraid to try new things.
Achieving Consistent Gluten Control in Baking
Consistency in baking comes from understanding the variables and learning to control them. For gluten development, this means being mindful of your flour's protein content, accurately measuring liquids, controlling water temperature, and consistently applying your chosen mixing or kneading technique. Using a scale for ingredients, especially flour and water, is fundamental for reproducible results.
Practice is paramount. The more you bake and consciously observe the dough, the better you will become at recognizing the signs of optimal gluten development. Don't be discouraged by less-than-perfect loaves; analyze what might have gone wrong with the gluten structure, adjust your approach next time, and celebrate the progress. With focused effort on these gluten development baking tips, you'll consistently bake bread with wonderful texture and rise.
Frequently Asked Questions
What is gluten development and why is it important in baking?
Gluten development is the process of forming gluten strands in dough, which creates structure and elasticity. It's crucial because it affects the final texture and rise of baked goods.
How can I tell if I've underdeveloped the gluten in my dough?
Underdeveloped gluten often results in dough that is sticky, difficult to handle, and produces baked goods that are dense and crumbly.
What are some common mistakes that lead to overdeveloping gluten?
Overmixing dough, especially when using a stand mixer, is a common culprit. Using high-protein flours and intense kneading for too long can also overdevelop gluten.
What are some practical gluten development baking tips to consider when baking bread?
Consider using the windowpane test to assess gluten strength. Also, control mixing time and flour type to achieve the desired level of gluten development.
Can gluten development be controlled in all types of baked goods, or is it more relevant for certain recipes?
While important in many baked goods, gluten development is most crucial in breads and pastries. Other recipes, like cakes and cookies, often require minimal gluten development for a tender crumb.
Final Reflection: The Art and Science of Gluten Mastery
The quest for the perfect loaf, the ideal texture, the sublime crumb—it all hinges on understanding gluten development. This seemingly simple concept, the interaction of glutenin and gliadin proteins in flour, holds the key to unlocking baking's potential. Mastering it isn't just about following recipes; it's about understanding the fundamental chemistry that transforms flour and water into something truly magical.
The journey through gluten development has profoundly impacted my own baking, shifting my perspective from simply following instructions to actively participating in a complex chemical dance. I've learned to appreciate the subtle nuances of different flours, the impact of hydration levels, and the importance of kneading techniques. This journey has reinforced the idea that baking is as much a science as it is an art. The best bakers are those who understand both the science and the art of baking.
This quote, though its origin is uncertain, perfectly encapsulates the essence of what I've discovered.
Now, it's your turn. Consider the dough you've worked with, the successes and failures you've experienced. What have you learned about the delicate balance between "too tough" and "too tender"? Don't be afraid to experiment, to push boundaries, and to embrace the occasional imperfect loaf as a learning opportunity. The path to gluten mastery is a journey of continuous discovery, and each loaf baked is a step closer to perfection. Embrace the challenge, and the rewards will be truly delicious.
Unlock Your Baking Potential: Master the Art of Gluten!
Thanks for diving into the world of gluten development with us! We hope you now feel more confident in understanding this key element of baking success. Ready to put your newfound knowledge into practice?
- Bake a test loaf: Use your new understanding of gluten development to create a loaf of bread, paying close attention to mixing and kneading techniques. Notice the difference!
- Share your baking journey: Post a picture of your creation on social media and tag us — let’s see those delicious results! Use #BakeWithEaseGluten
- Experiment with hydration levels: Try varying the water content in your next recipe to see how it impacts gluten development and the final texture.
What unique baking challenge are you excited to tackle now that you understand gluten development better?