
Chocolate Lava Cakes for Two: A Simple & Molten Recipe

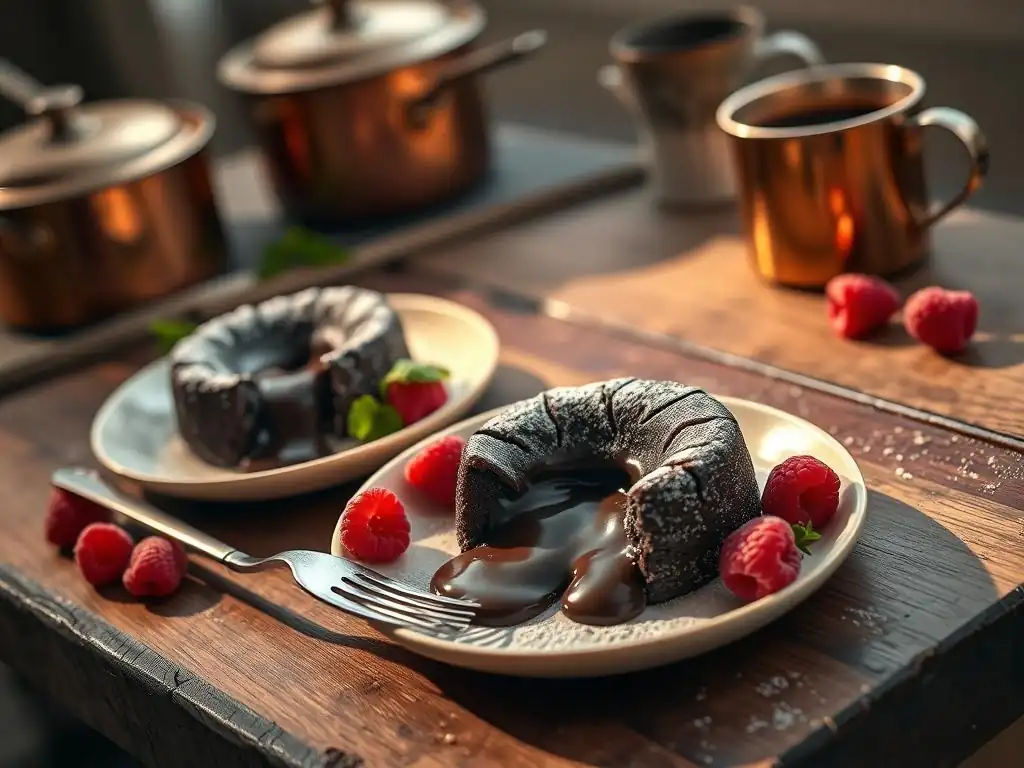
Welcome to BakeWithEase, your haven for effortless baking! Ever dreamt of creating a dessert that's both impressive and incredibly simple? Prepare to unlock the secrets to perfectly gooey, utterly irresistible easy molten chocolate lava cakes. Discover our recipe below and see how you can whip up this decadent treat in minutes – you might just be surprised how achievable baking bliss can be! Read on and let the chocolate magic begin...
- Introduction to Easy Molten Chocolate Lava Cakes for Two
- Ingredients for Your Perfect Chocolate Lava Cakes
- Step-by-Step Guide to Making Easy Molten Chocolate Lava Cakes
- Tips and Tricks for Molten Chocolate Lava Cake Success
- Serving and Enjoying Your Chocolate Lava Cakes
- Storing and Reheating Leftover Lava Cake (If Any!)
- More Romantic Dessert Recipes
- Conclusion: Indulge in Homemade Molten Chocolate Lava Cakes
- Frequently Asked Questions
- Final Reflection: The Enduring Allure of Simple Pleasures
- Unleash Your Inner Pastry Chef: Make Tonight Magical!
Introduction to Easy Molten Chocolate Lava Cakes for Two
Why This Recipe is Perfect for a Romantic Dessert
Crafting a special moment often involves sharing something sweet, and few desserts encapsulate romance quite like a warm, gooey chocolate lava cake. This particular recipe for two is designed with intimacy and ease in mind. It eliminates the complexity often associated with baking, allowing you to focus on the experience rather than struggling with intricate steps or excessive cleanup. Imagine the delight of cutting into a small, individual cake and watching that rich, molten chocolate center flow out – it's a simple yet incredibly decadent spectacle perfect for date night, anniversaries, or just because.
Furthermore, this recipe is remarkably quick to prepare, often taking less than 15 minutes of hands-on time before they even go into the oven. The baking itself is swift, usually under 15 minutes depending on your oven and desired level of moltenness. This speed means you can whip up this luxurious dessert spontaneously, without planning hours ahead, leaving more time to enjoy each other's company. The small batch size ensures there's no waste, providing just the right amount of indulgence for two, making it an ideal, low-stress option for a truly memorable dessert experience.
Our Commitment to Simple Baking: Lava Cakes Edition
At BakeWithEase.com, our core philosophy is to demystify baking and make it accessible to everyone, regardless of skill level. This easy molten chocolate lava cakes recipe is a perfect embodiment of that commitment. We've streamlined the process, focusing on fundamental techniques and readily available ingredients that yield impressive results without requiring advanced skills or specialized equipment. You won't find complicated steps or fussy instructions here; just clear, straightforward guidance designed to build your confidence in the kitchen.
This recipe utilizes minimal ingredients – typically around 5 to 7 basic items you likely already have in your pantry. The method involves simple actions like melting, whisking, and baking, broken down into easy-to-follow steps. By focusing on these core principles, we ensure that even novice bakers can achieve a perfect, molten chocolate lava cake on their first try. Our goal is to empower you to create delicious, impressive desserts like these chocolate lava cakes for two with confidence and joy, proving that simple baking can indeed lead to extraordinary treats.
Ingredients for Your Perfect Chocolate Lava Cakes
Essential Ingredients for Two Decadent Lava Cakes
To create two perfectly rich and molten chocolate lava cakes, you'll need a few key ingredients. Start with about 4 ounces (roughly 115 grams) of high-quality bittersweet or semi-sweet chocolate. Using good chocolate is crucial as it forms the heart of the molten center. You'll also need approximately half a cup (about 115 grams) of unsalted butter. Ensure the butter is soft or melted for easy incorporation.
Beyond the chocolate and butter, gather about a quarter cup (around 50 grams) of granulated sugar, though you can slightly adjust this based on the sweetness of your chocolate. You'll need one large egg and one egg yolk; the extra yolk contributes to richness and helps create that signature molten texture. Finally, just about two tablespoons (around 15 grams) of all-purpose flour is needed to provide just enough structure to the cake without making it dense. A pinch of salt is optional but recommended to enhance the chocolate flavor.
Understanding the Role of Each Ingredient
Each ingredient in this simple lava cake recipe plays a specific, vital role in achieving the desired outcome – a cake with a set exterior and a rich, flowing molten center. The chocolate is, of course, the star; its high cocoa butter content melts beautifully and provides the intense flavor and liquid core. The butter adds richness, moisture, and helps carry the chocolate flavor throughout the cake batter.
The sugar sweetens the cake but also contributes to its tender texture and helps create a slightly crisp edge during baking. The egg provides structure and binding, while the extra egg yolk is key to the molten center; it adds fat and richness, which prevents the center from setting completely during the short baking time. The small amount of flour provides just enough structural integrity to hold the cake together around the molten core. Without it, the cake wouldn't hold its shape. The salt, though minor in quantity, balances the sweetness and intensifies the deep chocolate notes.
Step-by-Step Guide to Making Easy Molten Chocolate Lava Cakes
Step 1: Preparing Your Baking Dishes
The first crucial step for successful homemade lava cakes is properly preparing your baking vessels. For a recipe for two, you'll typically use two small ramekins, usually between 4 to 6 ounces in size. Begin by generously greasing the inside of each ramekin with butter. Ensure you cover the bottom and sides thoroughly to prevent the cake from sticking. This step is non-negotiable for easy unmolding.
After greasing, you need to coat the buttered surface with either flour or unsweetened cocoa powder. If using flour, tap out any excess. If using cocoa powder (recommended for a deeper chocolate flavor and invisible coating), swirl it around to cover the buttered surface completely, then invert the ramekin and tap out any loose powder. This double layer of butter and powder acts as a release agent, ensuring your beautiful molten chocolate lava cakes slide out effortlessly after baking.
Step 2: Melting the Chocolate and Butter
Next, combine the chopped chocolate and butter in a heatproof bowl. You can melt this mixture using a double boiler or carefully in the microwave. If using a double boiler, place the bowl over a pot of simmering water, ensuring the bottom of the bowl doesn't touch the water. Stir constantly until the chocolate and butter are completely melted and smooth.
If using a microwave, heat the mixture in 30-second intervals, stirring well after each interval. Chocolate can seize easily if overheated, so stir frequently and stop heating just as a few small pieces remain; the residual heat will melt them as you stir. The goal is a glossy, smooth mixture with no lumps. Let this mixture cool slightly for a few minutes before proceeding.
Step 3: Combining Wet and Dry Ingredients
While the chocolate mixture cools slightly, in a separate bowl, whisk together the egg, egg yolk, and sugar until just combined. You don't need to whip air into this; just ensure the sugar is starting to dissolve. This typically takes about 30 seconds to a minute of whisking.
Pour the slightly cooled chocolate and butter mixture into the egg and sugar mixture. Gently fold or whisk them together until just combined. Be careful not to overmix. Overmixing develops gluten in the small amount of flour, which can lead to a tougher cake texture. Finally, whisk in the flour and optional pinch of salt until no dry streaks remain. The batter should be thick and smooth.
Step 4: Filling the Baking Dishes
With your batter ready and ramekins prepared, it's time to fill. Divide the batter evenly between the two greased and floured/cocoa-dusted ramekins. You can use a spoon or pour directly from the bowl. Fill each ramekin about three-quarters of the way full. This leaves room for the cake to rise slightly during baking without overflowing.
Ensure the surface of the batter is relatively smooth and even in each dish. You can gently tap the bottom of the ramekins on the counter to help settle the batter and remove any large air bubbles. Place the filled ramekins on a small baking sheet; this makes it easier to transfer them into and out of the hot oven safely.
Step 5: Baking to Perfection
Preheat your oven to a high temperature, typically between 350°F and 400°F (175°C to 200°C). The exact temperature and time will depend on your oven and the size of your ramekins, but a higher heat helps set the outside quickly while leaving the inside molten. Place the baking sheet with the filled ramekins into the preheated oven.
Bake for approximately 8 to 12 minutes. Watch them carefully! The edges of the cakes should appear set and slightly pulled away from the sides of the ramekin, while the center should still look soft and slightly jiggly when you gently shake the baking sheet. An overbaked lava cake won't have a molten center, so err on the side of underbaking if unsure. Remove from the oven and let them rest for just 1-2 minutes before attempting to unmold.
Tips and Tricks for Molten Chocolate Lava Cake Success
Achieving the Perfect Molten Center
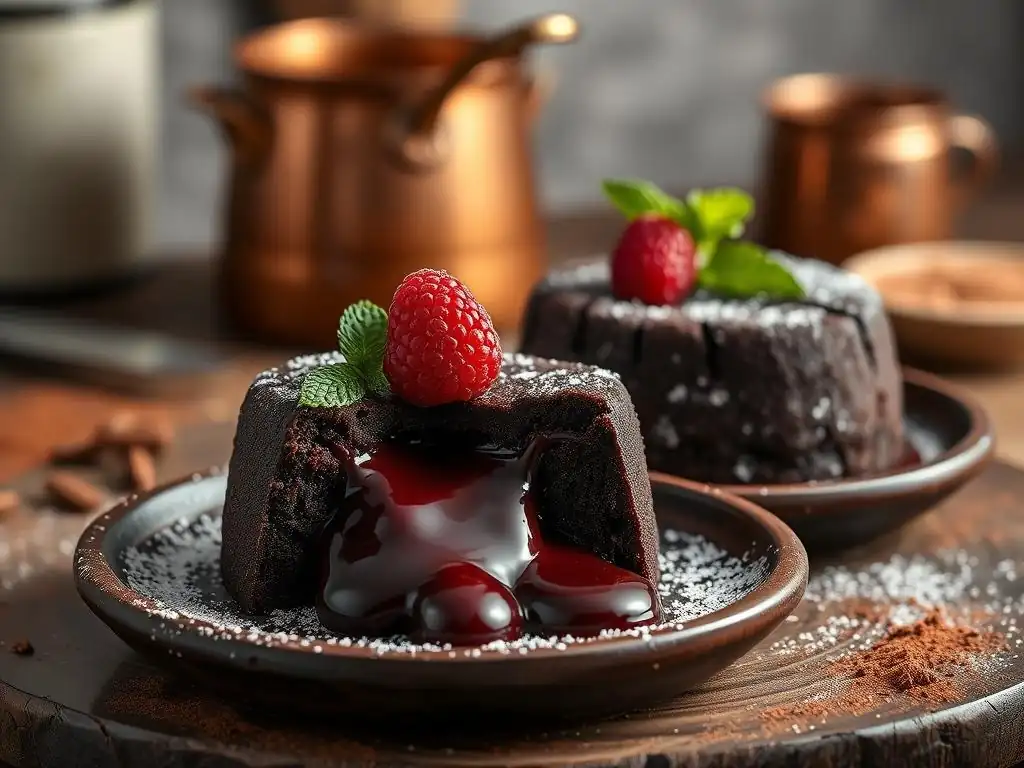
The hallmark of a great molten chocolate lava cake is that luscious, flowing center. The most critical factor in achieving this is the baking time. Baking for too long will result in a fully cooked cake, while baking for too short a time might mean the edges aren't set enough to hold their shape. The sweet spot is when the outer layer is firm but the center is still soft and liquid. This usually happens within a narrow window of just a couple of minutes, often between 8 and 12 minutes in a hot oven (375-400°F or 190-200°C).
Monitoring the cakes visually is key. Look for the edges to be set and possibly just starting to pull away from the ramekin sides. The very center should still look moist and slightly soft. A gentle nudge of the baking sheet should make the center wobble slightly. Knowing your oven is important; ovens vary, so the first time you make these easy molten chocolate lava cakes, start checking around 8 minutes and check frequently thereafter until you find the perfect time for your specific oven and ramekins.
Troubleshooting Common Problems
Even with a simple recipe, occasional hiccups can occur. If your homemade lava cakes don't have a molten center, it almost certainly means they were overbaked. For your next attempt, reduce the baking time by 1-2 minutes or increase the oven temperature slightly to promote faster setting of the exterior. If your cakes stick to the ramekins when you try to unmold them, it's likely due to insufficient greasing and flouring/cocoa-dusting in Step 1. Ensure you use plenty of butter and thoroughly coat the inside surfaces next time.
Another potential issue is a tough texture, which usually results from overmixing the batter, particularly after adding the flour. Remember to mix until just combined to avoid developing the gluten too much. If the batter seems too thin, check your measurements, especially the flour quantity. Conversely, if it seems too thick, ensure your butter and chocolate were fully melted and properly incorporated. Following the recipe's ingredient ratios and mixing instructions carefully will help avoid most common pitfalls and lead to delicious easy molten chocolate lava cakes.
Variations and Additions: Customize Your Lava Cake Experience [Adding a Pinch of Sea Salt]
While the classic molten chocolate lava cake is divine on its own, adding a simple element like a pinch of sea salt can elevate the flavor profile significantly. Salt is a powerful flavor enhancer, especially with chocolate. Just a small amount, typically a tiny pinch per ramekin or about 1/8 teaspoon total added to the batter, can intensify the deep, rich notes of the chocolate and provide a subtle contrast to the sweetness.
To incorporate sea salt, you can either whisk a tiny pinch into the finished batter just before pouring it into the ramekins, or sprinkle a few flakes of flaky sea salt directly onto the surface of the batter in the ramekins before baking. The latter method provides little pockets of salty crunch that burst with flavor as you eat the warm cake. Experiment with the amount to find your preference, but remember that a little goes a long way in highlighting the decadent chocolate core of these chocolate lava cakes for two.
Serving and Enjoying Your Chocolate Lava Cakes
Delicious Serving Suggestions
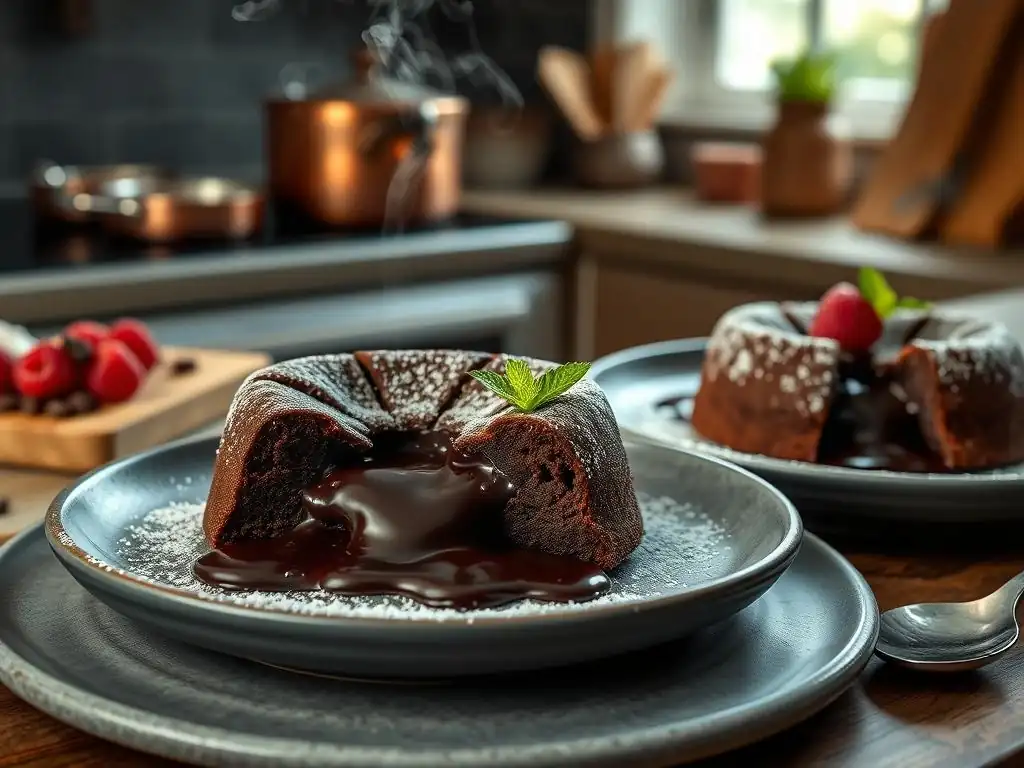
Serving your easy molten chocolate lava cakes is part of the fun! After baking and resting for a minute or two, the traditional way is to carefully invert each ramekin onto a serving plate. Give the ramekin a gentle tap; if properly prepared, the cake should slide out easily, revealing its lovely shape. If it hesitates, run a thin knife around the edge before inverting.
Once plated, the possibilities for garnish are simple yet elegant. A dusting of powdered sugar using a sieve adds a classic touch and a hint of sweetness. Fresh berries like raspberries or strawberries provide a bright, slightly tart contrast to the rich chocolate. A dollop of freshly whipped cream or a sprinkle of chocolate shavings can also enhance the presentation and add extra layers of texture and flavor to your molten chocolate lava cakes.
Pairing Your Lava Cake with Complimenting Flavors [Vanilla Bean Ice Cream]
One of the most popular and undeniably delicious pairings for a warm chocolate lava cake is a scoop of cold vanilla bean ice cream. The contrast in temperatures – the hot, molten chocolate against the chilly ice cream – is incredibly satisfying. Beyond temperature, the creamy texture of the ice cream complements the soft cake and gooey center beautifully.
From a flavor perspective, the pure, sweet notes of vanilla bean ice cream provide a perfect counterpoint to the intense, sometimes slightly bitter, richness of the dark chocolate. The vanilla doesn't compete with the chocolate but rather highlights and enhances its deep flavor. The combination creates a delightful dance of warmth, cold, richness, and sweetness on the palate, making vanilla bean ice cream an ideal companion for your chocolate lava cakes for two.
Storing and Reheating Leftover Lava Cake (If Any!)
Best Practices for Storing Unbaked Batter
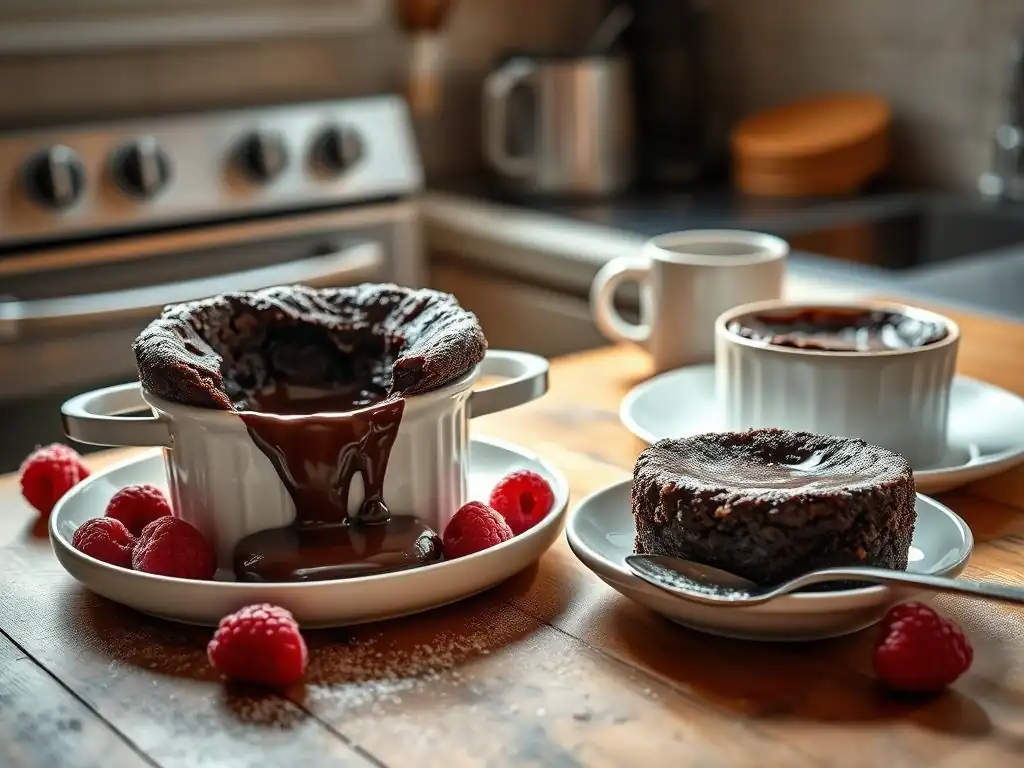
Sometimes you might prepare the batter for your easy molten chocolate lava cakes ahead of time, or perhaps you only bake one and save the other. Unbaked lava cake batter can be stored in the refrigerator for up to 2-3 days. Simply cover the bowl of batter tightly with plastic wrap or transfer it to an airtight container.
If you've already poured the batter into the prepared ramekins, you can cover the individual ramekins tightly with plastic wrap and refrigerate them. When you're ready to bake, remove the ramekins from the fridge about 15-20 minutes before baking to allow them to come closer to room temperature. You might find they need an extra minute or two in the oven compared to baking from fresh batter, as the starting temperature is cooler.
Reheating Instructions
While molten chocolate lava cakes are best enjoyed fresh from the oven, sometimes you might have a leftover baked cake (though with a recipe for two, this is rare!). If you do, the key to reheating is to warm it gently without overcooking the center. The most common method is using a microwave.
Place the baked cake (either in its ramekin or on a microwave-safe plate) in the microwave and heat on medium power for 20 to 40 seconds. Check it after 20 seconds and continue heating in short bursts until the center feels warm and soft again, but not boiling hot. Alternatively, you can place the baked cake back into a preheated oven (around 300°F or 150°C) for just a few minutes, perhaps 5-8, until warmed through. Be cautious with oven reheating as it's easier to overcook the center this way.
More Romantic Dessert Recipes
Explore Other Recipes
If you enjoyed making these easy molten chocolate lava cakes and are looking for more delightful treats to share, our site is full of inspiration for romantic desserts. From light and airy mousses to rich and comforting puddings, there are many ways to satisfy a sweet craving together. Exploring different textures and flavors can make baking together a fun and rewarding experience.
Consider trying your hand at elegant pastries or simple cookie recipes designed for smaller batches. Sharing the process of baking can be just as enjoyable as sharing the final dessert. We offer step-by-step guides for a variety of sweet creations perfect for two.
- Red Velvet Cupcakes
- Chocolate Mousse
Conclusion: Indulge in Homemade Molten Chocolate Lava Cakes
Creating easy molten chocolate lava cakes for two is a truly rewarding experience. This simple recipe allows you to quickly produce a dessert that looks and tastes incredibly impressive, perfect for adding a touch of magic to any occasion. From gathering just a few essential ingredients to following the straightforward steps of melting, mixing, and baking, the process is designed to be approachable for anyone.
The joy comes from that moment you gently cut into the cake and witness the rich, molten chocolate lava flow out, a testament to successful baking. Paired with a scoop of vanilla bean ice cream or simply dusted with powdered sugar, these homemade lava cakes offer a moment of pure, unadulterated indulgence. Embrace the ease of this recipe and enjoy the delicious result – a perfect romantic dessert for two, made with care right in your own kitchen.
Frequently Asked Questions
What makes this lava cake recipe "easy"?
This recipe focuses on simple ingredients and straightforward instructions, making it perfect for beginners. It also avoids complex techniques or specialized equipment.
Can I use different types of chocolate?
Yes, you can experiment! Just ensure the chocolate has a high cocoa content (around 70%) for the best molten texture and flavor.
How do I prevent the lava cakes from overbaking?
The key is to watch them closely during the last few minutes of baking. They should be set around the edges but still jiggly in the center.
What size ramekins are recommended for this recipe?
We recommend using 6-ounce ramekins for the perfect portion size and molten center. Using larger ones may require adjusting baking time.
Can I prepare the batter in advance and bake later?
Yes, you can! Cover the batter in the ramekins and refrigerate for up to 24 hours. Just add a few minutes to the baking time when baking from cold.
Final Reflection: The Enduring Allure of Simple Pleasures
The art of creating a perfect molten chocolate lava cake lies not in complexity, but in precision and intention. This seemingly simple dessert, achievable even for novice bakers, offers a profound experience of culinary satisfaction, a testament to the power of mindful creation. In a world often characterized by overwhelming complexity, the ease of this recipe serves as a welcome reminder that joy can be found in simplicity.
The enduring appeal of the molten chocolate lava cake transcends mere indulgence; it represents a connection to comfort, nostalgia, and the shared experience of creating something delicious. It's a small act of love, whether for oneself or another, that resonates deeply. The simplest things are often the most beautiful.
This quote, while applicable to many aspects of life, rings particularly true when considering the impact of this seemingly simple recipe. The act of making and sharing this cake fosters connection and creates lasting memories, far outweighing the effort involved.
Now, I invite you to consider the possibilities. Don't just bake this cake; experience it. Savor the rich, decadent chocolate, the warm, gooey center, and the simple joy of creation. Let this recipe be a reminder that even amidst the chaos of daily life, moments of simple pleasure, carefully crafted, can bring immense satisfaction. Take the time, gather the ingredients, and create your own molten masterpiece. You deserve it.
Unleash Your Inner Pastry Chef: Make Tonight Magical!
Thanks for joining us on this delicious journey into the world of molten chocolate! We hope you've gained the confidence to tackle this decadent dessert. Ready to take the next step?
- Bake your own chocolate lava cake tonight! The recipe is simpler than you think, and the result is pure bliss.
- Share your baking triumph with us! Use #BakeWithEaseLavaCake on social media – we can't wait to see your creations.
- Challenge a friend to a lava cake-off! Friendly competition makes baking even more fun.
So, are you ready to experience the pure, gooey goodness of a homemade chocolate lava cake?