
Troubleshooting Tough Cookies: What Went Wrong and How to Fix It

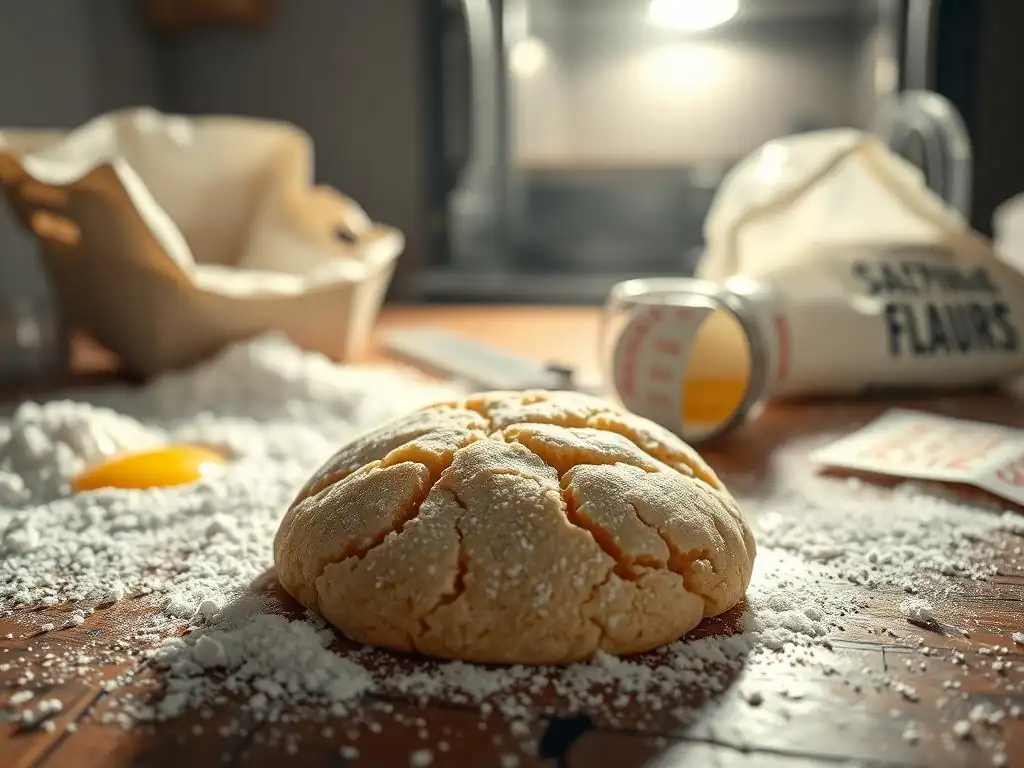
Welcome to BakeWithEase, your friendly guide to the delightful world of baking! Ever wondered why cookies won't bake quite right, leaving you with flat, hard, or otherwise disappointing results? You're not alone! We'll unravel the mysteries behind common cookie mishaps and equip you with simple solutions to bake perfect batches every time. Get ready to troubleshoot your tough cookies and transform baking frustrations into sweet successes!
- Introduction: Decoding Common Cookie Baking Problems for Beginners
- Why Cookies Won't Bake Properly: Identifying the Root Cause
- Problem 1: Cookies Are Too Flat and Thin
- Problem 2: Cookies Are Too Hard and Dry
- Problem 3: Cookies Are Too Cakey
- Problem 4: Cookies Are Underbaked and Doughy
- Problem 5: Cookies Are Burnt on the Bottom
- Problem 6: Unevenly Baked Cookies
- Cookie Dough Troubleshooting: Addressing Issues Before Baking
- Best Practices for Perfect Cookie Baking Every Time
- Frequently Asked Questions
- Final Reflection: The Sweet Science of Baking Success
- Unleash Your Inner Baking Pro!
Cookies are a beloved treat, often seen as a simple baking task. However, anyone who's tried their hand at making them knows that things can sometimes go awry. From cookies that spread into thin puddles to those that come out hard as rocks, encountering issues is a common part of the learning process.
Understanding why cookies won't bake perfectly is the first step to fixing the problem and achieving that ideal texture and flavor. This guide is designed specifically for beginners on BakeWithEase, walking you through the most frequent cookie mishaps and providing clear, actionable solutions to help you master the art of baking delicious cookies every single time.
This article will break down the science behind cookie baking, identify common pitfalls, and offer targeted fixes for issues like excessive spreading, dryness, cakiness, and uneven baking. We'll explore why your cookies won't bake correctly based on various factors like ingredient ratios, dough temperature, and oven settings. By the end, you'll have a solid understanding of how to troubleshoot and prevent these issues, building your confidence in the kitchen and ensuring your cookies are always a success.
Baking cookies isn't just about mixing ingredients; it's a chemical process where heat transforms simple components into a complex structure. When dough hits the oven, several things happen simultaneously. Fats melt, causing the cookie to spread. Leavening agents like baking soda or baking powder produce gases, which make the cookie rise.
Sugars caramelize, contributing to color and flavor, while proteins in the flour and eggs coagulate, setting the structure. The moisture evaporates, affecting the final texture. The balance of these reactions dictates whether you get a chewy, crisp, or soft cookie. If any part of this process is off, it can explain why cookies won't bake correctly.
For instance, butter typically melts around 90°F (32°C). If your dough starts too warm, the butter melts too quickly before the structure sets, leading to excessive spreading. Leavening agents activate differently based on moisture and temperature; baking soda needs an acid to react fully, often found in brown sugar or buttermilk. Without proper activation, the cookie might not rise sufficiently. Understanding these basic principles helps diagnose problems. For example, if your cookies are dense, it might be due to inactive leavening, which is a key reason why cookies won't bake with the desired lightness.
- Incorrect Oven Temperature
- Inaccurate Measurements of Ingredients
- Overmixing the Dough
- Using Expired Ingredients
- Improper Cookie Sheet Preparation
One of the most frequent reasons why cookies won't bake as expected is an incorrect oven temperature. Ovens can be notoriously inaccurate, sometimes being off by as much as 25-50°F (15-30°C). If the oven is too hot, the outside of the cookie might burn before the inside is cooked through, leading to a burnt bottom and raw center.
If it's too cool, the cookie spreads too much before the structure sets, resulting in thin, flat cookies, or they may not brown properly. Using an oven thermometer is a simple way to verify your oven's actual temperature and eliminate this common variable.
Another critical factor is inaccurate measurement. Baking is a science, and while some cooking is forgiving, baking often requires precision. Too much flour can make cookies dry and tough, while too little can cause excessive spreading.
Similarly, too much sugar can lead to a crispier, flatter cookie due to its melting properties, while too little sugar might prevent proper browning and spread. Using a kitchen scale for dry ingredients like flour and sugar is the most accurate method, as scooping directly from a bag can result in significantly different amounts depending on how packed the ingredient is. Even small errors in key ingredients can be the reason why your cookies won't bake with the perfect texture you're aiming for.
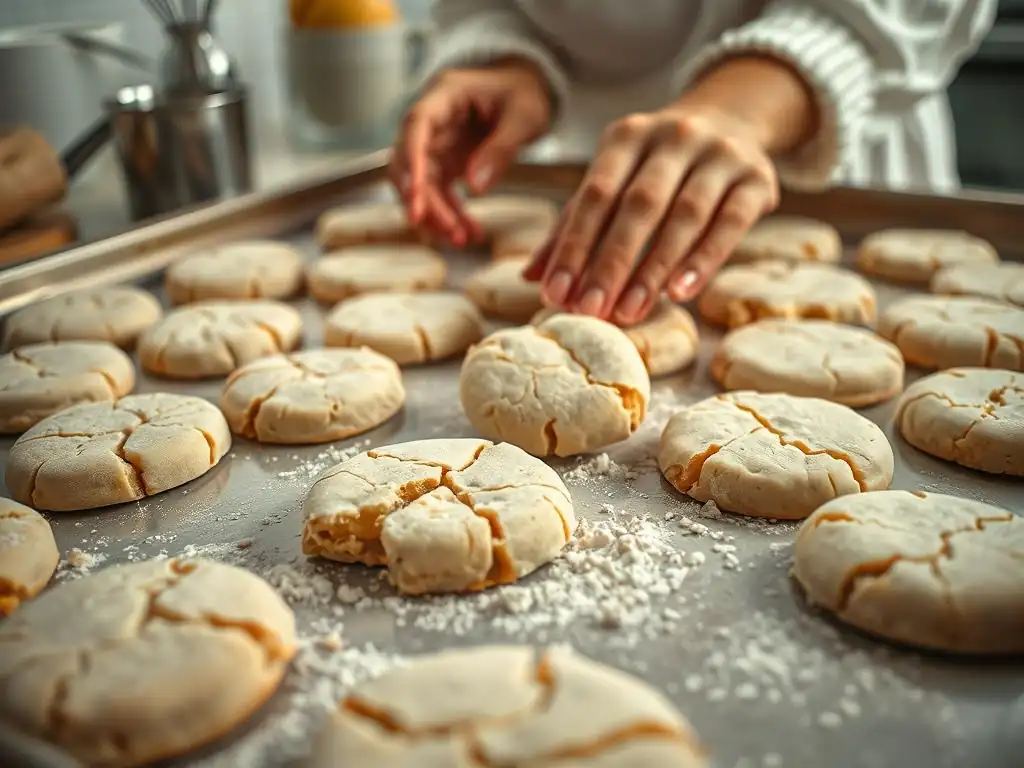
Excessive spreading is a very common complaint among bakers learning why cookies won't bake properly. It often results in cookies that are thin, crispy, and lack that desirable chewy or soft center. Several factors contribute to this.
One major culprit is dough temperature; if the dough is too warm when placed on the baking sheet, the fat melts too quickly in the oven before the flour and eggs have a chance to set the structure, causing rapid and excessive spreading. Using melted or softened butter that is too warm instead of properly softened (cool to the touch but pliable) can also lead to this issue.
Another reason for flat cookies relates to the ingredients themselves, particularly the ratio of fat and sugar. Recipes with a higher proportion of butter or sugar tend to spread more. Using too much leavening agent, especially baking soda without enough acid to neutralize it, can also cause rapid expansion and then collapse. Furthermore, using greased baking sheets instead of parchment paper or silicone mats can contribute to spreading, as the extra grease provides less friction, allowing the dough to slide outwards easily. Understanding these causes helps pinpoint why your cookies won't bake up thick and chewy.
- Chill the Dough Before Baking
- Use Parchment Paper or a Silicone Baking Mat
- Adjust Sugar and Fat Ratio in the Recipe
- Ensure Accurate Oven Temperature
- Avoid Overcrowding the Baking Sheet
Chilling the dough is one of the most effective ways to combat excessive spreading. Refrigerating the dough for at least 30 minutes, or even several hours, solidifies the fat. This means the fat takes longer to melt in the hot oven, giving the cookie's structure (from the flour and eggs) more time to set before significant spreading occurs. For exceptionally soft or sticky doughs, chilling for 1-2 hours is often recommended. This simple step is often the key fix when asking why cookies won't bake with enough height.
Using parchment paper or a silicone baking mat also helps control spread by providing a surface with some grip, preventing the dough from sliding outwards excessively. Additionally, these surfaces promote more even heat distribution to the bottom of the cookie, aiding in setting the structure faster. If you consistently have issues with spreading despite chilling, you might need to slightly adjust your recipe, perhaps reducing the amount of butter or sugar by a tablespoon or two, or ensuring your leavening is fresh and used in the correct amount.
Finally, verify your oven temperature is accurate with a thermometer; an oven that is too cool will exacerbate spreading problems. Baking cookies too close together on the sheet can also cause them to merge and spread unevenly.
Hard and dry cookies are often the result of moisture loss or improper ingredient balance. This texture is usually undesirable, lacking the pleasant chewiness or tenderness of a well-baked cookie. The primary culprit is often overbaking. When cookies are left in the oven for too long, too much moisture evaporates, leaving behind a dry, brittle structure. Even a minute or two extra can make a significant difference, especially for thinner cookies. The edges might look golden brown, but the inside becomes parched. This is a frequent reason why cookies won't bake with a soft interior.
Another factor contributing to dryness can be using too much flour or not enough fat or liquid in the dough. Flour absorbs moisture, and an excess amount will soak up available liquid, resulting in a dry texture even before baking. Conversely, fat (like butter or oil) contributes to tenderness by coating flour particles and preventing excessive gluten development, while also adding moisture. If the ratio is off – too much flour relative to fat and liquid – the cookies will likely turn out hard and dry, explaining why your cookies won't bake with a moist crumb.
- Avoid Overbaking
- Add Moisture-Rich Ingredients (e.g., Brown Sugar, Applesauce)
- Use a Higher Fat Content in the Recipe
- Store Cookies Properly to Retain Moisture
To avoid hard and dry cookies, the most crucial step is to prevent overbaking. Start checking your cookies at the minimum bake time specified in the recipe. Look for visual cues: the edges should be set and possibly lightly golden, but the centers should still look slightly soft or underdone. Cookies continue to bake slightly from residual heat after they are removed from the oven.
Aim to take them out when they look almost done. For many cookie types, this means removing them when the centers are still pale and seem a bit soft, letting them finish setting on the hot baking sheet for 5-10 minutes before transferring to a cooling rack. This prevents the issue of why cookies won't bake without becoming overly dry.
Adjusting ingredients in future batches can also help. Brown sugar, for instance, contains molasses, which adds moisture and contributes to a chewier texture compared to granulated sugar. Swapping some granulated sugar for brown sugar can improve moisture. Increasing the fat slightly (e.g., adding a tablespoon or two of butter) can also tenderize the cookie.
For recipes that can tolerate it, adding a small amount of a moisture-rich ingredient like applesauce or a little extra egg yolk can counteract dryness. Finally, proper storage is essential. Store cookies in an airtight container at room temperature once they are completely cool to prevent them from drying out. If they do become slightly dry, placing a slice of bread or an apple wedge in the container overnight can help restore some moisture.
Cakey cookies have a soft, bread-like texture rather than the dense, chewy, or crisp texture typically associated with cookies. This texture is often a sign of too much structure and not enough spread or richness. One common reason why cookies won't bake with a classic cookie texture and become cakey is the type of flour used. Cake flour or self-rising flour, which have lower protein content or added leavening, can contribute to a lighter, more cake-like crumb structure.
Another factor is the ratio of wet to dry ingredients and the amount of leavening. Recipes with a higher proportion of liquid (like milk or extra eggs) or more leavening (baking powder) tend to produce cakey results because these ingredients promote rise and a softer, more open crumb structure similar to cake. The creaming method can also play a role; over-creaming butter and sugar incorporates too much air, which acts as leavening and contributes to a cakey texture.
This excess air causes the cookie to puff up rather than spread and flatten, leading to that undesirable cake-like interior. Understanding these aspects helps diagnose why your cookies won't bake with the desired density and chewiness.
- Use All-Purpose Flour Instead of Cake Flour
- Adjust the Ratio of Wet to Dry Ingredients
- Cream Butter and Sugar Properly
- Slightly Underbake the Cookies
To combat a cakey texture and achieve a chewier cookie, start with the right flour. All-purpose flour is generally preferred for most cookie recipes as its protein content provides structure without being overly tenderizing like cake flour. Ensure you are using the type of flour specified in the recipe. If your recipe consistently yields cakey results, you might consider slightly reducing the amount of leavening (baking powder) or liquid (milk, if used) in future batches. This reduces the 'lift' and promotes a denser texture.
Properly creaming butter and sugar is also key. Creaming incorporates air, which is desirable for some lift, but over-creaming incorporates too much, leading to cakiness. Cream butter and sugar together until just light and fluffy, typically 2-3 minutes, not 5-10 minutes as you might for a cake. For particularly chewy cookies, some recipes even call for using melted butter instead of creamed butter, as this incorporates less air and encourages spread.
Finally, slightly underbaking is a secret weapon for chewiness. Removing cookies from the oven when the edges are set but the centers still look moist and slightly underdone allows them to finish cooking on the hot sheet, resulting in a softer, chewier interior. This technique is crucial when asking why cookies won't bake with that perfect chew.
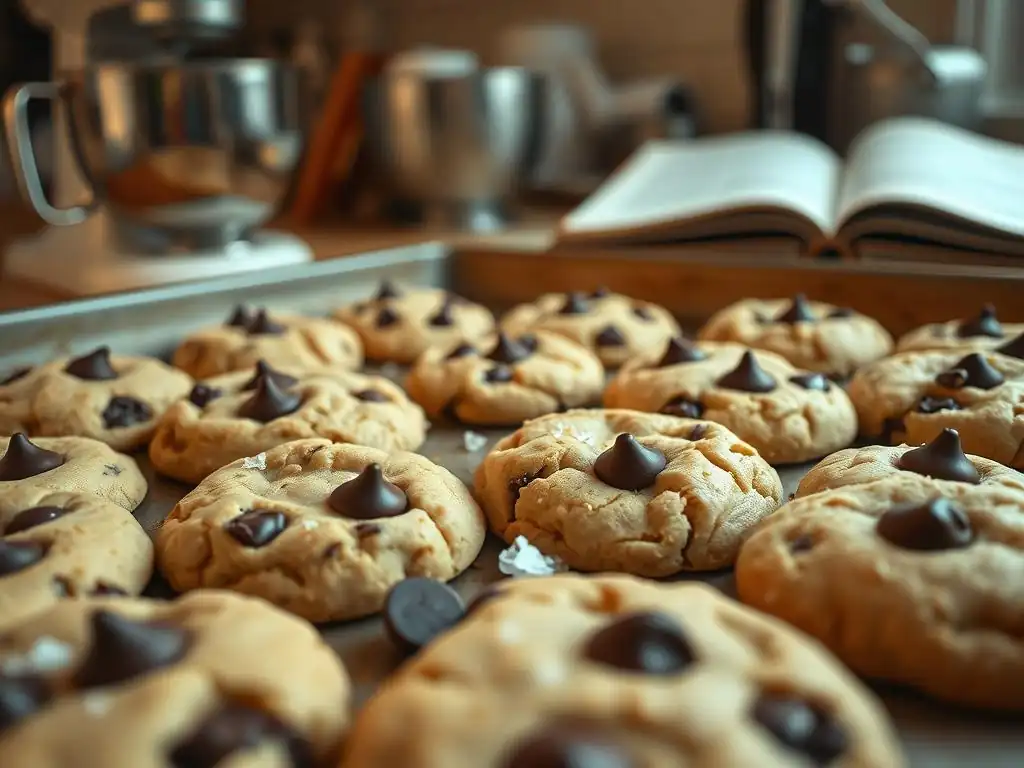
Underbaked cookies are frustrating; they lack the proper structure, can be excessively soft or gooey in the center, and may not have fully developed flavor or color. Identifying them is usually straightforward: they will appear pale, especially in the center, and feel very soft or unstable when you try to move them off the baking sheet. The edges might be lightly colored, but the middle remains distinctly doughy. This is a clear sign why cookies won't bake through completely.
The most common reason for underbaking is simply not enough time in the oven, or an oven temperature that is too low. If the oven isn't hot enough, the cookies won't reach the internal temperature needed for the structure to set and for reactions like sugar caramelization to occur properly. Checking the cookies only by the clock isn't always reliable because ovens vary and dough temperature affects baking time. Relying solely on the recipe's time range without observing the visual cues is a frequent mistake leading to this issue.
- Continue Baking at a Lower Temperature
- Use a Thermometer to Check Internal Temperature (if applicable)
- Ensure Even Heat Distribution in Your Oven
If you realize your cookies are underbaked after taking them out, all is not lost, especially if they are only slightly underdone. You can often return them to the oven to finish baking. Lower the oven temperature slightly (e.g., by 25°F or 15°C) to prevent the edges from burning while the center cooks through.
Place the cookies back on the baking sheet (if they were moved) and bake for an additional 2-5 minutes, checking frequently until they reach the desired doneness – edges set, centers no longer wet or excessively soft. This method can often salvage a batch and is a good fix when you discover why cookies won't bake completely the first time.
For recipes where internal temperature is a reliable indicator (like some thicker cookies or bars), using an instant-read thermometer can help ensure proper doneness. For many standard cookies, visual cues are sufficient. To prevent future underbaking, always preheat your oven fully and consider using an oven thermometer to verify its accuracy.
If your oven runs cool, you may need to slightly increase the temperature or extend the baking time. Also, ensure you're placing the baking sheet in the correct rack position for even heat distribution, usually the middle rack. Proper oven management is key to ensuring why cookies won't bake through is no longer a mystery.
Burnt cookie bottoms are a common and disheartening problem, especially when the tops look perfectly golden. This issue is almost always related to excessive heat transferring to the bottom of the baking sheet. One major cause is baking directly on thin, dark-colored metal baking sheets. Dark surfaces absorb and radiate heat more efficiently than lighter surfaces, which can cause the bottoms to brown and burn much faster than the tops. Thin sheets also don't provide much insulation. This is a frequent explanation for why cookies won't bake evenly from top to bottom.
Another factor is the position of the oven rack. If the baking sheet is placed too low in the oven, it is closer to the heating element (usually at the bottom), receiving more intense direct heat. This disproportionate heat exposure leads to the bottoms cooking and burning before the rest of the cookie is done.
Using a baking sheet that is too large or misshapen can also affect airflow and heat distribution around the cookies, contributing to uneven or burnt bottoms. Understanding how heat interacts with your baking equipment is crucial when troubleshooting why your cookies won't bake without scorching underneath.
- Use a Double Baking Sheet
- Lower the Oven Rack
- Use Parchment Paper or a Silicone Baking Mat
One of the most effective ways to prevent burnt bottoms is to use a double baking sheet. This means placing your baking sheet with the cookies on top of another identical baking sheet (or even an overturned roasting pan of similar size). The extra layer of metal acts as an insulator, shielding the bottom of the cookie sheet from the direct radiant heat of the oven element. This simple technique can make a significant difference in achieving evenly baked cookies and is a great fix when you're wondering why cookies won't bake without burning on the base.
Adjusting the oven rack position is another easy solution. Ensure your baking sheet is placed on the middle or upper-middle rack, away from the direct heat source at the bottom of the oven. This allows for more balanced heat exposure from both the top and bottom heating elements.
Using parchment paper or a silicone baking mat also provides a slight layer of insulation and helps with even heat distribution across the surface the cookie is resting on. While they don't offer as much protection as a double sheet, they do help prevent sticking and contribute to more uniform baking. If you have persistent issues, consider investing in lighter-colored, heavier-gauge aluminum baking sheets, as these distribute heat more evenly than dark, thin ones.
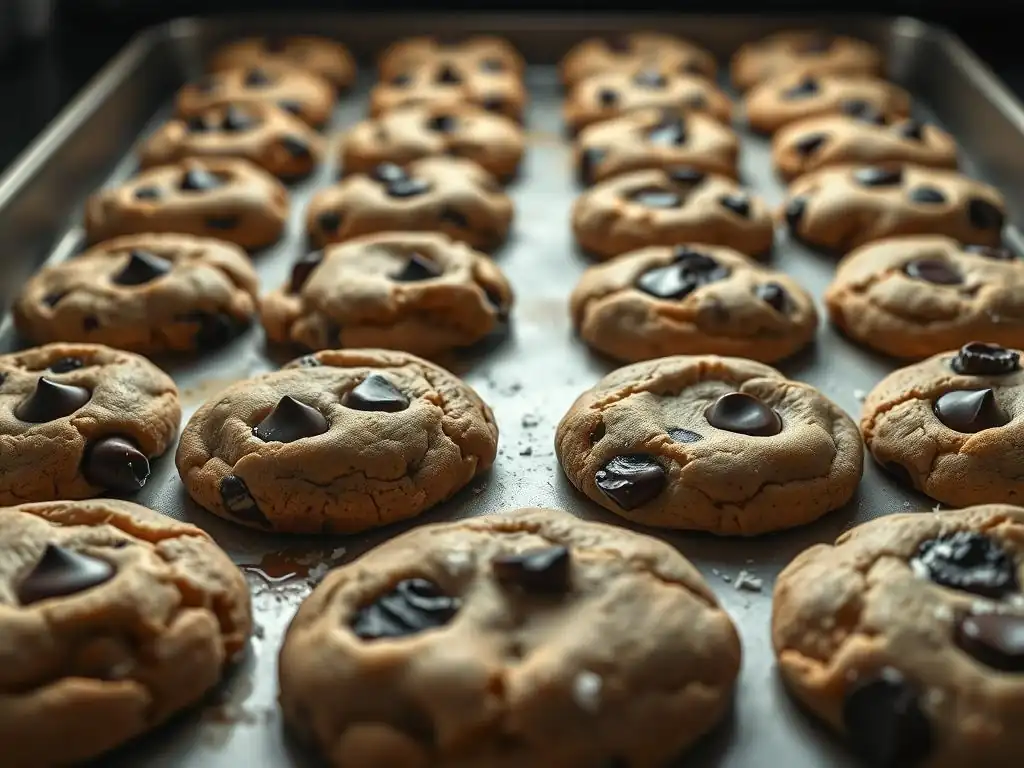
Unevenly baked cookies, where some are perfect and others are underdone or overdone, can be frustrating. This problem typically stems from inconsistent heat distribution within the oven or variations in the cookie dough itself. Ovens often have hot spots – areas that are significantly hotter or cooler than the set temperature. This means cookies placed in certain areas of the baking sheet or oven rack will bake faster than others. This is a common reason why cookies won't bake uniformly across a batch.
Variations in the cookie dough also contribute to uneven baking. If the balls of dough are not uniform in size and thickness, smaller or thinner cookies will bake much faster than larger or thicker ones. Using a cookie scoop or measuring spoon to portion the dough helps ensure consistency. Additionally, overcrowding the baking sheet can hinder even baking. When cookies are placed too close together, they can affect airflow and heat circulation around each cookie, leading to some baking faster or slower depending on their position on the sheet and proximity to others.
- Rotate Baking Sheets During Baking
- Ensure Evenly Sized Cookie Dough Balls
- Calibrate Your Oven
To combat hot spots and achieve more uniform results, rotate your baking sheets halfway through the baking time. For example, if the recipe calls for 10-12 minutes of baking, rotate the sheet 180 degrees after 5-6 minutes. If you are baking multiple sheets at once on different racks, swap their positions as well. This ensures that all cookies spend equal time in different areas of the oven, compensating for temperature variations and addressing why cookies won't bake consistently without this step.
Ensuring your cookie dough portions are uniform in size is fundamental for even baking. Using a cookie scoop is highly recommended for consistent results. A standard ice cream or cookie scoop (like a 1.5-inch or 2-inch diameter) helps create consistently sized balls of dough.
If you don't have a scoop, use a measuring spoon or weigh the dough portions. Finally, if you suspect your oven temperature is consistently off or wildly inconsistent, consider getting it professionally calibrated. While rotating sheets helps manage uneven heat, a properly calibrated oven provides a better foundation for consistent baking and helps eliminate a major factor in why cookies won't bake evenly.
If your cookie dough seems crumbly, stiff, and doesn't come together easily, it's likely too dry. This often happens due to inaccurate measurement of dry ingredients, particularly flour (too much), or insufficient liquid (eggs, vanilla, or milk). Overmixing after adding the flour can also develop too much gluten, making the dough stiff and dry. A dry dough will result in cookies that don't spread properly and turn out hard and crumbly after baking. This texture issue in the dough is a direct precursor to understanding why cookies won't bake with a moist, tender crumb.
To fix dry cookie dough, you need to carefully add a small amount of liquid. Start by adding a teaspoon of milk, water, or even melted butter (depending on the recipe's fat source) at a time. Mix gently until the dough just comes together and is pliable enough to handle or scoop without crumbling excessively.
Be cautious not to add too much liquid, as this can lead to the opposite problem – sticky dough and excessive spreading. A well-hydrated dough should feel soft but not wet, and hold its shape when rolled or scooped. Addressing the dough consistency before it hits the oven is a critical step in preventing issues and understanding why cookies won't bake as intended.
Conversely, if your cookie dough is excessively sticky, wet, and difficult to handle or scoop without it clinging everywhere, it has too much liquid or not enough flour. This can happen from inaccurate measurement (too little flour, too much butter or liquid), using butter that is too soft or melted when the recipe calls for softened, or even high humidity levels affecting the flour's moisture content. Sticky dough often leads to cookies that spread too much, are thin, and potentially greasy after baking. This dough consistency is a clear indicator of why cookies won't bake into well-structured cookies.
To fix sticky cookie dough, the simplest solution is to add a small amount of flour, a tablespoon at a time, mixing gently until the dough is easier to handle. Alternatively, and often preferably, chilling the dough can work wonders. Refrigerating the dough for 30 minutes to an hour or more will solidify the fats, making the dough much firmer and less sticky.
This is often the first recommended step for sticky doughs, as it not only makes them easier to handle but also helps control spread during baking. If the dough is still too sticky after chilling, then add flour very gradually. Getting the dough consistency right before baking is essential for successful cookies and helps avoid asking why cookies won't bake into a recognizable shape.
Measuring Ingredients Accurately
Accurate measurement is arguably the most fundamental best practice in baking, including understanding why cookies won't bake consistently. Unlike cooking, where you can often adjust seasonings or ingredients by taste, baking relies on precise ratios for chemical reactions and structure to form correctly. Using the right amount of flour, sugar, fat, and leavening is critical for achieving the desired texture, spread, and rise. Too much or too little of any key ingredient can drastically alter the outcome.
For dry ingredients like flour, sugar, and cocoa powder, using a kitchen scale is the most accurate method. If using volume measurements, spoon the flour lightly into the measuring cup and level off with a straight edge, rather than scooping directly from the bag, which can compact the flour and result in using up to 25% too much. For liquids, use liquid measuring cups at eye level.
For fats like butter, the markings on the wrapper are usually quite accurate. Taking the time to measure precisely eliminates a major variable when troubleshooting why your cookies won't bake as they should.
Understanding the Role of Each Ingredient
Knowing what each ingredient does in a cookie recipe helps troubleshoot problems and even adapt recipes. Flour provides structure through protein (gluten) development and starch. Sugar adds sweetness, aids in browning (caramelization), contributes to spread (it melts), and helps create tenderness. Fats (butter, oil, shortening) add richness and flavor, tenderize the cookie by inhibiting gluten development, and influence spread and texture. Eggs bind ingredients, add richness, contribute to leavening, and help set the structure. Leavening agents (baking soda, baking powder) create gases that make cookies rise and spread. Salt enhances flavor and balances sweetness.
For example, if you know butter contributes to spread and tenderness, you understand why cookies won't bake with a firm structure if you use too much melted butter. If you know baking soda needs an acid to react fully, you understand why substituting ingredients might affect rise. This foundational knowledge allows you to predict how changes or errors might affect the final cookie and provides clues when trying to figure out why cookies won't bake with the desired characteristics.
Proper Oven Temperature and Baking Time
Even with perfectly measured ingredients and well-prepared dough, incorrect oven temperature and baking time can ruin a batch of cookies. As discussed, ovens can be inaccurate, leading to under or overbaking. Preheating your oven fully is essential; placing cookies in a cold oven means they will spread excessively before the oven reaches temperature and the structure can set. Using an oven thermometer to verify your oven's accuracy is a worthwhile investment for consistent baking results.
Baking time is equally critical and should be seen as a guideline rather than a strict rule. Always start checking cookies at the minimum time specified in the recipe. Look for visual cues specific to the type of cookie you are making – edges set and slightly golden, centers still looking soft or slightly pale for chewy cookies, or uniformly golden for crisp cookies.
Remove them when they are almost done, allowing carryover heat to finish the process. Learning to read these cues is key to preventing issues and mastering why cookies won't bake perfectly without careful monitoring of the oven.
Frequently Asked Questions
The most common reason is excess butter or too much sugar. Try chilling the dough before baking to help solidify the fats and prevent excessive spreading.
Overbaking is a primary culprit. Over-mixing the dough can also develop too much gluten, leading to a tough texture.
Your oven temperature might be too high, causing the outside to cook faster than the inside. Try lowering the oven temperature and baking for a longer time.
This could be due to a dark baking sheet or the oven rack being too low. Use a lighter-colored baking sheet and move the rack to the middle position.
This is often caused by under-creaming the butter and sugar. Ensure these ingredients are properly creamed together until light and fluffy before adding other ingredients.
Final Reflection: The Sweet Science of Baking Success
The seemingly simple act of baking a cookie holds a surprising amount of scientific complexity. A perfectly crisp edge, a chewy center, a delightful aroma – these are all the result of carefully balanced ingredients and precise techniques. Understanding why cookies fail, as explored in this article, is not just about fixing a recipe; it's about mastering the fundamentals of baking and appreciating the delicate interplay of chemistry and culinary art.
This journey into the world of troubleshooting cookie mishaps has underscored the importance of paying attention to detail. Even seemingly insignificant factors, like the age of baking powder or the accuracy of oven temperature, can drastically alter the final product. The frustration of a batch of flat, hard cookies is a powerful teacher, reminding us that even in the kitchen, precision and understanding are key to success. The best way to find yourself is to lose yourself in the service of others.
– Mahatma Gandhi (While not directly about baking, this speaks to the dedication and attention to detail required for mastering any skill).
Now, armed with a deeper understanding of the science behind baking, I invite you to approach your next baking endeavor with renewed curiosity and confidence. Don't be discouraged by setbacks; instead, view them as opportunities to learn and refine your technique. The next time your cookies don't quite meet expectations, remember the lessons learned here. Experiment, adjust, and most importantly, enjoy the process of creating something delicious. The perfect cookie awaits!
Unleash Your Inner Baking Pro!
Thanks for joining us on this delicious journey into cookie troubleshooting! We hope you now feel more confident in tackling those tricky baking challenges. Ready to put your newfound knowledge to the test?
- Bake a batch of your favorite cookies, using the tips and tricks you just learned. This time, we bet they'll be perfect!
- Share your baking triumphs (or even your funny fails!) on our BakeWithEase community forum – let's learn from each other!
- Try a new cookie recipe – now that you're a troubleshooting expert, you're ready for anything!
What's your next baking adventure, and what delicious challenges will you conquer?