
Mastering Baguette Fermentation: Bulk Rise Secrets

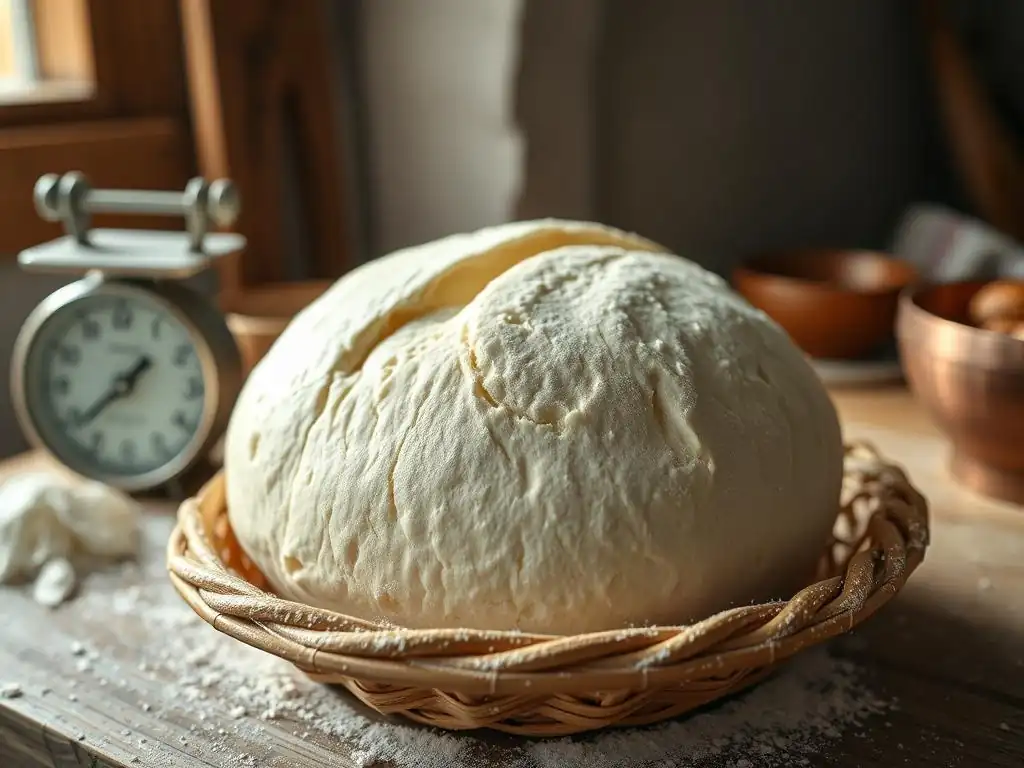
Welcome to BakeWithEase, your compass in the delicious world of baking! Are you ready to unlock the secrets to creating bakery-worthy baguettes at home? This week, we're diving deep into the crucial stage of baguette fermentation, specifically focusing on the bulk rise. But how does proper bulk fermentation really impact the final crumb and flavor? Join us as we unravel the mysteries and equip you with the knowledge to achieve that perfect, airy loaf you've always dreamed of. Let's get baking!
- Mastering Sourdough Bread Fermentation: Bulk Rise Secrets for Artisan Loaves
- Introduction to Sourdough Fermentation and the Importance of Bulk Rise
- Demystifying the Bulk Fermentation Process for Sourdough
- The Secrets to a Perfect Sourdough Bulk Rise: A Step-by-Step Guide
- Troubleshooting Common Sourdough Bulk Fermentation Problems
- Advanced Techniques for Enhancing Sourdough Bulk Fermentation
- Shaping Sourdough After Bulk Fermentation: Preserving the Air Structure
- Baking Your Perfect Sourdough Loaf After Bulk Fermentation
- Conclusion: Elevate Your Sourdough Baking with Perfect Bulk Fermentation
-
Frequently Asked Questions
- What exactly is the "bulk rise" in baguette making, and why is it so important?
- How do I know when my baguette dough has completed its bulk rise?
- What factors can affect the length of the bulk rise for baguettes?
- Can I over-ferment my baguette dough during the bulk rise?
- Are there any specific techniques BakeWithEase recommends for optimizing the bulk rise of baguettes?
- Final Reflection: The Art and Science of Baguette's Soul
- Unlock Your Baguette's Potential: Start Baking Today!
Mastering Sourdough Bread Fermentation: Bulk Rise Secrets for Artisan Loaves
Introduction to Sourdough Fermentation and the Importance of Bulk Rise
Why the Bulk Fermentation Stage is Crucial for Sourdough Flavor and Texture
The bulk fermentation stage, often called the first rise, is arguably the most critical period in sourdough bread making. This is when the magic truly happens, as wild yeast and beneficial bacteria in your starter actively work on the dough. During this time, complex carbohydrates are broken down, gluten structures begin to strengthen and align, and gases (primarily carbon dioxide) are produced, causing the dough to rise.
This initial rise is fundamental to developing the open, airy crumb structure characteristic of artisan sourdough loaves, including the sought-after texture in a classic baguette. Without sufficient and proper bulk fermentation, the dough will lack strength, structure, and the necessary gas development for a good oven spring.
Beyond just physical changes, bulk fermentation is where the characteristic tangy flavor of sourdough develops. Lactic acid bacteria (LAB), working alongside the yeast, consume sugars and produce organic acids, mainly lactic and acetic acid. The balance of these acids, influenced by factors like temperature and time, dictates the dough's flavor profile.
A longer, cooler bulk fermentation, for example, tends to favor acetic acid production, resulting in a more pronounced tang. This complex interplay of biological and chemical processes during the bulk fermentation stage lays the foundation for both the texture and the unique flavor that distinguishes a truly great sourdough bread.
Understanding the Role of Wild Yeast and Bacteria in Sourdough Dough Fermentation
Sourdough fermentation relies on a symbiotic relationship between wild yeasts, predominantly Saccharomyces cerevisiae (though various strains exist), and lactic acid bacteria (LAB). The wild yeasts consume simple sugars, producing carbon dioxide gas, which leavens the dough, and alcohol, which contributes subtly to flavor. Simultaneously, the LAB ferment carbohydrates into lactic acid and acetic acid. These acids not only contribute to the distinctive sour taste but also help condition the gluten, making the dough more extensible and manageable, and act as natural preservatives.
The activity level and balance between yeast and bacteria are heavily influenced by the environment, particularly temperature. Warmer temperatures (around 78-82°F or 25-28°C) generally favor yeast activity and lactic acid production, leading to faster rising and a milder, yogurty tang. Cooler temperatures (below 70°F or 21°C), especially during a prolonged bulk fermentation or cold proof, slow yeast activity but allow acetic acid bacteria to thrive, resulting in a slower rise and a more pronounced, vinegary tang. Understanding and controlling these microbial dynamics is key to mastering the bulk fermentation for sourdough and achieving your desired bread characteristics.
Demystifying the Bulk Fermentation Process for Sourdough
What is Bulk Fermentation (First Fermentation)?
Bulk fermentation, or the first rise, is the initial period of leavening that begins immediately after you mix your sourdough ingredients together and ends when you divide the dough for shaping. Unlike the final proof, where individual loaves rise, bulk fermentation involves the entire mass of dough fermenting as one unit. This stage is crucial for developing the dough's structure, strength, and flavor profile. It's during this time that you'll often perform a series of stretch and folds to build gluten and distribute the yeast and bacteria evenly throughout the dough.
Think of bulk fermentation as the dough's foundational workout. It's not just about increasing volume; it's about transforming a shaggy mass into a cohesive, extensible, and elastic network capable of trapping gas and holding its shape. The duration can vary widely, from just a few hours at warm room temperature (e.g., 75-80°F) to 12-24 hours or even longer if done in a cool environment or refrigerator (cold bulk fermentation). Properly executing this stage is paramount for achieving a successful bake, whether you're aiming for a rustic boule or a classic baguette fermentation bulk rise.
Key Factors Influencing Bulk Fermentation: Time, Temperature, Starter Activity, and Hydration
Several interconnected factors dictate the pace and outcome of sourdough bulk fermentation. Temperature is perhaps the most significant external variable; dough kept at a warm 78°F (25.5°C) will ferment much faster than dough at 68°F (20°C). A difference of just a few degrees can halve or double the required fermentation time.
The activity level of your sourdough starter is equally critical; a recently fed, vigorous starter with a high population of active microbes will initiate and sustain fermentation much more quickly than a sluggish or underfed one. Using a starter that reliably doubles within 4-6 hours after feeding at room temperature is a good sign of readiness.
The dough's hydration level also plays a role. Higher hydration doughs (e.g., 75-85% water relative to flour) generally ferment faster because the water allows for easier movement of yeast, bacteria, and enzymes. However, they are also stickier and can be harder to handle. Finally, the type of flour used impacts fermentation; whole wheat or rye flours, with their higher nutrient content and enzyme activity, typically lead to faster fermentation compared to white bread flour. Mastering the interplay of these factors is key to controlling your sourdough bulk fermentation and achieving consistent results.
The Secrets to a Perfect Sourdough Bulk Rise: A Step-by-Step Guide
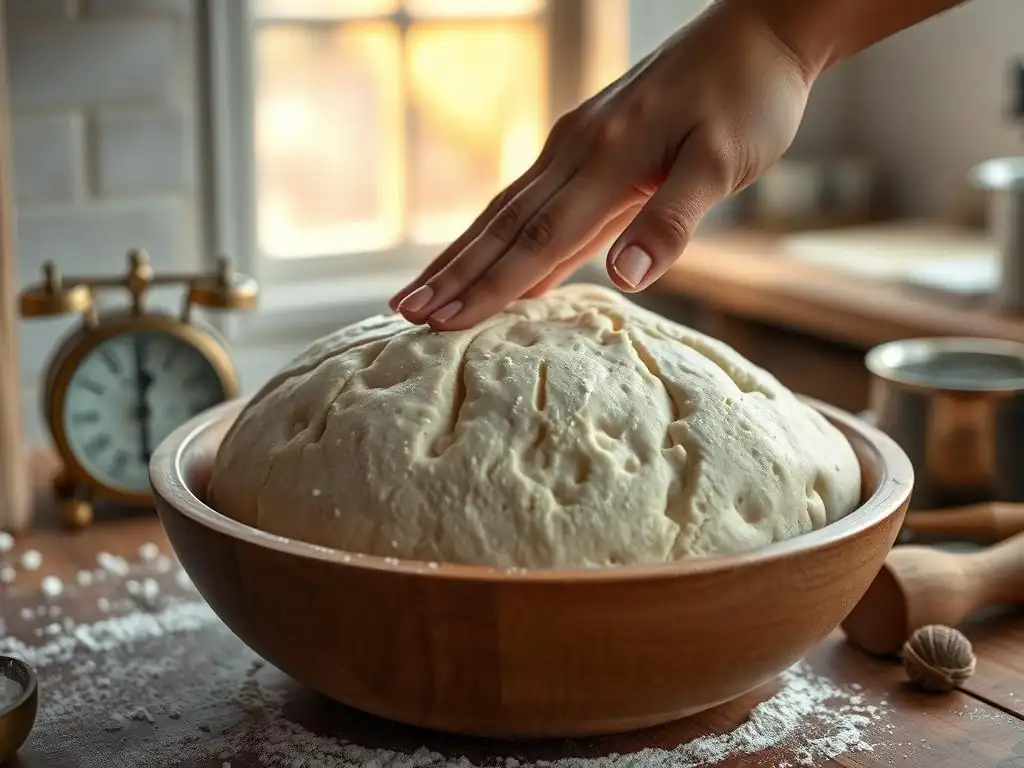
Step 1: Mixing the Sourdough Dough for Optimal Fermentation
The journey to a perfect bulk fermentation begins with the initial mixing of your ingredients: flour, water, salt, and active sourdough starter. The goal is to hydrate the flour fully and distribute the starter and salt evenly. Many bakers start with a gentle mix, just until no dry flour remains, before allowing the dough to rest. This initial mix sets the stage for gluten development and allows the fermentation to begin uniformly throughout the dough mass.
Getting the right balance of ingredients is crucial. A typical sourdough recipe might use 20% active starter relative to the total flour weight (e.g., 100g starter for 500g flour). This inoculation rate significantly impacts fermentation speed. Ensure your starter is at its peak activity, often 4-8 hours after feeding, before mixing it into your dough for reliable results during the bulk fermentation stage.
Choosing the Right Flour for Your Sourdough: Protein Content and Ash Content
The type of flour you select profoundly influences the structure and fermentation characteristics of your sourdough. Bread flour, with its high protein content, typically ranging from 12% to 14%, is ideal for building a strong gluten network capable of trapping the gases produced during bulk fermentation, leading to a good rise and open crumb. Flours with lower protein, like all-purpose flour (~10-11.5%), will result in a weaker structure and potentially a denser crumb if not handled carefully.
Furthermore, the ash content of flour (minerals left after burning) affects fermentation speed and flavor. Whole wheat or rye flours have higher ash content than refined white flour because they include the bran and germ. This higher mineral and nutrient content provides more food for the yeast and bacteria, often accelerating the bulk fermentation process and contributing deeper, more complex flavors. Using a blend of strong bread flour and a percentage of whole grain flour (e.g., 10-20%) is common for balancing structure, flavor, and fermentation speed in artisan sourdough.
The Importance of Autolyse in Sourdough Dough Preparation
Autolyse is a simple yet powerful technique that involves mixing just the flour and water from your recipe and letting it rest for a period, typically 20 minutes to an hour, before adding the salt and starter. This resting period allows the flour to fully hydrate and enzymes naturally present in the flour to begin breaking down starches and proteins. This process significantly helps in developing gluten structure without mechanical kneading.
By performing an autolyse, you give the dough a head start on gluten development, making it smoother, more extensible, and easier to handle later in the bulk fermentation process. It also allows the yeast and bacteria in the starter to begin their work on the hydrated flour more effectively once added. This simple step can lead to improved dough strength, better volume, and a more open crumb structure in your final sourdough loaf.
Step 2: Building Strength Through Stretch and Folds During Bulk Fermentation
Once your ingredients are mixed (and autolyse is complete, if used), the bulk fermentation begins. A crucial technique performed during the first part of this stage is the series of stretch and folds (or coil folds). These are gentle manipulations of the dough performed at intervals (e.g., every 30-60 minutes) for the first 2-3 hours of bulk fermentation. The purpose isn't traditional kneading but rather strengthening the gluten network that is developing as the yeast and bacteria work.
Understanding the Benefits of Stretch and Folds
Stretch and folds provide multiple benefits during the bulk fermentation for sourdough. Firstly, they help develop the gluten structure by aligning the protein strands, making the dough more elastic and capable of holding gas. Secondly, they redistribute the yeast and bacteria, ensuring even fermentation throughout the dough mass.
Thirdly, they help regulate the dough's temperature by handling it. Finally, they incorporate some air into the dough while expelling large pockets of CO2, which helps create a finer, more uniform crumb structure later. Typically, 3-5 sets of stretch and folds are performed during the early part of a standard bulk fermentation, depending on the dough's strength and hydration level.
Step 3: The Ideal Environment for Sourdough Bulk Fermentation
Creating the right environment is crucial for a successful sourdough bulk fermentation. Temperature is the most controllable factor and has the most significant impact on the rate of fermentation. Consistency is key to predictable results.
Controlling Temperature for Consistent Sourdough Dough Rise
Yeast and bacteria activity is highly dependent on temperature. A common range for bulk fermentation is 75-80°F (24-27°C), which allows for active fermentation and good flavor development over a few hours. If your kitchen is cooler, say 68-72°F (20-22°C), the fermentation will proceed much slower, potentially taking 6-8 hours or even longer. Conversely, temperatures above 85°F (29°C) can accelerate fermentation too much, potentially leading to a less complex flavor and a dough that's harder to handle.
To maintain a consistent temperature, you can use a proofing box, an oven with just the light on (checking the temp first! ), or simply find a warm spot away from drafts. Aiming for a stable dough temperature within your desired range is more important than the ambient room temperature.
Using a Dough Container for Monitoring Volume Increase and Dough Development
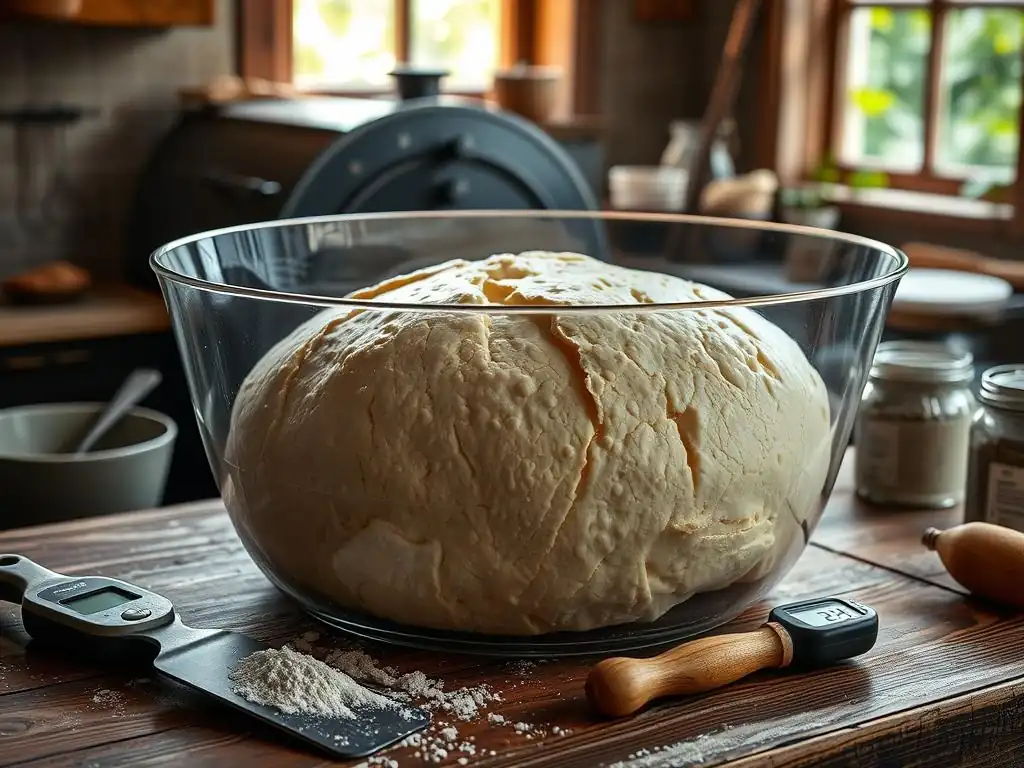
Using a clear, straight-sided container marked with volume measurements is highly recommended for monitoring your sourdough bulk fermentation. This allows you to accurately track the dough's increase in volume, which is a key indicator of fermentation progress. While the exact target volume increase can vary depending on the recipe and desired outcome (some aim for 50%, others 75%, or even 100% before cold proofing), having a visual reference is invaluable.
Beyond just volume, observe the dough's appearance and texture in the container. Look for signs of fermentation like bubbles forming on the surface and throughout the dough. The dough should gradually become more airy, jiggly, and show increased signs of life as the bulk fermentation progresses. Using a clear container helps you see these changes without disturbing the dough too much.
Step 4: Monitoring and Adjusting Bulk Fermentation Time
Knowing when your sourdough bulk fermentation is complete is more about observing the dough's condition than strictly adhering to a clock. While recipes provide time estimates, these are just guidelines. Your specific conditions (starter activity, temperature, hydration, flour) will dictate the actual time needed.
Recognizing Signs of Proper Sourdough Dough Fermentation
Several signs indicate that your bulk fermentation is nearing completion. Visually, the dough should have increased significantly in volume, anywhere from 50% to 100% depending on the recipe and your target. Look for numerous bubbles visible through the sides of a clear container and on the surface of the dough. The dough should also feel lighter and more airy when gently nudged.
A common test is the "poke test" – gently wet your finger and press into the dough about half an inch deep. If the indentation slowly springs back about halfway, it's a good sign of proper fermentation. If it springs back completely, it likely needs more time. If it leaves a deep indentation that doesn't spring back at all, it might be over-fermented.
Dealing with Over-Proofed or Under-Proofed Sourdough Dough
Even experienced bakers sometimes misjudge the bulk fermentation.
- Under-proofed dough: This dough hasn't developed enough gas or strength. It will feel dense and heavy, with few bubbles. If you catch it early, you can simply give it more time in a warm spot. If it's just slightly under-proofed when you plan to shape, proceed with shaping and give it a slightly longer final proof. The final loaf might have a slightly tighter crumb and less oven spring.
- Over-proofed dough: This dough has fermented too long. It will often look very bubbly, feel extremely airy and fragile, and may even start to flatten or collapse slightly. It might smell strongly acidic or alcoholic. While you can still bake over-proofed dough, it will be very difficult to handle and shape without deflating. The resulting loaf will likely have poor structure, potentially a very dense or uneven crumb, and less oven spring. If severely over-proofed, you might need to reshape it into a flatter bread like focaccia or use it for discard recipes.
[ ] Monitor volume increase (aim for 50-100%)
[ ] Check for visible bubbles
[ ] Gently nudge dough for jiggle/airiness
[ ] Perform poke test
[ ] Adjust fermentation time based on dough's condition
Troubleshooting Common Sourdough Bulk Fermentation Problems
My Sourdough Dough Isn't Rising! What to Do?
A frustrating issue during sourdough bulk fermentation is when your dough seems sluggish or shows little to no rise. Several factors could be at play. Firstly, check your sourdough starter's activity. Was it active and bubbly when you added it, doubling in volume within its usual timeframe (e.g., 4-8 hours)? An inactive starter is the most common culprit.
Ensure your starter is robust and properly fed before mixing your dough. Secondly, temperature is critical. If your dough is too cold, yeast and bacteria activity will be very slow. Try moving the dough to a warmer spot or using a proofing method like an oven with just the light on to raise the dough temperature to the optimal 75-80°F (24-27°C).
Other potential issues include using chlorinated water (which can inhibit microbes – use filtered water if yours is heavily chlorinated), insufficient hydration (very dry dough ferments slower), or using flour with low enzymatic activity. If your starter is active and the temperature is right, sometimes the dough just needs more time, especially with whole grain flours which can initially seem less active visually compared to white flour doughs. Be patient and monitor for subtle signs like slight puffing or bubble formation over several hours.
The Dough is Too Sticky and Unmanageable After Bulk Fermentation
A sticky dough after bulk fermentation can be challenging to handle, especially when trying to achieve the specific structure needed for breads like baguettes. High hydration is a primary reason for stickiness; doughs with 80%+ hydration are naturally more difficult to manage than those at 70%. If you're new to sourdough, starting with a slightly lower hydration (e.g., 70-75%) can make the bulk fermentation and subsequent shaping much easier.
Insufficient gluten development during mixing and stretch and folds can also lead to a sticky, slack dough that lacks structure. Ensure you are performing enough sets of stretch and folds in the early stages of bulk fermentation to build adequate strength. Over-fermentation can also make the dough sticky and fragile, as the gluten structure starts to break down.
If the dough feels overly sticky and weak at the end of bulk fermentation, consider reducing the fermentation time or temperature next time. For immediate handling, chilling the dough in the refrigerator for 30-60 minutes can make it firmer and less sticky to work with during shaping.
Achieving Consistent Results: Tips for Reproducible Sourdough Bulk Fermentation
Consistency is the hallmark of mastering sourdough bulk fermentation. To get reproducible results, focus on controlling the variables you can. Always use your starter at its peak activity, ideally within a consistent timeframe after feeding (e.g., 4-6 hours). Measure your ingredients accurately, especially flour and water for hydration percentage and starter for inoculation rate.
Maintaining a consistent dough temperature throughout the bulk fermentation is perhaps the most impactful step. Use a thermometer to check the dough temperature and employ methods like a proofing box or oven light to keep it steady within your target range (e.g., 75-80°F or cooler for a longer fermentation).
Finally, rely more on visual and tactile cues from the dough (volume increase, bubbles, texture, poke test) than strict adherence to time. Keeping a baking journal where you note dough temperature, ambient temperature, starter activity, and fermentation duration alongside the results can help you identify what works best in your environment for achieving a perfect sourdough bulk rise.
Advanced Techniques for Enhancing Sourdough Bulk Fermentation
Using Different Starter Inoculation Rates for Varied Fermentation Speeds
The amount of active starter you use relative to the total flour weight (inoculation rate) directly impacts how quickly your sourdough bulk fermentation proceeds. A standard rate is often around 20% (e.g., 100g starter to 500g flour). Using a higher percentage, say 25-30%, will significantly speed up fermentation, potentially cutting the bulk rise time by an hour or more at the same temperature. This can be useful if you're in a hurry or baking in a cooler environment.
Conversely, using a lower inoculation rate, such as 10-15%, will slow down the bulk fermentation considerably. This technique is often used in conjunction with a longer fermentation period, sometimes overnight at room temperature or as a precursor to cold bulk fermentation in the refrigerator. Lower inoculation rates can contribute to more complex flavor development as the bacteria have a longer time to produce acids relative to the yeast's leavening speed. Experimenting with inoculation rates allows you to fine-tune your fermentation schedule and flavor profile.
The Impact of Hydration Levels on Sourdough Bulk Fermentation and Dough Handling
The hydration level of your dough (total water weight divided by total flour weight, expressed as a percentage) is another critical factor influencing sourdough bulk fermentation and the final bread characteristics. Higher hydration doughs (above 75%) ferment faster due to increased enzyme activity and easier movement of microbes. They also tend to result in a more open, airy crumb structure, which is desirable for many artisan loaves. However, they are significantly stickier and require more skillful handling during mixing, stretch and folds, and shaping.
Lower hydration doughs (e.g., 65-70%) ferment more slowly and are much easier to work with. They result in a tighter crumb structure but can still produce excellent bread with a good crust. The hydration level you choose impacts the texture and handling throughout the bulk fermentation process. For instance, achieving a successful baguette fermentation bulk rise often involves managing a relatively high hydration dough to get that characteristic open crumb while ensuring enough strength is developed through folds. Adjusting hydration is a powerful way to control both your process and your final product.
Cold Bulk Fermentation (Retarding) for Improved Flavor Development and Scheduling
Cold bulk fermentation, also known as retarding, involves placing the dough in the refrigerator (typically 38-40°F or 3-4°C) for an extended period, often 12 to 48 hours, after an initial period of bulk fermentation at room temperature (or sometimes immediately after mixing). The cold temperature dramatically slows down yeast activity, significantly reducing gas production. However, the lactic acid bacteria remain relatively more active at these cooler temperatures, allowing them to produce more organic acids.
This slow, cold fermentation period is a fantastic way to develop deeper, more complex flavors in your sourdough, increasing the characteristic tang. It also offers immense scheduling flexibility. You can complete the bulk fermentation over one or two days in the fridge and then shape and bake when convenient. This technique is widely used by artisan bakers to manage their workload and enhance flavor, and it's particularly effective for achieving the nuanced taste profile desired in breads like sourdough baguettes.
Shaping Sourdough After Bulk Fermentation: Preserving the Air Structure
Once your sourdough bulk fermentation is complete and the dough shows the desired signs of readiness, the next step is to gently transition it to shaping. The goal here is to handle the dough with care to preserve the delicate air structure built during the bulk rise while developing enough surface tension for the final proof and bake.
Gentle Handling Techniques to Avoid Deflating the Dough
Aggressive handling at this stage can quickly undo all the work of the bulk fermentation. When transferring the dough from its container to your work surface, use a wet hand or a bench scraper to gently ease it out rather than tearing or pulling it. Avoid excessive flour, which can make the dough surface tough. Use just enough flour on your hands and the work surface to prevent sticking.
During pre-shaping and final shaping, aim to create tension on the surface of the dough while minimizing degassing. Think of gently coaxing the dough into shape rather than forcing it. Techniques involve folding the dough onto itself and using the surface tension of the bench to create a smooth exterior. Protecting the airy interior ensures that the gas produced during bulk fermentation contributes to a beautiful open crumb and excellent oven spring in the oven.
Pre-Shaping and Resting the Sourdough Dough
After gently dividing your dough (if making multiple loaves), pre-shaping is a brief intermediate step before the final shape. For loaves like boules or batards (and precursors to baguettes), you typically pre-shape the dough into a loose ball or log. This step helps to organize the gluten structure and build some initial surface tension.
Once pre-shaped, the dough needs a short rest period, usually 20 to 30 minutes, covered to prevent drying. This bench rest allows the gluten to relax after being worked, making the dough more pliable and easier to perform the final shaping without tearing. Skipping the pre-shape or the rest can make final shaping difficult and potentially lead to a less symmetrical loaf with uneven tension.
Baking Your Perfect Sourdough Loaf After Bulk Fermentation
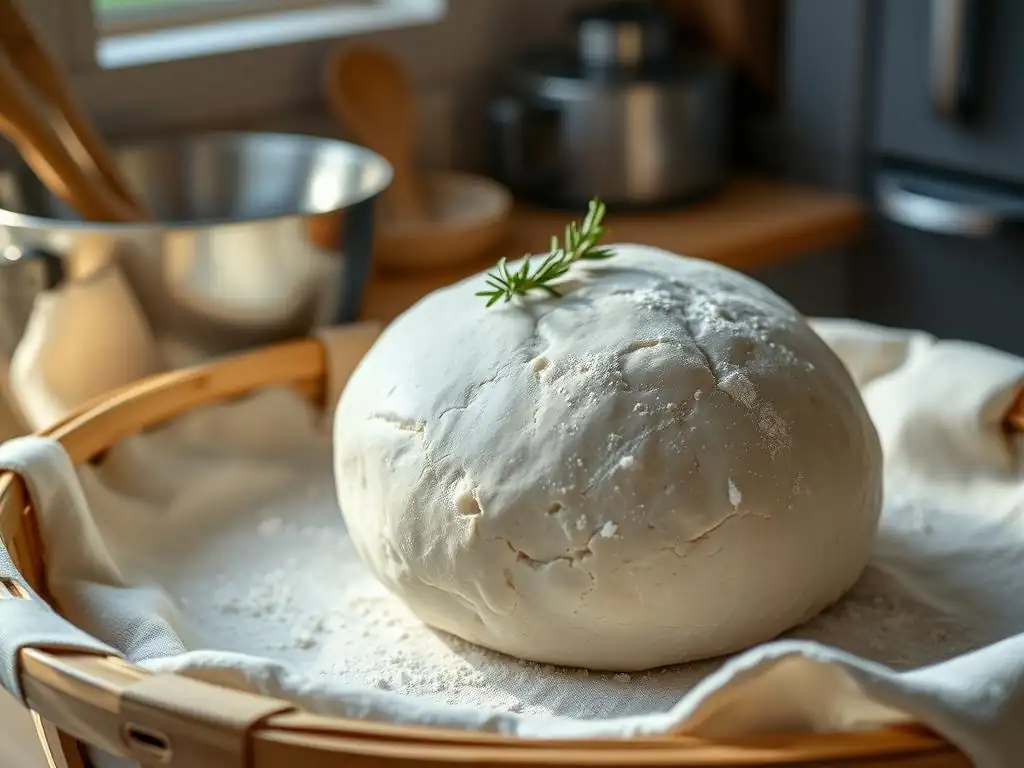
Having successfully completed the bulk fermentation and shaping, the final stage is baking. The baking process transforms the dough into bread, fixing the structure developed during the bulk rise and proofing and creating the crust.
Scoring Techniques for Optimal Oven Spring and Bread Aesthetics
Scoring involves making cuts on the surface of the dough just before it goes into the hot oven. This isn't just for aesthetics; it serves a crucial functional purpose. As the dough experiences the initial burst of heat in the oven (oven spring), gases expand rapidly. Scoring provides controlled weak points where the dough can expand without bursting randomly.
For a classic baguette fermentation bulk rise leading to a great loaf, specific scoring patterns (like a series of overlapping diagonal cuts) are used to encourage specific expansion and create the iconic look. Using a sharp lame or razor blade at a slight angle allows for clean cuts that open beautifully. Proper scoring is essential for achieving maximum oven spring and influencing the final shape and appearance of your bread.
Baking Temperatures and Times for Crispy Crust and Open Crumb
Baking sourdough typically starts at a high temperature, often 450-500°F (230-260°C), often within a Dutch oven or with added steam. The initial high heat and steam (or Dutch oven environment) are critical for maximizing oven spring and developing a thin, crispy crust. Steam prevents the crust from hardening too quickly, allowing the dough to expand fully.
After the initial phase (e.g., 20 minutes in a covered Dutch oven or with steam), the temperature is often reduced slightly (e.g., to 425-450°F or 220-230°C), and the steam source is removed or the Dutch oven lid is taken off. This allows the crust to dry out and brown. Total baking time varies by loaf size but is typically 40-50 minutes for a standard loaf. Baking until the crust is deeply colored and the internal temperature reaches around 205-210°F (96-99°C) ensures a fully baked interior and a robust crust.
Conclusion: Elevate Your Sourdough Baking with Perfect Bulk Fermentation
Mastering the Bulk Rise: The Key to Artisan Sourdough Success
The bulk fermentation stage is the heart of sourdough bread making. It's where the complex interactions of yeast and bacteria build flavor, develop strength, and create the airy structure that defines artisan loaves. By understanding and controlling factors like temperature, time, starter activity, and hydration, and by using techniques like stretch and folds and visual monitoring, you can significantly improve the outcome of your bakes.
A successful sourdough bulk rise is not just about the dough doubling; it's about achieving a state of readiness where the dough is strong, extensible, and full of life, poised to transform into a beautiful loaf with a wonderful crumb and crust. Focusing on perfecting this stage will elevate your sourdough baking skills and consistency.
Frequently Asked Questions
What exactly is the "bulk rise" in baguette making, and why is it so important?
The bulk rise, also known as primary fermentation, is the period after mixing and before shaping where the dough develops its flavor and structure. It's crucial for achieving a light and airy baguette with a complex flavor profile.
How do I know when my baguette dough has completed its bulk rise?
Look for a significant increase in volume (usually doubled or tripled), visible bubbles throughout the dough, and a slightly acidic aroma. Also, the dough should feel light and airy rather than dense.
What factors can affect the length of the bulk rise for baguettes?
Temperature plays a significant role; warmer temperatures will speed up fermentation, while cooler temperatures will slow it down. The amount of yeast used and the hydration level of the dough also influence the bulk rise time.
Can I over-ferment my baguette dough during the bulk rise?
Yes, over-fermentation can lead to a weak, sticky dough that's difficult to shape and results in a flat, dense baguette. Signs of over-fermentation include a collapsed structure and a sour, unpleasant smell.
Are there any specific techniques BakeWithEase recommends for optimizing the bulk rise of baguettes?
BakeWithEase suggests using a covered container to maintain humidity and prevent the dough from drying out. We also recommend gentle folding of the dough during the bulk rise to strengthen the gluten and distribute the gas evenly.
Final Reflection: The Art and Science of Baguette's Soul
Mastering the bulk fermentation of a baguette is not merely about achieving a perfect rise; it's about unlocking the very essence of its flavor and texture. The subtle nuances of this crucial stage, often overlooked, directly impact the final product's character, transforming a simple loaf into a culinary masterpiece. Understanding the interplay of time, temperature, and yeast activity is key to consistently producing baguettes with that signature airy crumb and crisp crust.
The journey of understanding baguette fermentation has been a deeply rewarding one, revealing the profound connection between seemingly simple processes and the resulting complexity of flavor and texture. It's a testament to the power of patience and observation, mirroring the slow, deliberate craft that defines artisanal baking. The best things in life are worth waiting for,
a sentiment perfectly applicable to the slow, deliberate rise of a perfect baguette. The subtle shifts in dough behavior, the gentle expansion, the delicate aroma – these are the moments that elevate baking from a task to an art form.
Now, it's your turn. Consider the lessons learned here – the importance of precise measurements, the sensitivity to temperature fluctuations, the patience required for optimal fermentation. Don't just bake a baguette; cultivate it. Experiment with different flours, hydration levels, and fermentation times. Embrace the imperfections, learn from them, and discover your own unique approach to mastering this crucial step in baguette making. The journey to the perfect loaf is a personal one, and the rewards are immeasurable.
Unlock Your Baguette's Potential: Start Baking Today!
Thanks for joining us on this journey into the art of baguette fermentation! We hope you now feel confident tackling the bulk rise—a crucial step for achieving that perfect crust and airy crumb. Ready to put your new knowledge into practice?
- Bake your perfect baguette: Use what you've learned to create your own masterpiece. Experiment with different flours and timings to discover your unique style.
- Share your success (or challenges!): We'd love to see your results! Post a picture of your creation on social media with #BakeWithEaseBaguette and tag us.
- Join our Baking Community: Connect with fellow bread enthusiasts on our forum (link to a fictional forum would go here) to ask questions, share tips, and learn from others' experiences.
What unique flour blend will you try in your next baguette experiment? Let us know in the comments!