
Sweet Success: BeginnerFriendly NoBake Recipes to Build Confidence

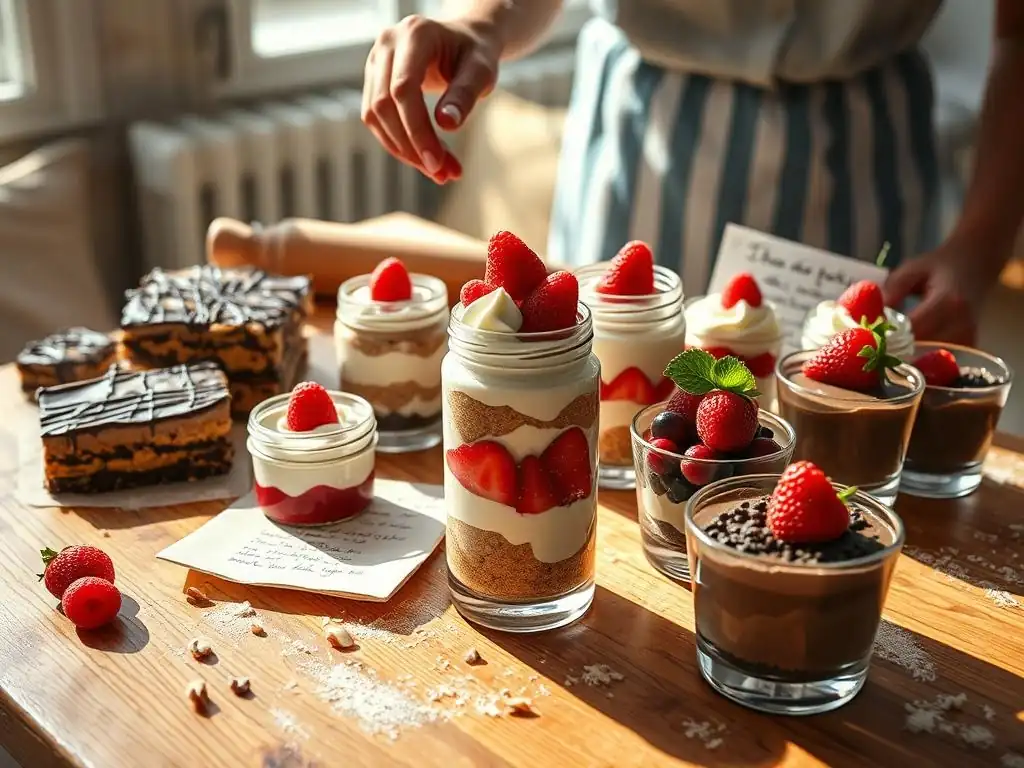
Welcome to BakeWithEase, your kitchen companion on a delectable journey into the world of baking! Ready to whip up something amazing without even turning on the oven? This week, we're diving headfirst into the delightful world of no-bake dessert recipes. Discover how to create stunning and satisfying treats with minimal effort and maximum flavor. Intrigued? Let's explore these beginner-friendly recipes and unlock a whole new level of sweet success!
- No-Bake Delights: Beginner-Friendly Recipes for Instant Gratification
- Explore Effortless No-Bake Dessert Recipes at BakeWithEase
- Why Choose No-Bake Desserts? Speed & Simplicity for Busy Bakers
-
Top 5 Beginner-Friendly No-Bake Dessert Recipes
- 1. No-Bake Chocolate Oatmeal Bars: A Wholesome & Indulgent Treat
- 2. No-Bake Lemon Icebox Cake: Zesty and Refreshing
- 3. No-Bake Nutella Fudge: A Decadent Chocolate Hazelnut Dream
- 4. Simple No-Bake S'mores Parfaits: A Campfire Classic Without the Fire
- 5. No-Bake Energy Bites: A Healthy and Delicious Snack
- Essential Tips for No-Bake Dessert Success
- Beyond the Basics: Expanding Your No-Bake Dessert Repertoire
- Celebrate Your Sweet Success with Easy No-Bake Desserts!
- Frequently Asked Questions
- Final Reflection: The Sweet Taste of Empowerment
- Unleash Your Inner Baker: No-Bake Deliciousness Awaits!
No-Bake Delights: Beginner-Friendly Recipes for Instant Gratification
Explore Effortless No-Bake Dessert Recipes at BakeWithEase
Welcome to No-Bake Baking: Your Quick & Easy Dessert Journey!
Embarking on your baking adventure doesn't always require turning on the oven. No bake dessert recipes offer a fantastic starting point, especially for those just finding their feet in the kitchen. These simple creations bypass the complexities of oven temperatures, rising agents, and long bake times, making them incredibly approachable. Think of them as your express lane to deliciousness, providing instant gratification with minimal fuss. They are perfect for building confidence and enjoying sweet treats without the typical baking stress.
This style of dessert preparation is a game-changer for busy schedules or hot summer days when heating the kitchen is the last thing you want. From creamy puddings and layered parfaits to easy fudge and energy bites, the world of easy no-bake desserts is vast and inviting. We'll explore several popular and foolproof options that require simple ingredients and straightforward techniques, proving that you don't need a culinary degree to create impressive and tasty treats. Get ready to discover the joy of crafting delightful desserts that set up in the fridge, leaving you more time to enjoy the results!
Why Choose No-Bake Desserts? Speed & Simplicity for Busy Bakers
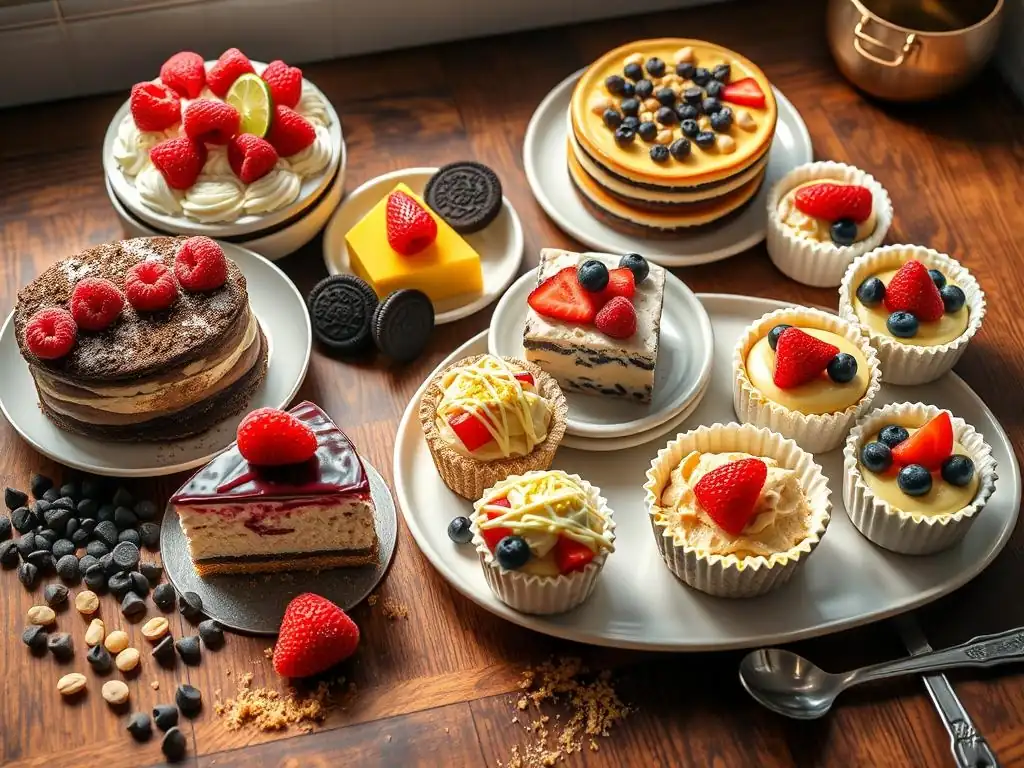
Simple Dessert Recipes: Beat the Heat & Skip the Oven
One of the primary benefits of opting for simple dessert recipes that don't require baking is the ability to keep your kitchen cool, especially during warmer months. Traditional baking often involves preheating an oven to temperatures exceeding 350°F (175°C), which can significantly raise the ambient temperature of your home.
No-bake alternatives, however, rely on chilling or setting at room temperature, making them the ideal choice when you want a sweet treat without adding extra heat. This is particularly appealing in climates where summers are long and hot, or simply when you prefer not to consume extra energy by running an appliance for an hour or more.
Beyond temperature control, these recipes simplify the process by eliminating steps like proofing yeast, monitoring oven hot spots, or dealing with potential burning. Many no-bake dessert recipes involve little more than melting, mixing, layering, and chilling. For instance, a basic chocolate ganache tart might require just two ingredients and a few minutes on the stovetop before chilling. This simplicity drastically reduces the potential for error, allowing beginners to achieve consistent, delicious results that look and taste like they required far more effort. It's a stress-free path to dessert success.
No-Bake Treats: Fast, Foolproof, and Fun Options
The speed at which you can prepare no-bake treats is arguably their most attractive feature for busy individuals. Many recipes can be whipped up in under 30 minutes of active preparation time, followed by a chilling period.
Consider a classic no-bake cheesecake: while it needs several hours to set, the actual time spent blending the filling and pressing the crust is minimal, perhaps 15-20 minutes. This contrasts sharply with a baked cheesecake, which requires careful mixing, a water bath, specific bake times, and gradual cooling to prevent cracks – a process that can easily take over two hours from start to finish.
Moreover, the inherently forgiving nature of most beginner no-bake recipes makes them incredibly foolproof. Without the variable heat of an oven, common baking pitfalls like uneven cooking, dry textures, or collapsed cakes are non-existent. Recipes often involve simple ratios and techniques, such as combining crushed cookies with melted butter for a crust or whisking cream cheese with sugar and flavorings for a filling. This reliability builds confidence quickly, encouraging beginners to experiment further. The process is also often quite fun, especially when involving steps like crushing cookies (a great stress reliever!) or layering colorful ingredients in jars for parfaits.
Top 5 Beginner-Friendly No-Bake Dessert Recipes
1. No-Bake Chocolate Oatmeal Bars: A Wholesome & Indulgent Treat
No-bake chocolate oatmeal bars are a nostalgic classic, beloved for their chewy texture, rich chocolate flavor, and incredible ease of preparation. They typically require just a handful of pantry staples like oats, cocoa powder, sugar, butter, and milk, making them accessible anytime a craving strikes. These bars don't use flour or eggs, simplifying the process and making them a forgiving option for novices. The key is melting the wet ingredients together and then stirring in the dry, followed by a quick chill.
A standard batch, using about 1/2 cup of butter, 1/2 cup of milk, 2 cups of sugar, 1/4 cup of cocoa powder, and 3 cups of oats, can yield roughly 12-16 bars, depending on how you cut them. The total active prep time is usually less than 10 minutes.
After spreading the mixture into a prepared pan, they typically need just 30-60 minutes in the refrigerator to firm up enough to cut into clean squares. This minimal effort for a relatively large yield of tasty treats makes them an excellent entry point into the world of no bake dessert recipes.
Ingredients for Your Chocolate Oatmeal Bars
Here's a common set of ingredients you'll need for these simple no-bake bars:
- 1/2 cup (1 stick) unsalted butter
- 1/2 cup milk (any type)
- 2 cups granulated sugar
- 1/4 cup unsweetened cocoa powder
- 1/2 teaspoon vanilla extract
- 3 cups rolled oats (old-fashioned or quick-cooking)
- Optional additions: 1/2 cup peanut butter, 1/4 cup shredded coconut, 1/4 cup chopped nuts
These pantry staples are usually easy to find and relatively inexpensive. The recipe is quite flexible; for instance, you can swap cocoa powder for extra peanut butter or add other mix-ins. The core ingredients create the fudgy, chewy base that defines this popular no-bake treat.
Step-by-Step Instructions: Easy No-Bake Bar Guide
Making these bars is incredibly straightforward:
- Prepare an 8x8 inch or 9x13 inch pan by lining it with parchment paper or greasing it lightly.
- In a medium saucepan, combine the butter, milk, sugar, and cocoa powder.
- Heat the mixture over medium heat, stirring constantly, until the butter is melted and the sugar is dissolved. Bring it to a rolling boil.
- Once boiling, let it boil for exactly 1 minute, stirring occasionally. This step is crucial for the bars to set properly.
- Remove the saucepan from the heat and stir in the vanilla extract (and peanut butter, if using).
- Add the rolled oats (and any other desired mix-ins like coconut or nuts) and stir until everything is thoroughly combined and coated.
- Quickly pour the mixture into the prepared pan and spread it evenly using a spatula or the back of a spoon.
- Let the bars cool at room temperature for a few minutes, then transfer the pan to the refrigerator.
- Chill for at least 30-60 minutes, or until completely set.
- Lift the bars out of the pan using the parchment paper and cut them into squares or rectangles.
Pro Tip:Work quickly once you add the oats, as the mixture will start to set as it cools.Troubleshooting:If your bars don't set, you might not have boiled the mixture long enough. If they are too hard, you might have boiled it too long.
2. No-Bake Lemon Icebox Cake: Zesty and Refreshing
The no-bake lemon icebox cake is a delightful, layered dessert that's incredibly simple yet impressive. It typically consists of layers of crisp cookies (often graham crackers or vanilla wafers) and a creamy, zesty filling, which soften together in the refrigerator to create a cake-like texture. The bright, tangy flavor of lemon is perfect for a light, refreshing finish to any meal, making it a popular easy no-bake dessert choice, especially during spring and summer. Its construction is essentially just assembling and chilling.
A standard recipe might use about 1-2 boxes of cookies (around 14 ounces total) and a filling made from whipped cream, cream cheese, and lemon. This can comfortably serve 8-10 people. The active preparation time is surprisingly short, often just 15-20 minutes to whip the filling and assemble the layers. The magic happens during the chilling period, which ideally should be at least 4 hours, but overnight is best to allow the cookies to fully soften and the flavors to meld. This minimal hands-on time makes it one of the easiest no bake dessert recipes to master.
Preparing Your Lemon Cream Filling
The heart of the lemon icebox cake is its luscious, tangy filling. A common method involves combining softened cream cheese with sugar, lemon zest, and lemon juice until smooth. This mixture is then typically folded into freshly whipped heavy cream, creating a light yet rich mousse-like texture. Some recipes simplify this further by using instant pudding mix combined with milk and lemon, or even just sweetened condensed milk and lemon juice, which thickens on its own.
For a classic version, you might use 8 ounces of softened cream cheese, 1/2 cup of granulated sugar, the zest of 1-2 lemons, 1/4 cup fresh lemon juice, and 2 cups of heavy cream, whipped to stiff peaks. Beat the cream cheese and sugar until fluffy, then mix in the lemon zest and juice. Gently fold in the whipped cream using a spatula, being careful not to deflate it. This process takes about 10-15 minutes and results in a vibrant, flavorful filling ready for layering.
Assembling the No-Bake Lemon Icebox Cake
Assembling the cake is as easy as layering cookies and filling. You'll need a dish, typically a 9x13 inch baking dish or an 8x8 inch square dish for a thicker cake.
- Start with a layer of cookies on the bottom of the dish. You may need to break some to fit the edges.
- Spread a generous layer of the lemon cream filling evenly over the cookies.
- Repeat the layering process, alternating between cookies and filling, until you reach the top of the dish, usually 3-4 layers depending on the depth of your pan and the thickness of your filling layers.
- Ensure the final layer is the lemon cream filling, smoothed across the top.
- Cover the dish tightly with plastic wrap.
- Refrigerate for at least 4 hours, or preferably overnight, until the cookies have softened and the cake is firm.
- Before serving, you can garnish with additional whipped cream, lemon zest, or fresh berries.
**Assembly Checklist:**
- [ ] Prepare dish
- [ ] Arrange first layer of cookies
- [ ] Spread first layer of filling
- [ ] Repeat layers (cookies, filling)
- [ ] Ensure top layer is filling
- [ ] Cover tightly
- [ ] Chill for minimum 4 hours
3. No-Bake Nutella Fudge: A Decadent Chocolate Hazelnut Dream
For chocolate and hazelnut lovers, no-bake Nutella fudge is an absolute revelation in simplicity and decadence. Unlike traditional fudge that requires careful temperature monitoring and beating, this version often involves just a few ingredients, primarily Nutella, chocolate (chips or chopped), and sometimes sweetened condensed milk or butter. It sets up beautifully in the refrigerator, yielding a rich, smooth, and intensely flavored confection with minimal effort. It's one of the most indulgent no bake dessert recipes you can make quickly.
A typical recipe might call for one standard jar of Nutella (around 13 ounces), 1-2 cups of chocolate chips, and perhaps 1/4 cup of butter or a can of sweetened condensed milk. This amount usually fills an 8x8 inch pan and yields approximately 36 small pieces of fudge. The active time is incredibly short, often under 10 minutes, primarily involving melting and mixing ingredients. The chilling time is also relatively quick, needing about 2-3 hours in the refrigerator to become sliceable.
The Secret to Perfect No-Bake Nutella Fudge
The secret to achieving creamy, smooth no-bake Nutella fudge lies in the combination of ingredients and the gentle melting process. Using good quality chocolate chips or chopped chocolate is important, as it melts smoothly and provides structure when chilled. The Nutella adds not only flavor but also a wonderful creaminess and helps with setting. When using butter or sweetened condensed milk, they contribute to the texture, making it either firmer (butter) or softer and sweeter (condensed milk).
The key is to melt the ingredients gently. Using a double boiler or melting in the microwave in short intervals (e.g., 30 seconds at a time, stirring between) prevents the chocolate from seizing or burning. Overheating can result in a grainy texture. Once melted and combined, the mixture is simply poured into a prepared pan. There's no need for vigorous beating like traditional fudge; the texture is achieved through the properties of the ingredients themselves once they cool and solidify.
Easy Steps for Making No-Bake Nutella Fudge
Here’s a straightforward approach to making this irresistible fudge:
- Line an 8x8 inch baking pan with parchment paper, leaving some overhang for easy removal.
- In a heatproof bowl set over a saucepan of simmering water (a double boiler), or in a microwave-safe bowl, combine the Nutella, chocolate chips, and butter (if using).
- Heat gently, stirring frequently, until everything is completely melted and smooth. If using the microwave, heat in 30-second bursts, stirring after each, until smooth.
- Remove from the heat and stir until uniformly combined and glossy. If using sweetened condensed milk, stir it in now until fully incorporated.
- Pour the mixture into the prepared pan and spread it evenly.
- Tap the pan gently on the counter to remove any air bubbles and create a smooth top.
- Refrigerate for at least 2-3 hours, or until completely firm.
- Use the parchment paper overhang to lift the fudge out of the pan.
- Cut into small squares using a sharp knife. Wipe the knife between cuts for cleaner slices.
This fudge is so easy, it feels like cheating! Plus, who can resist that Nutella flavor?
- A Happy Beginner Baker
4. Simple No-Bake S'mores Parfaits: A Campfire Classic Without the Fire
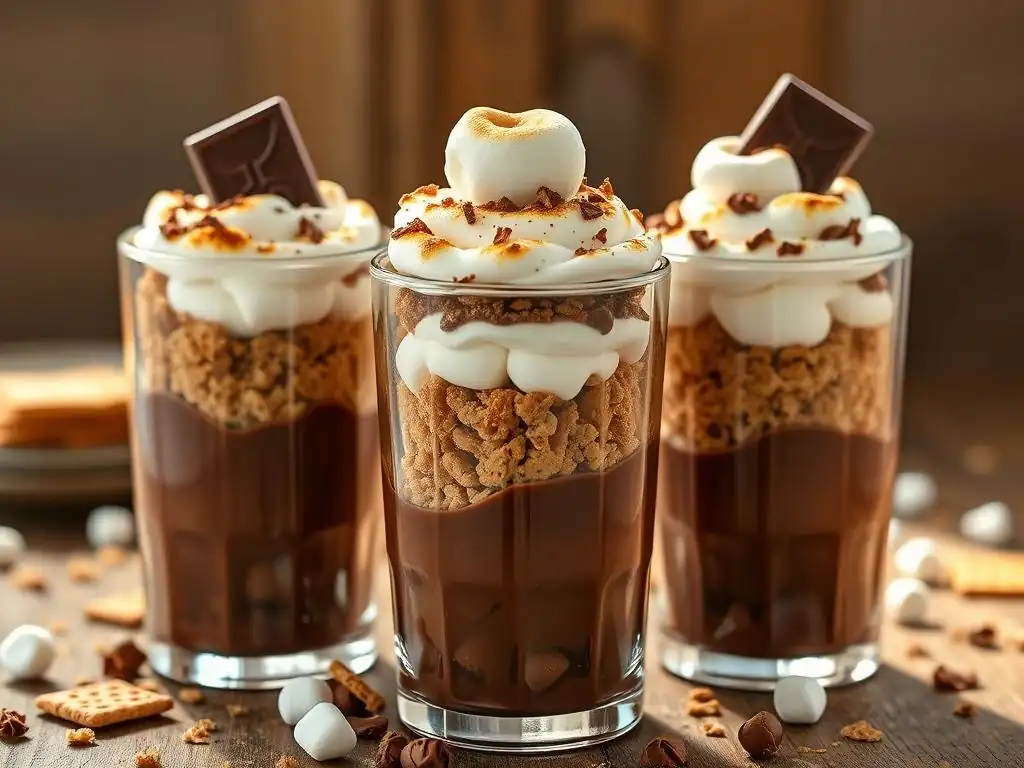
Bring the beloved flavors of s'mores indoors with simple no-bake s'mores parfaits. These layered treats capture the essence of the campfire favorite – graham crackers, chocolate, and marshmallow – in an easy-to-assemble, individual dessert. They are incredibly versatile and can be made in glasses, jars, or even a large trifle dish. The beauty of these simple no-bake treats lies in their assembly-only process; no cooking required beyond potentially melting some chocolate.
A typical parfait might layer crushed graham crackers, a chocolate component (like pudding, mousse, or ganache), and a marshmallow element (like marshmallow fluff or whipped cream mixed with toasted marshmallows). Using small glasses or jars, you can easily make 6-8 individual servings in under 20 minutes of assembly time. While they are best after chilling for at least 30 minutes to allow the graham crackers to soften slightly, they can often be enjoyed almost immediately, making them one of the quickest no bake dessert recipes around.
S'mores Parfait Perfection: No-Bake Edition
Creating the perfect no-bake s'mores parfait is all about balancing the textures and flavors. The base is usually crushed graham crackers, which provide the classic s'mores crunch and flavor. The chocolate layer can range from simple chocolate pudding (store-bought or instant mix for ultimate ease) to a richer chocolate ganache or mousse. The top layer mimics the roasted marshmallow; marshmallow fluff is the simplest option, but whipped cream or a mixture of whipped cream and melted marshmallows also works beautifully.
For an extra touch, you can lightly toast the marshmallow fluff topping with a kitchen torch just before serving, replicating that campfire char without needing the fire. Layering these components in clear glasses or jars not only makes them visually appealing but also allows each spoonful to capture all three essential s'mores flavors. This layered approach is characteristic of many easy no-bake desserts, providing a delightful interplay of textures.
Quick and Easy S'mores Parfait Recipe
Here’s a basic framework for making these parfaits:
- Ingredients:
- Graham crackers, crushed (about 1.5 cups)
- Chocolate pudding, mousse, or ganache (about 2-3 cups total)
- Marshmallow fluff, whipped cream, or a marshmallow cream mixture (about 2 cups total)
- Optional garnishes: chocolate shavings, mini marshmallows, extra graham cracker crumbs
- Instructions:
- Place a layer of crushed graham crackers at the bottom of your serving glasses or jars.
- Add a layer of your chosen chocolate component.
- Add a layer of marshmallow fluff or cream.
- Repeat the layers until the glass is full, ending with the marshmallow layer.
- Chill in the refrigerator for at least 30 minutes to allow the layers to meld slightly.
- Garnish as desired before serving.
**Variations:**
*   Use chocolate graham crackers.
*   Mix mini chocolate chips into the chocolate layer.
*   Add a layer of hot fudge sauce between layers.
*   Use a different cookie base, like crushed Oreos or shortbread.
5. No-Bake Energy Bites: A Healthy and Delicious Snack
No-bake energy bites are a fantastic option for those looking for a healthier no bake dessert recipe or a quick, satisfying snack. They are typically made from a base of rolled oats, nut butter, and a binder like honey or maple syrup, with endless possibilities for mix-ins like seeds, nuts, dried fruit, chocolate chips, or shredded coconut. They require no cooking whatsoever, just mixing the ingredients and rolling them into bite-sized balls.
A standard recipe using 1 cup of oats, 1/2 cup of nut butter, and 1/3 cup of honey or maple syrup can yield approximately 15-20 energy bites, depending on their size. The active prep time is usually less than 15 minutes, making them ideal for busy mornings or afternoon slump prevention. Once rolled, they benefit from chilling for about 30 minutes to firm up, but they are often edible immediately. Their simplicity and customizable nature make them a perfect beginner no-bake recipe.
Elevating the Classic: No-Bake Energy Bite Variations
While the basic formula is simple, the versatility of no-bake energy bites is immense. You can easily tailor them to dietary needs or flavor preferences. For example, using gluten-free oats and maple syrup makes them gluten-free and vegan-friendly. Swapping peanut butter for almond butter, cashew butter, or a seed butter caters to different tastes or allergies. Adding protein powder boosts their nutritional value.
Consider these popular variations:
- Trail Mix Bites: Add chopped nuts, seeds (like chia or flax), and dried cranberries or raisins.
- Coconut Almond Bites: Mix in shredded coconut and chopped almonds.
- Chocolate Chip Cookie Dough Bites: Incorporate mini chocolate chips and a touch of vanilla extract, perhaps using cashew butter for a lighter flavor.
- Matcha Green Tea Bites: Add a teaspoon of matcha powder to the mix for a unique flavor and energy boost.
- Spice Bites: Include cinnamon, nutmeg, or pumpkin pie spice, perhaps with chopped dates or pumpkin seeds.
Mixing in about 1/2 cup to 1 cup of various additions per batch of the base recipe works well.
The Easiest Energy Bite Recipe Ever
Here's a super simple recipe to get you started:
- In a medium bowl, combine 1 cup rolled oats, 1/2 cup peanut butter (or other nut/seed butter), and 1/3 cup honey or maple syrup.
- Add any desired mix-ins, such as 1/4 cup mini chocolate chips and 1/4 cup shredded coconut.
- Stir everything together until well combined. The mixture should be sticky enough to hold together when rolled.
- Roll the mixture into bite-sized balls, about 1 inch in diameter.
- Place the balls on a plate or baking sheet lined with parchment paper.
- Refrigerate for at least 30 minutes to firm up. Store in an airtight container in the refrigerator for up to a week.
Tip:If the mixture is too dry, add a tiny bit more sweetener or nut butter. If too wet, add a spoonful more oats or mix-ins.Yield:Approximately 15-20 bites.
Essential Tips for No-Bake Dessert Success
Mastering the Basics: No-Bake Baking Techniques for Beginners
While no-bake desserts are generally forgiving, understanding a few basic techniques can ensure consistent success. One key skill is melting ingredients smoothly, whether it's butter, chocolate, or a combination, often done over low heat or in the microwave in short bursts to prevent scorching. Another is achieving the right consistency for fillings or bases; this might involve whipping cream to stiff peaks, softening cream cheese correctly, or ensuring a cookie crust mixture is just wet enough to hold its shape but not greasy.
For many no bake dessert recipes, the chilling period is crucial – don't rush it! Allowing sufficient time in the refrigerator or freezer is what transforms liquid or soft mixtures into set, sliceable, or firm desserts.
Accurate measuring is still important, particularly for ingredients that affect setting, like butter in a crust or a binding agent in energy bites. While less critical than in traditional baking, using standard measuring cups and spoons helps ensure the right texture. Learning how to properly line a pan with parchment paper or plastic wrap makes removing and cutting your finished easy no-bake desserts much easier. These simple techniques, like gentle melting, proper chilling, and careful assembly, form the foundation for mastering the world of no-bake creations.
Choosing the Right Ingredients for Your No-Bake Creations
Selecting the appropriate ingredients is vital for successful no-bake desserts. For crusts, using crisp cookies like graham crackers, Oreos, or shortbread is key, as they absorb moisture from the filling and soften to a cake-like consistency. Butter used to bind crusts should be melted, but the amount is important – too little and the crust crumbles, too much and it becomes greasy. When making creamy fillings, ensure dairy products like cream cheese or heavy cream are cold before whipping (except for cream cheese, which is best softened for blending) to achieve the correct volume and texture.
Chocolate quality matters when melting; compound chocolate (like chocolate chips) is often easier to melt smoothly than pure chocolate. For recipes relying on setting agents like gelatin or agar-agar (though less common in beginner no-bake recipes), follow instructions precisely for blooming and dissolving. Using fresh lemon zest and juice in recipes like the icebox cake provides the brightest flavor. For energy bites, choose rolled oats for texture and a good quality nut butter that isn't overly oily or dry. The right ingredients, even simple ones, make a significant difference in the final taste and texture of your no-bake treats.
Troubleshooting Common No-Bake Dessert Problems
Even with simple no bake dessert recipes, occasional issues can arise. One common problem is a no-bake crust that is too crumbly or too greasy. If too crumbly, you likely didn't use enough melted butter or didn't pack the crust firmly enough into the pan. A greasy crust means too much butter was used.
Another frequent issue is a filling that doesn't set properly. This can happen if a recipe relies on chilling alone but the ratio of liquid to solid ingredients is off, or if a binding agent (like gelatin) wasn't prepared correctly. For recipes like no-bake fudge or oatmeal bars that involve boiling, not boiling for the specified time (often 1 minute) is a primary cause of failure to set.
If a no-bake cheesecake filling is grainy, the cream cheese might not have been softened enough before mixing, or it was overmixed after adding whipped cream. For layered desserts like icebox cakes, insufficient chilling time is the main culprit for cookies not softening adequately; they need several hours, often overnight, to absorb enough moisture from the filling.
If energy bites won't hold their shape, the mixture is too dry; add a bit more liquid binder (honey, syrup) or sticky ingredient (nut butter). Most problems can be diagnosed by reviewing the recipe steps and ensuring ingredients were measured and handled correctly, often just needing a bit more chilling time to rectify.
Beyond the Basics: Expanding Your No-Bake Dessert Repertoire
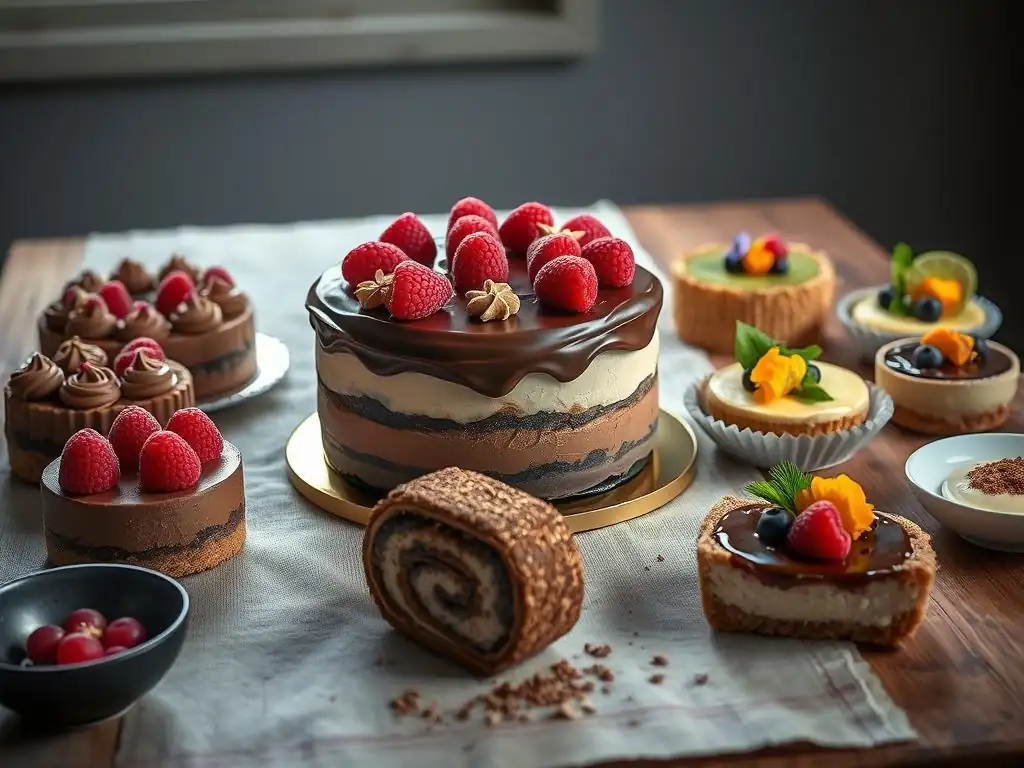
Exploring More No-Bake Dessert Ideas for Beginners
Once you've mastered classic easy no-bake desserts like those listed above, a whole world of simple, oven-free creations awaits! Branch out into different types of no-bake cheesecakes, experimenting with various crusts (like crushed Oreos, gingersnaps, or even pretzels) and flavors (chocolate, strawberry, key lime). Puddings and mousses offer creamy delights; instant pudding mixes provide the ultimate shortcut, while homemade versions using tempered eggs or gelatin offer richer textures. Layered trifles, combining cake pieces (store-bought pound cake works great! ), pudding or custard, fruit, and whipped cream, are stunning and require only assembly.
Frozen no-bake treats are also a fantastic category. Things like ice cream cakes (using softened store-bought ice cream and mix-ins pressed into a crust), frozen yogurt bark (yogurt spread thin with fruit and toppings), or simple fruit sorbets made in a food processor offer refreshing options. Even certain candies and confections, like chocolate truffles (ganache rolled in cocoa) or peanut butter balls, fall under the no-bake umbrella and are surprisingly simple to make. Exploring these variations keeps the process fun and delicious, demonstrating just how diverse no bake dessert recipes can be.
More Deliciousness: Check out our No-Churn Ice Cream Recipes!
Speaking of frozen treats, don't stop your oven-free exploration with just the no bake dessert recipes mentioned here! A perfect next step for beginners looking to expand their skills without needing special equipment is trying no-churn ice cream recipes. These magical recipes typically involve whipping heavy cream and folding it into sweetened condensed milk, creating a rich, creamy base that freezes into scoopable ice cream without needing an ice cream maker.
You can find recipes for classic vanilla, decadent chocolate, or fun flavors like cookies 'n cream or strawberry. It's another category of easy no-bake desserts that offers impressive results for minimal effort. Head over to our dedicated section on BakeWithEase.com to discover how simple it is to make your own delicious, homemade ice cream with just a bowl and a mixer. It's a cool, creamy continuation of your no-bake journey!
Celebrate Your Sweet Success with Easy No-Bake Desserts!
From Novice to No-Bake Pro: Enjoy the Delicious Results!
Congratulations on diving into the wonderful world of no-bake desserts! You've seen how accessible and rewarding these beginner no-bake recipes can be. From the chewy simplicity of chocolate oatmeal bars to the refreshing layers of a lemon icebox cake, the decadent richness of Nutella fudge, the playful layers of s'mores parfaits, and the wholesome goodness of energy bites, you now have a repertoire of delicious treats you can make without ever turning on the oven. These recipes build confidence by guaranteeing sweet success with minimal fuss.
The journey from someone hesitant to even preheat an oven to a confident creator of easy no-bake desserts is a short and sweet one. These recipes prove that baking (or rather, not baking!) can be stress-free, fast, and incredibly satisfying. Share your creations with friends and family, enjoy the compliments, and know that you've mastered a fantastic category of desserts. Keep exploring new flavors and techniques within the no-bake realm – the possibilities are nearly endless, and the delicious results are always within reach. Enjoy every bite!
Frequently Asked Questions
What exactly are "no-bake" dessert recipes?
No-bake dessert recipes are desserts that don't require an oven. They usually rely on refrigeration or freezing to set, making them a convenient option for hot weather or beginner bakers.
Are no-bake desserts really easier than baked ones?
Generally, yes! They typically involve fewer steps and less precise temperature control. This makes them less prone to common baking errors and more beginner-friendly.
What kind of ingredients are commonly used in no-bake desserts?
Common ingredients include things like graham crackers, chocolate, whipped cream, cream cheese, fruit, and nuts. Gelatin or agar-agar are sometimes used for setting or thickening the dessert.
Can I customize no-bake recipes to my liking?
Absolutely! No-bake recipes are very adaptable. Feel free to substitute ingredients based on your preferences or dietary needs. For example, you could use almond milk instead of dairy milk.
How long do no-bake desserts typically last in the refrigerator?
Most no-bake desserts will last for 2-3 days in the refrigerator. Be sure to store them properly in airtight containers to prevent them from drying out or absorbing odors.
Final Reflection: The Sweet Taste of Empowerment
The simplicity of no-bake desserts mirrors the accessibility of achieving personal growth. Mastering even the most basic recipe can unlock a surprising sense of accomplishment, a feeling amplified when you share your creations with others. This isn't just about baking; it's about building confidence, one delicious bite at a time.
The journey of learning to bake, especially without the complexities of an oven, has profoundly impacted my own understanding of self-efficacy. The process of following a recipe, troubleshooting minor issues, and ultimately tasting the fruits of my labor has been incredibly rewarding. It's a tangible reminder that even seemingly daunting tasks can be conquered with patience and a willingness to learn. The best way to find yourself is to lose yourself in the service of others.
– Mahatma Gandhi – This quote resonates deeply, as sharing these simple recipes becomes an act of connection and empowerment for others, too.
Now, it's your turn. Don't be intimidated by the idea of creating something delicious. Choose a recipe from this article, gather your ingredients, and embark on your own sweet journey of self-discovery. The confidence you build in the kitchen will translate to other areas of your life, proving that even the smallest victories can lead to the most significant personal growth. Embrace the process, savor the results, and remember the sweet taste of success.
Unleash Your Inner Baker: No-Bake Deliciousness Awaits!
Thanks for joining us on this sweet journey into the world of no-bake baking! We hope you've discovered the confidence and creativity hiding within you. Now it's time to put your newfound skills to the test!
- Dive into the recipe collection on BakeWithEase.com: Find your next culinary adventure among dozens of beginner-friendly no-bake recipes, designed to build your skills and impress your friends and family. This is your primary action.
- Share your creations: Post a picture of your masterpiece on social media using #BakeWithEase and tag us! Let's inspire each other with our delicious no-bake triumphs.
- Challenge yourself with a new flavor combination: Think outside the box! What unexpected flavors can you bring to your next no-bake creation?
What exciting no-bake treat will you whip up first?