
Your First French Croquembouche: Simplified Steps

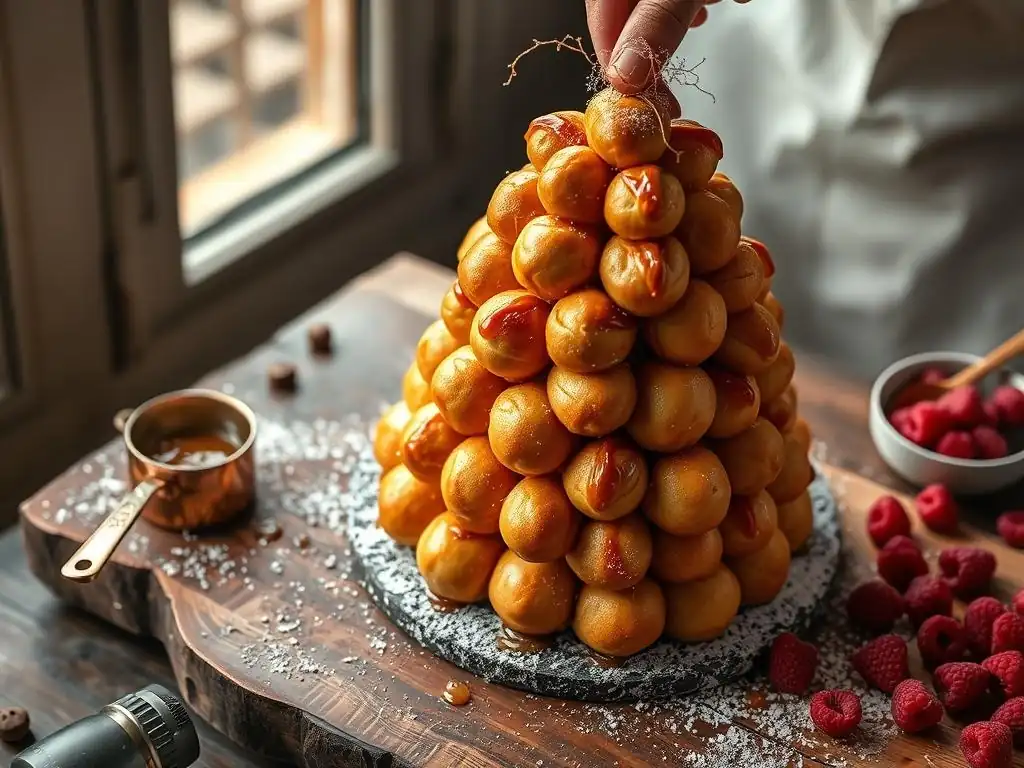
Welcome to BakeWithEase, your guide to unlocking the secrets of the baking world! Ever dreamt of creating a show-stopping dessert that rivals the patisseries of Paris? Our latest recipe dives into the captivating world of French pastry, offering a simplified approach to the often-intimidating easy French croquembouche recipe. Discover how to craft this iconic tower of cream-filled profiteroles with surprisingly manageable steps. Ready to embark on a delightful baking adventure and impress everyone with your newfound skills? Let's get started!
- Mastering the Classic Croquembouche: A Step-by-Step Guide
- A Baker's Journey to Croquembouche Perfection
- Demystifying the Croquembouche: From Choux Pastry to Caramel Delight
- Croquembouche Recipe: Essential Ingredients and Tools
- Crafting the Perfect Choux Pastry for Your Croquembouche
- Creating a Luscious Crème Pâtissière for Your Croquembouche
- Assembling Your Magnificent Croquembouche
- Expert Tips for Croquembouche Success
- Troubleshooting Common Croquembouche Challenges
- Savoring Your Croquembouche: A Culinary Masterpiece
-
Frequently Asked Questions
- What exactly is a croquembouche, and is it really as intimidating as it looks?
- Does this "Easy French Croquembouche Recipe" require special baking equipment?
- What kind of cream filling is best for a croquembouche, and can it be flavored?
- How far in advance can I make the different components of the croquembouche?
- What are some tips for preventing the caramel from burning when assembling the croquembouche?
- Final Reflection: The Sweet Symphony of Simplicity
- Unleash Your Inner Pâtissier: Master the Croquembouche!
Mastering the Classic Croquembouche: A Step-by-Step Guide
A Baker's Journey to Croquembouche Perfection
Embarking on the journey to create your first Croquembouche is a delightful challenge, one that combines foundational baking skills with a touch of architectural flair. This iconic French dessert, often seen gracing celebratory tables, might appear daunting at first glance, but with a clear understanding of each component and careful execution, even a novice baker can achieve impressive results. Our aim is to demystify this classic, transforming the perceived complexity into an achievable project, making an easy French croquembouche recipe a reality for your kitchen.
This guide breaks down the process into manageable steps, focusing on the core elements: perfect choux pastry, silky crème pâtissière, and robust caramel. We'll walk you through preparing each part and then guide you through the assembly, offering tips and troubleshooting advice along the way. By focusing on techniques and understanding the 'why' behind each step, you'll build confidence and skill, making your first foray into crafting an easy croquembouche a rewarding experience.
Demystifying the Croquembouche: From Choux Pastry to Caramel Delight
Exploring the Croquembouche: A Festive Tower of Profiteroles
The Croquembouche, whose name literally translates to "crunches in the mouth," is a traditional French dessert composed of choux pastry puffs (profiteroles) filled with crème pâtissière and piled into a cone, bound together with threads of caramel. This impressive structure is not just a dessert; it's a centerpiece, a spectacle, and a testament to the baker's skill.
Historically, it has been a staple at French weddings, baptisms, and other grand celebrations, symbolizing abundance and good fortune. Its origins trace back possibly to Antonin Carême, a foundational figure in French haute cuisine, who popularized elaborate edible structures in the 19th century.
Building a Croquembouche requires patience and precision, but the fundamental components are relatively straightforward. The choux pastry, the base of the profiteroles, is a simple dough made from water, butter, flour, and eggs, known for its ability to puff up dramatically in the oven, creating hollow shells perfect for filling. The crème pâtissière, or pastry cream, is a classic custard thickened with egg yolks and starch, providing a rich, creamy interior.
The caramel serves as both the adhesive and a decorative element, adding a brittle sweetness that provides the signature "crunch" when you bite into the tower. Mastering these individual elements is key to a successful and easy French croquembouche recipe.
The Allure of the Croquembouche: A Celebration Centerpiece
The visual impact of a Croquembouche is undeniable. Standing tall and often adorned with spun sugar, nougatine, or decorative pastry elements, it commands attention and serves as the focal point of a dessert table. Unlike a traditional cake, which is sliced, the Croquembouche offers individual profiteroles, making serving relatively easy for large gatherings. This communal aspect, combined with its striking appearance, makes it a perfect choice for significant life events. Imagine a tower featuring perhaps 100-150 profiteroles for a medium-sized wedding reception, each one a delightful, bite-sized treat for guests.
Beyond its aesthetic appeal, the combination of textures and flavors is what truly captivates. The crisp, slightly chewy choux pastry exterior gives way to the smooth, cool, and creamy filling, all held together by the sweet, brittle snap of caramel. This interplay of textures and temperatures creates a memorable sensory experience. While crafting an easy French croquembouche recipe at home might seem ambitious, the sense of accomplishment upon presenting your finished tower is immense, making the effort well worth it for any special occasion.
Croquembouche Recipe: Essential Ingredients and Tools
Ingredients for a Flawless Croquembouche
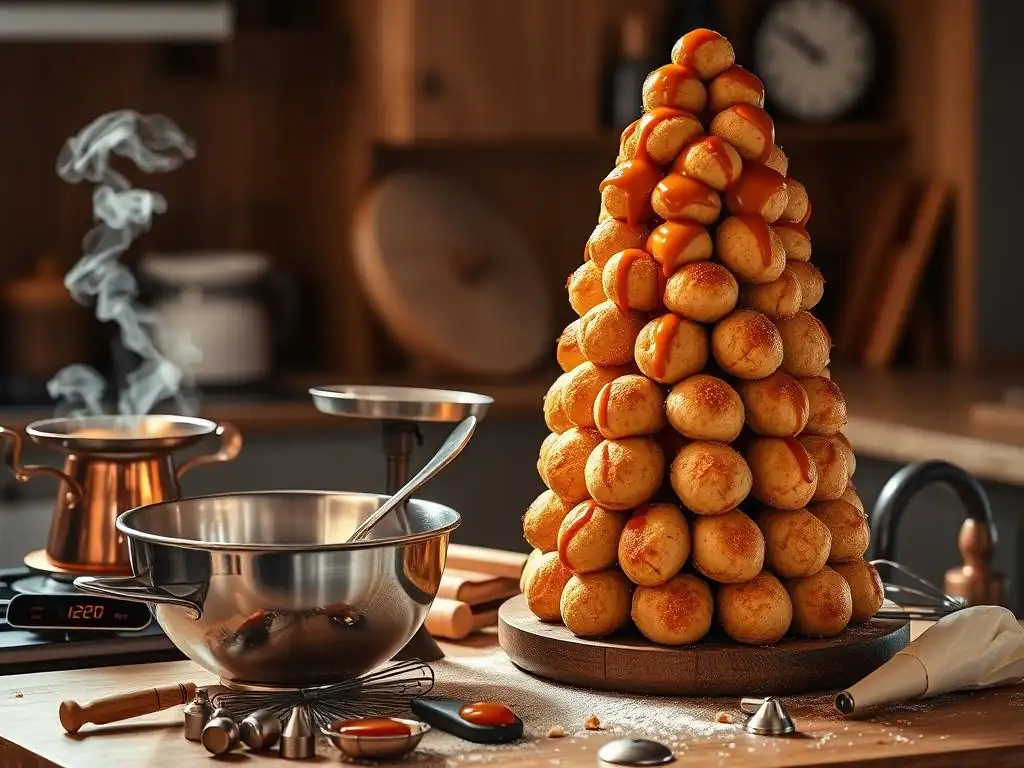
Crafting a delicious and stable Croquembouche relies on using quality ingredients for each component. For the choux pastry, you'll need unsalted butter, water, flour (all-purpose works well), and large eggs. The butter provides richness and helps create steam for puffing, while the eggs are crucial for structure and lift. Using room temperature eggs can help them incorporate more smoothly into the dough. A typical batch for a modest tower (say, 50-70 profiteroles) might require around 1 cup of water, 1/2 cup of butter, 1 cup of flour, and 4-5 large eggs.
The crème pâtissière requires milk (whole milk yields the richest result), egg yolks, sugar, cornstarch or flour (as a thickener), and vanilla extract or a vanilla bean for flavor. Some recipes also include a small amount of butter for extra richness and smoothness. For the caramel, you'll simply need granulated sugar and water or glucose syrup. Glucose helps prevent crystallization, a common caramel challenge. Ensuring all your ingredients are measured accurately and prepared before you begin is a foundational step for any easy French croquembouche recipe.
Equipment for Croquembouche Construction
Having the right tools makes the process of building a Croquembouche significantly smoother. Essential equipment includes heavy-bottomed saucepans for making the choux paste, crème pâtissière, and caramel, as these help distribute heat evenly and prevent scorching. A stand mixer or electric hand mixer is invaluable for incorporating eggs into the choux paste and whisking the crème pâtissière until smooth.
For forming the profiteroles, piping bags fitted with round tips (about 1/2 inch or 1 cm diameter) are necessary to create uniform shapes. Baking sheets lined with parchment paper or silicone mats prevent sticking. For assembly, you'll need a cone mold (available in various sizes) or a sturdy cardboard cone wrapped in parchment paper to build the tower structure. Heat-resistant spatulas are crucial when working with hot caramel, and a sugar thermometer can be very helpful for achieving the correct caramel stage, though not strictly necessary for an easy croquembouche.
Crafting the Perfect Choux Pastry for Your Croquembouche
Preparing the Choux: The Cornerstone of Your Creation
The foundation of your Croquembouche is the choux pastry. Start by combining water and butter in a saucepan and bringing it to a rolling boil over medium heat. Once the butter is melted and the mixture is boiling, remove the pan from the heat and quickly add all the flour at once. Stir vigorously with a wooden spoon or heat-resistant spatula until the mixture comes together to form a cohesive ball and pulls away from the sides of the pan. This step, sometimes called panada, cooks the flour and gelatinizes the starch, which is essential for the pastry's structure.
Return the pan to low heat and continue stirring for 1-2 minutes to dry out the paste slightly. This helps the choux puff properly. Transfer the dough to a mixing bowl (or the bowl of a stand mixer) and let it cool for a few minutes until it's warm but not hot – you should be able to touch it comfortably. Then, add the eggs one at a time, incorporating each egg fully before adding the next.
The dough should be smooth and glossy, falling from a spoon in a thick ribbon (the "ribbon test"). If it's too stiff after adding the suggested number of eggs, you might need to add a partial extra egg, whisked, until the desired consistency is reached. This detailed approach is key to an easy French croquembouche recipe starting point.
Baking the Choux: Achieving Lightness and Crispness
Proper baking is crucial for light, airy choux puffs that will hold their shape and crispness. Preheat your oven to a relatively high temperature, typically around 400°F (200°C). Pipe the choux paste onto prepared baking sheets, leaving enough space between each puff as they will expand considerably – often doubling in size. You can lightly wet your finger to smooth down any peaks on the piped dough.
Place the baking sheet in the preheated oven. After about 15-20 minutes, the puffs should be significantly puffed and golden brown. At this point, reduce the oven temperature to about 350°F (175°C) and continue baking for another 10-15 minutes. This lower temperature helps to dry out the interior of the puffs, preventing them from collapsing later.
Some bakers even recommend poking a small hole in each puff during the last few minutes of baking to allow steam to escape. The total baking time is typically around 30-35 minutes, but it can vary depending on your oven and the size of your profiteroles. They should look deeply golden brown and feel light and hollow.
Cooling the Choux: Maintaining Texture and Preventing Condensation
Once the choux puffs are perfectly baked and golden brown, it's essential to cool them correctly to maintain their crisp texture. Do not leave them on the hot baking sheet; immediately transfer them to a wire rack. Cooling on a rack allows air to circulate around the entire surface, preventing condensation from forming on the bottom, which can make the pastry soggy.
Ensure the puffs are completely cool before filling them with crème pâtissière. Warm puffs will cause the pastry cream to melt and potentially make the choux soft. If you baked a large batch, you might need to cool them in stages. Proper cooling is a simple but vital step in ensuring the success of your easy French croquembouche recipe, guaranteeing that satisfying crunch.
Creating a Luscious Crème Pâtissière for Your Croquembouche
Preparing the Crème Pâtissière: A Silky Smooth Filling
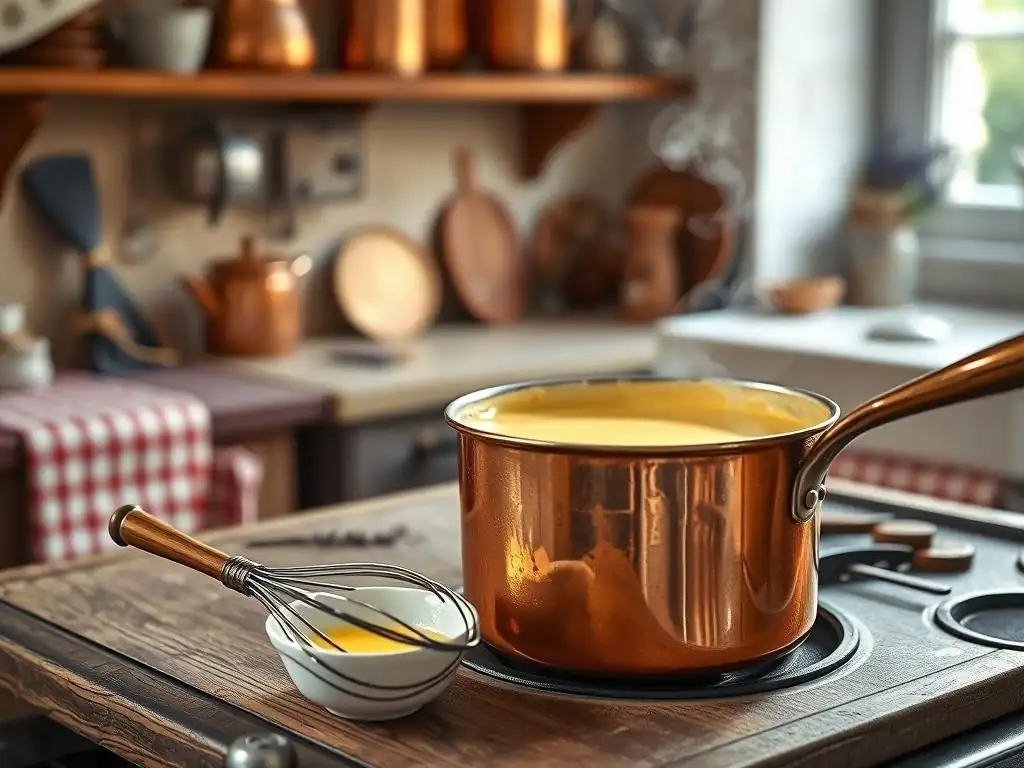
Crème pâtissière is a classic French custard and the traditional filling for Croquembouche profiteroles. To make it, you'll typically whisk together egg yolks and sugar until pale and thick. In a separate bowl, whisk in a thickener like cornstarch or flour. Meanwhile, heat milk (often with a vanilla bean or extract) in a saucepan just until it simmers. Temper the egg mixture by slowly whisking in a small amount of the hot milk, then pour the tempered mixture back into the saucepan with the remaining milk.
Cook the mixture over medium heat, whisking constantly, especially scraping the bottom and sides of the pan, until it thickens significantly. It should reach a point where it coats the back of a spoon and holds its shape briefly. This usually takes about 5-8 minutes after returning it to the heat. Boiling for a minute or two helps ensure the starch is fully cooked and the cream is stable. Strain the finished cream through a fine-mesh sieve into a clean bowl to remove any lumps or cooked egg bits, ensuring a perfectly smooth texture.
Cooling the Crème Pâtissière: Achieving Optimal Thickness
Proper cooling is essential for crème pâtissière to set to the correct consistency for filling the choux puffs. Once strained, cover the surface of the cream directly with plastic wrap. This prevents a skin from forming as it cools. Place the bowl in an ice bath or refrigerate it immediately. Rapid cooling helps prevent bacterial growth and ensures the cream sets properly.
Allow the crème pâtissière to chill thoroughly, ideally for at least 2-3 hours, or until it is completely cold and firm. Before filling the profiteroles, whisk the cold cream vigorously to loosen it up and make it smooth and pipeable. It should be thick enough to hold its shape when piped into the choux puffs, but smooth enough to flow easily. This step is crucial for a successful and easy croquembouche assembly.
Elevating Your Pastry Cream: Flavor Infusion Techniques [e.g., Citrus Zest, Spices, Liqueurs]
While classic vanilla bean crème pâtissière is exquisite, you can easily elevate your pastry cream with various flavor infusions to personalize your Croquembouche. For a bright, fresh note, infuse the milk with citrus zest, such as lemon, orange, or grapefruit, letting it steep before straining it out. Spices like cinnamon stick, star anise, or cardamom pods can also be steeped in the milk for a warm, aromatic flavor.
For a touch of sophistication, add a splash of liqueur after the cream has thickened and been removed from the heat, before straining. Popular choices include Grand Marnier (orange), rum, or coffee liqueur. Ensure the liqueur is fully incorporated. You could also fold in melted chocolate after the cream has cooled slightly for a rich chocolate pastry cream. Experimenting with these flavor variations adds a delightful dimension to your easy French croquembouche recipe.
Assembling Your Magnificent Croquembouche
Crafting the Caramel: The Binding Element
The caramel is the glue that holds your Croquembouche together and provides the characteristic "crunch." To make it, combine granulated sugar with a small amount of water in a heavy-bottomed saucepan. Heat gently, stirring only until the sugar dissolves. Once dissolved, stop stirring and increase the heat to medium-high. Cook the sugar syrup without stirring, occasionally swirling the pan gently, until it turns a beautiful amber color. Be vigilant, as caramel can burn quickly!
For a sturdy Croquembouche, you need the caramel to reach the "hard crack" stage, which occurs between 300°F and 310°F (149°C and 154°C). A sugar thermometer is very helpful here, but you can also test by dropping a small amount into cold water – it should form hard, brittle threads. Once the caramel reaches the desired color and temperature, remove it from the heat. Be extremely cautious when working with hot caramel, as it can cause severe burns.
Coating the Profiteroles: Achieving a Uniform Layer
With your choux puffs filled with crème pâtissière and your caramel ready, it's time to dip and build. Working quickly, as caramel cools and hardens rapidly, take each filled profiterole and dip its top or side into the hot caramel. You want just enough caramel to create a thin, even layer that will adhere the puffs together. Allow any excess caramel to drip back into the pan.
As you dip, set the coated profiteroles aside briefly on parchment paper. Be mindful that the caramel will start to set almost immediately. You'll need to reheat the caramel gently over very low heat if it becomes too thick to work with, but avoid scorching it. This step requires a bit of speed and dexterity, but practice makes perfect for your easy croquembouche assembly.
Constructing the Croquembouche: Building a Stable and Elegant Structure
Now for the exciting part: building the tower! If using a cone mold, lightly oil or coat the inside with non-stick spray and line it with parchment paper. Dip the caramel-coated side of each profiterole into the caramel again, and then immediately press it against the inside of the cone mold, starting at the base. Arrange the profiteroles in concentric circles, working your way upwards. The caramel acts as the adhesive, setting quickly to hold the structure.
If you're not using a mold, you'll build the tower freehand on a flat surface (like a cake stand). Start by arranging a base layer of profiteroles in a circle, adhering them with caramel. Then, build subsequent layers on top, staggering the puffs slightly for stability, dipping each contact point in caramel before placing. For a classic shape, aim for a gradual taper as you build higher. A modest tower might be 10-12 inches tall, potentially using 80-100 profiteroles depending on their size.
Adorning Your Croquembouche: Decorative Flourishes
Once the main structure of the Croquembouche is complete and the caramel has fully set, you can add decorative elements. The most traditional decoration is spun sugar. To create spun sugar, dip forks or whisks into the slightly cooled (but still liquid) caramel and quickly flick or drizzle fine threads over and around the tower. This creates a beautiful, delicate, web-like effect.
Other common decorations include nougatine (a brittle made from caramelized sugar and nuts, often almonds), which can be shaped into leaves, diamonds, or other forms and attached to the tower with caramel. You can also use royal icing to pipe decorative patterns or attach sugared almonds, chocolate shards, or fresh flowers (ensure they are food-safe and not treated with pesticides). These final touches transform your easy French croquembouche recipe into a stunning edible sculpture.
Expert Tips for Croquembouche Success
Mastering Caramelization: Achieving the Perfect Color and Consistency
Caramel is perhaps the trickiest element of the Croquembouche, as it goes from perfect to burnt in seconds. Start with a clean pan to prevent crystallization. Use a heavy-bottomed pan for even heating. Resist the urge to stir once the sugar has dissolved; swirling the pan is sufficient. Watch the color closely – aim for a rich amber, like old pennies, not dark brown, which indicates burning.
If your caramel crystallizes (turns grainy), you can sometimes save it by adding a little more water and gently reheating, stirring until it dissolves again. Using glucose syrup or a squeeze of lemon juice at the start can also help prevent crystallization. For assembly, keep the caramel warm over very low heat or a warm water bath, but avoid boiling it, which can darken and burn it. Working quickly and efficiently is key when dipping profiteroles.
Ensuring Structural Integrity: Building a Solid Foundation
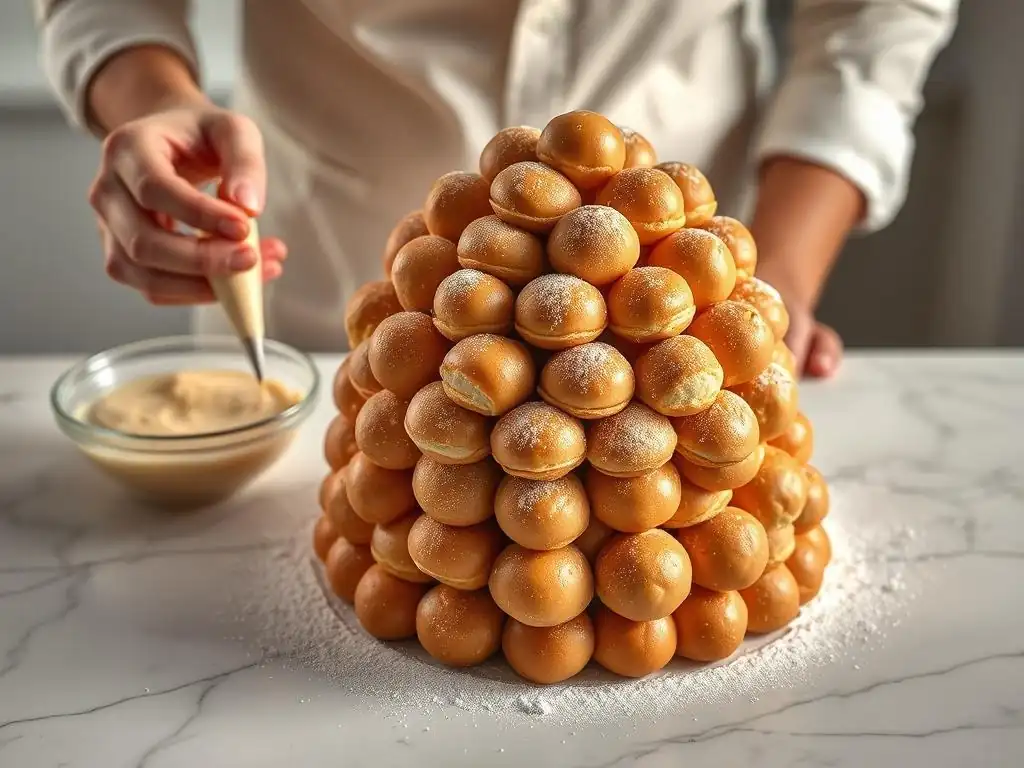
A stable base is crucial for preventing your Croquembouche tower from tilting or collapsing. Start with a level surface and a sturdy base plate or cake stand. When building, ensure each profiterole is firmly adhered to the ones below and beside it using sufficient caramel at the contact points. Don't skimp on the caramel "glue" where needed, but avoid excessive amounts that create large, messy drips.
If using a mold, allow the tower to set completely within the mold before attempting to unmold it. This might take 30 minutes to an hour. If building freehand, build the layers gradually, ensuring each layer is stable before adding the next. Consider making slightly larger profiteroles for the base layer to provide a broader, more stable foundation. Building with confidence and deliberate placement helps ensure your easy croquembouche stands tall.
Preserving Freshness: Storage Solutions for Your Croquembouche
A Croquembouche is best enjoyed within a few hours of assembly, as the caramel can soften in humid conditions and the choux can lose its crispness over time, even with an easy French croquembouche recipe. However, you can prepare the components in advance. Choux puffs can be baked a day or two ahead and stored in an airtight container at room temperature (do not refrigerate, as this causes condensation). Re-crisp them in a warm oven (300°F/150°C) for 5-10 minutes just before filling.
Crème pâtissière can be made a day in advance and stored in the refrigerator, covered tightly with plastic wrap pressed directly onto the surface. Caramel should be made just before assembly. Once assembled, store the Croquembouche in a cool, dry place, away from humidity. Refrigeration is generally not recommended unless absolutely necessary, as it can soften the choux and make the caramel sticky.
Troubleshooting Common Croquembouche Challenges
Preventing Soggy Profiteroles: Moisture Control Strategies
Soggy choux puffs are a common frustration. The main culprit is moisture, either from under-baking or improper cooling/storage. Ensure your choux puffs are baked long enough at the lower temperature to dry out the interior. They should feel very light and sound hollow when tapped. Cooling on a wire rack allows air circulation and prevents condensation.
Storing unfilled choux puffs in an airtight container at room temperature is better than refrigerating them. If they feel slightly soft just before filling, a quick reheat in a warm oven can restore their crispness. Filling the puffs only when they are completely cool and just before assembly also helps prevent the pastry cream from making them soft prematurely. Applying these simple techniques helps ensure your easy French croquembouche recipe results in delightful, crisp puffs.
Addressing Caramel Crystallization: Reversing and Preventing
Caramel crystallization, where the sugar turns grainy instead of smooth, can happen if sugar crystals are left on the sides of the pan or if the syrup is stirred while boiling before it colors. To prevent this, start with a clean pan. You can brush down the sides of the pan with a wet pastry brush as the sugar dissolves to wash down any stray crystals. Using a small amount of glucose syrup or an acid like lemon juice (about 1 teaspoon per cup of sugar) can also act as an anti-crystallizing agent.
If your caramel does crystallize while cooking, you can try adding a few tablespoons of hot water and gently reheating, stirring until the crystals dissolve. However, sometimes it's best to discard it and start over if it's severely grainy. When reheating caramel during assembly, do so over very low heat and stir minimally.
Stabilizing a Tilting Tower: Reinforcement Techniques
If your Croquembouche starts to lean during construction, act quickly! You can try adding more caramel to the weak points between the profiteroles to reinforce the structure. For larger towers, some bakers insert thin wooden skewers or dowels down through the center of the tower as they build to provide internal support. These can be carefully removed before serving.
Ensuring that your profiteroles are of uniform size helps with even stacking. If using a mold, make sure the tower is fully set before unmolding. If building freehand, take your time with each layer, ensuring it is stable before adding the next. Don't overload the tower with too many profiteroles for its base diameter. Sometimes, a slight lean adds character, but significant tilting needs immediate attention to save your easy croquembouche.
Savoring Your Croquembouche: A Culinary Masterpiece
Presentation and Serving Suggestions: Enhancing the Experience
Presenting your finished Croquembouche is the culmination of your efforts. Place the tower on a sturdy cake stand or serving platter. Ensure any spun sugar or other decorations are added just before serving for maximum impact and freshness. Traditionally, the Croquembouche is broken apart by guests or the host, often using a small hammer or simply pulling off the profiteroles by hand.
For a more refined service, you can carefully detach clusters of profiteroles or individual puffs using a knife heated in hot water. Provide small plates or napkins for guests. The beauty of the Croquembouche lies in its interactive nature and the delightful surprise of the creamy filling within the crisp shell. Serving it alongside coffee or a dessert wine makes for a perfect ending to a meal.
Creative Adaptations: Personalizing Your Croquembouche
While the classic vanilla crème pâtissière Croquembouche is traditional, don't hesitate to get creative! As mentioned earlier, you can flavor the pastry cream with chocolate, coffee, fruit purées, or liqueurs. You could also use different fillings in different sections of the tower for variety. Consider adding a layer of nougatine between the base and the first layer of profiteroles for extra crunch and flavor.
The exterior decorations offer endless possibilities. Besides spun sugar and nougatine, you can drizzle melted chocolate over the finished tower, dust it with powdered sugar, or attach fresh berries (like raspberries or strawberries) using a dab of caramel. Tailoring the flavors and decorations makes your easy French croquembouche recipe truly unique and reflective of the occasion.
Celebrating Your Creation: Sharing the Joy
Creating a Croquembouche is a labor of love, a project that requires time, patience, and attention to detail. But the reward is immense – the pride of presenting such a magnificent dessert and the joy of sharing it with others. Whether it's for a birthday, anniversary, or simply a special gathering, the Croquembouche turns an ordinary event into a memorable celebration.
Don't be discouraged if your first attempt isn't absolutely perfect. Baking, especially challenging classics like this, is a learning process. Each Croquembouche you make will teach you something new about choux pastry, caramel, and construction. The most important part is the experience of creating and the pleasure of sharing your delicious, homemade easy croquembouche with friends and family. Enjoy the process and the delicious results!
Frequently Asked Questions
What exactly is a croquembouche, and is it really as intimidating as it looks?
A croquembouche is a traditional French dessert, a towering cone of cream puffs bound together with caramel. While impressive, our easy recipe breaks down the process into manageable steps.
Does this "Easy French Croquembouche Recipe" require special baking equipment?
Not necessarily! You'll need basic baking tools like mixing bowls, baking sheets, and a piping bag. A cone-shaped mold is helpful but not essential; alternatives are provided in the recipe.
What kind of cream filling is best for a croquembouche, and can it be flavored?
The classic filling is crème pâtissière (pastry cream), but you can use whipped cream or even custard. Flavoring options are endless – vanilla, chocolate, coffee, or citrus zest all work well.
How far in advance can I make the different components of the croquembouche?
The cream puffs and pastry cream can be made a day ahead and stored separately in the refrigerator. Assemble the croquembouche shortly before serving to prevent the caramel from softening.
What are some tips for preventing the caramel from burning when assembling the croquembouche?
Use a low heat when melting the sugar for the caramel. Watch it carefully and remove it from the heat as soon as it turns a light amber color to avoid burning.
Final Reflection: The Sweet Symphony of Simplicity
Mastering the croquembouche, once a daunting feat of pastry prowess, is now within everyone's reach. This journey through a simplified recipe has proven that creating this stunning dessert doesn't require years of culinary school or an arsenal of specialized tools. The elegance of the croquembouche, previously reserved for special occasions and expert bakers, can now grace any table, adding a touch of sophisticated charm to everyday life.
The impact of accessible recipes like this extends beyond the individual kitchen. It fosters a sense of community and shared accomplishment. The joy of creating something beautiful and delicious, once a privilege, is now a possibility for many. This democratization of culinary artistry is incredibly powerful, reminding us that the pleasure of cooking and sharing food transcends skill level. Cooking is at once child's play and adult joy. And cooking done with care is an act of love.
– Craig Claiborne. This quote perfectly encapsulates the spirit of this simplified approach – making the joy of creating a croquembouche accessible to all who wish to experience it.
Now, I invite you to take this newfound confidence and apply it to your own culinary adventures. Don't be afraid to experiment, to adapt, and to embrace the imperfections. The true magic lies not just in the perfect execution, but in the journey of creation and the shared delight of savoring the results. So, gather your ingredients, summon your courage, and create your own sweet symphony of simplicity. The delicious reward awaits!
Unleash Your Inner Pâtissier: Master the Croquembouche!
Thanks for joining us on this delicious journey into the world of French pastry! We hope you now feel confident tackling this iconic dessert. Ready to take your baking skills to the next level?
- Bake your own masterpiece: Try out the croquembouche recipe today, adapting it to your favorite flavors and fillings. Don't be afraid to experiment!
- Share your creation: Post a picture of your finished croquembouche on social media using #BakeWithEaseCroquembouche and inspire others!
- Discover more French baking secrets: Explore our other recipes for classic French desserts – you might find your next culinary adventure!
So, what unexpected flavor combination will you try in your first (or next!) croquembouche?