
Mastering the Perfect Bake for French Canelés

Welcome to BakeWithEase!
Ever dreamt of achieving that exquisitely caramelized crust and tender, custardy interior of a perfect French canelé? Mastering the art of these iconic pastries isn't as daunting as you might think. Dive into our essential French canelé baking tips and unlock the secrets to creating bakery-worthy treats in your own kitchen. Get ready to elevate your baking game – the journey to canelé perfection starts now!
- Mastering French Canelés: A Comprehensive Guide
- Introduction to French Canelés
- Essential Equipment for Baking Canelés
- Classic French Canelé Recipe
- Baking Canelés: Achieving Caramelization
- Troubleshooting Common Canelé Baking Problems
- Advanced Canelé Baking Techniques
- Serving and Storing Canelés
- Canelé Baking Tips: Summary
-
Frequently Asked Questions
- What exactly is a French canelé?
- What are the most common difficulties bakers face when making canelés?
- What type of mold is best for baking French canelés?
- What are some key techniques for achieving a perfectly caramelized crust?
- What are some tips for preventing canelés from sticking to the molds?
- Final Reflection: The Enduring Allure of the Canelé
- Unlock Your Inner Pâtissier: Craft the Canelé of Your Dreams!
Mastering French Canelés: A Comprehensive Guide
Introduction to French Canelés
What are French Canelés?
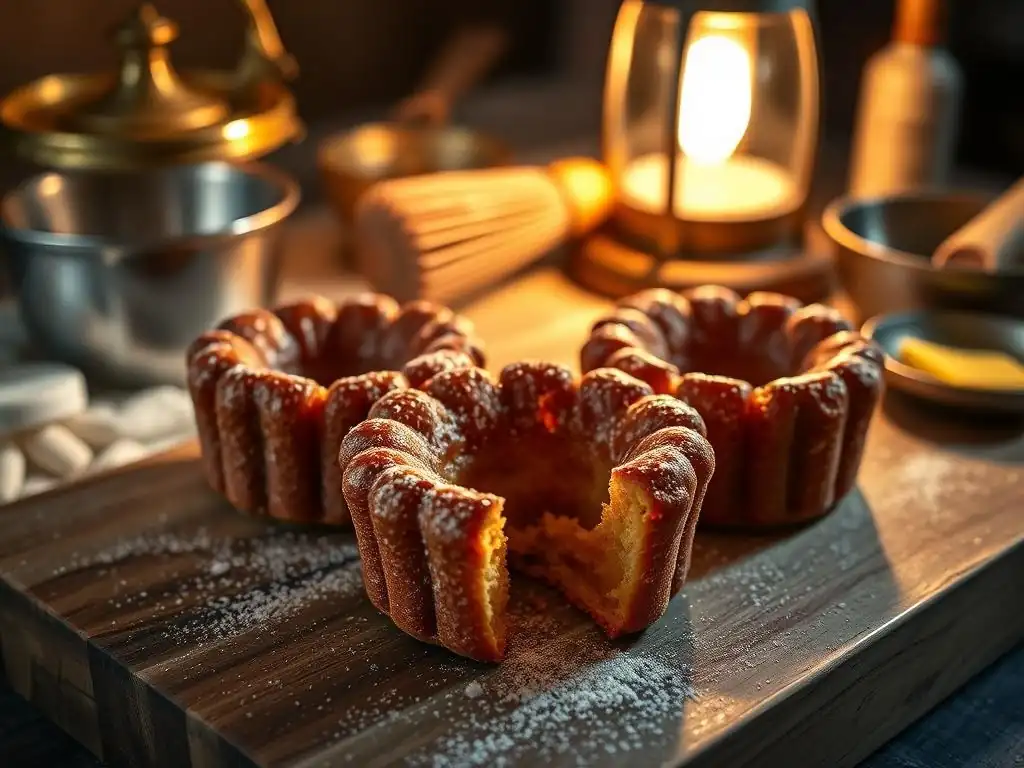
French Canelés, or Canelés de Bordeaux, are small, cylindrical pastries with a distinctive dark, caramelized crust and a soft, tender, custard-like interior. Originating from the Bordeaux region of France, their name is believed to come from the grooved molds they are traditionally baked in, "canelé" meaning "fluted" or "grooved" in Gascon dialect. These delightful treats are a testament to the simplicity and elegance of French baking, requiring patience and precision to achieve their signature texture contrast.
The history of canelés is somewhat debated, but a popular theory links them to the convents in Bordeaux in the 16th century. Nuns would reportedly collect leftover egg yolks from winemakers who used the whites for fining wine. These yolks were then used to create small cakes. The addition of rum and vanilla came later, likely influenced by Bordeaux's role as a major port city with trade routes to the Caribbean. Mastering the techniques for French canelé baking is a rewarding challenge for any home baker.
The Appeal of Canelés: Texture and Flavor
The primary appeal of a perfect French canelé lies in its extraordinary textural contrast. The exterior is crisp, thin, and deeply caramelized, offering a slight resistance before yielding to the interior. This crust is the result of high-temperature baking and the Maillard reaction, providing complex toffee and caramel notes. The interior, in stark contrast, is moist, soft, and almost creamy, with a rich flavor profile dominated by vanilla and rum.
This interplay between the crunchy, sweet crust and the delicate, fragrant interior is what makes canelés so addictive. They are not overly sweet, allowing the subtle nuances of the ingredients and the caramelization process to shine through. Achieving this perfect balance requires attention to detail in every step, from preparing the batter to the final bake. Many French canelé baking tips focus specifically on how to nail this crucial texture.
Essential Equipment for Baking Canelés
Canelé Molds: Copper vs. Silicone
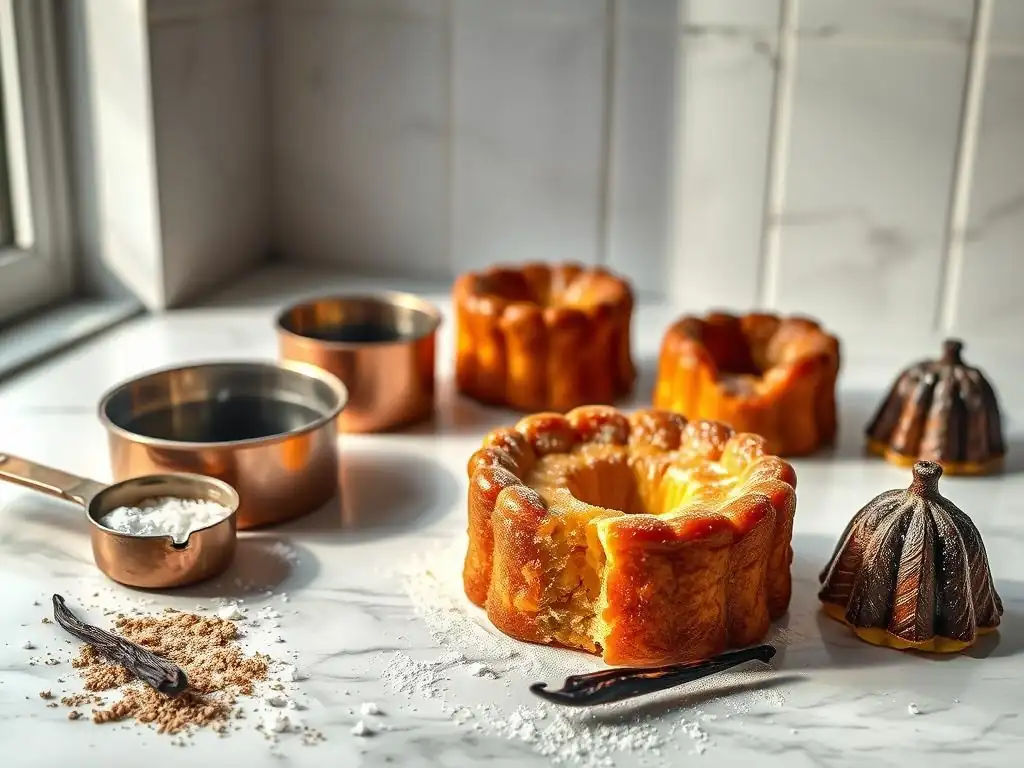
Choosing the right mold is perhaps the most critical step in mastering French canelés. Traditionally, canelés are baked in heavy copper molds, which are lined with beeswax and butter. Copper is an excellent heat conductor, ensuring even and intense caramelization of the batter, which is key to developing the canelé's signature thick, dark crust. While expensive and requiring careful seasoning and maintenance, copper molds are widely considered the gold standard for achieving the authentic texture and color.
Silicone molds offer a more accessible and budget-friendly alternative. They are non-stick and easy to clean, making them convenient for home bakers. However, silicone is an insulator, not a conductor, meaning it doesn't transfer heat as efficiently or intensely as copper.
This often results in a less pronounced crust and lighter caramelization. To compensate, bakers using silicone molds often need to adjust baking times or temperatures, sometimes baking at a higher initial temperature or for longer periods to encourage crust development. Proper French canelé baking tips for silicone often involve preheating the molds or placing them on a baking sheet to help with heat distribution.
Oven Considerations for Canelé Baking
A reliable oven is crucial for baking canelés successfully. Achieving the intense caramelization requires high temperatures, typically ranging from 375°F to 475°F (190°C to 245°C) during different stages of the bake. Consistent heat distribution is key, as uneven temperatures can lead to some canelés caramelizing perfectly while others remain pale or burn. Using an oven thermometer can help verify the actual temperature inside your oven, as built-in thermostats can sometimes be inaccurate by as much as 20-30 degrees Fahrenheit.
Preheating your oven thoroughly is essential. Canelés benefit from being placed into a hot environment immediately. Some bakers even recommend preheating the empty molds inside the oven before adding the batter, especially when using copper molds, to give them a head start on caramelization. Convection ovens can be beneficial for even heat, but the forced air might affect the rise or crust development; experimenting with fan speed or using a standard bake setting might be necessary. Understanding your specific oven's hot spots and quirks is a valuable French canelé baking tip.
Other Useful Tools: Thermometers and Whisks
Beyond molds and an oven, a few other tools can significantly aid your French canelé baking journey. An instant-read thermometer is invaluable for ensuring your milk mixture reaches the correct temperature after infusing vanilla, typically around 180-190°F (82-88°C), but not boiling. This temperature is hot enough to extract flavor from the vanilla bean but not so hot that it scrambles the egg yolks when combined.
A good whisk is essential for incorporating the dry ingredients smoothly into the wet ingredients without creating lumps. Gentle whisking is preferred to avoid overworking the batter, which can lead to tough canelés. A fine-mesh sieve is also useful for straining the batter to remove any potential lumps or vanilla bean pieces, resulting in a perfectly smooth mixture. Finally, a sturdy baking sheet is needed to place your molds on, especially silicone ones, for easier handling and potentially better heat transfer from the oven rack.
Classic French Canelé Recipe
Ingredients for Authentic Canelés
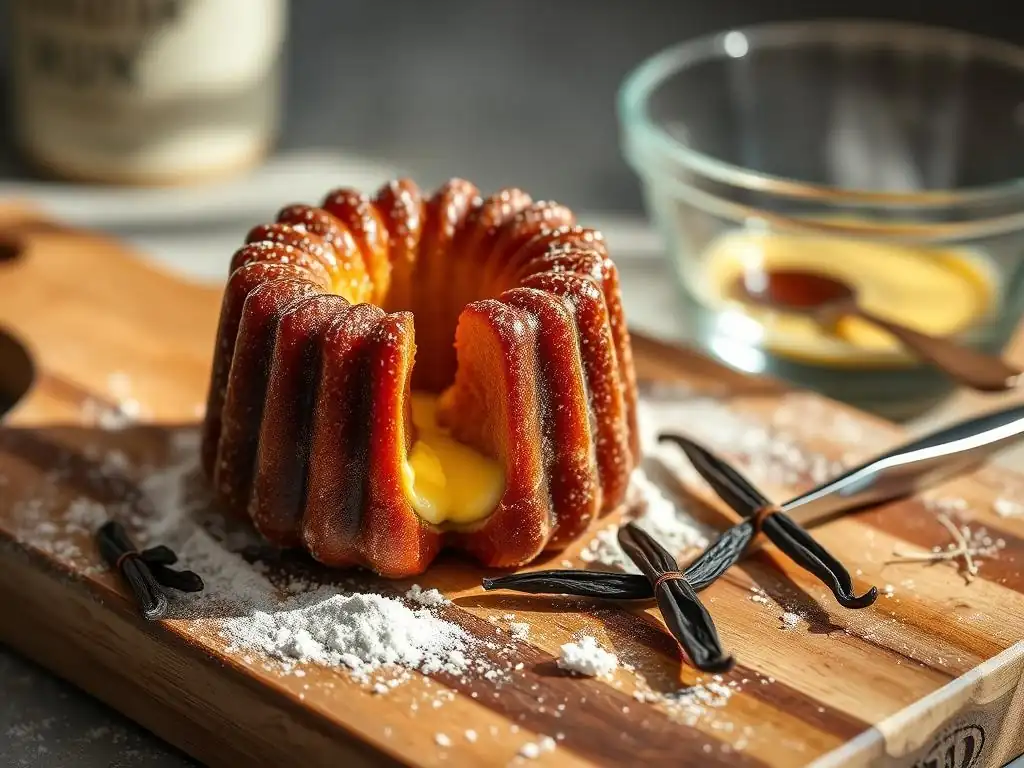
An authentic French canelé recipe uses surprisingly simple ingredients: whole milk, sugar, all-purpose flour, eggs (primarily yolks, sometimes a whole egg), butter, vanilla bean, and dark rum. The quality of these ingredients significantly impacts the final flavor. Using whole milk provides richness, while a real vanilla bean offers a depth of flavor far superior to extract. Dark rum is traditional and adds a subtle complexity that complements the caramel notes, though some recipes omit it.
Precise measurements are crucial in canelé baking. For example, a typical recipe might call for around 500ml milk, 250g sugar, 100g flour, 2-3 whole eggs plus 2-3 yolks, 50g melted butter, 50-100ml dark rum, and 1 vanilla bean. Weighing your dry ingredients, especially flour and sugar, ensures accuracy that measuring cups cannot always provide. This precision is a fundamental French canelé baking tip for consistent results.
Preparing the Canelé Batter
Preparing the batter involves a few key steps. First, infuse the milk with the scraped seeds and pod of a vanilla bean by heating it gently. Once hot (around 180-190°F), remove from heat, cover, and let it steep for about 15-20 minutes to allow the vanilla flavor to fully develop. Strain the milk to remove the pod and seeds (though some leave the seeds in). Meanwhile, whisk together the sugar and flour in a bowl.
In a separate bowl, whisk the eggs and yolks lightly. Gradually temper the hot, infused milk into the egg mixture, whisking constantly to prevent scrambling. Pour this liquid mixture back into the bowl with the sugar and flour, and whisk gently until just combined and smooth. Stir in the melted butter and rum. The goal is a smooth, thin batter, similar in consistency to crepe batter. Avoid over-whisking, which can develop gluten and toughen the canelés.
Resting the Batter: Flavor Development
One of the most crucial, yet often overlooked, steps in French canelé baking is resting the batter. After preparing the batter, it must be refrigerated for a significant period, ideally 24 to 48 hours. This resting period allows several things to happen: the flour fully hydrates, the flavors (vanilla, rum) meld and deepen, and air bubbles introduced during mixing dissipate.
Resting the batter results in a more stable mixture that is less likely to rise excessively and collapse during baking, contributing to the desired dense, custardy interior. It also seems to aid in achieving that perfect, even caramelization on the crust. Skipping or shortening this step is a common reason for canelé failures. Patience truly is a virtue when it comes to mastering French canelés.
Baking Canelés: Achieving Caramelization
Preparing the Molds: Buttering Techniques
Proper mold preparation is paramount for achieving a perfect crust and preventing sticking. For traditional copper molds, the classic method involves coating them with a mixture of melted beeswax and butter. This mixture provides a non-stick surface and contributes to the unique flavor and crispness of the crust. The molds are heated, coated with the wax/butter mixture, drained, and often chilled before filling. A common ratio is around 50g beeswax to 50g butter.
For silicone molds, a simple coating of melted butter is usually sufficient. Ensure the butter coats the entire interior surface of each cavity. Some bakers using silicone molds also lightly dust the buttered surface with flour or even a fine layer of sugar to encourage better browning, although this is not traditional. Regardless of the mold type, a thorough and even coating is essential for the canelé to release cleanly and develop a beautiful crust. This is a key French canelé baking tip for success.
Pouring the Batter
Once the molds are prepared and the batter has rested, it's time to fill them. The batter should be gently stirred (not whisked vigorously) before filling to ensure any settled ingredients are reincorporated, but avoid creating new air bubbles. The molds should be filled nearly to the brim, leaving just a small gap at the top (perhaps 1/4 to 1/2 inch, or about 0.5-1 cm).
Overfilling can cause the batter to overflow during baking, creating a mess and potentially uneven canelés. Underfilling might result in shorter canelés that don't develop the classic shape. For consistency, you can use a measuring cup or even weigh the batter poured into each mold if you are aiming for uniform size, although filling by eye is common practice. Pouring slowly helps minimize trapped air bubbles.
Baking Temperatures and Times
Baking canelés typically involves two distinct temperature phases to achieve the desired crust and interior. Initially, they are baked at a high temperature, often between 450°F and 475°F (230°C to 245°C), for the first 10-20 minutes. This initial burst of heat helps the canelés rise, form a structure, and begin the caramelization process rapidly.
After the initial high-temperature phase, the oven temperature is reduced to a lower range, typically 350°F to 375°F (175°C to 190°C), for the remainder of the baking time, which can be anywhere from 40 to 70 minutes, or even longer. This lower temperature allows the interior to cook through without burning the now-forming crust. The total baking time varies greatly depending on the oven, mold material (copper bakes faster than silicone), and desired level of caramelization. Canelés are done when they are deep brown, almost mahogany, and have released from the molds.
Maillard Reaction: Color and Flavor
The beautiful, dark crust and complex flavor of a canelé are largely due to the Maillard reaction and caramelization. The Maillard reaction is a complex chemical process between amino acids and reducing sugars that occurs at high temperatures, creating hundreds of different flavor compounds and the browning seen in baked goods, seared meats, and roasted coffee. In canelés, this reaction contributes savory, roasted, and nutty notes alongside the sweetness.
Caramelization occurs when sugars are heated to high temperatures (around 320°F or 160°C) and break down, producing distinct caramel, toffee, and butterscotch flavors. The high baking temperature and the sugar content in the canelé batter drive both these processes, resulting in the signature dark color and rich, complex crust flavor that is the hallmark of a perfect French canelé. Achieving the right balance of these reactions is central to successful French canelé baking tips.
Troubleshooting Common Canelé Baking Problems
Canelés Sticking to the Molds: Solutions
One of the most frustrating issues in French canelé baking is having them stick firmly to the molds. This often happens with copper molds that haven't been properly seasoned or coated with the beeswax/butter mixture, or if the coating is too thin. For copper molds, ensure the beeswax/butter mixture is applied evenly and thickly enough, and that the molds are properly chilled afterward if the recipe calls for it. Re-seasoning copper molds might be necessary if they are old or haven't been used in a while.
For silicone molds, sticking is less common but can still occur, sometimes if the molds weren't buttered sufficiently or if the canelés aren't fully cooked and released cleanly. Ensure you butter silicone molds thoroughly. If canelés are sticking, try leaving them in the mold for a few extra minutes after removing from the oven; sometimes, as they cool slightly, they contract and release. If persistent sticking occurs, consider if your batter might be too wet or if baking times are too short.
Canelés Not Rising Properly: Identifying Issues
Canelés should initially rise quite dramatically in the oven due to the high heat, creating a little "hat" on top, before settling back down. If they aren't rising at all, or collapse completely, several factors could be at play. The batter might not have been rested long enough, meaning air bubbles haven't dissipated, or the gluten hasn't relaxed. Ensure the batter rests for at least 24 hours.
Another common cause is adding the wet ingredients (milk mixture) to the dry ingredients too hot, which can partially cook the flour or eggs. Ensure the milk has cooled slightly after infusing the vanilla before tempering it with the eggs. Over-whisking the batter can also incorporate too much air that then collapses. Finally, check your oven temperature; insufficient initial heat won't provide the necessary lift. These specific French canelé baking tips address rise issues directly.
Canelés Being Too Soft or Too Hard: Adjusting Times
The texture of the canelé crust is a delicate balance. If your canelés are too soft and pale, lacking that characteristic crispness, it's almost certainly an issue with baking time or temperature. They likely haven't baked long enough, especially at the lower temperature setting, to fully caramelize and crisp up the crust. Try extending the baking time by 10-20 minutes, checking frequently. Ensure your oven is calibrated and reaching the correct high temperature initially and the lower temperature for the longer bake.
Conversely, if the crust is too hard, brittle, or tastes burnt, they have likely baked too long or at too high a temperature. The sugar in the batter has caramelized excessively. Try reducing the total baking time or slightly lowering the temperature during the second phase of baking. Using copper molds often requires shorter baking times than silicone due to their superior heat conductivity. Adjusting baking times based on visual cues (color) is a critical French canelé baking tip.
Uneven Caramelization: Tips
Uneven caramelization, where parts of the canelé are dark and crisp while others are pale and soft, can be frustrating. This is often related to uneven heat distribution in the oven. Hot spots can cause some molds to brown faster than others. Try rotating your baking sheet halfway through the baking time to ensure all canelés are exposed to the same heat conditions.
Another factor can be the way the molds are arranged on the baking sheet. Ensure they are not too crowded, allowing heat to circulate freely around each mold. If using silicone molds, placing them on a metal baking sheet can help provide more even heat transfer from below. For copper molds, ensuring the beeswax/butter coating is applied evenly to every surface is essential for uniform browning.
Advanced Canelé Baking Techniques
Infusing Canelés with Flavors: Vanilla, Rum, and More
While vanilla and rum are the classic flavorings for French canelés, there's room for creative infusion. The traditional method involves steeping a vanilla bean in hot milk. For a more intense vanilla flavor, use a high-quality bean and steep for longer, or even split and scrape two beans. The amount of rum can also be adjusted based on preference; using a dark, aged rum adds richer notes than white rum.
Beyond the classics, you can experiment with other infusions. Consider steeping citrus zest (orange or lemon) in the milk alongside the vanilla for a brighter flavor profile. Spices like star anise, cinnamon sticks, or cardamom pods can also be steeped in the milk to add warmth and complexity. Ensure you strain the milk thoroughly after steeping to remove any solids before adding it to the batter. These variations offer exciting new French canelé baking tips for experienced bakers.
Experimenting with Different Flours
The classic canelé recipe uses all-purpose flour. However, experimenting with different flours can subtly alter the texture and flavor. Using a lower-protein pastry flour might result in a slightly more tender interior, while a higher-protein bread flour could potentially lead to a chewier texture (though overworking the batter is the main culprit for chewiness).
Some bakers have experimented with substituting a small percentage of the all-purpose flour with alternative flours like rice flour or even chestnut flour for a unique twist. Rice flour, for instance, is often used in gluten-free baking to provide structure and crispness, which could theoretically impact the canelé's crust. Any significant flour substitution would likely require adjustments to the liquid ratio, as different flours absorb moisture differently.
Vegan Canelé Options
Developing a truly authentic vegan French canelé is challenging because the classic relies heavily on egg yolks for the custardy interior and milk and butter for richness. However, creative bakers have developed plant-based alternatives. Eggs can be substituted with a combination of plant-based milk, cornstarch or tapioca starch for thickening, and potentially ingredients like kala namak (black salt) for a slight eggy flavor if desired.
Butter can be replaced with vegan butter or refined coconut oil. Whole milk can be swapped for rich plant milks like cashew, soy, or oat milk. Achieving the precise texture and caramelization of a traditional canelé with vegan ingredients often requires significant experimentation with ingredient ratios, baking temperatures, and times. While not identical, successful vegan versions can still capture the spirit of the canelé with a crisp exterior and soft interior.
Serving and Storing Canelés
Enjoying Freshly Baked Canelés
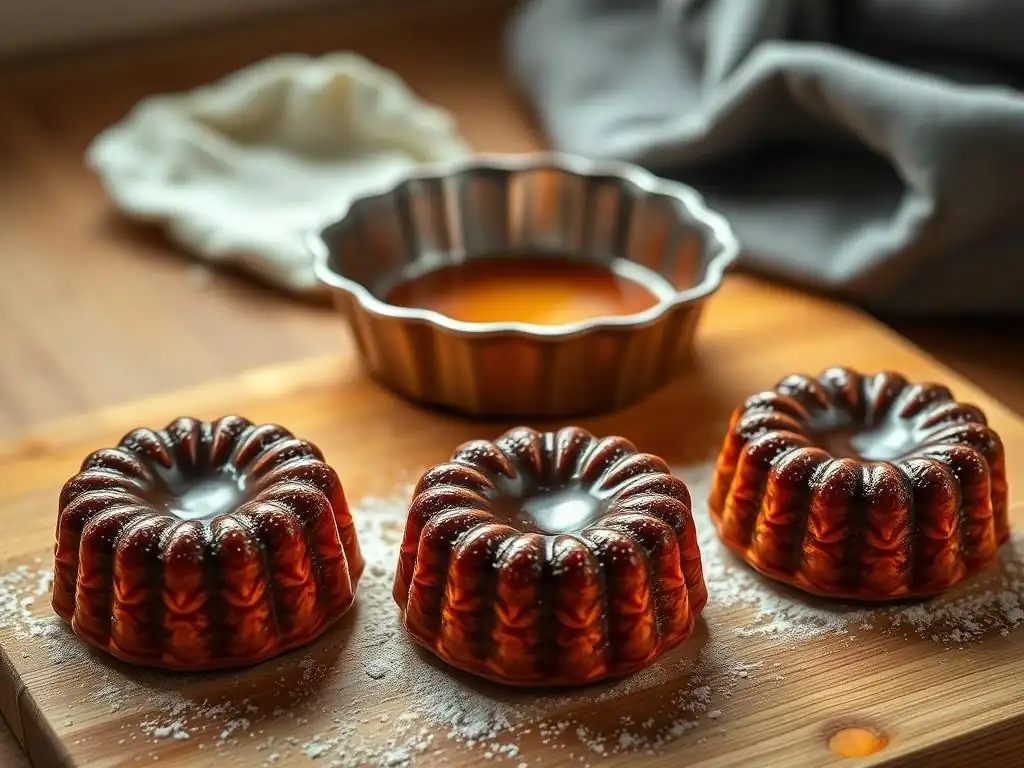
French canelés are best enjoyed fresh, ideally within a few hours of baking. This is when the contrast between the crisp, caramelized crust and the warm, soft interior is at its peak. Allow them to cool slightly after removing them from the molds – typically for about 10-15 minutes on a wire rack. They will continue to firm up and crisp as they cool.
Serving them warm or at room temperature allows the complex flavors of vanilla, rum, and caramel to fully develop. The aroma of freshly baked canelés is intoxicating and part of the overall experience. Presenting them simply on a plate highlights their unique shape and beautiful color.
Storage Techniques for Canelé Quality
Storing canelés can be tricky because the crisp crust is highly susceptible to moisture in the air. If left exposed, they will quickly lose their crispness and become soft and chewy. The best way to store canelés for short periods (a day or two) is at room temperature in a single layer, ideally in a container that allows some air circulation, or simply on a plate loosely covered with paper towel to absorb excess moisture. Avoid airtight containers, which trap humidity and soften the crust.
For longer storage, canelés can be frozen. Allow them to cool completely, then wrap them individually in plastic wrap and place them in a freezer bag or airtight container. They can be frozen for up to a month. To reheat, place frozen canelés directly on a baking sheet in a preheated oven at around 350°F (175°C) for 10-15 minutes until the crust is crisp again. This reheating step is a vital French canelé baking tip for enjoying them later.
Canelé Serving Suggestions: Pairings
Canelés are delightful on their own, but they also pair wonderfully with various beverages and accompaniments. Traditionally, they are served with coffee or tea, the warmth of the drink complementing the rich flavors of the pastry. In their native Bordeaux, they might be enjoyed with a glass of Sauternes, a sweet white wine, or even a local red wine, creating an interesting contrast.
For a more indulgent treat, serve canelés with a scoop of vanilla bean ice cream or a dollop of crème fraîche. A light dusting of powdered sugar or a drizzle of caramel sauce can enhance their visual appeal and flavor, although the purist might argue against anything that obscures the perfect crust. They also make an elegant addition to a dessert platter or pastry spread.
Canelé Baking Tips: Summary
Key Takeaways for Mastering Canelés
Mastering French canelés is a journey that requires patience, precision, and practice. Key takeaways include the importance of using the right molds (copper for traditional results), accurately measuring ingredients, and crucially, resting the batter for 24-48 hours to develop flavor and texture. Paying close attention to oven temperatures and baking times is essential for achieving that signature dark, crisp crust and tender interior.
Troubleshooting common issues like sticking, poor rise, or incorrect texture involves understanding the underlying causes related to mold preparation, batter consistency, and baking conditions. Don't be discouraged by initial failures; each batch offers a learning opportunity. These fundamental French canelé baking tips form the foundation for success.
Final Thoughts
Baking French canelés is often described as an art form, requiring a balance of technical skill and intuition. While the process can seem daunting at first, the reward of biting into a perfectly baked canelé – with its satisfying crunch giving way to a soft, fragrant center – is well worth the effort. Experiment with temperatures, times, and even flavor infusions to find your perfect canelé.
Remember that consistency comes with practice. Keep notes on your baking process, especially regarding oven performance and timing, to refine your technique. Embrace the challenge, and enjoy the delicious results as you become more confident in your French canelé baking tips and skills. Happy baking!
Frequently Asked Questions
What exactly is a French canelé?
A French canelé is a small, fluted pastry with a soft, custardy center and a dark, caramelized crust. They are traditionally flavored with rum and vanilla.
What are the most common difficulties bakers face when making canelés?
Common issues include achieving the properly caramelized crust, preventing sticking to the molds, and ensuring the center is cooked through but remains soft.
What type of mold is best for baking French canelés?
Traditionally, canelés are baked in copper molds, which provide superior heat distribution and caramelization. However, silicone molds are a more accessible and easier-to-clean alternative.
What are some key techniques for achieving a perfectly caramelized crust?
Using beeswax to coat the molds is crucial. Also, ensuring the oven is at the correct temperature and baking for the appropriate time are important for a dark, caramelized crust.
What are some tips for preventing canelés from sticking to the molds?
Properly seasoning copper molds with beeswax is essential. For silicone molds, a light coating of cooking spray may help prevent sticking.
Final Reflection: The Enduring Allure of the Canelé
The pursuit of the perfect canelé is more than just a baking challenge; it's a journey into precision, patience, and the rich tapestry of French culinary tradition. This article has explored the intricacies of achieving that signature crisp exterior and custardy interior, highlighting the crucial role of ingredients, temperature control, and the often-overlooked nuances of the ramekin itself. These seemingly small details, as we've seen, are the key to unlocking the magic of this iconic pastry.
The canelé's enduring appeal lies not only in its exquisite taste but also in its ability to evoke a sense of place and time. It's a small pastry with a big history, a testament to the enduring power of traditional recipes and the artistry of baking. The process itself, from preparing the batter to the careful monitoring of the oven, is a meditative practice, a reminder to slow down and appreciate the simple pleasures. The best things in life are simple, but not easy.
– This sentiment perfectly encapsulates the canelé baking experience.
Now, I invite you to embrace the challenge. Don't be intimidated by the seemingly complex instructions; instead, see them as a guide to unlocking your own culinary creativity. Experiment with different ingredients, refine your technique, and most importantly, enjoy the process. The journey to mastering the perfect canelé is a rewarding one, filled with delicious discoveries and the satisfaction of creating something truly special. The next time you bite into a perfectly baked canelé, remember the journey you've undertaken, and the sweet reward of your efforts.
Unlock Your Inner Pâtissier: Craft the Canelé of Your Dreams!
Thanks for joining us on this delicious journey into the world of French canelés! We hope you’ve gained a newfound appreciation for the intricate balance of flavors and textures that make this pastry so unique. Now it’s time to put your newfound knowledge into action!
- Bake your perfect canelé: Grab your ingredients and try the recipe! We're confident you'll achieve canelé perfection. Don't be afraid to experiment with different variations once you master the base recipe.
- Share your creations: Post a picture of your canelés on social media using #BakeWithEaseCanele and tag us – we'd love to see your beautiful bakes!
- Explore more baking adventures: Dive deeper into our extensive collection of recipes on BakeWithEase.com and discover your next culinary masterpiece!
Ready to tantalize your taste buds and impress your friends with your incredible canelé skills? What unique twist will you add to your first batch?