
Easy Recipe for French Brioche à Tête

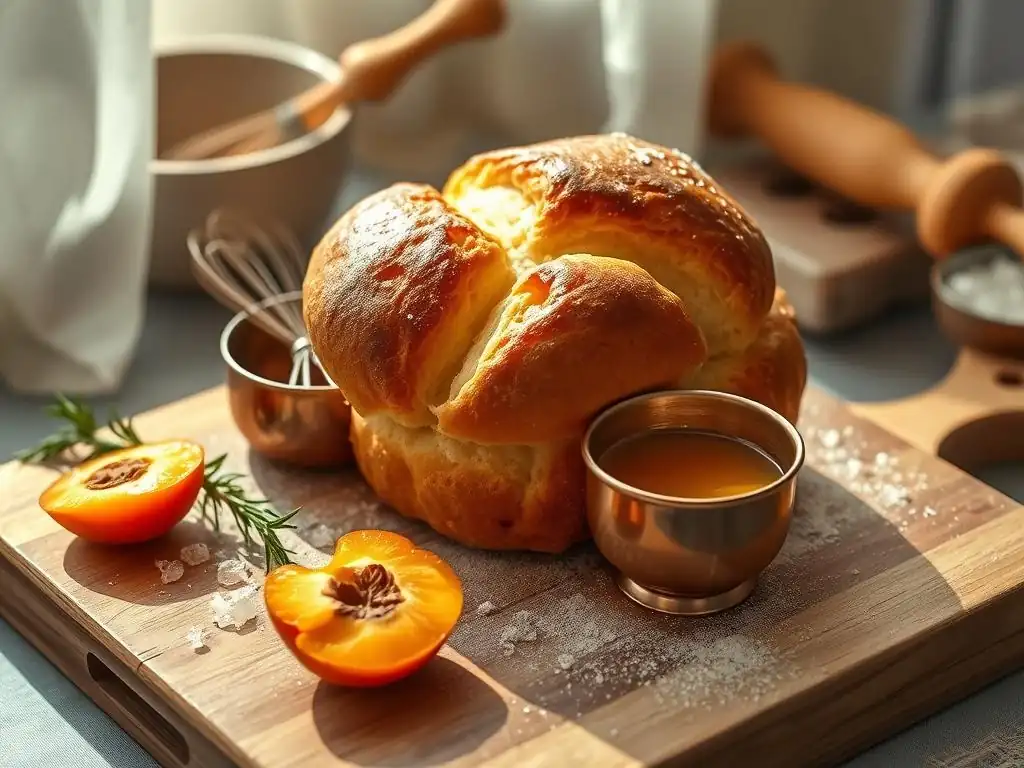
Welcome to BakeWithEase, your guide to confident baking!
Ready to unlock the secrets of flaky, buttery perfection? Our Easy French Brioche recipe is your gateway to mastering this classic treat. Forget intimidating techniques – we'll guide you through each step, making this delectable brioche à tête surprisingly simple. Dive in and discover how to create bakery-worthy breads in your own kitchen!
- Classic French Brioche à Tête Recipe: Bake at Home
- Introduction to Brioche à Tête: A Culinary Masterpiece
- Crafting the Dough: Essential Ingredients for Authentic Brioche
-
Step-by-Step Guide: Baking Your Own Brioche à Tête
- Step 1: Proofing the Yeast: Ensuring Optimal Activation
- Step 2: Combining Dry Ingredients: Flour, Sugar, and Salt for Uniformity
- Step 3: Incorporating the Butter: Achieving a Silky Smooth Dough
- Step 4: The First Proof: Developing Flavor and Gluten Structure
- Step 5: Shaping the Brioche à Tête: Creating the Signature "Head"
- Step 6: The Second Proof: Allowing for Final Rise and Tenderness
- Step 7: Baking the Brioche: Achieving a Deep Golden-Brown Crust
-
Tips and Tricks for a Perfect French Brioche
- Addressing Common Brioche Baking Challenges: Dough Consistency, Rise, and Baking Time
- Achieving a Deep Golden-Brown Crust: Egg Wash and Oven Temperature
- Preserving Your Brioche: Storing for Optimal Freshness and Taste
- Variations on the Classic: Exploring Flavor Enhancements [Example: Orange Blossom Water, Vanilla Extract]
- Serving Suggestions: Savoring Your Homemade Brioche
- Conclusion: Your Journey to Baking Exquisite Brioche at Home
-
Frequently Asked Questions
- What makes this French brioche recipe "easy"?
- What is Brioche à Tête and how does this recipe achieve that shape?
- Can I substitute ingredients in this easy brioche recipe?
- How long does it take to make this Easy French Brioche à Tête?
- What are some serving suggestions for this Easy French Brioche à Tête?
- Final Reflection: The Enduring Allure of Simple Brioche
- Unleash Your Inner Baker: Make This Brioche Today!
Classic French Brioche à Tête Recipe: Bake at Home
Introduction to Brioche à Tête: A Culinary Masterpiece
What is Brioche à Tête? Unveiling its Rich History and Cultural Significance
Brioche à tête, meaning "brioche with a head," is a classic French pastry renowned for its rich, tender crumb and distinctive shape. Originating in Normandy, a region celebrated for its dairy production, this bread-like pastry is enriched with copious amounts of butter and eggs, setting it apart from standard bread doughs. Historically, brioche evolved from simpler, enriched doughs in the Middle Ages, gradually incorporating more butter and eggs as these ingredients became more accessible.
It became a staple of French bakeries and households, often enjoyed for breakfast or goûter (afternoon snack). The unique 'tête' or 'head' shape, formed by placing a small ball of dough atop a larger one in a fluted mold, is not just for aesthetics; it ensures even baking and creates a delightful contrast in texture between the slightly firmer base and the tender top.
This traditional French brioche holds a special place in French culinary heritage, often associated with celebrations and leisurely mornings. Its luxurious texture and sweet, buttery flavor make it a versatile pastry, delicious on its own, toasted, or used as a base for other dishes. While the idea of making such a classic might seem intimidating, mastering an easy French brioche recipe at home is entirely achievable. The process, though requiring patience for rising times, involves straightforward steps that yield incredibly rewarding results, bringing a taste of French patisserie right into your kitchen.
Why This Brioche Recipe is Ideal for Home Baking Enthusiasts
This particular easy French brioche recipe is designed with the home baker in mind, simplifying some of the more demanding aspects of traditional brioche making without sacrificing flavor or texture. Traditional brioche dough can be notoriously sticky and challenging to handle, often requiring extensive kneading. This recipe utilizes techniques that make the dough more manageable, even for those without a stand mixer, focusing on proper ingredient temperatures and hydration levels to facilitate gluten development. It breaks down the process into clear, step-by-step instructions, making it approachable for beginners.
Furthermore, the recipe highlights the importance of ingredient quality, particularly the butter and eggs, which are key to achieving the signature richness of brioche. By focusing on these elements and providing detailed guidance on proofing and shaping, it empowers bakers to create a brioche à tête that rivals those found in French bakeries. The satisfaction of pulling a golden-brown, perfectly shaped brioche à tête from your oven is immense, and this easy French brioche recipe offers a reliable path to that success, encouraging experimentation and confidence in tackling classic pastries.
Crafting the Dough: Essential Ingredients for Authentic Brioche
The Foundation: Bread Flour for Structure and Texture
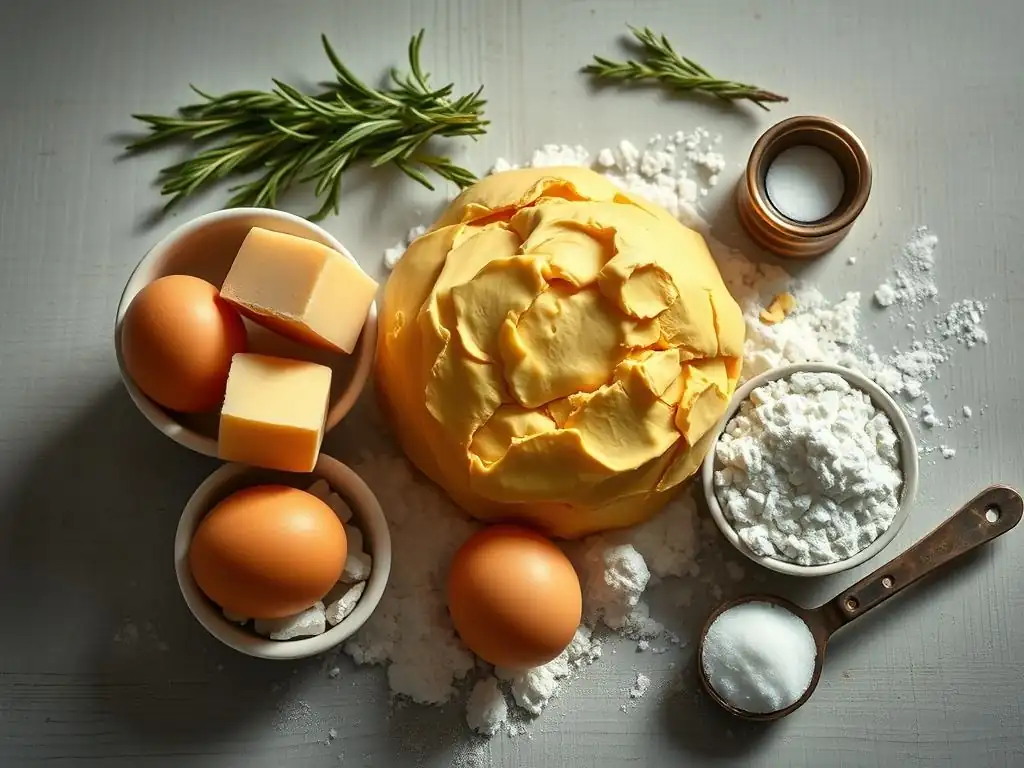
Bread flour is the preferred choice for this easy French brioche recipe due to its higher protein content, typically ranging from 12% to 14%. This elevated protein level is crucial because it translates into more gluten development when the dough is kneaded. Gluten is the network that gives bread its structure and elasticity, allowing it to trap the gases produced by yeast during fermentation. For a rich dough like brioche, which is heavily laden with fat from butter and eggs, a strong gluten network is essential to support the weight of these enrichments and achieve a lofty, airy crumb.
Using bread flour ensures that your brioche dough will be strong enough to undergo multiple proofs and maintain its shape during baking. While all-purpose flour (around 10-12% protein) can be used in a pinch, it may result in a less structured, slightly denser brioche. The robust gluten development from bread flour contributes significantly to the characteristic tender yet resilient texture of a perfect brioche à tête, making it a fundamental component in this easy French brioche recipe.
The Heart of Brioche: Unsalted Butter for Richness and Flavor
Unsalted butter is arguably the most critical ingredient in this easy French brioche recipe, contributing significantly to its luxurious richness, tender crumb, and irresistible flavor. Traditional brioche dough can contain a remarkably high proportion of butter, sometimes even 50% or more of the flour weight. This recipe uses a generous amount to ensure that classic buttery taste and melt-in-your-mouth texture. Using unsalted butter is key because it gives you complete control over the salt content in the dough. Different brands of salted butter vary in their salt levels, which can make it difficult to achieve a consistent flavor profile.
Incorporating the butter correctly is also vital. It's typically added gradually to the dough after the initial mixing and kneading. This process, often done while the dough is being mixed, allows the butter to be fully emulsified, coating the gluten strands.
This coating inhibits excessive gluten development, resulting in a softer, more tender crumb compared to lean bread. The high fat content also keeps the brioche moist and extends its shelf life. For the best results in your easy French brioche recipe, ensure the butter is soft but not melted when added, around 65-70°F (18-21°C), to incorporate smoothly into the dough.
The Leavening Agent: Active Dry Yeast for a Light and Airy Rise
Active dry yeast is the workhorse behind the airy rise and soft texture of this easy French brioche recipe. Yeast are single-celled microorganisms that, when provided with warmth, moisture, and food (sugar and starches from the flour), consume sugars and produce carbon dioxide gas and alcohol. The carbon dioxide gas is trapped within the gluten network of the dough, causing it to expand, or rise. This fermentation process also contributes significantly to the flavor development of the brioche, creating complex aromatic compounds.
Using active dry yeast in this easy French brioche recipe requires a simple initial step called proofing. This involves dissolving the yeast in warm liquid (like milk or water, typically around 105-115°F or 40-46°C) with a pinch of sugar. This step awakens the dormant yeast and allows you to verify its viability.
Within 5-10 minutes, the mixture should become foamy and bubbly, indicating the yeast is active and ready to leaven your dough. If it doesn't foam, the yeast may be expired or the liquid too hot/cold, and you'll need to start again with fresh yeast. Proper proofing ensures your brioche will rise beautifully, resulting in the desired light and airy crumb.
The Touch of Sweetness: Granulated Sugar for Balance and Caramelization
Granulated sugar plays a multifaceted role in this easy French brioche recipe, extending beyond simply providing sweetness. While brioche is not overly sweet, a moderate amount of sugar is essential to balance the richness from the butter and eggs and enhance the overall flavor profile. Sugar also serves as food for the yeast, helping to activate it and fuel the fermentation process, which is crucial for the dough's rise and development. A typical easy French brioche recipe might include sugar equivalent to 5-10% of the flour weight.
Beyond its role in fermentation and flavor balance, sugar contributes significantly to the aesthetic appeal of the baked brioche à tête. During baking, the sugar on the surface of the dough, especially when combined with an egg wash, undergoes caramelization. This process creates the beautiful, deep golden-brown crust that is characteristic of classic brioche. It also contributes to a slightly crisp exterior that contrasts wonderfully with the soft interior crumb. Thus, sugar is not just a sweetener but a vital component for fermentation, flavor complexity, and achieving that perfect golden finish in your easy French brioche recipe.
Step-by-Step Guide: Baking Your Own Brioche à Tête
Step 1: Proofing the Yeast: Ensuring Optimal Activation
The first crucial step in mastering this easy French brioche recipe is proofing your active dry yeast. Begin by warming your liquid (typically milk) to the recommended temperature, usually between 105°F and 115°F (40°C and 46°C). This temperature range is warm enough to activate the yeast but not so hot that it kills the delicate microorganisms. Pour the warm liquid into a small bowl, sprinkle the active dry yeast over the top, and add a pinch of sugar from the recipe's total amount. The sugar provides immediate food for the yeast.
Gently stir to combine, then let the mixture sit undisturbed for about 5 to 10 minutes. During this time, the yeast will consume the sugar and begin to produce carbon dioxide. You should observe the mixture becoming foamy and bubbly on the surface.
This foamy layer indicates that the yeast is alive and active, ready to leaven your brioche dough effectively. If after 10 minutes there is no significant foaming, your yeast may be expired or the liquid temperature was incorrect, and you'll need to start this step over with fresh yeast and properly heated liquid to ensure success with your easy French brioche recipe.
Step 2: Combining Dry Ingredients: Flour, Sugar, and Salt for Uniformity
While your yeast is proofing, prepare the dry ingredients for your easy French brioche recipe. In a large mixing bowl, measure out the bread flour, the remaining granulated sugar, and the salt. It's important to keep the salt separate from the yeast initially, as high concentrations of salt can inhibit yeast activity. Use a whisk or a fork to gently combine these dry ingredients. This process ensures that the salt and sugar are evenly distributed throughout the flour.
Even distribution of salt is particularly important, as it not only enhances the flavor of the brioche but also helps to regulate the rate of fermentation and strengthens the gluten structure. Skipping this simple mixing step could result in pockets of overly salty dough or uneven yeast activity. By taking a moment to whisk the dry ingredients together, you create a uniform base for the dough, setting the stage for consistent results in your easy French brioche recipe before adding the wet ingredients.
Step 3: Incorporating the Butter: Achieving a Silky Smooth Dough
Incorporating the softened, unsalted butter is a key stage in developing the rich, silky texture characteristic of this easy French brioche recipe. After the initial mixing of wet and dry ingredients (including the proofed yeast, eggs, etc. ), the dough will be quite sticky. At this point, softened butter, cut into cubes, is gradually added to the dough while kneading continues. If using a stand mixer with a dough hook, add a few cubes at a time, waiting until they are fully incorporated before adding more. This process can take 15-20 minutes at medium speed.
As the butter is worked into the dough, it transitions from a sticky mass to a smooth, elastic, and slightly glossy texture. The fat from the butter coats the gluten strands, which helps to tenderize the crumb and prevent excessive gluten development, resulting in a softer brioche.
Proper incorporation is complete when the dough pulls away cleanly from the sides of the bowl and passes the "windowpane test" – you should be able to stretch a small piece of dough thin enough to see light through it without it tearing. This step is crucial for achieving the signature richness and tender crumb of your easy French brioche recipe.
Step 4: The First Proof: Developing Flavor and Gluten Structure
The first proof, also known as the bulk fermentation, is a critical period in this easy French brioche recipe where the dough rises and develops complex flavors. After kneading and incorporating the butter, gather the dough into a ball and place it in a lightly greased bowl. Cover the bowl tightly with plastic wrap or a damp cloth to prevent the surface from drying out. The dough needs to rise in a warm, draft-free place, ideally around 75-80°F (24-27°C).
The duration of the first proof can vary significantly depending on the ambient temperature and the activity of your yeast, but it typically takes 1 to 2 hours, or until the dough has roughly doubled in size. During this time, the yeast is actively fermenting, producing carbon dioxide gas that makes the dough rise, and generating organic acids and alcohols that contribute to the brioche's depth of flavor.
A slower, cooler rise (perhaps in the refrigerator overnight for 8-12 hours) can develop even more complex flavors, though the doubling time will be much longer. This initial proof is essential for both the texture and taste of your finished easy French brioche recipe.
Step 5: Shaping the Brioche à Tête: Creating the Signature "Head"
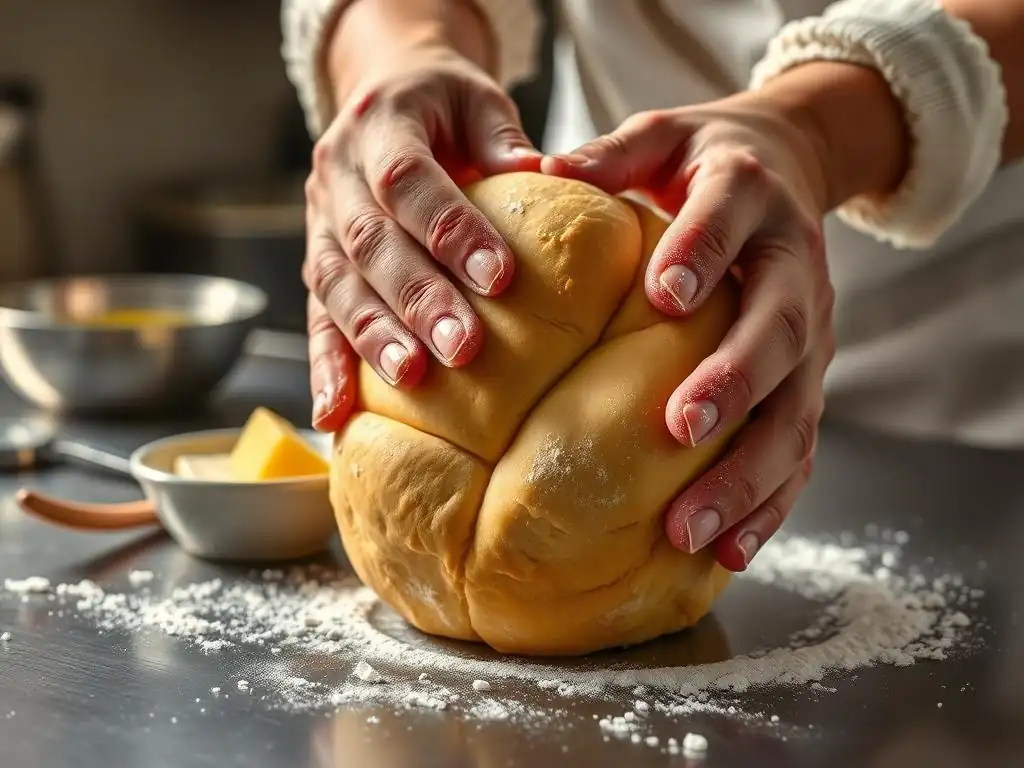
Shaping the brioche à tête is where this easy French brioche recipe takes on its iconic form. After the first proof, gently punch down the dough to release the accumulated gases. Turn the dough out onto a lightly floured surface. To create the classic shape, you'll need a fluted brioche mold, typically 4-5 inches (10-13 cm) in diameter. Divide the dough into portions; for each brioche, you'll need one large piece and one smaller piece, roughly a 3:1 ratio.
Take the larger piece and shape it into a smooth ball. Place this ball into the prepared brioche mold, pressing it down gently to fill the base. Next, take the smaller piece and roll it into a pear shape, tapering one end. Using your finger, make an indentation in the center of the large ball in the mold, going almost all the way to the bottom.
Insert the tapered end of the smaller piece into this indentation. This forms the distinctive "head" resting atop the larger base. Repeat with the remaining dough. Proper shaping is key to achieving the classic look of your easy French brioche recipe.
Step 6: The Second Proof: Allowing for Final Rise and Tenderness
The second proof, also known as the final proof or proofing in the mold, is the last rise before baking and is crucial for achieving a light and tender brioche à tête in this easy French brioche recipe. Once the brioches are shaped and placed in their molds, cover them lightly with plastic wrap or a clean, damp cloth to prevent them from drying out. Place the molds in a warm, draft-free location, similar to the first proof.
This proof is typically shorter than the first, usually taking about 30 to 60 minutes, depending on the temperature. The brioches should visibly increase in size, becoming puffy and filling the molds. They should look light and airy, but be careful not to over-proof, as this can cause the structure to collapse during baking. A good indicator is that when gently poked, the dough springs back slowly, leaving a slight indentation. This final rise ensures the brioche achieves its optimal volume and delicate texture when baked, completing a vital step in your easy French brioche recipe.
Step 7: Baking the Brioche: Achieving a Deep Golden-Brown Crust
Baking is the culmination of your efforts in creating this easy French brioche recipe, transforming the proofed dough into a golden, aromatic masterpiece. Preheat your oven to the specified temperature, typically around 375°F (190°C). While the oven preheats, gently brush the tops of the proofed brioches with an egg wash (a mixture of beaten egg and a little milk or water). This wash contributes to the rich color and glossy finish of the crust.
Carefully place the molds on a baking sheet and transfer them to the preheated oven. The baking time will vary depending on the size of your brioches and your oven, but it's usually between 20 and 30 minutes for standard-sized brioches à tête. The brioche is done when it is deeply golden brown on the top and sides, and a skewer inserted into the center comes out clean.
The internal temperature should ideally reach around 190-200°F (88-93°C). Baking to this color and internal temperature ensures a fully cooked interior and that desirable slightly crisp, caramelized crust, the final touch on your perfect easy French brioche recipe.
Tips and Tricks for a Perfect French Brioche
Addressing Common Brioche Baking Challenges: Dough Consistency, Rise, and Baking Time
Baking brioche, even with an easy French brioche recipe, can sometimes present challenges, but understanding common issues helps troubleshoot. One frequent hurdle is dough consistency; brioche dough is inherently soft and sticky due to the high fat content. If your dough seems too wet after initial mixing, resist the urge to add excessive flour. Instead, continue kneading (especially in a stand mixer) as the gluten develops, it will become more manageable. Ensure your butter is properly softened, not melted, for smooth incorporation. If kneading by hand, be patient and use a bench scraper to help gather the dough.
Another common issue is insufficient rise during proofing. This can be due to inactive yeast (which is why proofing the yeast first is key), a drafty or cool environment, or insufficient kneading which prevents proper gluten development needed to hold the gas. Ensure your proofing location is warm and consistent, ideally 75-80°F (24-27°C). If your kitchen is cool, find a warmer spot like inside a turned-off oven with the light on.
Finally, baking time can be tricky. Ovens vary, so rely on visual cues (deep golden-brown color) and internal temperature (190-200°F or 88-93°C) rather than strictly adhering to the recipe time. If the top is browning too quickly, loosely tent it with foil for the remainder of the baking time. Mastering these aspects improves your easy French brioche recipe success.
Achieving a Deep Golden-Brown Crust: Egg Wash and Oven Temperature
The beautiful, deep golden-brown crust is a hallmark of classic brioche à tête and is achievable in your easy French brioche recipe with a few key techniques. The most important is applying an egg wash before baking. A standard egg wash is made by whisking one whole egg with about a tablespoon of milk or water.
This mixture is then gently brushed over the entire surface of the proofed brioches. The egg proteins and sugars in the wash, combined with the sugar in the dough itself, caramelize during baking, resulting in that desirable rich color and a slight sheen. For an even deeper color and gloss, you can use just the egg yolk mixed with a little milk.
Baking temperature also plays a significant role. Baking at the recommended temperature, typically around 375°F (190°C), allows the exterior to brown and crisp up while the interior cooks through. If the oven is too cool, the brioche may spread excessively before the crust sets; if too hot, the crust may burn before the inside is fully cooked.
Ensure your oven is accurately calibrated using an oven thermometer. Applying the egg wash just before the final proof finishes can also help, as it allows the wash to dry slightly and adhere better, leading to a more even color. These steps are vital for the perfect finish on your easy French brioche recipe.
Preserving Your Brioche: Storing for Optimal Freshness and Taste
Proper storage is essential to maintain the wonderful texture and flavor of your homemade brioche à tête from this easy French brioche recipe. Brioche is best enjoyed fresh, ideally within a day or two of baking, when its crumb is at its most tender and moist. To store it for short periods at room temperature, allow it to cool completely on a wire rack first. Once cool, wrap it tightly in plastic wrap or place it in an airtight container or a resealable plastic bag. Stored this way, it will remain fresh for about 2-3 days.
For longer storage, freezing is an excellent option. Again, ensure the brioche is completely cool. You can freeze the whole loaf, individual brioches à tête, or even slices. Wrap the brioche tightly first in plastic wrap, then in aluminum foil or place it in a freezer-safe bag.
Properly frozen brioche can maintain its quality for up to 2-3 months. To thaw, unwrap the brioche and let it sit at room temperature for several hours, or gently warm it in a low oven (around 300°F or 150°C) for 10-15 minutes to refresh the crust and crumb. Avoid storing brioche in the refrigerator, as this can actually cause it to dry out and become stale more quickly than at room temperature. Following these storage tips ensures you can savor your easy French brioche recipe results for longer.
Variations on the Classic: Exploring Flavor Enhancements [Example: Orange Blossom Water, Vanilla Extract]
While the classic easy French brioche recipe is divine on its own, you can easily introduce subtle flavor variations to customize it. One popular enhancement is the addition of a small amount of extract or floral water to the dough. For example, adding a teaspoon of pure vanilla extract alongside the wet ingredients can impart a warm, sweet aroma that complements the richness of the butter and eggs beautifully. Be sure to use a high-quality extract for the best flavor.
Another traditional French flavor pairing for brioche is orange blossom water. Just a half teaspoon to a teaspoon added to the dough can infuse the brioche with a delicate, fragrant, slightly floral note that is wonderfully authentic. It's important not to use too much, as it can become overpowering. Citrus zest, such as lemon or orange zest (from one small lemon or orange), can also be kneaded into the dough for a brighter, zesty flavor profile that cuts through the richness. These simple additions allow you to put your own spin on the classic easy French brioche recipe.
Serving Suggestions: Savoring Your Homemade Brioche
Classic Pairings: Coffee, Tea, and Brioche: A Timeless Combination
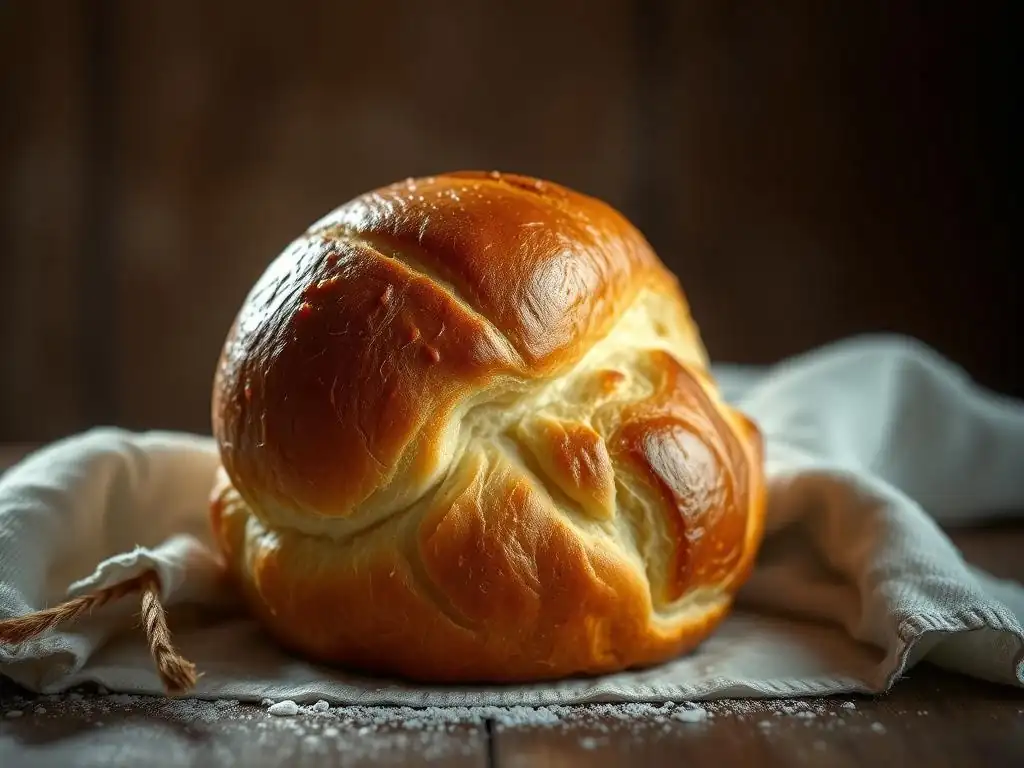
One of the simplest and most beloved ways to enjoy your homemade brioche à tête from this easy French brioche recipe is paired with a hot beverage. A slice of tender, buttery brioche is the perfect accompaniment to a morning cup of coffee or a relaxed afternoon tea. The richness of the brioche complements the slight bitterness of coffee, creating a balanced and satisfying experience.
Similarly, the delicate flavor of brioche pairs beautifully with various teas, from robust black teas to lighter green or herbal infusions. Served warm, perhaps lightly toasted, the aroma of the brioche enhances the sensory pleasure of the moment. Consider serving it with a simple spread of good quality butter, or perhaps a classic French jam or confiture. This classic combination is a testament to the simple elegance of your easy French brioche recipe.
Creative Uses: Brioche French Toast, Bread Pudding, and Savory Applications
Your homemade brioche from this easy French brioche recipe is incredibly versatile and can be transformed into a variety of other delicious dishes, especially as it starts to become a day or two old. One of the most popular uses is for making the most luxurious French toast you've ever tasted. The rich, eggy, and slightly sweet nature of brioche makes it absorb the custard beautifully, resulting in an incredibly tender interior and a perfectly golden exterior when cooked. A batch of brioche French toast is a guaranteed weekend brunch hit.
Stale brioche is also the ideal base for a decadent bread pudding. Its rich crumb soaks up the custard mixture, creating a pudding that is moist, flavorful, and comforting. You can add fruits, chocolate, or spices to customize it. Beyond sweet applications, brioche can even be used in savory dishes.
Consider using slices as the base for mini quiches or layered in a savory bread pudding with cheese and herbs. The slight sweetness of the brioche provides a delightful contrast to savory fillings. Don't let any of your easy French brioche recipe go to waste – its versatility ensures you can enjoy it in many ways.
Conclusion: Your Journey to Baking Exquisite Brioche at Home
Embarking on the journey to bake brioche at home, especially with an easy French brioche recipe, opens the door to a world of rich, buttery, and utterly delicious possibilities. From understanding the crucial role of each ingredient, like high-protein bread flour and generous amounts of unsalted butter, to mastering the techniques of kneading, proofing, and shaping the distinctive "tête," you've gained the knowledge to create this French classic in your own kitchen. The process, while requiring patience and attention to detail, is incredibly rewarding, yielding a pastry that is far superior to most store-bought versions.
Remember that baking is both a science and an art. Each attempt refines your skills and deepens your understanding of how ingredients interact. Don't be discouraged by minor imperfections; each loaf baked is a step towards mastery.
Whether you enjoy your brioche fresh with coffee, transform it into the best French toast, or explore other creative uses, you can take pride in having successfully tackled a beloved French baking classic. This easy French brioche recipe is more than just instructions; it's your guide to bringing a piece of French culinary heritage into your home, ready to be shared and savored.
Frequently Asked Questions
What makes this French brioche recipe "easy"?
This recipe focuses on simplified steps and readily available ingredients, making it less intimidating than traditional, more complex brioche recipes. We prioritize clear instructions for bakers of all levels.
What is Brioche à Tête and how does this recipe achieve that shape?
Brioche à Tête refers to the brioche with a "head" or topknot. This recipe uses a special brioche mold or cupcake liners to create that distinctive shape.
Can I substitute ingredients in this easy brioche recipe?
While possible, substitutions may affect the final texture and flavor. We recommend sticking to the recipe for optimal results, especially for a first attempt. Consider using high-quality butter for best flavor.
How long does it take to make this Easy French Brioche à Tête?
The entire process, including proofing, can take several hours, but the active prep time is relatively short. Plan for ample time for the dough to rise properly.
What are some serving suggestions for this Easy French Brioche à Tête?
Brioche à Tête is delicious on its own, toasted with jam, or used in French toast. Its rich flavor pairs well with sweet and savory toppings.
Final Reflection: The Enduring Allure of Simple Brioche
The seemingly simple act of baking a brioche transcends mere culinary creation; it's a journey into tradition, a testament to the power of accessible elegance. This recipe, designed for ease of execution, aims to democratize the joy of this classic French pastry, making it achievable for even the most novice baker. The current popularity of baking, fueled by a desire for comfort and connection, makes this accessible recipe more relevant than ever.
The enduring appeal of brioche lies not just in its buttery, rich flavor, but in the sense of accomplishment and satisfaction it brings. The process itself, from kneading the dough to watching it rise, is meditative and rewarding. It connects us to a culinary heritage stretching back centuries, a heritage that values patience, precision, and the simple pleasure of sharing delicious food. The best things in life are simple.
This sentiment rings true when considering the profound satisfaction derived from creating something beautiful and delicious from humble ingredients.
Now, I invite you to embrace the challenge, to dust off your mixing bowls and embark on your own brioche adventure. Don't be intimidated by the seemingly complex process; this recipe is designed to guide you every step of the way. The reward? A golden-brown, perfectly textured brioche, a testament to your culinary prowess, and a delicious treat to share with loved ones. The simple act of baking, and the joy it brings, is a gift you can give yourself and others. So, let's get baking!
Unleash Your Inner Baker: Make This Brioche Today!
Thanks for joining us on this delicious journey into the world of French Brioche à Tête! We hope you've gained the confidence to tackle this seemingly complex bread. Now it's time to put your newfound knowledge to the test.
- Bake your own Brioche à Tête: This is your chance to create a stunning and delicious centerpiece for your next gathering. Don't be intimidated; you've got this!
- Share your baking journey: Snap a picture of your masterpiece and post it on social media using #BakeWithEaseBrioche – let's inspire others!
- Experiment with fillings: What creative fillings will you add to personalize your next brioche? Let us know in the comments!
Ready to transform your kitchen into a Parisian patisserie?