
Crafting Light & Airy Choux: A Detailed Guide

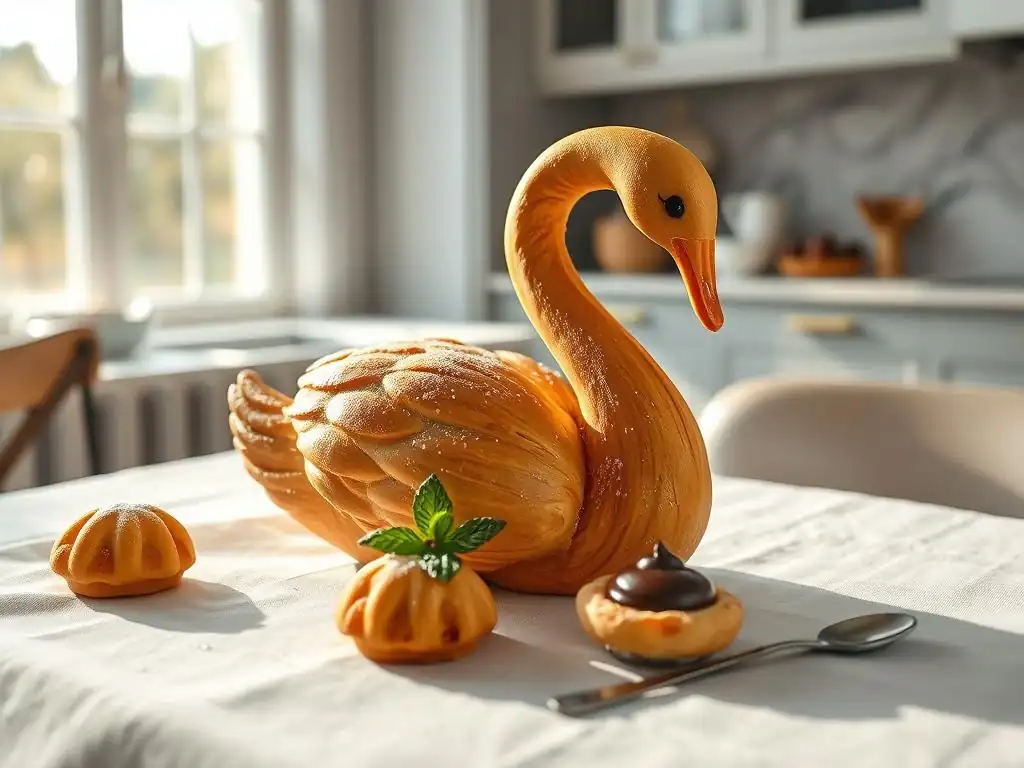
Welcome to BakeWithEase, your kitchen companion on a journey to baking brilliance!
Ever wondered how to achieve that perfectly light and airy choux pastry that melts in your mouth? You're in the right place. This guide dives deep into the secrets behind this delicate treat, unlocking the techniques that will transform your baking. Discover the nuances that separate a good choux from an exceptional one, and prepare to impress with every puff. Ready to elevate your baking game? Let's begin!
- Mastering Choux Pastry: A Guide to Light and Airy Creations
- Introduction to Choux Pastry
- Essential Ingredients
- Step-by-Step Baking Guide
- Troubleshooting Choux Pastry
- Choux Pastry Variations
- Storing and Serving
- Conclusion
-
Frequently Asked Questions
- What exactly is choux pastry, and what makes it unique?
- What are the essential ingredients for a successful light and airy choux pastry?
- What is the most common mistake people make when baking choux pastry?
- How do I know when my choux pastry is baked properly?
- How can I prevent my choux pastry from collapsing after baking?
- Final Reflection: The Enduring Allure of the Perfect Choux
- Unleash Your Inner Pâtissier: Master the Art of Choux!
Mastering Choux Pastry: A Guide to Light and Airy Creations
Introduction to Choux Pastry
What is Choux Pastry?
Choux pastry, or pâte à choux in French, is a remarkably versatile dough used as the base for a variety of classic pastries, from delicate éclairs to impressive croquembouches. Unlike most doughs that rely on chemical or yeast leaveners, choux pastry achieves its characteristic puff through steam. This unique structure is formed by cooking the dough twice: first on the stovetop to create a "panade," and then in the oven, where the high moisture content turns to steam, inflating the hollow interior.
This simple combination of water, butter, flour, and eggs results in a dough that is soft and pliable before baking, transforming into a crisp, hollow shell with a wonderfully light and airy texture once baked. It's considered one of the four fundamental doughs in classical French patisserie, a testament to its importance and adaptability. While seemingly simple, mastering the technique is key to unlocking its full potential and creating perfectly puffed, light and airy choux pastry every time.
Achieving a Light and Airy Texture
The secret to a truly light and airy choux pastry lies primarily in two critical stages: the proper cooking of the panade and the correct baking technique. The panade, the initial cooked mixture of water, butter, and flour, must be cooked sufficiently over heat to dry it out. This drying process gelatinizes the starch in the flour and allows the dough to absorb a significant amount of egg later, which provides structure and moisture. A well-cooked panade is essential for the dough's ability to rise dramatically in the oven.
During baking, the high water content from the panade and eggs rapidly turns into steam within the hot oven environment. This steam expands, pushing against the dough's structure and creating the large, hollow cavity characteristic of perfect choux. Baking at an initial high temperature (often around 425°F or 220°C) helps maximize this steam production and initial puff. Following this with a lower temperature (around 375°F or 190°C) allows the pastry to dry out and crisp up without collapsing, ensuring that desirable light and airy choux pastry result.
Essential Ingredients
Flour: All-Purpose vs. Bread Flour
Flour provides the structural foundation for choux pastry. All-purpose flour is the most commonly recommended type for achieving a balanced result. It has a moderate protein content, typically between 10-12%, which develops just enough gluten to give the pastry structure without making it tough. Using standard all-purpose flour ensures the dough holds its shape during piping and baking while still expanding beautifully to form that light and airy interior.
While some recipes might suggest bread flour for extra strength (due to its higher protein content, around 12-14%), this can sometimes lead to a chewier texture, which isn't ideal for the delicate nature of light and airy choux pastry. Cake flour, with its lower protein (around 8-10%), would result in a weaker structure that might collapse. For consistent, reliable results yielding that desired airy quality, sticking to good quality all-purpose flour is generally the best approach for home bakers.
Butter: Fat Content and Impact
Butter plays a crucial role in choux pastry, contributing flavor, tenderness, and aiding in the development of the characteristic structure. As it melts and emulsifies with the water and flour during the panade stage, the fat coats the starch particles, inhibiting excessive gluten development and contributing to a tender crumb. When the pastry bakes, the fat also helps the exterior crisp up beautifully.
The fat content of the butter can have a subtle impact. Standard unsalted butter in the US typically contains around 80% fat, while European-style butter often has a higher fat content, sometimes 82% or more. Using butter with a slightly higher fat content can contribute to a richer flavor and potentially a slightly crisper shell, enhancing the overall quality of your light and airy choux pastry. However, using standard unsalted butter works perfectly well and is the basis for most recipes. Always use unsalted butter to control the salt level yourself.
Eggs: Binding and Leavening
Eggs are perhaps the most critical ingredient for achieving a light and airy choux pastry. They serve multiple functions: they bind the cooked panade together, provide essential moisture that converts to steam during baking, and their proteins coagulate to provide the necessary structure for the pastry to hold its puffed shape. Without sufficient eggs, the dough wouldn't be pliable enough to pipe and wouldn't rise properly in the oven.
The number of eggs needed can vary slightly depending on the size of the eggs and how well the panade was dried out. It's often recommended to add eggs one at a time, mixing thoroughly after each addition, until the dough reaches the correct consistency – it should be smooth, shiny, and when lifted with a spoon or paddle, it should fall back slowly in a 'ribbon' shape. This proper egg incorporation is paramount for the steam leavening process and the final light and airy texture.
Liquid: Water for Crispness
Water is the primary liquid used in most classic choux pastry recipes, and it's fundamental to the steam leavening process. When heated rapidly in the oven, the water turns into steam, creating the internal pressure that causes the dough to puff dramatically and form its hollow interior. Using water alone typically results in a crispier choux shell compared to using milk.
Some recipes substitute a portion or all of the water with milk. Milk adds richness and helps the crust brown more evenly due to the lactose and fat content. However, using milk can result in a slightly softer crust. For the crispiest, most dramatically puffed light and airy choux pastry, many bakers prefer to use water as the sole liquid, leveraging its pure ability to generate steam.
Step-by-Step Baking Guide
Preparing the Panade
Combining Water, Butter, and Salt Over Heat
Begin by combining the liquid (typically water), cubed unsalted butter, and a pinch of salt in a heavy-bottomed saucepan. Place the saucepan over medium heat. Stir occasionally to help the butter melt evenly. The goal here is to bring the mixture to a rolling boil fairly quickly, ensuring the butter is fully melted by the time the water reaches temperature. This prevents excessive water evaporation before the flour is added.
Once the mixture is boiling, remove it from the heat just for a moment before adding the flour. This brief pause helps prevent the flour from clumping and ensures it integrates smoothly. The high heat of the boiling liquid is essential for the initial gelatinization of the starch in the flour, setting the stage for the dough's structure.
Achieving Proper Panade Consistency
Immediately after adding the flour, return the saucepan to medium heat and begin stirring vigorously with a wooden spoon or heatproof spatula. The mixture will quickly come together to form a cohesive ball of dough. Continue to cook and stir the dough over the heat. This stage, known as drying out the panade, is crucial for developing a truly light and airy choux pastry. You'll know it's ready when a slight film forms on the bottom of the pan, and the dough looks less wet and pulls away cleanly from the sides, typically after 2-4 minutes of vigorous stirring.
Properly drying the panade ensures that excess moisture is cooked off, allowing the dough to absorb the necessary amount of eggs later. If the panade isn't cooked long enough, the dough will be too wet, won't take enough eggs, and the final choux will be dense and won't puff correctly. This step requires continuous stirring to prevent scorching and ensure even cooking throughout the dough ball.
Incorporating Flour
Adding Flour and Stirring Vigorously
As mentioned in the panade preparation, the flour is added all at once to the boiling liquid/butter mixture. It's important to use the specified amount accurately, as too much or too little flour will affect the final dough consistency and its ability to become a light and airy choux pastry. Once the flour is added, immediately begin stirring vigorously.
The initial stirring incorporates the flour into the hot liquid, preventing lumps. Continue stirring rapidly as you return the pan to the heat for the drying phase. The goal is to work quickly and ensure the flour is fully absorbed and cooked into the panade. This vigorous stirring also helps develop a small amount of gluten, contributing to the dough's structure.
Cooking the Panade to Dry it
After the flour is incorporated, the panade must be cooked over medium heat for several minutes, stirring continuously. This step is critical for drying out the dough, which is key to achieving a light and airy choux pastry. You are essentially cooking the flour to gelatinize the starch and evaporate excess moisture.
Look for visual cues: the dough will form a smooth ball, pull away cleanly from the sides and bottom of the pan, and a thin film will start to form on the pan's surface. The dough might also hiss slightly as steam escapes. Depending on the heat level and pan size, this cooking phase typically takes between 2 and 4 minutes. Don't rush this step; proper drying is foundational for successful puffing.
Adding Eggs
Cooling the Panade
Once the panade is cooked and has formed a ball, it's crucial to cool it down significantly before adding the eggs. If the eggs are added while the panade is too hot, they will cook, resulting in a scrambled egg texture within the dough, which will ruin the structure and prevent the choux from puffing. Transfer the panade to a mixing bowl (stand mixer or hand mixing bowl) and let it cool for about 5-10 minutes, stirring occasionally to help release heat. The dough should be warm to the touch, but not hot enough to cook the eggs.
You can speed up this cooling process by mixing the dough on a low speed in a stand mixer fitted with a paddle attachment for a few minutes. This exposes more surface area to the air. Ensure the dough is below approximately 140°F (60°C) before adding any eggs. Proper cooling ensures the eggs integrate smoothly and perform their essential binding and leavening functions.
Determining Egg Quantity and Consistency
Eggs are added one at a time to the cooled panade, mixing thoroughly after each addition. The exact number of eggs can vary based on factors like egg size and how much moisture evaporated during the panade cooking. This is why it's essential not to add all the eggs at once. Mix each egg fully until it's completely incorporated and the dough is smooth again before adding the next one.
The dough's consistency is the key indicator of when you've added enough eggs. The final dough should be smooth, glossy, and thick enough to hold its shape when piped, but soft enough that when you lift some dough with a spoon or the mixer paddle, it falls back into the bowl in a slow "ribbon" or "V" shape. If the dough is too stiff, the choux won't expand properly; if it's too runny, it will spread out on the baking sheet. This 'ribbon' consistency is vital for achieving that perfect light and airy choux pastry structure.
Piping the Choux
Piping Bag and Tip Selection
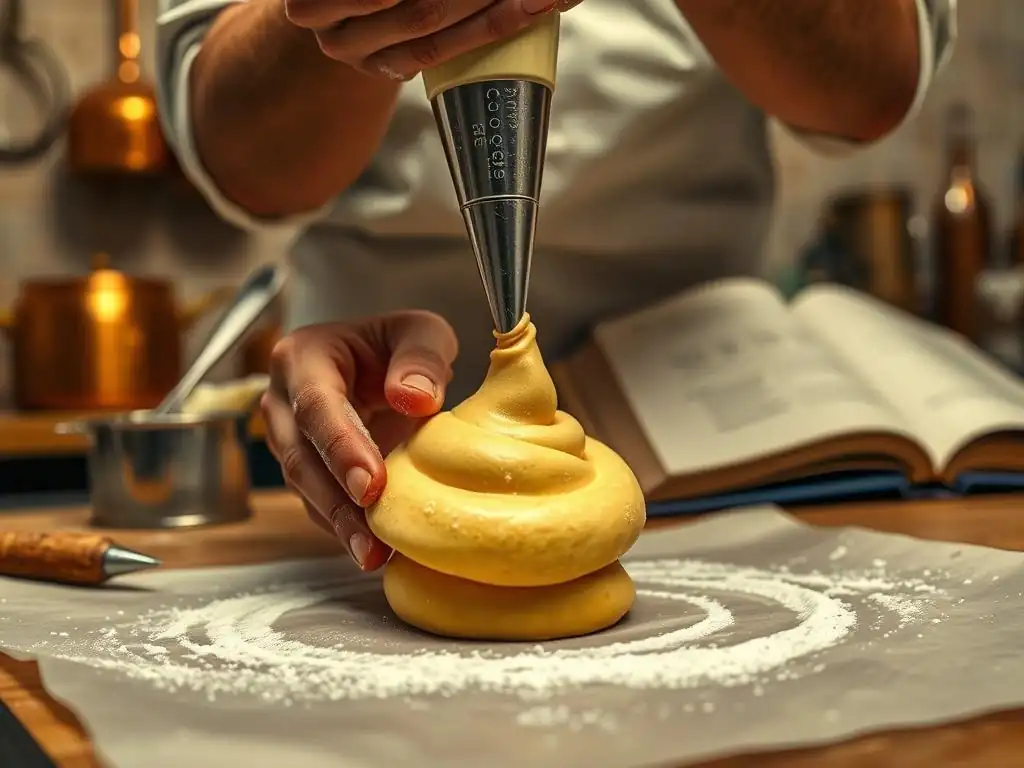
Using a piping bag gives you the best control over the shape and size of your choux puffs, leading to more consistent and even baking – a key factor in achieving uniformly light and airy choux pastry. For basic round puffs (like for cream puffs or gougères), a large round tip (like an Ateco 806 or 808, or equivalent) is ideal. For éclairs, a large open star tip (like an Ateco 826 or 828) or a large plain tip works well, allowing you to pipe straight, elongated shapes.
Ensure your piping bag is sturdy. Disposable plastic bags are convenient, or you can use a reusable canvas or silicone bag. Fit the tip into the bag before filling it. Filling the bag can be easiest by folding the top edge down and placing the bag inside a tall glass or container. Don't overfill the bag; fill it about two-thirds full to make it easier to handle and pipe evenly.
Piping Techniques for Consistent Size
Consistency in size is paramount for even baking. Whether piping rounds or éclairs, apply steady, even pressure to the piping bag. For rounds, pipe mounds of dough, lifting the bag straight up when finished. You can gently smooth down any peaks with a wet fingertip or the back of a spoon dipped in water. Aim for roughly the same diameter for all puffs on the sheet.
For éclairs, hold the bag at a slight angle and pipe in a continuous, even line. Try to make all éclairs the same length and width. Practice on parchment paper first if you're new to piping. Consistent sizing ensures that all your choux pieces bake at the same rate, preventing some from burning while others remain underbaked and potentially collapse, hindering the development of a light and airy choux pastry.
Spacing on the Baking Sheet
Proper spacing on the baking sheet is essential for allowing the choux to expand fully without touching each other. As choux pastry bakes, it roughly doubles in size. If the puffs are too close, they will bake into each other, creating uneven shapes and potentially preventing proper air circulation around each piece, which is needed for even browning and puffing.
Leave at least 2-3 inches (about 5-7 cm) of space between each piped mound or éclair. This generous spacing ensures that hot air circulates freely around every piece, promoting uniform rising and drying, which is key to achieving that wonderfully light and airy texture throughout the batch. Use parchment paper or a silicone baking mat on your baking sheet to prevent sticking.
Baking the Choux
Oven Temperature and Preheating
Accurate oven temperature and thorough preheating are crucial for successful choux pastry. Most recipes call for baking at an initial high temperature, typically around 400-425°F (200-220°C), followed by a lower temperature, around 350-375°F (175-190°C). Preheat your oven well in advance to ensure it reaches and maintains the initial high temperature. An oven thermometer is highly recommended to verify accuracy.
The initial high heat provides a burst of energy that quickly turns the moisture in the dough into steam, causing the rapid expansion needed to create a light and airy choux pastry. If the oven isn't hot enough, the dough won't puff sufficiently, resulting in flat or dense pastries. After the initial rise (usually 10-15 minutes), reducing the temperature allows the pastry to continue baking and dry out the interior without burning the exterior.
Creating Steam in the Oven
Creating a steamy environment in the oven during the initial high-heat baking phase can significantly aid in achieving a beautiful rise and a crisp crust. The steam keeps the surface of the choux soft and pliable for longer, allowing it to expand more freely before the crust sets. This contributes to a larger, more hollow, and thus more light and airy choux pastry.
One common method is to place a baking pan on the bottom rack of the oven while it preheats. Just before putting the choux in, carefully pour about 1 cup (240ml) of hot water into the hot pan. Close the oven door quickly to trap the steam. Be extremely cautious when doing this to avoid burns. Alternatively, some ovens have a steam injection feature. The steam is usually needed only for the first 10-15 minutes of baking.
Baking Time and Doneness
Baking time varies depending on the size of your choux pieces and your oven, but typically ranges from 25 to 45 minutes total. The initial high-heat phase (with or without steam) usually lasts 10-15 minutes, during which you should not open the oven door, as releasing the steam can cause the pastries to collapse. After this, reduce the temperature and continue baking.
Choux pastry is done when it is deeply golden brown all over and feels light and hollow when lifted. The dark color is important; if they are underbaked, the interior will be moist, and they will likely collapse as they cool, becoming dense instead of light and airy choux pastry.
Some bakers even prick the bottom of each puff with a skewer in the last few minutes of baking to allow steam to escape and further dry the interior. Once baked, turn off the oven and leave the choux inside with the door slightly ajar for 10-15 minutes to cool gradually and prevent sudden temperature shock, which can also cause collapse.
Troubleshooting Choux Pastry
Flat Choux Pastry
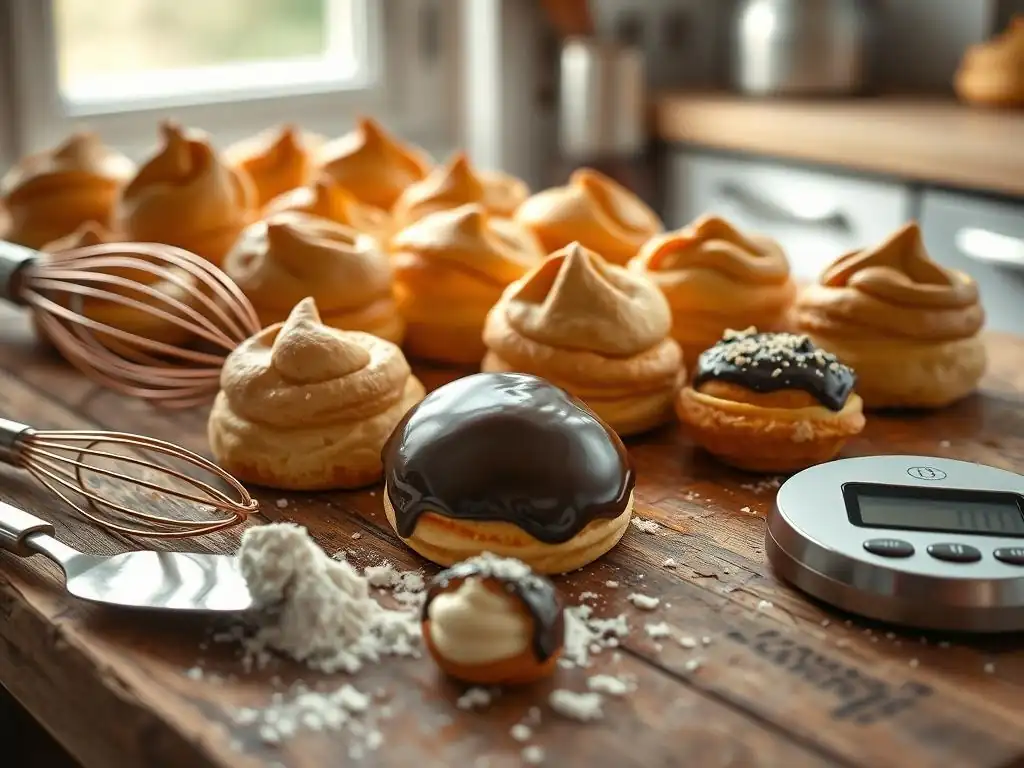
Flat choux pastry is a common frustration, often resulting from insufficient steam leavening or structural weakness. One primary cause is the panade not being cooked long enough to dry it out adequately; this prevents it from absorbing enough egg, leading to a dough that cannot generate sufficient steam to puff properly. Another reason is adding too few eggs, resulting in a dough that is too stiff and lacks the necessary moisture and protein structure for expansion.
Opening the oven door too early during the initial high-heat phase is another frequent culprit. This releases the trapped steam that is causing the choux to rise, leading to immediate collapse. Ensure your oven is properly preheated and avoid peeking for at least the first 15 minutes. Finally, underbaking is a major cause; if the structure hasn't fully set, the pastries will deflate as they cool, losing that desired light and airy choux pastry form.
Runny Dough Solutions
If your choux dough appears too runny after adding the eggs, it means you've added too much liquid or, more commonly, too many eggs for the amount of panade. A dough that is too runny will spread out on the baking sheet instead of holding a piped shape and won't develop the necessary structure to rise properly.
Unfortunately, there's no perfect fix once the dough is too runny. You cannot simply add more flour, as it won't be cooked into the panade base. The best approach is to try to salvage it by doubling the panade part of the recipe (water, butter, salt, flour) and cooking it properly, then gradually incorporating the runny dough into this new, stiff panade until you reach the correct 'ribbon' consistency.
This essentially dilutes the excess egg. While not ideal, it's better than discarding the entire batch and can sometimes yield a passable, though perhaps not perfectly light and airy choux pastry.
Preventing Density
Density in choux pastry is the opposite of the desired light and airy texture and often stems from issues during the panade or baking stages. An undercooked panade that hasn't been dried out sufficiently is a major factor, as it leads to a dough that is too wet and cannot build the necessary structure. Adding too few eggs also results in a dense texture because there isn't enough moisture for steam leavening and not enough protein for structural support.
Conversely, adding too many eggs makes the dough too weak and can also lead to a dense, collapsed pastry. Baking at too low a temperature initially, or opening the oven door too soon, inhibits the crucial steam production needed for puffing. Ensuring the panade is cooked until a film forms on the bottom of the pan, adding eggs until the dough forms a slow ribbon, and baking at the correct temperatures without opening the door prematurely are key steps to preventing density and achieving a light and airy choux pastry.
Uneven Baking Corrections
Uneven baking can result in some choux pieces being perfectly golden and puffed while others are pale or even burnt, leading to inconsistent light and airy choux pastry results. This is often due to hot spots in the oven. Most ovens have areas that are hotter or cooler than others.
To combat uneven baking, rotate your baking sheet halfway through the baking time, typically after you've lowered the oven temperature. For example, if you're baking for 30-40 minutes total, rotate the tray around the 15-20 minute mark. If your oven has significant hot spots, you might also need to rotate the sheet from top to bottom rack if baking multiple sheets. Using an oven thermometer can help you understand your oven's tendencies. Ensuring consistent piping size also contributes significantly to uniform baking.
Choux Pastry Variations
Éclairs: Pastry Cream and Chocolate Ganache
Éclairs are one of the most iconic pastries made from light and airy choux pastry. Piped into elongated shapes, they are baked until crisp and hollow, then traditionally filled with smooth, rich pastry cream (crème pâtissière). The top is then finished with a decadent glaze, most often a classic chocolate ganache, made from melted chocolate and cream.
The contrast between the crisp choux shell, the creamy filling, and the slightly firm ganache topping makes éclairs a beloved treat. The process involves baking the choux, allowing it to cool, piping in the filling using a tip inserted into the ends or bottom, and finally dipping or spreading the ganache on top. Achieving the perfect éclair relies on a perfectly baked, light and airy choux pastry base.
Cream Puffs: Whipped Cream and Fruit
Cream puffs, also known as profiteroles when filled and served with sauce, are another classic application of light and airy choux pastry. These are typically piped into round mounds and baked until golden and hollow. Once cooled, they are split horizontally or have a hole poked in the bottom or side for filling.
The most common filling for simple cream puffs is sweetened whipped cream, often paired with fresh fruit like strawberries or raspberries. The simplicity of the whipped cream allows the delicate texture of the light and airy choux pastry to shine. They can be dusted with powdered sugar or drizzled with a light sauce.
Gougères: Cheese-Infused Puffs
Gougères are the savory cousin of the sweet choux pastry variations. Made from the same basic dough, finely grated cheese (such as Gruyère, Emmental, or Parmesan) is incorporated into the panade along with the eggs. This adds a wonderful savory flavor and slightly changes the texture.
Piped into small rounds, gougères are baked until golden brown and puffed, resulting in a cheesy, light and airy puff perfect for appetizers or snacks. They are best served warm, straight from the oven, when the cheese flavor is most prominent and the texture is at its peak crispness. The savory profile makes them a versatile addition to a cheese board or served alongside soup or salad.
Croquembouche: Caramel-Glazed Tower
The croquembouche is a spectacular French dessert, often served at weddings and celebrations. It is essentially a tower constructed from numerous small, baked choux puffs, typically filled with pastry cream. These filled, light and airy choux pastry balls are then dipped in or coated with caramel and assembled into a cone shape, held together by the hardened caramel.
The assembly requires careful technique, as the hot caramel is used as the "glue." The finished tower is often decorated with spun caramel, sugared almonds, or other confections. The croquembouche showcases the structural integrity and versatility of light and airy choux pastry on a grand scale, creating a stunning centerpiece that is also delicious.
Storing and Serving
Storing Baked Choux
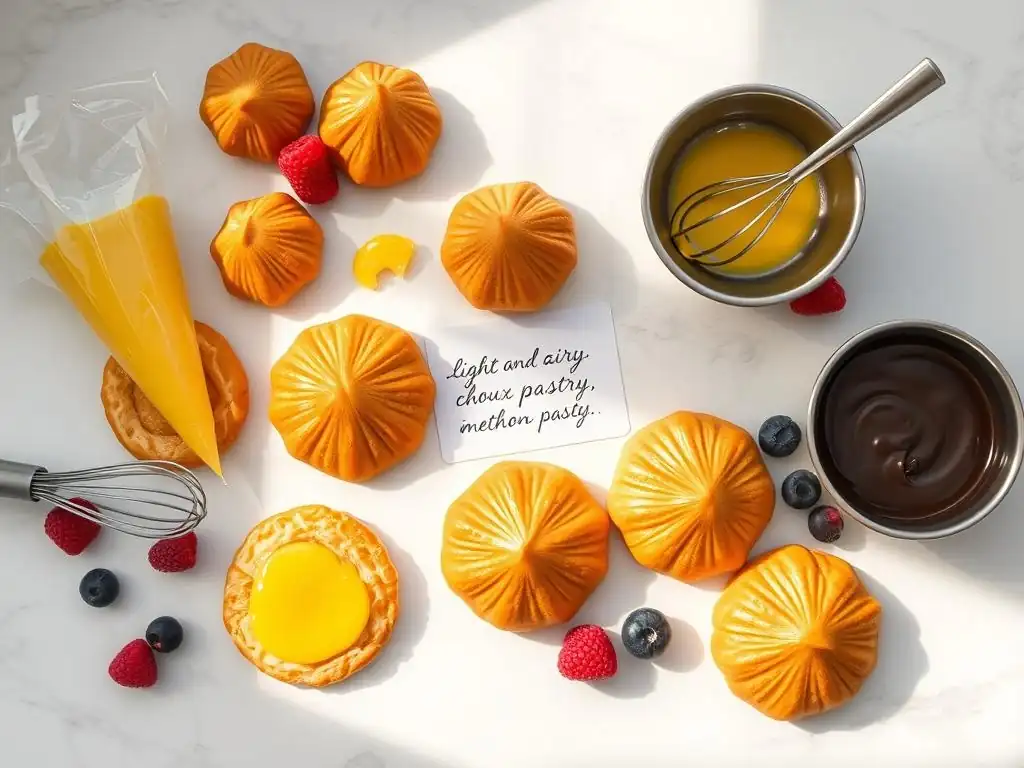
Baked choux pastry is best enjoyed the day it is made, especially if filled, as moisture from the filling can quickly soften the crisp shell. However, unf illed, baked choux can be stored. Once completely cooled, place them in an airtight container at room temperature for up to 1-2 days. It's crucial they are fully cooled before storing to prevent condensation, which will make them soggy.
For longer storage, baked and cooled choux can be frozen. Place them in a single layer on a baking sheet and freeze until solid, then transfer them to a freezer-safe bag or container. They can be stored this way for up to 1-2 months. Freezing is an excellent option if you want to bake ahead and fill them just before serving to maintain that desirable light and airy choux pastry texture.
Reheating for Crispness
If baked choux pastries have lost their crispness (which happens quickly due to moisture in the air), they can often be revived by reheating. This works best for unf illed choux. Preheat your oven to a moderate temperature, around 300-325°F (150-160°C).
Place the choux directly on the oven rack or on a baking sheet. Heat for 5-10 minutes, or until they feel crisp to the touch again. This gentle reheating evaporates any absorbed moisture from the air, restoring the crisp exterior while keeping the interior light and airy. Let them cool slightly before filling or serving.
Presentation Ideas
Presentation can elevate simple choux pastry into something special. For cream puffs, a dusting of powdered sugar or a drizzle of chocolate sauce is classic. Éclairs are typically glazed on top. For a more elaborate touch, you can dip the tops in tempered chocolate or a simple glaze and decorate with sprinkles, chopped nuts, or edible glitter.
Filling choux with contrasting colors of pastry cream or whipped cream can add visual appeal when they are sliced. Arranging cream puffs in a pyramid shape or creating mini croquembouches for individual servings are impressive presentation ideas. Remember, the beauty of light and airy choux pastry lies in its simple elegance, so sometimes minimal decoration is best to let the perfect puff shine.
Conclusion
Key Techniques for Success
Mastering light and airy choux pastry boils down to a few critical techniques: cooking the panade thoroughly on the stovetop until a film forms on the bottom of the pan, ensuring the dough is dry enough to absorb the right amount of eggs. Adding eggs gradually until the dough reaches the perfect 'ribbon' consistency is essential – too little or too much will compromise the final texture.
Finally, the baking process is paramount: starting with a hot oven to create maximum steam for puffing, reducing the heat to dry out the interior, and critically, resisting the urge to open the oven door during the initial rise. Paying close attention to these steps will consistently yield beautifully puffed, hollow, and wonderfully light and airy choux pastry, ready for your favorite fillings.
Encouragement for Experimentation
Don't be discouraged if your first batch of choux pastry isn't perfect. Like many baking techniques, it takes practice to get a feel for the right consistency and understand your oven's quirks. Each attempt provides valuable learning. Try adjusting your panade cooking time slightly, pay close attention to the egg incorporation phase, or experiment with the initial baking temperature.
Once you've mastered the basic light and airy choux pastry, the possibilities are nearly endless. Experiment with different fillings – savory cheese, sweet creams, fruit curds, or even ice cream. Try different shapes and sizes for éclairs, profiteroles, or craquelin-topped puffs. Choux pastry is a rewarding dough to work with, opening up a world of delicious and impressive pastries for you to create and share. Keep baking, keep experimenting, and enjoy the delicious results!
Frequently Asked Questions
What exactly is choux pastry, and what makes it unique?
Choux pastry, also known as pâte à choux, is a light and airy French pastry dough used to make profiteroles, éclairs, and other treats. Its uniqueness lies in its double-cooking method: first on the stovetop, then in the oven.
What are the essential ingredients for a successful light and airy choux pastry?
The key ingredients are flour, water (or milk), butter, eggs, and a pinch of salt. The correct ratio and quality of these ingredients are crucial for achieving the desired light and airy texture.
What is the most common mistake people make when baking choux pastry?
One common mistake is adding the eggs too quickly or when the dough is too hot. This can result in the eggs scrambling and preventing the pastry from rising properly.
How do I know when my choux pastry is baked properly?
The choux pastry should be golden brown and puffed up. A telltale sign is when the pastry sounds hollow when tapped on the bottom, indicating it is fully cooked.
How can I prevent my choux pastry from collapsing after baking?
To avoid collapse, ensure the pastry is fully baked and dried out in the oven. You can also poke a small hole in each pastry after baking to release steam and prevent it from deflating.
Final Reflection: The Enduring Allure of the Perfect Choux
The pursuit of the light and airy choux pastry is more than just a culinary quest; it's a testament to the enduring power of precision and patience in achieving culinary perfection. This guide has explored the intricate details – from the precise ratio of ingredients to the subtle nuances of the cooking process – necessary to transform humble flour, water, butter, and eggs into delicate, airy puffs. The techniques outlined here are not merely recipes; they are pathways to mastering a classic, a skill that transcends mere baking and becomes a testament to one's dedication.
The journey of crafting the perfect choux has profoundly impacted my own understanding of baking, revealing the delicate balance between science and art. It's a process that demands attention to detail, a respect for the ingredients, and an unwavering commitment to the process. As Julia Child once wisely said, Don't be afraid to experiment. To err is human; to forgive divine. But learn from your mistakes!
This sentiment perfectly encapsulates the spirit of choux pastry making – a journey of trial and error, ultimately leading to the rewarding satisfaction of a perfectly puffed, airy creation.
Now, it's your turn. Take the knowledge gained from this guide and embark on your own choux pastry adventure. Don't be intimidated by the seemingly complex process; embrace the challenge, experiment with flavors and fillings, and most importantly, enjoy the journey. The light and airy texture you achieve will be a testament to your dedication, a delicious reward for your efforts, and a delightful treat to share with those you love. The perfect choux pastry awaits – go forth and create!
Unleash Your Inner Pâtissier: Master the Art of Choux!
Thanks for joining us on this delightful journey into the world of choux pastry! We hope you now feel confident in tackling this seemingly daunting classic. Ready to put your newfound skills to the test?
- Bake your dream choux: Grab those ingredients and whip up a batch! Experiment with different fillings and glazes – the possibilities are endless!
- Share your creations: Show us your choux masterpieces on social media using #BakeWithEaseChoux – we'd love to see them!
- Explore our other recipes: Discover more light and airy delights on BakeWithEase.com to continue your baking adventures.
What unique flavor combination will you try in your next choux creation? Let us know in the comments below!