
Easy Walnut Brownies: A Simple Classic for Beginner Bakers

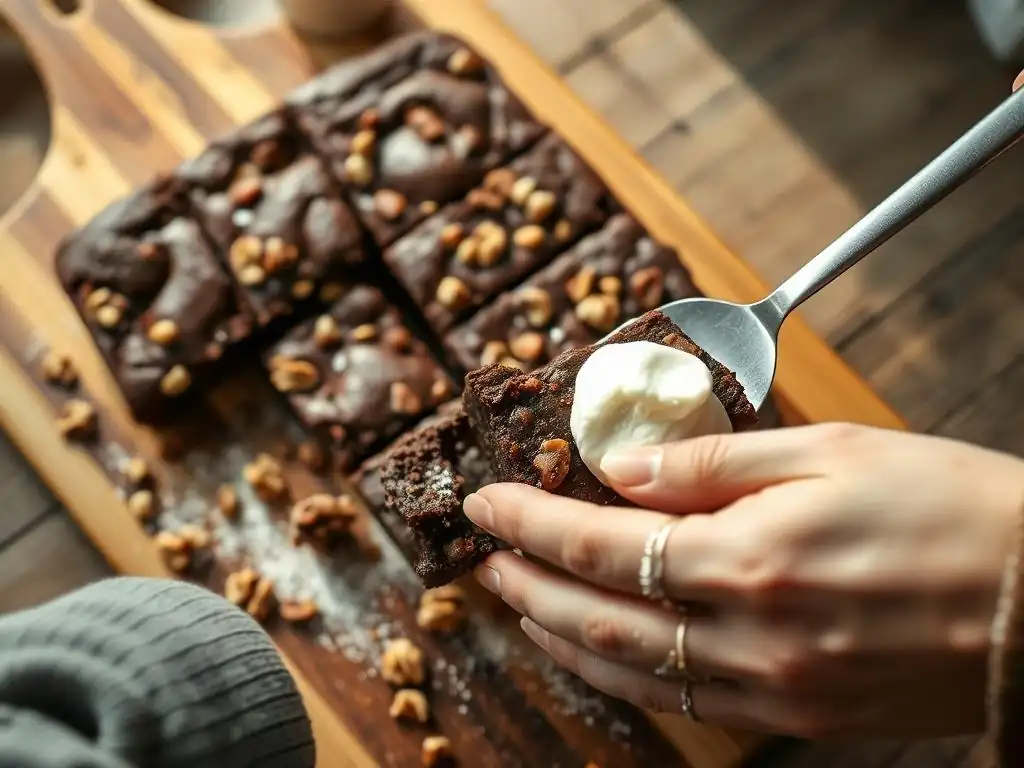
Welcome to BakeWithEase!
Craving fudgy, chewy goodness? You've landed in the right spot! Discover the secrets to baking the perfect Easy Walnut Brownies, even if you're just starting your baking journey. We'll guide you through a simple, classic recipe that's guaranteed to impress. But what makes these brownies so incredibly easy to make? Find out below and unlock your inner baker!
- BakeWithEase' Guide to Easy Walnut Brownies for Beginners
- Why These Walnut Brownies Are Perfect for Beginner Bakers
-
The Ultimate Easy Walnut Brownies Beginner Recipe: Step-by-Step
- Ingredients You'll Need for Easy Walnut Brownies
- Essential Baking Tools for Beginner Brownie Makers
- Step 1: Preparing the Baking Pan for Your Walnut Brownies
- Step 2: Melting the Chocolate and Butter for Rich Flavor
- Step 3: Combining Wet and Dry Ingredients for the Brownie Batter
- Step 4: Adding the Walnuts for Texture and Taste
- Step 5: Baking Your Easy Walnut Brownies to Perfection
- Step 6: Cooling and Cutting Your Delicious Brownies
- Tips and Tricks for Perfect Easy Walnut Brownies Every Time
- Variations on This Easy Brownie Recipe
- Troubleshooting Common Brownie Baking Problems
- Enjoy Your Homemade Easy Walnut Brownies!
- Frequently Asked Questions
- Final Reflection: The Enduring Allure of Simple Baking
- Unleash Your Inner Baker: Bake These Brownies Today!
BakeWithEase' Guide to Easy Walnut Brownies for Beginners
Welcome to the wonderful world of baking! Starting your baking journey can feel a little daunting, but some recipes are designed to build confidence and deliver delicious results with minimal fuss. This easy walnut brownies beginner recipe is exactly that – a straightforward path to rich, chocolatey goodness, perfect for anyone just starting out in the kitchen. We'll walk you through every step, ensuring your first batch of brownies is a resounding success.
This guide from BakeWithEase focuses on simplicity without sacrificing flavor. We believe baking should be enjoyable and accessible, and this easy walnut brownies recipe embodies that philosophy. By following our clear instructions, you'll learn fundamental baking techniques while creating a treat that's sure to impress your friends and family – and yourself! Get ready to discover how simple and rewarding baking can be.
Why These Walnut Brownies Are Perfect for Beginner Bakers
Simple Ingredients for Easy Walnut Brownies
One of the biggest hurdles for beginner bakers can be finding obscure ingredients. Fortunately, this easy walnut brownies beginner recipe relies on pantry staples you likely already have on hand. You'll need basic items like all-purpose flour, granulated sugar, brown sugar, cocoa powder (natural unsweetened works well), eggs, butter, vanilla extract, and of course, walnuts.
These common ingredients not only make the recipe accessible but also budget-friendly. There's no need to special order anything or hunt down exotic spices. The simplicity of the ingredient list means you can focus on the process itself, building your foundational baking skills without worrying about ingredient availability or cost. This makes tackling your first batch of easy walnut brownies a stress-free experience.
Quick and Easy Baking Process: Perfect for Beginners
Beyond the simple ingredients, the method for making these easy walnut brownies is incredibly straightforward, making it ideal for those new to baking. It typically involves just a few main steps: melting the wet ingredients, combining them with the dry ingredients, adding the walnuts, and baking. There are no complex techniques like creaming butter for extended periods or intricate folding methods required.
The entire process, from gathering ingredients to having the brownies in the oven, can often be completed in under 20-30 minutes. This relatively short active time means you won't be tied to the kitchen for hours, which is perfect for busy beginners. The forgiving nature of this easy walnut brownies beginner recipe allows for small variations without catastrophic results, giving you room to learn and experiment.
Delicious Walnut Flavor in Every Bite
While simple, this recipe doesn't compromise on taste. The combination of rich chocolate and earthy walnuts creates a classic flavor profile that is universally loved. The walnuts provide a pleasant crunch and nutty depth that complements the sweet, fudgy brownie base. Even with its simplicity, this easy walnut brownies beginner recipe delivers a truly satisfying dessert.
The flavor is robust enough to be enjoyed on its own, but also versatile enough to pair with other toppings like ice cream or a drizzle of chocolate sauce. The focus remains on highlighting the natural flavors of the high-quality cocoa and fresh walnuts. This ensures that your first attempt at making easy walnut brownies is not just successful from a technical standpoint, but also incredibly tasty.
The Ultimate Easy Walnut Brownies Beginner Recipe: Step-by-Step
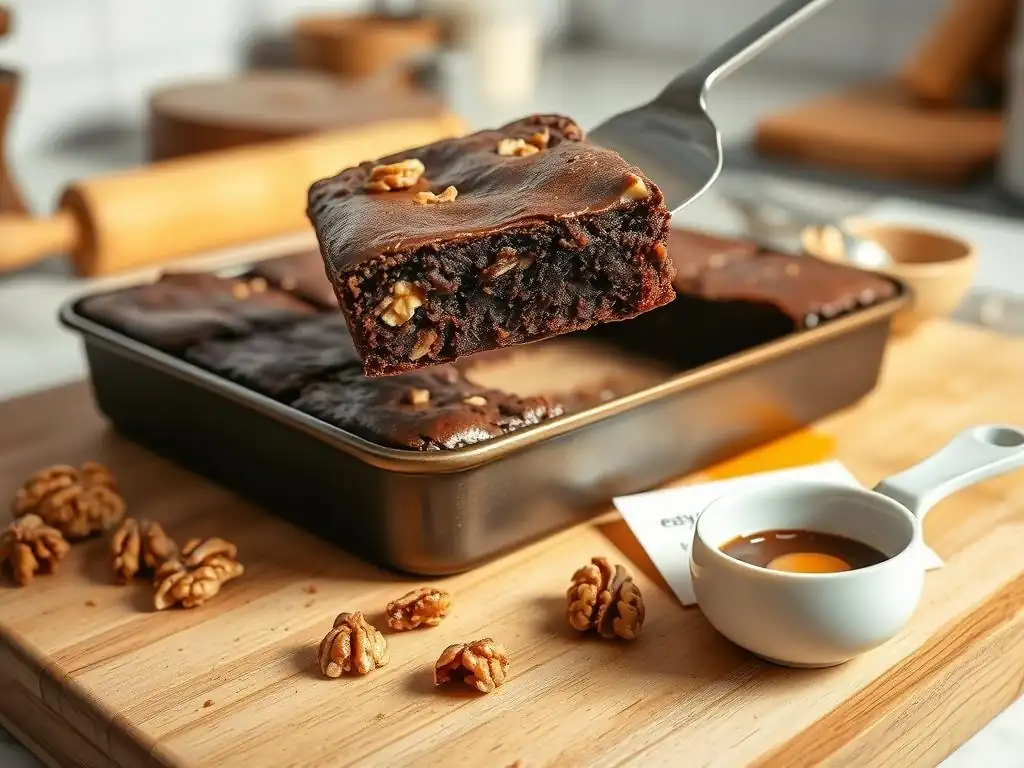
Ingredients You'll Need for Easy Walnut Brownies
Here's a list of the simple ingredients required for this easy walnut brownies beginner recipe. Using ingredients at room temperature (especially eggs) can sometimes help with consistency, though for this simple recipe, it's not strictly necessary but good practice to note for future baking.
- 1/2 cup (1 stick or 113g) unsalted butter
- 4 ounces (approx. 113g) unsweetened or semi-sweet chocolate, chopped
- 1 and 1/2 cups (300g) granulated sugar
- 2 large eggs
- 1 teaspoon vanilla extract
- 3/4 cup (90g) all-purpose flour
- 1/2 cup (45g) unsweetened cocoa powder
- 1/2 teaspoon baking powder
- 1/4 teaspoon salt
- 1 cup (approx. 100g) chopped walnuts
Essential Baking Tools for Beginner Brownie Makers
You don't need a lot of fancy equipment to make these easy walnut brownies. A few basic tools will get the job done. Having these ready before you start helps the process flow smoothly and keeps things simple, which is key for any beginner brownie recipe.
- 8x8 inch (20x20 cm) square baking pan
- Parchment paper
- Large heatproof bowl
- Smaller saucepan (if using stovetop melting method)
- Whisk or rubber spatula
- Measuring cups and spoons
- Cutting board and knife (for chopping chocolate and walnuts)
- Wire cooling rack
Step 1: Preparing the Baking Pan for Your Walnut Brownies
Proper pan preparation is crucial for ensuring your easy walnut brownies don't stick and are easy to remove and cut neatly. Start by choosing an 8x8 inch square baking pan. This size is ideal for producing brownies that are not too thin or too thick, resulting in a good texture.
To prepare the pan, first grease the bottom and sides thoroughly with butter or baking spray. Then, line the pan with parchment paper, leaving an overhang on two opposite sides. This overhang acts as handles, allowing you to lift the cooled brownies out of the pan easily. Greasing under the parchment helps it stick smoothly to the pan. This simple step makes cutting and serving your easy walnut brownies much simpler.
Step 2: Melting the Chocolate and Butter for Rich Flavor
The base of these fudgy brownies comes from melted chocolate and butter. Combine the chopped chocolate and butter in a large heatproof bowl. You can melt these using a double boiler setup (placing the bowl over a saucepan of simmering water, ensuring the bottom of the bowl doesn't touch the water) or carefully in the microwave.
If using the microwave, heat in 30-second intervals, stirring well after each interval, until the mixture is smooth and completely melted. Be careful not to overheat the chocolate, as it can burn. Once melted and smooth, remove the bowl from the heat (or microwave) and set it aside to cool slightly while you gather your other ingredients. This melted mixture forms the rich foundation of your easy walnut brownies beginner recipe.
Step 3: Combining Wet and Dry Ingredients for the Brownie Batter
In the bowl with the slightly cooled melted chocolate and butter mixture, whisk in the granulated sugar until well combined. Then, add the eggs, one at a time, whisking well after each addition until fully incorporated and the mixture is glossy. Stir in the vanilla extract.
In a separate medium bowl, whisk together the flour, cocoa powder, baking powder, and salt. This ensures these dry ingredients are evenly distributed before adding them to the wet mixture. Gradually add the dry ingredients to the wet ingredients, stirring with a rubber spatula or wooden spoon until just combined. Be careful not to overmix the batter; mixing until you see no dry streaks is sufficient. Overmixing can lead to tougher brownies.
Step 4: Adding the Walnuts for Texture and Taste
Now it's time to add the star ingredient (besides the chocolate! ): the walnuts. Gently fold the chopped walnuts into the brownie batter using your rubber spatula. Ensure they are distributed relatively evenly throughout the batter so you get that lovely nutty crunch in every bite of your easy walnut brownies.
Using chopped walnuts about the size of small peas works well for texture. You can adjust the amount slightly based on your preference, but 1 cup provides a good balance. The walnuts not only add a delicious flavor but also contribute to the overall texture, creating a pleasant contrast with the soft, fudgy brownie base. This is a simple addition that elevates the classic easy walnut brownies beginner recipe.
Step 5: Baking Your Easy Walnut Brownies to Perfection
Preheat your oven to 350°F (175°C). Pour the brownie batter into the prepared 8x8 inch pan, spreading it evenly with your spatula. Place the pan in the preheated oven.
Bake for 25-30 minutes. The exact baking time can vary depending on your oven, so it's important to start checking around the 25-minute mark. A good indicator of doneness is when the edges look set and slightly pulled away from the pan, and the center appears mostly set but may still look a little moist. We'll cover how to test for doneness perfectly in the tips section.
Step 6: Cooling and Cutting Your Delicious Brownies
Once the brownies are baked, remove the pan from the oven and place it on a wire cooling rack. Allow the brownies to cool in the pan for at least 30 minutes, preferably longer. This cooling period is crucial for the brownies to set properly and develop their fudgy texture. Cutting them while hot will result in a crumbly mess.
After they have cooled sufficiently in the pan, use the parchment paper overhang to carefully lift the entire brownie slab out of the pan and transfer it to the wire rack to cool completely. Once completely cool (this might take 1-2 hours), use a sharp knife to cut them into squares. For an 8x8 pan, cutting into 16 squares (4 rows by 4 rows) is standard. Clean your knife blade between cuts for cleaner edges on your easy walnut brownies.
Tips and Tricks for Perfect Easy Walnut Brownies Every Time
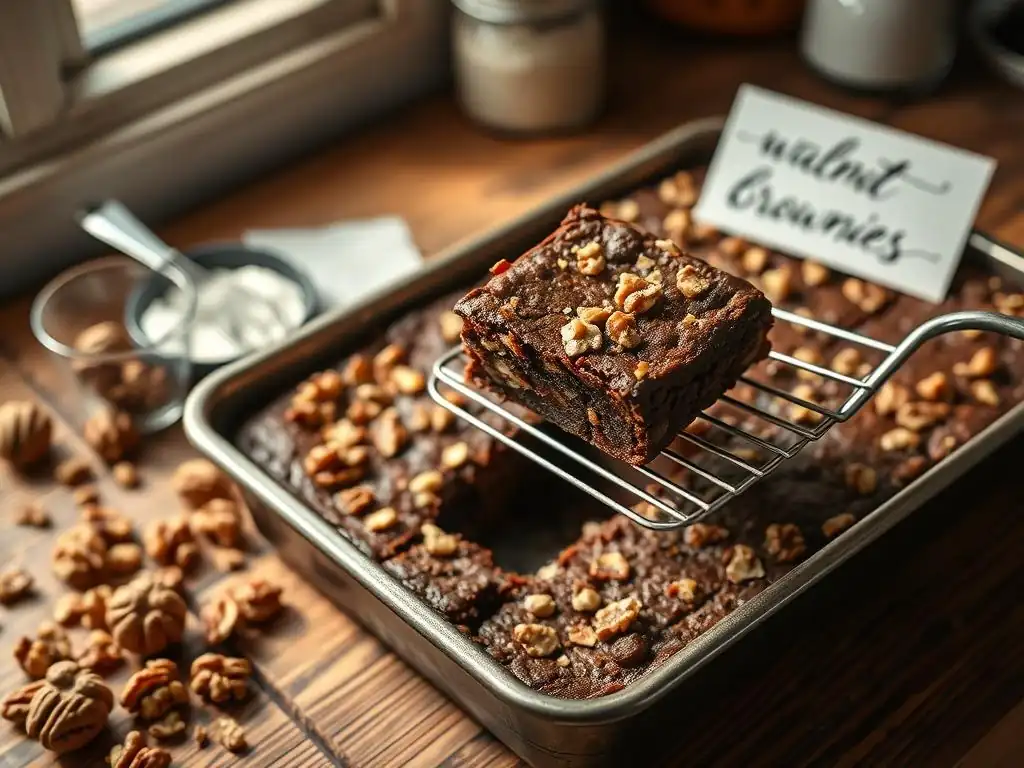
Ensuring Even Baking for Fudgy Brownies
Achieving even baking is key to getting that perfect fudgy texture throughout your easy walnut brownies. Ovens can have hot spots, meaning some areas bake faster than others. To combat this, try rotating your baking pan halfway through the baking time, around the 12-15 minute mark.
Also, ensure your oven is properly preheated before putting the brownies in. Using an oven thermometer can verify that your oven is actually at the temperature you set. Baking at the correct, consistent temperature helps the brownies bake evenly from edge to center, preventing burned edges or an undercooked middle. This simple practice significantly improves the outcome of any beginner brownie recipe.
Preventing Overbaking: The Toothpick Test
Overbaking is the most common mistake that turns fudgy brownies into dry, cakey ones. The toothpick test is your best friend here, but you need to interpret the results correctly for brownies. Insert a toothpick into the center of the brownies around the minimum recommended baking time (e.g., 25 minutes).
For fudgy brownies, you don't want the toothpick to come out completely clean. It should come out with moist crumbs attached, or even slightly wet streaks of batter. If it comes out with wet batter, bake for another 2-3 minutes and test again. If it comes out completely clean and dry, the brownies are likely already overbaked. Getting the timing right is critical for a truly easy walnut brownies beginner recipe success.
Enhancing Walnut Flavor: Toasting Walnuts Before Adding
While this recipe is designed to be simple, a little extra step can elevate the flavor significantly: toasting the walnuts. Toasting nuts brings out their natural oils and enhances their nutty flavor and aroma. You can toast chopped walnuts in a dry skillet over medium heat for 5-7 minutes, stirring frequently, until fragrant. Alternatively, spread them on a baking sheet and bake at 350°F (175°C) for 8-10 minutes.
Let the toasted walnuts cool completely before adding them to the batter in Step 4. This extra step is optional for a beginner, but it's a technique worth trying once you feel comfortable with the basic easy walnut brownies beginner recipe. It adds another layer of depth to the finished treat.
Storing Your Easy Walnut Brownies for Maximum Freshness
Proper storage ensures your delicious easy walnut brownies stay fresh and moist for as long as possible. Once completely cooled and cut, store the brownies in an airtight container at room temperature. Layering them between pieces of parchment paper can prevent them from sticking together.
Stored correctly, these brownies will typically stay fresh for 3-4 days at room temperature. For longer storage, you can freeze them. Wrap individual brownies or the entire slab tightly in plastic wrap, then place in a freezer-safe bag or container. Frozen brownies can last for several months. Thaw them at room temperature before enjoying.
Variations on This Easy Brownie Recipe
Adding Chocolate Chips for Extra Chocolatey Goodness
If you're a serious chocolate lover, adding chocolate chips is an easy way to boost the chocolate factor in your easy walnut brownies. Simply stir in about 1/2 cup to 1 cup of chocolate chips (semi-sweet, dark, or milk chocolate work well) into the batter along with the walnuts in Step 4.
The chocolate chips will melt slightly during baking, creating pockets of gooey chocolate within the fudgy brownie base. This variation is incredibly simple and doesn't require any changes to the baking time or temperature. It's a straightforward tweak to your easy walnut brownies beginner recipe that adds another layer of decadence.
Swirling in Caramel for a Decadent Treat
For a more indulgent twist, consider swirling caramel into your easy walnut brownies. You can use store-bought caramel sauce or make your own. After pouring the batter into the prepared pan in Step 5, dollop spoonfuls of caramel sauce over the top.
Then, use a knife or skewer to gently swirl the caramel into the brownie batter. Be careful not to over-swirl, or the caramel will disappear into the batter. A few gentle swirls are enough to create beautiful ribbons of caramel throughout the brownies. This adds a sweet, chewy layer that pairs wonderfully with the chocolate and walnuts.
Experimenting with Different Nuts: Pecans, Almonds, or Macadamia Nuts
While this is an easy walnut brownies beginner recipe, the nut component is easily adaptable. If you prefer other nuts or want to try something different, feel free to substitute the walnuts with an equal amount (1 cup, chopped) of pecans, almonds, macadamia nuts, or even a mix of your favorites.
Each type of nut will bring a slightly different flavor and texture to the brownies. Pecans offer a buttery flavor, almonds a delicate crunch, and macadamia nuts a rich creaminess. Ensure the nuts are roughly chopped to a similar size as the walnuts recommended in the original recipe for even distribution and texture.
Troubleshooting Common Brownie Baking Problems
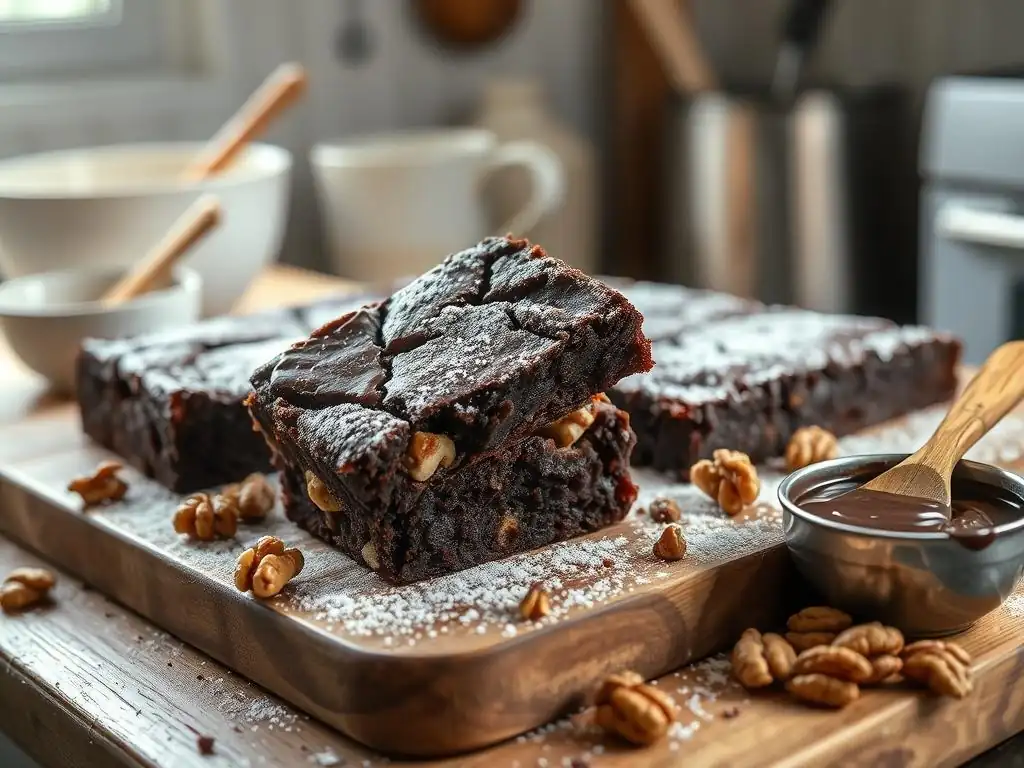
Brownies Too Dry? Here's How to Fix It
One of the most common issues beginner bakers face is dry brownies. The primary culprit is almost always overbaking. If you followed the recipe but your brownies turned out dry, it's likely they stayed in the oven for too long. Remember the toothpick test should show moist crumbs, not come out clean.
To prevent this in the future, start checking for doneness at the minimum recommended baking time (e.g., 25 minutes for an 8x8 pan). Note your oven's actual temperature and adjust the baking time accordingly for future batches. If you've already baked a dry batch, while you can't make them fudgier, you can try serving them warm with ice cream or a sauce to add moisture.
Brownies Not Fudgy Enough? Adjusting the Recipe
If your easy walnut brownies turned out a bit more cakey than fudgy, there are a few potential reasons. It could be slight overbaking, as mentioned above. However, the ratio of wet to dry ingredients also plays a significant role in fudginess.
For a fudgier result next time, you could slightly decrease the amount of flour by 1-2 tablespoons (e.g., use a scant 3/4 cup) or slightly increase the amount of butter or chocolate by a tablespoon or two. Ensure you're using unsweetened cocoa powder, not Dutch-processed, as it reacts differently with the baking powder and can affect texture. Minor tweaks to this easy walnut brownies beginner recipe can help you achieve your desired level of fudginess.
Brownies Sinking in the Middle? Baking Time Adjustments
Brownies sinking in the middle usually indicate that the center wasn't fully set before being removed from the oven. This can happen if the baking time was too short or if the oven temperature was too low, causing the edges to set while the middle remains undercooked and collapses as it cools.
Ensure your oven is accurately preheated to 350°F (175°C). Trust the toothpick test – if it comes out with wet batter, the brownies definitely need more time. Don't be afraid to bake for the full recommended time (up to 30 minutes or even slightly longer for some ovens) or until the toothpick test yields moist crumbs. Avoid opening the oven door too frequently during baking, as sudden temperature changes can also contribute to sinking.
Enjoy Your Homemade Easy Walnut Brownies!
Serving Suggestions for Your Delicious Brownies
Now that you've successfully baked a batch of easy walnut brownies using this beginner recipe, it's time to enjoy them! They are absolutely delicious on their own, perhaps slightly warm, allowing the chocolate to be extra gooey. Cut them into squares once fully cooled for neat presentation.
For an elevated experience, serve your brownies warm with a scoop of vanilla ice cream. The contrast of warm brownie and cold ice cream is heavenly. A drizzle of chocolate sauce, caramel sauce, or a sprinkle of sea salt can also add extra flavor dimensions. Don't hesitate to get creative with toppings once you've mastered the basic easy walnut brownies beginner recipe.
We hope this easy walnut brownies beginner recipe has given you confidence in the kitchen and a delicious treat to show for it! Baking is a journey, and every successful bake is a step forward. We love seeing what our community creates.
Consider taking a photo of your beautiful easy walnut brownies and sharing it. Celebrate your success as a beginner baker! This classic recipe is a fantastic foundation, and we encourage you to keep exploring the world of baking with more simple and delicious recipes from BakeWithEase. Happy baking!
Frequently Asked Questions
How easy is this walnut brownie recipe for a beginner?
This recipe is designed to be very beginner-friendly, using simple instructions and readily available ingredients. It focuses on core baking techniques, making it a great starting point.
Can I substitute the walnuts in the brownie recipe?
Yes, you can substitute the walnuts! Try other nuts like pecans or almonds, or even chocolate chips for a nut-free option.
What type of chocolate is best for these easy walnut brownies?
We recommend using a semi-sweet chocolate for a balanced flavor. You can also use dark chocolate for a richer, more intense brownie.
How do I know when the walnut brownies are done baking?
The brownies are done when a toothpick inserted into the center comes out with moist crumbs attached. Be careful not to overbake, as this will make them dry. A slightly gooey center is ideal.
What's the best way to store leftover walnut brownies?
Store leftover brownies in an airtight container at room temperature for up to 3 days. You can also freeze them for longer storage; wrap tightly in plastic wrap and then foil.
Final Reflection: The Enduring Allure of Simple Baking
The ease of creating something delicious shouldn't be underestimated; these walnut brownies prove that baking joy is accessible to everyone. Mastering a simple recipe like this unlocks a world of culinary confidence, a feeling increasingly valuable in our fast-paced lives. It's a reminder that even amidst complexity, simple pleasures hold immense power.
The comforting aroma of baking brownies, the satisfying crackle of the crust, the fudgy richness within – these sensory experiences transcend mere sustenance. They connect us to a tradition of home baking, a legacy passed down through generations. Baking is at once child's play and adult joy. And love, of course.
This quote perfectly encapsulates the emotional resonance of a simple, successful bake, a feeling amplified by sharing the results with loved ones. The act of creating something delicious and sharing it fosters connection and strengthens bonds.
Now, I invite you to embrace the simplicity of this recipe. Don't be intimidated by the kitchen; instead, see it as a space for exploration and self-expression. Try this recipe, adapt it to your taste, and discover the joy of creating something delicious with your own hands. The satisfaction you'll feel is far more rewarding than any store-bought treat, and the skills you gain will open doors to a world of baking adventures. So, preheat your oven, gather your ingredients, and let the baking begin!
Unleash Your Inner Baker: Bake These Brownies Today!
Thanks for joining us on this delicious journey into brownie baking! We hope you gained confidence and a newfound appreciation for creating simple yet stunning desserts. Ready to take your baking skills to the next level?
- Bake a batch of these Walnut Brownies! Let us know how they turn out – we love seeing your creations!
- Share this recipe with a friend who also loves easy baking projects. Double the fun (and the brownies! ).
- Explore other beginner-friendly recipes on BakeWithEase.com – we’ve got tons of ideas waiting for you!
What’s your favorite ingredient to add to brownies to make them extra special? Share your secret ingredient below!