
Transform Your Cakes: MustHave Decorating Tools Revealed

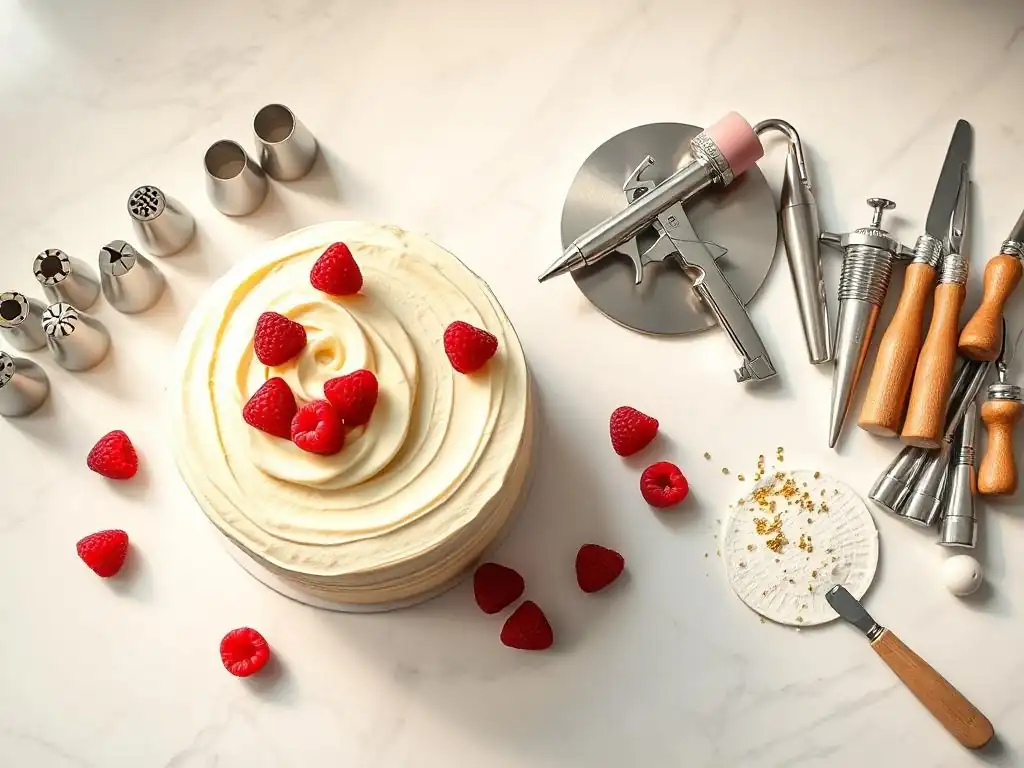
Welcome to BakeWithEase, where baking becomes a joy, not a chore!
Ready to take your cake decorating skills to the next level? Dive into our Cake Decorating Tool Guide and discover the essential tools that will transform your cakes from simple treats to stunning masterpieces. Unlocking the secrets to professional-looking results is easier than you think – are you ready to explore the must-have equipment that will revolutionize your baking?
- A Baker's Guide to Essential Cake Decorating Tools
- Understanding the Basics: Essential Cake Decorating Tools for Beginners
- Advanced Techniques: Mastering Cake Decorating with Specialized Tools
- Beyond the Basics: Specialized Cake Decorating Tools & Equipment
- Cake Decorating Tool Guide: Choosing the Right Tools
- Maintaining Your Cake Decorating Tool Collection: Cleaning and Storage
- Where to Buy Your Cake Decorating Tools: Recommendations
- Mastering Cake Decoration: A Summary of Essential Tools and Techniques
-
Frequently Asked Questions
- What are the essential cake decorating tools for a beginner?
- How do I choose the right piping tips for different cake designs?
- What's the difference between an offset spatula and a regular spatula for cake decorating?
- How do I properly clean and store my cake decorating tools?
- What is a turntable used for in cake decorating, and is it really necessary?
- Final Reflection: The Sweet Art of Transformation
- Unleash Your Inner Cake Artist!
A Baker's Guide to Essential Cake Decorating Tools
Welcome: Your Cake Decorating Journey Begins
Embarking on the delightful journey of cake decorating opens up a world of creativity and delicious possibilities. Whether you're aiming for a simple, elegant frosting swirl or an elaborate tiered masterpiece, having the right tools at your disposal is absolutely key. Think of these tools as your artistic palette and brushes, enabling you to bring your sweet visions to life and transform a plain cake into a stunning centerpiece. This comprehensive cake decorating tool guide is designed to equip you with the knowledge you need, starting from the absolute basics and moving towards more specialized equipment.
Learning to decorate cakes is a rewarding skill that builds confidence with every successful project. It's not about needing every single gadget on the market from day one, but rather understanding the function of essential decorating tools for cakes and how they can help you achieve smoother finishes, sharper edges, and more intricate designs. We'll walk you through the must-have items that will make your decorating process smoother, more efficient, and ultimately, more enjoyable. Get ready to elevate your baking game and impress everyone with your beautifully adorned cakes!
Understanding the Basics: Essential Cake Decorating Tools for Beginners
Leveling and Layering Cakes: The Foundation for Beautiful Decoration
Serrated Knife: Achieving Perfectly Even Cake Layers
A good serrated knife is surprisingly one of the most important cake decorating tools you can own, especially when it comes to preparing your cake layers. Its saw-like edge allows you to gently slice through a baked cake with minimal tearing or crumbling, which is essential for achieving flat, even layers. Uneven layers make stacking difficult and can lead to unstable cakes or lopsided finishes, no matter how skilled you are with frosting.
To use a serrated knife for leveling, place the cake on a flat surface. Hold the knife parallel to the surface, just above the highest point of the cake (often the dome). Use a gentle sawing motion, keeping your arm steady, and slowly rotate the cake as you slice through it. Aim for a smooth, continuous cut. You can also insert toothpicks around the cake at your desired height as a guide before slicing.
Cake Leveler: An Alternative for Precise Cake Leveling
For those seeking even greater precision or consistency, a cake leveler is an excellent alternative or addition to your cake decorating tool guide. This tool typically consists of a wire or blade stretched across a frame with adjustable height settings. It provides a fixed guide for slicing, ensuring your layers are perfectly uniform across the entire cake.
Using a cake leveler is straightforward. Adjust the wire or blade to the desired height, usually marked by measurements on the frame. Place the leveler flat against the cake and gently saw back and forth, moving the leveler through the cake until the layer is separated. This method is often faster than using a knife and can be less intimidating for beginners working towards perfectly flat surfaces for stacking.
Cake Boards and Drums: Providing a Stable Base
Cake boards and drums are fundamental tools for cake decorating, serving as the base upon which your cake sits during decoration, transport, and display. Cake boards are typically thinner (around 2-3mm) and are ideal for single-tier cakes or as internal supports between layers of larger cakes. Cake drums are much thicker (usually 12-13mm) and are essential for providing robust support for multi-tiered or heavy cakes, preventing them from bending or cracking during handling.
Choosing the right size is crucial; the board or drum should be slightly larger than the cake itself, often by 1-2 inches in diameter, to allow space for a border or simply for ease of handling. Using the correct base from the start ensures your cake is stable throughout the entire decorating process, from the first crumb coat to the final decorative touches, making tasks like frosting and moving the cake significantly easier.
Smoothing and Frosting: Creating a Flawless Canvas
Offset Spatulas: The Versatile Frosting Tool
Offset spatulas are arguably the most indispensable cake decorating tools for applying and smoothing frosting. They feature a flat metal blade angled slightly away from the handle, which keeps your knuckles from dragging in the frosting as you work. They come in various sizes, from small (4-6 inches) ideal for cupcakes and detailed work, to medium (8-10 inches) perfect for frosting the sides and tops of standard cakes, and large (12-14 inches) for covering large surfaces quickly.
These spatulas are incredibly versatile. You can use the blade to scoop frosting from a bowl, apply a crumb coat (a thin layer of frosting that traps crumbs), spread the final layer of frosting smoothly, create swoops and swirls, or even lift and place delicate decorations. The flexibility of the blade allows for subtle control, making it easier to achieve a smooth or textured finish on your cake.
Bench Scrapers: Achieving Smooth, Professional Finishes
While offset spatulas are great for applying frosting, bench scrapers (also known as bench knives or dough scrapers, though used differently here) are the secret weapon for achieving perfectly smooth, straight sides on your cakes. They are flat, rectangular tools, typically made of metal or plastic, with a straight, rigid edge. Holding the scraper perpendicular to the cake board and against the side of the frosted cake allows you to scrape away excess frosting and create a flawless, even surface with minimal effort.
To achieve a smooth finish with a bench scraper, apply a generous amount of frosting to the sides of your cake. Hold the scraper straight up and down against the side, with the bottom edge resting on the cake board. While holding the scraper steady in one place, slowly rotate the cake turntable. The scraper will remove the excess frosting, leaving behind a beautifully smooth and professional-looking finish. This technique is a game-changer for anyone aiming for bakery-quality results.
Advanced Techniques: Mastering Cake Decorating with Specialized Tools
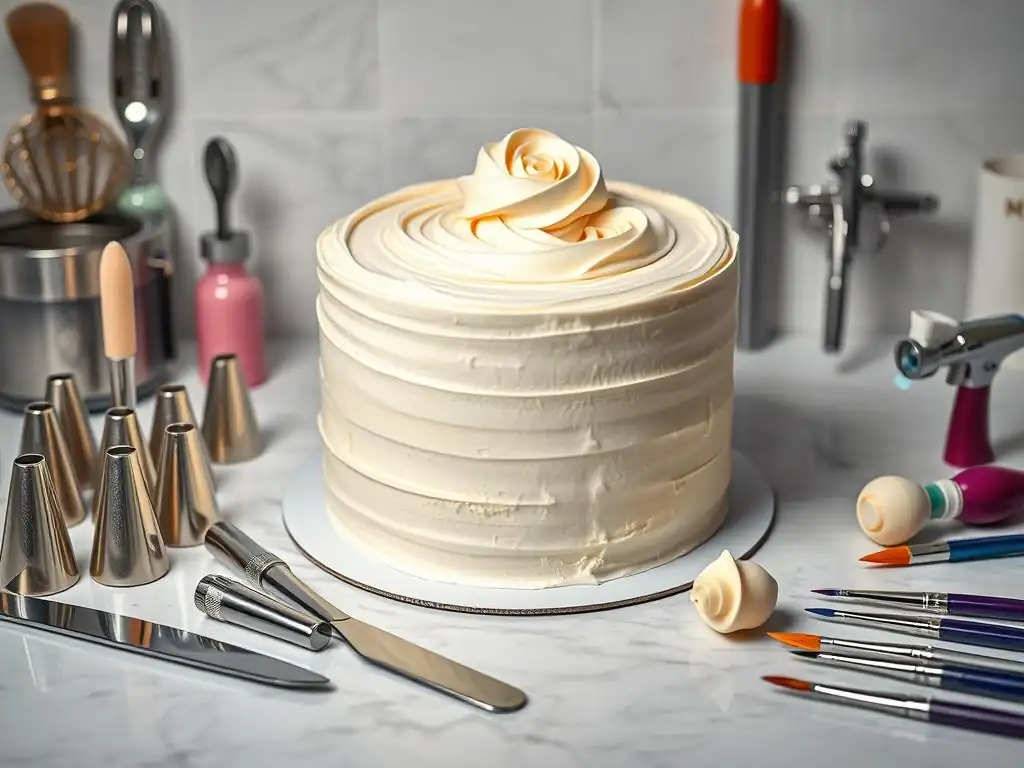
Piping Perfection: Creating Intricate Designs
Piping Bags: Choosing the Right Bag for Your Needs
Piping bags are essential cake decorating tools for creating borders, writing messages, filling cupcakes, and piping various designs using frosting, whipped cream, or ganache. They come in several types: disposable plastic bags are convenient for quick cleanup, reusable plastic or silicone bags are more eco-friendly and durable, and canvas or nylon bags are very sturdy but require thorough cleaning. Sizes range from small (8-10 inches) for fine detail work to large (16-18 inches) for covering large areas or filling many cupcakes quickly.
Choosing the right size and material depends on the volume of frosting you'll be using and your preference for cleanup versus durability. For intricate details or multiple color changes, smaller disposable bags are often preferred. For large quantities of frosting or stiff consistency frostings, larger, more robust reusable bags are ideal. Regardless of the type, ensure the bag is strong enough to withstand pressure without bursting.
Piping Tips: A Guide to Different Piping Tip Styles (Round, Star, Petal)
Piping tips, small cones inserted into the piping bag, are what give piped frosting its shape. They are fundamental tools for cake decorating and come in hundreds of shapes and sizes, each creating a unique effect. Common materials include stainless steel or plastic. Round tips are great for outlines, dots, and writing. Star tips, both open and closed, create stars, shells, and rosettes. Petal tips are used for piping ruffles, swags, and realistic-looking flowers like roses. Leaf tips make realistic leaves.
Building a collection of piping tips allows for immense creative freedom. A beginner might start with a basic set including a few round, star, and perhaps a petal tip. More advanced decorators might invest in large sets or specific tips for creating complex floral arrangements or basketweave patterns. The size of the tip opening dictates the thickness or size of the piped design, offering further control over your decoration.
Couplers: Easily Switching Piping Tips
Couplers are clever, two-part plastic cake decorating tools that allow you to change piping tips on a piping bag without changing the bag itself or emptying the frosting. This is incredibly useful when you want to use the same color of frosting but create different designs (e.g., piping a border with a star tip and then writing a message with a round tip). A coupler consists of a base piece that is fitted inside the piping bag before filling, and a ring that screws onto the outside of the bag to hold the tip in place.
To use a coupler, drop the base piece into the piping bag and push it towards the narrow end. Snip off the end of the bag just enough so the threads of the coupler base are exposed on the outside. Place the desired piping tip over the coupler base on the outside of the bag and screw the ring onto the threads to secure the tip. To change tips, unscrew the ring, swap the tip, and screw the ring back on. This saves time, reduces waste, and makes your cake decorating tool guide more efficient.
Fondant Fantasies: Sculpting and Shaping with Ease
Rolling Pin: Achieving a Smooth, Even Fondant Layer
When working with fondant, a rolling pin is one of the most essential cake decorating tools. Unlike standard kitchen rolling pins, dedicated fondant rolling pins are often smooth, non-stick, and without handles, allowing for even pressure distribution across the fondant. They come in various materials like plastic, silicone, or non-stick wood, and lengths typically range from 9 inches for small pieces to 20 inches or more for covering large cakes.
The goal when rolling fondant is to achieve a uniform thickness, usually around 1/8 inch (about 3mm), for draping over a cake or cutting shapes. An unevenly rolled piece can lead to thin spots that tear easily or thick spots that look bulky. Using a non-stick rolling pin, often dusted lightly with cornstarch or confectioners' sugar, helps prevent the fondant from sticking and ensures a smooth, unblemished surface.
Fondant Smoothers: Eliminating Imperfections
Fondant smoothers are flat, often rectangular or rounded, plastic cake decorating tools used to smooth fondant after it has been applied to a cake. They are crucial for removing fingerprints, air bubbles, and small imperfections, resulting in a professional, flawless finish. Some smoothers have a sharp edge for creating crisp corners on square cakes, while others are rounded.
To use a fondant smoother, gently rub it over the surface of the fondant with light, even pressure. For the top of the cake, use a circular motion starting from the center and moving outwards. For the sides, hold the smoother flat against the side and move it up and down or around the cake while gently pressing. To remove air bubbles, you might need to prick the bubble with a fine pin and then smooth over the area with the smoother. Using two smoothers simultaneously can help achieve sharper edges on square cakes.
Cutters and Molds: Creating Intricate Fondant Decorations
Cutters and molds are fantastic cake decorating tools for quickly and easily creating intricate shapes and designs from fondant or gum paste. Cutters work like cookie cutters, pressing through rolled fondant to create shapes like flowers, leaves, geometric patterns, or letters. Molds are pressed into or around fondant to imprint textures, patterns, or three-dimensional shapes like pearls, chains, or figurines.
The variety of cutters and molds available is vast, catering to almost any theme or design idea. Basic sets might include simple circles or stars, while more specialized sets offer detailed floral cutters with veiners or silicone molds for creating realistic sugarpaste figures. Using these tools saves significant time compared to hand-shaping and allows decorators of all skill levels to add complex and consistent elements to their cakes.
Airbrushing Artistry: Adding Depth and Dimension
Airbrush System: Understanding the Components
An airbrush system is a more advanced cake decorating tool that allows you to spray edible colors onto a cake, creating gradients, shading, and vibrant, even coverage. A basic system typically includes a compressor (which provides air pressure), a hose (connecting the compressor to the airbrush gun), and the airbrush gun itself (where the color is held and mixed with air). Single-action airbrushes control only the air flow, while double-action airbrushes allow control over both air and color flow for finer detail.
Using an airbrush system requires some practice to master the technique, but it opens up a world of artistic possibilities. It's ideal for quickly coloring large surfaces, creating subtle shading effects, or adding vibrant pops of color that are difficult to achieve with traditional brushing or piping methods. Maintenance, including thorough cleaning after each use, is crucial to keep the system functioning correctly.
Airbrush Colors: Selecting the Right Colors for Your Design
Edible airbrush colors are specially formulated liquid food colors designed for use in an airbrush system. They are typically water-based and have a thin consistency that flows easily through the airbrush gun without clogging. These colors come in a wide spectrum, from basic primary and secondary colors to metallic sheens and pearlescent finishes.
When selecting airbrush colors, ensure they are specifically labeled as edible and intended for airbrush use. Using standard gel or liquid food coloring can clog the fine nozzle of the airbrush gun. The intensity of the color can be built up with multiple light layers or diluted with specific airbrush cleaning solution or water (check manufacturer instructions) for softer shades. Having a range of colors allows for greater artistic expression and the ability to match specific color palettes for themed cakes.
Stencils: Creating Detailed Airbrush Patterns
Stencils are thin sheets, often made of plastic or acetate, with designs cut out of them. They are excellent cake decorating tools for use with airbrushing, allowing you to easily create intricate patterns, textures, or images on the surface of your cake. Stencils come in countless designs, from geometric patterns and lace motifs to letters, numbers, and specific themed images.
To use an airbrush stencil, place it flat against the chilled, frosted, or fondant-covered cake surface. Hold it firmly in place (sometimes using pins or magnets on the cake board for support) to prevent overspray underneath the edges. Lightly spray edible airbrush color over the stencil, ensuring even coverage. Carefully lift the stencil straight up and away from the cake to reveal the pattern. Stencils provide a quick and consistent way to add detailed and repeatable designs to your cake decorating tool guide repertoire.
Beyond the Basics: Specialized Cake Decorating Tools & Equipment
Turntables: Rotating Cake Stands for Easy Frosting
A cake turntable, also known as a revolving cake stand, is a seemingly simple but incredibly effective cake decorating tool. It allows you to easily rotate the cake as you work, making it much simpler to apply and smooth frosting evenly around the sides, pipe borders consistently, and add details without having to awkwardly move around the cake yourself. Turntables come in various materials like plastic, metal, or glass, and some feature non-slip bases or tilting tops for working on sculpted cakes.
While you can technically decorate a cake without one, a good turntable significantly speeds up the process and improves the quality of your finish, especially when aiming for smooth sides or continuous piped designs. A smoothly rotating turntable is a worthwhile investment for any serious cake decorator.
Cake Combs and Texture Tools: Adding Unique Patterns
Cake combs and texture tools are cake decorating tools designed to create decorative patterns and textures in frosting. Cake combs are typically flat pieces of plastic or metal with different patterns of teeth along their edges (e.g., fine lines, wide grooves, waves). After applying a layer of frosting to the side of the cake, you drag the comb through the frosting while rotating the cake on a turntable to create a consistent textured pattern.
Texture mats and rollers, often made of silicone or plastic, can be pressed or rolled onto fondant or buttercream to imprint patterns like wood grain, brick, lace, or geometric shapes. These tools offer a simple way to add visual interest and unique finishes to your cakes beyond basic smoothness, expanding the creative possibilities within your cake decorating tool guide.
Modeling Tools: Shaping Fondant and Gum Paste
Modeling tools are small, hand-held instruments specifically designed for shaping, sculpting, and adding detail to fondant, gum paste, or modeling chocolate. They come in sets with various tips, such as ball tools (for thinning edges and creating cupped shapes for flowers), bone tools (for smoothing and blending), shell tools (for creating shell borders or textures), and pointed tools (for intricate details and sculpting).
These tools are indispensable when creating sugar flowers, figurines, or detailed embellishments. They allow for fine manipulation of the pliable sugar paste, enabling decorators to add realistic textures, define features, and assemble complex edible decorations. A basic set of modeling tools is a must-have for anyone delving into the world of sculpted cake decorations.
Cake Decorating Tool Guide: Choosing the Right Tools
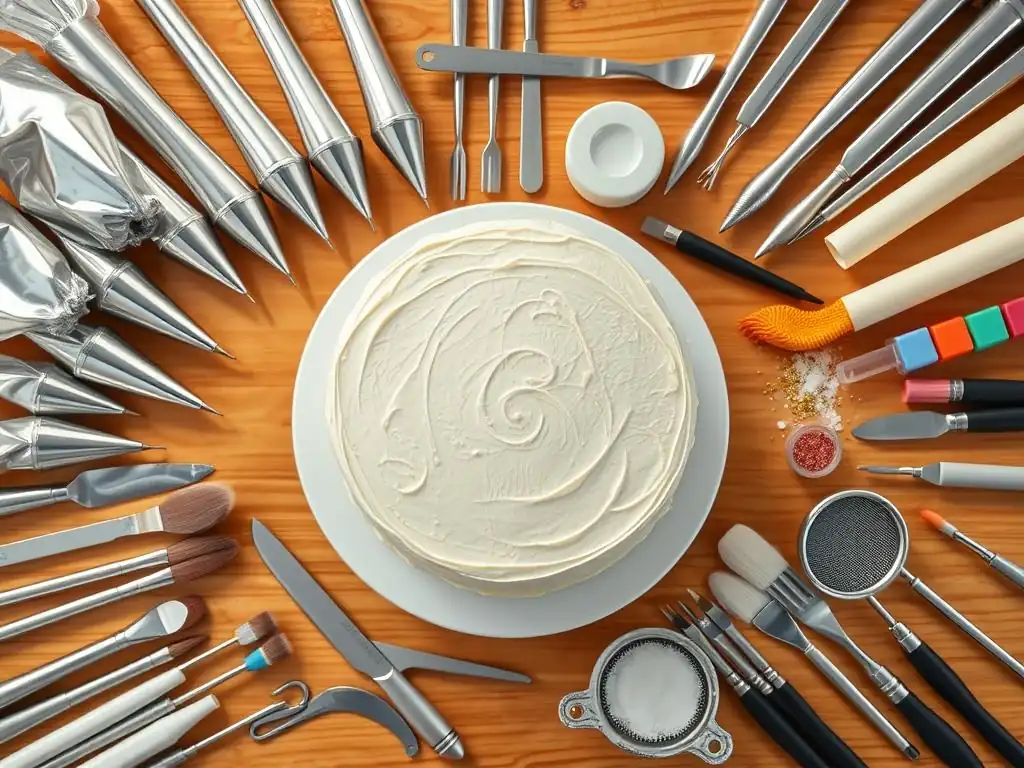
Considering Your Skill Level
When building your collection for a cake decorating tool guide, consider your current skill level. Beginners might start with basic essentials like spatulas, a bench scraper, a few piping tips, and a cake board. These tools allow you to practice fundamental techniques like frosting and simple piping. As you gain confidence and want to try more advanced methods like working with fondant or airbrushing, you can gradually add more specialized tools.
Don't feel pressured to buy everything at once. Start with versatile tools that serve multiple purposes. For example, a good offset spatula is useful for many tasks. As you tackle new types of projects, identify the specific tools that would make that technique easier or possible, and add them to your collection. This approach allows you to learn and grow without initial overwhelm or unnecessary expense.
Evaluating Your Budget
The cost of cake decorating tools can vary significantly, from inexpensive plastic items to professional-grade metal equipment. Evaluate your budget and decide how much you're willing to invest initially. Basic tools are often quite affordable, allowing you to get started without a large outlay. For example, a basic set of spatulas might cost under $20, while a quality airbrush system could be $100 or more.
It's often wise to invest in good quality for frequently used tools, as they will perform better and last longer. For less frequently used or specialized tools, a more budget-friendly option might suffice until you know you'll use it regularly. Look for sales or consider buying sets, which can sometimes offer better value than purchasing individual items. Remember, you can build your cake decorating tool guide collection over time.
Thinking About Your Project
Before purchasing tools for cake decorating, consider the specific types of cakes and decorations you plan to create. If you only want to make simple frosted cakes with basic borders, you won't need fondant tools or an airbrush. If you dream of elaborate sugar flowers, modeling tools and gum paste supplies will be necessary.
Tailoring your tool purchases to your intended projects ensures you have the right equipment for the job. For instance, if you're making a large tiered cake, you'll definitely need sturdy cake drums and likely internal support dowels. If you're focusing on intricate lettering, a set of fine-tip piping nozzles is essential. Thinking ahead about your creative goals helps you make smart, targeted additions to your cake decorating tool guide.
Maintaining Your Cake Decorating Tool Collection: Cleaning and Storage
Proper Cleaning Techniques for Different Tools
Keeping your cake decorating tools clean is crucial for hygiene and ensuring they remain in good condition. Most tools should be washed immediately after use to prevent frosting or sugar paste from hardening, making cleanup much more difficult. Warm, soapy water is sufficient for most items like spatulas, scrapers, and modeling tools. Piping bags and tips require thorough rinsing to remove all traces of frosting; using a small brush can help clean inside piping tips.
Airbrush systems require special attention. The airbrush gun must be disassembled and cleaned thoroughly after every use with appropriate cleaning solutions (often specific airbrush cleaner or distilled water) to prevent clogs. Refer to the manufacturer's instructions for specific cleaning protocols for your equipment. Proper cleaning extends the life of your tools and prevents cross-contamination of colors or flavors.
Organized Storage Solutions
Organized storage is key to easily finding the cake decorating tools you need and keeping them protected. Consider using storage containers, drawer dividers, or toolboxes specifically designed for craft or baking supplies. Piping tips can be stored in small containers or specialized tip organizers that keep them upright and sorted by size or type. Modeling tools and smaller items can go into divided cases.
Larger items like turntables or rolling pins might require shelf space or dedicated drawers. Keeping tools organized not only makes your decorating process more efficient but also helps protect delicate items like piping tips from getting bent or damaged. A well-organized cake decorating tool guide collection is a pleasure to work with.
Where to Buy Your Cake Decorating Tools: Recommendations
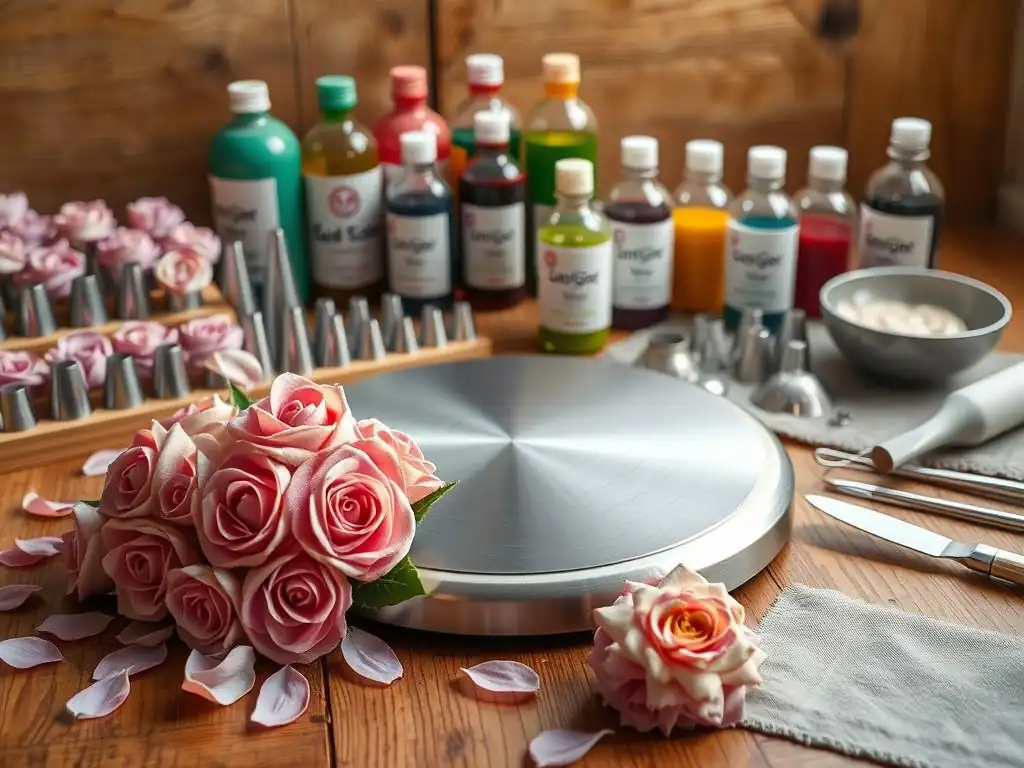
Local Baking Supply Stores
Local baking supply stores are excellent places to purchase cake decorating tools. They often carry a wide range of specialized equipment that you might not find in a general craft or department store. Shopping locally allows you to see the tools in person, feel their quality, and get advice from knowledgeable staff.
These stores can be particularly useful for purchasing individual piping tips, specific cutters, or specialized ingredients like gum paste or edible glitters. They might also offer classes or demonstrations that can help you learn how to use your new tools effectively. Supporting local businesses is also a great benefit.
Online Retailers
Online retailers offer unparalleled convenience and selection when it comes to buying tools for cake decorating. Large marketplaces and specialized baking websites provide access to thousands of products from various brands, often at competitive prices. You can easily compare options, read reviews from other decorators, and have items delivered directly to your door.
When buying online, pay attention to product descriptions, materials, and dimensions to ensure the tools meet your needs. Consider checking reviews for comments on quality and durability. Online stores are particularly good for finding specific or hard-to-find items, bulk supplies, or comparing prices across different vendors. Building your cake decorating tool guide collection is easier than ever with online options.
Mastering Cake Decoration: A Summary of Essential Tools and Techniques
Key Takeaways
Mastering cake decoration is a journey that involves both learning techniques and acquiring the right cake decorating tools. We've explored essentials from leveling knives and spatulas that create a smooth foundation, to piping bags and tips for intricate designs, and specialized items for fondant and airbrushing. Understanding how each tool functions is the first step towards transforming your cakes.
Remember that building your cake decorating tool guide collection is a process. Start with the basics, practice fundamental skills like frosting smoothing and basic piping, and gradually add more tools as your skills and project ambitions grow. Quality tools, properly cared for, will be valuable assets in your baking adventures.
Continuing Your Cake Decorating Education
This cake decorating tool guide provides a solid foundation, but there's always more to learn! Continue practicing with your tools, experiment with different techniques, and don't be afraid to try new things. Look for tutorials, online courses, or local classes that demonstrate how to use specific tools or achieve particular effects.
The world of cake decorating is constantly evolving with new tools and techniques. Stay curious, keep practicing, and enjoy the creative process of turning simple cakes into edible works of art with your expanding collection of tools for cake decorating. Happy decorating!
Frequently Asked Questions
What are the essential cake decorating tools for a beginner?
A beginner should focus on acquiring a few basic tools such as offset spatulas, piping bags, and a set of basic piping tips. These will allow you to achieve a clean frosting finish and simple decorations.
How do I choose the right piping tips for different cake designs?
Piping tips come in various shapes and sizes. Consider the desired effect; star tips are great for rosettes, while round tips are ideal for outlining and writing. Experiment to find what works best for your specific cake decorating style.
What's the difference between an offset spatula and a regular spatula for cake decorating?
An offset spatula has an angled blade, making it easier to smooth frosting on cakes without your hand getting in the way. A regular spatula is straight and less ideal for achieving a smooth finish.
How do I properly clean and store my cake decorating tools?
Wash your tools with warm, soapy water immediately after use. Ensure they are completely dry before storing them in a cool, dry place to prevent rust and damage.
What is a turntable used for in cake decorating, and is it really necessary?
A turntable allows you to rotate the cake smoothly while frosting and decorating, making it easier to achieve an even finish. While not strictly necessary, it significantly improves the ease and precision of decorating.
Final Reflection: The Sweet Art of Transformation
The pursuit of the perfect cake is a journey, not a destination, and the right tools are your compass and map. This guide has explored the essential tools that elevate cake decorating from a hobby to an art form, transforming simple baked goods into breathtaking masterpieces. From the humble piping bag to the precision of a turntable, each tool plays a vital role in unlocking your creative potential.
The impact of cake decorating extends far beyond the simple act of adorning a dessert. It's a powerful form of self-expression, a way to connect with loved ones, and a celebration of creativity. It's a skill that transcends generations, passed down through families and shared amongst friends. A cake is a celebration of life, a symbol of joy, and a testament to the power of creativity.
This sentiment resonates deeply, as I've witnessed firsthand the joy that a beautifully decorated cake can bring. The artistry involved fosters a sense of accomplishment and pride, enriching the lives of both the creator and the recipient.
Now, it's your turn to embark on this sweet journey. Don't be afraid to experiment, to embrace imperfections, and to let your creativity flow. Pick up a piping bag, spin that turntable, and discover the joy of transforming simple cakes into edible works of art. The world awaits your unique creations, so gather your tools and let your imagination run wild!
Unleash Your Inner Cake Artist!
Thanks for taking the time to explore the world of cake decorating with us! We hope you discovered some amazing tools to elevate your baking game. Ready to put your newfound knowledge into practice?
- Master a New Technique: Pick one decorating skill from the article—maybe piping roses or creating intricate borders—and try it out on your next cake. Challenge yourself!
- Share Your Creations: Show off your beautiful, freshly decorated cakes on social media! Use #BakeWithEase to connect with our community.
- Experiment with a New Tool: Head to your local baking supply store (or online!) and try out one of the tools we highlighted. What new wonders will you create?
What exciting cake design are you most eager to try? Let's see your masterpieces!