
Achieving Maximum Oven Spring: Pro Tips for Explosive Rises

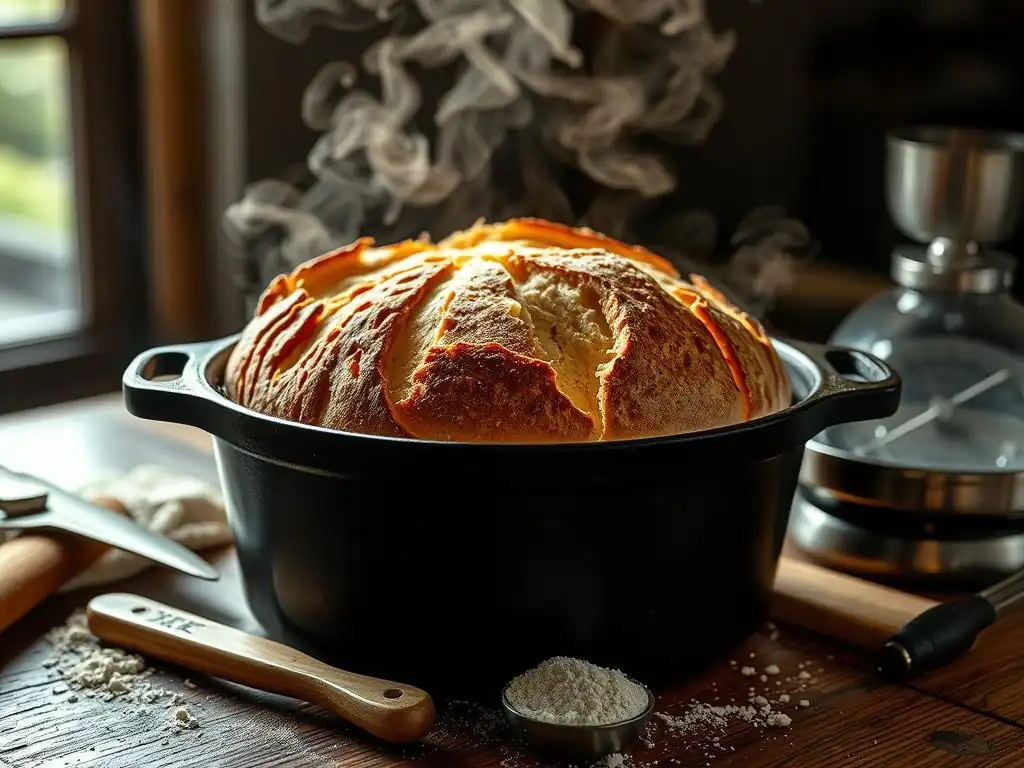
Welcome to BakeWithEase, where we unlock the secrets to baking perfection! Ever wondered how to achieve that picture-perfect, soaring rise in your bread? We're diving deep into the crucial element of oven spring in this article. Discover the pro tips and techniques you need to transform your loaves from flat to fabulous. Are you ready to unleash the full potential of your baking? Let's get started!
- Understanding Oven Spring: The Key to Sourdough Success
- Mastering the Fundamentals for Enhanced Oven Spring
- Optimizing Your Sourdough Starter for Oven Spring
- Fermentation Techniques for Maximum Volume
- Scoring Techniques for Explosive Oven Spring
- Baking Techniques for Unleashing Oven Spring
- Troubleshooting Oven Spring Problems
- Advanced Tips for Maximizing Sourdough Oven Spring
- Get the Perfect Sourdough Rise: Summary and Key Takeaways
-
Frequently Asked Questions
- How crucial is oven temperature for achieving good oven spring?
- What role does steam play in oven spring, and how can I create it at home?
- Does dough hydration affect oven spring, and if so, how?
- How does proper dough scoring contribute to oven spring?
- What's the ideal proofing time for ensuring optimal oven spring?
- Final Reflection: The Joy of the Explosive Rise
- Unleash Your Baking Potential: Achieve Perfect Oven Spring!
Understanding Oven Spring: The Key to Sourdough Success
What is Oven Spring and Why is it Important?
Oven spring refers to the rapid expansion of dough that occurs during the initial minutes of baking. It's the magical moment when a seemingly flat loaf transforms into a beautifully rounded, voluminous bread. This sudden growth is primarily driven by the expansion of gases trapped within the dough as they heat up rapidly in the hot oven environment.
A strong oven spring is a hallmark of successful fermentation and dough development, indicating that your dough has good structure and vitality. Understanding how to get oven spring is crucial for any baker aiming for that perfect, airy crumb and impressive crust.
Achieving significant oven spring isn't just about aesthetics; it directly impacts the final texture and structure of your bread. A powerful rise in the oven creates a more open crumb structure with larger, irregular holes, which is highly desired in many artisan loaves, especially sourdough. Without adequate oven spring, your bread can turn out dense, flat, and heavy.
Mastering the techniques that promote this explosive rise is a key step in elevating your baking skills and consistently producing high-quality loaves. It's the difference between a good loaf and a truly exceptional one, and learning how to get oven spring effectively unlocks this potential.
The Science Behind a Good Oven Spring: Gas Expansion, Starch Gelatinization, and Protein Coagulation
The dramatic expansion during oven spring is a complex interplay of physical and chemical processes. First, the heat from the oven causes the gases produced by fermentation (primarily carbon dioxide) to expand rapidly. Imagine a balloon inflating quickly in a hot environment – it's a similar principle. This gas expansion pushes the dough outwards and upwards. Simultaneously, any water in the dough turns to steam, further contributing to the internal pressure and expansion. This initial burst of growth is what gives your loaf its final shape and volume before the crust begins to set.
As the internal temperature of the dough rises, two critical things happen: starch gelatinization and protein coagulation. Around 140°F (60°C), the starch granules in the flour begin to absorb water and swell, eventually gelling. This process helps set the internal structure of the bread.
At slightly higher temperatures, the gluten proteins, which have formed a network during mixing and fermentation, begin to coagulate and solidify. This protein structure provides the framework that captures the expanding gases and steam, preventing the loaf from collapsing. The strength and elasticity of the gluten network, combined with sufficient gas production and rapid heat transfer, are fundamental to understanding how to get oven spring.
Mastering the Fundamentals for Enhanced Oven Spring
Flour Selection: Choosing High-Protein Bread Flour
The type of flour you use significantly impacts the potential for oven spring. High-protein bread flour, typically containing 12-14% protein, is ideal for sourdough and other yeasted breads. This higher protein content means more gluten-forming proteins are available. When hydrated and developed through kneading and folding, these proteins create a strong, elastic gluten network capable of trapping the gases produced by your starter or yeast. Using a weaker flour, like all-purpose flour with 8-10% protein, will result in a less robust structure, making it harder to achieve significant oven spring.
Selecting a high-quality bread flour from a reputable mill can make a noticeable difference. Look for flours specifically labeled "bread flour" or "strong flour." While experimenting with different flours is part of the baking journey, starting with a reliable, high-protein option provides a solid foundation for developing the structure needed for excellent oven spring. The strength of the flour directly correlates with the dough's ability to hold its shape and expand upwards during baking, which is a key factor in how to get oven spring.
Hydration Levels: Finding the Optimal Dough Consistency
Hydration refers to the ratio of water to flour in your dough, usually expressed as a percentage of the flour weight. Higher hydration doughs (e.g., 75-85%) are generally more challenging to handle but can yield a more open crumb and potentially more dramatic oven spring. This is because there is more water available to turn into steam during baking, adding to the internal pressure.
However, high hydration also requires a stronger gluten network to support the extra water and gas. If the gluten isn't sufficiently developed, a high-hydration dough can spread outwards rather than rise upwards, resulting in a flat loaf.
Finding the optimal hydration level depends on your flour's absorption capabilities and your skill level. Beginners might start with a lower hydration (e.g., 65-70%) to build confidence in handling the dough before gradually increasing the water content.
A dough that is too dry might be stiff and restrict expansion, while a dough that is too wet and weak will lack the structure to hold its shape during the crucial oven spring phase. Experimenting within a reasonable range for your chosen flour and technique is essential to discover the hydration that best helps you understand how to get oven spring with your specific setup.
The Importance of Gluten Development: Kneading, Folding, and the Windowpane Test
Gluten development is absolutely fundamental to achieving good oven spring. The gluten network, formed by the proteins gliadin and glutenin when they are hydrated and worked, provides the dough's elasticity and extensibility. This network is what traps the carbon dioxide gas produced during fermentation, allowing the dough to inflate like a balloon. Without sufficient gluten development, the gas will escape, and the dough will not hold its structure during baking, leading to poor oven spring. Techniques like kneading (either by hand or machine) and stretch-and-folds are designed to build and strengthen this gluten network.
A common way to assess gluten development is the "windowpane test." After sufficient kneading or folding, take a small piece of dough and gently stretch it between your fingers. If you can stretch it thin enough to see light through it without it tearing, like a translucent windowpane, your gluten is well-developed. If it tears easily, it needs more working. Incorporating several sets of stretch-and-folds during bulk fermentation is an excellent way to build strength in high-hydration doughs without extensive kneading. This structure is paramount for learning how to get oven spring effectively.
Optimizing Your Sourdough Starter for Oven Spring
Maintaining a Strong and Active Starter
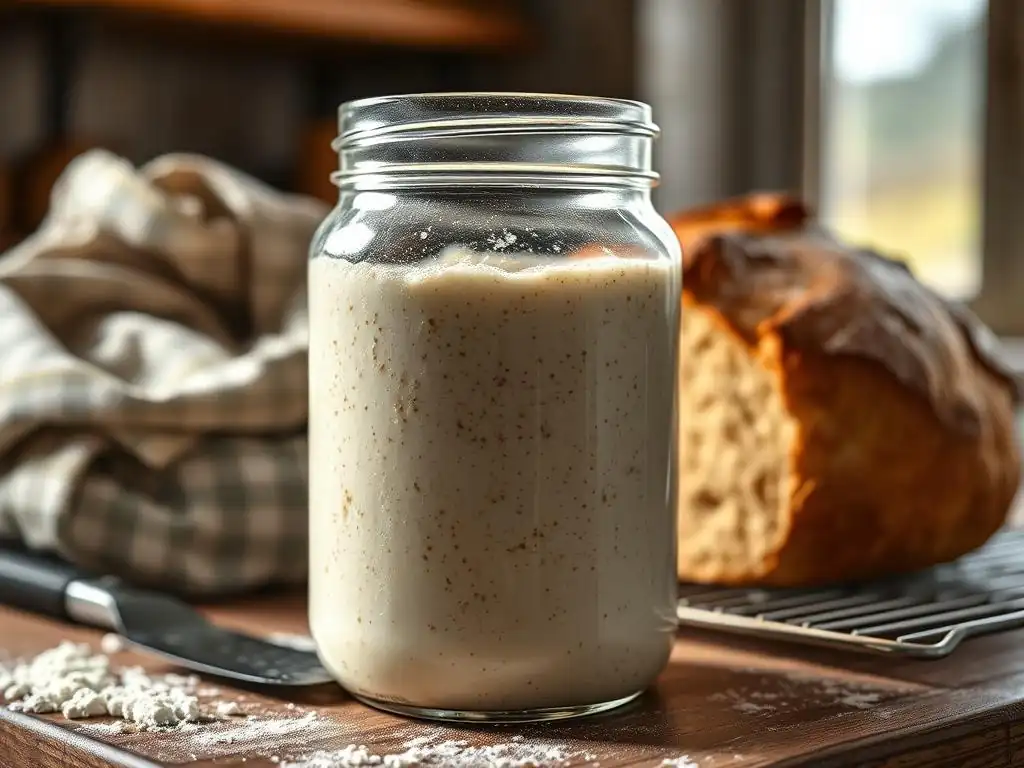
Your sourdough starter is the engine that drives fermentation and gas production, making its health and activity paramount for oven spring. A strong starter, teeming with active wild yeast and lactic acid bacteria, will reliably produce enough carbon dioxide to inflate your dough. Signs of a healthy starter include consistent doubling or tripling in volume after feeding, a bubbly texture throughout, and a pleasant, tangy aroma. An inactive or weak starter will produce insufficient gas, leading to a dense loaf with minimal oven spring.
To maintain a strong starter, regular feeding is key. The frequency depends on storage temperature: a starter kept at room temperature (around 70-75°F or 21-24°C) typically needs daily feeding, while one stored in the refrigerator can be fed less often, perhaps once a week. Using a consistent feeding ratio (e.g., 1 part starter, 1 part flour, 1 part water by weight) ensures the microbes have plenty of fresh food to thrive. A well-maintained, vigorous starter is the first critical step in mastering how to get oven spring in sourdough baking.
Feeding Schedule: Consistent Feeding for Predictable Results
A consistent feeding schedule helps maintain your starter's peak activity and makes its behavior predictable. If you plan to bake, it's best to transition your refrigerated starter to room temperature and feed it regularly (perhaps 1-2 times per day) for a few days leading up to baking day. This "wakes up" the microbes and ensures they are vigorous. Feeding at the same time each day also helps you understand your starter's rhythm – how long it takes to peak and when it starts to fall.
For baking, you typically want to use your starter when it is at or near its peak activity, usually a few hours after feeding at room temperature. This is when the yeast population is most active and capable of producing the maximum amount of gas needed for fermentation and, subsequently, oven spring. Using a starter past its peak, when it has started to fall, can result in less vigorous fermentation and reduced oven spring. Consistent feeding and careful observation are vital practices for anyone learning how to get oven spring.
Starter Maturity: Recognizing Peak Activity with the Float Test
Knowing when your starter is at its peak maturity is crucial for optimal results, especially when aiming for maximum oven spring. A starter reaches its peak when it has approximately doubled or tripled in volume, is full of bubbles, and the surface is slightly domed. This typically happens 4-8 hours after feeding at room temperature, depending on the temperature and feeding ratio. Using the starter at this point ensures you're incorporating the most active yeast and bacteria into your dough.
A simple way to check for peak activity is the "float test." Gently drop a small spoonful of your starter into a glass of water. If the starter is ready – light and full of gas – it will float on the surface.
If it sinks, it may not be active enough yet, or it might be past its peak and losing gas. While not foolproof, the float test, combined with visual cues like volume increase and bubbling, is a reliable indicator that your starter is ready to give your dough the lift it needs for impressive oven spring. This test is a practical tip for understanding how to get oven spring by using your starter at the right time.
Fermentation Techniques for Maximum Volume
Bulk Fermentation: Developing Flavor and Strength
Bulk fermentation, or the first rise, is the period after mixing your dough but before shaping. During this time, your sourdough starter works its magic, producing gases that expand the dough and developing complex flavors through the activity of lactic acid bacteria. It's also when you continue to build dough strength through sets of stretch-and-folds. Adequate bulk fermentation is critical; it allows the gluten network to develop fully and the dough to build sufficient gas reserves for oven spring.
The duration of bulk fermentation is highly dependent on temperature and the activity of your starter. It can range from 4 hours at warmer temperatures (around 78°F or 25°C) to 12 hours or more at cooler temperatures (around 70°F or 21°C). You're looking for a noticeable increase in volume (typically 30-50%), a domed surface, and a light, airy feel to the dough. Over-fermenting can lead to a weak, fragile dough that collapses rather than springs, while under-fermenting means insufficient gas production. Getting this phase right is fundamental to how to get oven spring.
Temperature Control: Maintaining Ideal Fermentation Temperatures (75-80°F)
Temperature plays a significant role in the rate of fermentation. Wild yeast and lactic acid bacteria are most active within specific temperature ranges. For sourdough, a bulk fermentation temperature between 75-80°F (24-27°C) is often considered ideal. This range promotes both yeast activity (for gas production) and bacterial activity (for flavor development) at a balanced rate. Maintaining a consistent temperature helps ensure predictable fermentation times and dough development.
Achieving this temperature can be done in various ways: proofing boxes, ovens with lights on (check temperature carefully! ), or simply finding a warm spot in your kitchen. If your kitchen is cooler, fermentation will take longer; if it's warmer, it will be faster.
Being mindful of temperature and adjusting fermentation time accordingly is crucial. A dough that ferments too quickly at very high temperatures might lack flavor depth, while one that ferments too slowly at low temperatures might not build enough gas pressure for optimal oven spring. Controlling temperature is a key variable in how to get oven spring consistently.
Proofing Your Dough: Knowing When It's Ready With the Poke Test
Proofing, or the final rise, occurs after shaping and before baking. This is a more delicate stage where the dough continues to expand, filling with gas. The goal is to allow the dough to proof just enough so that it's light and airy but still has enough structure and food reserves for the final push in the oven. Over-proofing is a common mistake that leads to poor oven spring; an over-proofed dough has used up too much of its fuel and its gluten structure is often weakened, causing it to collapse in the oven.
The "poke test" is a reliable method to check if your dough is properly proofed. Gently press your finger into the side of the dough about half an inch deep. If the indentation springs back slowly and only partially, the dough is likely ready for the oven. If it springs back immediately, it needs more proofing.
If the indentation remains completely, the dough is likely over-proofed. Getting the proofing timing right is a critical skill for achieving good oven spring; it's the final checkpoint before the bake. Mastering this step is vital for understanding how to get oven spring reliably.
Scoring Techniques for Explosive Oven Spring
Why Scoring Matters: Controlled Expansion and Aesthetic Appeal
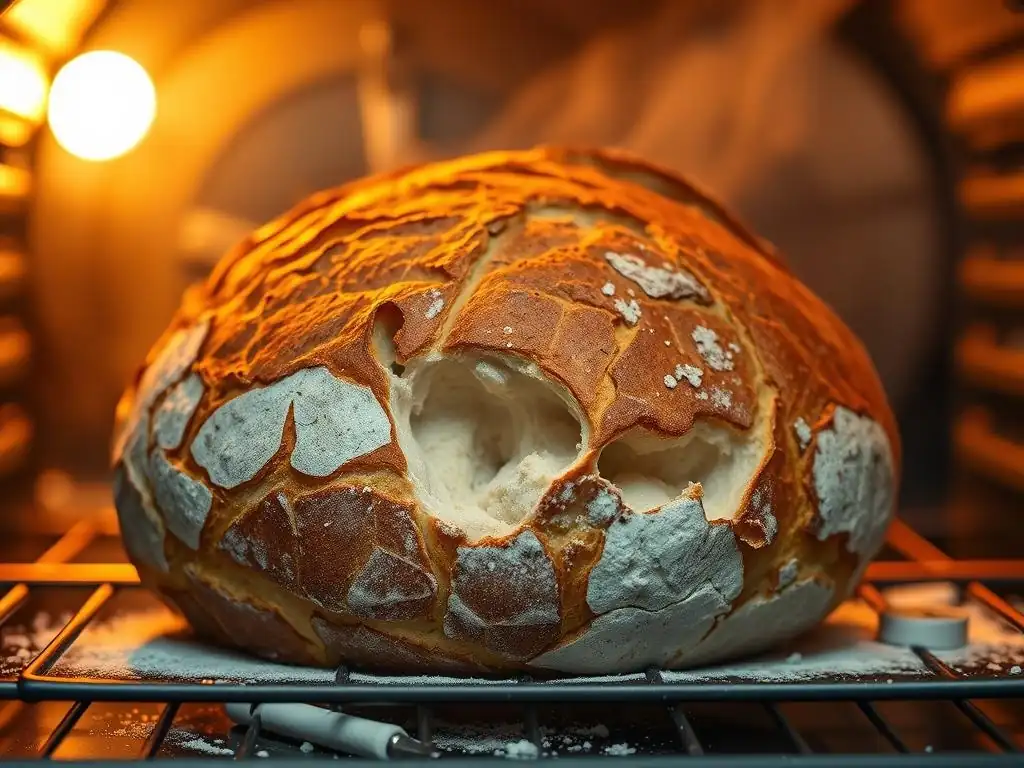
Scoring, the act of cutting the surface of the dough just before baking, serves both a functional and aesthetic purpose. Functionally, it provides controlled weak points in the dough's surface, allowing the rapidly expanding gases and steam to escape in a predictable manner. Without scoring, the crust would set quickly and tightly, and the expanding gases would burst through the weakest point, often resulting in an uncontrolled, uneven split. Scoring directs this expansion, allowing the dough to rise significantly through the cuts.
Aesthetically, scoring allows bakers to create beautiful patterns on the crust, transforming a simple loaf into a work of art. Different cuts result in different looks and can subtly influence the shape of the final loaf. The depth and angle of the score are important; a deep, confident cut made with a sharp blade is needed to ensure the dough opens up properly. Scoring is a crucial step in how to get oven spring to manifest visually in a controlled and appealing way.
Different Scoring Patterns: Straight, Curved, and Decorative Cuts
There are countless scoring patterns, from simple straight cuts to intricate designs. A basic straight cut along the length of an oval (batard) loaf or an "X" on a round (boule) loaf are common and effective for allowing expansion. These cuts encourage the dough to open up vertically. Curved cuts, often called "ears," are achieved by holding the blade at a slight angle (around 30-45 degrees) to the dough's surface. This creates a flap of crust that lifts and crisps during baking, adding texture and visual appeal.
More complex patterns involve multiple cuts, overlapping lines, or decorative shapes. While beautiful, intricate scoring requires confidence and a steady hand. Regardless of the pattern, the key is to make the cuts decisively and deep enough (typically 1/2 to 1 inch deep for primary cuts) to allow for maximum expansion. The choice of pattern depends on the desired look and how you want the loaf to open. Experimenting with different cuts is part of the fun in mastering how to get oven spring and present your bread beautifully.
The Tools You'll Need: Sharp Knives, Lames, and Razor Blades
To make clean, effective scores, you need a very sharp blade. A dull blade will drag the dough, resulting in ragged cuts that don't open properly, hindering oven spring. The most common tool for scoring is a lame (pronounced "lahm"), which is a handle designed to hold a double-edged razor blade. Lames allow you to hold the blade at a precise angle and make smooth, curved cuts for creating ears.
Alternatively, a very sharp paring knife or even a standard double-edged razor blade held carefully between your fingers can work. Some bakers prefer using kitchen shears to make small snips around the edge of a round loaf. Whatever tool you choose, ensure it is exceptionally sharp. Replacing razor blades frequently is recommended for the best results. Having the right, sharp tool is non-negotiable for executing scores that facilitate maximum oven spring.
Baking Techniques for Unleashing Oven Spring
Preheating Your Oven: Achieving the Right Temperature (450-500°F)
A screaming hot oven is essential for maximizing oven spring. Baking sourdough at high temperatures, typically between 450-500°F (230-260°C), provides the initial burst of heat needed for rapid gas expansion and steam creation. A properly preheated oven ensures that heat is transferred quickly to the dough, setting the crust quickly while the inside continues to expand. Placing dough in a cool or insufficiently preheated oven will result in a slower rise and a flatter loaf.
Allow ample time for your oven to preheat, usually 30-60 minutes after it reaches the set temperature, especially if you are using a baking stone or Dutch oven (which need time to absorb heat). Using an oven thermometer is highly recommended to verify that your oven is reaching and maintaining the desired temperature, as many home ovens are inaccurate. This initial high heat is a critical factor in learning how to get oven spring effectively.
Steam Injection: Creating a Crusty Exterior and Promoting Expansion
Steam is a baker's best friend when it comes to oven spring and crust development. In the first 15-20 minutes of baking, steam keeps the surface of the dough pliable. This prevents the crust from setting prematurely, allowing the dough to expand freely during oven spring. As the dough expands, the moist surface stretches without tearing. Once the steam is removed, the moist surface dries out and bakes into a thin, crispy crust.
Home bakers can create a steamy environment in several ways. One method is to place a tray of hot water on the bottom rack of the oven when you begin preheating. Another common technique is to use a Dutch oven, which traps the moisture released by the dough itself, creating a steamy micro-environment. Baking directly on a stone or steel requires adding steam manually, perhaps by pouring water into a hot tray or using lava rocks soaked in water. Providing adequate steam is a vital technique for how to get oven spring and develop a beautiful crust.
Baking Stone or Dutch Oven: Enhancing Crust and Trapping Steam
Using a baking stone, steel, or Dutch oven can significantly improve both crust quality and oven spring. These tools absorb and retain heat exceptionally well, providing a powerful burst of heat to the bottom of the loaf as soon as it's placed in the oven. This rapid heat transfer contributes to a strong oven spring and helps create a blistered, crispy bottom crust.
A Dutch oven is particularly effective for sourdough baking because its lid traps steam released by the dough during the initial phase of baking. This creates the perfect humid environment for maximum expansion without needing to add external steam to the oven. After the initial oven spring (typically 15-20 minutes), the lid is removed to allow the crust to brown and crisp up. Baking stones or steels require manual steam addition but also provide excellent heat transfer from below, aiding in how to get oven spring and a great bottom crust.
Troubleshooting Oven Spring Problems
Common Mistakes that Hinder Oven Spring
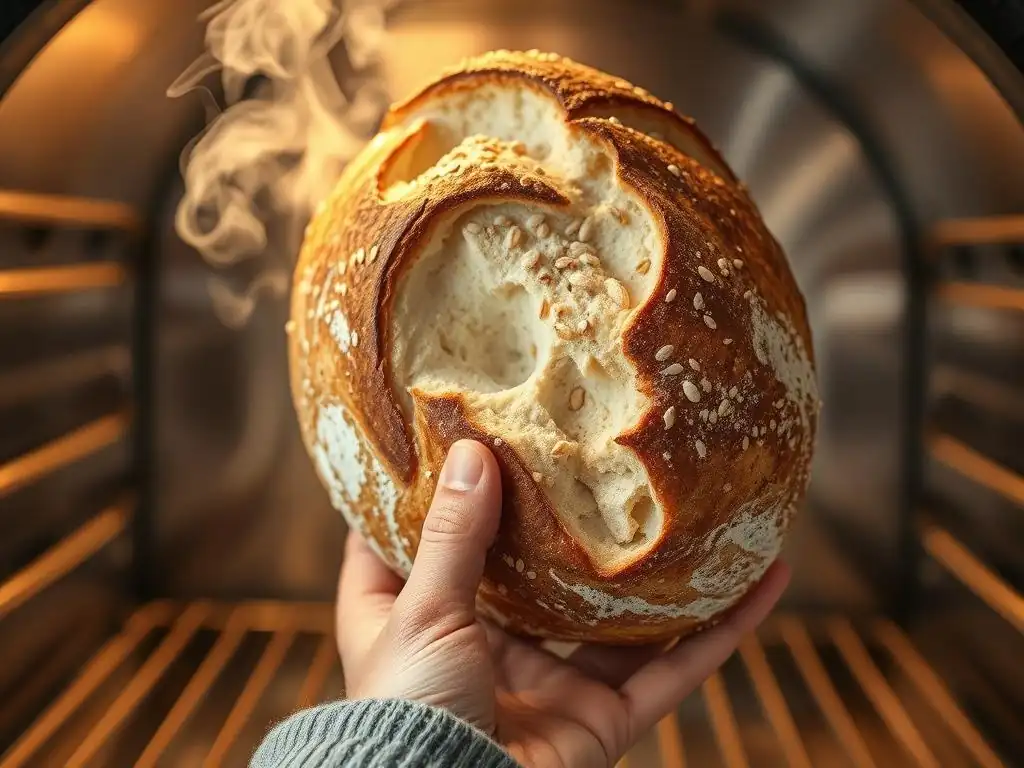
Several factors can contribute to poor oven spring. One of the most frequent issues is an inactive or weak sourdough starter that doesn't produce enough gas. Another common problem is insufficient gluten development, resulting in a dough too weak to hold the gas produced. Over-proofing is also a major culprit; a dough that has proofed too long will have exhausted its rising potential and may collapse in the oven.
Other issues include baking at too low a temperature or in an oven that hasn't been properly preheated, which slows down the initial rise. Not using enough steam, or using a dull scoring blade that prevents the dough from opening up correctly, can also restrict expansion. Identifying which of these factors might be affecting your bake is the first step in improving how to get oven spring consistently.
Addressing a Flat Loaf: Under-Proofing, Weak Starter, and Low Hydration
A flat loaf with minimal oven spring can point to several potential issues. If the crumb is dense and tight with few large holes, it might be under-proofed. The dough didn't have enough time to fill with gas before baking. If the loaf spread outwards significantly during baking, it could indicate a weak starter, insufficient gluten development (especially common with low-protein flour or low hydration), or potentially over-proofing (where the structure collapses).
Low hydration doughs can sometimes result in a tighter crumb and less dramatic oven spring compared to higher hydration doughs, even if properly handled. If you're consistently getting flat loaves, evaluate your starter's activity, ensure you're using strong flour and developing gluten adequately, check your fermentation and proofing times against temperature, and verify your oven temperature and steam setup. Systematically addressing each step is key to improving how to get oven spring.
Achieving a Consistent Rise: Precise Measurements and Controlled Environment
Consistency in baking is key to achieving reliable oven spring. Using precise measurements, preferably by weight with a digital scale, helps ensure your hydration and ingredient ratios are correct every time. Eyeballing ingredients can lead to significant variations that impact dough structure and fermentation. Maintaining a controlled environment for fermentation and proofing is also crucial. Wild fluctuations in temperature can lead to unpredictable dough development.
Consider using tools like a proofing box or finding a stable temperature spot in your home. Keep detailed notes of your bakes – ingredients, measurements, temperatures, times, and observations (how the dough felt, how it looked before baking, the result). This log can help you identify what works and what doesn't, allowing you to make informed adjustments and consistently improve how to get oven spring.
Advanced Tips for Maximizing Sourdough Oven Spring
Autolyse: Improving Hydration and Dough Extensibility
Autolyse is a simple technique that involves mixing just the flour and water for your dough and letting it rest for 20 minutes to an hour (or even longer). Salt and starter are added after the rest period. This resting phase allows the flour to fully hydrate and gives the gluten proteins a head start in forming a network without the interference of salt or the mechanical action of kneading.
The benefits of autolyse include improved dough extensibility (it stretches more easily), reduced mixing time needed for gluten development, and potentially better volume. By allowing hydration to occur thoroughly before introducing the starter, you create a more relaxed dough structure that is better prepared to expand during fermentation and oven spring. Incorporating an autolyse can be a useful technique for those looking to enhance how to get oven spring.
Cold Retardation: Enhancing Flavor and Tightening the Dough
Cold retardation involves proofing the shaped dough in the refrigerator for an extended period, typically 8 to 24 hours or even longer. The cold temperature significantly slows down fermentation, allowing complex flavors to develop. While fermentation is slow, enzymes continue to break down starches, and the gluten structure continues to strengthen and relax.
Baking a cold loaf directly from the refrigerator can also contribute to excellent oven spring. The cold, firm dough holds its shape well when scored, and the contrast between the cold dough and the hot oven creates a powerful thermal shock that encourages rapid expansion. The slower fermentation in the cold also helps preserve the dough's energy reserves for the final push in the oven. Cold retardation is a popular method for enhancing both flavor and how to get oven spring.
Dough Handling: Gentle Techniques for Preserving Gas
Throughout the bulk fermentation and shaping process, it's crucial to handle your dough gently. Excessive degassing during stretch-and-folds or rough handling during shaping can expel the precious carbon dioxide gas that you've worked hard to produce. While some degassing is unavoidable and even necessary during shaping to create surface tension, the goal is to preserve as much gas as possible within the gluten network.
Use light hands when performing stretch-and-folds, allowing the dough to stretch rather than forcing it. When shaping, work efficiently and avoid unnecessary pressing or punching down of the dough. Creating good surface tension during shaping is important for the loaf to hold its structure, but this should be done with care to avoid deflating the dough too much. Gentle handling is a nuanced skill that significantly impacts how to get oven spring.
Get the Perfect Sourdough Rise: Summary and Key Takeaways
Achieving maximum oven spring is a rewarding goal in sourdough baking, resulting in beautiful loaves with open crumbs. It's not reliant on a single factor but rather the successful execution of techniques throughout the entire process. From nurturing a strong, active starter and selecting the right flour to mastering hydration, gluten development, and precise fermentation timing, each step plays a vital role.
Key takeaways for how to get oven spring include:
- Use high-protein flour for a strong gluten structure.
- Find the optimal hydration level you can handle.
- Develop gluten through kneading and folds (aim for a good windowpane).
- Maintain a consistently active starter and use it at its peak.
- Control fermentation temperature (75-80°F is ideal) and time; use the poke test for proofing.
- Score the dough deeply with a sharp blade just before baking.
- Bake in a very hot, well-preheated oven (450-500°F).
- Create a steamy environment during the first 15-20 minutes of baking (Dutch oven or steam method).
- Consider advanced techniques like autolyse and cold retardation.
- Handle your dough gently to preserve gas.
[x] Ensure starter is active and used at peak
[x] Use high-protein bread flour
[x] Develop gluten sufficiently (windowpane test)
[x] Control bulk fermentation temperature and time
[x] Use the poke test for proofing readiness
[x] Score the dough with a sharp blade
[x] Preheat oven thoroughly to 450-500°F
[x] Use steam during the initial bake
[x] Consider using a baking stone or Dutch oven
[x] Handle dough gently
By focusing on these fundamentals and refining your technique through practice, you'll be well on your way to consistently achieving that satisfying, explosive oven spring in your sourdough loaves. Experiment, observe, and enjoy the process of mastering how to get oven spring!
Frequently Asked Questions
How crucial is oven temperature for achieving good oven spring?
Oven temperature is absolutely critical. Too low, and the dough won't rise properly; too high, and the crust will set too quickly, inhibiting oven spring. Aim for the recipe's specified temperature.
What role does steam play in oven spring, and how can I create it at home?
Steam keeps the crust moist initially, allowing the dough to expand fully. You can create steam by placing a pan of hot water in the oven or using a Dutch oven.
Does dough hydration affect oven spring, and if so, how?
Yes, higher hydration doughs generally exhibit better oven spring. The extra moisture converts to steam within the dough, aiding in expansion.
How does proper dough scoring contribute to oven spring?
Scoring allows the dough to expand controllably in the oven. Without scores, the dough will burst randomly, resulting in an uneven and unpredictable rise.
What's the ideal proofing time for ensuring optimal oven spring?
Over-proofing can lead to a deflated loaf with little oven spring. Aim for a slightly under-proofed dough; it will have more "oomph" to rise in the oven.
Final Reflection: The Joy of the Explosive Rise
The pursuit of perfect oven spring isn't just about achieving a beautiful loaf; it's about mastering the fundamental alchemy of baking. A well-sprung loaf represents the culmination of careful technique, precise measurements, and a deep understanding of yeast's transformative power. It's a testament to the patience and dedication required to coax life from simple ingredients.
The quest for that perfect rise has profoundly shaped my own baking journey, teaching me the importance of meticulous attention to detail and the humbling reality that even with the best intentions, sometimes the oven simply has other plans. Baking is a science, but it's also an art. You must be precise, but you must also be willing to adapt.
This quote, though not specifically about oven spring, perfectly encapsulates the experience. The subtle nuances of temperature, hydration, and fermentation time all play a crucial role, and mastering them requires continuous learning and a willingness to experiment.
Now, it's your turn. Consider the lessons learned here – from the importance of proper kneading to the subtle art of creating tension in the dough – and apply them to your next baking endeavor. Don't be afraid to experiment, to push your boundaries, and to embrace the occasional failure as a learning opportunity. The journey to achieving maximum oven spring is a rewarding one, filled with the delicious aroma of freshly baked bread and the immense satisfaction of creating something truly beautiful. So, preheat your oven, gather your ingredients, and let the explosive rise begin!
Unleash Your Baking Potential: Achieve Perfect Oven Spring!
Thanks for diving into the world of perfect oven spring! You've now unlocked the secrets to achieving those magnificent, explosive rises you've always dreamed of. Ready to put your newfound knowledge into action?
- Bake a test loaf today! Use your favorite recipe and focus on applying the techniques discussed—you'll be amazed by the difference.
- Share your baking triumphs (and challenges!) with us on social media! Use #BakeWithEaseOvenSpring and tag @BakeWithEase to connect with our community.
- Consider experimenting with different flours or hydration levels to see how it affects your oven spring.
What's your biggest challenge when it comes to achieving perfect oven spring, and how will you tackle it in your next bake?