
Simple Mixed Berry Galette: Rustic and Ready Fast

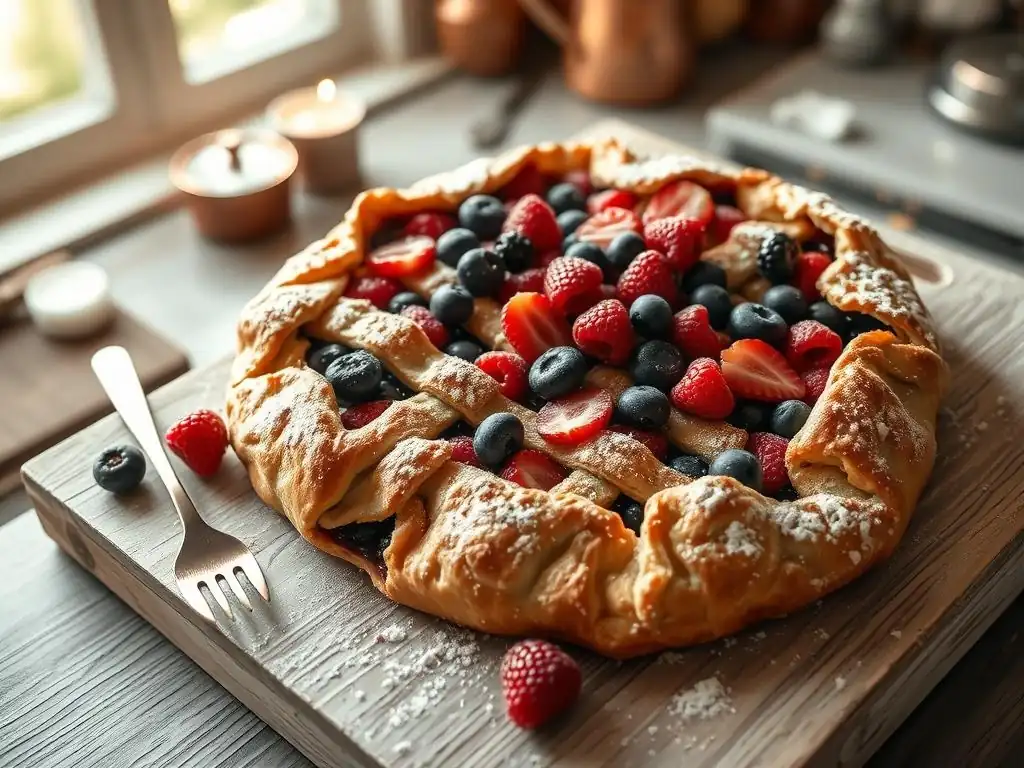
Welcome to BakeWithEase, your guide to confidently creating delicious treats! Ever dreamt of a perfectly rustic dessert that's surprisingly simple to make? Then you're in the right place. Discover our Easy Mixed Berry Galette Recipe and unlock the secrets to a stunning, free-form pastry that's bursting with flavor. Curious how such elegance can be achieved with minimal effort? Let's get baking!
- Simple Mixed Berry Galette: Rustic and Ready Fast - BakeWithEase
- Introduction to Easy Mixed Berry Galette Baking
- Mastering the Mixed Berry Galette Recipe: Ingredients and Equipment
- Step-by-Step Guide: Making Your Mixed Berry Galette
- Variations and Customizations for Your Mixed Berry Galette
- Serving and Storing Your Homemade Mixed Berry Galette
- Troubleshooting Your Mixed Berry Galette: Common Issues and Solutions
- Conclusion: Your Go-To Easy Mixed Berry Galette Recipe
- Frequently Asked Questions
- Final Reflection: The Unexpected Joy of Imperfect Baking
- Unleash Your Inner Baker: Make This Galette Today!
Simple Mixed Berry Galette: Rustic and Ready Fast - BakeWithEase
Introduction to Easy Mixed Berry Galette Baking
Why This Easy Mixed Berry Galette Recipe is Perfect for Beginners
Embarking on your baking journey doesn't have to be intimidating, especially with an easy mixed berry galette recipe. Unlike complex double-crust pies that demand precision in crimping and blind baking, a galette is wonderfully forgiving. Its rustic charm comes from its freeform shape, meaning imperfections are not just allowed but encouraged. You simply roll out a single crust, pile the filling in the center, fold the edges loosely, and bake. This simplicity significantly reduces the steps and potential pitfalls, making it an ideal starting point for anyone new to pastry.
Furthermore, the ingredients for this simple berry galette are straightforward and readily available. You won't need specialized equipment or techniques beyond basic kitchen tools. The dough comes together quickly, and the berry filling requires minimal preparation – often just a quick wash and mix with sugar and a thickener. This accessibility ensures that even on a busy weeknight, you can whip up a delightful, homemade dessert that looks impressive yet is surprisingly easy to execute.
Embrace Rustic Baking: The Charm of a Simple Galette
The beauty of a galette lies precisely in its unpretentious, rustic appearance. It’s the antithesis of perfectly symmetrical, store-bought pastries. Each simple berry galette is unique, reflecting the baker's personal touch through the way the dough is folded or how the berries are arranged. This informal style makes it incredibly approachable; there's no pressure to achieve a flawless finish, only the joy of creating something delicious from scratch. The slightly uneven edges, the bubbling, vibrant berry filling peeking through, and the golden-brown, flaky crust all contribute to its undeniable homemade appeal.
This embrace of imperfection extends to the process itself. Kneading dough by hand, rolling it out on a lightly floured surface, and arranging fresh berries feels grounding and satisfying. It connects you to traditional baking methods that prioritize flavor and texture over elaborate presentation. A mixed berry galette recipe embodies this philosophy perfectly, offering a dessert that is not only incredibly tasty but also a celebration of simple ingredients and the pleasure of baking something truly authentic and beautiful in its simplicity.
Mastering the Mixed Berry Galette Recipe: Ingredients and Equipment
Gathering Your Fresh Mixed Berry Galette Ingredients
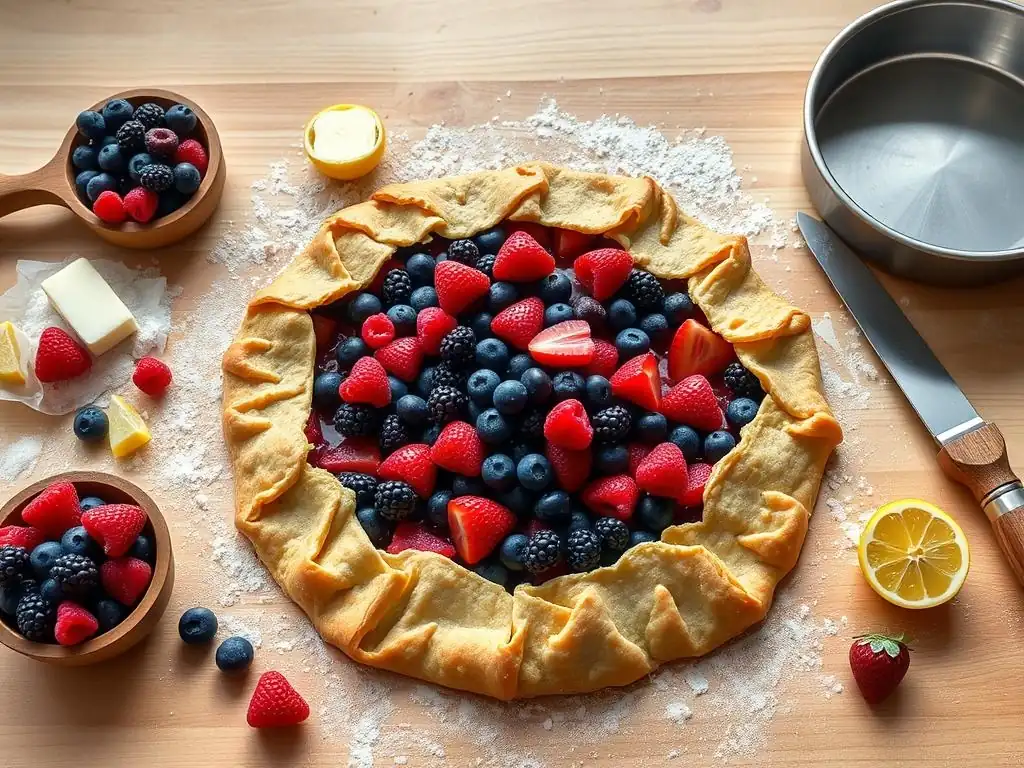
Creating a spectacular mixed berry galette starts with selecting the finest, freshest berries you can find. A typical recipe calls for about 4 to 5 cups of mixed berries, which can be a combination of strawberries (hulled and quartered if large), blueberries, raspberries, and blackberries. Using a mix provides a wonderful depth of flavor and varying textures.
For instance, the slight tartness of raspberries balances the sweetness of blueberries, while strawberries add bulk and juiciness. Ensure your berries are ripe but firm, and wash them gently just before use to prevent them from becoming waterlogged, which can lead to a soggy filling.
Beyond the star ingredient, a simple berry galette relies on pantry staples to bring everything together. You'll typically need about 1/2 to 3/4 cup of granulated sugar, adjusted based on the sweetness of your berries and personal preference. A thickener is crucial to prevent the filling from becoming too runny during baking; common options include 2-3 tablespoons of cornstarch, tapioca starch, or flour.
A pinch of salt enhances the flavors, and a squeeze of lemon juice (about 1-2 teaspoons) brightens the berry taste. For the crust, you'll need all-purpose flour (around 1.5 to 2 cups), cold unsalted butter (about 1/2 cup, cut into cubes), a tablespoon of sugar for sweetness, a pinch of salt, and ice water (typically 1/4 to 1/2 cup).
The Best Berry Combinations for Your Galette
While almost any berry mix works beautifully in an easy mixed berry galette recipe, certain combinations offer particularly delightful results. A classic mix often includes equal parts strawberries, blueberries, raspberries, and blackberries, providing a balanced sweet-tart profile. For a sweeter galette, lean more towards blueberries and strawberries. If you prefer a tarter note, increase the proportion of raspberries and blackberries. You can also incorporate other fruits like sliced peaches or rhubarb (often treated as a fruit in baking) for added complexity and texture, pairing wonderfully with the berries.
Consider the seasonality of berries for the best flavor. Summer offers peak freshness for most varieties. Frozen mixed berries can also be used, especially during off-season, but they will require a slightly higher amount of thickener (perhaps an extra tablespoon) and should be added to the sugar and starch mixture while still frozen to help control their juiciness during baking. Ensure they are well-drained if they've started to thaw to avoid excess liquid.
Essential Pantry Staples for a Flaky Crust
A truly flaky and tender galette crust relies on a few key pantry staples handled correctly. All-purpose flour is the base, providing the structure. Using about 1.5 to 2 cups is standard for a single-crust galette large enough for 6-8 servings. The type of flour can subtly affect texture; some bakers prefer pastry flour for extra tenderness, but all-purpose works perfectly for an easy mixed berry galette recipe. Sugar (about 1 tablespoon) is often added not just for sweetness but also to help with browning. Salt is essential for flavor balance, typically 1/4 to 1/2 teaspoon.
The most critical element for flakiness is cold fat, usually unsalted butter. About 1/2 cup (one stick) of cold, cubed butter cut into the flour creates pockets of fat that steam during baking, pushing the dough layers apart to form flakes. Some recipes also include a small amount of shortening (about 1/4 cup) for added tenderness and ease of handling, as it has a higher melting point than butter.
Finally, ice water (roughly 1/4 to 1/2 cup) is added just until the dough comes together. The cold temperature of the water is vital for keeping the butter solid until it hits the hot oven.
Essential Baking Tools for a Simple Galette
You don't need a professional kitchen setup to make a delicious simple berry galette. Basic tools are all that's required. A large mixing bowl is essential for combining the flour and fat for the dough, and another bowl for mixing the berry filling. A pastry blender, fork, or even your fingertips are needed to cut the cold butter into the flour until it resembles coarse crumbs with some pea-sized pieces. This step is crucial for developing a flaky crust.
Rolling out the dough requires a rolling pin and a lightly floured surface, such as a clean countertop or a pastry mat. A baking sheet lined with parchment paper is indispensable for baking the galette; the parchment prevents sticking and makes cleanup a breeze, especially if any berry juices bubble over. Measuring cups and spoons are, of course, necessary for accurately portioning ingredients.
Finally, a sharp knife or pastry wheel is useful for trimming the dough edge if desired, though the rustic nature allows for less precision here. An optional brush is helpful for applying an egg wash to the crust for a golden sheen.
Step-by-Step Guide: Making Your Mixed Berry Galette
Preparing the Galette Dough: A Quick and Easy Method
Making the dough for your easy mixed berry galette recipe is simpler than you might think. Start by combining the dry ingredients for the crust: about 1.5 cups of all-purpose flour, 1 tablespoon of sugar, and 1/2 teaspoon of salt in a large bowl. Whisk them together briefly.
Next, add 1/2 cup of very cold unsalted butter, cut into small cubes (about 1/2 inch). Using a pastry blender, fork, or your fingertips, cut the butter into the flour mixture until it resembles coarse crumbs with some larger pieces of butter still visible, roughly the size of small peas. These larger pieces are key to creating flaky layers.
Gradually add ice water, starting with about 1/4 cup, one tablespoon at a time, mixing gently with a fork or your hands until the dough just comes together. You may need up to 1/2 cup of water depending on the humidity and flour. The dough should be moist enough to hold together when squeezed but not sticky.
Be careful not to overwork the dough, as this can result in a tough crust. Gather the dough into a ball, flatten it into a disc about an inch thick, wrap it tightly in plastic wrap, and refrigerate for at least 30 minutes. Chilling is vital as it allows the gluten to relax and the fat to firm up, making the dough easier to roll and ensuring a flaky texture.
Tips for a Tender and Flaky Galette Crust
Achieving a tender and flaky crust for your mixed berry galette recipe relies on keeping the ingredients, particularly the butter and water, as cold as possible. Cold butter creates steam pockets during baking, separating the dough layers into flakes. Using ice water instead of just cold water helps maintain a low temperature throughout the mixing process. Many bakers even recommend chilling the flour and mixing bowl beforehand, especially in warm kitchens.
Another crucial tip is to handle the dough as little as possible. Overworking the dough develops gluten, which makes the crust tough. Mix just until the dough comes together, and avoid excessive kneading.
When rolling, use a lightly floured surface and roll from the center outwards, rotating the dough frequently to prevent sticking and ensure an even thickness, aiming for about 1/8 to 1/4 inch. If the dough becomes too warm or sticky during rolling, pop it back into the refrigerator for 10-15 minutes. Resting the dough after mixing is also important; the 30-minute chill time allows the gluten to relax, resulting in a more tender crust that is easier to roll without shrinking excessively.
Assembling the Berry Filling: Flavor and Texture
While the dough chills, prepare the vibrant mixed berry filling. In a medium bowl, combine about 4 to 5 cups of fresh mixed berries (strawberries, blueberries, raspberries, blackberries). Add 1/2 to 3/4 cup of granulated sugar, depending on the sweetness of your berries and your preference.
Stir in 2 to 3 tablespoons of cornstarch, tapioca starch, or flour – tapioca starch is often preferred for berries as it creates a clear, glossy filling without making it cloudy. Add a pinch of salt and 1-2 teaspoons of lemon juice. Gently toss everything together until the berries are evenly coated with the sugar and starch mixture.
Allow the mixture to sit for about 10-15 minutes while you roll out the dough. This resting period allows the sugar to start drawing juice out of the berries, which then combines with the starch, preparing it to thicken properly during baking. This step helps prevent a watery filling. If using frozen berries, add an extra tablespoon of thickener and mix them in while still frozen or partially frozen; do not thaw them completely before mixing, as this will release too much liquid too soon.
Sweetening Your Mixed Berry Galette Perfectly
The ideal sweetness for your easy mixed berry galette recipe is a matter of personal taste and the natural sweetness of your berries. A starting point of 1/2 cup of sugar for 4-5 cups of mixed berries is often suitable, providing a pleasant balance between the tartness of some berries and the sweetness of others. If your berries are particularly ripe and sweet, you might use slightly less sugar, maybe 1/3 cup. Conversely, if they are quite tart, up to 3/4 cup might be needed.
Taste a small sample of your berry mix (without the thickener) to gauge its sweetness before adding the sugar. Remember that baking can sometimes concentrate flavors, including sweetness. Using a combination of berries also helps manage sweetness naturally. Strawberries and blueberries tend to be sweeter, while raspberries and blackberries can be tarter. Balancing these flavors is key to a delicious filling. Some recipes also suggest adding a tablespoon or two of brown sugar for a hint of molasses flavor that complements berries well.
Shaping and Baking Your Rustic Mixed Berry Galette
Once your dough has chilled and the berry filling is ready, it's time to assemble and bake your mixed berry galette. Remove the dough disc from the refrigerator and place it on a lightly floured surface. Roll the dough into a rough circle, about 12 to 14 inches in diameter and 1/8 to 1/4 inch thick. Don't worry if the shape isn't perfectly round; the rustic look is part of the charm. Carefully transfer the rolled dough to a baking sheet lined with parchment paper.
Pour the mixed berry filling into the center of the dough, leaving a border of about 2 to 3 inches clear around the edge. Spread the berries out relatively evenly, but don't pile them too high. Then, gently fold the dough border up and over the edge of the filling, pleating it as you go.
The pleats don't need to be uniform; just ensure the dough is folded enough to contain the filling while leaving the center exposed. Brush the folded crust with an egg wash (one egg whisked with a tablespoon of water or milk) and sprinkle with coarse sugar for a beautiful golden finish and a touch of crunch.
Achieving a Golden-Brown Crust
A visually appealing and delicious galette has a crust that is beautifully golden brown and slightly crisp. This is achieved through proper baking temperature and technique. Before baking, brushing the exposed dough with an egg wash is highly recommended. This mixture of beaten egg and a splash of liquid (water, milk, or cream) promotes browning and gives the crust a lovely sheen. Sprinkling coarse sugar, like turbinado or demerara sugar, over the egg wash adds sparkle and a pleasant textural contrast.
Ensure your oven is fully preheated to the correct temperature (typically 375°F to 400°F, depending on the recipe and your oven). Baking the galette on a preheated baking sheet, sometimes even placed on a preheated pizza stone or baking steel, can help ensure a crisp bottom crust by providing immediate high heat. Keep an eye on the galette as it bakes; if the edges start browning too quickly before the center is done, you can loosely cover them with strips of aluminum foil.
Baking Time and Temperature for a Perfect Mixed Berry Galette
The standard baking temperature for an easy mixed berry galette recipe is usually between 375°F (190°C) and 400°F (200°C). Baking at 400°F often helps ensure the bottom crust gets sufficiently crispy before the top over-browns or the filling bubbles excessively. The baking time typically ranges from 35 to 50 minutes. You'll know your galette is ready when the crust is deeply golden brown, and the berry filling is bubbly and thickened, visible through the exposed center.
For example, baking at 375°F might take closer to 45-50 minutes, while 400°F could be around 35-40 minutes. The exact time will vary based on your oven's calibration and the moisture content of your berries. It's important to bake until the filling is actively bubbling not just around the edges but also in the center, as this indicates the thickener has properly activated. If the crust looks done but the filling isn't bubbling, you might need to give it a few more minutes.
Variations and Customizations for Your Mixed Berry Galette
Exploring Different Berry Combinations
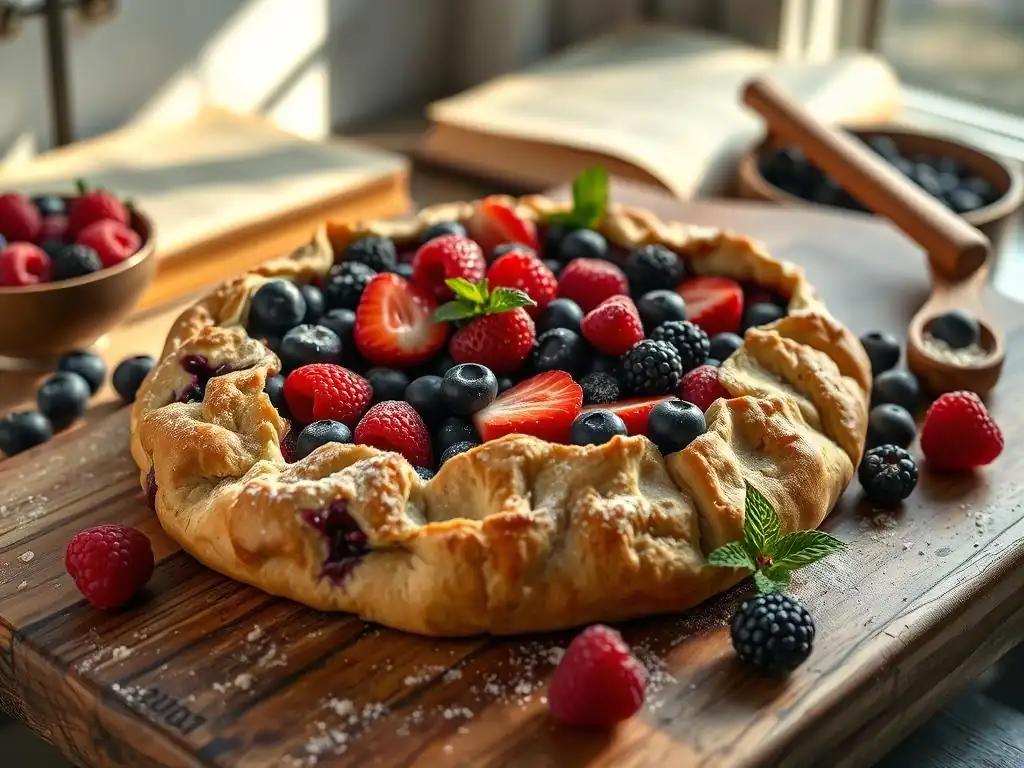
While the classic mix is delightful, feel free to experiment with different proportions or types of berries in your easy mixed berry galette recipe. Love blueberries? Make a predominantly blueberry galette with just a handful of raspberries for tartness. Prefer the sweetness of strawberries? Use more strawberries and balance them with some tart blackberries. You can also incorporate less common berries like huckleberries or marionberries if they are available. The key is to maintain the total volume of fruit called for in the recipe (around 4-5 cups) to ensure the filling is substantial enough.
Beyond just berries, consider adding other fruits that pair well. Thinly sliced peaches or nectarines are fantastic additions, especially in late summer, adding a different texture and aroma. Rhubarb is another excellent partner for strawberries, offering a tart counterpoint. Just be aware that adding other fruits might slightly alter the required amount of thickener or sugar, so adjust accordingly based on the fruit's juiciness and sweetness.
Adding Spices: Cinnamon, Nutmeg, or Ginger
Elevating the flavor profile of your mixed berry galette is easy with the addition of warming spices. While berries are often enjoyed with just sugar and lemon, a pinch of spice can add depth and complexity. About 1/4 to 1/2 teaspoon of ground cinnamon is a classic choice that complements most berries beautifully, adding a comforting warmth. Ground nutmeg, used sparingly (a pinch or up to 1/4 teaspoon), can also enhance the berry flavors.
For a bit of a kick, consider adding a small amount of ground ginger (1/8 to 1/4 teaspoon) or even finely grated fresh ginger (about 1/2 teaspoon). Ginger pairs particularly well with blueberries and raspberries. These spices should be mixed directly into the berry filling along with the sugar and starch. Start with a small amount and add more to your preference, as spices can quickly overpower the delicate flavor of the berries.
Nutty Additions: Walnuts or Pecans
For added texture and flavor, consider incorporating nuts into your mixed berry galette. Chopped walnuts or pecans are excellent choices, providing a pleasant crunch that contrasts with the soft berries and flaky crust. You can add about 1/4 to 1/2 cup of chopped nuts directly into the berry filling mixture. They will absorb some of the berry juices and become slightly tender while baking, adding a nutty depth.
Alternatively, you can sprinkle the chopped nuts over the berry filling before folding up the crust, or even mix them into the galette dough itself for a nutty crust. If adding them to the dough, substitute about 1/4 cup of the flour with finely ground nuts. Toasting the nuts lightly before adding them to the filling or dough can enhance their flavor significantly. This small addition can transform your simple berry galette into a more complex and satisfying dessert.
Serving and Storing Your Homemade Mixed Berry Galette
Best Ways to Enjoy Your Freshly Baked Galette
Your homemade mixed berry galette is best enjoyed warm, slightly cooled from the oven. The warmth enhances the aroma of the berries and spices, and the crust is at its flakiest. Allow the galette to cool on the baking sheet for at least 15-20 minutes after removing it from the oven before attempting to slice it. This cooling period allows the filling to set slightly, preventing it from running everywhere when you cut into it.
Serving warm slices is the classic approach. The rustic shape makes it easy to cut into wedges or simply spoon portions directly from the baking sheet. The vibrant, bubbling berry filling and the golden-brown crust are incredibly appealing. A simple berry galette is wonderful on its own, but it also pairs beautifully with various accompaniments that add richness and temperature contrast.
Serving Suggestions: Ice Cream, Whipped Cream, or a Drizzle of Caramel Sauce
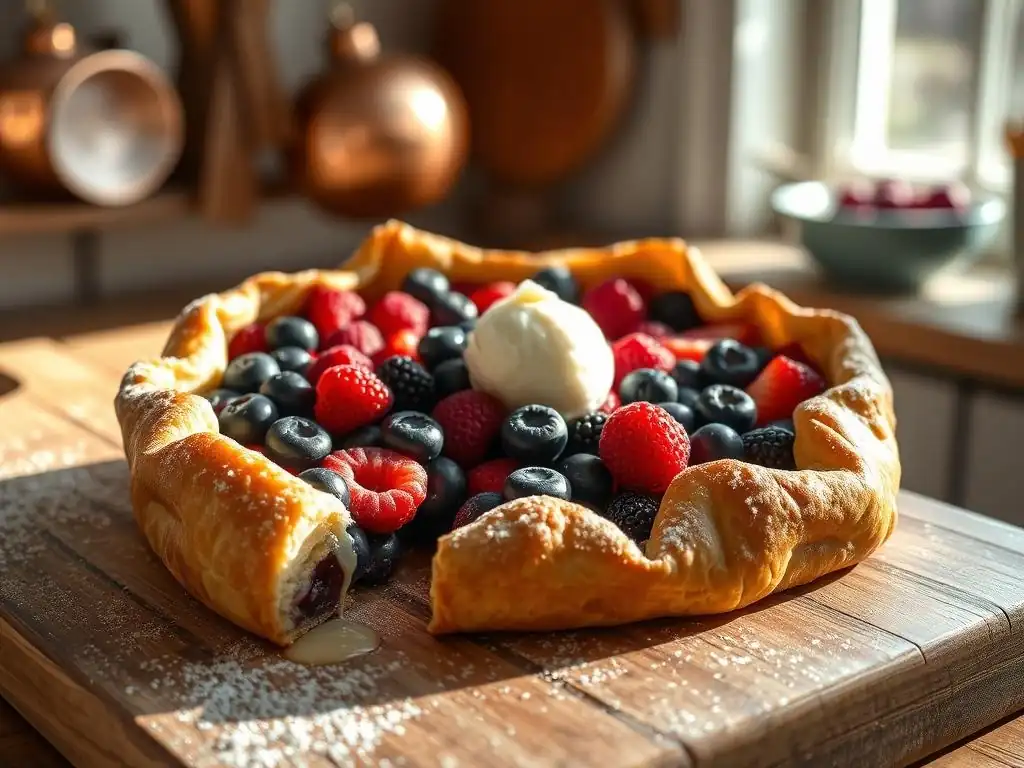
To elevate your easy mixed berry galette recipe experience, consider serving it with complementary toppings. A scoop of vanilla ice cream melting over a warm slice is a classic pairing; the cold, creamy ice cream provides a delightful contrast to the warm, sweet-tart berries. Alternatively, a dollop of freshly whipped cream adds lightness and richness without the chill of ice cream. You can sweeten the whipped cream lightly and perhaps add a touch of vanilla extract or almond extract.
For an extra touch of indulgence, a drizzle of caramel sauce or a berry coulis (a simple berry sauce made by simmering berries with a little sugar and water, then straining) can be added. These toppings not only enhance the flavor but also add visual appeal. Experiment with different combinations to find your favorite way to enjoy this rustic dessert.
Proper Storage for Optimal Freshness
While a mixed berry galette is best eaten the day it's baked, you can store leftovers to enjoy later. Once the galette has cooled completely to room temperature, cover it loosely with plastic wrap or aluminum foil, or transfer it to an airtight container. It can be stored at room temperature for up to 1-2 days. However, due to the high moisture content of the berry filling, refrigeration is generally recommended, especially in warm environments.
Store the galette in the refrigerator for up to 3-4 days. The crust may lose some of its crispness when refrigerated. To reheat, place slices on a baking sheet and warm in a preheated oven at 300°F (150°C) for 10-15 minutes, or until heated through and the crust crisps up slightly. Avoid microwaving, as this will make the crust soggy. For longer storage, you can freeze the baked galette (cooled completely) wrapped tightly in plastic wrap and then foil for up to 2-3 months. Thaw overnight in the refrigerator and reheat as described above.
Troubleshooting Your Mixed Berry Galette: Common Issues and Solutions
Soggy Bottom Crust Prevention
One of the most common challenges when baking fruit pastries, especially those with juicy fillings like berries, is preventing a soggy bottom crust. For an easy mixed berry galette recipe, several strategies can help. First, ensure your berries are as dry as possible after washing; gently pat them with paper towels. Second, don't skip the thickener (cornstarch, tapioca, or flour) and ensure you use the correct amount (typically 2-3 tablespoons for 4-5 cups of berries). Letting the berry mixture sit for 10-15 minutes before assembling allows some juice to release and interact with the starch, aiding thickening.
Another effective technique is to sprinkle a thin layer of dry ingredients, like breadcrumbs, crushed cookies (like graham crackers or amaretti), or even finely ground nuts, on the bottom of the rolled-out dough before adding the berry filling. About 1-2 tablespoons should be sufficient. These dry particles act as a barrier, absorbing excess moisture from the berries during baking. Finally, ensure your oven is properly preheated and consider baking the galette on a hot surface, like a preheated baking stone or steel, or at a slightly higher temperature (like 400°F) to ensure the bottom crust cooks quickly.
Berry Filling That's Too Runny: Quick Fixes
If your mixed berry galette filling is excessively runny after baking, it's usually due to insufficient thickener or berries that were particularly juicy. While it's hard to fix a fully baked galette, you can prevent this in the future. Ensure you're using the specified amount of thickener (2-3 tablespoons per 4-5 cups of berries). If using frozen berries or particularly ripe, juicy fresh berries, consider increasing the thickener by an extra tablespoon.
Allowing the berry mixture to sit with the sugar and thickener for 10-15 minutes before filling the galette helps the starch start to absorb moisture. You can also try simmering the berry mixture briefly on the stovetop (just until it starts to thicken) before adding it to the crust, especially if using very juicy or frozen berries.
Remember to let it cool slightly before assembling. If you end up with a slightly runny galette, serving it slightly warmer can make the runniness less noticeable, and accompaniments like ice cream or whipped cream can help manage the excess liquid on the plate.
Achieving the Perfect Galette Shape
The beauty of an easy mixed berry galette recipe is that there is no "perfect" shape – its rustic, freeform nature is its defining characteristic. However, if you're aiming for a relatively neat circle with well-defined pleats, practice makes perfect. Start by rolling your dough into a roughly circular shape, aiming for about 12-14 inches in diameter. Don't stress about achieving a perfect circle; an oval or even a slightly irregular shape is completely fine and still results in a delicious galette.
When folding the edges, work your way around the circle, gently lifting the dough and folding it up and over the edge of the filling, creating pleats as you go. Overlap the pleats slightly to ensure the filling is contained. The border should be about 2-3 inches wide.
If the dough cracks as you fold it, simply pinch it back together – the rustic style hides minor imperfections well. If the dough is too stiff or cracks excessively, it might be too cold or not hydrated enough; next time, ensure it's chilled for the recommended time but not overly long, and add water gradually until it just comes together.
Conclusion: Your Go-To Easy Mixed Berry Galette Recipe
Baking with Ease: Enjoying the Simple Pleasures of Homemade Galettes
Mastering this easy mixed berry galette recipe opens the door to a world of simple, rewarding baking. It proves that you don't need intricate techniques or fancy equipment to create a truly delightful dessert. The process itself, from mixing the forgiving dough to arranging the vibrant berries and folding the rustic crust, is inherently satisfying. It's a bake that encourages creativity and embraces imperfection, making it accessible and enjoyable for bakers of all skill levels.
This simple berry galette is more than just a dessert; it's a celebration of fresh, seasonal fruit and the pleasure of homemade goodness. Whether served warm with a scoop of ice cream or enjoyed plain with a cup of coffee, it offers a comforting taste of home. By following these steps and tips, you've learned how to create a flaky crust, a perfectly sweetened berry filling, and a beautifully rustic pastry that's sure to impress.
We love seeing what you bake! This easy mixed berry galette recipe is meant to be shared, both the making process and the delicious final result. Don't hesitate to put your own spin on it – try different berry combinations, add your favorite spices, or get creative with the toppings. The beauty of the galette is its versatility.
Share photos of your simple berry galette on social media! Tag BakeWithEase.com and use hashtags like #EasyGalette #MixedBerryGalette #RusticBaking #BakeWithEase. Tell us about your experience – what berries did you use? Did you add any special ingredients? Your creations inspire others in our community to get baking. Happy galette making!
Frequently Asked Questions
What makes this mixed berry galette recipe "easy"?
This recipe emphasizes simple ingredients and a straightforward rustic assembly. The focus is on minimal fuss and a quick baking time.
Can I substitute other fruits for the mixed berries?
Yes, absolutely! Feel free to use any combination of fresh or frozen fruits that you enjoy. Consider apples, peaches, or even plums.
What is the best way to prevent the galette crust from becoming soggy?
Blind baking the crust for a short period is a great strategy. Also, brushing the crust with egg wash and ensuring the fruit isn't too wet will help prevent a soggy bottom.
How long will the mixed berry galette stay fresh?
The galette is best enjoyed on the day it's baked. However, it can be stored in the refrigerator for up to 2 days. Reheat gently to restore crispness.
What kind of flour is recommended for the galette crust?
All-purpose flour works perfectly well for this recipe. For a slightly more rustic flavor, you can use a whole wheat blend.
Final Reflection: The Unexpected Joy of Imperfect Baking
The simple mixed berry galette, a testament to rustic charm and effortless elegance, proves that sometimes the most satisfying creations come from embracing imperfection. In a world obsessed with perfectly polished aesthetics, this recipe offers a refreshing counterpoint, reminding us that beauty can be found in the slightly uneven edges and the spontaneous burst of juicy berries. It's a recipe that celebrates the process as much as the product, a welcome respite from the pressure of achieving culinary perfection.
The galette's enduring appeal lies not just in its ease of preparation, but in its ability to connect us to a simpler, more intuitive way of baking. It's a recipe that invites experimentation, allowing for variations in fruit, crust thickness, and even presentation. This freedom to personalize the recipe fosters a sense of ownership and accomplishment, reminding us that cooking should be a joyful expression of creativity, not a rigid adherence to rules. The best things in life are the simple things.
This sentiment perfectly encapsulates the essence of the mixed berry galette – a simple pleasure that brings immense satisfaction.
So, I encourage you, dear reader, to embrace the rustic charm of the galette. Don't be afraid to let your creativity flow, to experiment with different berries, and to enjoy the process of creating something delicious and beautiful, even if it's not perfectly symmetrical. The next time you crave a sweet treat, remember the simple joy of the mixed berry galette – a recipe that proves that sometimes, the most rewarding experiences are the ones that are effortlessly delicious and beautifully imperfect.
Unleash Your Inner Baker: Make This Galette Today!
Thanks for taking the time to explore this simple yet elegant mixed berry galette recipe! We hope you felt inspired by its rustic charm and ease of preparation. Ready to bring that deliciousness to life?
- Bake your own berry masterpiece! Gather your ingredients and follow the recipe – it's easier than you think!
- Share your creation: Tag us on social media with your baking journey using #BakeWithEaseGalette – we'd love to see your beautiful results!
- Explore other quick & easy recipes on our website for more baking inspiration. Find your next favorite treat!
What's your favorite summer berry to use in a galette, and why? Let us know in the comments!