
Easy Steps to a Beautiful Fruit Tart Finish

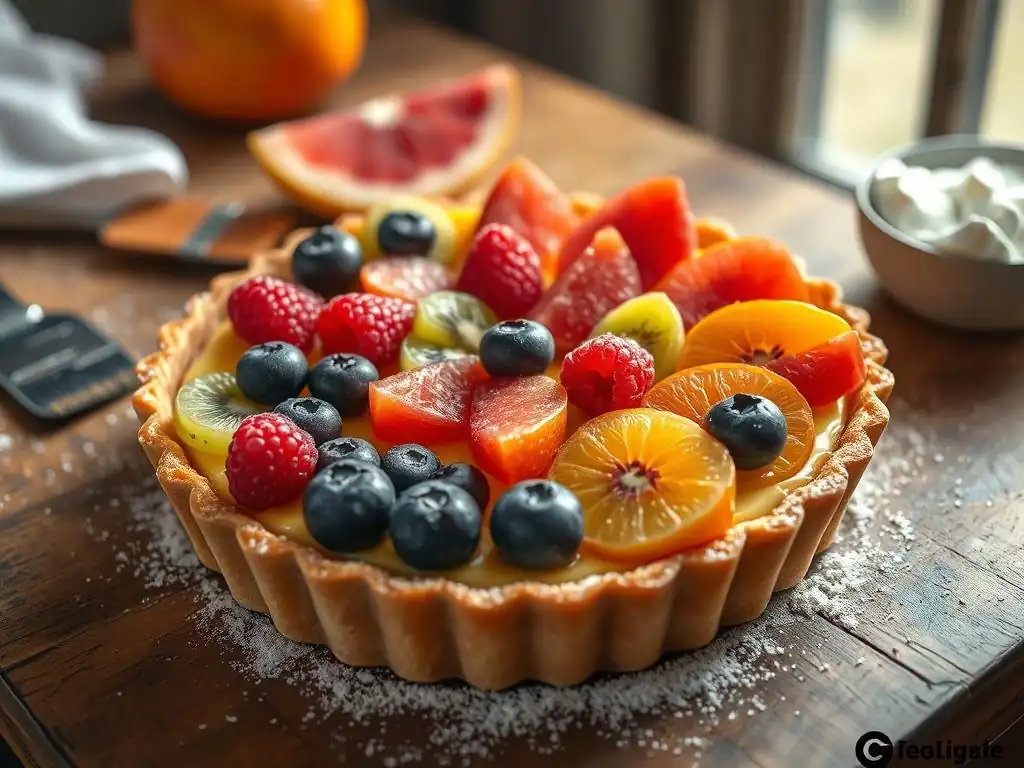
Welcome to BakeWithEase, where your baking dreams take flight! Ever wondered how to elevate a simple dessert into a showstopping masterpiece? This week, we're diving into the secrets of perfecting fruit tart decoration. Unlock the techniques to create stunning designs that will impress your friends and family, and discover how easy it is to transform your fruit tart into a work of art. Let's get baking!
- Mastering Fruit Tart Decoration
- Introduction: Elevating Your Fruit Tart Presentation
- Preparing the Tart Shell: The Foundation for Decoration
- Fruit Selection and Preparation: Maximizing Flavor and Visual Appeal
- Creating a Flavorful Glaze: Enhancing Shine and Preservation
- Mastering Decoration Techniques: From Basic to Advanced
- Step-by-Step Decoration Guide: A Detailed Process
- Tips and Tricks for Impressive Fruit Tart Presentations
- Troubleshooting Common Decoration Challenges
- Conclusion: Impress with a Beautifully Decorated Fruit Tart
- Frequently Asked Questions
- Final Reflection: The Enduring Allure of the Perfect Fruit Tart
- Unlock Your Inner Pastry Chef!
Mastering Fruit Tart Decoration
Introduction: Elevating Your Fruit Tart Presentation
Perfecting fruit tart decoration is the key to transforming a simple dessert into a stunning centerpiece. While the filling and crust are crucial for flavor, the visual appeal of a beautifully arranged fruit tart is what truly captures attention and delights the senses before the first bite. It's an opportunity to showcase your creativity and attention to detail, making each tart a unique work of edible art.
Learning the techniques for decorating a fruit tart opens up a world of possibilities. From selecting the freshest, most vibrant fruits to applying a brilliant glaze that makes them sparkle, each step contributes to the final masterpiece. Whether you're aiming for a classic concentric circle design or a more intricate mosaic pattern, understanding the principles behind effective fruit arrangement and finishing touches is essential for achieving that wow factor.
Preparing the Tart Shell: The Foundation for Decoration
A flawless tart shell is the unsung hero of any fruit tart. It provides the sturdy base that supports the creamy filling and the colorful fruit arrangement. Without a properly prepared shell, even the most exquisite fruit decoration can fall short. Taking the time to get this foundational step right ensures that your beautiful fruit tart finish remains intact and presentable from oven to table.
Selecting the Ideal Tart Dough
Choosing the right dough is the first step towards a perfect shell. A classic pâte sucrée (sweet shortcrust pastry) is often preferred for fruit tarts due to its slightly sweet flavor and crisp, tender texture that complements the creamy filling and fresh fruit. Alternatively, pâte sablée (sandy dough) offers a richer, more crumbly texture, while a simple pâte brisée (shortcrust pastry) provides a more neutral base. The choice often depends on the desired sweetness and texture profile of the finished tart.
When preparing the dough, chilling is critical. After mixing, the dough should be refrigerated for at least 30 minutes, and ideally an hour or more, before rolling. This resting period allows the gluten to relax, making the dough easier to roll out and preventing shrinkage during baking. Aim for a dough thickness of about 3-4 mm (approx. 1/8 inch) for an even bake and sturdy structure.
Achieving a Perfectly Baked Tart Shell
Blind baking is a fundamental technique for fruit tart shells, ensuring the crust is fully cooked and crisp before the moist filling is added. This involves lining the raw dough in the tart pan, covering it with parchment paper, and filling it with pie weights, dried beans, or rice. Bake at a moderate temperature, typically around 190°C (375°F), for about 15-20 minutes until the edges are set.
After the initial blind bake, remove the weights and parchment and continue baking for another 10-15 minutes, or until the bottom is golden brown and feels dry to the touch. This second stage ensures the base is fully cooked and won't become soggy when the filling is added. A well-baked shell is crucial for the integrity of your fruit tart, providing a stable canvas for perfecting fruit tart decoration.
Ensuring a Smooth and Stable Surface
Once the tart shell is baked and cooled, preparing its surface is important before adding the filling. For tarts with a creamy filling like crème pâtissière, a common practice is to brush the warm shell with a thin layer of egg white or melted chocolate. This creates a seal that prevents the moisture from the filling from seeping into the crust and making it soggy.
Allow the sealant layer to set completely before adding the filling. This extra step, though simple, significantly contributes to the tart's structural integrity and helps maintain that desirable crisp crust beneath the creamy layer and vibrant fruit. A smooth, stable surface is the ideal starting point for applying your filling and beginning the process of perfecting fruit tart decoration.
Fruit Selection and Preparation: Maximizing Flavor and Visual Appeal
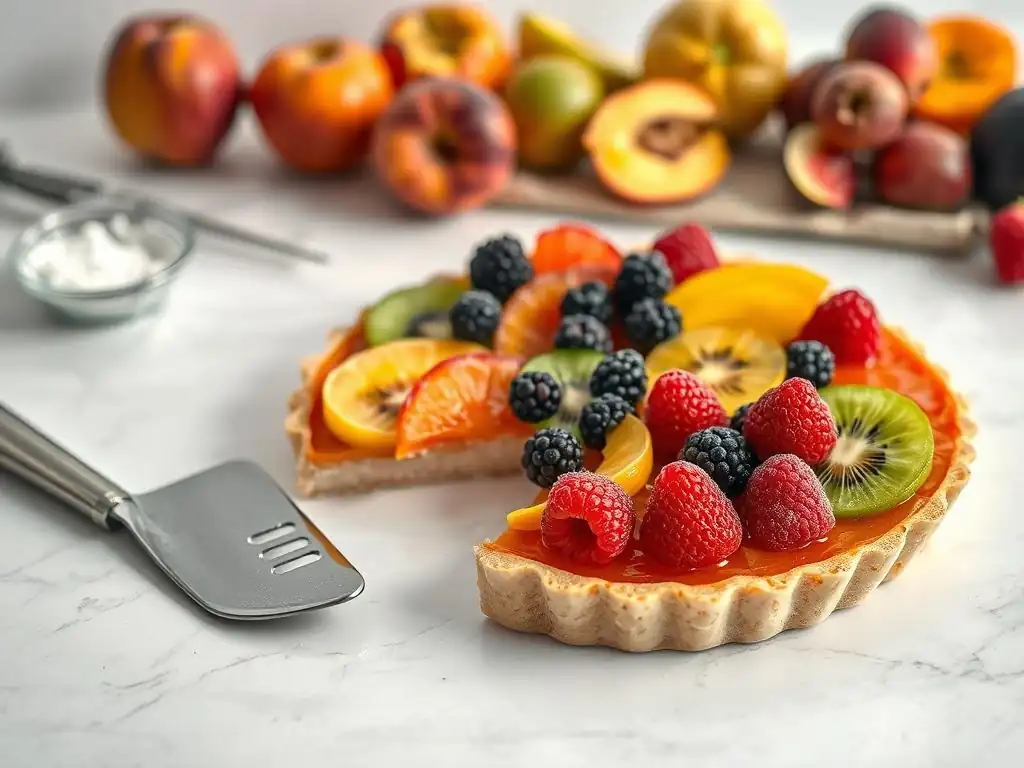
The fruit is the star of the fruit tart, providing both the primary flavor and the visual spectacle. Careful selection and meticulous preparation are paramount to ensure the fruit looks stunning and tastes its best. Choosing the right fruits, handling them gently, and preparing them properly sets the stage for a truly beautiful and delicious outcome.
Choosing Seasonal and Complementary Fruits
Opting for seasonal fruits is often the best approach for flavor and freshness. Strawberries, raspberries, blueberries, and kiwis are popular choices for their vibrant colors and ease of use. Consider combining fruits with complementary flavors and textures – for example, the sweetness of strawberries pairs well with the slight tang of raspberries or the tropical notes of mango. Aim for a variety of colors to create a visually dynamic design.
Think about how the fruits will look when cut. Larger fruits like peaches, plums, or kiwis can be sliced or segmented, while berries are often used whole. Consider the scale of your tart and choose fruits that will fit well within the design without overwhelming the space. A mix of sizes and shapes adds interest to the final arrangement when perfecting fruit tart decoration.
Proper Fruit Washing and Cutting Techniques
Cleanliness is essential. All fruits should be gently washed under cool water to remove any dirt or residues. For delicate berries, washing them just before use is best to prevent them from becoming waterlogged. Pat them dry carefully with paper towels to ensure they are not excessively wet, which can affect the glaze application.
Cutting techniques depend on the fruit and the desired design. Slices should be uniform in thickness for a neat appearance. Berries can be left whole or halved. Stone fruits like peaches or apricots should be pitted and sliced evenly. For fruits like kiwi or citrus segments, remove all skin and pith for a clean look. Use a sharp knife for clean cuts that minimize bruising and maintain the fruit's structure.
Preserving Fruit Freshness and Color
Some fruits, like apples, pears, and bananas, brown quickly when exposed to air. To prevent this, they can be lightly brushed or dipped in a solution of lemon juice and water. This acidic wash helps inhibit oxidation and keeps the fruit looking fresh. However, use this sparingly as too much lemon flavor can overpower the delicate taste of the fruit.
For berries and other delicate fruits, it's best to prepare them just before you are ready to assemble and glaze the tart. This minimizes the time they are exposed to air and prevents them from weeping juice, which could dilute the glaze or make the filling soggy. Keeping prepared fruit covered in the refrigerator until assembly also helps maintain its freshness and vibrant color, crucial steps in perfecting fruit tart decoration.
Creating a Flavorful Glaze: Enhancing Shine and Preservation
The glaze is the final touch that brings the fruit tart together, providing a beautiful, glossy finish that makes the fruit pop and helps preserve its freshness. It acts as a protective layer, preventing the fruit from drying out and enhancing its natural colors. A well-applied glaze is indispensable for achieving a professional look and feel when perfecting fruit tart decoration.
Preparing a Classic Apricot Glaze
A traditional apricot glaze is a popular choice for fruit tarts due to its natural sweetness and ability to provide a beautiful shine. It's typically made by warming apricot jam or preserves with a little water, fruit juice, or liqueur. A common ratio is 1 part liquid to 2-3 parts jam. For example, simmer 1/4 cup water with 1/2 cup apricot jam, stirring until smooth.
Once the mixture is warm and liquid, it should be strained through a fine-mesh sieve to remove any fruit pulp or lumps, resulting in a clear, smooth glaze. This strained glaze can then be kept warm until ready to brush onto the fruit. The subtle apricot flavor complements a wide range of fruits without being overpowering.
Exploring Glaze Variations: Jelly, Neutral, or Pectin-Based
Beyond apricot, other glazes offer different flavors and finishes. Red currant jelly, for instance, provides a beautiful rosy tint and tart flavor, perfect for berry tarts. A neutral glaze, often made from sugar, water, and a gelling agent like pectin or cornstarch (sometimes called nappage), is ideal when you want the fruit's natural flavor to shine through without any added fruit notes.
Pectin-based glazes are particularly effective at providing a stable, high-gloss finish. These often come in powdered form that is mixed with water and heated. They set firmly but remain clear and shiny. The choice of glaze depends on the desired aesthetic and flavor profile, offering flexibility in perfecting fruit tart decoration.
Achieving an Even and Glossy Glaze Application
The key to a beautiful, glossy finish is applying the glaze while it is warm and fluid. Using a pastry brush, gently brush the warm glaze over the surface of the arranged fruit, ensuring each piece is coated. Work carefully to avoid disturbing the fruit arrangement. For larger tarts, you might need to reheat the glaze slightly if it starts to thicken.
Apply the glaze generously but avoid pooling. The goal is a thin, even layer that coats the fruit and lightly fills the small gaps between pieces. A second, thin coat can be applied if a higher gloss is desired, but ensure the first layer has set slightly. This careful application is what gives the fruit that irresistible sparkle, a hallmark of perfecting fruit tart decoration.
Mastering Decoration Techniques: From Basic to Advanced
Perfecting fruit tart decoration involves more than just placing fruit on a tart. It's about understanding design principles, utilizing the natural beauty of the fruit, and employing techniques to create a visually stunning and harmonious presentation. Whether you're a beginner or looking to elevate your skills, there are techniques to suit every level.
Simple and Elegant Fruit Arrangements
A classic and elegant arrangement involves arranging fruit in concentric circles, starting from the outer edge and working towards the center. This technique works well with uniformly sized fruits like sliced strawberries, kiwi slices, or berries. Alternate colors and shapes for visual interest. For example, a ring of sliced strawberries followed by a ring of kiwi slices, finished with blueberries in the center.
Another simple yet effective method is creating rows or sections of different fruits. Divide the tart surface visually into quadrants or wedges and fill each section with a different type of fruit. This creates clean lines and allows the individual colors and textures of the fruits to stand out. Less is often more can be a guiding principle for simple elegance.
Creating Complex and Eye-Catching Designs
For a more advanced approach, consider creating intricate patterns or scenes with the fruit. A mosaic pattern involves cutting fruits into small, uniform shapes (like cubes or triangles) and arranging them tightly together to form a solid, colorful surface. This requires precision and patience but results in a truly unique and artistic tart.
Floral patterns are also popular, using fruit slices to mimic petals and berries for centers. Thinly sliced apples or pears can be fanned out to resemble flowers, or strawberry halves can be arranged to look like rosebuds. These complex designs showcase skill and creativity, making the fruit tart a true showstopper.
Utilizing Color Theory for Visual Impact
Understanding basic color theory can significantly enhance your fruit tart decoration. Contrasting colors, like red strawberries against green kiwi or blue blueberries against yellow mango, create vibrancy and visual separation. Analogous colors, like shades of red, pink, and orange from berries and stone fruits, create a harmonious and soothing effect.
Consider the background color provided by your filling (e.g., the pale yellow of crème pâtissière) and how the fruit colors will pop against it. Aim for a balanced distribution of colors across the tart surface, avoiding clustering too many similar colors together unless it's part of a specific pattern.
Incorporating Textural Variety with Different Fruits
Mixing fruits with different textures adds another layer of interest to your decoration. The smoothness of sliced mango contrasts beautifully with the bumpy texture of raspberries or the crispness of apple slices. Using whole berries alongside sliced or diced fruit provides variation in height and form.
Consider using a mix of soft fruits (like berries or bananas) and firmer fruits (like kiwi or melons). This textural contrast makes each bite interesting and adds depth to the visual design. Carefully selecting fruits based on their textures, in addition to color and flavor, is key to perfecting fruit tart decoration.
Step-by-Step Decoration Guide: A Detailed Process
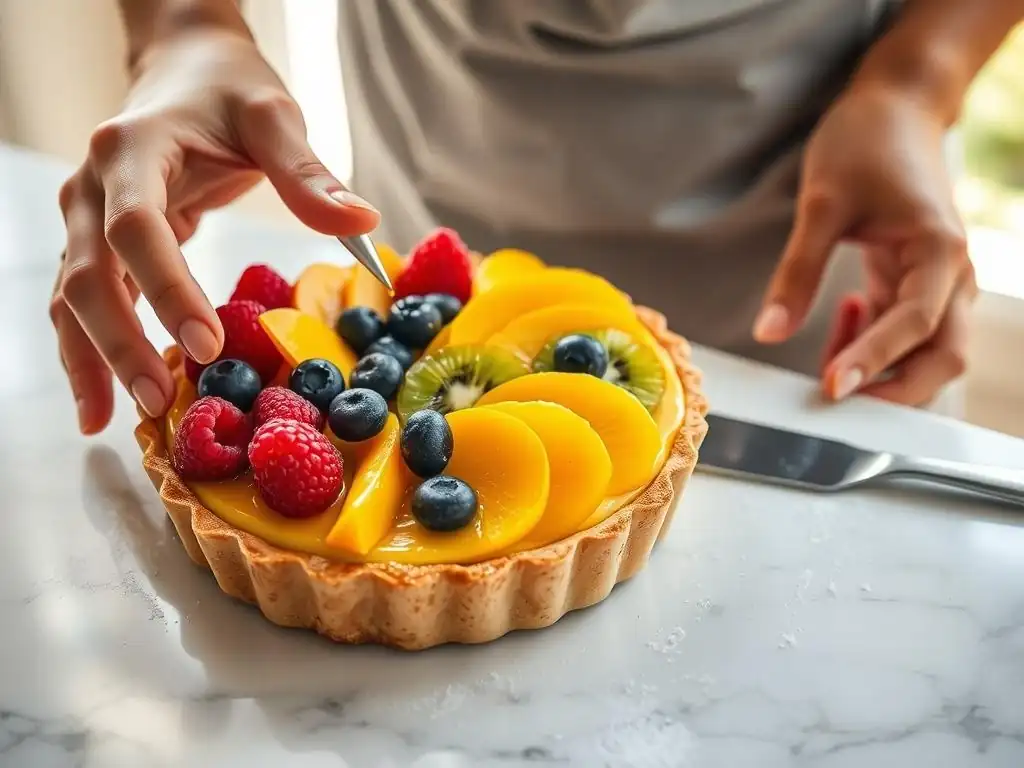
Following a structured approach ensures a smooth and successful fruit tart decoration process. Starting with the base and building the design step-by-step helps maintain order and allows you to correct any issues as you go. This guide breaks down the process into manageable stages for achieving a stunning result.
Step 1: Applying a Crème Pâtissière Base
Ensure your baked and cooled tart shell is ready. If using a sealant layer (like chocolate or egg white), make sure it is set. Prepare your crème pâtissière (pastry cream) according to your recipe and let it cool slightly until it is spreadable but not hot. Gently spoon or pipe the crème pâtissière into the tart shell, spreading it evenly across the bottom.
Leave a small border (about 1-2 cm, approx. 1/2 inch) around the edge of the tart shell exposed, or fill it completely, depending on your desired look. Smooth the surface of the crème pâtissière with an offset spatula. This layer provides a creamy base and helps hold the fruit in place.
Step 2: Strategically Arranging Focal Point Fruits
Begin arranging the larger or most visually striking fruits first. These often serve as focal points or define the main structure of your design. If doing concentric circles, start with a ring of larger fruit around the edge. If creating a central design, place the key fruit pieces in the middle.
For example, place fanned strawberry slices around the perimeter, overlapping them slightly. Or, position larger kiwi slices or peach segments in a pattern that establishes the overall layout. Think about balance and symmetry, even if pursuing an asymmetrical design.
Step 3: Filling Gaps with Smaller Fruits and Berries
Once the main structure is in place, use smaller fruits and berries to fill in the gaps and add detail. Blueberries, raspberries, currants, or small diced fruits work well for this. Gently tuck them into the spaces between the larger fruits and against the edges of the tart.
This step adds density and color to the arrangement, ensuring the crème pâtissière base is mostly covered and the design looks full and lush. Use tweezers or a small spoon for precise placement of very small items like currants.
Step 4: Generously Glazing the Arranged Fruit
With the fruit arrangement complete, it's time to apply the warm glaze. Using a pastry brush, gently and evenly brush the warm glaze over all the fruit. Ensure every piece is coated to achieve that signature shine and protective layer.
Work carefully to avoid dislodging the fruit. If the glaze starts to cool and thicken, warm it gently again. Make sure the glaze also coats the edges of the fruit slices, not just the top surface. This step is critical for perfecting fruit tart decoration, giving it a professional, polished look.
Step 5: Chilling the Tart for Optimal Flavor and Presentation
Once glazed, the fruit tart should be chilled in the refrigerator for at least 30 minutes, and preferably an hour or longer, before serving. Chilling allows the crème pâtissière to set firmly and the glaze to solidify slightly, locking the fruit in place.
This chilling period also allows the flavors to meld and the tart to become refreshing. Serving a fruit tart cold enhances the crispness of the shell and the coolness of the filling and fruit. Proper chilling ensures the tart holds its beautiful form when sliced and served.
Tips and Tricks for Impressive Fruit Tart Presentations
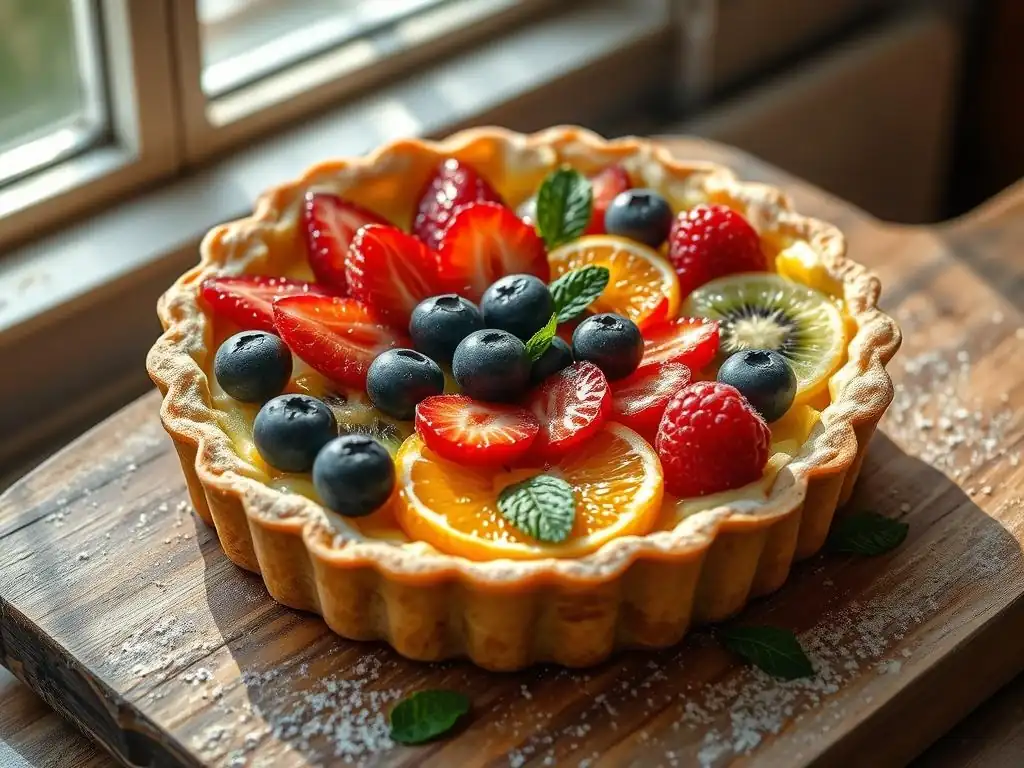
Beyond the basic steps, a few extra tips can elevate your fruit tart from lovely to truly spectacular. These techniques add sophistication and personality, making your tart memorable. Incorporating these elements is part of the journey towards perfecting fruit tart decoration.
Incorporating Edible Flowers and Herbs for Elegance
Adding a few carefully placed edible flowers or fresh herbs can dramatically enhance the visual appeal of your fruit tart. Small pansies, violas, or borage flowers add delicate color and a touch of whimsy. Sprigs of fresh mint or lemon balm provide a contrasting green color and a pleasant aroma, also hinting at the flavors within.
Ensure any flowers or herbs used are specifically labeled as edible and are free from pesticides. Place them strategically among the fruit just before glazing or immediately after, depending on the type of glaze and desired effect. This adds a layer of sophistication.
Designing a Fruit Tart Mosaic for a Unique Look
As mentioned earlier, a fruit mosaic offers a unique and artistic presentation. This involves cutting various colorful fruits into small, uniform shapes (like small cubes, triangles, or diamonds) and arranging them tightly together across the entire surface of the tart.
Think of it like creating a picture or pattern with fruit pieces. This technique requires meticulous cutting and precise placement but results in a stunning, vibrant surface that is truly one-of-a-kind. It's an advanced technique for perfecting fruit tart decoration that yields impressive results.
Maintaining Fruit Tart Freshness During Storage
To keep your beautifully decorated fruit tart looking its best, proper storage is crucial. Store the tart in a single layer in an airtight container in the refrigerator. This prevents the crust from becoming stale and the fruit from drying out or absorbing odors from the fridge.
While the glaze helps preserve the fruit, most fruit tarts are best enjoyed within 1-2 days of assembly to ensure the fruit remains vibrant and the crust stays crisp. Avoid stacking other items on top of the tart in the refrigerator to protect the delicate fruit arrangement.
Troubleshooting Common Decoration Challenges
Even with careful planning, sometimes things don't go exactly as planned. Knowing how to address common issues can save your beautiful fruit tart finish and help you learn for next time. Troubleshooting is part of the process of perfecting fruit tart decoration.
Preventing Fruit Movement and Slippage
If your fruit arrangement seems unstable, it might be due to a few factors. Ensure the crème pâtissière base is set firm enough before arranging the fruit; a runny filling won't provide a good anchor. Also, make sure the fruit is not excessively wet after washing, as extra moisture can cause slippage.
Applying the glaze can also help lock the fruit in place once it sets. If using larger fruit pieces, consider making a small indentation in the crème pâtissière where they will sit. For very slippery fruits, a thin layer of melted white chocolate brushed onto the bottom of the fruit piece can sometimes provide extra grip before placing it on the filling.
Achieving a Consistent and Shiny Glaze
A patchy or dull glaze can be disappointing. Ensure the glaze is heated to the correct temperature – warm enough to be fluid but not so hot that it cooks the fruit. Strain the glaze to remove any lumps that could cause unevenness.
Apply the glaze with a clean, dry brush. Brush gently and evenly, ensuring full coverage. Sometimes, applying two thin coats, allowing the first to set slightly, yields a more consistent and glossy finish than one thick coat. Make sure the fruit is dry before glazing, as water droplets will repel the glaze.
Extending Fruit Freshness and Preventing Browning
While the glaze helps, some fruits are more prone to browning or wilting than others. For fruits like bananas or apples, pre-treating them with a light lemon juice wash before placing them on the tart can help.
Choose fruits that hold up well, like berries, kiwi, and stone fruits. If using more delicate fruits, add them closer to serving time if possible. Store the tart properly chilled in an airtight container. Accept that fresh fruit is perishable, and the tart is best enjoyed within a day or two for peak freshness and appearance.
Conclusion: Impress with a Beautifully Decorated Fruit Tart
Perfecting fruit tart decoration is a rewarding skill that elevates your baking from delicious to truly spectacular. By focusing on a well-prepared shell, selecting and preparing vibrant, fresh fruits, mastering the art of glazing, and employing thoughtful arrangement techniques, you can create tarts that are not only a joy to eat but also a feast for the eyes.
Remember that practice makes perfect. Each fruit tart you decorate offers a new opportunity to experiment with colors, patterns, and techniques. Embrace the process, pay attention to detail, and soon you'll be creating stunning fruit tarts that will impress everyone who sees, and tastes, your beautiful creations. Enjoy the journey of perfecting fruit tart decoration!
Frequently Asked Questions
How do I prevent my fruit tart glaze from becoming sticky?
A sticky glaze often results from too much sugar or incorrect cooking temperature. Ensure you use the correct ratio of ingredients and cook the glaze over medium heat, constantly stirring, to prevent crystallization.
What fruits are best suited for a fruit tart decoration?
Berries like strawberries, blueberries, and raspberries are popular due to their vibrant colors and textures. Kiwi, mango, and citrus segments also add visual appeal and contrasting flavors. Consider seasonal fruits for the best taste and quality.
How can I arrange the fruit on my tart for a visually appealing design?
Experiment with different patterns and color combinations. Consider using a central focal point with radiating slices or creating a mosaic-like effect with smaller pieces. Symmetry and asymmetry can both be effective.
What is the best way to keep the fruit from sliding off my tart?
A thin layer of pastry cream or jam beneath the fruit will act as an adhesive. You can also use a slightly thicker glaze to help hold the fruit in place, especially for heavier fruits.
Can I prepare the fruit decoration in advance?
While some fruits can be cut ahead of time, they are best assembled shortly before serving to prevent browning or wilting. If preparing in advance, brush the cut fruit with lemon juice to slow oxidation and store in the refrigerator.
Final Reflection: The Enduring Allure of the Perfect Fruit Tart
The art of fruit tart decoration isn't merely about aesthetics; it's about celebrating the bounty of nature and the joy of creating something beautiful. In a world increasingly dominated by digital interactions, the tactile experience of arranging vibrant fruits into a harmonious design offers a unique and deeply satisfying counterpoint. The meticulous placement of each berry, the careful consideration of color and texture – these are the details that elevate a simple dessert into a masterpiece.
The enduring appeal of the fruit tart lies in its ability to transcend mere culinary skill and become a symbol of artistry and care. It's a testament to the power of simple ingredients transformed by thoughtful presentation. The process itself is meditative, a moment of quiet focus amidst the chaos of daily life. As the renowned chef Julia Child once said, Find something you're passionate about and keep tremendously interested in it.
For me, that passion lies in the transformative power of perfectly arranged fruit, a small act of creation that brings immense joy.
Now, it's your turn. Consider the lessons learned within these pages – the importance of preparation, the beauty of simplicity, and the power of mindful creation. Don't be afraid to experiment, to let your creativity flow, and to find your own unique style in the art of fruit tart decoration. The next time you find yourself facing a blank tart shell, remember the joy of the process, the satisfaction of a job well done, and the delicious reward that awaits. Embrace the challenge, and create your own perfect fruit tart masterpiece.
Unlock Your Inner Pastry Chef!
Thanks for joining us on this delicious journey into fruit tart perfection! You've now got the skills to create stunning, mouthwatering tarts that will impress everyone. Ready to take your baking to the next level?
- Bake your dream fruit tart today! Gather your ingredients and follow the steps – you’ll be amazed at how easily you can create a masterpiece.
- Share your creation! Post a picture of your finished tart on social media and tag us @BakeWithEase – we'd love to see your baking artistry.
- Explore more delicious recipes: Browse our website for more easy-to-follow baking guides to expand your dessert repertoire.
What incredible fruit filling will you create for your next stunning tart?