
Gooey Centers Guaranteed: Easy Chocolate Lava Cakes

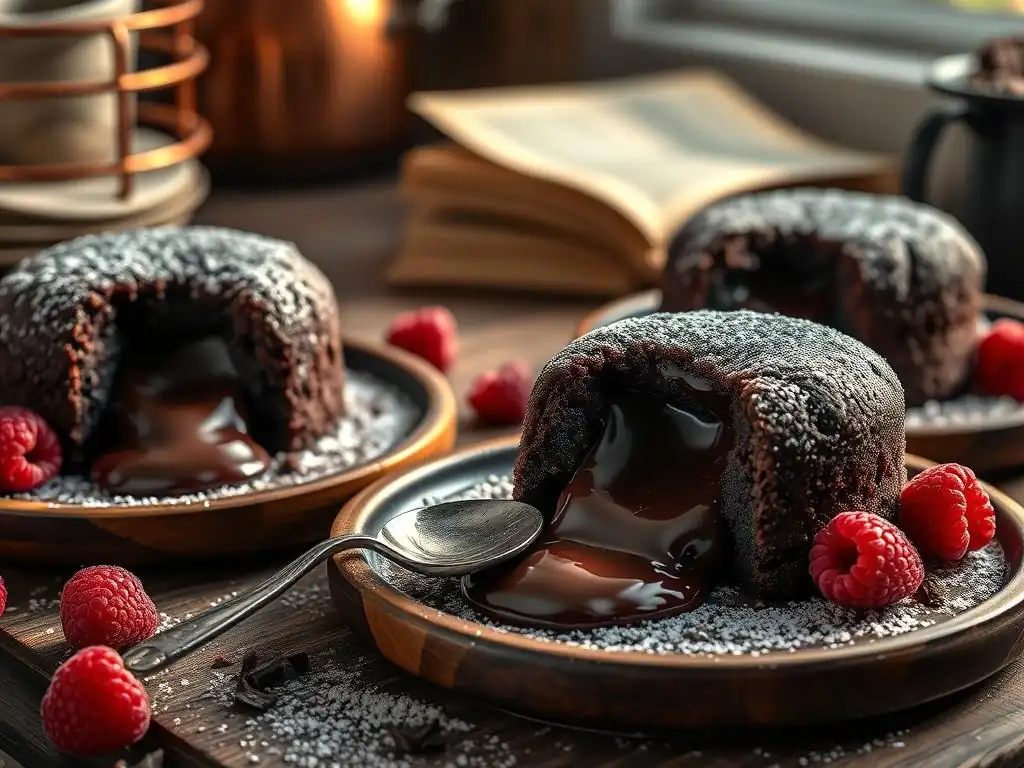
Welcome to BakeWithEase, your kitchen companion for all things baking! Ever dream of that perfect, molten chocolate eruption? You're in the right place. Discover our easy chocolate lava cake recipe and unlock the secrets to achieving gooey centers, guaranteed. But the deliciousness doesn't stop there... what other tempting treats await you in our pastry and dessert collection?
- Decadent Chocolate Lava Cakes: A Foolproof Recipe - BakeWithEase
- Why This Chocolate Lava Cake Recipe is a Must-Try
- Mastering the Molten Core: What Makes This Chocolate Lava Cake Special?
- Ingredient Checklist for Your Decadent Chocolate Lava Cakes
- Step-by-Step Guide: Baking Your Own Decadent Chocolate Lava Cakes
- Baking Time & Temperature: The Sweet Spot for Lava Cakes
- Serving Suggestions: Presenting Your Perfect Chocolate Lava Cake
- Troubleshooting Your Chocolate Lava Cake: Common Mistakes and Solutions
- Storing and Reheating Your Chocolate Lava Cakes (If There Are Any Left!)
- Variations and Adaptations: Level Up Your Chocolate Lava Cake
- Enjoy Your Homemade Chocolate Lava Cake: A BakeWithEase Treat!
- Frequently Asked Questions
- Final Reflection: The Enduring Allure of the Perfect Chocolate Lava Cake
- Unleash Your Inner Chocolatier: Make Lava Cakes Tonight!
Decadent Chocolate Lava Cakes: A Foolproof Recipe - BakeWithEase
Why This Chocolate Lava Cake Recipe is a Must-Try
There are few desserts as impressive yet surprisingly simple to make as a chocolate lava cake. That moment when the spoon breaks through the delicate cake exterior to reveal a warm, flowing river of molten chocolate inside is pure magic. Many people believe this dessert is only achievable in restaurants, but we're here to prove that an easy chocolate lava cake recipe is well within your reach, even if you're new to baking.
This particular easy lava cake recipe from BakeWithEase is designed for maximum impact with minimum fuss. We focus on clear steps and readily available ingredients, ensuring you can recreate this show-stopping dessert in your own kitchen tonight. Forget complicated techniques; our method simplifies the process so you can achieve that perfect gooey center every time, delighting your friends and family with your baking prowess.
Mastering the Molten Core: What Makes This Chocolate Lava Cake Special?
Achieving the signature molten center is the defining characteristic of a great lava cake. It's not about magic, but rather a careful balance of ingredients and precise baking time. Our chocolate lava cake recipe focuses on these key elements to ensure success.
The Secret to a Perfectly Gooey Center Every Time
The molten center in a lava cake isn't raw batter; it's essentially a rich ganache or very soft truffle-like mixture that remains liquid because the cake is intentionally underbaked in the center. The secret lies in the ratio of chocolate and butter to the small amount of flour and eggs. Our easy chocolate lava cake recipe uses a generous amount of melted chocolate and butter, which provides the richness and structure for the cake's exterior while ensuring the core stays beautifully liquid when baked for the correct amount of time.
This careful balance ensures that as the outer edges of the cake set and become firm, the heat penetrates just enough to warm the center without cooking it completely. Think of it like a perfect steak – cooked on the outside, wonderfully rare in the middle. Achieving this requires a precise understanding of the baking time, which we will detail later, typically just 8 to 12 minutes depending on your oven and ramekin size.
BakeWithEase's Promise: Simple Ingredients, Stunning Results
You don't need a pantry full of exotic ingredients to create these decadent chocolate lava cakes. Our easy chocolate lava cake recipe relies on common baking staples you likely already have on hand: quality chocolate, butter, sugar, eggs, and a touch of flour and salt. We believe that the best desserts come from simple, high-quality components treated with care.
Our method breaks down each step into manageable tasks, making this an incredibly accessible recipe for bakers of all levels. From melting the chocolate to folding in the dry ingredients, each instruction is clear and designed for success. You'll be amazed at how easily you can transform these humble ingredients into a sophisticated, restaurant-quality dessert that looks and tastes like you spent hours in the kitchen. This is the essence of the BakeWithEase philosophy – empowering you to create stunning results with ease.
Ingredient Checklist for Your Decadent Chocolate Lava Cakes
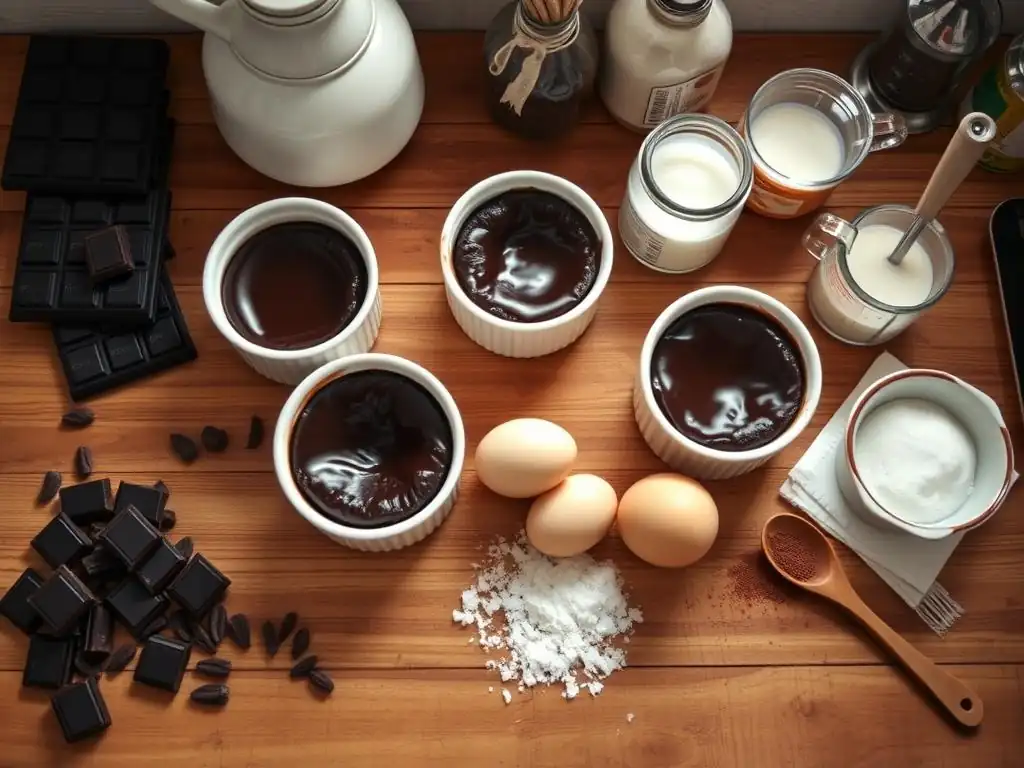
Before you dive into baking, let's gather the necessary ingredients. Using good quality chocolate is key here, as it's the star of the show in this simple chocolate lava cake recipe.
Essential Ingredients for the Chocolate Lava Cake Batter
Here's what you'll need for the basic batter:
- Quality dark or semi-sweet chocolate: Approximately 4 ounces (about 113 grams). Choose a chocolate you enjoy eating on its own.
- Unsalted butter: About 1/2 cup (1 stick or 113 grams). Melting this with the chocolate forms the rich base.
- Granulated sugar: Around 1/4 cup (about 50 grams). Adds sweetness without overpowering the chocolate.
- Large eggs: 2 whole eggs and 2 egg yolks. The extra yolks contribute to richness and help create the molten texture.
- All-purpose flour: Just a couple of tablespoons (about 15-20 grams). Provides minimal structure to the cake edges.
- Pinch of salt: Enhances the chocolate flavor.
Having these components measured out and ready before you start mixing will make the process incredibly smooth and efficient. This easy chocolate lava cake recipe minimizes the number of ingredients to keep things straightforward.
Optional Toppings to Elevate Your Lava Cake Experience
While the cake itself is magnificent, toppings can take it to the next level. Consider these optional additions:
- Powdered sugar: For a classic, elegant dusting.
- Vanilla ice cream: The warm cake and cold ice cream create a delightful contrast.
- Fresh berries: Raspberries, strawberries, or blueberries add a touch of freshness and acidity.
- Whipped cream: A dollop of freshly whipped cream is always a welcome addition.
- Chocolate sauce or caramel sauce: For extra decadence.
Decide on your desired toppings while the cakes are baking so you can serve them immediately once they are ready. A simple dusting of powdered sugar is often all that's needed to highlight the beauty of this easy lava cake recipe.
Step-by-Step Guide: Baking Your Own Decadent Chocolate Lava Cakes
Now that you have your ingredients, let's walk through the simple steps to create these delicious desserts. Following these steps carefully is crucial for the perfect molten center.
Step 1: Preparing Your Baking Equipment for Lava Cake Success
Proper preparation of your ramekins is the first critical step in ensuring your lava cakes release cleanly and bake evenly. You will need four standard-sized ramekins, typically 6 to 8 ounces each. Start by generously buttering the inside of each ramekin, coating the bottom and sides thoroughly.
After buttering, dust the inside of each ramekin. You can use either all-purpose flour or cocoa powder. Using cocoa powder is often preferred for chocolate cakes as it doesn't leave a white residue on the finished cake. Simply add a tablespoon or two of flour or cocoa powder to one ramekin, swirl it around to coat the buttered surface, tap out the excess, and repeat with the remaining ramekins. This step prevents the cake from sticking and allows for that impressive invert-and-serve presentation.
Step 2: Melting the Chocolate and Butter for a Rich Base
The foundation of this easy chocolate lava cake recipe is the melted chocolate and butter mixture. Combine your chopped quality chocolate and the measured butter in a heatproof bowl. You can melt this mixture using a double boiler (a bowl set over a pot of simmering water, ensuring the bottom of the bowl doesn't touch the water) or carefully in the microwave.
If using the microwave, heat in 30-second intervals, stirring well after each interval, until the mixture is smooth and completely melted. Be careful not to overheat the chocolate, as it can seize or burn. Once melted and smooth, set the bowl aside to cool slightly for a few minutes. This prevents the hot mixture from cooking the eggs when they are added later.
Step 3: Combining the Wet and Dry Ingredients Seamlessly
While the chocolate mixture cools slightly, whisk together the granulated sugar, whole eggs, and egg yolks in a separate medium bowl until well combined and slightly thickened. This usually takes about a minute of whisking. This mixture provides the structure and richness for the cake.
Gently whisk the slightly cooled chocolate and butter mixture into the egg mixture until everything is smoothly incorporated. Then, sift or whisk together the small amount of all-purpose flour and salt in a small bowl. Add the dry ingredients to the wet ingredients and fold gently with a spatula or wooden spoon just until no dry streaks remain. Avoid overmixing, as this can develop the gluten in the flour too much, leading to a tougher cake texture rather than the desired delicate crumb around the molten center.
Step 4: Filling the Ramekins: The Key to Even Baking
With your batter ready and ramekins prepared, it's time to fill them. Divide the batter evenly among the four buttered and floured/cocoa-dusted ramekins. Typically, you will fill each ramekin about three-quarters of the way full.
Filling the ramekins to this level is important. If you overfill them, the batter might overflow during baking, making a mess and potentially affecting the structure. Filling them too little might result in a thinner cake that overbakes easily. Ensure the batter is distributed as evenly as possible among the ramekins for consistent baking results across all four cakes.
Step 5: Baking to Perfection: Achieving the Molten Center
Place the filled ramekins on a baking sheet. This makes it easier to transfer them in and out of the hot oven and catches any potential drips. Bake in a preheated oven at the specified temperature (details in the next section) for the recommended time.
Baking time is the most critical factor in achieving the molten center in this easy chocolate lava cake recipe. You are looking for the edges of the cake to be set and firm, while the center remains visibly soft and jiggly when gently shaken. This indicates that the outer cake has cooked, while the inner core is still molten. Remove the cakes from the oven immediately once they reach this stage to prevent them from overcooking.
Baking Time & Temperature: The Sweet Spot for Lava Cakes
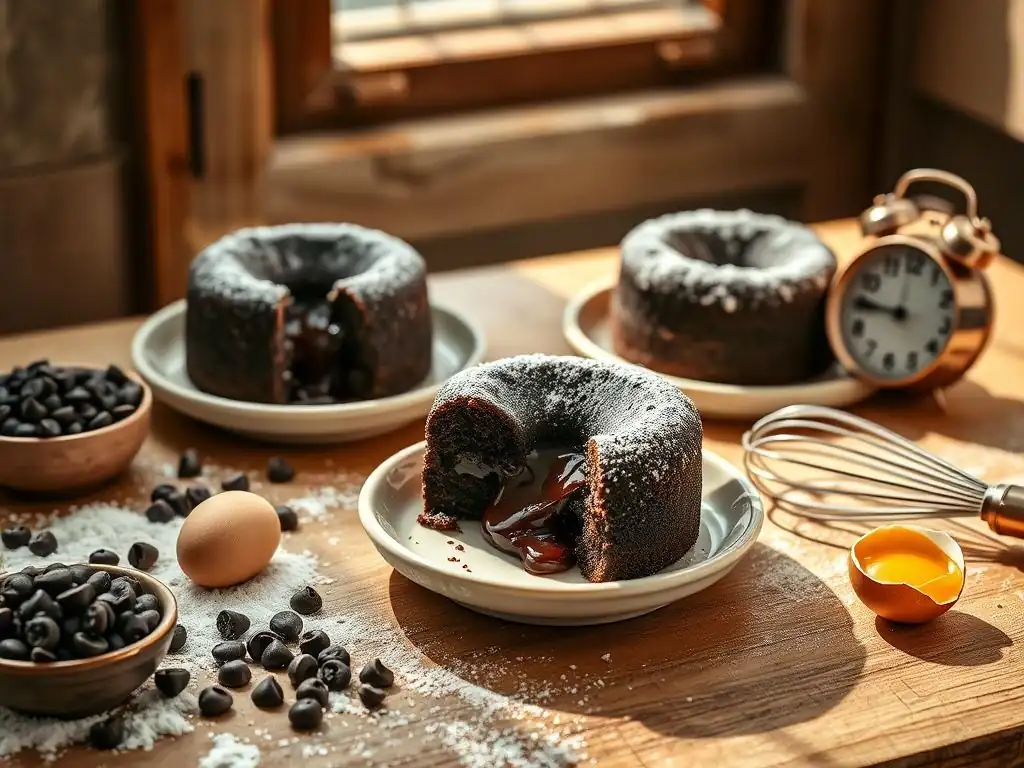
Getting the baking time and temperature right is paramount for that perfect molten center. It's the subtle difference between a fully baked mini-cake and a luscious lava flow.
Adjusting Baking Time for Different Ovens
A common temperature for baking chocolate lava cakes is around 375°F (190°C). At this temperature, the cakes typically bake for 8 to 12 minutes. However, oven temperatures can vary significantly, and factors like whether your oven is conventional or convection will impact baking time. Convection ovens, which circulate air, often bake faster and more evenly, potentially reducing the time needed by a couple of minutes.
It's always best to start checking your cakes at the lower end of the suggested time range, perhaps around the 8 or 9-minute mark. Observe how the edges are setting. If they still look very wet, give them another minute or two. If they look almost entirely firm, they might be close to done. Make a note of the time that works perfectly for your oven for future batches of this easy chocolate lava cake recipe.
How to Test for Doneness: The Gentle Jiggle Test
The most reliable way to test if your chocolate lava cakes are ready is the "gentle jiggle" test. Carefully open the oven door (or pull out the rack slightly) and gently nudge one of the ramekins. The edges of the cake should appear set and firm, pulling slightly away from the sides of the ramekin.
The center, however, should still look soft and jiggle noticeably. If the entire top looks firm and doesn't jiggle at all, the cake is likely overbaked, and the center may not be molten. If the entire cake looks wet and shakes like liquid, it needs more time. Practice makes perfect with this test, but aiming for firm edges and a distinct jiggle in the middle is the key to success with this easy lava cake recipe.
Serving Suggestions: Presenting Your Perfect Chocolate Lava Cake
Once baked to perfection, these chocolate lava cakes are best served immediately to enjoy the molten center at its peak. Presentation is part of the experience!
Plating Ideas for a Restaurant-Worthy Dessert
To achieve that classic restaurant look, let the lava cakes rest in their ramekins for just 1-2 minutes after removing them from the oven. This brief resting period helps the cake firm up slightly, making it easier to invert. Carefully run a knife around the edge of each cake to loosen it from the ramekin sides.
Place a dessert plate upside down over the top of a ramekin. Holding both the plate and the ramekin together, quickly and confidently flip them over. The cake should slide out onto the plate. Gently lift the ramekin away. If the cake sticks, you might need to loosen it a bit more before flipping. Once inverted, you can dust the top with powdered sugar using a fine-mesh sieve for an elegant finish, or add your desired toppings around the base.
Pairing Suggestions: Complementing the Rich Chocolate Flavor
The rich, intense chocolate flavor of these lava cakes pairs wonderfully with a variety of accompaniments. A scoop of high-quality vanilla bean ice cream is a classic pairing; the cool creaminess is a perfect counterpoint to the warm, molten chocolate.
Fresh raspberries or a mixed berry compote add a bright, slightly tart contrast that cuts through the richness. A dollop of freshly whipped cream is also a simple yet effective pairing. For a truly decadent experience, consider a drizzle of warm caramel sauce or a little extra melted chocolate. A strong cup of coffee or a glass of dessert wine like a Port or Banyuls can also complement the deep chocolate notes beautifully.
Troubleshooting Your Chocolate Lava Cake: Common Mistakes and Solutions
Even with an easy chocolate lava cake recipe, sometimes things don't go exactly as planned. Here are solutions to a few common issues.
My Lava Cake Didn't Have a Molten Center!
This is the most common disappointment. The primary reason a lava cake doesn't have a molten center is overbaking. The cake was left in the oven too long, and the heat fully cooked the interior.
- Solution: For your next batch, reduce the baking time. Start checking at the lower end of the suggested time range (e.g., 8 minutes) and rely on the gentle jiggle test. Ovens vary significantly, so what works for one recipe's suggested time might be too long in your oven. Also, ensure your oven temperature is accurate – an oven running hotter than set will cook the cakes faster.
My Lava Cake Overflowed!
If your batter spilled over the sides of the ramekin during baking, it's usually due to overfilling the ramekin or potentially using a ramekin that is too small for the amount of batter.
- Solution: Ensure you are only filling the ramekins about three-quarters of the way full. This leaves enough room for the cake to rise slightly without spilling over. If you find the recipe consistently yields too much batter for four standard ramekins, consider using slightly larger ramekins or dividing the batter among five instead of four.
My Lava Cake Tasted Dry!
A dry texture in a lava cake, particularly around the edges, can also be a sign of overbaking or potentially an issue with ingredient ratios, though less likely with a tested easy lava cake recipe.
- Solution: As with the lack of a molten center, overbaking is the most probable cause. The longer the cake bakes, the more moisture evaporates, resulting in a drier crumb. Stick to the recommended baking time range and test for doneness early. Also, ensure you measured your ingredients accurately, especially the flour and fats (butter/chocolate), as incorrect ratios can affect texture.
Storing and Reheating Your Chocolate Lava Cakes (If There Are Any Left!)
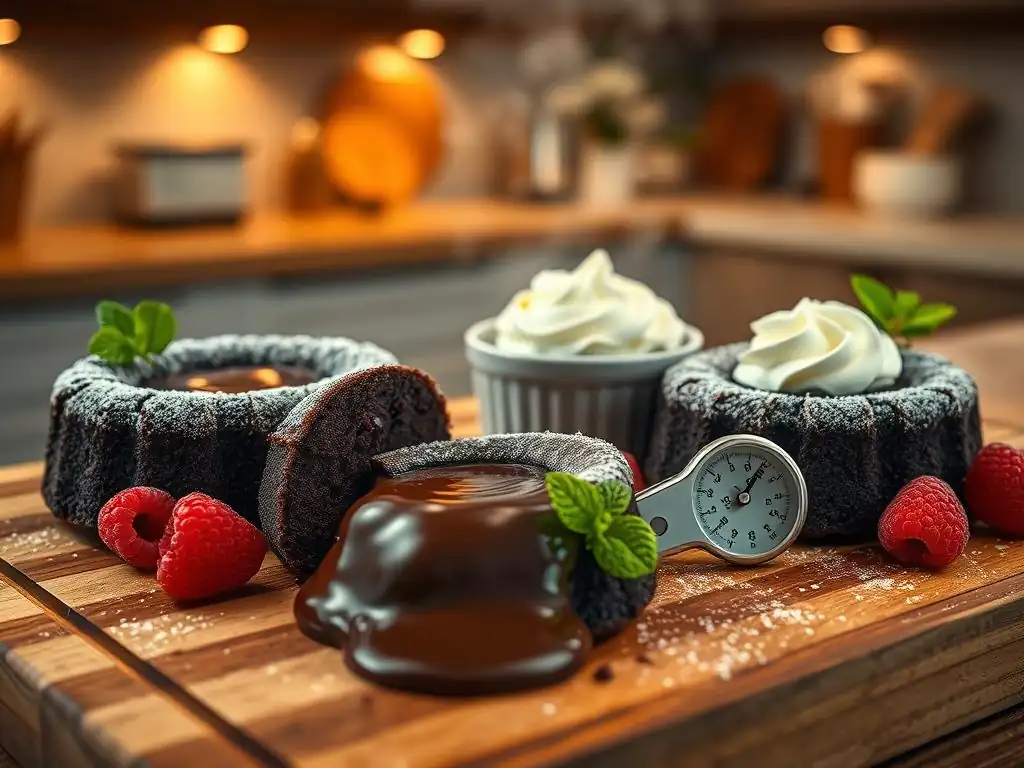
It's likely you'll devour these decadent treats immediately, but if you happen to have any leftovers, here's how to handle them.
Best Practices for Keeping Lava Cakes Fresh
Baked lava cakes, especially those with a molten center, are definitely best enjoyed fresh from the oven. However, if you need to store them, allow them to cool completely to room temperature first.
Once cooled, transfer the cakes (still in their ramekins if possible, or carefully placed in an airtight container) to the refrigerator. Stored this way, they should remain fresh for 2-3 days. Be aware that the molten center will likely solidify when chilled due to the butter and chocolate content. This doesn't mean they are ruined; they just won't have the same dramatic lava effect until reheated.
Reheating Lava Cakes for a Warm, Gooey Treat
To bring back some of that wonderful gooeyness, you can reheat the stored lava cakes. The microwave is the quickest method: place a cake on a microwave-safe plate and heat on medium power for 30-60 seconds, or until warm throughout. Be cautious not to overheat, as this can dry out the cake.
Alternatively, you can reheat them gently in a preheated oven at a lower temperature, around 300°F (150°C), for 5-10 minutes, or until warmed through. Reheating might not result in quite the same dramatic flow as fresh, but it will still yield a delicious warm chocolate cake.
Variations and Adaptations: Level Up Your Chocolate Lava Cake
Once you've mastered the basic easy chocolate lava cake recipe, feel free to experiment with variations to suit your taste.
Dark Chocolate Lava Cakes: For Intense Chocolate Lovers
If you prefer a richer, more intense chocolate flavor, simply use a higher percentage dark chocolate for your batter. Opt for chocolate with 70% cocoa content or higher.
Using darker chocolate will result in a less sweet cake with deeper, more complex chocolate notes. The melting point of very dark chocolate can be slightly different, but the overall method for this easy lava cake recipe remains the same. Be prepared for a truly sophisticated chocolate experience.
White Chocolate Lava Cakes: A Sweet and Elegant Twist
For a sweeter, creamier variation, try making white chocolate lava cakes. Replace the dark or semi-sweet chocolate with good quality white chocolate.
White chocolate behaves differently than dark chocolate when melting, so be extra careful not to overheat it. It can seize more easily. The resulting cake will be much sweeter and have a delicate vanilla-like flavor. The molten center might be less dramatically flowing than dark chocolate but will still be wonderfully soft and gooey.
Adding Flavors and Spices: Experimenting with Your Lava Cake Recipe
You can easily infuse your chocolate lava cakes with additional flavors. Add a splash of vanilla extract, a pinch of cinnamon, or even a tiny amount of chili powder to the batter for a hint of spice.
Citrus zest, like orange zest, pairs beautifully with chocolate and can be folded into the batter. A tablespoon of coffee liqueur or raspberry liqueur can also add depth and complexity. Start with small amounts and adjust to your preference in future batches of this versatile easy chocolate lava cake recipe.
Enjoy Your Homemade Chocolate Lava Cake: A BakeWithEase Treat!
Frequently Asked Questions
What makes this chocolate lava cake recipe "easy"?
This recipe focuses on simple steps and readily available ingredients, making it accessible even for beginner bakers. We break down the process for guaranteed success.
What if I don't have ramekins? Can I use something else?
While ramekins are ideal, you can use muffin tins, adjusting baking time slightly. Keep a close eye to ensure the center remains gooey.
How do I prevent the lava cakes from sticking to the ramekins?
Thoroughly grease and flour the ramekins before pouring in the batter. You can also use baking spray that contains flour for extra insurance.
How do I know when the lava cakes are done?
The edges should be set, but the center should still jiggle slightly. A toothpick inserted near the edge should come out mostly clean.
Can I prepare the batter ahead of time and bake later?
Yes, you can prepare the batter and refrigerate it for up to 24 hours. Let it sit at room temperature for about 15-20 minutes before baking to ensure even cooking.
Final Reflection: The Enduring Allure of the Perfect Chocolate Lava Cake
The simple act of creating a molten chocolate center, a moment of pure indulgence, remains surprisingly relevant in our fast-paced world. The ease and elegance of a perfectly executed chocolate lava cake offer a comforting counterpoint to the complexities of daily life; a small, delicious rebellion against the mundane.
The enduring appeal of this dessert lies not just in its rich taste, but in its ability to evoke feelings of warmth, comfort, and celebration. It's a dish that transcends generations, a testament to the power of simple pleasures. A perfect dessert is a little bit of heaven on Earth.
This sentiment, though cliché, rings profoundly true when savoring the decadent richness of a homemade lava cake. The process itself, from measuring ingredients to the satisfying crackle of the first bite, becomes a meditative ritual, a moment of mindful creation.
Now, I invite you to embrace the simplicity and joy of baking. Don't be intimidated by the seemingly complex task of creating a perfectly gooey center; this recipe proves it's surprisingly achievable. Try it for yourself, share it with loved ones, and experience the magic of transforming simple ingredients into a moment of pure, chocolatey bliss. Let the aroma fill your kitchen, and let the taste transport you. The perfect lava cake awaits.
Unleash Your Inner Chocolatier: Make Lava Cakes Tonight!
Thanks for joining us on this delicious journey into the world of gooey chocolate lava cakes! We hope you’ve picked up some valuable tips and tricks to perfect this decadent dessert. Now it's time to put your new skills to the test!
- Bake a batch of lava cakes tonight! Grab your ingredients and follow the recipe again. The second time is always even better.
- Share your creations! Post a picture on social media and tag us @BakeWithEase – we’d love to see your molten masterpieces!
- Experiment with different flavor variations: Try adding a pinch of chili flakes for a spicy kick, or swapping dark chocolate for milk chocolate for a sweeter treat.
Ready to experience the joy of perfectly gooey chocolate? What unique twist will you add to your next lava cake creation?