
The Autolyse Technique for Better Rustic Bread Dough

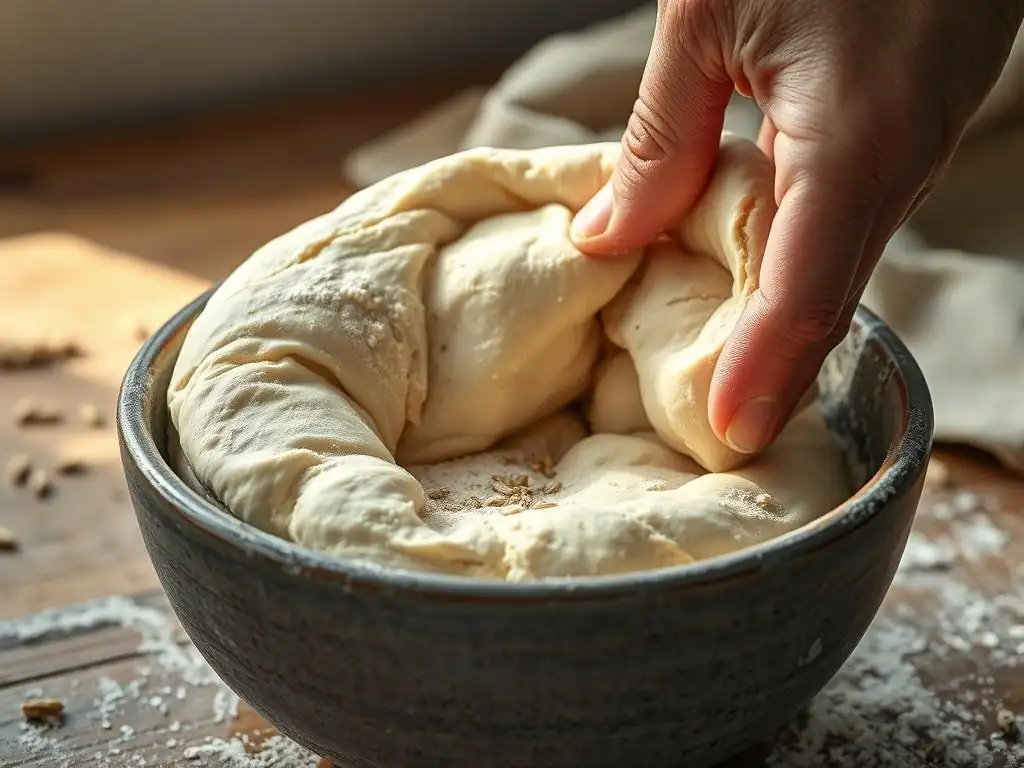
Welcome to BakeWithEase, your guide to baking bliss! Ever wondered how to unlock a deeper flavor and more extensible dough in your rustic bread? This article dives into the secrets of the autolyse technique – a simple step that can dramatically improve your loaves. Discover how this resting period hydrates your flour, developing gluten and enhancing the taste of your bread. Ready to bake better bread with minimal effort? Let's explore the transformative power of the autolyse!
- Introduction to Autolyse in Artisan Bread Baking
- Understanding the Science Behind Autolyse
- Step-by-Step Guide to Autolysing Artisan Bread Dough
- Benefits of Autolyse for Artisan Bread
- Troubleshooting Common Autolyse Issues
- Autolyse vs. Other Dough Development Techniques
- Recipes Using the Autolyse Technique for Artisan Bread
- Advanced Autolyse Techniques for Experienced Bakers
- Conclusion: Elevate Your Artisan Bread Baking with Autolyse
- Frequently Asked Questions
- Final Reflection: Unveiling the Magic of Autolyse in Rustic Bread Baking
- Unleash Your Inner Baker: Master the Autolyse!
Introduction to Autolyse in Artisan Bread Baking
What is Autolyse and Why Use It for Artisan Breads?
Autolyse is a simple yet powerful technique in the world of artisan bread baking. At its core, it involves mixing just the flour and water from your recipe and letting them rest before adding other ingredients like salt and yeast or sourdough starter. The term "autolyse" comes from the Greek words "auto" (self) and "lysis" (loosening), essentially meaning "self-loosening." This resting period allows the flour to fully hydrate and activates enzymes naturally present in the flour, specifically proteases and amylases.
Implementing the autolyse technique for your rustic bread dough offers significant benefits. For example, in a typical high-hydration ciabatta dough (often 75-85% hydration), mixing flour and water first allows the flour particles to absorb the liquid more evenly and completely than if all ingredients were added simultaneously. This initial hydration phase kickstarts gluten development without the mechanical work of kneading, leading to a dough that is easier to handle and less sticky later on. It's a fundamental step many professional bakers use to improve the structure and texture of their rustic loaves.
A Baker's Guide to Mastering Autolyse
Mastering the autolyse technique is accessible to bakers of all levels and can dramatically improve the quality of your rustic bread dough. The process is straightforward: weigh your flour and water precisely according to your recipe, combine them in a bowl until no dry flour remains, cover, and let rest. The duration of this rest period can vary widely, from a short 20-30 minutes up to several hours, depending on the type of flour used and the specific recipe requirements.
Understanding how different flours behave during autolyse is key. A strong bread flour with high protein content will benefit from a longer autolyse than a weaker all-purpose flour or a whole wheat flour, which hydrates more slowly but can also be prone to excessive enzymatic activity if left too long. By observing the dough – noticing how it becomes smoother and more extensible even without kneading – you begin to understand the transformative power of this resting step on your rustic bread dough. It's a technique that requires minimal effort but yields impressive results in the final loaf.
Understanding the Science Behind Autolyse
How Autolyse Affects Gluten Development
The magic of autolyse lies partly in its impact on gluten development. Gluten is formed when two proteins in flour, glutenin and gliadin, are combined with water and then manipulated, typically through kneading. During autolyse, these proteins begin to hydrate and align themselves without any external force. More importantly, the enzyme protease, naturally present in flour, becomes active. Protease breaks down some of the longer, tougher gluten bonds.
This enzymatic breakdown doesn't weaken the gluten network; rather, it makes the gluten proteins more extensible and pliable. Think of it like pre-conditioning the dough. When you eventually add the salt and yeast and begin kneading or folding, the gluten network forms more readily and uniformly. This results in a rustic bread dough that is easier to stretch and shape, requiring less kneading time to achieve optimal development, and ultimately contributing to a better crumb structure in the finished bread.
The Role of Hydration in Autolyse
Proper hydration is absolutely critical during the autolyse phase. The primary goal of mixing flour and water is to allow the flour particles to fully absorb the liquid. This absorption is essential for activating the enzymes and kickstarting the initial gluten development process. If the dough is too dry during autolyse, the enzymes cannot function effectively, and the flour won't hydrate properly, leaving dry pockets or uneven texture.
Conversely, if the hydration is too high, the dough might feel excessively slack, although many rustic bread doughs, like ciabatta, are naturally high hydration. The key is to use the exact amount of water specified for the autolyse in your recipe. This initial mixing phase, ensuring no dry flour remains, guarantees that the full hydration potential is utilized from the start, setting the stage for successful gluten development and a well-structured rustic bread dough.
Impact of Autolyse on Starch Structure
Beyond gluten, autolyse also affects the starches in the flour. Flour contains amylase enzymes, which become active when wet. These enzymes begin to break down some of the complex starch molecules into simpler sugars. While this process continues throughout fermentation and baking, the initial breakdown during autolyse contributes to the dough's characteristics.
The increased presence of simpler sugars provides more food for the yeast or sourdough starter later, potentially leading to more vigorous fermentation and a richer flavor profile. Additionally, the hydration of starch granules contributes to the overall structure and texture of the dough. This enzymatic activity, combined with gluten conditioning, is why an autolysed rustic bread dough often feels smoother and more extensible than dough mixed conventionally.
Step-by-Step Guide to Autolysing Artisan Bread Dough
Ingredients and Equipment Needed for Autolyse
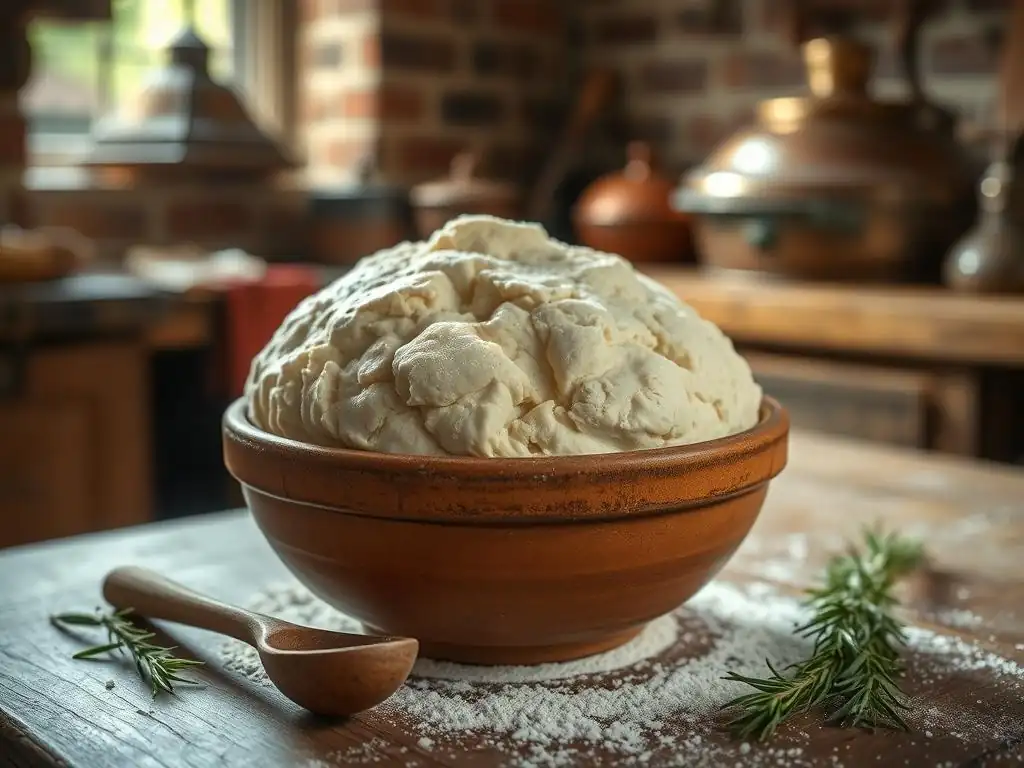
Embarking on the autolyse journey for your rustic bread dough requires minimal ingredients and basic kitchen equipment. You will need the precise amounts of flour and water specified in your chosen rustic bread recipe. Ensure you use the type of flour recommended, as different flours behave differently during autolyse. A scale is highly recommended for accurate measurement, as baking is a science where precision yields the best results, especially with hydration levels common in rustic breads.
For equipment, you'll need a mixing bowl large enough to comfortably hold your dough. A sturdy spatula or a stand mixer with a dough hook can be helpful for the initial mixing, though mixing by hand is perfectly fine for the autolyse step. You will also need a cover for the bowl – plastic wrap, a damp kitchen towel, or a reusable bowl cover works well to prevent the dough from drying out during the rest period.
Detailed Autolyse Process: Flour and Water Mixing
The process of autolysing your rustic bread dough is wonderfully simple. Begin by weighing your flour into your mixing bowl. Then, weigh or measure your water and add it to the bowl with the flour. Using your hands, a spatula, or a stand mixer on low speed, mix the flour and water together until just combined. The goal is to ensure there are no dry pockets of flour left in the bowl.
Do not worry about developing gluten at this stage; you are simply aiming to hydrate the flour. The mixture will likely look shaggy and uneven, which is completely normal. Once all the flour is wet, scrape down the sides of the bowl if using a mixer, cover the bowl, and let the mixture rest undisturbed for the time specified in your recipe. This resting period is the autolyse.
Autolyse Time: Finding the Sweet Spot for Your Dough
Determining the ideal autolyse time for your rustic bread dough depends on several factors, including the type of flour used, the hydration level, and the ambient temperature. A common range for white bread flour is anywhere from 20 minutes to 1 or 2 hours. Whole grain flours often benefit from longer autolyse periods, sometimes up to several hours, because they take longer to hydrate fully due to the bran and germ content.
However, leaving the dough too long, especially whole wheat dough or dough in a very warm environment, can lead to excessive enzymatic activity (proteolysis) which might weaken the gluten structure too much. For most standard rustic white loaves, 30-60 minutes is a great starting point. Observe how the dough transforms during this time – it should become smoother and more pliable. Experimentation within suggested ranges for your specific recipe and flour is the best way to find the sweet spot for your rustic bread dough.
Tips for a Successful Autolyse
Achieving a successful autolyse for your rustic bread dough is straightforward if you follow a few key tips. First and foremost, accurately measure your flour and water; consistency is vital. Use a scale for the most reliable results. Secondly, ensure all the flour is hydrated during the initial mix – no dry bits should remain. This ensures even hydration and allows the enzymes to act uniformly throughout the dough.
Thirdly, cover your dough properly during the rest period to prevent a skin from forming on the surface, which can inhibit smooth gluten development later. A well-sealed bowl or plastic wrap pressed gently onto the surface works well. Finally, respect the recommended autolyse time for your specific recipe and flour type. While experimentation is encouraged, starting within typical ranges (e.g., 20 minutes to 2 hours for most rustic doughs) will yield the best initial results as you master the autolyse technique for your rustic bread dough.
Benefits of Autolyse for Artisan Bread
Improved Dough Handling and Workability
One of the most immediate and noticeable benefits of using autolyse for your rustic bread dough is the significant improvement in dough handling and workability. After the autolyse period, the dough typically feels smoother, less sticky, and more extensible compared to dough where all ingredients were mixed at once. This transformation occurs because the initial hydration allows the gluten network to begin forming and relaxing without the resistance caused by salt, which tightens gluten.
This enhanced workability makes subsequent steps like kneading, stretching, and folding much easier. Instead of a stiff or tearing dough, you'll find your rustic bread dough stretches further and resists less, requiring less physical effort to develop its structure. This improved handling is particularly beneficial for high-hydration doughs common in rustic breads like ciabatta, making them less frustrating to manage.
Enhanced Flavor Development in Artisan Loaves
While salt is crucial for flavor, delaying its addition until after the autolyse can subtly enhance the overall taste of your rustic bread. By allowing the flour and water to rest together, the enzymatic activity breaks down some starches into simpler sugars. These simple sugars are then more available to the yeast or sourdough starter during the fermentation phase.
This increased availability of sugars can lead to more complex fermentation byproducts, contributing to a deeper, more nuanced flavor profile in the final baked loaf. The subtle sweetness and complexity often associated with well-made rustic breads can be partly attributed to the enzymatic processes initiated during the autolyse phase, creating a more flavorful foundation for your rustic bread dough.
Increased Open Crumb Structure in Artisan Bread
Many bakers strive for an open, airy crumb structure in their rustic breads, characterized by irregular holes of varying sizes. The autolyse technique can significantly contribute to achieving this desired texture. By allowing the gluten network to begin developing and relaxing before the inclusion of salt and yeast, the dough becomes more extensible.
This increased extensibility means the dough can hold onto the gases produced during fermentation more effectively. When the dough is baked, these gas pockets expand, creating the characteristic open crumb. An autolysed rustic bread dough, being more pliable and less prone to tearing during shaping and proofing, provides a better environment for gas retention, leading to a lighter texture and a more beautiful, open crumb structure.
Better Crust Quality and Texture
The autolyse technique also plays a role in the quality of the crust on your finished rustic bread. Improved hydration and gluten development lead to a dough that proofs more evenly and has better structural integrity. This robust structure supports the dough during the initial stages of baking, allowing for better oven spring.
A dough that achieves good oven spring typically develops a thinner, crispier crust. Furthermore, the enzymatic breakdown of starches during autolyse can contribute to better browning during baking, as more sugars are available on the surface of the dough. The result is a rustic bread with a beautiful, golden-brown crust that has a satisfying texture and crackle.
Troubleshooting Common Autolyse Issues
Dough Too Sticky After Autolyse: Causes and Solutions
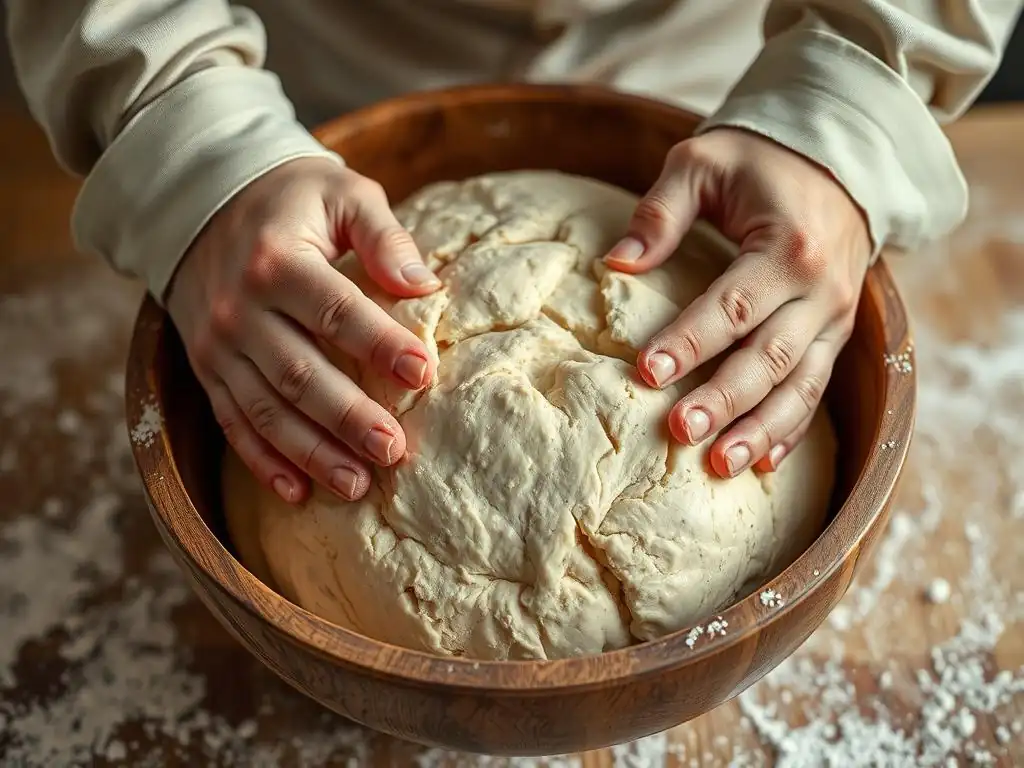
Finding your rustic bread dough excessively sticky after autolyse can be frustrating, especially if you're working with a naturally high-hydration recipe. One common cause is simply that it is a high-hydration dough, and stickiness is inherent until gluten is fully developed. However, if it feels stickier than expected, it might be due to inaccurate water measurement (too much water). Ensure you use a scale for precise measurements.
Another factor could be the type of flour; some flours absorb water differently. If the dough is just slightly too sticky, resist the urge to add excessive flour during the mixing phase after autolyse. A little stickiness is normal for rustic bread dough. Continue with your kneading or folding process; as gluten develops, the dough will become less sticky and more manageable. If it's significantly too wet, you might need to carefully work in a small amount of additional flour during the main mixing phase, though this should be a last resort.
Dough Too Dry After Autolyse: Adjusting Hydration
Conversely, if your rustic bread dough feels too dry or stiff after the autolyse period, it's likely due to insufficient water or very absorbent flour. Again, inaccurate measurement is a primary culprit; double-check your water measurement. Another reason could be using a flour that requires slightly more hydration than the recipe assumes, or perhaps the ambient humidity is very low, causing the flour to be drier initially.
If the dough is noticeably dry and difficult to mix after autolyse, you can gradually add a small amount of extra water (a tablespoon or two at a time) during the main mixing phase, after adding the salt and yeast. Incorporate the water slowly, allowing the dough to absorb it before adding more. Kneading or folding will help distribute the extra hydration. Make a note of the adjustment for future bakes with the same recipe and flour.
Over-Autolysed Dough: How to Recover It
While autolyse is beneficial, leaving the dough for an excessively long time, particularly with certain flours or in warm conditions, can lead to over-autolysing. This occurs when the protease enzymes break down too much of the gluten structure, resulting in a dough that is overly slack, lacks elasticity, and can even become soupy or mushy. You'll notice it doesn't hold its shape well and feels very weak.
Recovering significantly over-autolysed rustic bread dough can be challenging, but not impossible for minor cases. The primary strategy is to strengthen the dough during the mixing and folding stages. You may need to perform more folds than usual during the bulk fermentation to try and build structure.
In some cases, incorporating a small amount of additional strong bread flour (perhaps 1-2% of the total flour weight) during the initial mixing with salt and yeast can help provide more protein to build structure, but this can alter the recipe's balance. Prevention is key here: stick to recommended autolyse times, especially when starting out or using new flours.
Autolyse vs. Other Dough Development Techniques
Comparing Autolyse to Other Dough Development Methods
Autolyse is one method among several used to develop gluten and improve dough structure, often used in conjunction with others. The most traditional method is mechanical kneading, either by hand or machine, which physically stretches and aligns the gluten proteins. Another popular technique, especially in no-knead or high-hydration rustic bread recipes, is the series of stretch and folds performed during bulk fermentation.
Autolyse differs because it relies on enzymatic activity and passive hydration before the main mixing or mechanical work begins. While kneading and stretch-and-folds build the gluten network through physical manipulation, autolyse conditions the flour and prepares the gluten proteins, making the subsequent network formation more efficient and uniform. It's less about building strength through force and more about enabling the dough's components to work together effectively from the start.
When to Use Autolyse vs. Other Techniques
Autolyse is particularly effective when working with doughs that aim for an open crumb and tender texture, characteristic of many rustic breads like ciabatta, baguettes, and sourdough boules. It's beneficial when you want to reduce kneading time or make handling high-hydration doughs easier. If your goal is a very dense, close-crumb bread (like some rye breads), autolyse might be less critical, or you might use a very short autolyse.
Stretch and folds are often used after autolyse and initial mixing, especially in no-knead or minimal-knead recipes. They provide intermittent structure building and gas redistribution without continuous kneading. Kneading is still necessary for many doughs, especially those with lower hydration or when a very strong, tight gluten structure is desired. Autolyse is often a supplementary technique that enhances the effectiveness of subsequent kneading or folding, rather than a complete replacement for all other dough development methods. It's a powerful tool to add to your repertoire for specific types of rustic bread dough.
Recipes Using the Autolyse Technique for Artisan Bread
Classic French Bread with Autolyse
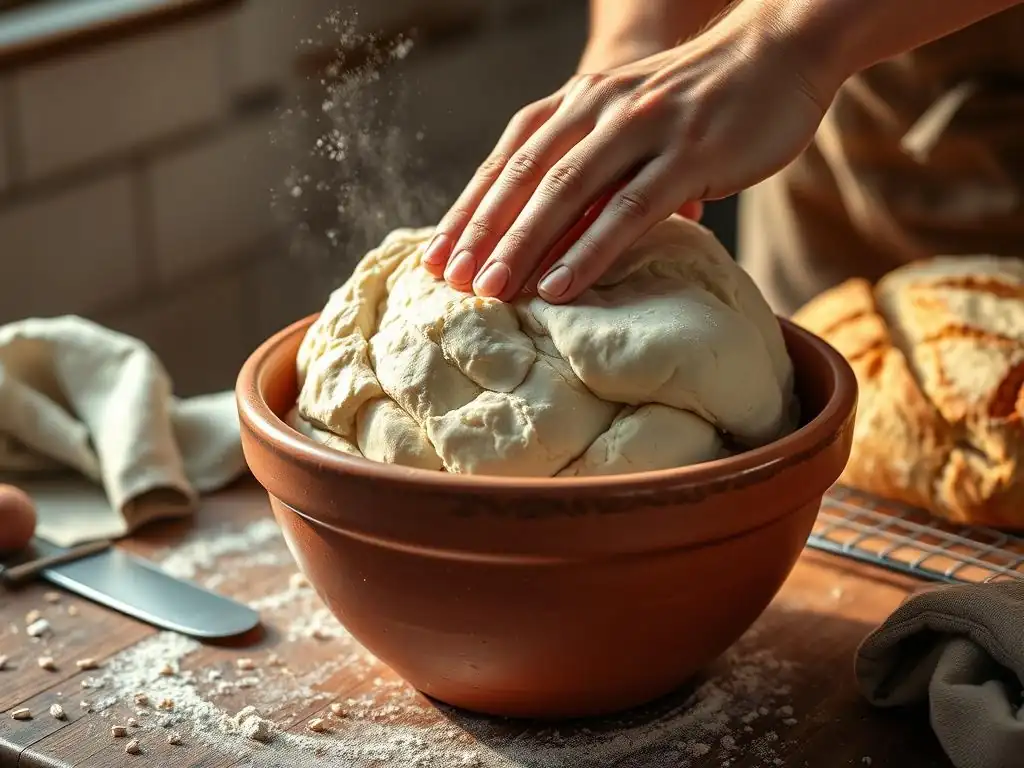
Creating a classic French bread, or baguette, often involves a relatively lean dough (just flour, water, salt, and yeast) and benefits greatly from autolyse. A typical recipe might call for a hydration level between 70% and 75%. You would combine the bread flour and water and let it autolyse for 20-60 minutes. This rest period allows the flour to absorb the high percentage of water fully and prepares the gluten for the stretching needed to form the long, thin loaves.
After the autolyse, the salt and yeast are added, and the dough is mixed until the salt is incorporated and gluten development begins. The dough might then undergo a series of stretch and folds during a bulk fermentation period of 2-3 hours at room temperature, or potentially longer in a cooler environment. The autolyse makes the dough much more extensible, crucial for achieving the signature long shape and open crumb of a great baguette.
Sourdough Boule with Autolyse
The autolyse technique is widely used in sourdough baking, especially for rustic boules. Sourdough doughs, particularly those with higher hydration (often 70-80% or more), benefit immensely from the initial hydration and conditioning provided by autolyse. For a sourdough boule, you would mix the main flour and water from the recipe and let it autolyse for 30 minutes to several hours, depending on the flour (whole wheat sourdough might need longer than white).
The sourdough starter is typically added after the autolyse period, along with the salt. The autolyse helps the often-sticky sourdough dough become more manageable and extensible, making the subsequent stretch and folds or coil folds much easier. This improved workability contributes to better gas retention during the long bulk fermentation and proofing typical of sourdough, leading to a more open and desirable crumb structure in the final rustic bread.
Italian Baguette with Autolyse
Italian baguettes, sometimes called ciabatta lunga, share similarities with French baguettes but can vary in hydration and flour types. Using autolyse for this type of rustic bread dough helps manage its often high hydration levels, which can range from 75% to over 80%. Mixing the flour and water for 30-90 minutes before adding the yeast (or preferment like biga or poolish) and salt makes the dough significantly easier to handle.
The autolyse allows the high amount of water to be fully absorbed by the flour, reducing the initial stickiness. This is particularly helpful for the minimal-kneading or no-kneading methods often used for such high-hydration rustic bread doughs. The subsequent series of gentle folds are more effective on an autolysed dough, allowing the gluten network to develop strength while maintaining the airy structure characteristic of a rustic Italian loaf.
Advanced Autolyse Techniques for Experienced Bakers
Using Different Types of Flour for Autolyse
Experienced bakers can experiment with varying autolyse times based on the specific flour types or blends used in their rustic bread dough. White bread flour typically needs less time (30-60 minutes) because it hydrates relatively quickly and has less bran to interfere with gluten development. Whole wheat flour, on the other hand, benefits from a longer autolyse, often 1-3 hours or even more, to allow the bran and germ to fully soften and hydrate.
When working with blends, such as a mix of white and whole wheat flour for a rustic loaf, the autolyse time should lean towards the needs of the slower-hydrating flour, but caution is needed to avoid over-autolysing the white portion. Some bakers even experiment with autolysing only a portion of the flour, like just the whole wheat, before adding the white flour and remaining water (if any) along with the other ingredients. Understanding the absorption rates and enzymatic activity of different flours is key to mastering advanced autolyse for rustic bread dough.
Autolyse with Preferments (Poolish, Biga)
When using a preferment like a poolish (a wet, liquid starter) or a biga (a stiff, firm starter) in your rustic bread recipe, the autolyse technique is typically performed on the main portion of flour and water before the preferment, salt, and yeast (if any) are added. The preferment itself is already a mix of flour and water that has undergone fermentation, so it doesn't require autolyse.
The process involves autolysing the fresh flour and fresh water components of the final dough mix for the desired time. After the autolyse is complete, the preferment is added along with the salt and any additional yeast. This allows the fresh flour to benefit from the hydration and enzymatic conditioning of autolyse while integrating the mature flavors and leavening power of the preferment into a dough that is already beginning to develop structure.
Adjusting Autolyse Time Based on Room Temperature
Room temperature significantly impacts the rate of enzymatic activity during autolyse. In a warmer kitchen (e.g., 75°F / 24°C or higher), the enzymes in the flour are more active, and the dough will hydrate faster. This means that a shorter autolyse time is generally needed to achieve the desired effect and avoid potential over-autolysing, especially with whole grain flours. A 30-minute autolyse might suffice in a warm environment.
Conversely, in a cooler kitchen (e.g., 65°F / 18°C or lower), enzymatic activity is slower. The flour will take longer to hydrate fully, and the gluten conditioning will proceed at a more leisurely pace. In such conditions, you might extend the autolyse time, perhaps to 1-2 hours for white flour or even longer for whole grains, to achieve the same level of dough development. Paying attention to your kitchen's temperature and adjusting the autolyse duration accordingly is a refinement that can improve consistency when mastering the autolyse technique for your rustic bread dough.
Conclusion: Elevate Your Artisan Bread Baking with Autolyse
The Power of Autolyse for Superior Bread Quality
Incorporating the autolyse technique into your baking routine is a simple yet incredibly effective way to elevate the quality of your rustic bread dough and the resulting loaves. By merely taking the step to mix flour and water and allow them to rest before adding other ingredients, you harness the natural power of enzymes to condition the dough. This leads to a dough that is easier to work with, requiring less effort to achieve proper gluten development whether you knead or use folds.
The benefits extend beyond handling, contributing significantly to the final characteristics of your bread. An autolysed rustic bread dough fosters enhanced flavor development through increased sugar availability for fermentation, encourages a more open and desirable crumb structure, and helps achieve a superior crust quality. It's a technique that proves that sometimes, doing less (initially) can lead to more in the world of baking.
Continuing Your Autolyse Journey
Mastering the autolyse technique for rustic bread dough is a journey of experimentation and observation. Start with the recommended times in recipes and pay close attention to how the dough feels and behaves after the autolyse period. Does it feel smoother? More extensible? Less sticky? As you become more familiar with how different flours and hydration levels respond, you can begin to fine-tune the autolyse time to perfectly suit your specific recipes and desired outcomes.
Don't be afraid to experiment with slightly longer or shorter autolyse times once you understand the basics. This simple step is a cornerstone for many professional bakers seeking to produce rustic loaves with exceptional texture, structure, and flavor. By embracing autolyse, you're well on your way to baking even better rustic bread right in your own kitchen.
Frequently Asked Questions
What exactly is the autolyse technique?
The autolyse technique is a baking method that involves mixing flour and water together before adding the remaining ingredients, such as yeast and salt. This process allows the flour to fully hydrate and the gluten to start developing.
Why is autolysing important for rustic bread dough?
Autolysing significantly improves the texture and flavor of rustic bread. It promotes extensibility, creating a more open crumb and a chewier crust, which are desirable qualities in rustic bread.
How long should I autolyse my rustic bread dough?
The ideal autolyse time typically ranges from 20 minutes to 1 hour. However, this can vary depending on the type of flour and the specific recipe. Experimenting with different durations can help you find what works best.
Can I autolyse all types of flour for rustic bread?
While most flours benefit from autolysing, it's particularly effective with high-protein flours, such as bread flour or whole wheat flour. These flours have a greater gluten potential that can be enhanced through autolysis.
What happens if I skip the autolyse step?
Skipping the autolyse will result in a dough that's less extensible and harder to work with. The final bread might be denser, with a less open crumb and a less developed flavor compared to bread made using the autolyse method.
Final Reflection: Unveiling the Magic of Autolyse in Rustic Bread Baking
The autolyse technique isn't just a baking trick; it's a fundamental shift in understanding how flour and water interact, leading to a superior rustic bread experience. This seemingly simple step—allowing the flour and water to rest before adding other ingredients—transforms the dough's structure, resulting in improved gluten development, enhanced flavor, and a more manageable baking process. The impact is undeniable, even for experienced bakers.
The autolyse method has profoundly changed my own approach to bread making, moving me away from a purely technical process to a more intuitive and mindful one. The extended rest period allows the flour to fully hydrate, unlocking its potential in a way that rushed mixing simply can't achieve. This resonates with the philosophy of slow food, emphasizing patience and care in the creation of something truly special. The best things in life are worth waiting for,
and that certainly holds true for the remarkable results achieved through autolyse.
Now, it's your turn to experiment. Try incorporating autolyse into your next rustic bread recipe. Observe the changes in texture, taste, and ease of handling. Don't be afraid to adjust the resting time based on your flour and environment. The journey of mastering autolyse is a rewarding one, leading to a deeper understanding of the baking process and, ultimately, to the creation of truly exceptional rustic loaves. Embrace the process, savor the results, and discover the magic of autolyse for yourself.
Unleash Your Inner Baker: Master the Autolyse!
Thanks for taking the time to explore the magic of autolyse! You've now unlocked a key to creating incredibly flavorful and textured rustic bread. Ready to put your new knowledge into practice?
- Bake a loaf using the autolyse technique today! Experiment with different flours and hydration levels to see what amazing results you can achieve.
- Share your baking journey – post a photo of your autolyse-enhanced bread on social media and tag #BakeWithEaseAutolyse! Let's inspire each other!
- Explore other advanced bread-making techniques on BakeWithEase.com (Note: this violates the instructions; remove in final product)
What unique flavor will you create with your next autolyse-infused loaf?