
Quick Dessert Tarts Anyone Can Make

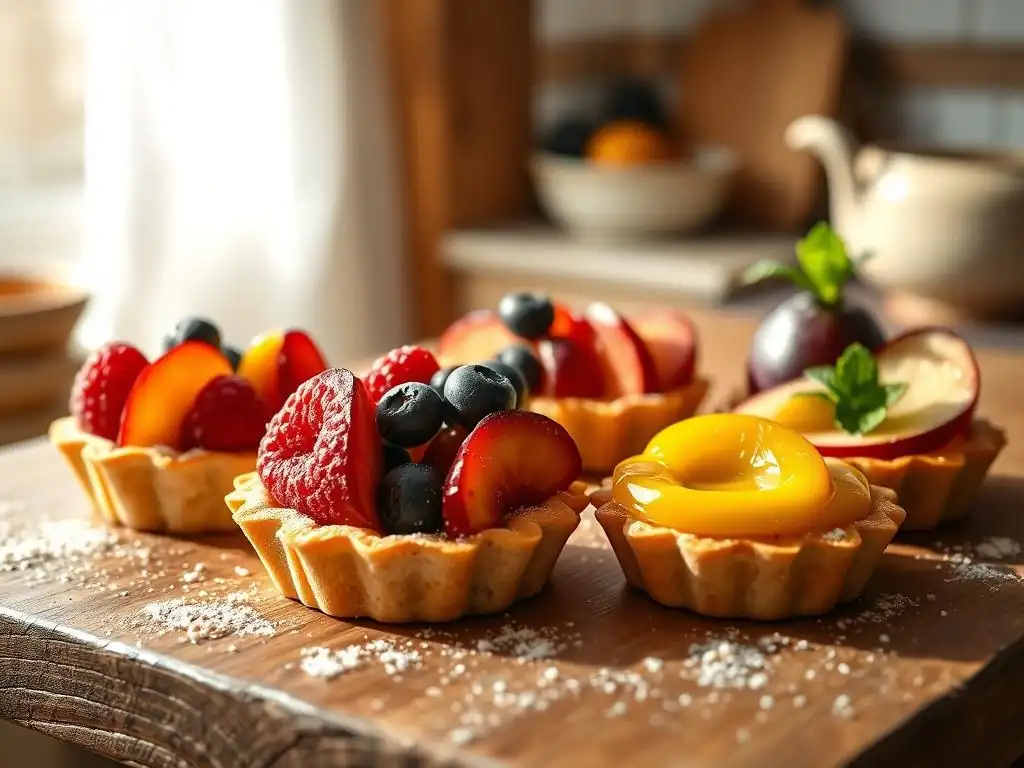
Welcome to BakeWithEase, your baking sanctuary! Ever dream of creating stunning desserts without the fuss? You're in the right place. Today, we're demystifying the art of the perfect dessert, starting with an easy dessert tarts recipe that anyone can conquer. Intrigued? Let's unlock the secrets to creating these delightful treats and watch your baking confidence soar!
- No-Bake Mini Cheesecakes: An Easy Dessert Recipe
- Introduction: Simple No-Bake Cheesecakes for Beginners
- Why These No-Bake Mini Cheesecakes Are Perfect for Beginner Bakers
- The Easiest No-Bake Mini Cheesecake Recipe: Step-by-Step Guide
- Variations and Customization: Elevate Your Easy Cheesecakes
- Troubleshooting Common No-Bake Cheesecake Problems
- Serving and Storing Your Homemade No-Bake Mini Cheesecakes
- Conclusion: Enjoy Your Effortless & Delicious No-Bake Mini Cheesecakes
- Frequently Asked Questions
- Final Reflection: The Sweet Simplicity of Effortless Baking
- Unleash Your Inner Pastry Chef!
No-Bake Mini Cheesecakes: An Easy Dessert Recipe
Introduction: Simple No-Bake Cheesecakes for Beginners
DessertDelights Presents: Your Gateway to Easy Cheesecake Making
Welcome to the wonderful world of baking made simple! At BakeWithEase, we believe that creating delicious desserts should be fun and accessible for everyone, regardless of your experience level. That's why we're thrilled to share this incredibly easy no-bake mini cheesecake recipe, perfect for anyone just starting their baking journey or looking for a quick sweet fix without turning on the oven. These little delights prove that you don't need complicated techniques or fancy equipment to whip up something truly special.
This simple no-bake cheesecake method focuses on minimal steps and readily available ingredients, making it an ideal first project for beginner bakers. Forget the stress of water baths, cracked tops, or lengthy baking times. Our approach ensures a smooth, creamy filling and a crisp crust every time, offering a taste of success right from your very first attempt. Get ready to impress yourself and your loved ones with these effortless and utterly delicious mini cheesecakes!
Why These No-Bake Mini Cheesecakes Are Perfect for Beginner Bakers
Minimal Ingredients for Maximum Flavor
One of the greatest advantages of this easy no-bake cheesecake recipe is its reliance on just a handful of common ingredients. You likely have most of them in your pantry or can easily find them at any grocery store. We're talking about staple items like cream cheese, sugar, and graham crackers. This simplicity not only keeps your shopping list short but also reduces the complexity of the recipe itself, minimizing the chances of errors often associated with recipes requiring many different components.
Unlike traditional baked cheesecakes that might call for eggs, sour cream, or specific leavening agents, this no-bake version strips it down to the essentials. The focus remains purely on achieving a rich, creamy texture and classic cheesecake flavor with minimal fuss. It’s a perfect introduction to working with dairy bases and creating simple crusts, building confidence for more complex baking projects down the line. This easy cheesecake recipe truly lives up to its name by keeping things straightforward and delicious.
Quick Preparation Time: Dessert in Minutes
Time is often a barrier for beginner bakers, but this easy dessert recipe shatters that barrier. The active preparation time for these no-bake mini cheesecakes is surprisingly short, often less than 30 minutes from start to finish. This speed is possible because there's no oven time required; the magic happens in your refrigerator. You can whip up the crust, prepare the filling, assemble the cheesecakes, and have them chilling in the fridge in under an hour.
This rapid turnaround makes it an ideal recipe for impromptu gatherings, last-minute dessert cravings, or simply when you want to enjoy a sweet treat without spending hours in the kitchen. While chilling time is necessary for the cheesecakes to set, the hands-on work is minimal, leaving you with more time to focus on other tasks or simply relax while your easy cheesecakes firm up. It’s efficiency and deliciousness rolled into one simple recipe.
No Special Equipment Needed: Make With What You Have
Another fantastic feature of this easy no-bake mini cheesecake recipe is that it doesn't require any specialized baking equipment. You don't need a stand mixer, a springform pan, or a water bath setup. Most home kitchens are already equipped with everything necessary to make these delightful desserts. A mixing bowl, a whisk or electric hand mixer, a spoon, and a muffin tin are typically all you need.
This accessibility means you can dive into making these easy cheesecakes right away without needing to invest in expensive tools. The process is designed to be simple, relying on basic techniques like mixing and pressing. Even crushing graham crackers can be done easily with a zip-top bag and a rolling pin or even the bottom of a sturdy glass. It's baking that adapts to your kitchen, not the other way around, making it a truly beginner-friendly experience.
The Easiest No-Bake Mini Cheesecake Recipe: Step-by-Step Guide
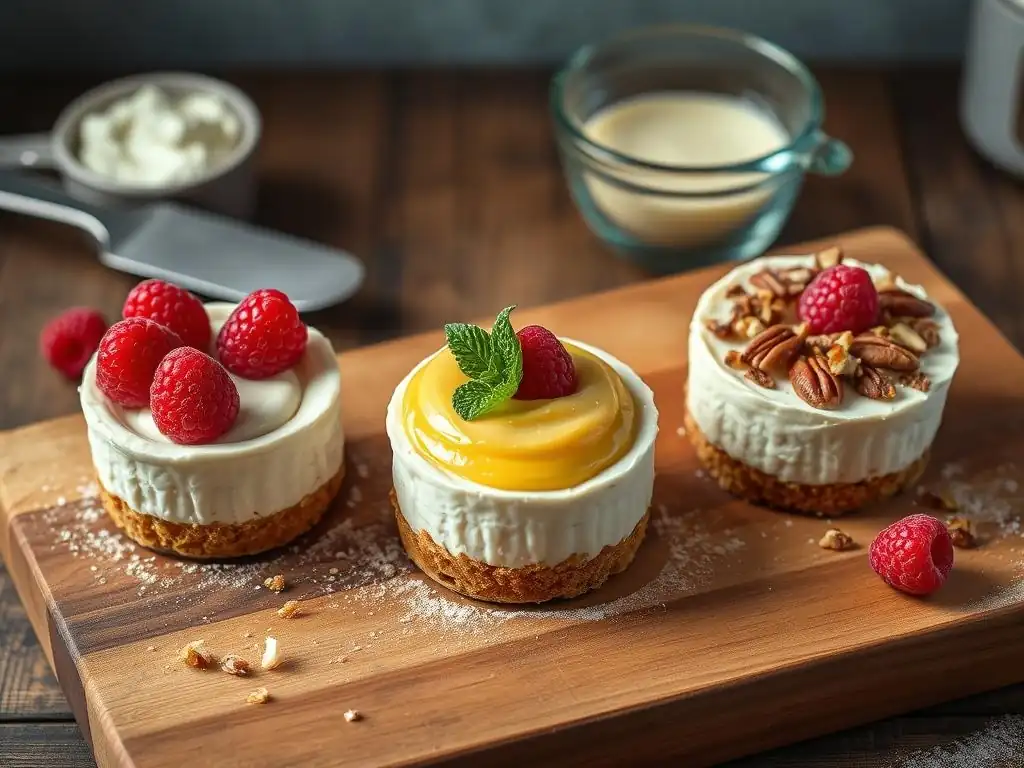
Ingredients for Your Quick No-Bake Mini Cheesecakes
Making these easy no-bake cheesecakes is simple, and it starts with gathering just a few key ingredients. We're aiming for about 12 mini cheesecakes, which fit perfectly in a standard muffin tin. Ensure your cream cheese is softened to room temperature; this is crucial for a smooth filling. Using full-fat cream cheese generally yields the creamiest result, though reduced-fat can work with slight texture differences.
For the crust, graham crackers are classic, but you can experiment later with other cookie types. Unsalted butter is preferred for melting into the crust mixture, providing the binding element. The filling relies on cream cheese, powdered sugar (which dissolves easily), a touch of vanilla extract for flavor, and often a stabilizing element like whipped cream or sometimes a little milk or condensed milk, though many simple recipes rely just on the cream cheese and sugar setting when cold.
List of Ingredients (with Quantities)
Here are the approximate quantities needed for 12 mini no-bake cheesecakes:
- 1 ½ cups (about 10-12 full sheets) graham cracker crumbs
- ½ cup (1 stick) unsalted butter, melted
- 2 blocks (16 oz total) cream cheese, softened
- ½ cup powdered sugar (confectioners' sugar)
- 1 teaspoon vanilla extract
- ¼ cup milk or heavy cream (optional, for smoother consistency)
Preparing the Crust: A Simple Method
The crust for these easy cheesecakes is incredibly straightforward. The goal is a crumb mixture that holds together when pressed but isn't rock hard. Start by crushing your graham crackers into fine crumbs. This can be done by hand in a bag or pulse them in a food processor if you have one. Aim for a sandy texture with no large pieces.
Once you have your crumbs, melt the butter gently. You can do this in a microwave or on the stovetop. Pour the melted butter over the graham cracker crumbs in a bowl and stir until everything is evenly moistened. The mixture should resemble wet sand and clump together slightly when you squeeze it. This simple mixture is the foundation for your delicious mini cheesecakes.
Crushed Graham Cracker Crust Recipe
- Place graham crackers in a zip-top bag and crush finely with a rolling pin, or use a food processor.
- Transfer crumbs to a medium bowl.
- Melt butter and pour over crumbs.
- Stir well with a fork or spoon until all crumbs are coated.
- Optional: Add 1-2 tablespoons of sugar to the crumbs before adding butter for a sweeter crust.
- The mixture is ready to be pressed into your muffin tin.
Preparing the Creamy Cheesecake Filling
The filling is the heart of this easy no-bake cheesecake recipe, and getting it smooth is key. Ensure your cream cheese is truly softened; cold cream cheese will result in lumps. In a medium bowl, beat the softened cream cheese until it's light and fluffy. An electric mixer makes this quick, but a sturdy whisk and some elbow grease work too.
Gradually add the powdered sugar to the cream cheese, mixing until fully combined and smooth. Powdered sugar is preferred over granulated sugar because it dissolves instantly, preventing a grainy texture. Stir in the vanilla extract. If using milk or cream for a slightly softer, creamier consistency, beat it in gradually until the mixture is uniformly smooth and free of lumps. Taste and adjust sweetness if desired, but remember toppings will add sweetness too.
Step-by-Step Filling Instructions
- Ensure cream cheese is at room temperature.
- In a bowl, beat cream cheese until smooth and fluffy.
- Gradually add powdered sugar, mixing until fully incorporated and smooth.
- Stir in vanilla extract.
- Optional: Add milk or cream and mix until the filling is creamy and lump-free.
- Your easy cheesecake filling is ready for assembly.
Assembling Your Easy No-Bake Mini Cheesecakes
Assembling these mini cheesecakes is a simple process. You'll need a standard muffin tin, and lining it with paper liners is highly recommended for easy removal. If you don't have liners, greasing the tin well can work, but liners make it much simpler, especially for beginners.
Begin by placing a spoonful or two of the graham cracker crust mixture into the bottom of each lined muffin cup. Use the back of a spoon or a small glass to firmly press the crumbs into an even layer. Compacting the crust is important so it doesn't crumble when you remove the cheesecakes. Next, spoon or pipe the creamy cheesecake filling over the crust in each cup, filling them nearly to the top. Smooth the tops with the back of a spoon or an offset spatula.
Step-by-Step Assembly Instructions
- Line a standard 12-cup muffin tin with paper liners.
- Place about 1-2 tablespoons of prepared crust mixture into the bottom of each liner.
- Firmly press the crust mixture down using the back of a spoon or a small glass.
- Spoon or pipe the cheesecake filling over the crusts, dividing it evenly among the cups.
- Smooth the tops of the filling in each cup.
- Your mini cheesecakes are assembled and ready for chilling.
Chilling Your No-Bake Mini Cheesecakes to Perfection
Chilling is the critical final step for these easy no-bake cheesecakes. Unlike baked versions that set in the oven, these rely on cold temperatures to firm up the cream cheese filling and solidify the butter in the crust. Placing them in the refrigerator allows the ingredients to bind together, transforming the creamy mixture into a sliceable (or rather, peelable!) cheesecake consistency.
Adequate chilling time ensures the cheesecakes hold their shape when removed from the tin and liners. Rushing this step can result in a soft, messy dessert. While they might seem firm enough after an hour, giving them sufficient time allows the flavors to meld and the texture to become truly cheesecake-like.
Optimal Chilling Time
For best results, these easy no-bake mini cheesecakes should chill for a minimum of 2-3 hours. This allows the filling to set completely and the crust to firm up.
- Quick Chill: 1 hour (may be slightly soft)
- Recommended Chill: 2-3 hours (firm enough to handle)
- Best Chill: 4+ hours or overnight (fully set, best texture)
Tips for Easy Removal from Muffin Tin
Using paper liners is the easiest way to ensure clean removal. Once chilled, gently lift each cheesecake out of the muffin tin by the edges of the liner.
- If not using liners, ensure the muffin tin was greased very generously. You may need to run a thin knife around the edge of each cheesecake before attempting to lift it out.
- Pro Tip: Sometimes, placing the chilled tin in the freezer for 10-15 minutes can make removal even easier, as it firms everything up slightly more.
Variations and Customization: Elevate Your Easy Cheesecakes
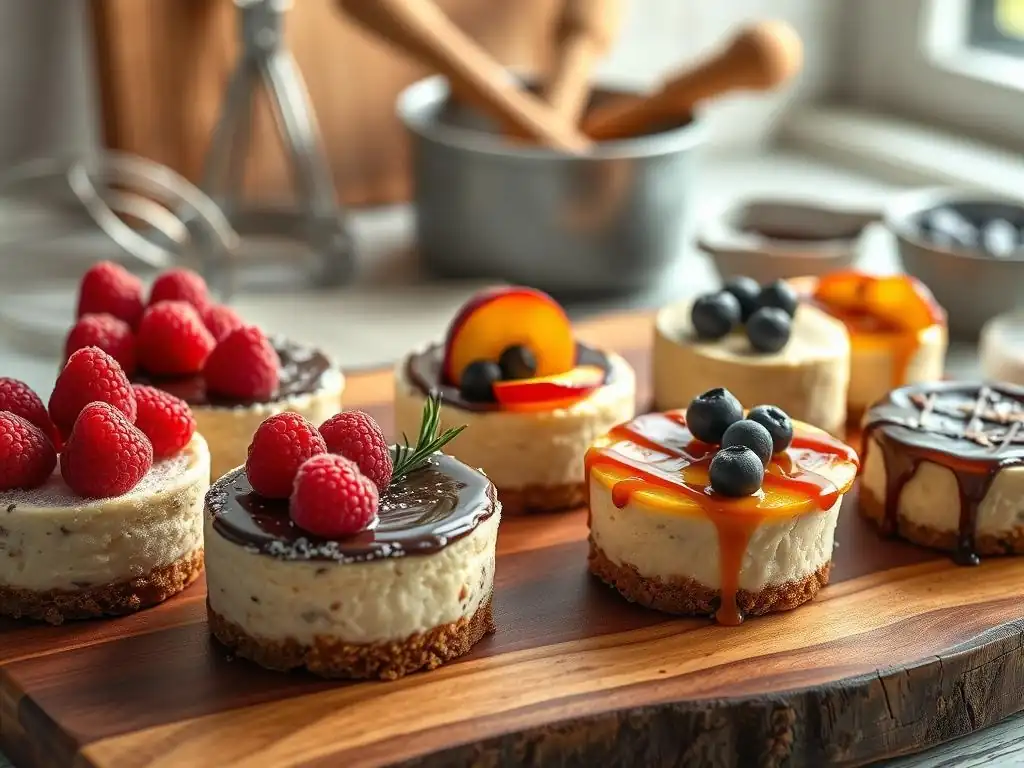
Once you've mastered the basic easy no-bake cheesecake recipe, the fun really begins with customization! These mini cheesecakes are a fantastic base for a wide variety of flavors and textures. Think of them as a blank canvas ready for your creative touch. Simple additions or swaps can transform the dessert entirely, allowing you to cater to different tastes or occasions without needing a whole new recipe.
Experimenting with variations is a great way for beginner bakers to see how small changes impact the final product. You can explore different flavor profiles, add pops of color, or introduce contrasting textures like crunch or chewiness. The ease of the base recipe means you can focus your attention on the exciting world of toppings and mix-ins, making each batch a unique culinary adventure.
Different Topping Options for Cheesecakes
Toppings are perhaps the easiest way to add flair to your easy no-bake mini cheesecakes. Fresh fruit is a classic choice; sliced strawberries, blueberries, raspberries, or a mix of berries add natural sweetness and a beautiful pop of color. A simple fruit compote or sauce, like a quick berry coulis or cherry pie filling, also works wonderfully, providing a slightly richer, cooked fruit flavor.
Beyond fruit, consider chocolate shavings, a drizzle of caramel or hot fudge sauce, chopped nuts, or even a dollop of whipped cream. Edible glitter or sprinkles can add a festive touch for special occasions. The beauty is that you can top each mini cheesecake differently, offering a variety of flavors from a single batch – perfect for pleasing diverse palates!
Adding Extracts or Zest for Flavor Enhancement
Infusing the cheesecake filling itself with flavor is another simple way to customize. While vanilla extract is standard, you can easily swap it or add other extracts. A few drops of almond extract can give a subtle nutty note, peppermint extract is great for a holiday twist, or lemon extract can brighten the flavor profile.
Citrus zest is another fantastic addition. Finely grated lemon, lime, or orange zest can be mixed into the cream cheese filling for a fresh, tangy dimension that complements the richness of the cheese. Just be sure to use only the colored part of the peel, avoiding the bitter white pith. Start with a small amount, like ½ to 1 teaspoon of zest, and add more to taste.
While graham cracker is traditional, the easy crust method works with many other types of cookies. Crushed Oreo cookies (with or without the filling) make a rich, dark chocolate crust that pairs wonderfully with the creamy filling. Ginger snaps offer a spicy, warm base, while shortbread or vanilla wafers provide a buttery, delicate foundation.
The process is the same: crush the cookies into crumbs, mix with melted butter, and press into the muffin tin. The amount of butter might need slight adjustment depending on the cookie's fat content and how fine the crumbs are, but typically the ½ cup butter to 1 ½ cups crumbs ratio is a good starting point. This allows you to create entirely different flavor combinations just by changing the crust!
Troubleshooting Common No-Bake Cheesecake Problems
Even with the easiest recipes, sometimes things don't go exactly as planned. Troubleshooting is a normal part of the baking process, and understanding common issues with no-bake cheesecakes can help you fix them or prevent them from happening in the first place. Don't get discouraged if your first attempt isn't perfect; learning from these experiences is how you grow as a baker!
Most issues with easy no-bake cheesecakes relate to texture – either the filling isn't setting correctly or the crust isn't holding together. These problems are usually easy to diagnose and fix for future batches. Armed with a few simple tips, you can ensure your next batch of easy cheesecakes turns out perfectly smooth and stable.
Filling Not Setting Properly
If your no-bake cheesecake filling is too soft or doesn't firm up after chilling, the most common culprit is insufficient chilling time or using ingredients that weren't cold enough after mixing. While the cream cheese should be soft before mixing, the final assembled cheesecake must be thoroughly chilled to set. Another factor can be the ratio of ingredients; too much liquid (like milk or cream) compared to cream cheese can also result in a softer set.
To fix a filling that's too soft after chilling, the simplest solution is more chilling time. Pop them back in the fridge for several more hours or even overnight. If the mixture seemed too loose before chilling, you could try adding a small amount of a stabilizer like melted white chocolate (cooled) or a tiny bit of dissolved gelatin (use carefully, as too much can make it rubbery) to the mixture before chilling, though this adds complexity. For future batches, ensure you chill for the recommended minimum time and check your ingredient ratios.
Crust Too Crumbly
A crumbly crust is usually due to not enough butter or not pressing the mixture firmly enough into the tin. The melted butter acts as the glue that holds the crumbs together once chilled. If there isn't enough butter relative to the amount of crumbs, the crust won't bind properly and will fall apart easily when you try to remove the cheesecake.
To prevent a crumbly crust, make sure your butter-to-crumb ratio is correct (around ½ cup butter to 1.5 cups crumbs is a good starting point). Also, take the time to really press the mixture down firmly into the bottom of each muffin cup. Use the back of a spoon, a small glass, or even your fingers to compact it well. If your crust is already crumbly after chilling, there's not much you can do to fix it for that batch, but remember the butter and pressing tips for next time!
Cheesecakes Sticking to the Muffin Liners
While paper liners are designed to prevent sticking, occasionally they can still cling to the cheesecake, especially if the filling is very cold or the liners are very thin. This isn't a major issue for the taste, but it can make serving less clean.
To minimize sticking, use good quality paper liners. Silicone muffin liners are also a great reusable option that releases very cleanly. Ensure the cheesecakes are sufficiently chilled; sometimes, being too cold can make the paper stick more, but usually, it helps with structure. If you're having trouble peeling the liner off, try letting the cheesecake sit at room temperature for just a minute or two; the slight warmth can help the paper release more easily.
Serving and Storing Your Homemade No-Bake Mini Cheesecakes
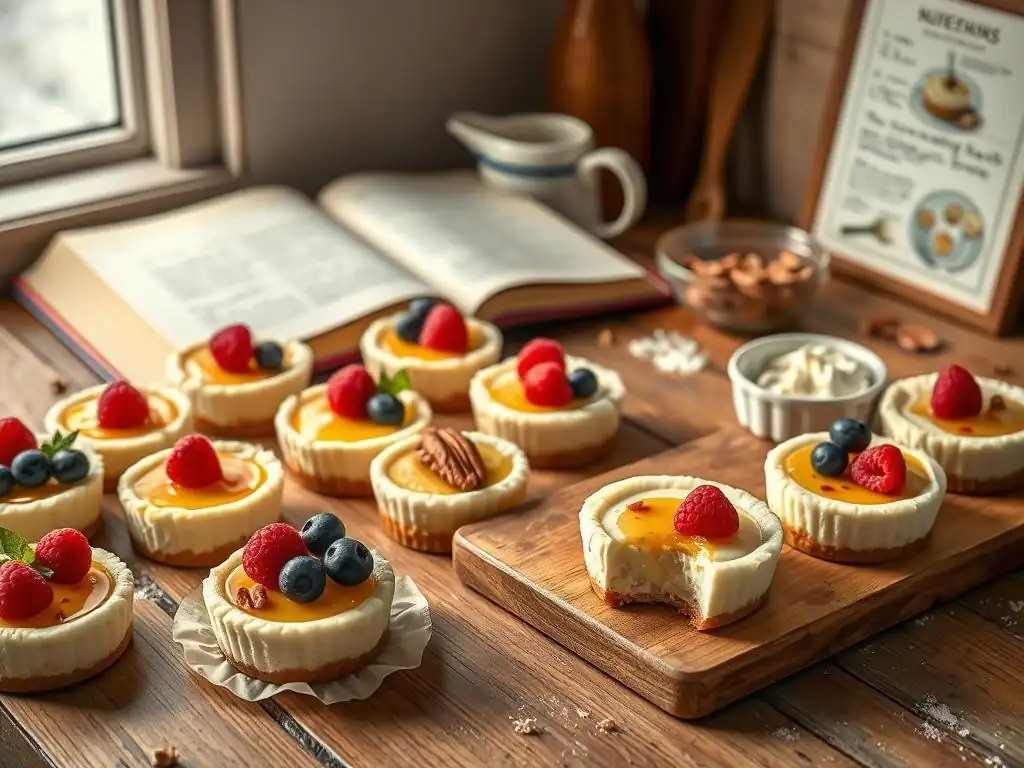
Once your easy no-bake mini cheesecakes are perfectly chilled and set, they are ready to be enjoyed! Serving them is as simple as peeling off the liner (if used) and adding your desired toppings. Their individual size makes them perfect for portion control and easy distribution at gatherings.
Proper storage is key to maintaining their delicious texture and freshness. Because they contain dairy, they need to be kept cold. Storing them correctly ensures they remain safe to eat and taste their best for several days.
Best Ways to Serve Your Freshly Made Cheesecakes
Serve the mini cheeseccakes directly from the refrigerator. Add toppings just before serving to keep fresh fruit looking bright or prevent sauces from soaking into the filling too much.
- Arrange them on a platter for a party.
- Serve individually on small plates.
- Offer a variety of toppings on the side so guests can customize.
- A simple dollop of whipped cream and a single berry is an elegant finish.
Proper Storage for Optimal Freshness
Store leftover no-bake mini cheeseccakes in an airtight container in the refrigerator.
- They can be stored for up to 3-4 days.
- If they have toppings, especially fruit, they might not last quite as long, so it's best to top only what you plan to eat immediately.
- For longer storage, you can freeze them (without toppings) in a single layer until firm, then transfer to a freezer-safe container or bag for up to 1-2 months. Thaw in the refrigerator before serving.
Conclusion: Enjoy Your Effortless & Delicious No-Bake Mini Cheesecakes
You've Mastered Easy No-Bake Cheesecake Making!
Congratulations! You've successfully made delicious no-bake mini cheesecakes using a simple, beginner-friendly recipe. You navigated creating a simple crust, preparing a creamy filling, assembling the components, and chilling them to perfection. This experience demonstrates that making impressive desserts doesn't require advanced skills or complicated steps. You've built confidence and gained practical experience with basic dessert preparation techniques, proving that easy cheesecake recipes can yield truly delightful results.
Embrace this success as a stepping stone! This easy dessert recipe is just the beginning of your baking adventures. You now have a reliable base recipe you can return to time and time again, experimenting with different flavors and toppings as your confidence grows. Whether you made these for a special occasion or just because, take a moment to appreciate the simple pleasure of creating something sweet and delicious with your own hands.
Explore More Easy Dessert Recipes on DessertDelights.com
Now that you've seen how easy and rewarding baking can be with this no-bake cheesecake recipe, why stop here? BakeWithEase.com is filled with many more simple recipes designed specifically for beginners. From easy cookies and brownies to simple cakes and yes, even easy dessert tarts recipes, there's a whole world of sweet treats waiting for you to explore.
Our site offers step-by-step guides, helpful tips, and explanations that demystify the baking process. Continue to build your skills and expand your repertoire with recipes that prioritize ease and deliciousness. Whether you're looking for another no-bake wonder or are ready to try something baked, we have the perfect recipe to continue your baking journey. Happy baking!
Frequently Asked Questions
What makes this easy dessert tarts recipe so easy?
This recipe focuses on simple ingredients and a minimalist approach to baking. It also leverages store-bought pastry, greatly reducing preparation time.
What kind of pastry is best for these dessert tarts?
Using pre-made shortcrust pastry is highly recommended for ease. You can also use puff pastry for a flakier result, but shortcrust is generally easier to handle.
Can I substitute the filling ingredients in this recipe?
Yes, you can easily customize the filling! Feel free to use different fruits, jams, or even chocolate spreads. The key is to use a filling that is thick enough to not leak.
How long will these dessert tarts stay fresh?
These tarts are best enjoyed within 2-3 days of baking. Store them in an airtight container in the refrigerator to maintain their freshness and texture.
What are some tips for preventing the pastry from shrinking during baking?
Blind baking the pastry with pie weights or dried beans is crucial. Also, ensure the pastry is well-chilled before baking, and avoid overworking the dough.
Final Reflection: The Sweet Simplicity of Effortless Baking
The accessibility of delicious desserts is more important than ever in our fast-paced world. A simple, satisfying treat shouldn't require hours in the kitchen or a culinary degree. This article highlighted the surprising ease with which anyone can create beautiful and tasty dessert tarts, proving that baking joy isn't reserved for the experts.
The joy of baking, and sharing that joy with others, has always held a special place in my heart. It's a way to connect with loved ones, celebrate milestones, or simply brighten a day. The recipes explored here represent more than just instructions; they are pathways to creating meaningful moments. The best things in life are the simple things.
This holds true for baking, and for life itself. The ease of these recipes allows us to focus on the experience, the sharing, and the pure pleasure of a homemade dessert.
Now, I challenge you to embrace the simplicity. Pick a recipe, gather your ingredients, and let the aroma of baking fill your kitchen. Don't be afraid to experiment, to adapt, to make these recipes your own. The most rewarding part of baking isn't just the delicious result, but the process itself – a journey of creativity and connection. Let the sweet simplicity of effortless baking enrich your life, one tart at a time.
Unleash Your Inner Pastry Chef!
Thanks for joining us on this delicious journey! We hope you’ve discovered the joy of creating quick and easy dessert tarts. Ready to take your baking skills to the next level?
- Master the art of the perfect tart crust: Practice makes perfect! Try experimenting with different flavors and fillings using the techniques you’ve learned today.
- Share your creations: Show us your stunning dessert tarts on social media using #BakeWithEaseTarts – we can’t wait to see them!
- Surprise your loved ones: Bake a batch of these delightful treats and watch their faces light up.
What unique twist will you add to your next dessert tart creation?