
Essential Tools for Working with Fondant: A Buyer's Peek

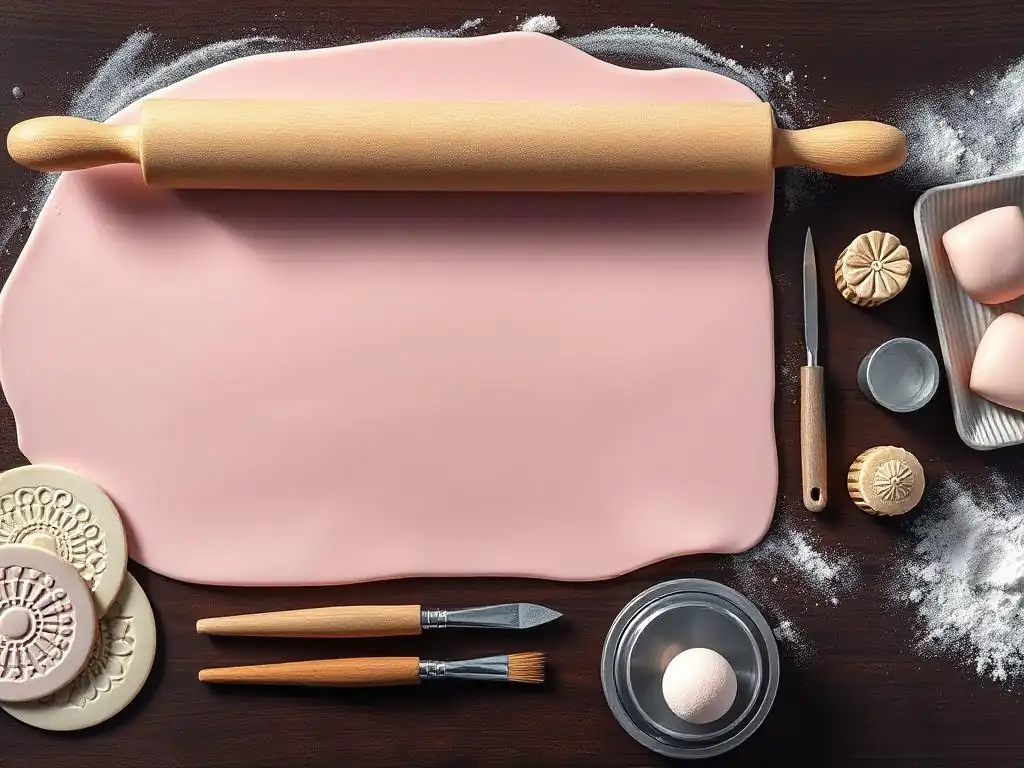
Welcome to BakeWithEase, your partner in creating delicious baked goods! Are you ready to elevate your cake decorating game? Dive into our Essential Tools for Working with Fondant and discover how the right equipment can transform your creations. This guide unveils everything you need to know about fondant rolling tools, from smoothing perfection to achieving intricate designs. Intrigued? Let's roll!
- Mastering Fondant: Your Ultimate Fondant Tools Guide
-
Essential Fondant Tools for Beginners and Professionals
- The Indispensable Fondant Rolling Pin: A Buyer's Guide
- Smoothing Perfection: Fondant Smoothers for a Flawless Finish
- Precision Cutting: Fondant Cutters for Intricate Designs
- Modeling Magic: Sculpting Tools for 3D Fondant Art
- Perfecting the Details: Fondant Edgers and Crimpers
- The Right Surface: Fondant Rolling Mat or Work Surface?
- Choosing the Best Fondant Tools: A Comparative Analysis
- Maximizing Your Fondant Tools: Tips and Tricks from BakeWithEase
- Where to Buy Your Fondant Tools: Recommended Retailers
- Conclusion: Elevate Your Cake Decorating with the Right Fondant Tools
- Frequently Asked Questions
- Final Reflection: Mastering the Art of Fondant, One Tool at a Time
- Unleash Your Inner Cake Artist: Master Fondant Today!
Mastering Fondant: Your Ultimate Fondant Tools Guide
Fondant rolling tools guide is your passport to professional-looking cakes without the steep learning curve. By selecting the right implements—from rolling pins to smoothers—you streamline your workflow and avoid common pitfalls like tearing or uneven thickness. High-quality tools not only last longer but also deliver consistent results batch after batch, cutting down on waste and stress.
Whether you’re crafting wedding cakes or simple birthday cupcakes, mastering these essentials transforms fondant from a tricky medium into a pleasure to work with. This guide walks you through every major tool category, comparing top brands, materials, costs, and maintenance tips so you can confidently build a toolkit that fits your budget and baking style.
Why Invest in Quality Fondant Tools?
Investing in professional-grade fondant tools pays off with smoother finishes, sharper edges, and precise shapes that stand out. Entry-level tools often warp or wear quickly under the pressure of repeated use—leading to uneven thickness, tears, and frustration. Premium materials like medical-grade silicone or polished marble facilitate non-stick rolling and maintain temperature control, ensuring your fondant stays workable longer.
Beyond performance, durable tools save money over time. For example, a $17 marble rolling pin may feel steep initially but outlasts a $5 plastic pin by several years. When you factor in wasted fondant and repair or replacement costs, the upfront investment in reliable equipment becomes a clear winner for both hobbyists and professionals.
Understanding the Basics of Fondant Decoration
Fondant is a pliable sugar paste composed mainly of powdered sugar, gelatin, and glycerin. Its elastic properties allow decorators to stretch it thin—often down to 1/8"—for draping over cakes or cutting intricate shapes. Temperature and humidity significantly affect fondant’s behavior; higher humidity can make it sticky while low humidity causes cracking.
Proper kneading and conditioning are crucial before rolling. Warm the fondant by hand for several minutes until it’s evenly soft, then dust your work surface lightly with cornstarch or use a non-stick mat. Rolling in one direction helps maintain uniform thickness—ideally between 1/16" and 1/8" depending on the project—to balance strength and drapeability.
Essential Fondant Tools for Beginners and Professionals
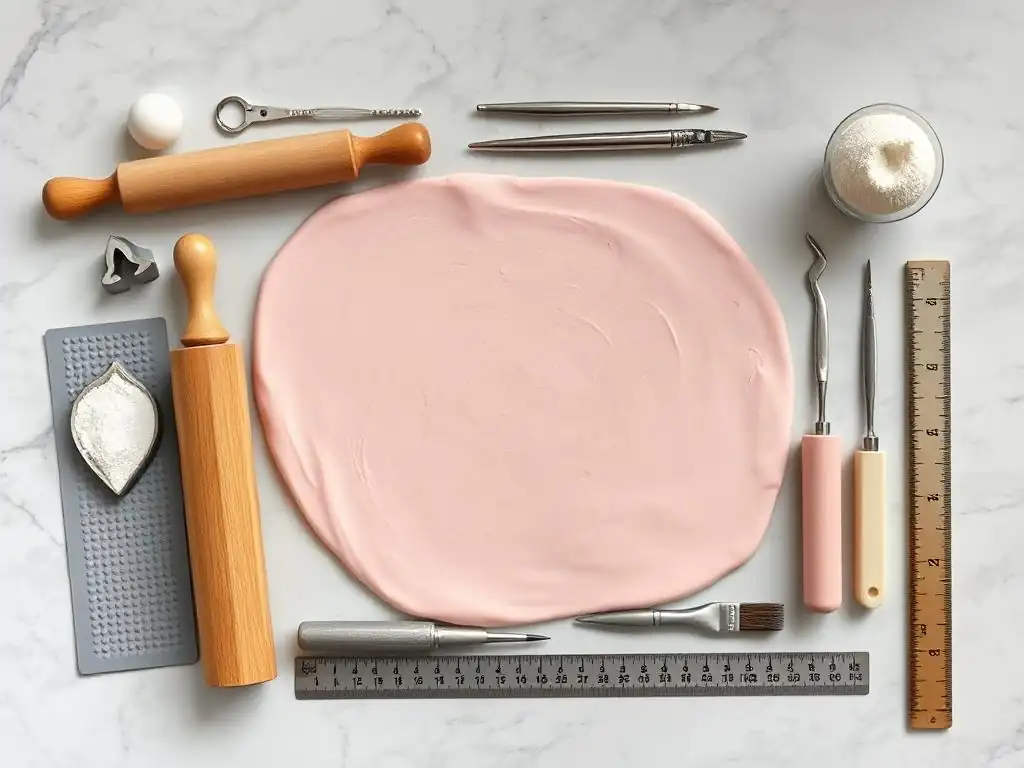
The Indispensable Fondant Rolling Pin: A Buyer's Guide
A dedicated fondant rolling pin is wider and smoother than typical dough pins, ensuring even pressure and preventing grooves. The ideal pin glides without sticking, lays fondant to a uniform 12–16" sheet for standard cakes, and often features adjustable rings or removable handles for customization.
Whether you’re covering tiered cakes or crafting delicate appliqués, the right rolling pin reduces re-rolling and fondant fatigue. It should feel balanced in hand—roughly 1.5–2 pounds for controlled rolling—and have a surface that wipes clean instantly, eliminating sticky residue between batches.
Choosing the Right Material: Wood, Plastic, or Silicone?
Wooden pins offer a classic touch: they’re lightweight (about 18 oz for a 20″ pin) and provide subtle grip, preventing fondant from spinning under pressure. However, wood can absorb moisture and odors over time, requiring periodic oiling.
Plastic and acrylic rolling pins (12–16 oz) boast non-porous surfaces, resisting staining and sticking. They’re typically dishwasher-safe but can scratch if used roughly. Silicone-coated pins combine the best of both worlds—non-stick properties of silicone with the sturdiness of wood or composite cores—though they sometimes wear unevenly.
Top Picks: Wilton's 20-Inch Rolling Pin vs. Fox Run Marble Rolling Pin
-
Wilton 20″ Rolling Pin
• Material: Food-grade non-stick plastic
• Weight: 14 oz
• Price: $9.99
• Pros: Lightweight, budget-friendly, dishwasher-safe
• Cons: Can warp at high temps, minimal temperature control -
Fox Run Marble Rolling Pin
• Material: Solid white marble
• Weight: 3.5 lbs
• Price: $24.99
• Pros: Naturally cool, ideal for sugar-based media, elegant aesthetic
• Cons: Heavier handling, risk of chipping, hand-wash only
How to Clean and Maintain Your Fondant Rolling Pin for Longevity
Plastic and silicone rolling pins can be wiped with warm, soapy water and air-dried in minutes. Avoid abrasive scrubbers to preserve the non-stick finish. For stubborn residue, a quick pass over with a damp, soft cloth spiked with a drop of vegetable oil works wonders.
Marble pins require gentle care: hand wash in lukewarm water—no soap as it can dull the finish—and dry immediately with a soft towel. To prevent micro-cracks, never submerge for extended periods and store cushioned away from hard surfaces. Wood pins should be oiled quarterly with food-grade mineral oil to maintain moisture and prevent splitting.
Smoothing Perfection: Fondant Smoothers for a Flawless Finish
A fondant smoother is essential for eliminating fingerprints, bumps, and air pockets after draping. These flat, paddle-shaped tools come in plastic, acrylic, or metal versions. By applying gentle pressure and gliding systematically, you achieve ultra-sharp edges and a polished cake surface.
Whether you’re crafting classic wedding tiers or sculptural novelty cakes, smoothers accelerate the finishing process. They also double as edging tools to define cake borders or create subtle indentations for piping guides.
Different Types of Smoothers: Paddles, Angle Smoothers, and More
- Paddle Smoothers: Rectangular with rounded corners—ideal for large flat surfaces.
- Angle Smoothers: Triangular edges perfect for tucking fondant into corners of square cakes.
- Curved Smoothers: Concave or convex shapes facilitate working on rounded cakes or domes.
Review: The Wilton Fondant Smoother – Achieving Sharp Edges
The Wilton Fondant Smoother is a 5″ × 4″ beveled-edge paddle made of rigid plastic, priced at $6.49. It delivers crisp lines on 8–12″ cakes and is dishwasher-safe for quick cleanup. Users praise its lightweight feel and durability across more than 75 cake projects without warping.
Techniques for Eliminating Air Bubbles and Imperfections
To remove air pockets, press the smoother firmly at a 45° angle and work inward toward the center, expelling trapped air. For stubborn bubbles, gently pierce with a fine needle, then re-smooth the area with light circular motions. Consistent sweeping strokes guarantee a mirror-like fondant finish.
Precision Cutting: Fondant Cutters for Intricate Designs
Fondant cutters carve out perfect shapes without jagged edges, unlike kitchen cookie cutters which may be thicker and less precise. Specialty fondant cutters feature sharper blades, ergonomic grips, and smaller profiles to handle thin layers cleanly.
With an extensive cutter collection, decorators produce consistent motifs—stars, polka dots, lace panels—quickly and uniformly, speeding up production and enhancing cake aesthetics.
Cookie Cutters vs. Fondant Cutters: What's the Difference?
Cookie cutters often range from 1/2″ to 1″ thick, suitable for dense dough but bulky for 1/8″ fondant. In contrast, fondant cutters boast 2–3 mm blade widths, offering razor-sharp precision. Many fondant sets include ejector mechanisms to release delicate shapes cleanly.
Essential Cutter Shapes: Circles, Stars, Flowers, and Letters
- Circles (1″–3″): Bases for fruit blossoms or confetti dots.
- Stars (2″–4″): Perfect for celebratory themes.
- Flowers (3–5 petals): Quick rose or daisy forms.
- Letters (2 cm height): Personalize names and messages.
Product Spotlight: The Ateco Alphabet Fondant Cutter Set – Unleash Your Creativity
Ateco’s 52-piece Alphabet Fondant Cutter Set costs $24.95 and includes uppercase letters A–Z plus common symbols (!, &, -). Each cutter measures 6 mm in depth, compatible with layering and color-coding. Made of sturdy stainless steel, they’ve crafted over 500 decorated cupcakes without bending.
Modeling Magic: Sculpting Tools for 3D Fondant Art
Modeling tools elevate fondant from flat decoration to three-dimensional sculptures—flowers, figurines, and detailed embellishments. Key shapes include ball tools for smoothing petals, bone tools for creasing folds, and veining tools for lifelike leaf textures.
With practice, decorators can sculpt intricate flowers and figurative toppers that look hand-painted, adding bespoke artistry to every cake.
Ball Tools, Bone Tools, and Veining Tools: Understanding the Basics
- Ball Tools (2–10 mm heads): Thin or flare petal edges by pressing and rolling.
- Bone Tools: Flat on one side, curved on the other—ideal for creating folds or indenting petals.
- Veining Tools: Sharp ridges mimic leaf veins, adding realism in seconds.
Creating Realistic Flowers with the PME Flower Modeling Tool Set
The PME Flower Modeling Tool Set includes seven sculpting heads on lightweight aluminum handles, priced at $29.50. It’s used by sugar artists worldwide to craft blooms like orchids, roses, and lilies with razor-thin, translucent petals that hold their shape.
Advanced Techniques: Sculpting Faces and Figures with Fondant
Sculpting human figures requires a solid foam pad, precise ball tools, and patience. Start with a basic body shape, add limbs and head, then refine facial features with fine veining tools and a pointed modeling stick. Color accents—like painted eyelashes—bring realism to your sugar portraits.
Perfecting the Details: Fondant Edgers and Crimpers
Edges and crimpers introduce decorative borders—scalloped edges, ruffled trims, and basket-weave patterns—that frame your cake and add textural depth. These wheels and blades emboss fondant to resemble lace, ribbon, or stitched seams.
Whether accenting a baby shower cake or adding vintage flair, edgers provide consistent patterns at the press of a wheel, slashing decoration time by up to 40%.
Adding Texture and Dimension to Your Cakes
By rolling crimpers along the base of each tier, you create instant ruffles that catch light beautifully. Embossed patterns on fondant panels bring instant sophistication—like damask or quilted effects—with minimal effort.
Creating Elegant Borders with the JEM Crimper Set
The JEM Crimper Set, priced at $15.99, contains five stainless steel wheels on a plastic handle. Patterns include straight lines, scallops, zigzags, and rope twists. It glides smoothly on 1/8″ fondant and washes up in under a minute.
Advanced Techniques: Using Edgers to Create Ruffles and Drapes
For ruffles, gently stretch the fondant strip to about 1.5× its original length, then crimp and fold incrementally along a curved surface. Drapes require measuring the arch height, cutting fondant strips, and using an angle smoother to lay folds in realistic, gravity-defying pleats.
The Right Surface: Fondant Rolling Mat or Work Surface?
A dedicated non-stick surface keeps your fondant clean and consistent. Rolling directly on countertops risks scratches, dust, and unevenness that translate into lumps in your fondant.
Silicone mats, specifically designed for fondant work, often feature measurement guides and temperature-resistant properties, ensuring dough elasticity and thickness control without extra dusting agents.
Silicone Mats: Non-Stick and Easy to Clean
Silicone mats like Ohuhu’s (24″×16″) adhere to counters via slight tackiness, preventing sliding during vigorous rolling. They withstand temps from -40°F to 450°F, making them ideal for repetitive use and cleaning in warm, soapy water.
Alternatives: Parchment Paper and Cornstarch
Parchment paper offers a disposable, low-stick surface but lacks thickness markings and can slip. Dusting with cornstarch works in a pinch but risks over-drying edges, leading to cracking if not carefully managed.
Recommendation: The Ohuhu Silicone Fondant Rolling Mat – A Baker's Best Friend
Ohuhu’s silicone mat costs $17.99, features printed 1″ gridlines, and resists tearing even after 100+ batches. Its 2 mm thickness provides a perfect cushion for both fondant and cookie dough, earning 4.8/5 stars from over 3,200 bakers on retailer sites.
Choosing the Best Fondant Tools: A Comparative Analysis
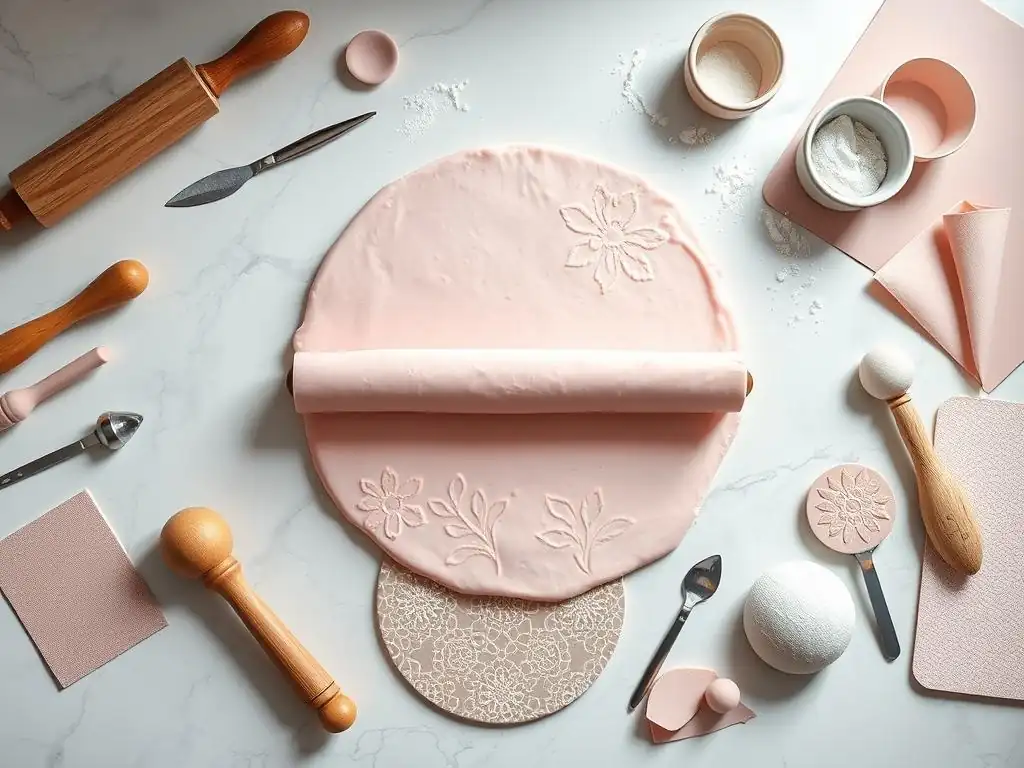
Rolling Pin Showdown: Wilton vs. Fox Run vs. Mrs. Anderson's Baking Rolling Pin
- Wilton 20″ Rolling Pin ($9.99): Lightweight plastic, great for beginners, minimal temp control.
- Fox Run Marble Pin ($24.99): Heavy, naturally cool, best for sugar and chocolate work.
- Mrs. Anderson’s Baking Acacia Wood Pin ($19.50): Warm-touch wood, durable, requires periodic oiling.
Each pin delivers uniform thickness—ideal for a fondant rolling tools guide—yet choice depends on comfort with weight and maintenance willingness.
Smoother Face-Off: Wilton vs. Crystal Candy vs. Loyal Bakeware
- Wilton Smoother ($6.49): Rigid plastic, beveled edges, dishwasher-safe.
- Crystal Candy Acrylic Smoother ($9.99): Transparent, firmer pressure, ideal for sharp contrasts.
- Loyal Bakeware Metal Smoother ($15.99): Stainless steel, extra weight for stubborn bumps, hand-wash only.
Choose based on desired edge crispness: plastic for quick jobs, metal for deep creases.
Cutter Comparison: Individual Cutters vs. Sets
- Individual Cutters: $2–$4 each for specialty shapes—good for rare motifs, but add up quickly.
- Sets: $15–$30 for 10–50 pieces—more cost-effective, versatile, bulk storage.
Sets suit decorators aiming for variety; single cutters work if you need just one or two shapes.
Maximizing Your Fondant Tools: Tips and Tricks from BakeWithEase
Storing Your Tools Properly for Longevity
Store fondant tools in a dry, dust-free drawer or dedicated tote with dividers to prevent blades from dulling. Use clear plastic boxes for visibility and include silica gel packs to absorb moisture, averting mold growth on wooden handles.
Cleaning and Maintaining Your Fondant Tools
Always wash gently after each use—avoid harsh detergents on wood and metal. Sharpen cutter edges with a whetstone if they become dull. Re-oil wooden tools quarterly with mineral oil, and replace plastic pins that show warp or deep scratches.
Troubleshooting Common Fondant Problems
- Cracking: Knead glycerin into fondant or lightly mist with water.
- Sticking: Dust surface with cornstarch or powdered sugar; use a non-stick mat.
- Tearing: Roll thicker or let fondant rest covered for 10 minutes before shaping.
- Sagging Drapes: Work on cooler surfaces and chill the cake for 10 minutes before applying.
Where to Buy Your Fondant Tools: Recommended Retailers
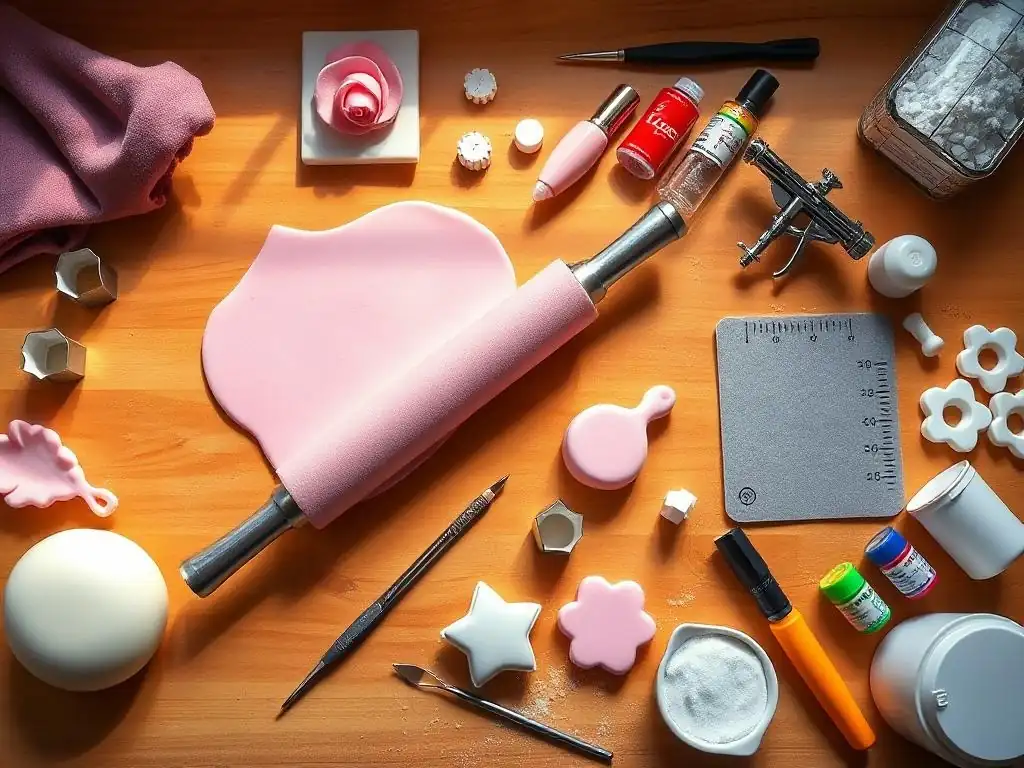
Online Retailers: Amazon, Baking Bliss, Cake Supply Shop
Amazon offers fast shipping and extensive customer reviews for every fondant tool. Baking Bliss specializes in high-end brands like PME and Ateco, often providing package deals. Cake Supply Shop carries curated kits for beginners and professionals, with free samples on orders over $75.
Local Baking Supply Stores
Visit local cake decor boutiques for hands-on testing—feel the weight of rolling pins and try smoothers on demo fondant. You’ll benefit from expert staff recommendations and in-store demos, plus no shipping fees.
Affiliate Links and Special Offers
Sign up for BakeWithEase newsletters to receive exclusive coupon codes—often 10% off entire orders at partnering retailers. Seasonal bundles (spring wedding kits, holiday decorating packs) appear regularly, saving up to 20% compared to individual purchases.
Conclusion: Elevate Your Cake Decorating with the Right Fondant Tools
Selecting the best fondant rolling tools guide—from rolling pins to modeling kits—empowers you to tackle every cake design with confidence. Quality tools save time, reduce waste, and produce professional results that wow clients and loved ones alike. Invest smartly in your toolkit, maintain your implements, and your fondant creations will look as good as they taste.
Frequently Asked Questions
What are the essential tools needed for rolling fondant smoothly?
The essentials include a rolling pin specifically designed for fondant, a smooth, non-stick work surface, and cornstarch or powdered sugar to prevent sticking.
How do I prevent fondant from sticking while rolling?
Using a non-stick mat (like silicone) is key. Also, lightly dust your work surface and the fondant with cornstarch or powdered sugar before rolling.
What type of rolling pin is best for working with fondant?
A non-stick rolling pin made of silicone or coated metal is ideal. Look for one that's smooth and long enough to roll out large pieces of fondant.
How do I achieve a perfectly smooth fondant finish?
Use a fondant smoother to eliminate any bumps or creases after applying the fondant to your cake. Patience and even pressure are crucial for a flawless finish.
What can I use if I don't have specialized fondant rolling tools?
While specialized tools are helpful, you can use a clean, smooth rolling pin and a non-stick surface. Cornstarch or powdered sugar are essential substitutes to prevent sticking.
Final Reflection: Mastering the Art of Fondant, One Tool at a Time
The pursuit of perfectly smooth, flawlessly sculpted fondant creations isn't just a hobby; it's a testament to precision and patience. This guide has explored the essential tools that bridge the gap between aspiring cake decorator and accomplished artist. From the humble rolling pin to the intricate sculpting tools, each piece plays a vital role in transforming a simple sugar paste into a breathtaking masterpiece. The right tools, used correctly, are the key to unlocking your full creative potential.
The impact of these tools extends beyond the individual cake; they represent a gateway to a wider community of bakers and artists. The shared passion for fondant work fosters creativity and connection, allowing us to learn from each other and push the boundaries of what's possible. This collaborative spirit is what truly elevates the craft. The best way to find yourself is to lose yourself in the service of others.
– Mahatma Gandhi. This quote, while seemingly unrelated, speaks to the collaborative nature of the baking community and the joy found in sharing our skills and creations.
Now, it's your turn. Consider the tools you already own and how they contribute to your fondant work. Are there gaps in your collection? What new techniques could you explore with a different rolling pin or a specialized cutter? Don't be afraid to experiment, to push your boundaries, and to discover the unique joy of creating beautiful fondant designs. The journey of mastering fondant is a continuous one, filled with learning, growth, and the sweet reward of a perfectly crafted cake. Embrace the process, and let your creativity flourish!
Unleash Your Inner Cake Artist: Master Fondant Today!
Thanks for taking the time to explore the world of fondant with us! We hope you now feel confident in choosing the right tools for your next cake masterpiece. Ready to get started?
- Dive into your first fondant project: Pick your favorite recipe from the article and give it a try! Even a simple design is a great start.
- Share your creation: Post a picture of your fondant-covered cake on social media and tag us – we'd love to see your results! Use #BakeWithEaseFondant.
- Explore more advanced techniques: Search online for "fondant sculpting tutorials" or "easy fondant flower designs" to expand your skills.
What incredible fondant creation will you bring to life first?